Week 2: Computer-Aided Design
This week, I explored different 2D and 3D design tools. I created one raster graphic, one vector graphic, and two 3D models using different software for each type. Below are the details of the tools I used and the work I created.
1. 2D Design Tools
There are two primary types of 2D design tools: raster and vector. Raster graphics are made up of pixels, while vector graphics are made up of paths defined by mathematical expressions.
Here is a comparison table that highlights the key differences between raster and vector images:
| Raster Image | Vector Image | |
|---|---|---|
| FORMATS | .jpg .png .tif .gif .bmp | .ai .eps .svg |
| COMPOSITION | Pixels (small squares of color) |
Mathematical equations that define points, lines, and curves |
| SCALABILITY | Images appear blurry or jagged when enlarged | Images can be scaled infinitely with no loss of quality |
| BEST USES | Photographs, images with intricate shading and tonal variations | Logos, icons, typography, simple illustrations |
| FILE SIZE | Typically larger, especially when the resolution is high | Typically smaller, since data is mathematical rather than pixels |
For more details about this topic, check out this link.
Raster:
Examples of raster graphics software include Adobe Photoshop, GIMP, and Corel Painter. These programs are ideal for editing photos and creating detailed images with complex color gradients. Raster graphics are resolution-dependent, meaning that they can lose quality when scaled up or down. Common raster file formats include JPEG, PNG, GIF, and BMP.
I used GIMP for my raster graphics work.

I created it by following this tutorial.
Vector:
Examples of vector graphics software include Adobe Illustrator, Inkscape, and CorelDRAW. These programs are ideal for creating logos, icons, typography, and simple illustrations. Vector graphics are resolution-independent, meaning that they can be scaled up or down without losing quality. Common vector file formats include AI, EPS, SVG, and PDF.
I used Inkscape for my vector graphics work.

I created it by following this tutorial.
Here is a video of the process I followed to create the vector image:
💡 Note: Vector graphics are used for CNC machines, laser cutters, and other precision cutting tools. This is because they can be scaled to any size without losing quality, and they can be easily converted into paths that cutting machines can follow.
Check out this helpful video here.
2. 3D Design Tools
3D design tools are software applications used to create, modify, and visualize three-dimensional objects and environments. Examples of 3D design software include Creo and Fusion 360. These programs allow users to create complex 3D models, animations, and simulations for various applications such as video games, movies, product design, and architecture.
Fusion 360:
Fusion 360 is a cloud-based 3D design software developed by Autodesk. It offers a wide range of tools for 3D modeling, simulation, and collaboration. Fusion 360 is popular among engineers, product designers, and hobbyists for its user-friendly interface and powerful features. It supports parametric modeling, which allows users to create models that can be easily modified by changing parameters.

To download the 3D model file, click here.
I created it by following this tutorial.
Here is my 3D model of a bottle created using Fusion 360:
Creo:
Creo is a 3D CAD software developed by PTC. It is widely used in the engineering and manufacturing industries for product design and development. Creo offers a comprehensive set of tools for 3D modeling, simulation, and analysis. It supports parametric modeling, which allows users to create models that can be easily modified by changing parameters. Creo is known for its robust features and is often used for complex product design projects.
I used Creo for my initial 3D design for the final project.
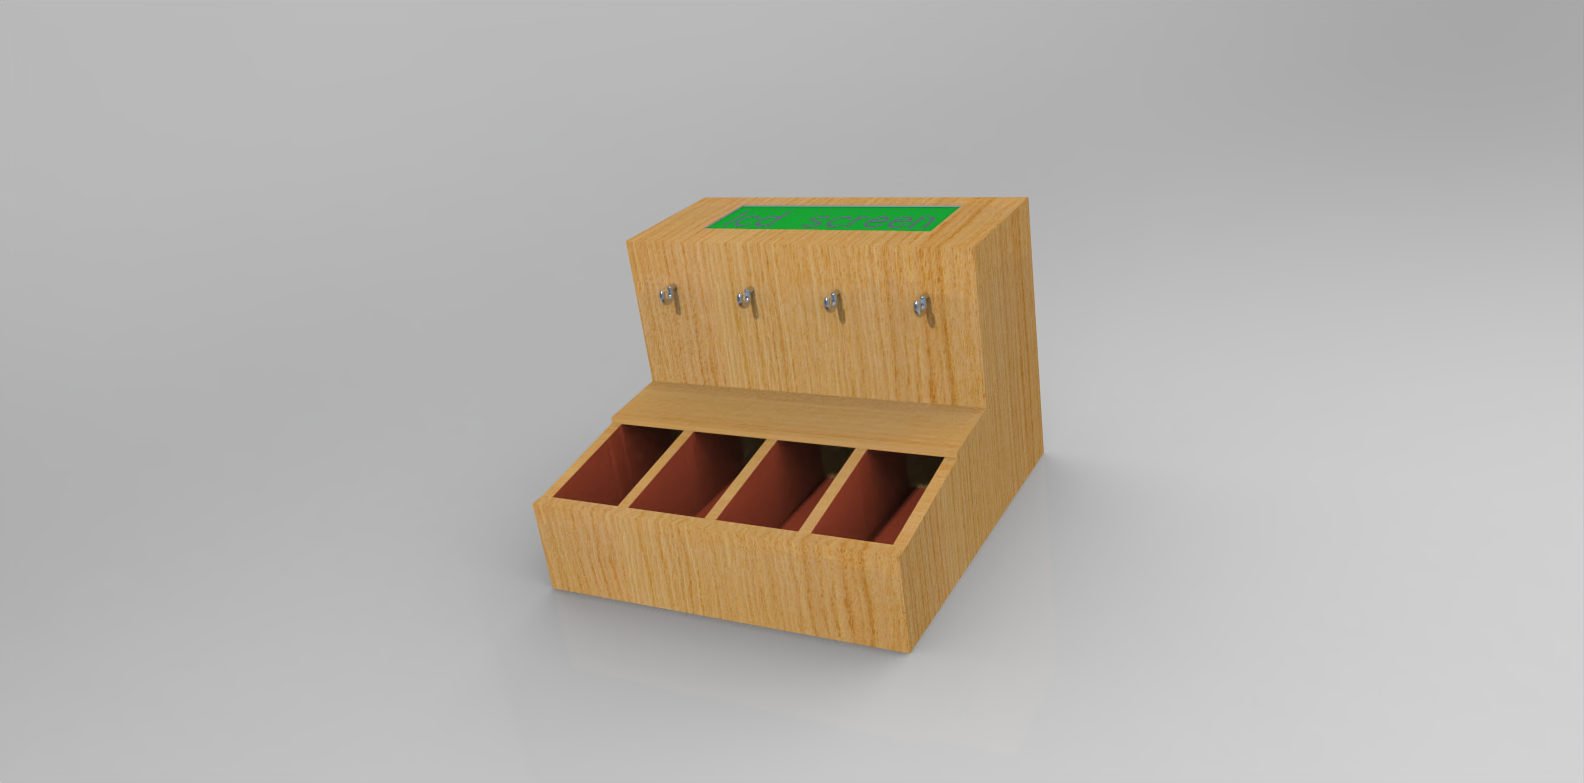
To download the 3D model file, click here.
Here is the initial 3D model for my final project, created using Creo:
Creo vs. Fusion 360
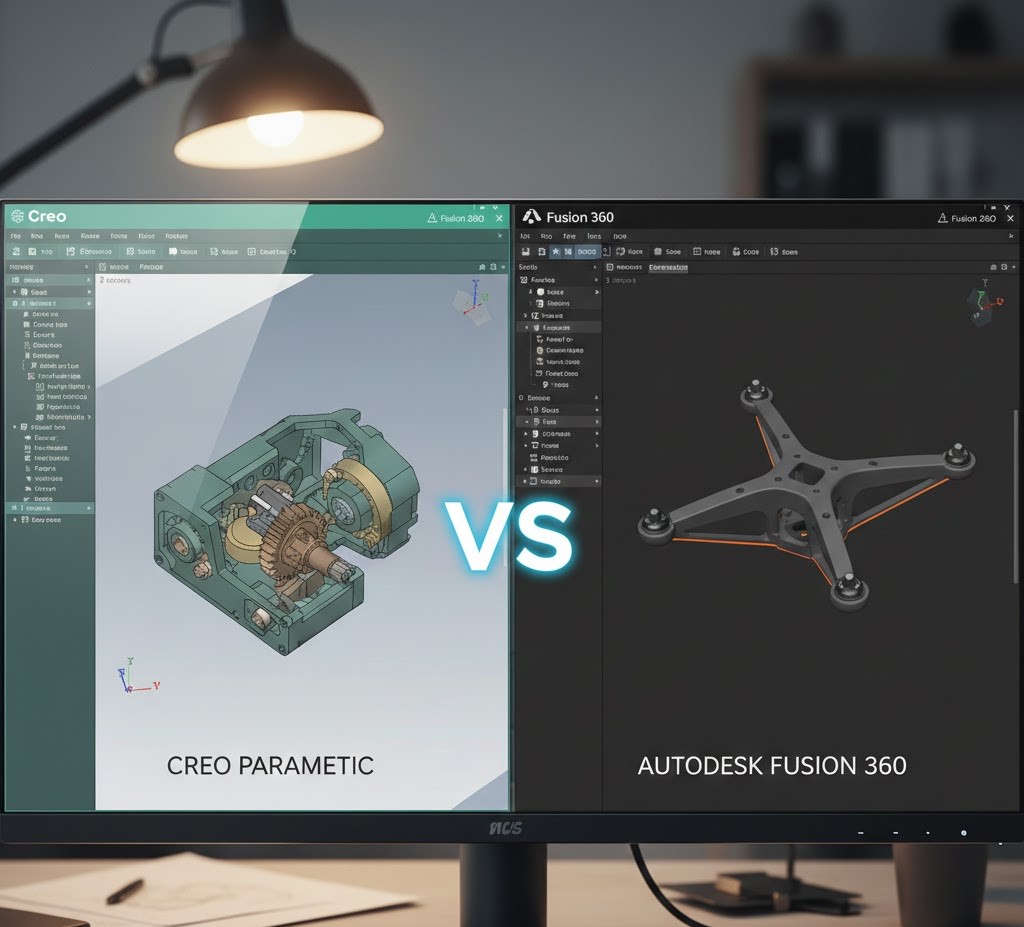
Both Creo and Fusion 360 are powerful 3D design tools, but they have some key differences from my perspective:
User Interface:
Fusion 360 has a more modern and user-friendly interface, making it easier for beginners to learn and navigate. Creo, on the other hand, has a steeper learning curve and may require more time to become proficient.
Collaboration:
Fusion 360 is cloud-based, allowing for easy collaboration and access to projects from anywhere with an internet connection. Creo is primarily desktop-based, which can make collaboration more challenging, especially for remote teams.
Features:
Both pieces of software offer a wide range of features for 3D modeling, simulation, and analysis. However, Creo is often considered more robust and better suited for complex product design projects, while Fusion 360 is more versatile and suitable for a wider range of applications, including hobbyist and educational use.
💡 Note: I used Copilot to help me ensure the document is clear of grammar mistakes.