Week 1 : project management
For this week's assignment, I had to set up my development environment and my web page repository. Here are the steps I followed to complete the assignment:
I decided to use Windows OS, so I had to download WSL (Windows Subsystem for Linux).
1. Download WSL
- I followed this link to download WSL on my PC.
- This video helped me understand the installation steps YouTube link.
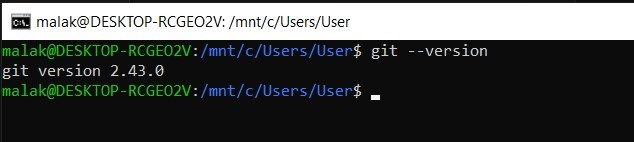
💡 Note: Git comes already installed with most Windows Subsystem for Linux distributions; I verified that by running the command
git --version in the WSL terminal.
Here is a link that explains how to download and use Git with WSL.
After installing WSL and Git, I had to configure Git with my information.
2. Configure Git
I used these commands to configure Git with my information:git config --global user.name "Your Name"git config --global user.email "youremail@example.com"

I downloaded VS Code since it provides a great environment for coding and integrates well with WSL.
3. Download VS Code
- I downloaded VS Code from this link.
- Then I installed the "WSL" extension from the VS Code marketplace to enable seamless integration between VS Code and WSL.
- I also installed the Live Server extension to enable live preview of my web pages while coding.
💡 Note: It's useful to enable Copilot at this stage; it helped me a lot when writing the documentation.
To be able to clone repositories from GitLab, I needed to generate an SSH key and add it to my GitLab account for secure authentication.
4. Generate SSH key and add it to GitLab
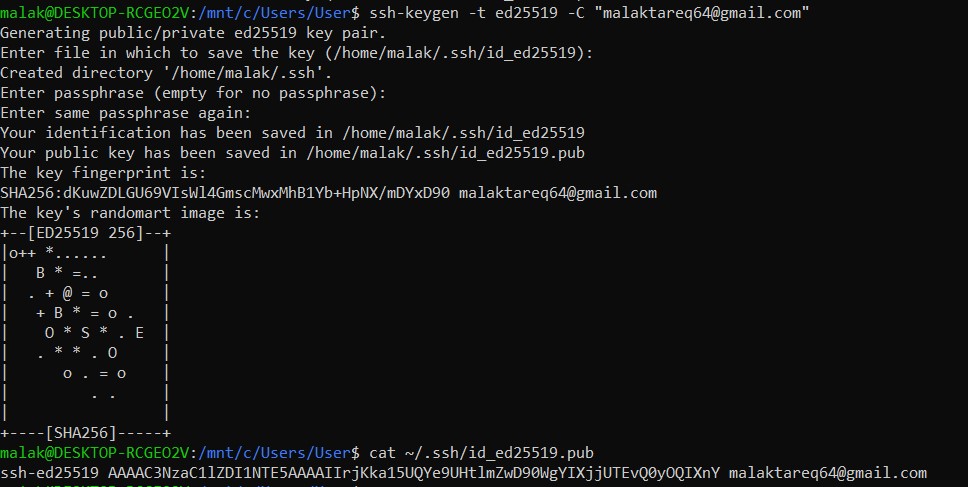
- I generated an SSH key by running the command
ssh-keygen -t ed25519 -C "youremail@example.com"in the WSL terminal. - Then I ran the
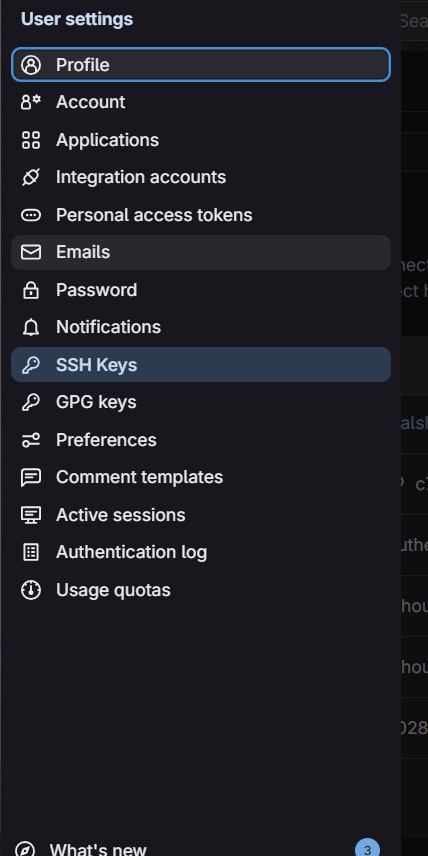
cat ~/.ssh/id_ed25519.pubcommand so I could copy the SSH public key. - I logged into my GitLab account and clicked on my profile picture at the top right corner, then selected "Edit profile" from the dropdown menu.
- In the left sidebar, I clicked on "SSH Keys".
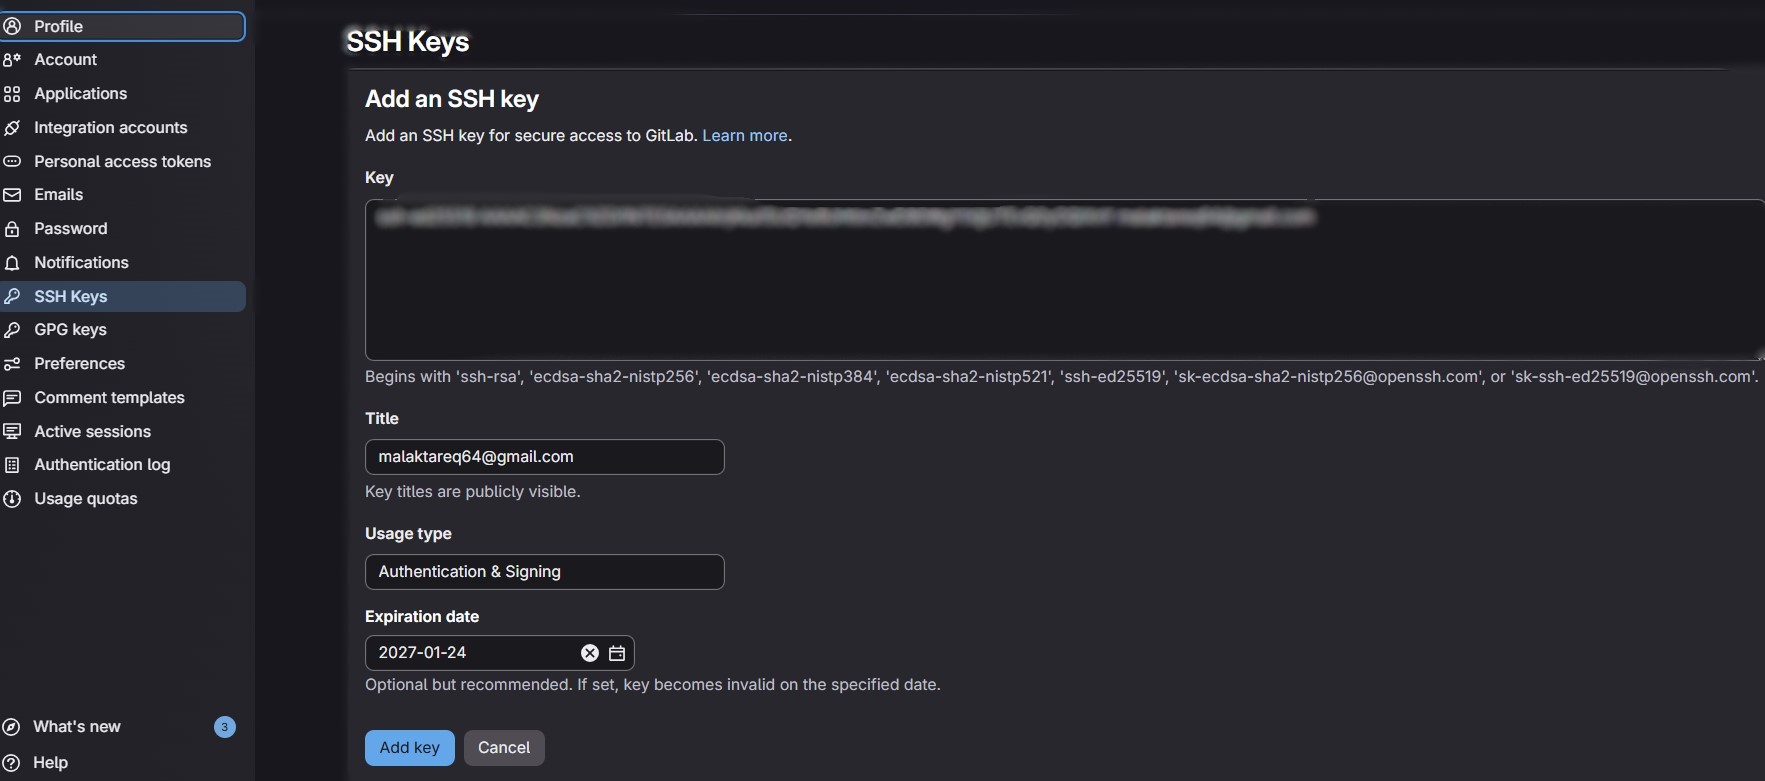
- I pasted the copied SSH public key into the "Key" field.
- Finally, I clicked the "Add key" button to save the SSH key to my GitLab account.
💡 Note: If you are using an older system that doesn't support the Ed25519 algorithm, you can use
ssh-keygen -t rsa -b 4096 -C "youremail@example.com".
💡 Note: Make sure to cat the file that ends with .pub.
I needed to add the copied SSH key to my GitLab account.

Now I am ready to clone repositories from GitLab using SSH for secure authentication.
5. Clone repository from GitLab
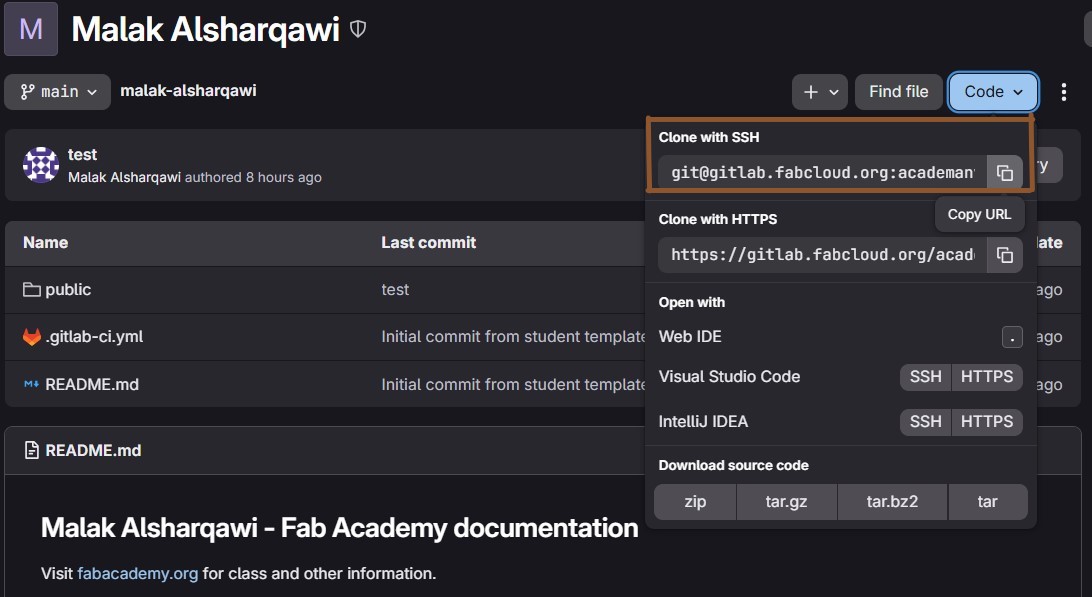
- I navigated to the repository I wanted to clone in GitLab.
- I clicked on the "Clone" button and selected the "SSH" option to get the SSH URL of the repository.
- In the WSL terminal, I navigated to the directory where I wanted to clone the repository using the
cdcommand. - I ran the command
git clone [SSH URL], replacing [SSH URL] with the actual SSH URL of the repository I copied earlier.
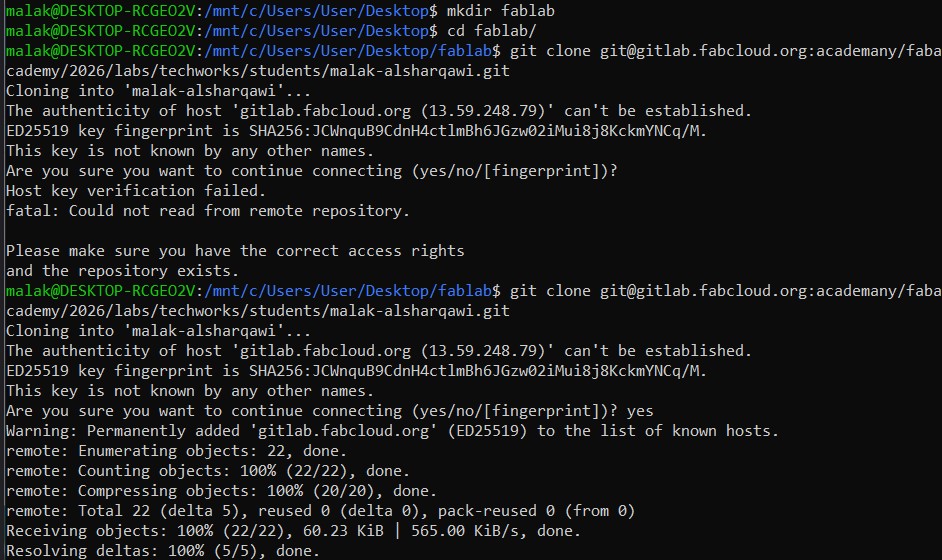
💡 Note: The first time you should say yes when asked "Are you sure you want to continue connecting (yes/no/[fingerprint])?"
Now I needed to build my own website, and I decided to do it using HTML and CSS.
6. Build my website structure
- I learned the basics of HTML from this YouTube link.
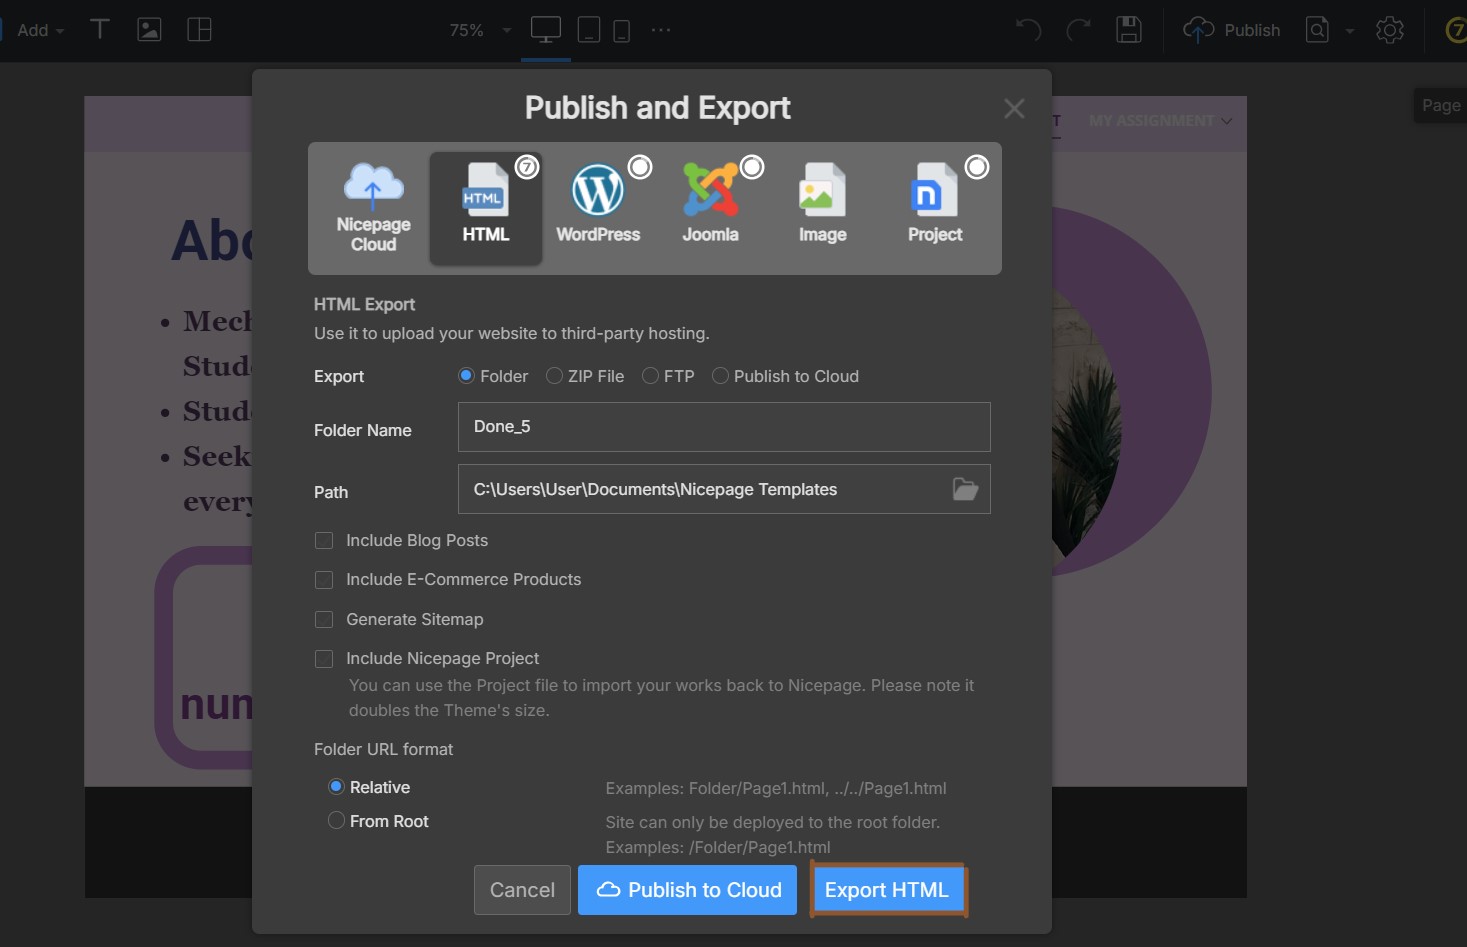
- I downloaded Nicepage from this link.
- I created my website structure using Nicepage and exported the project to get the HTML, CSS, and JS files.
- To fix this issue, I had to edit the CSS file by debugging the code using the browser developer tools and VS Code.
But for someone who doesn't know anything about web development, I got stuck, so I tried to download a template but I couldn't find anything that represented me and my personality. Then I found a tool called Nicepage that helps create web pages using a drag-and-drop feature, so I decided to use it to create my website structure.
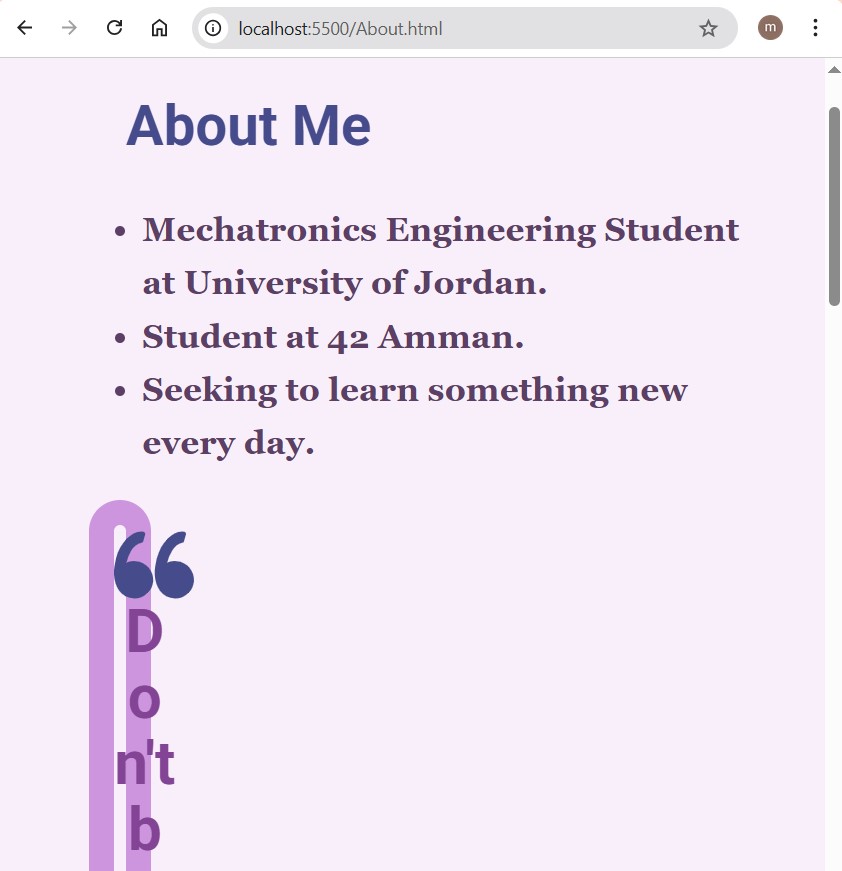
💡 Note: After running the web page using the VS Code Live Server extension, the website structure broke when resizing the web page.
7. Writing Documentation
I had to understand the code that Nicepage generated so I could write my own HTML and CSS code for my documentation.
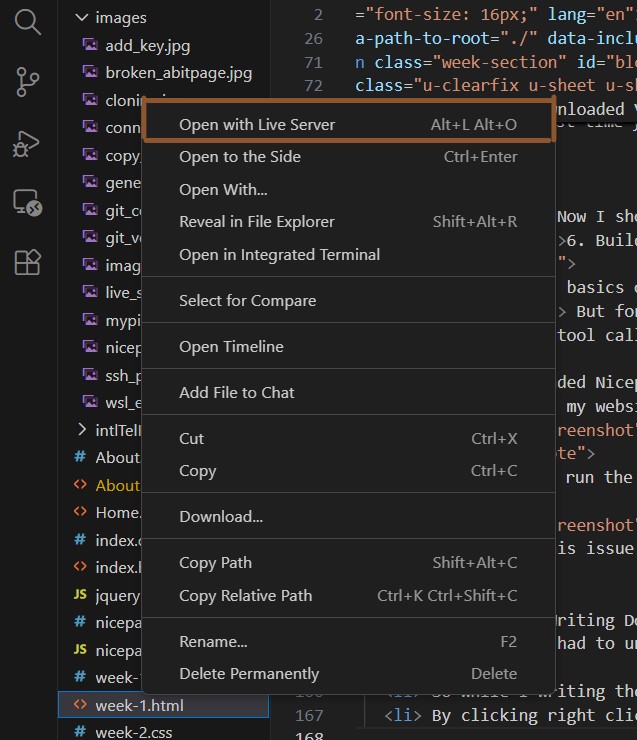
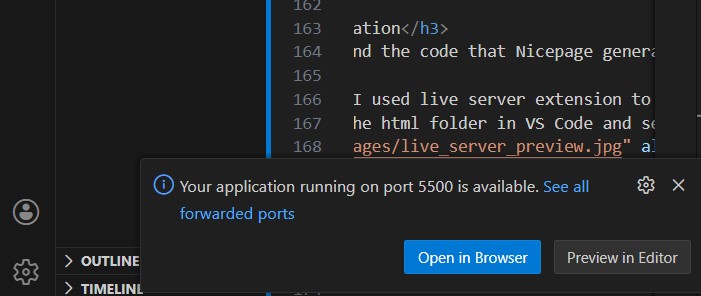
While I was writing the code, I used the Live Server extension to preview my web pages in real time. I did this by following these steps:
- Right-click the HTML file in VS Code and select "Open with Live Server".
- Then, on the right side of the VS Code window, select the "Open in Browser" option.
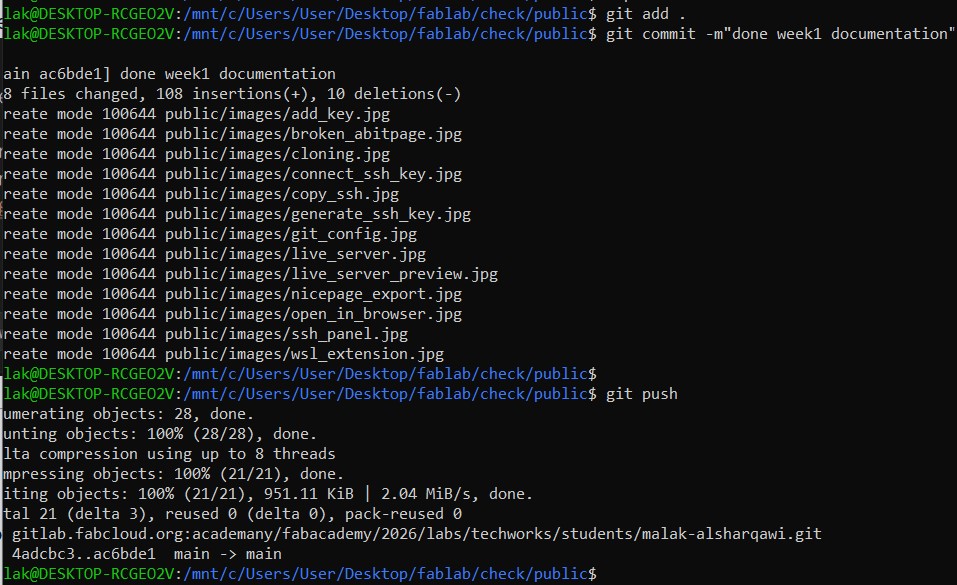
8. Commit and Push changes to GitLab
After finishing my documentation, I had to commit and push the changes to my GitLab repository using these commands:
git add .(to stage all changes)git commit -m "Your commit message"(to commit the changes with a descriptive message)git push(to push the committed changes to the remote repository)