Group Assignment
As a group we reviewed the safety data sheets for each of our molding and casting materials, made and compared test casts with them, and compared printed molds against milled molds. The results are on our group page: group assignment page. What I learned is to work in fresh air, wear gloves and eye protection, and mix only the amount the instructions say.
Individual assignment
design a mold around the process you'll be using, produce it with a smooth surface finish that does not show the production process toolpath, and use it to cast parts
Summary
During molding and casting week,i designed and created a small chess king using molding and casting techniques. The model was made in SolidWorks, the mold was 3D printed, and silicone was used as the casting material
Design part
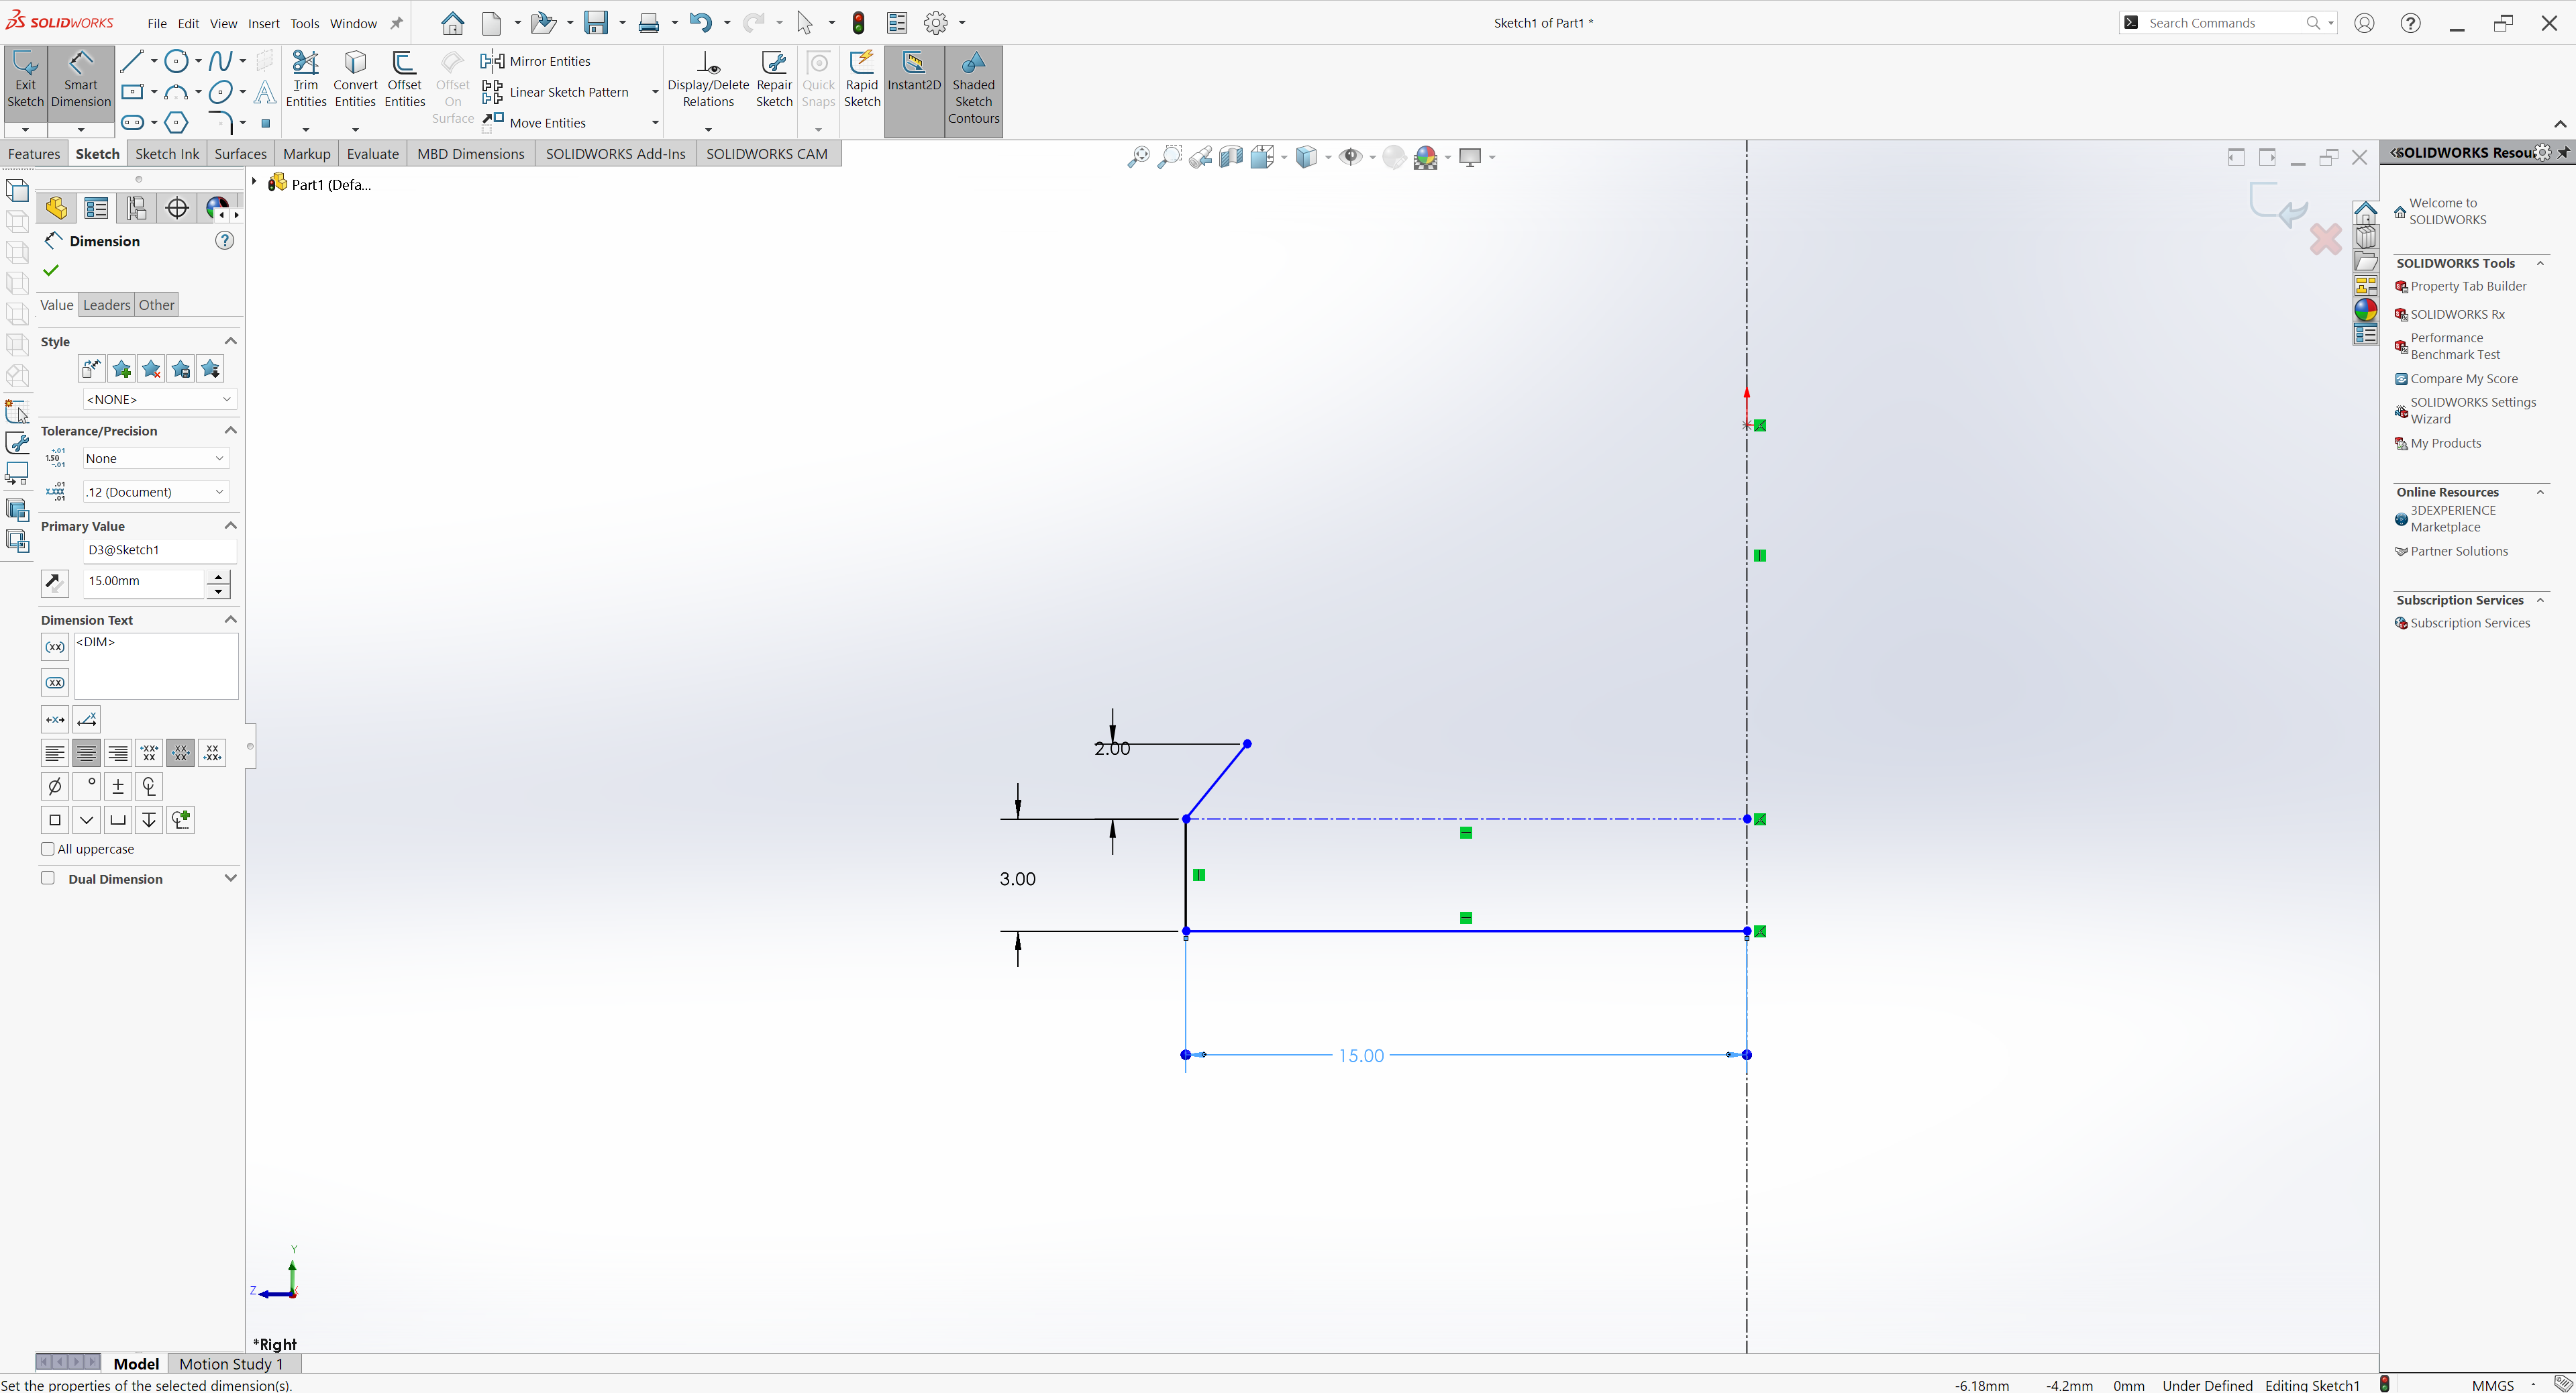
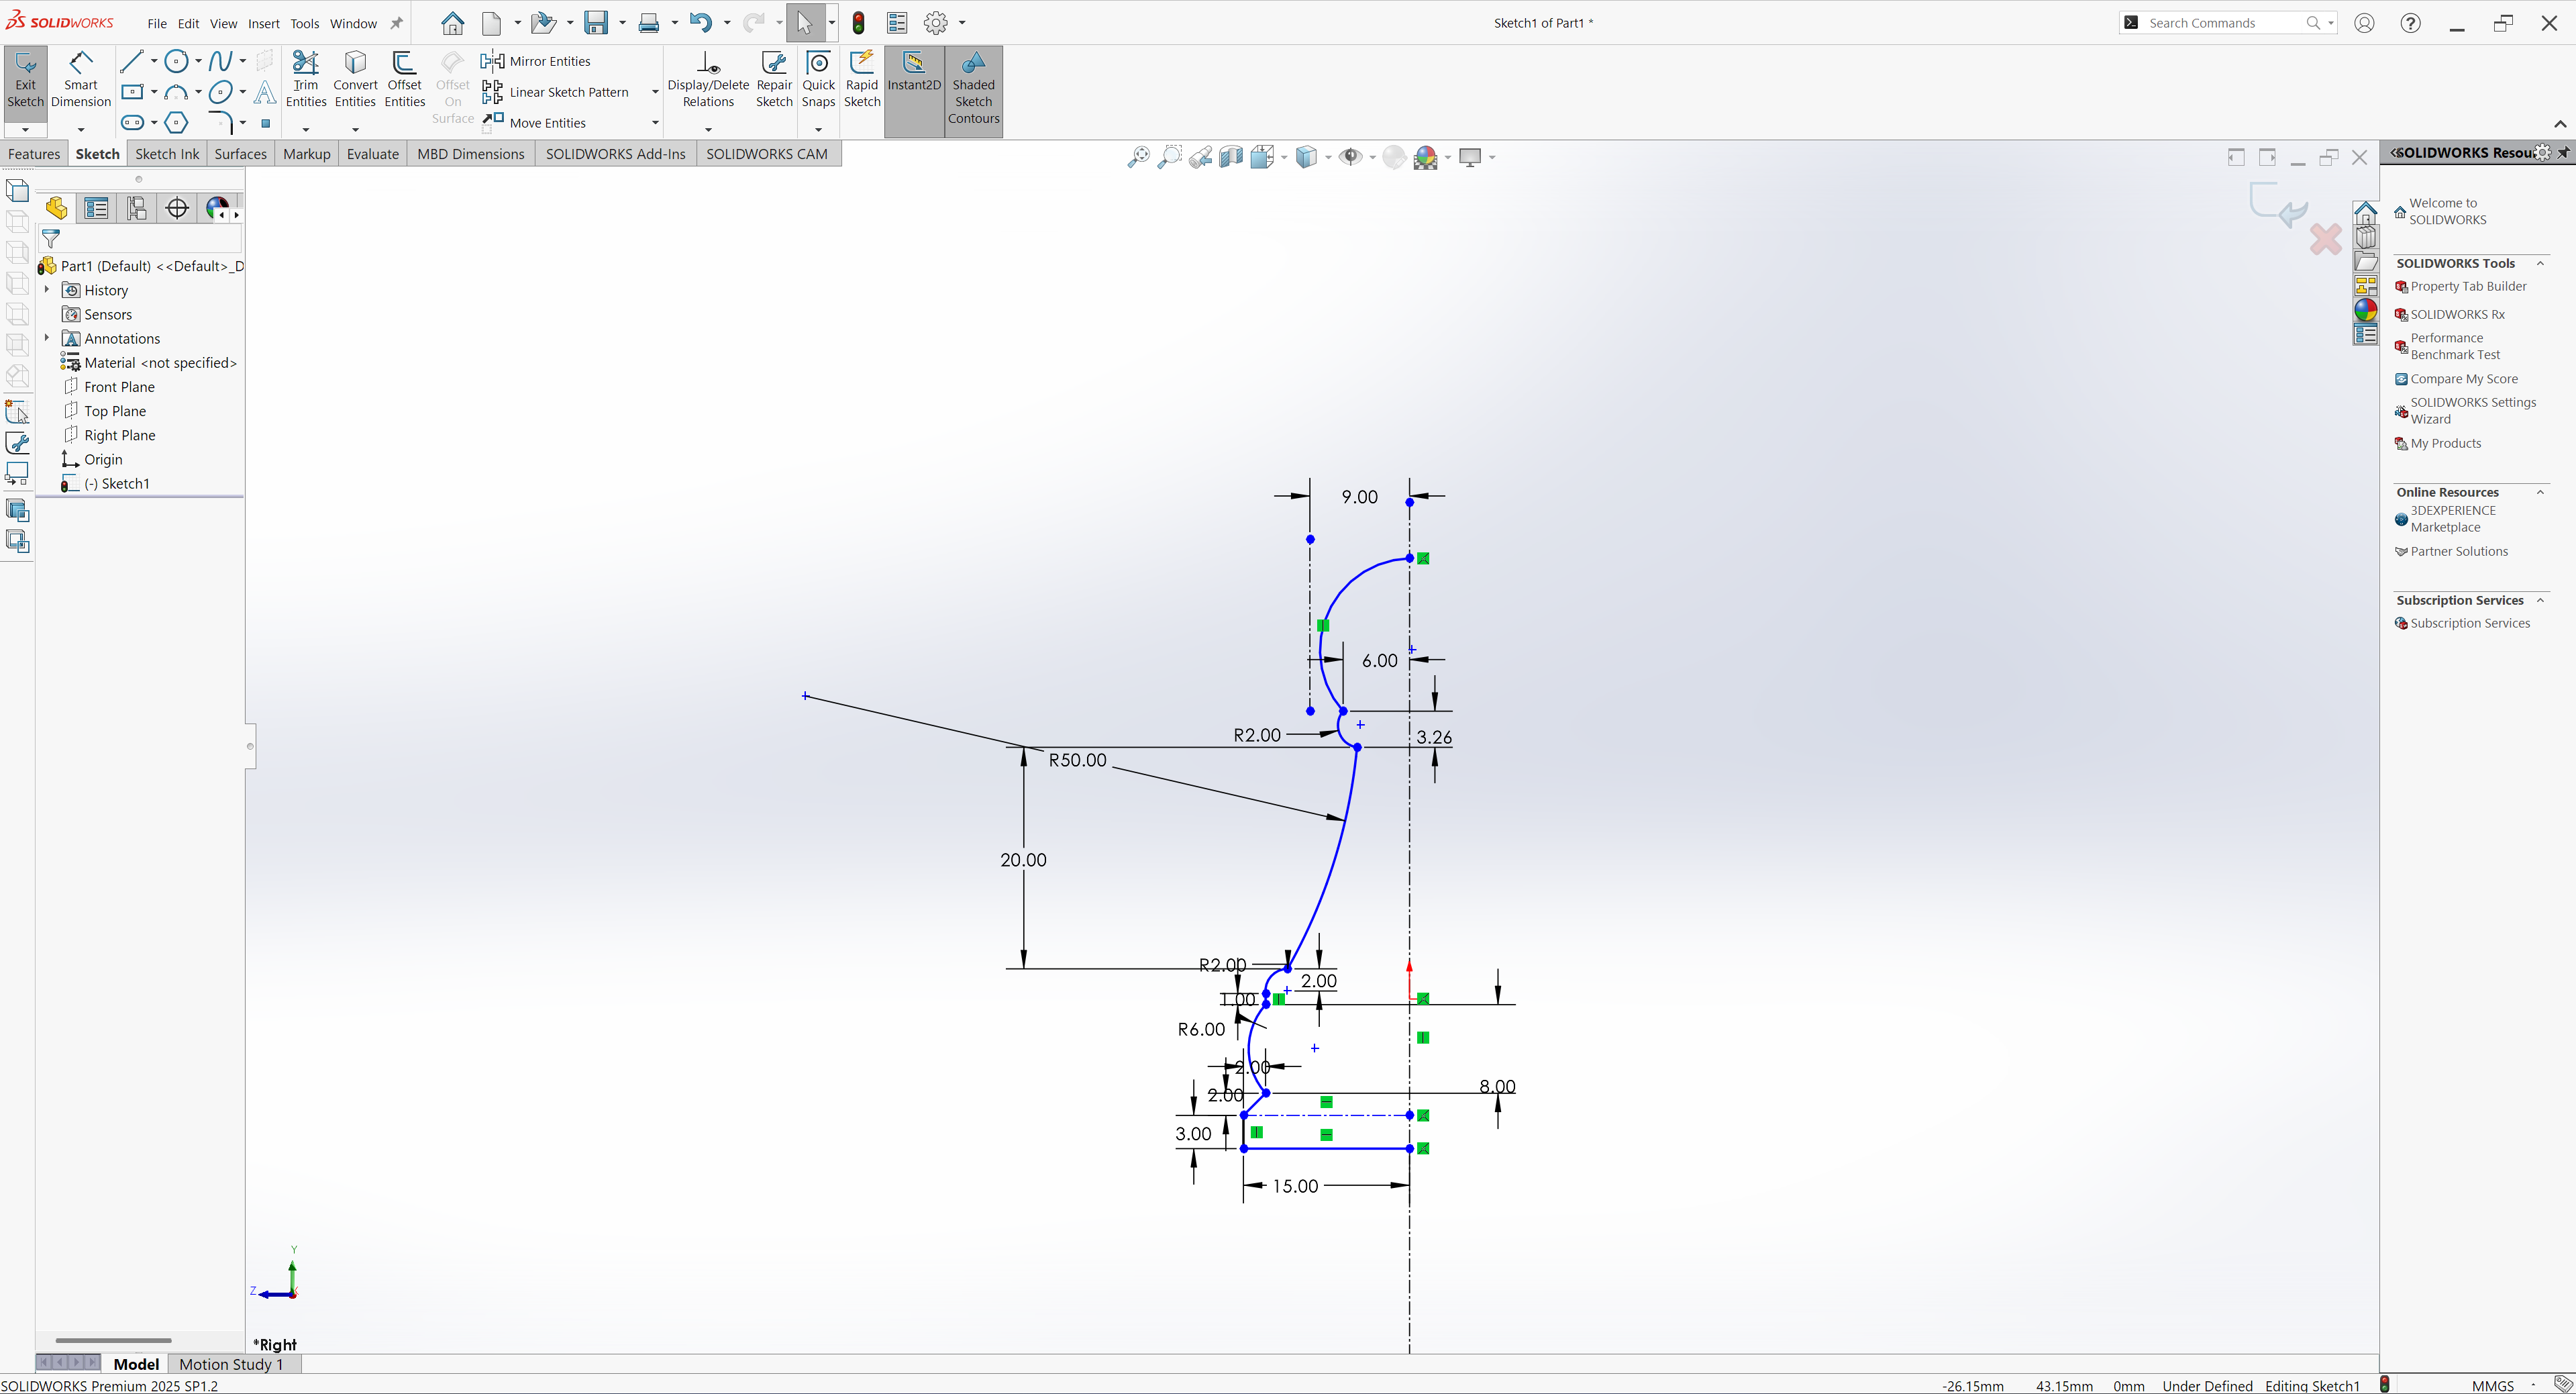
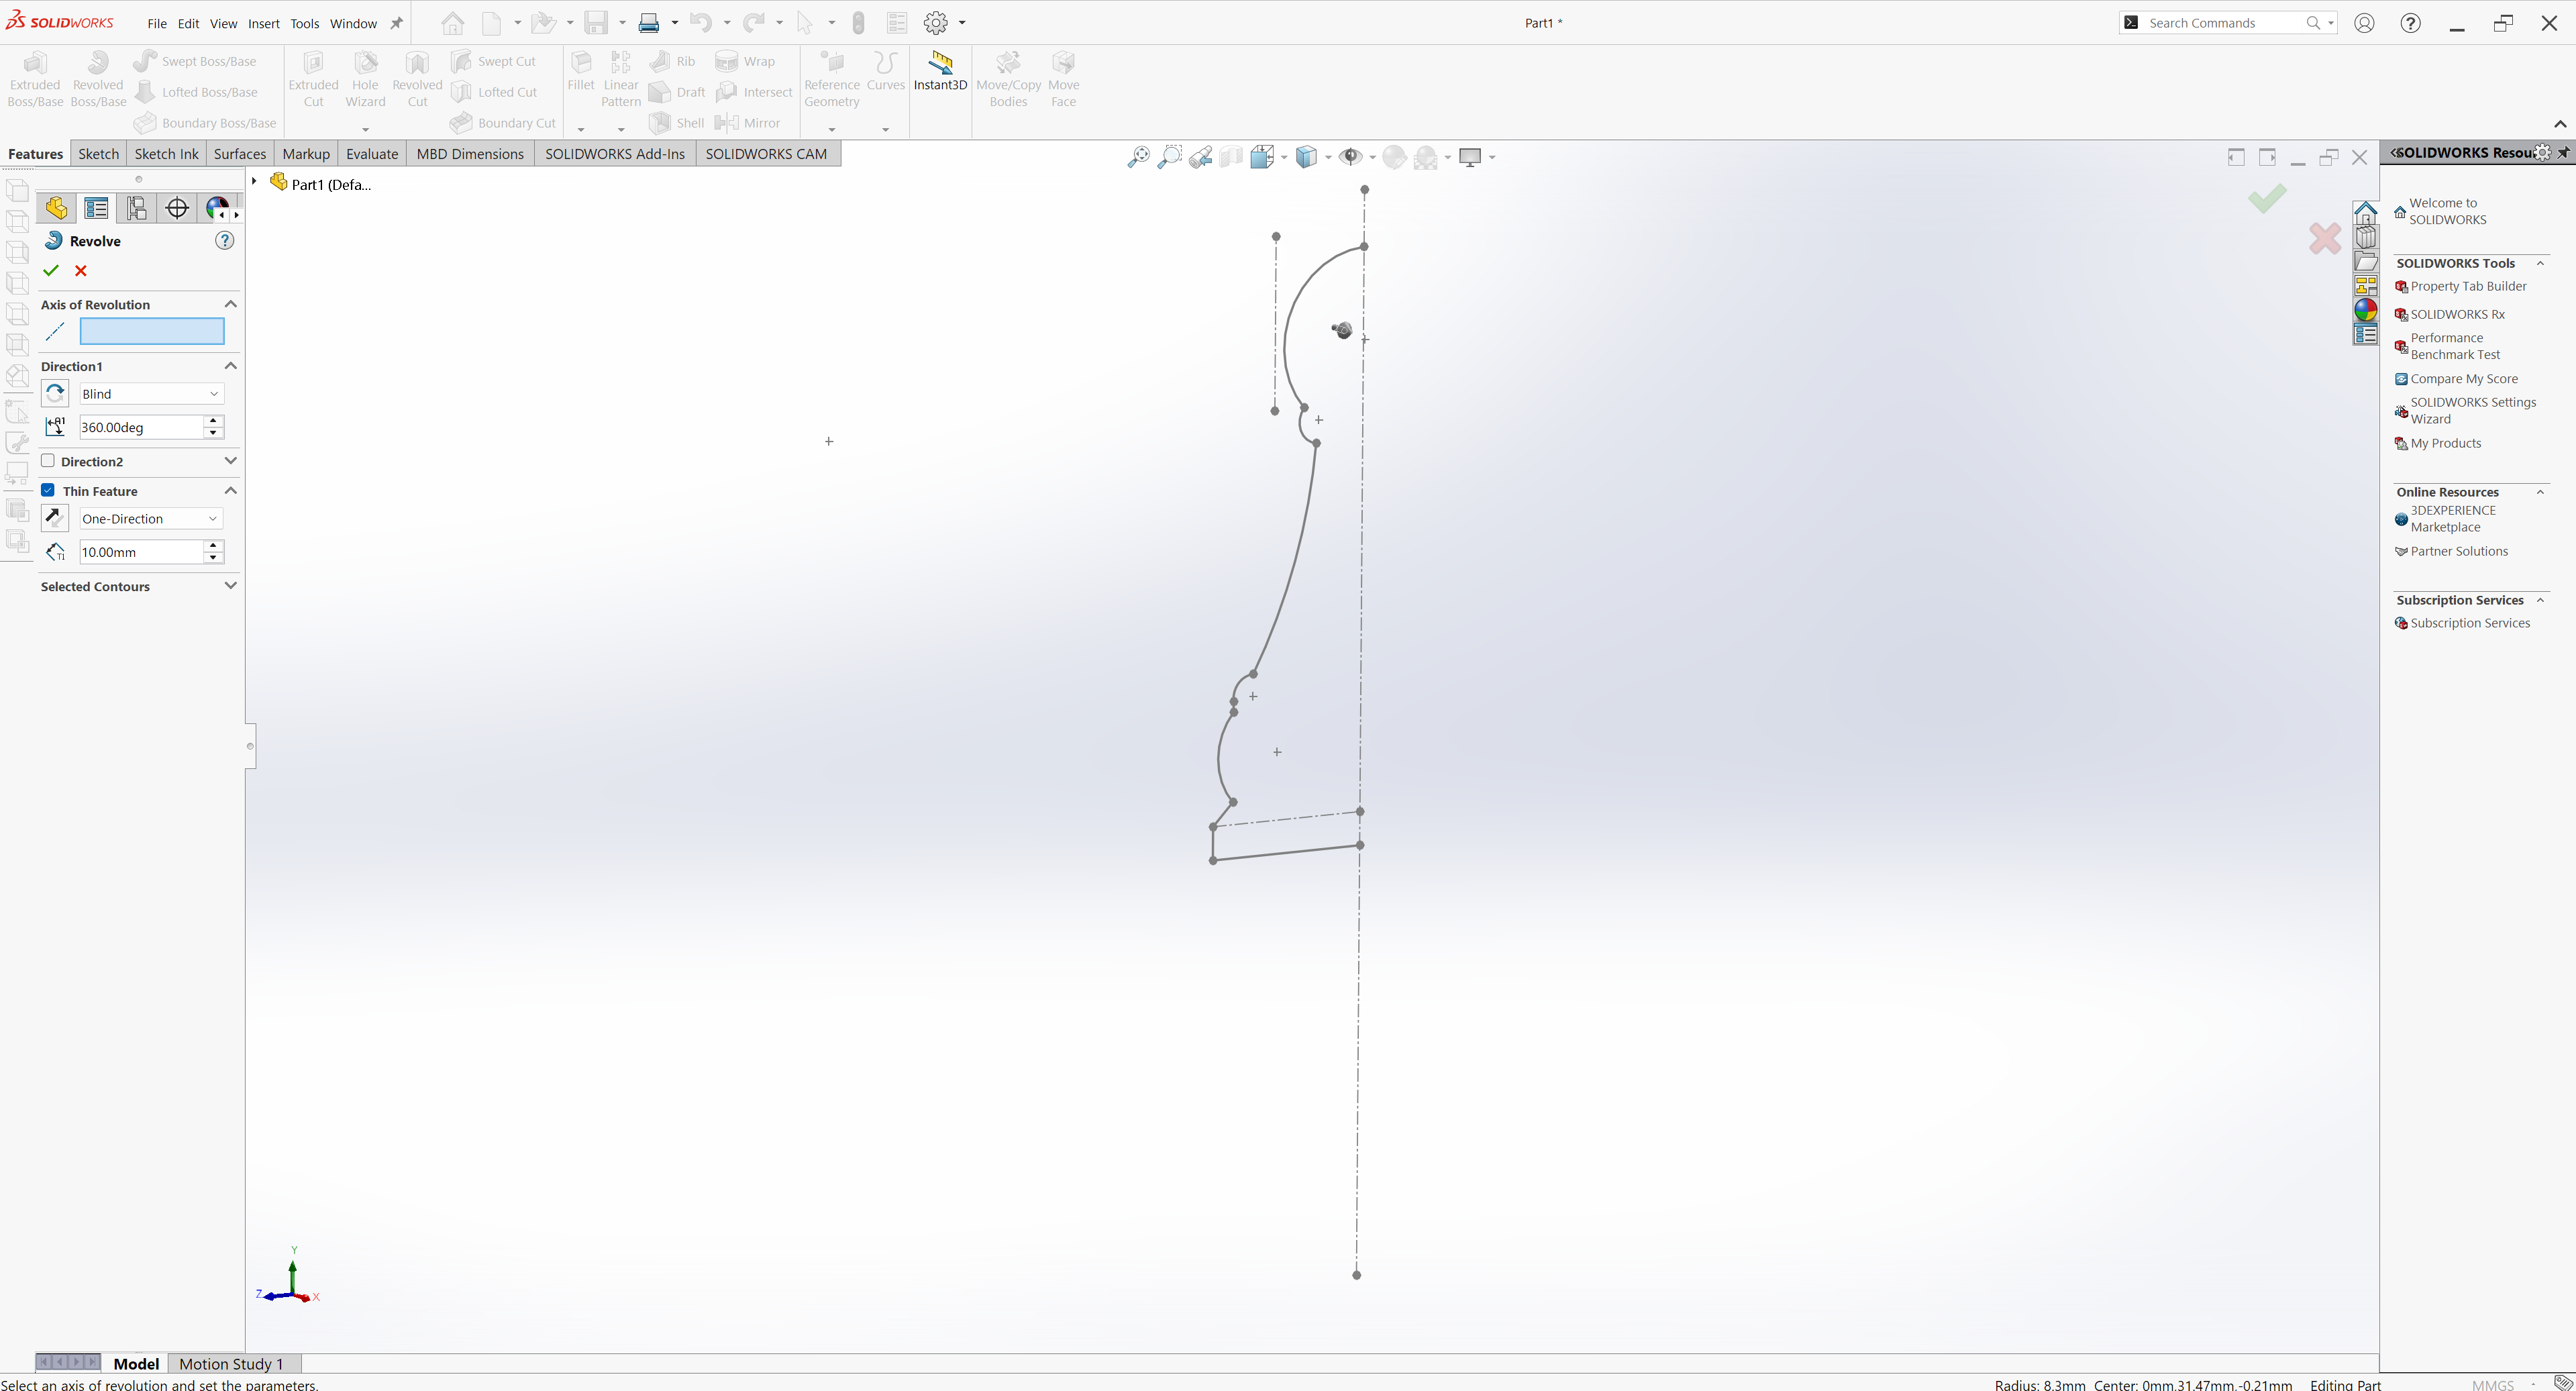
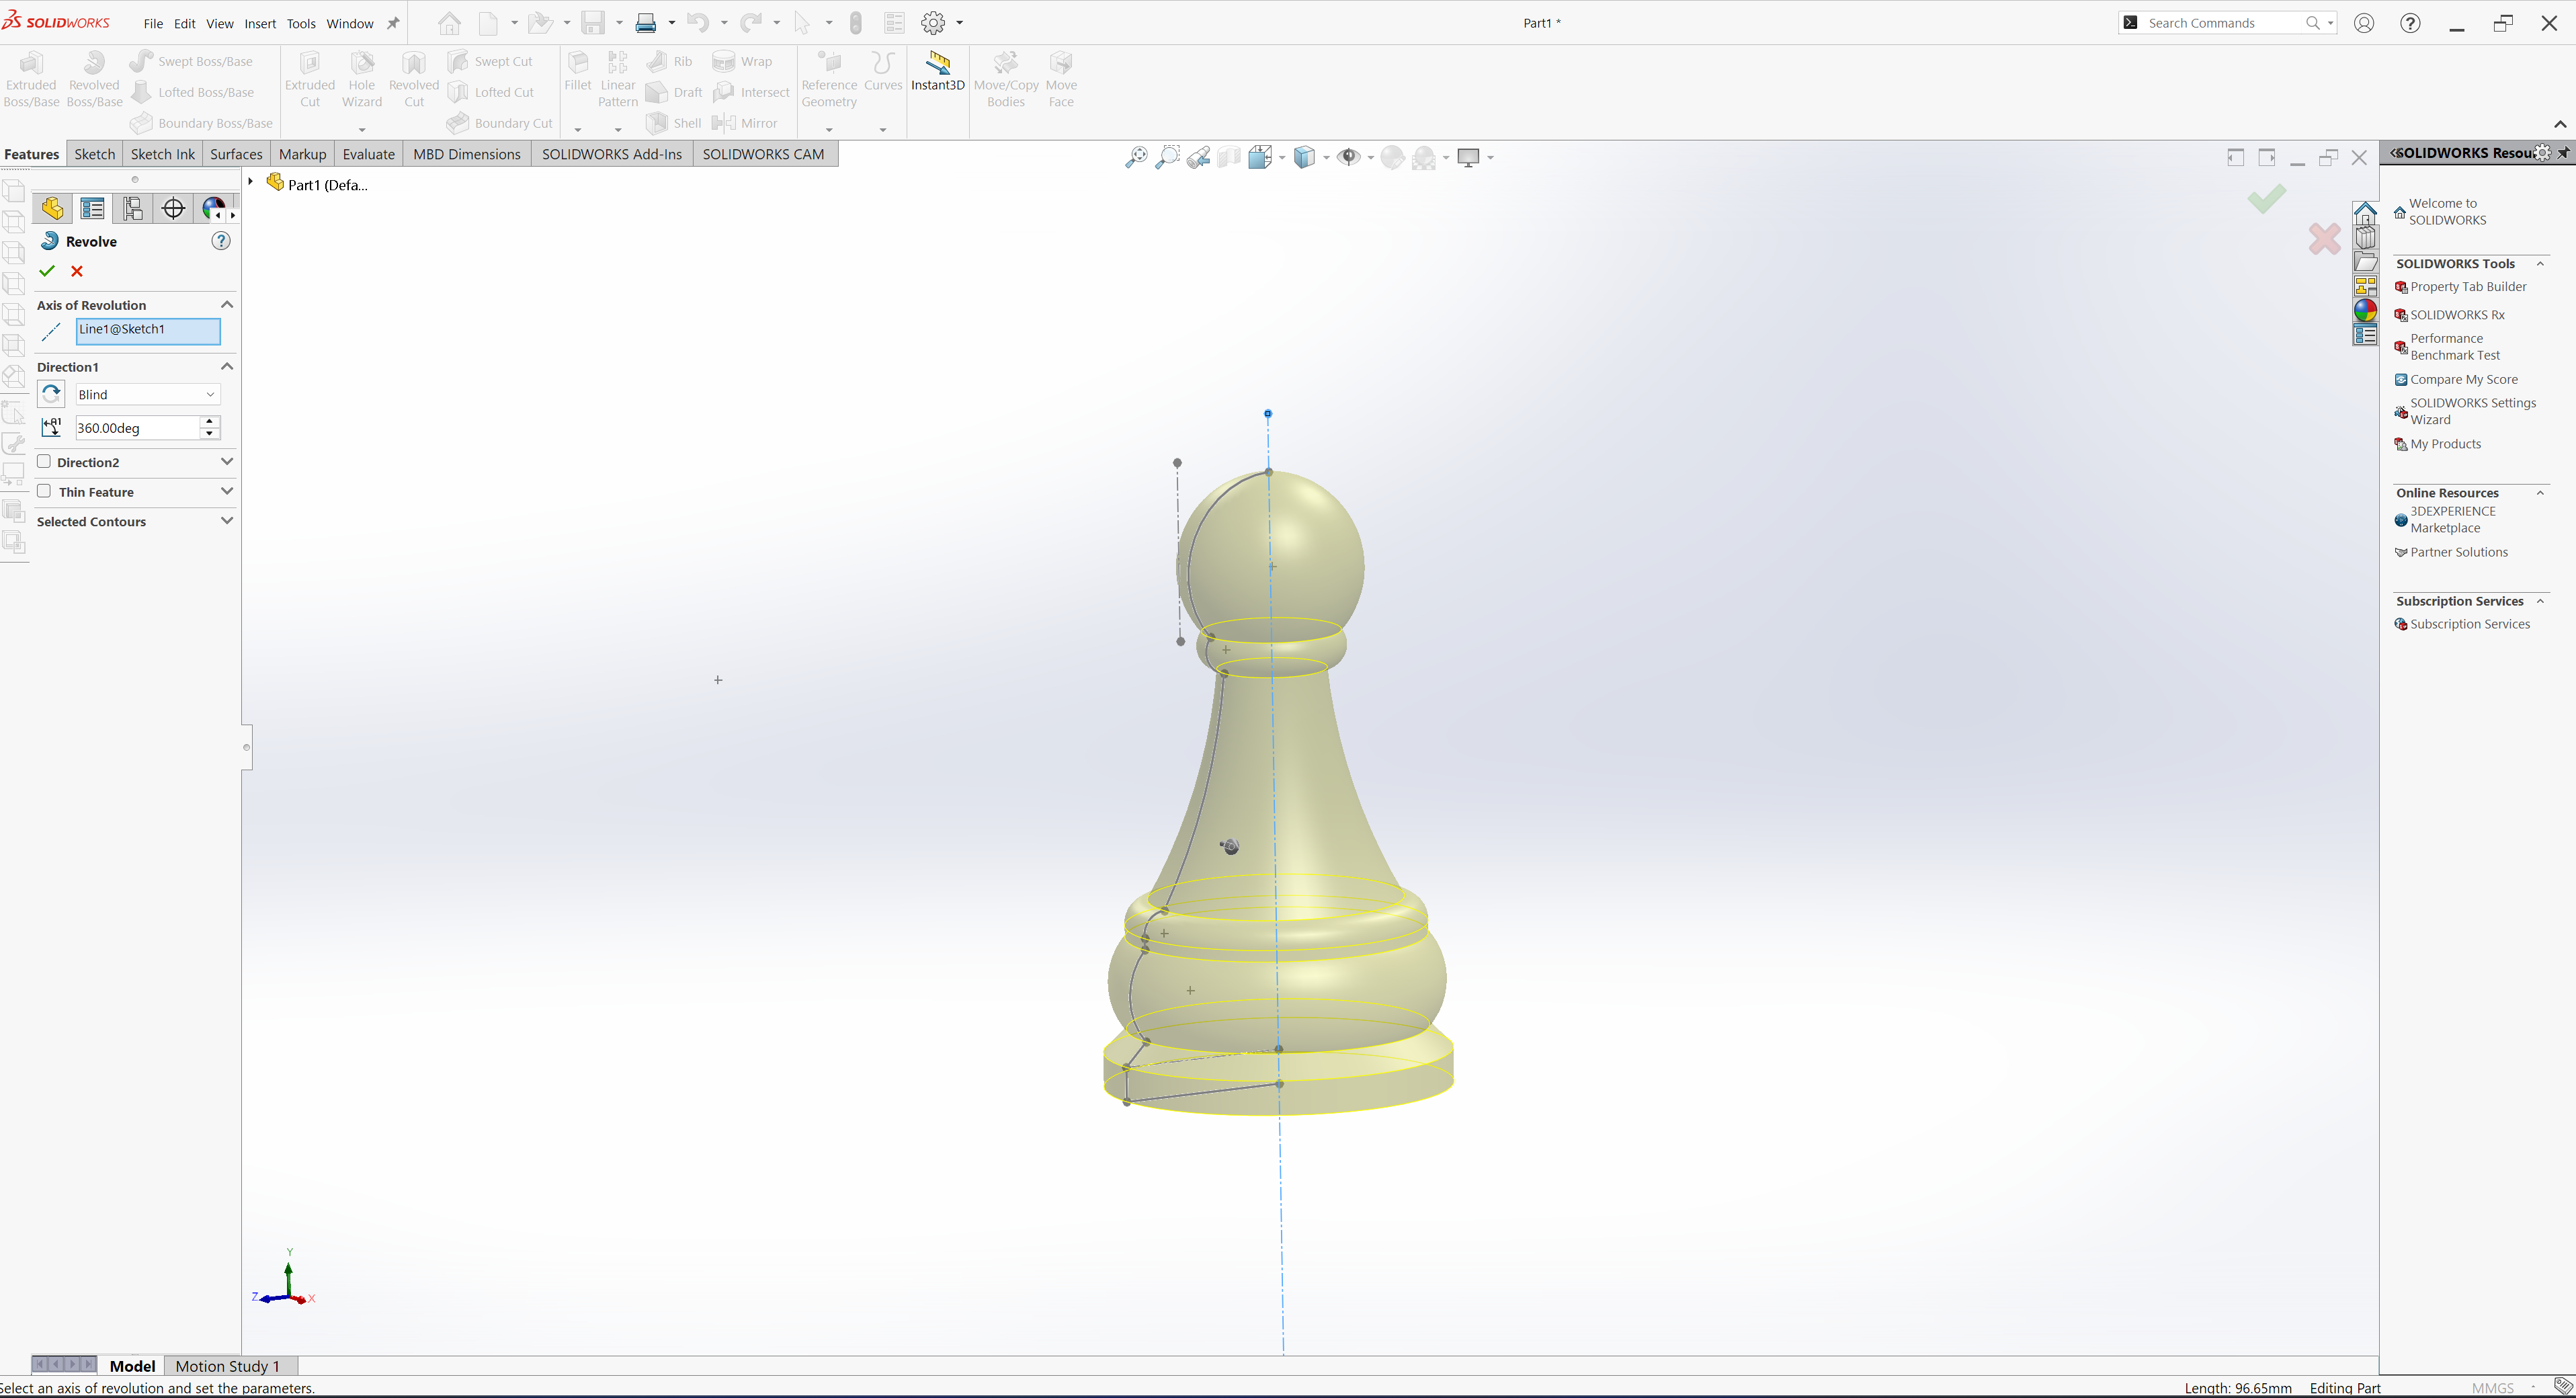
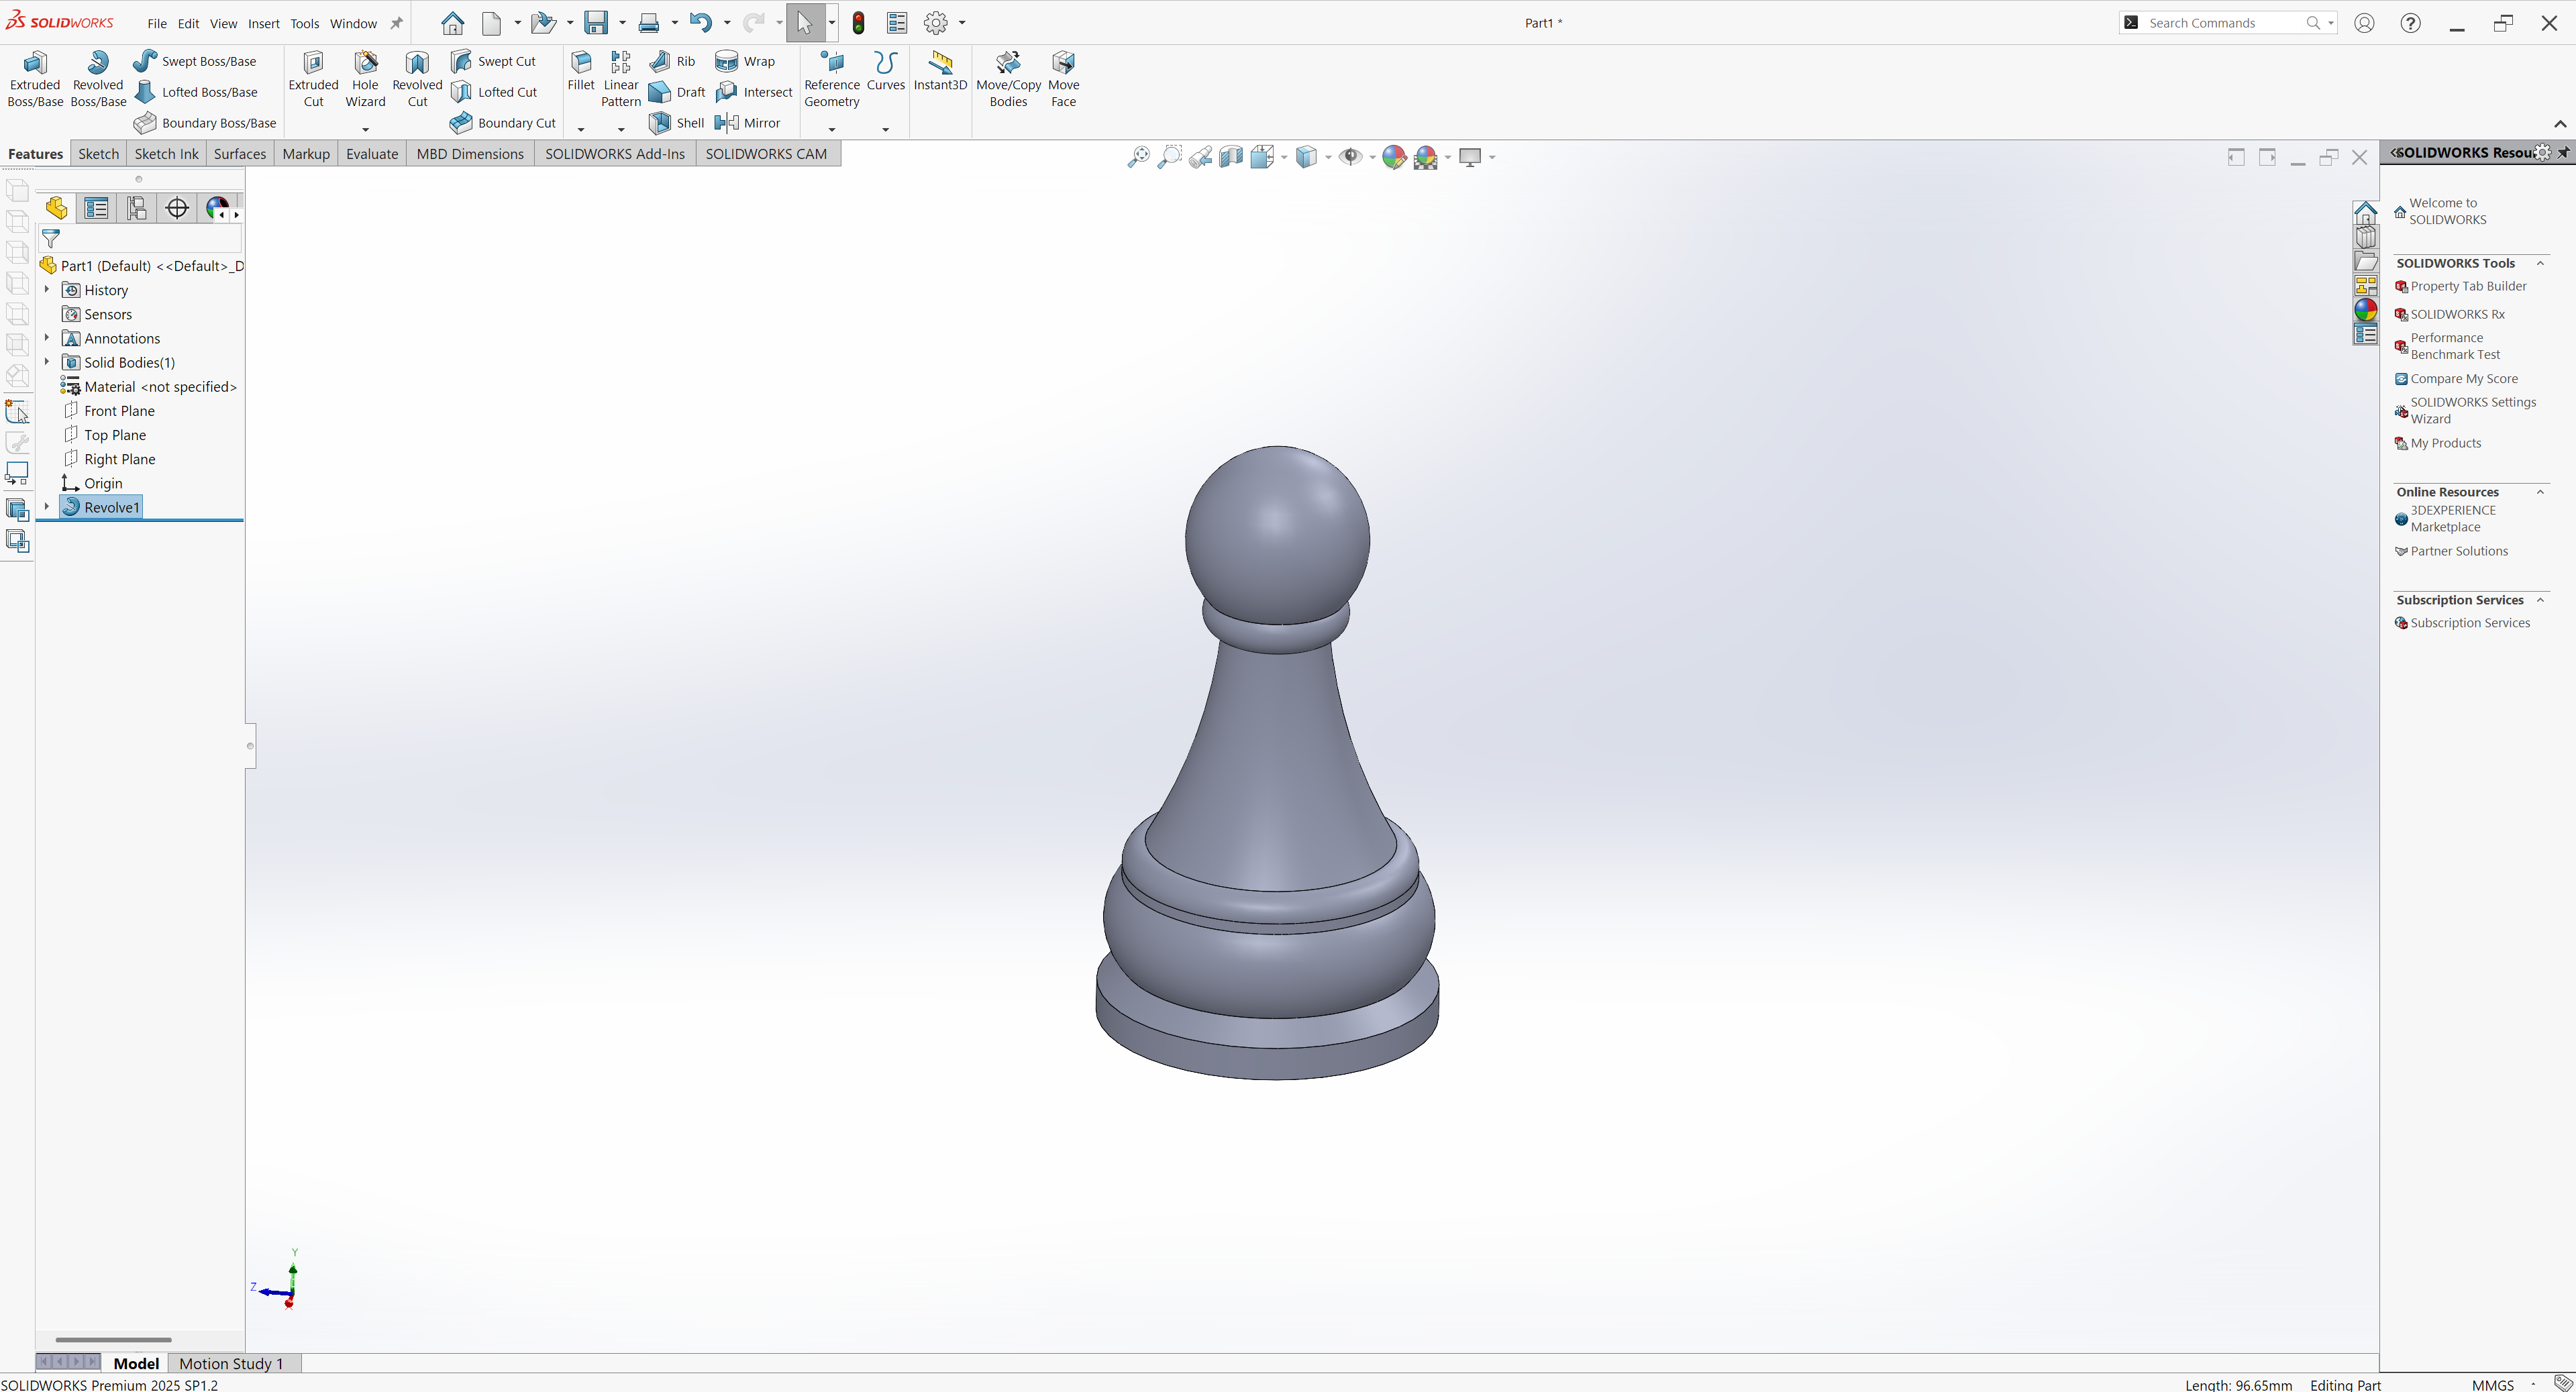
I used SolidWorks to design the chess king. I created the model by using the Revolve feature around a central axis. This helped me make a smooth and symmetric shape, which is important for a chess king design
Next, I’ll sketch a rectangle to make a mold, then add positioning holes and tightening slots to one part of it
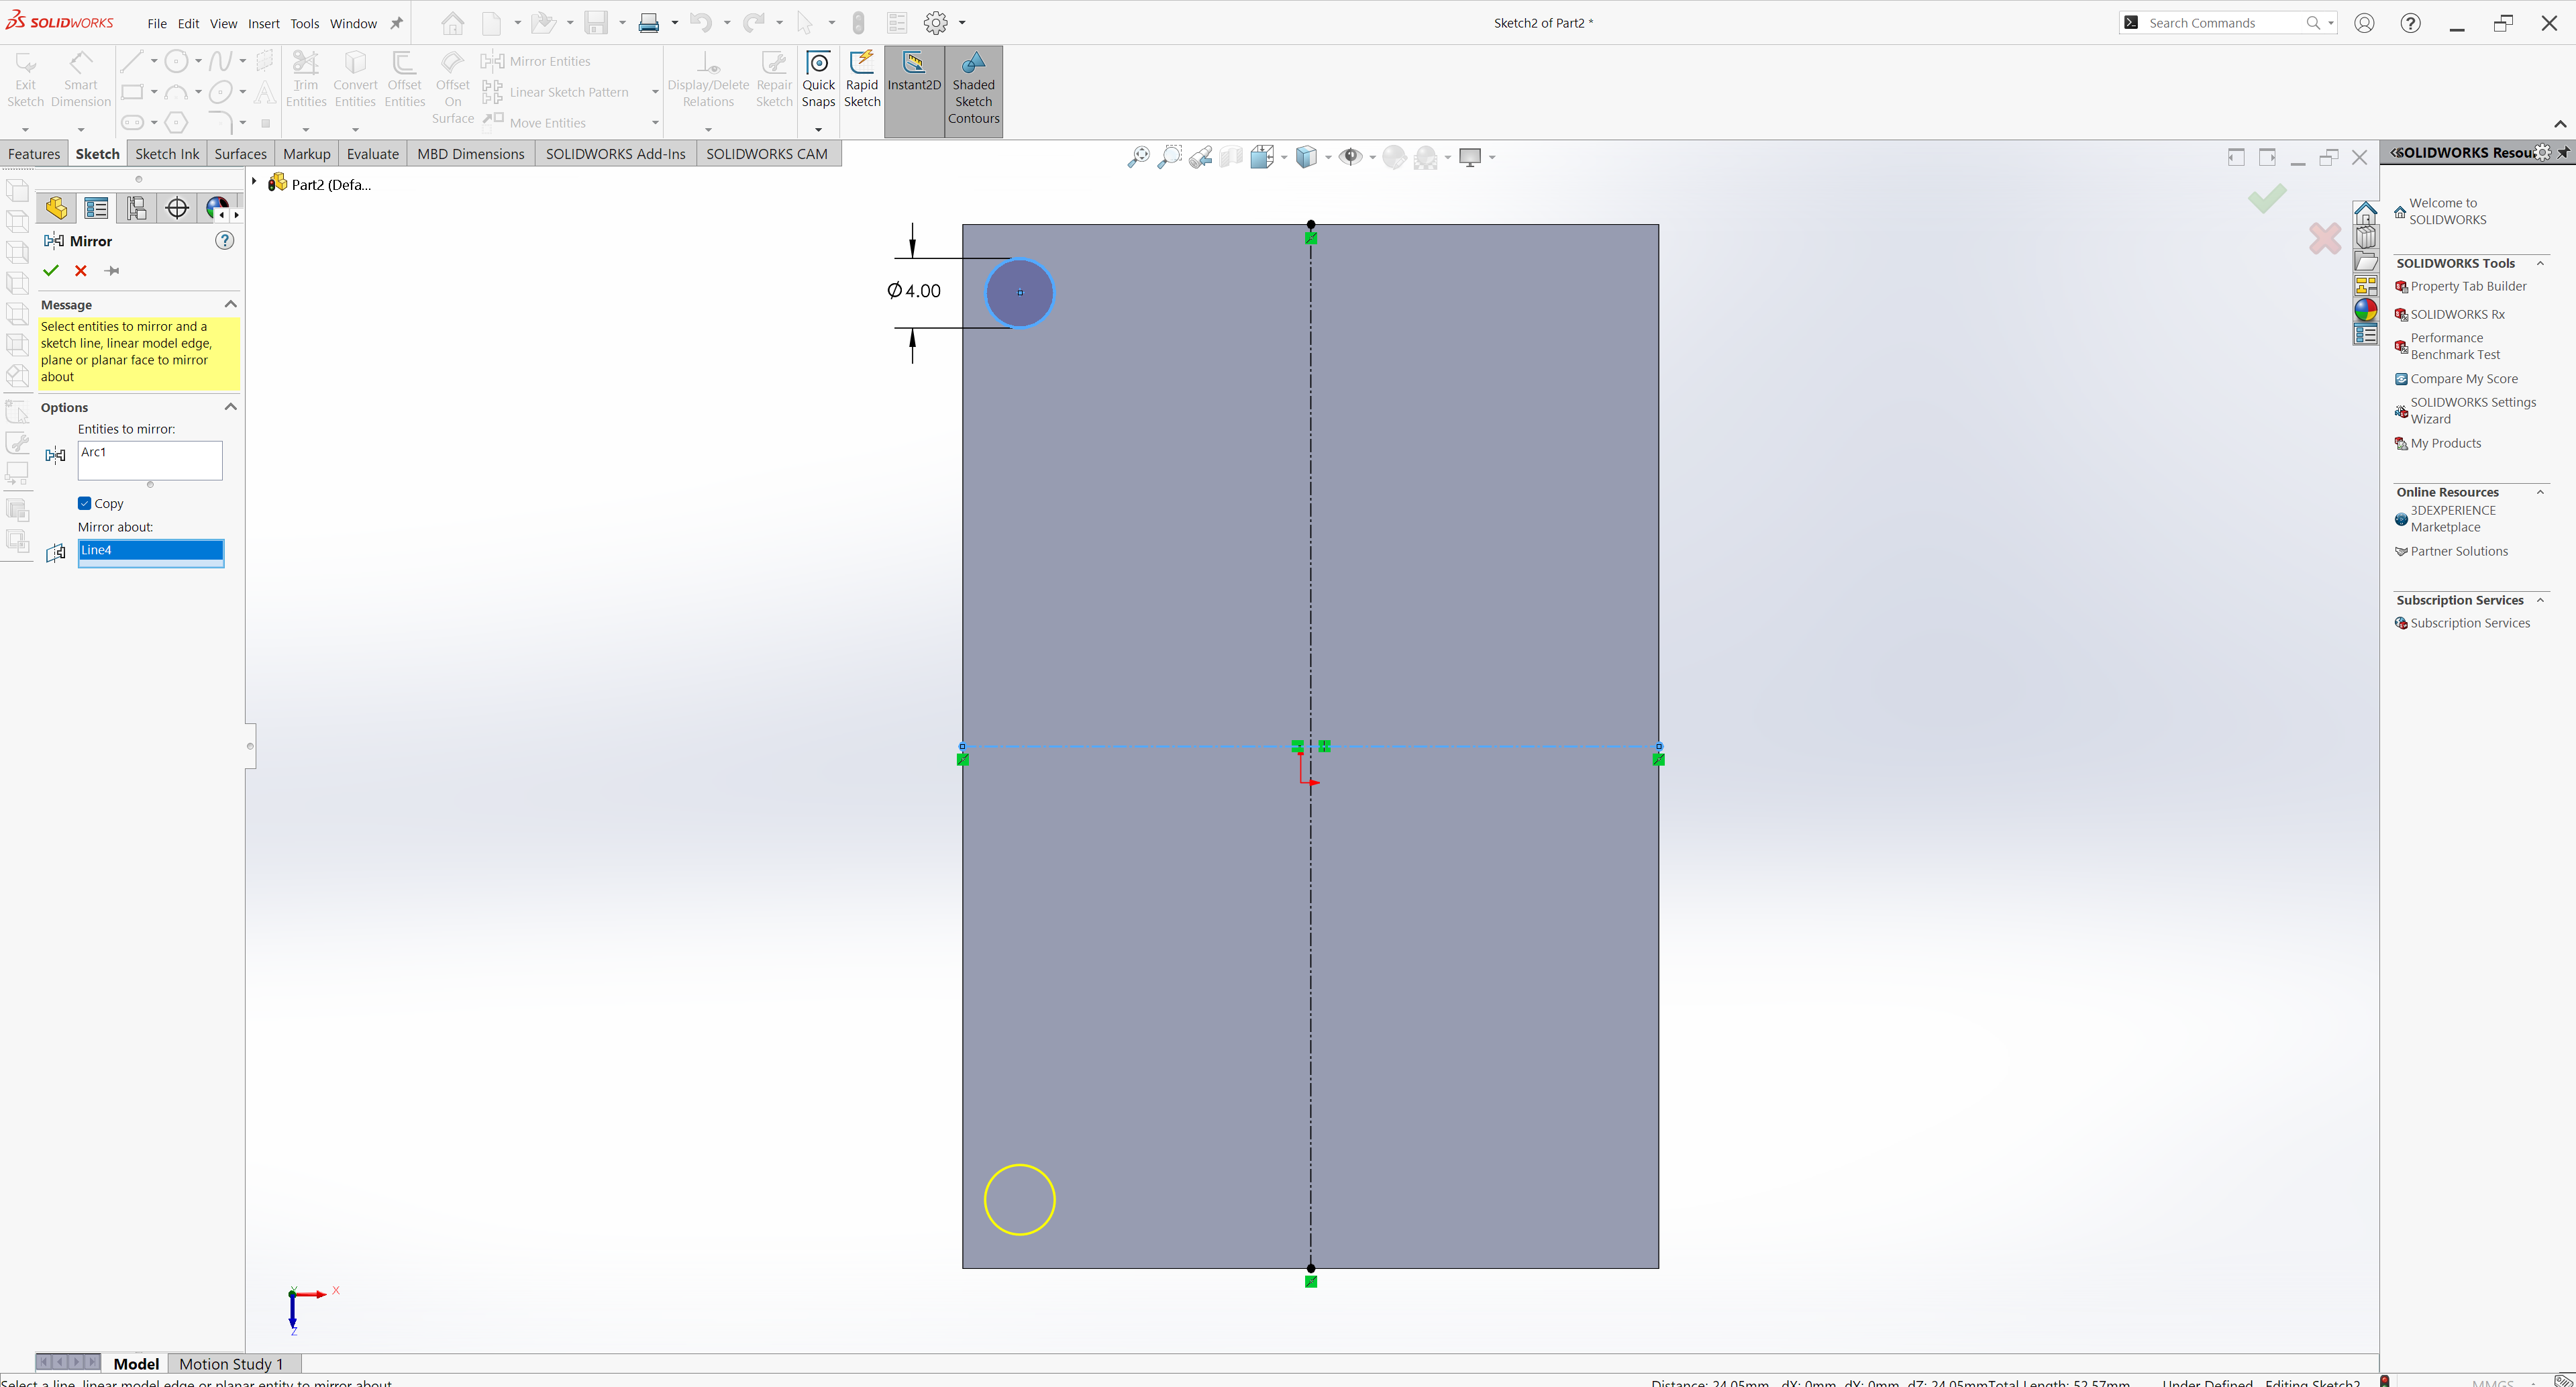
to create a mold
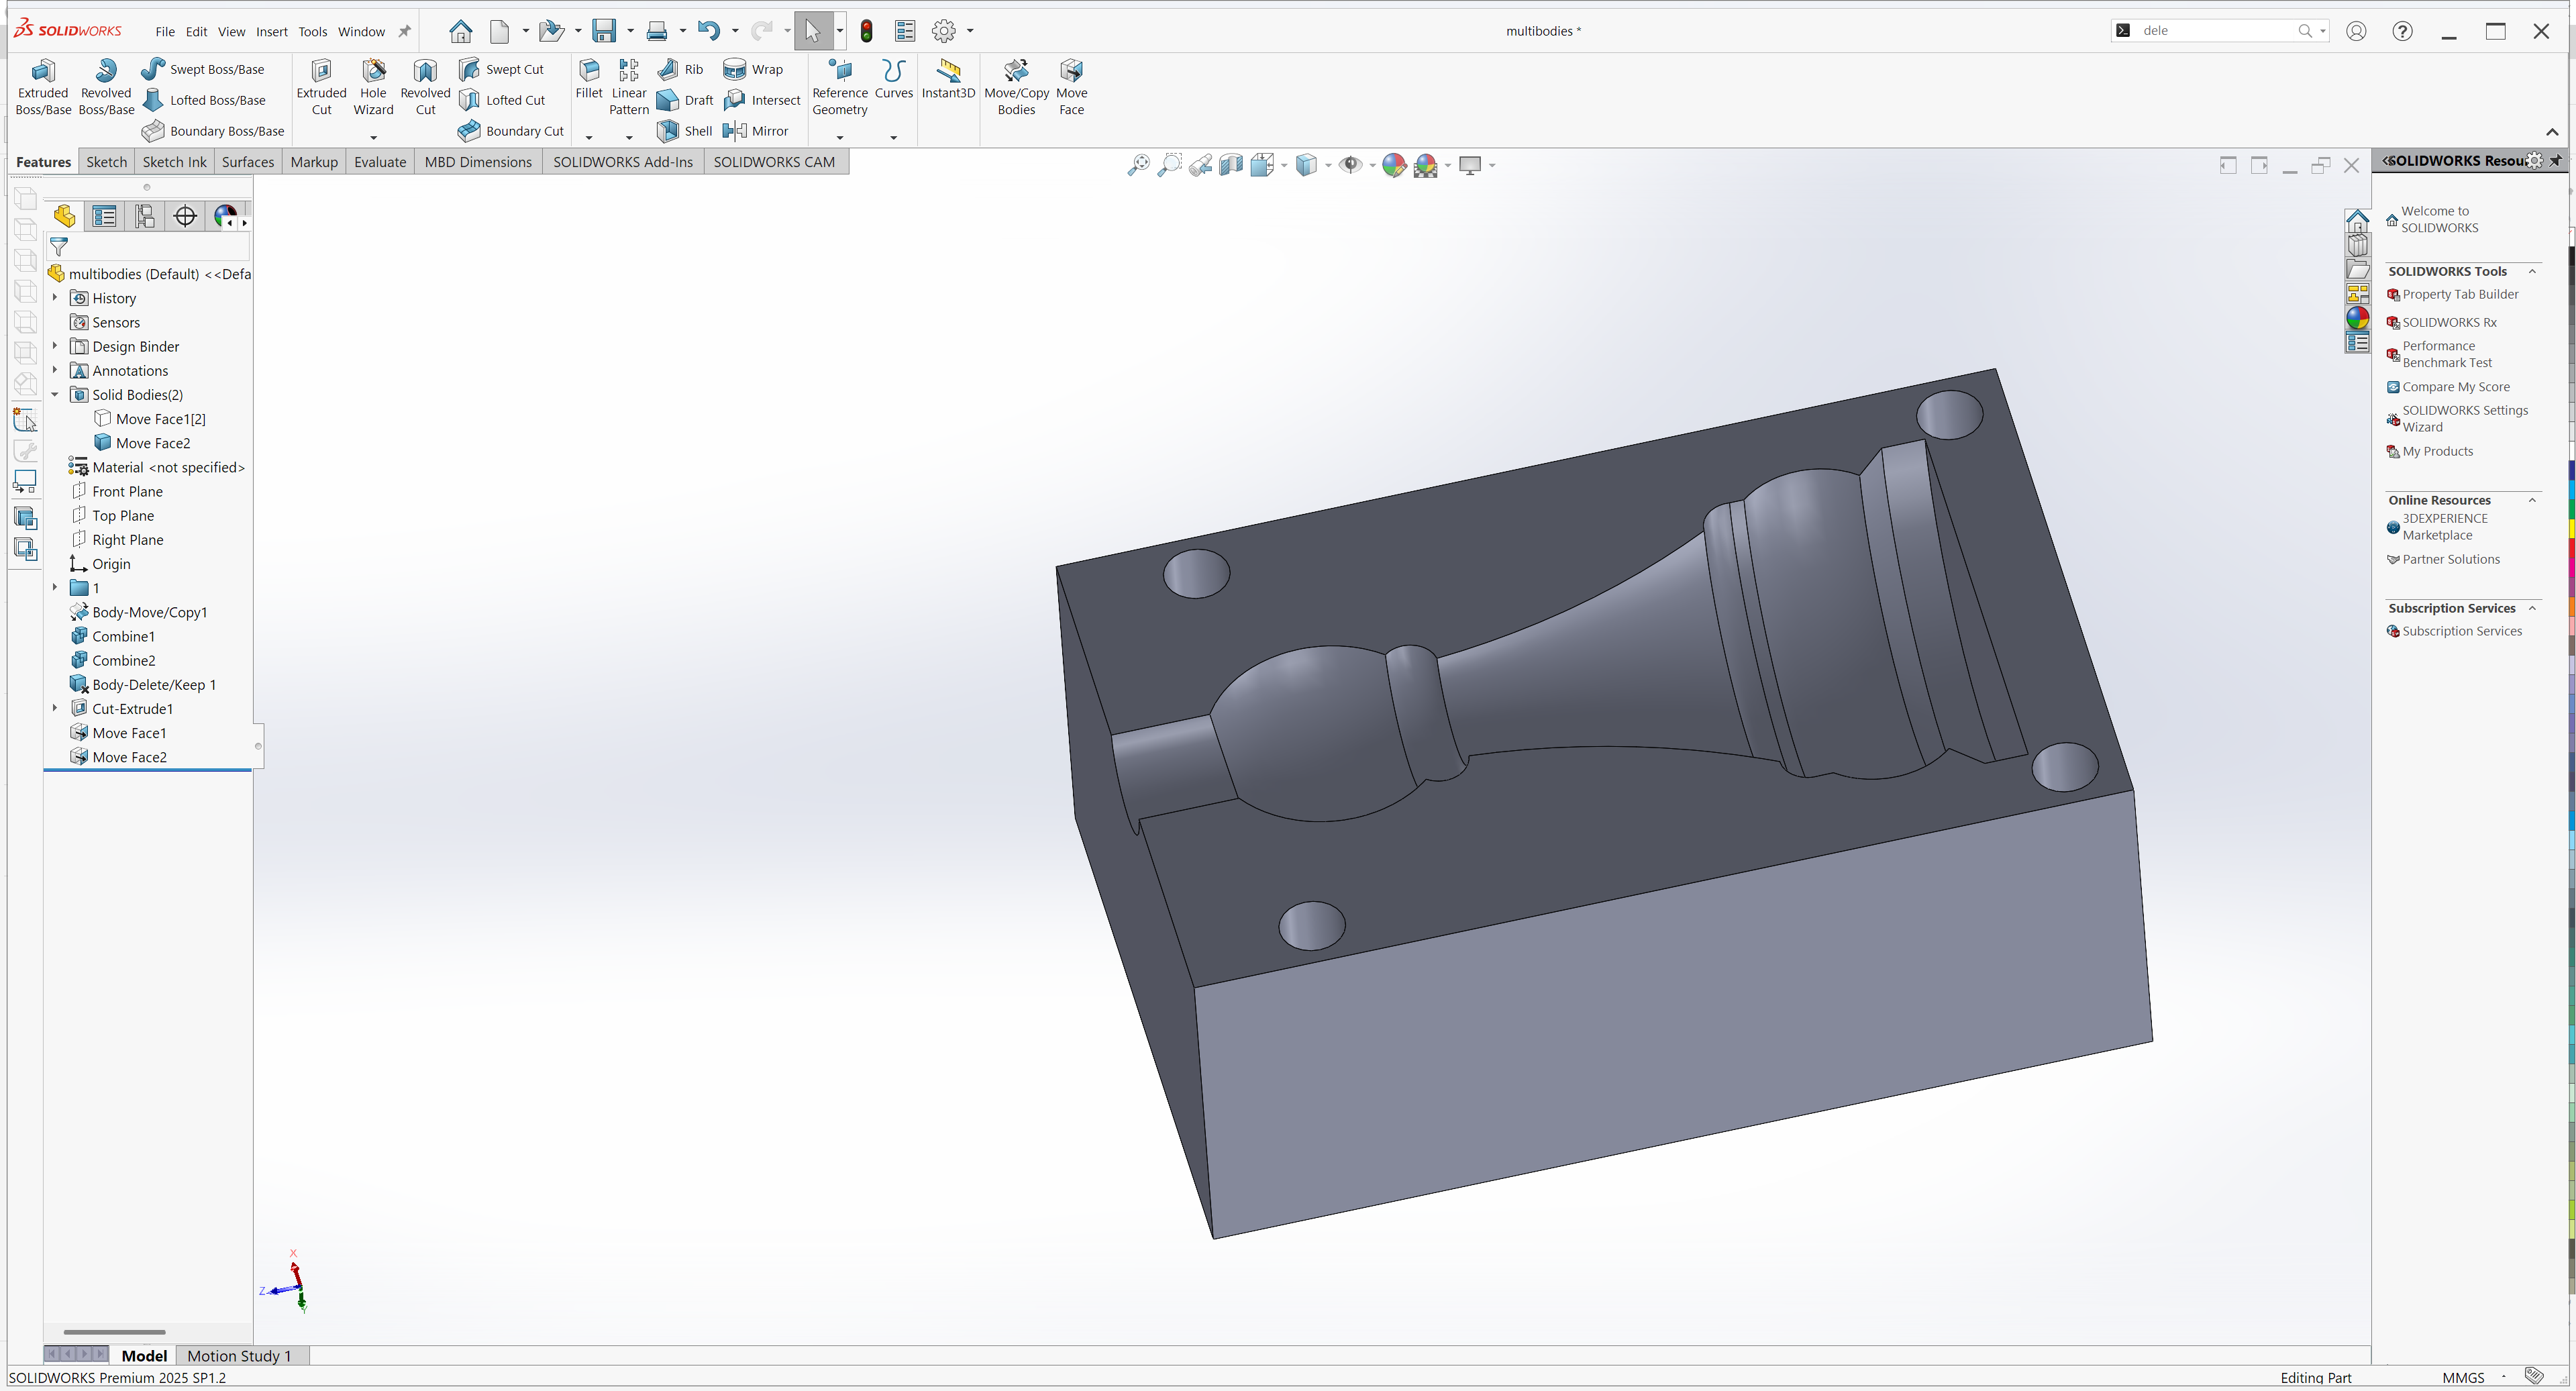
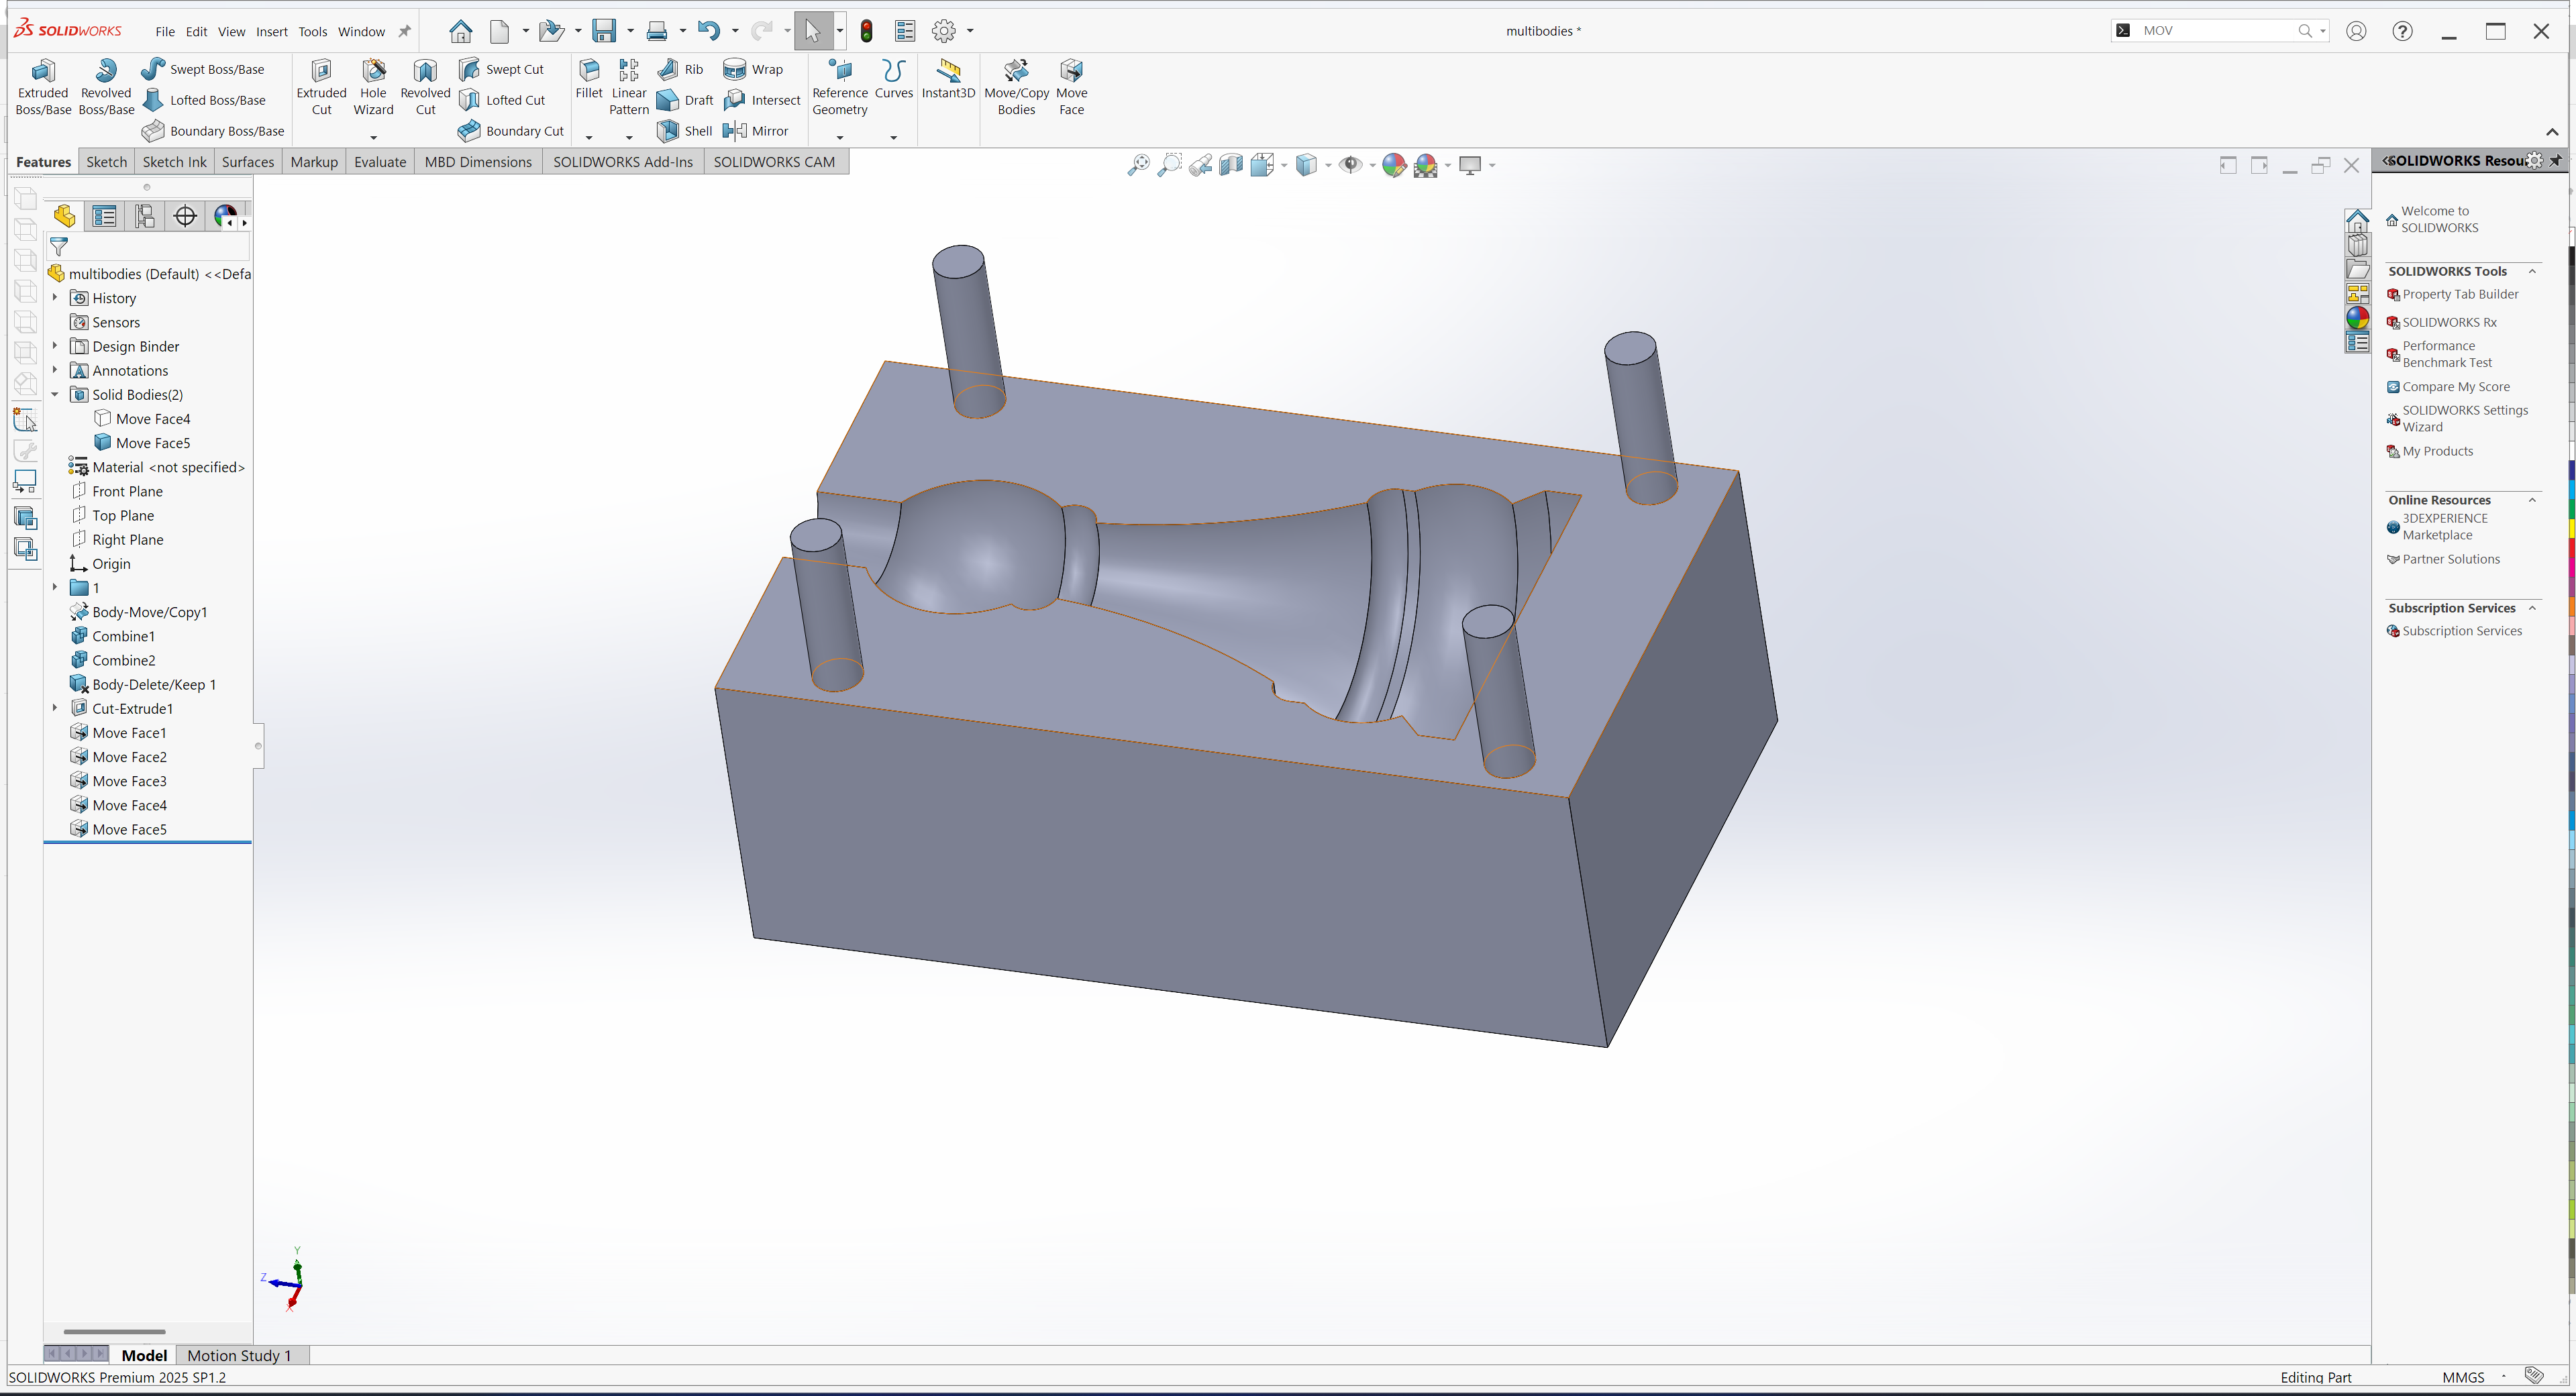
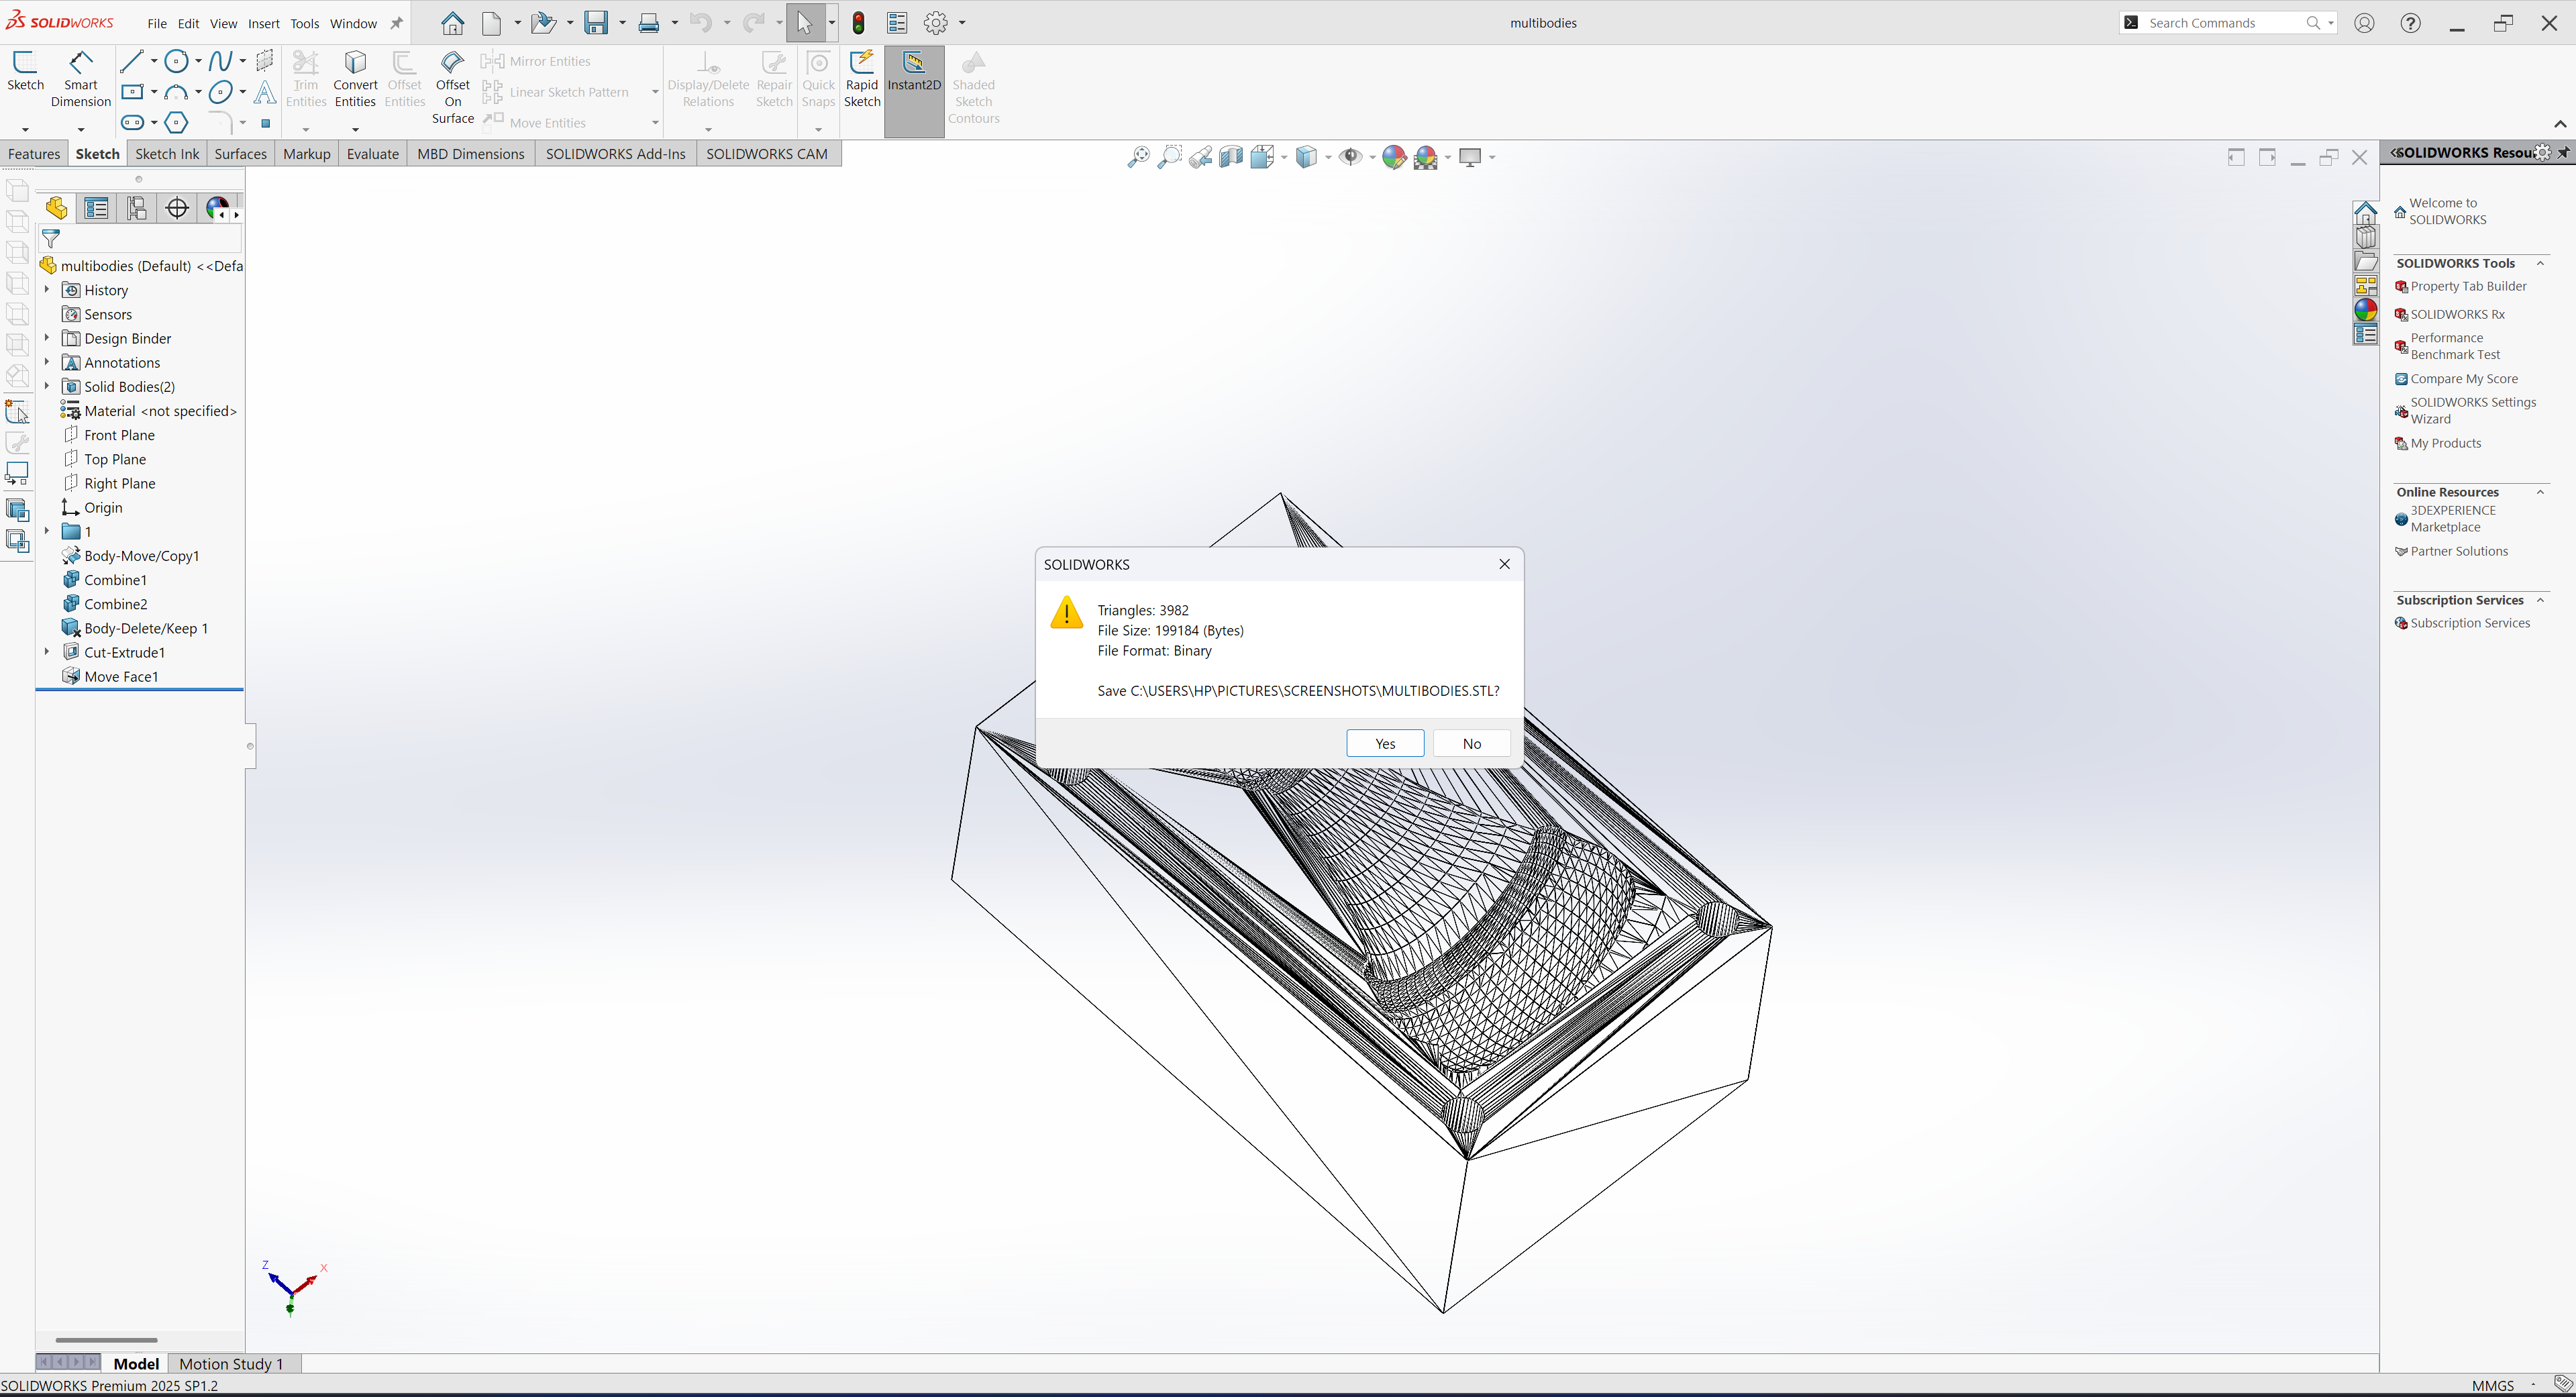
I used the Combine feature in SolidWorks to create the negative mold within a part file by subtracting the chess king model from the rectangular block

After the design was finalized in SolidWorks, I exported both parts as STL files in preparation for 3D printing
Next, I imported the STL files into Creality Slicer for slicing
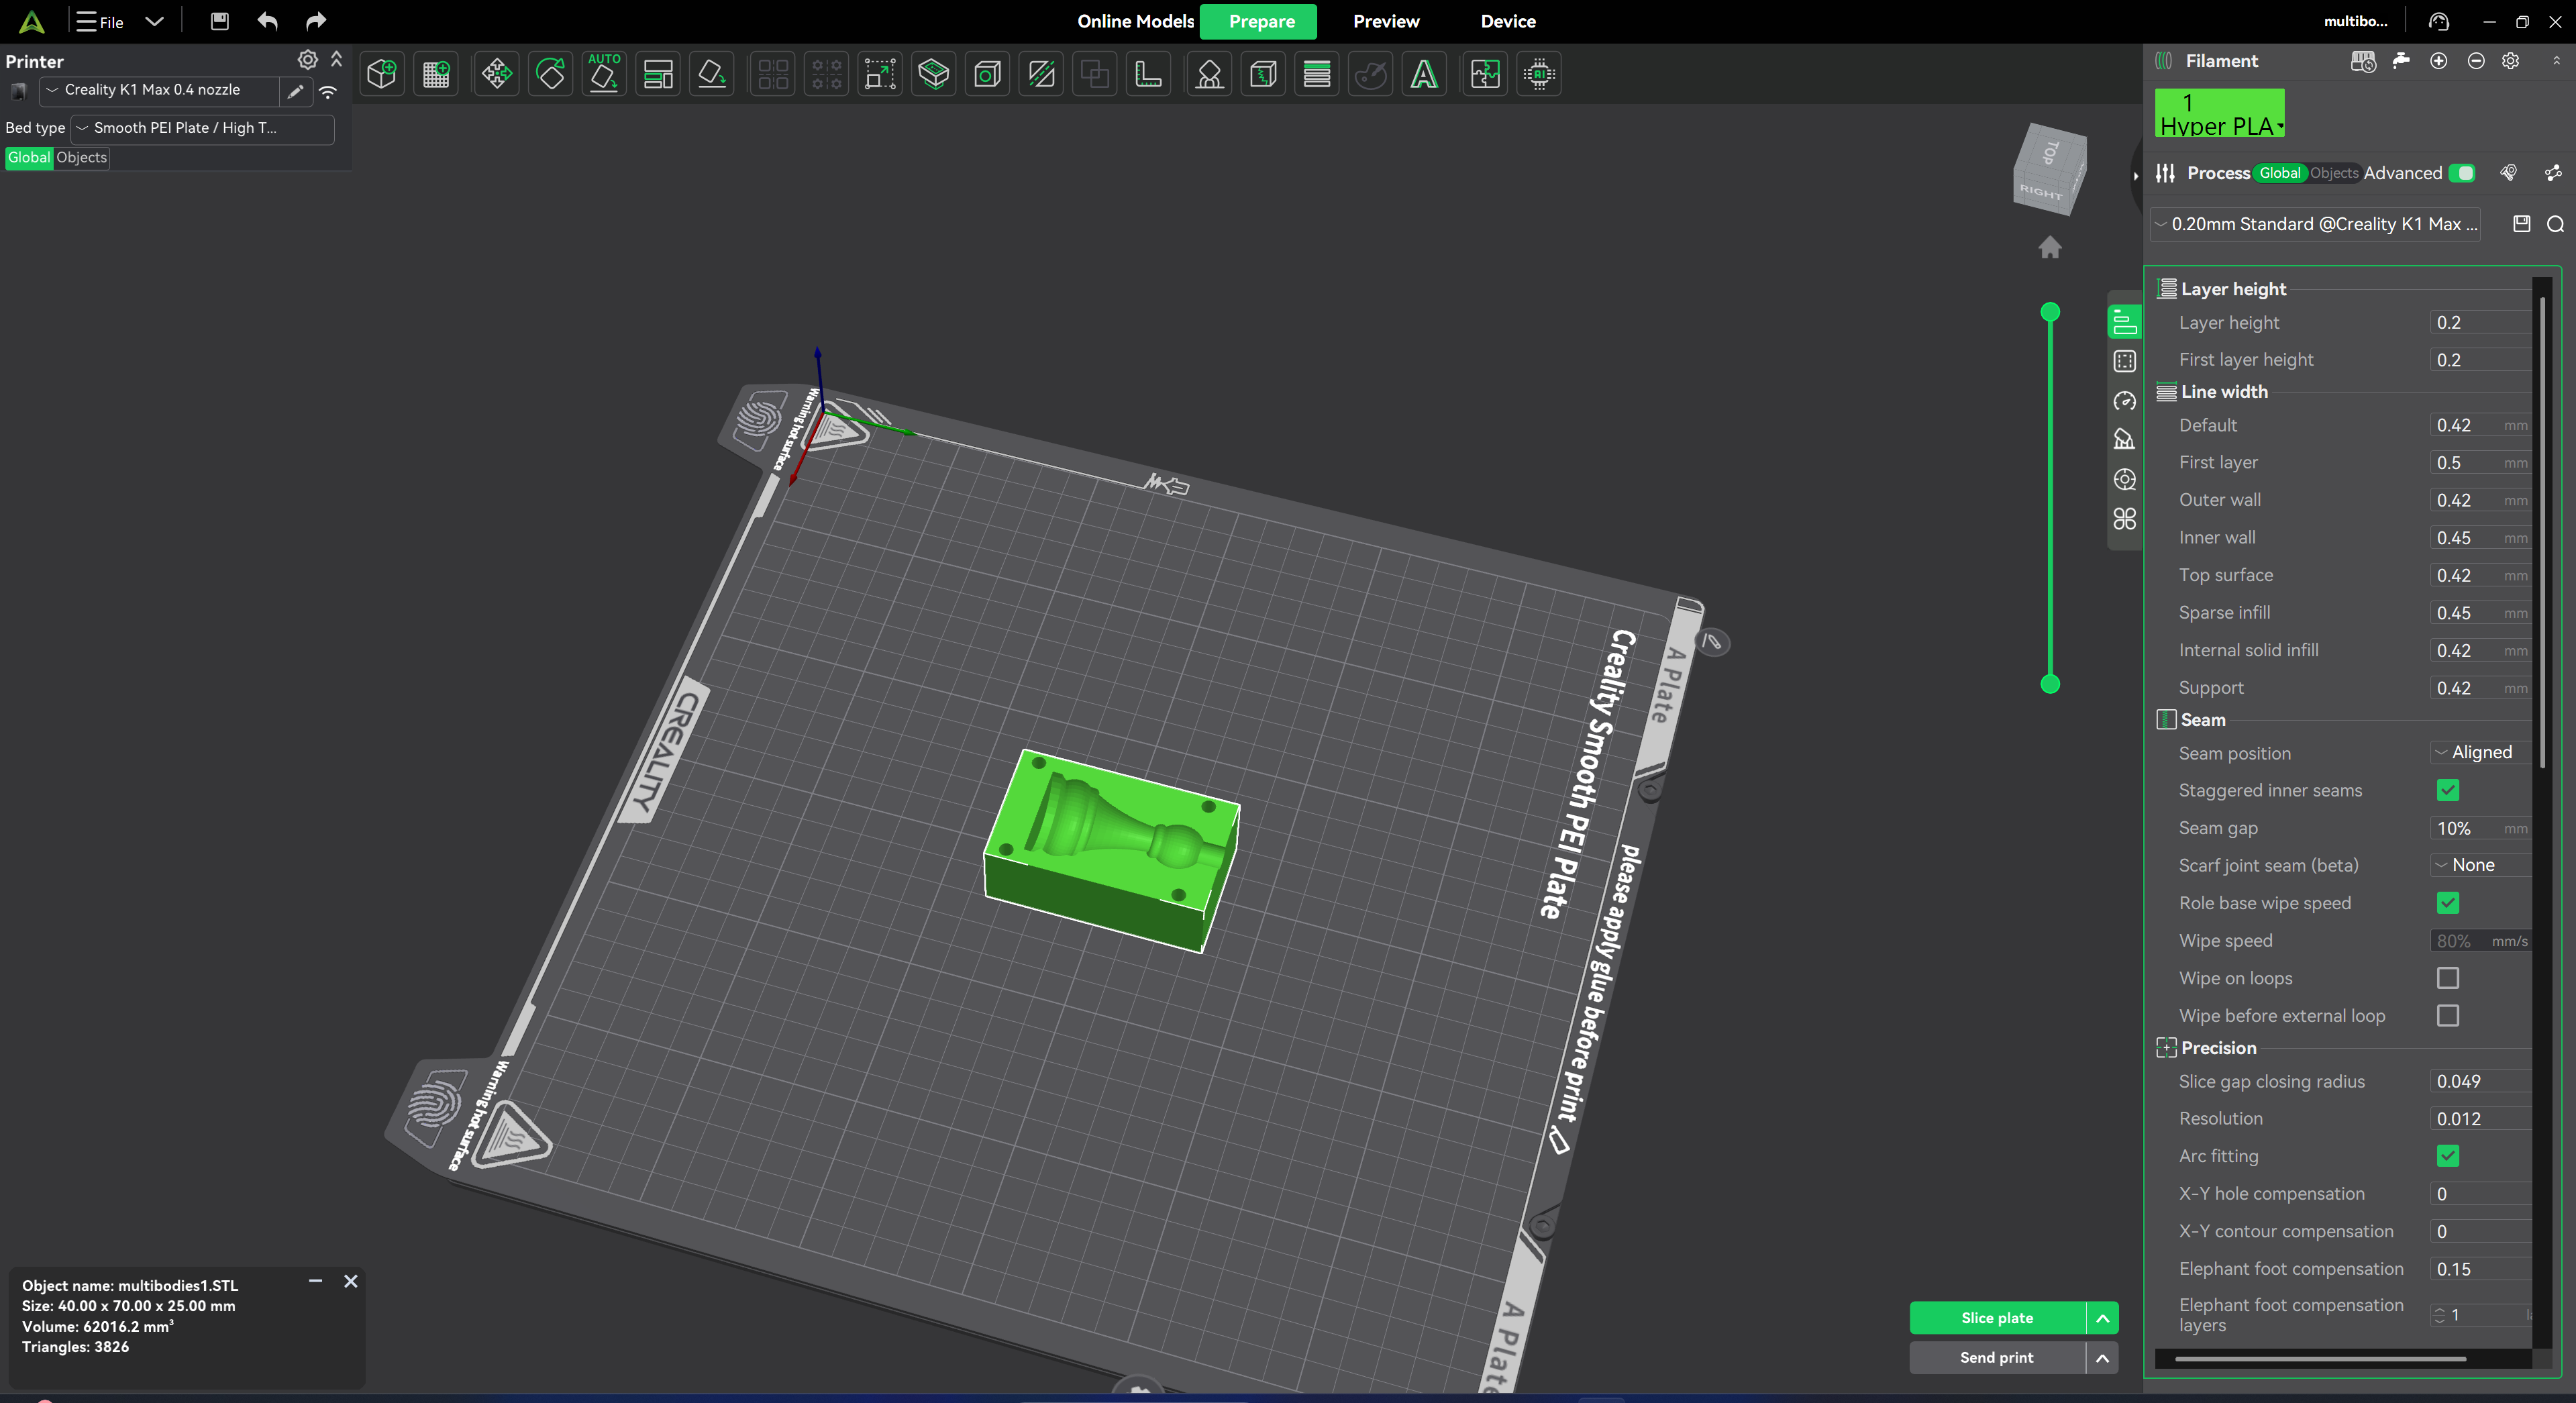
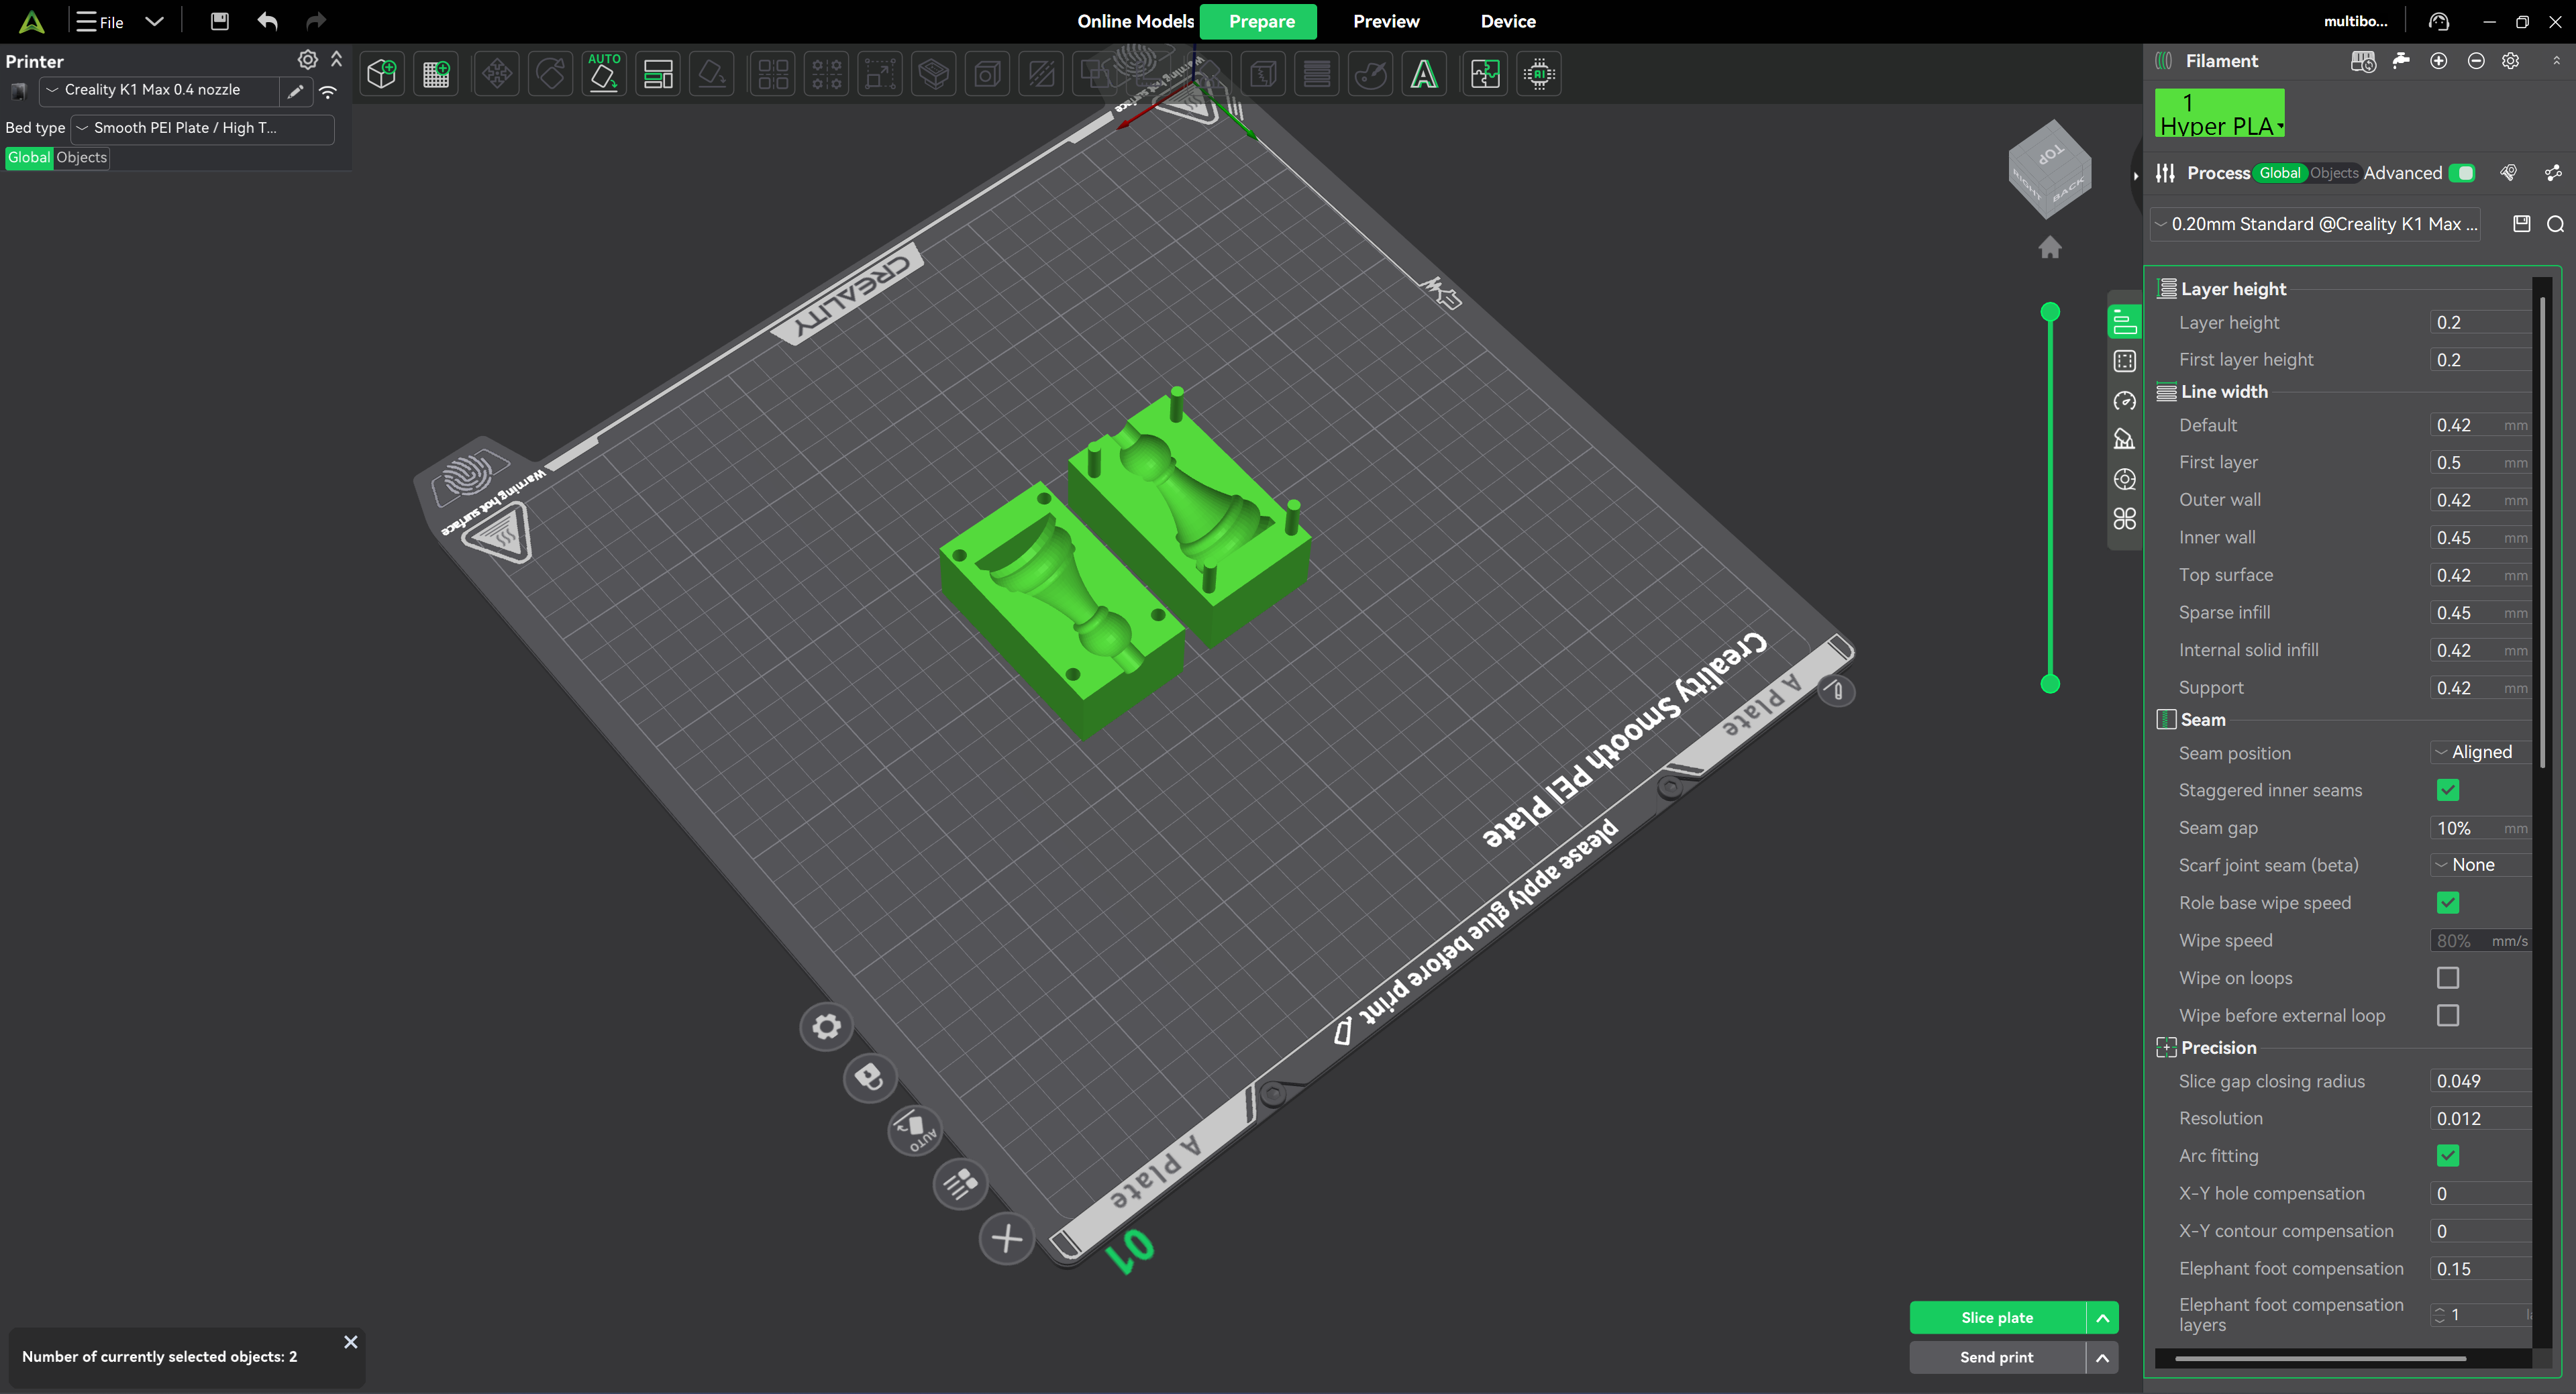
II used Creality Print to slice the mold files and optimize the printing parameters improved surface quality, including increasing the wall thickness

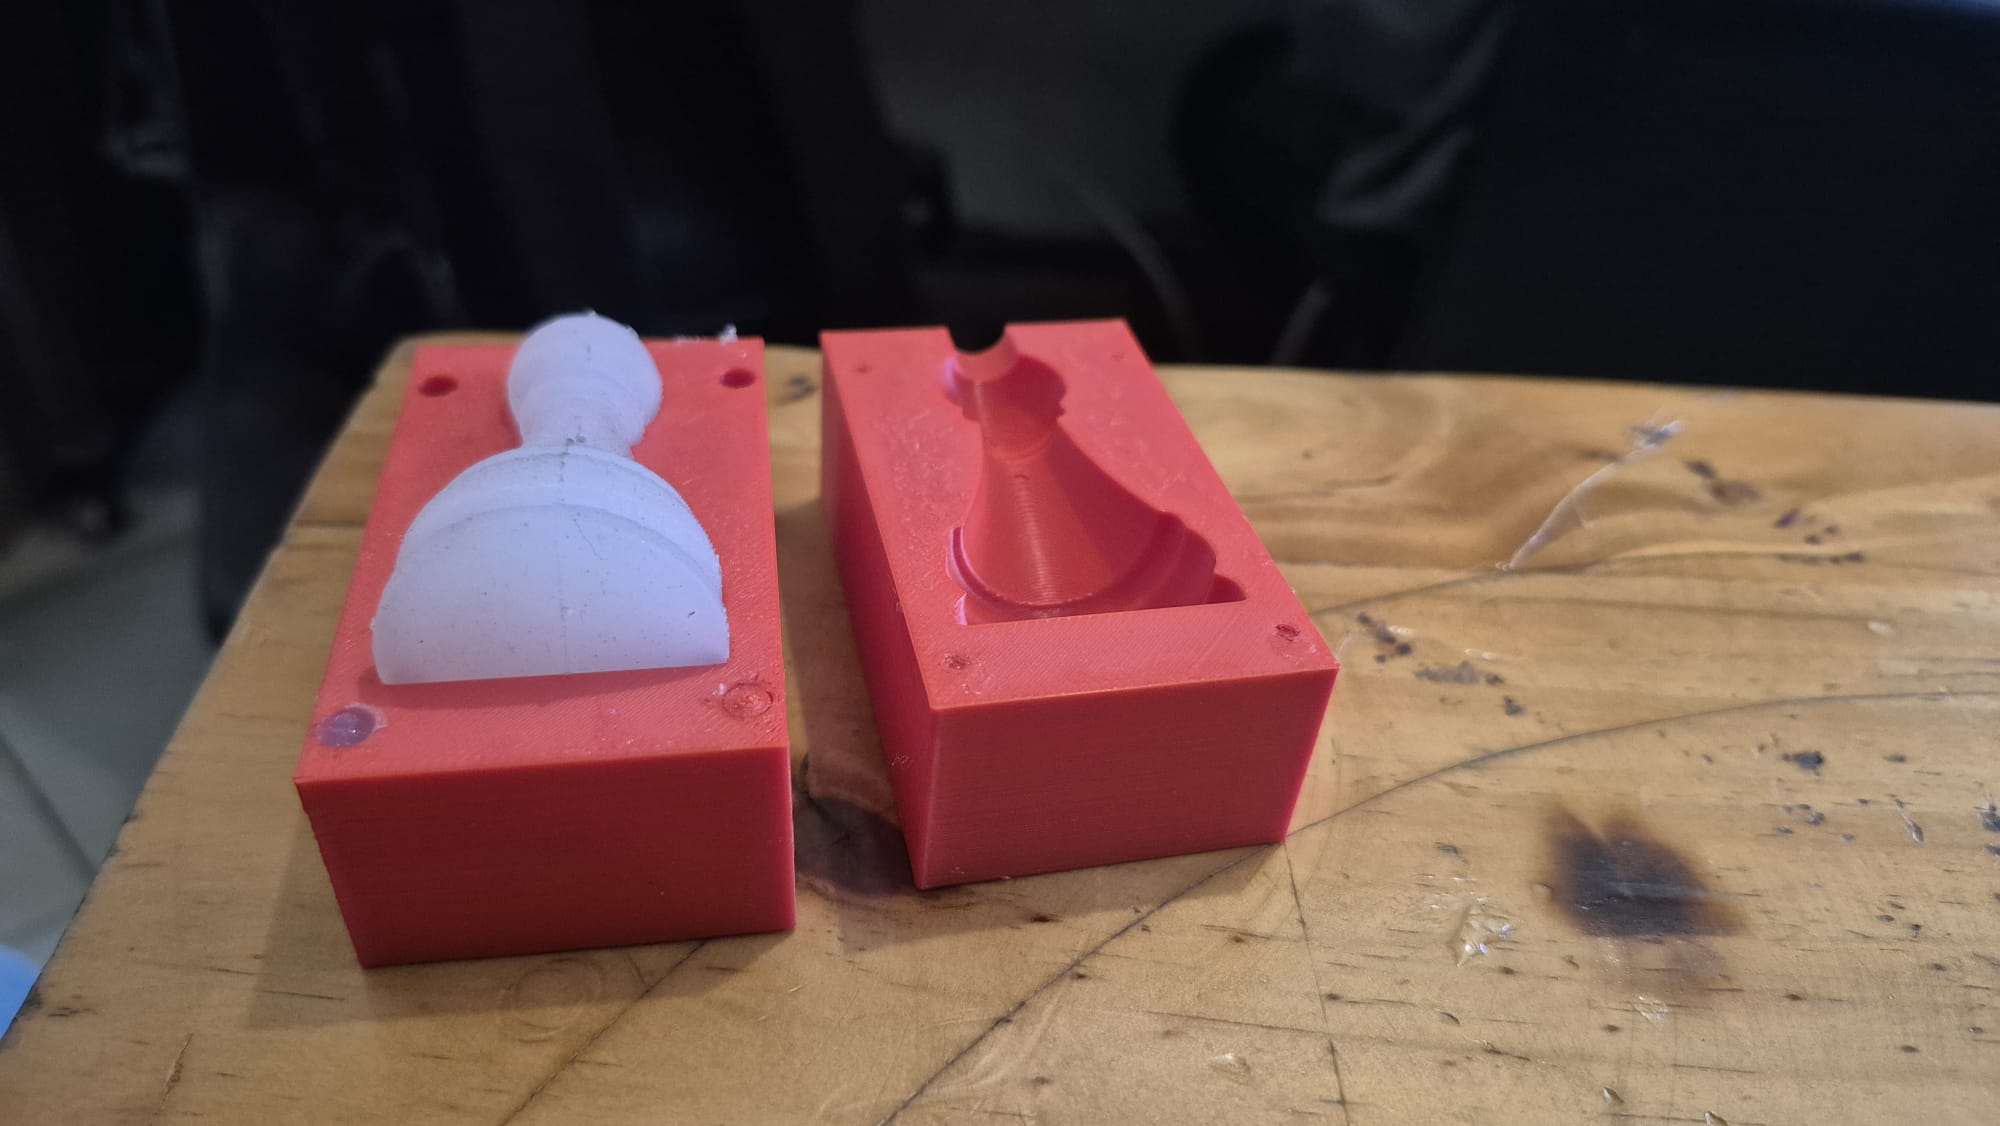
Next, I printed the parts on a 3D printer; this was the final step of the process
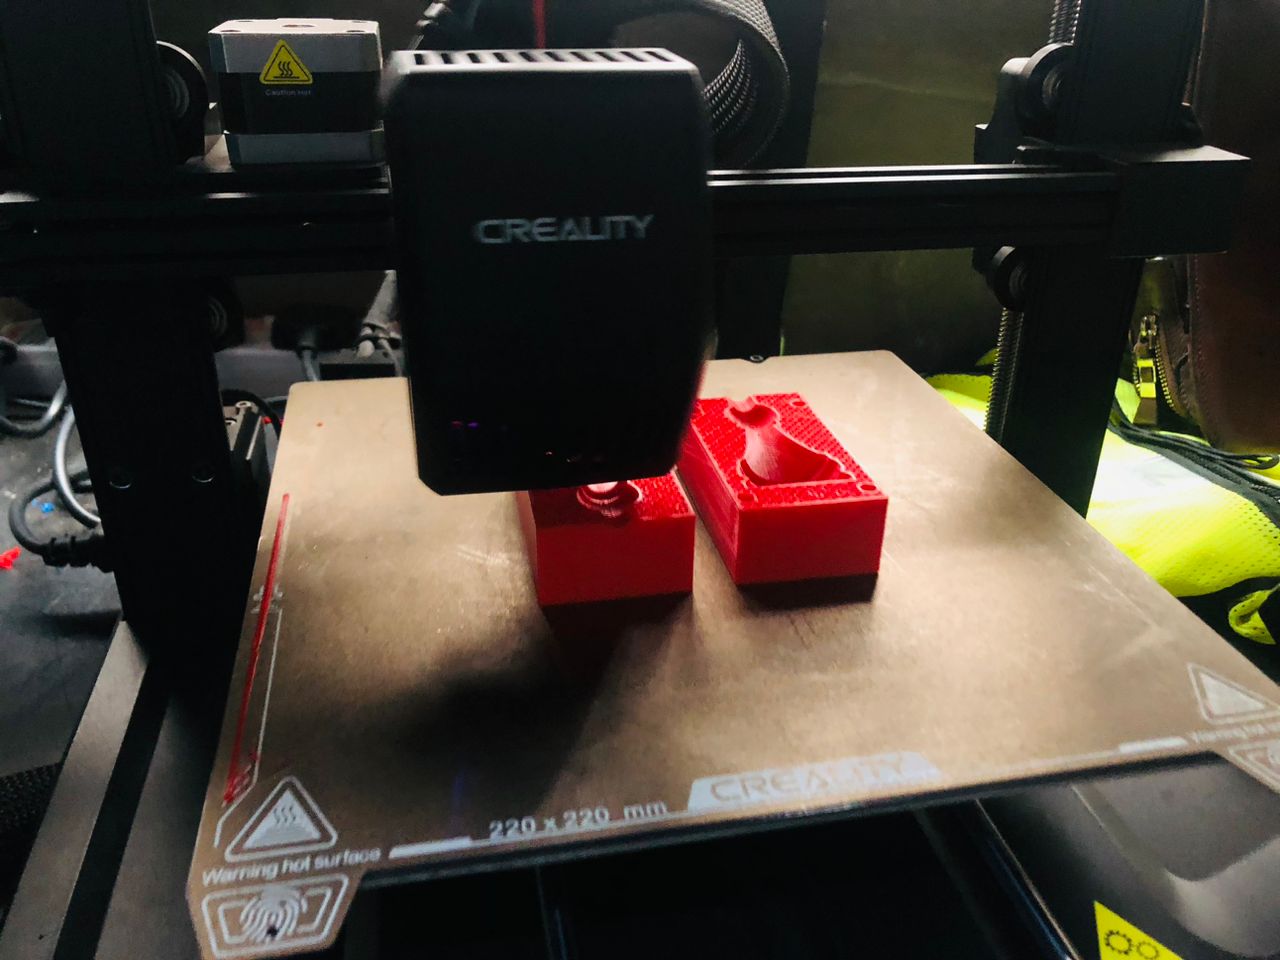
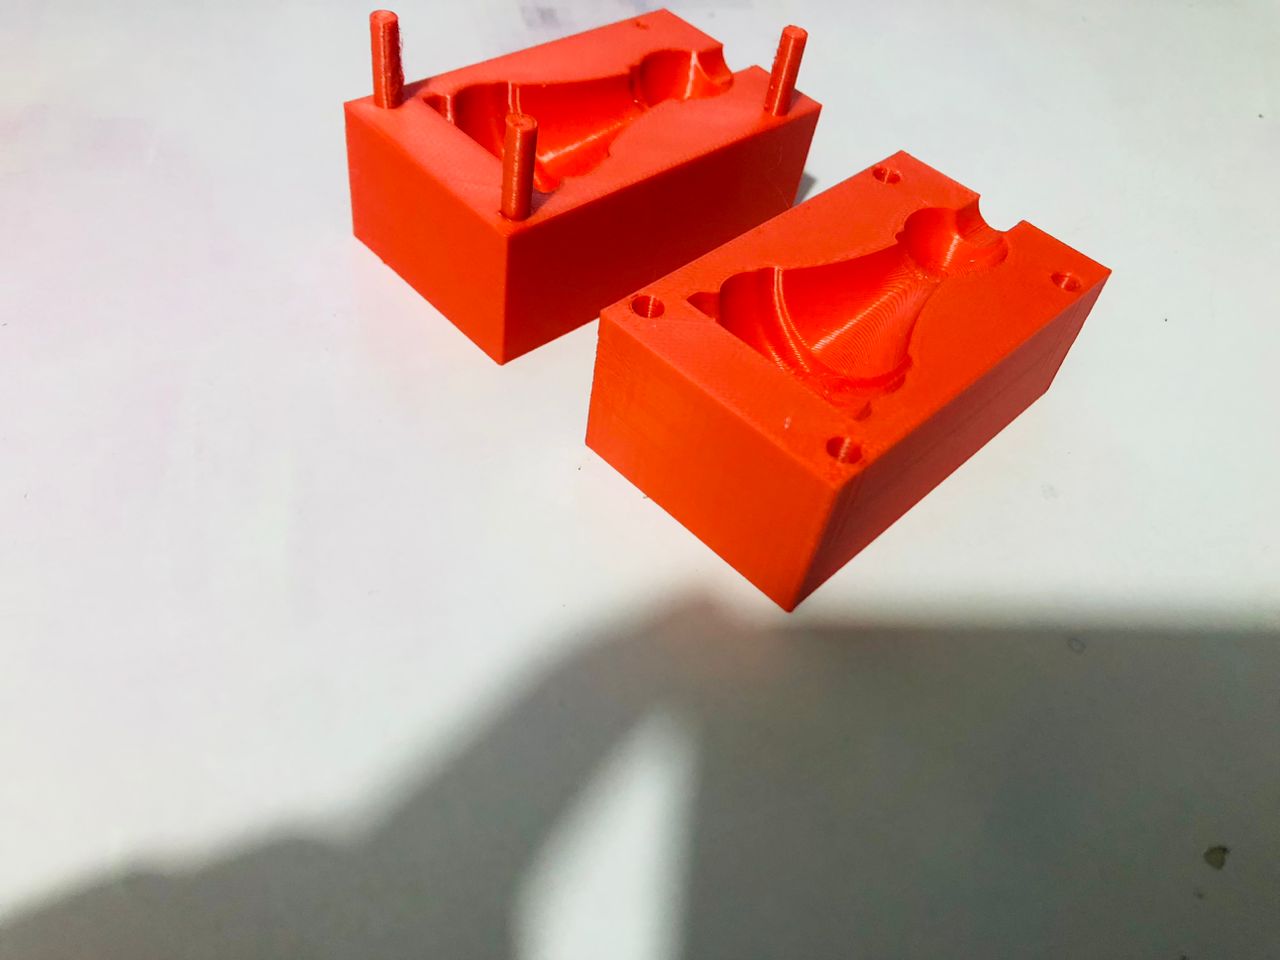
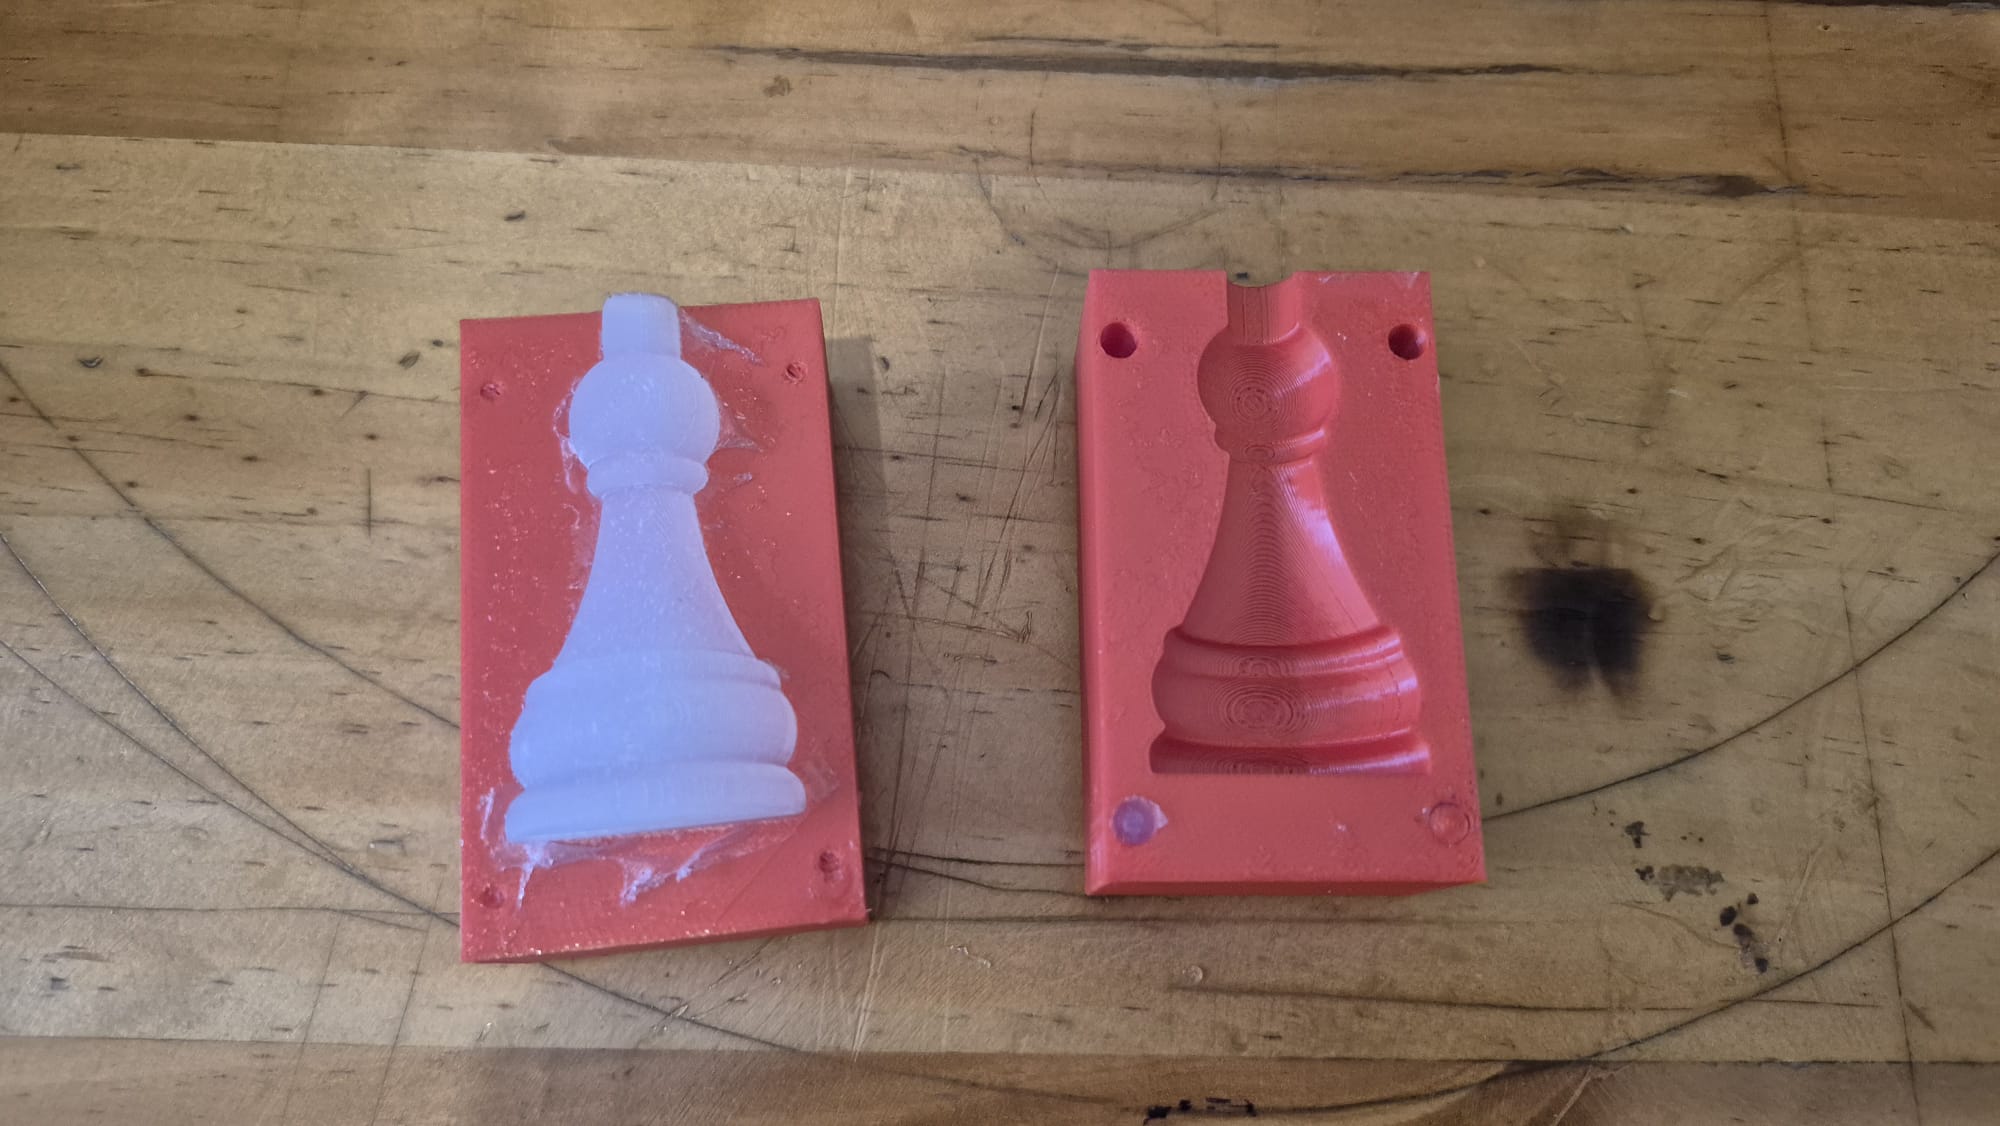
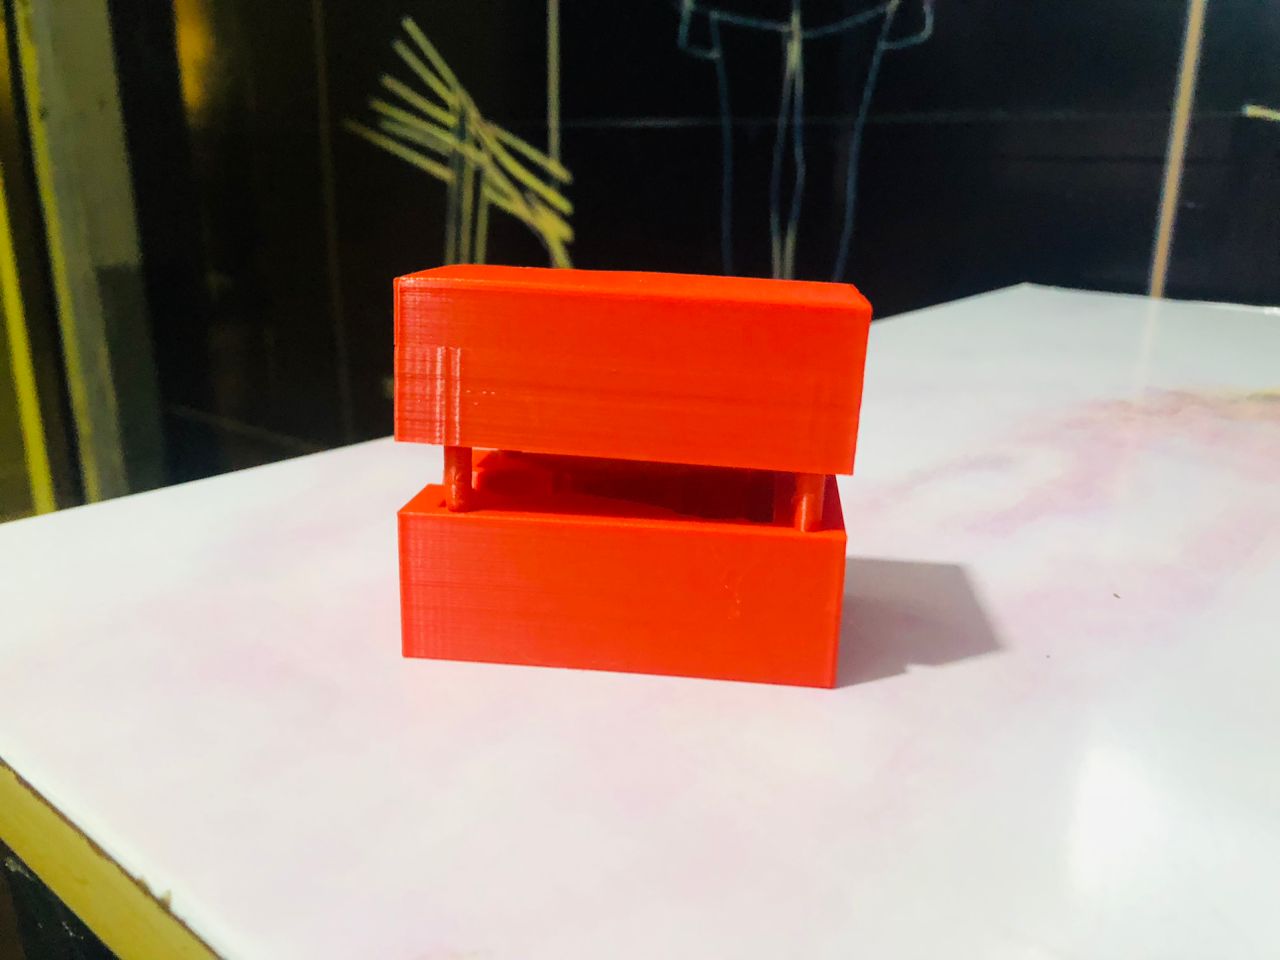
Next, I combined the printed parts by carefully aligning them and assembling them together to form the complete mold
next, i use this silicone
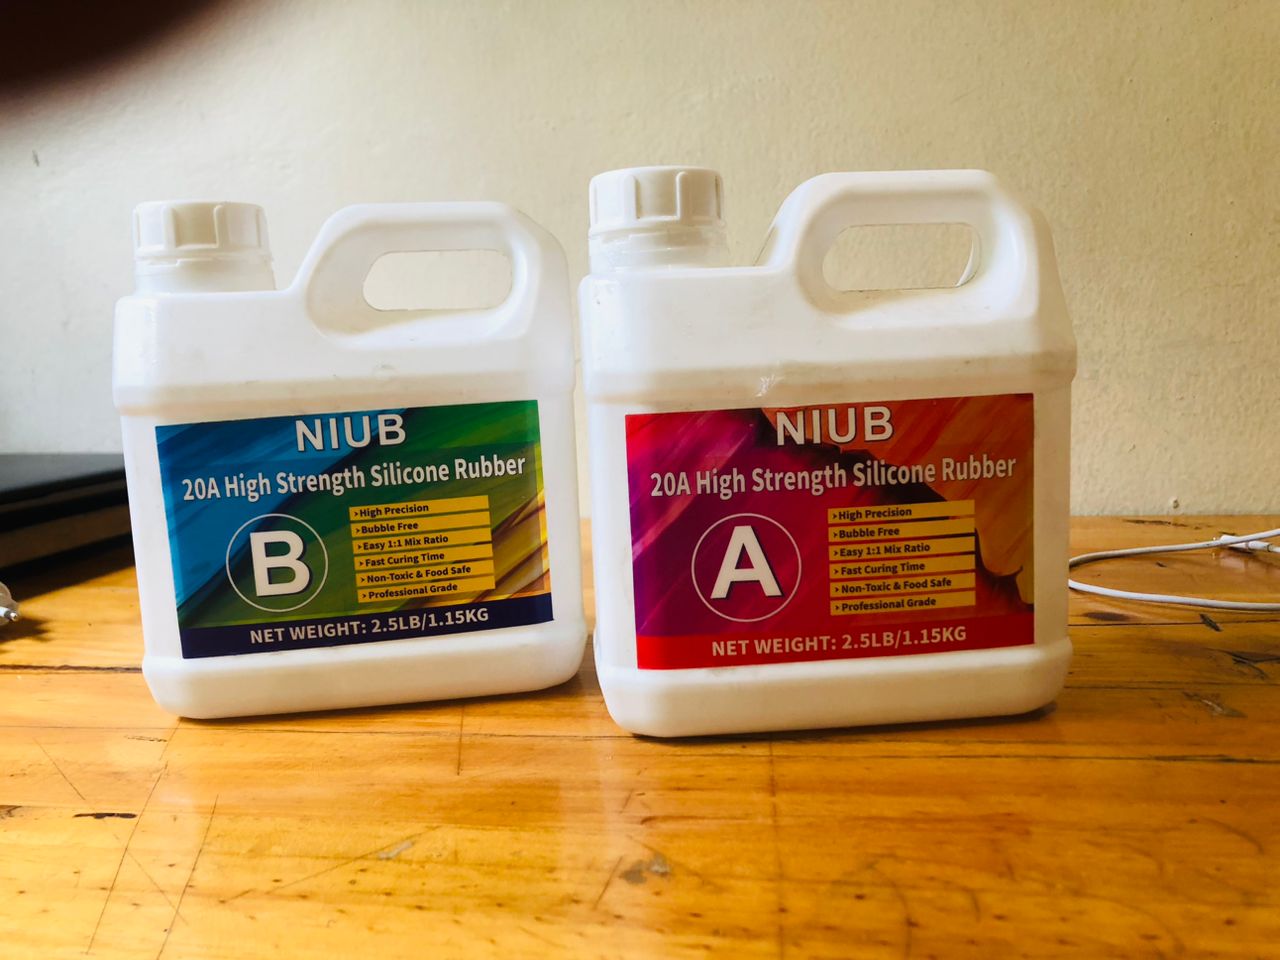
This is a two part silicone rubber (Part A and Part B) that you mix in a 1:1 ratio, which then chemically cures into a soft, flexible rubber (20A hardness), making it well suited for creating detailed molds, casting objects, and reproducing shapes with smooth, precise surfaces, especially in projects like 3D-printed mold making
- Part A (red label) This is the base silicone
- Part B (blue label) This is the curing agent (hardener)
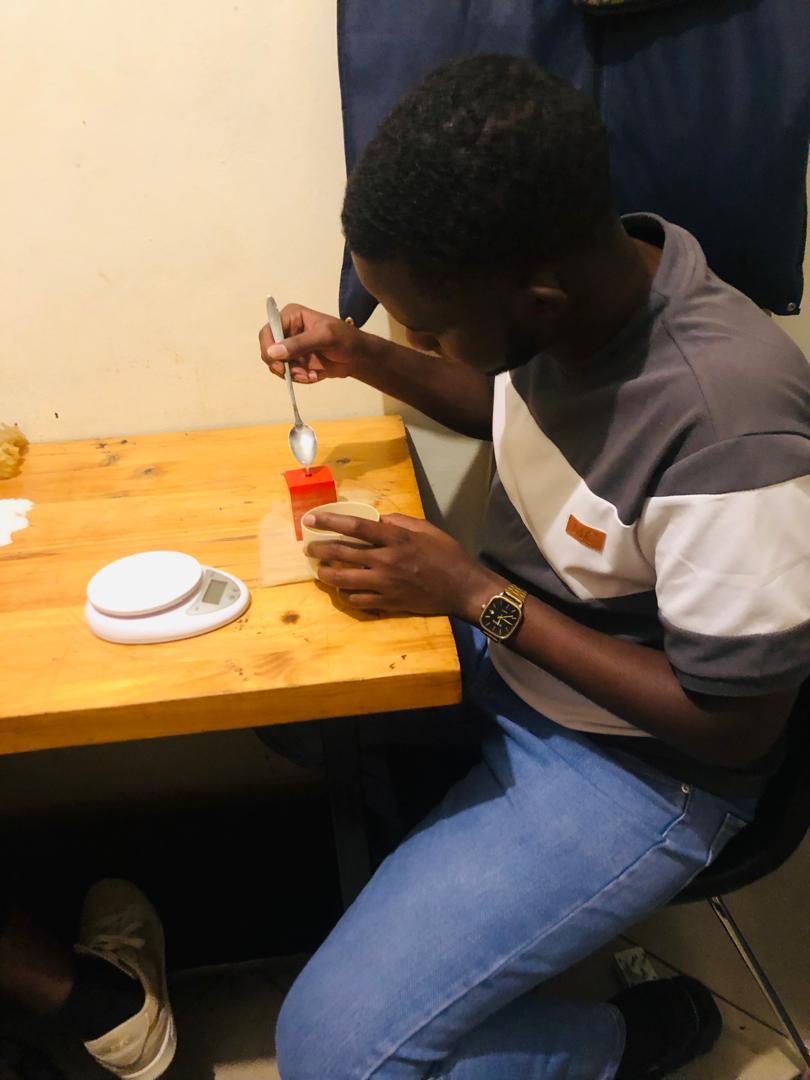
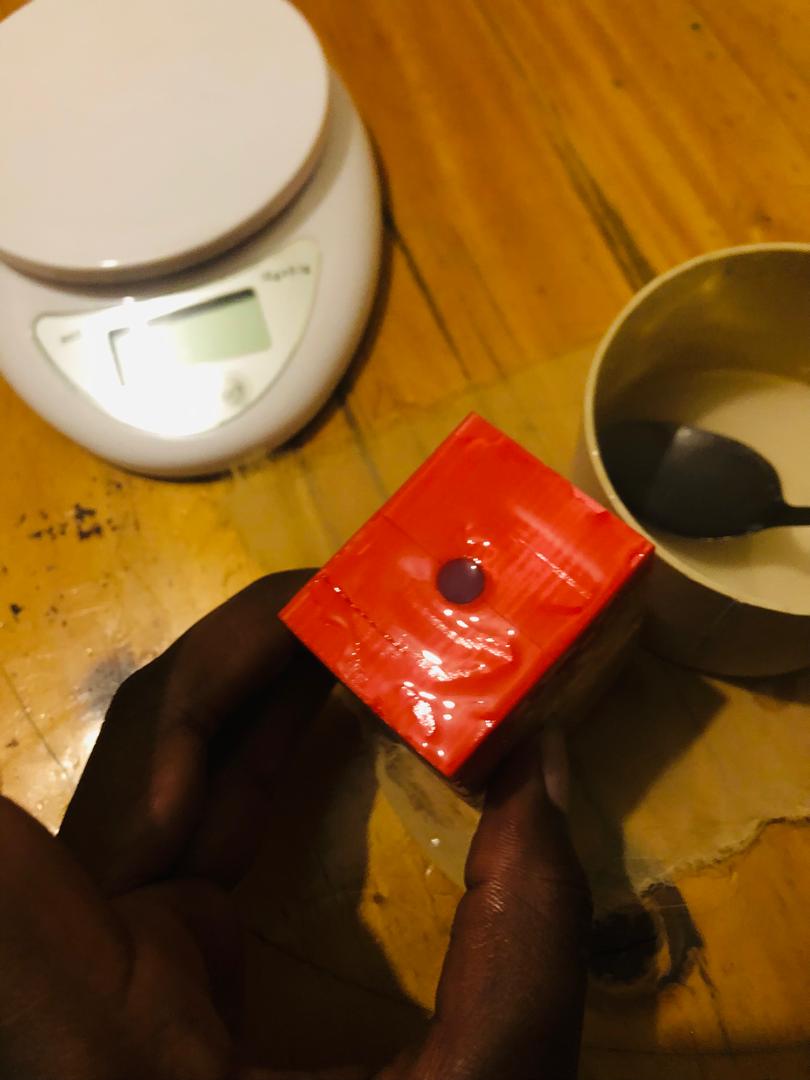
Next, Part A and Part B were mixed equally according to the manufacturer’s instructions
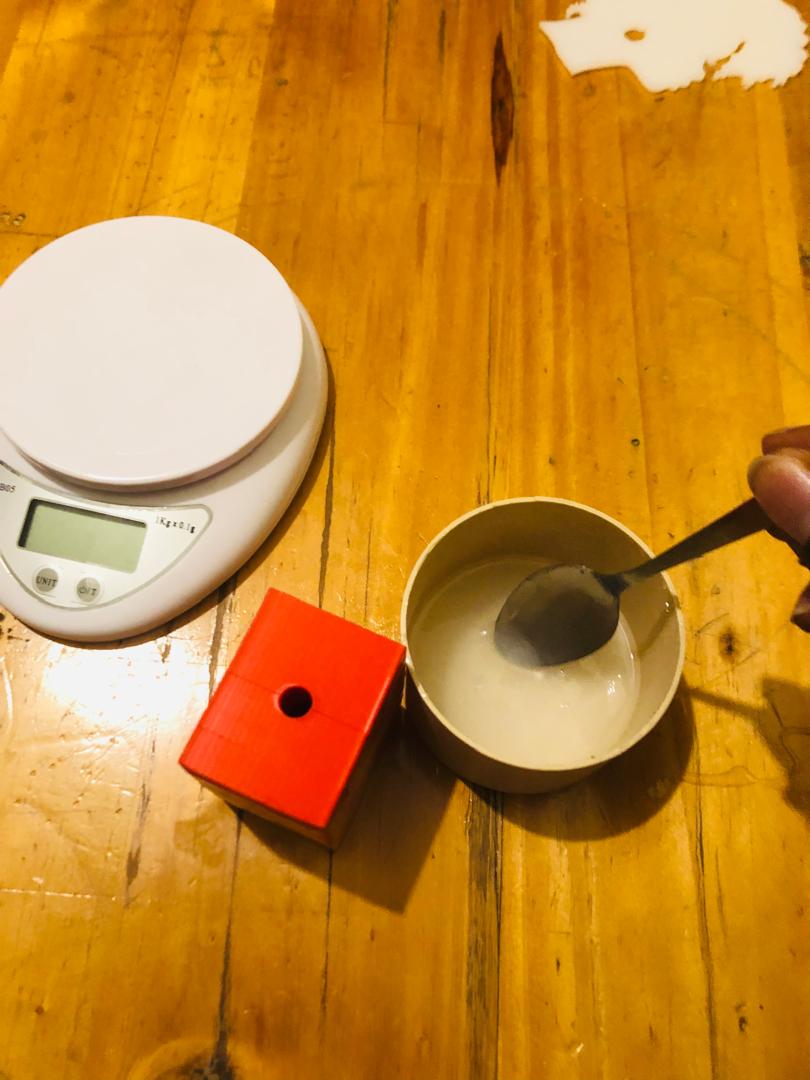
After that,i pour the mixture into the mold and let it harden for 24 hours according to the instructions
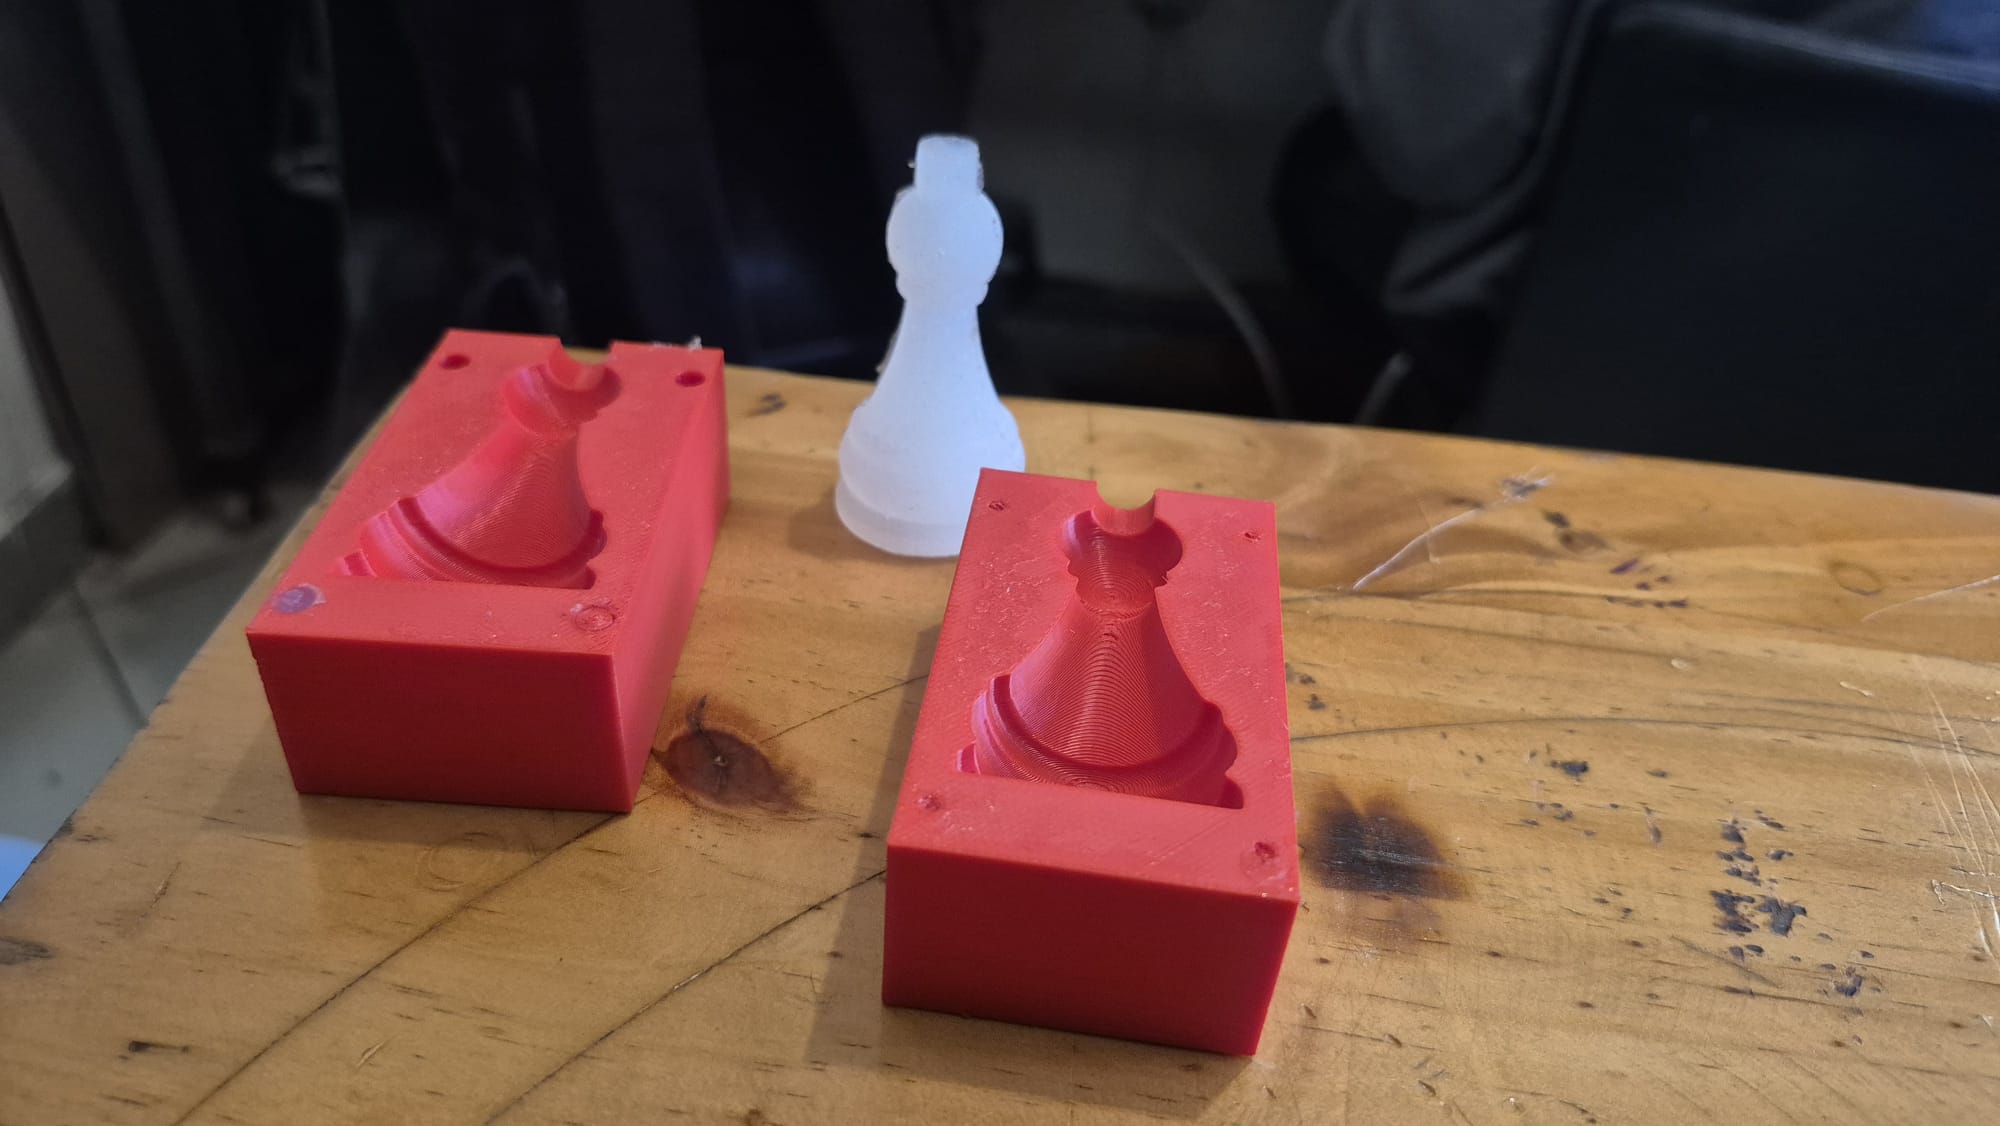
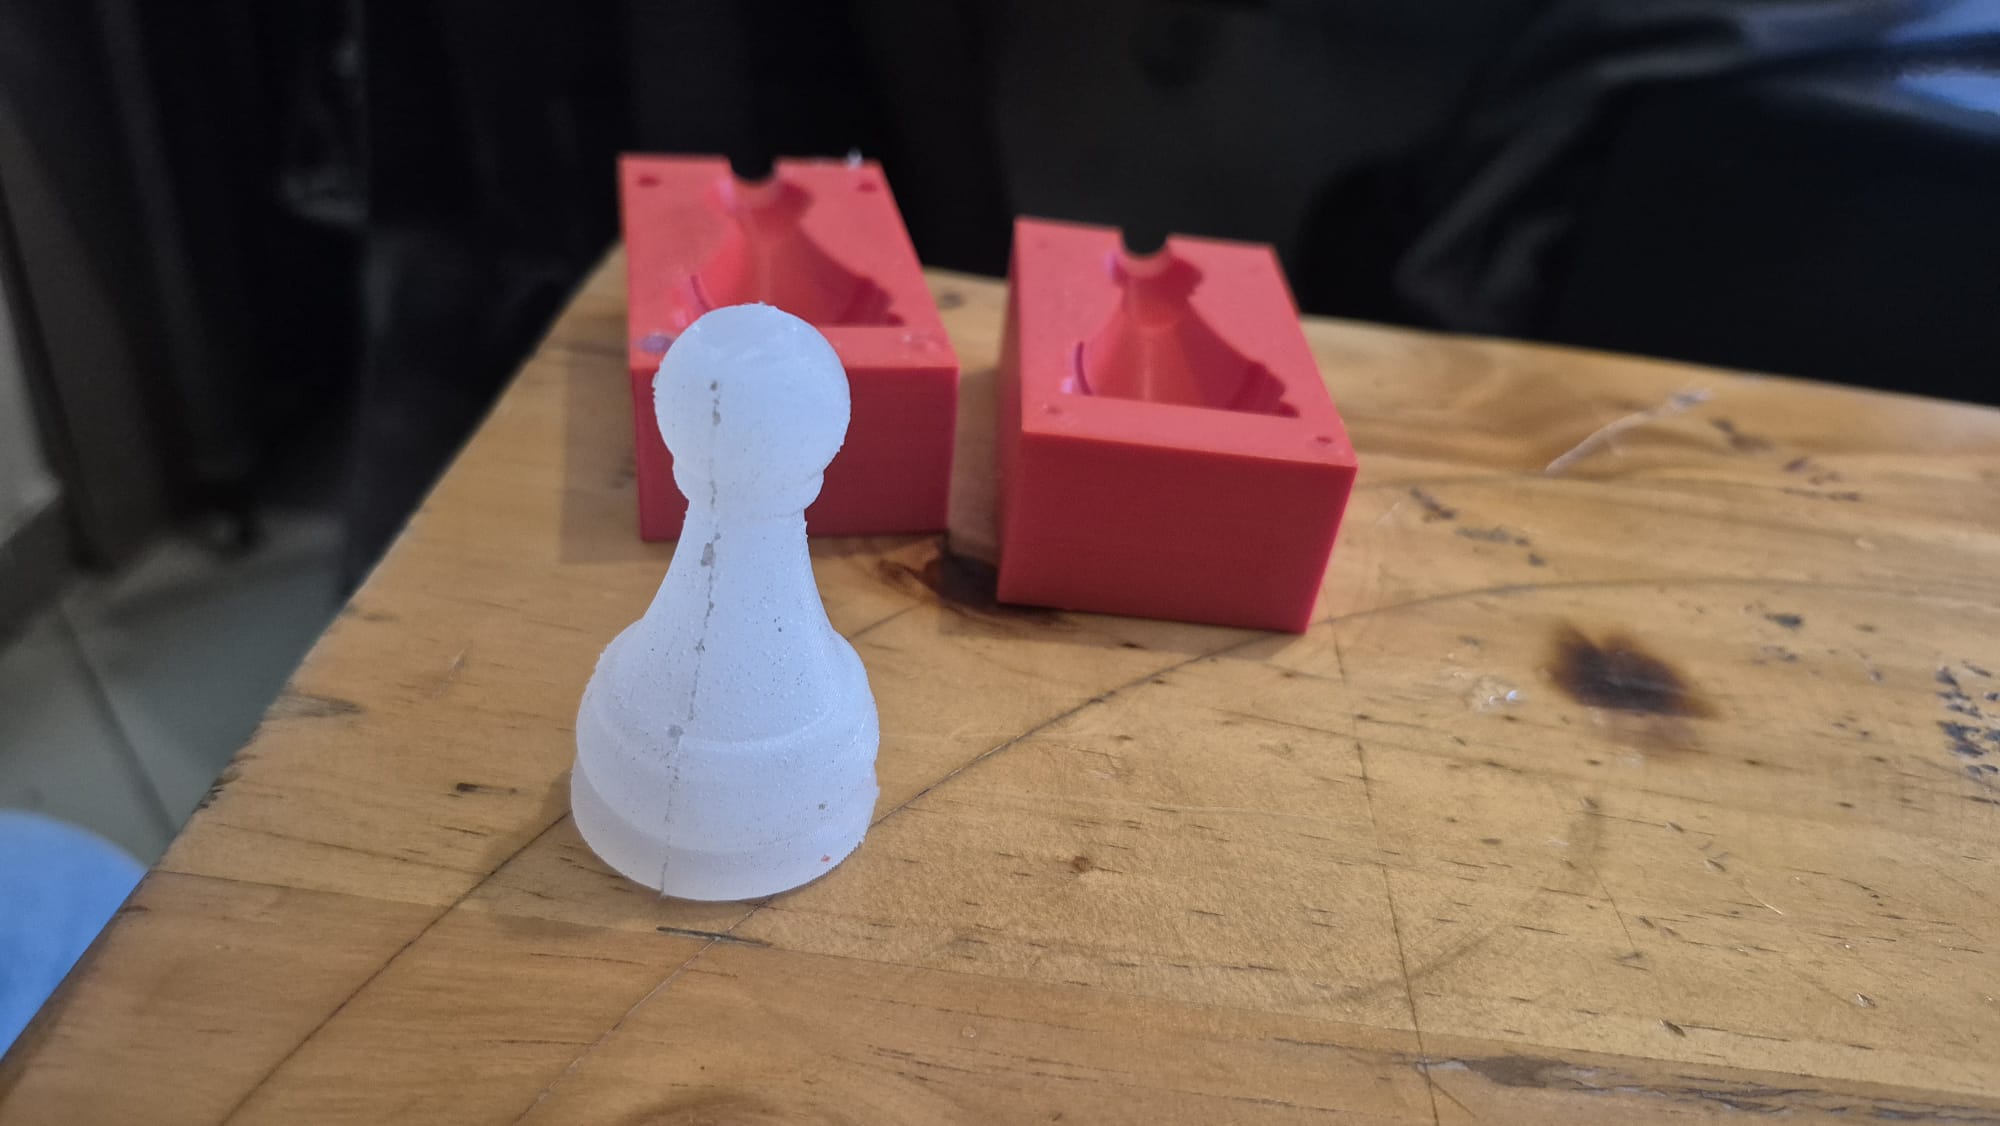
Allow it to cure for 24 hours and then inspect the result.
Here is the completed silicone-cast chess king made using a 3D-printed mold.