The main objective of this week was creating our personal website and the initial planning of the final project. This website will serve as a log to document and compile the entire learning process during Fab Academy.
The website works through HTML, CSS, and JavaScript. HTML is a markup language that helps us give structure to the page, CSS is likewise a markup language responsible for styles "Cascading Style Sheets," and JavaScript, a programming language, helps us make everything work.
The first thing we need is to activate our GitLab account to access the repository. To work locally, we clone the repository to our computer following these steps:
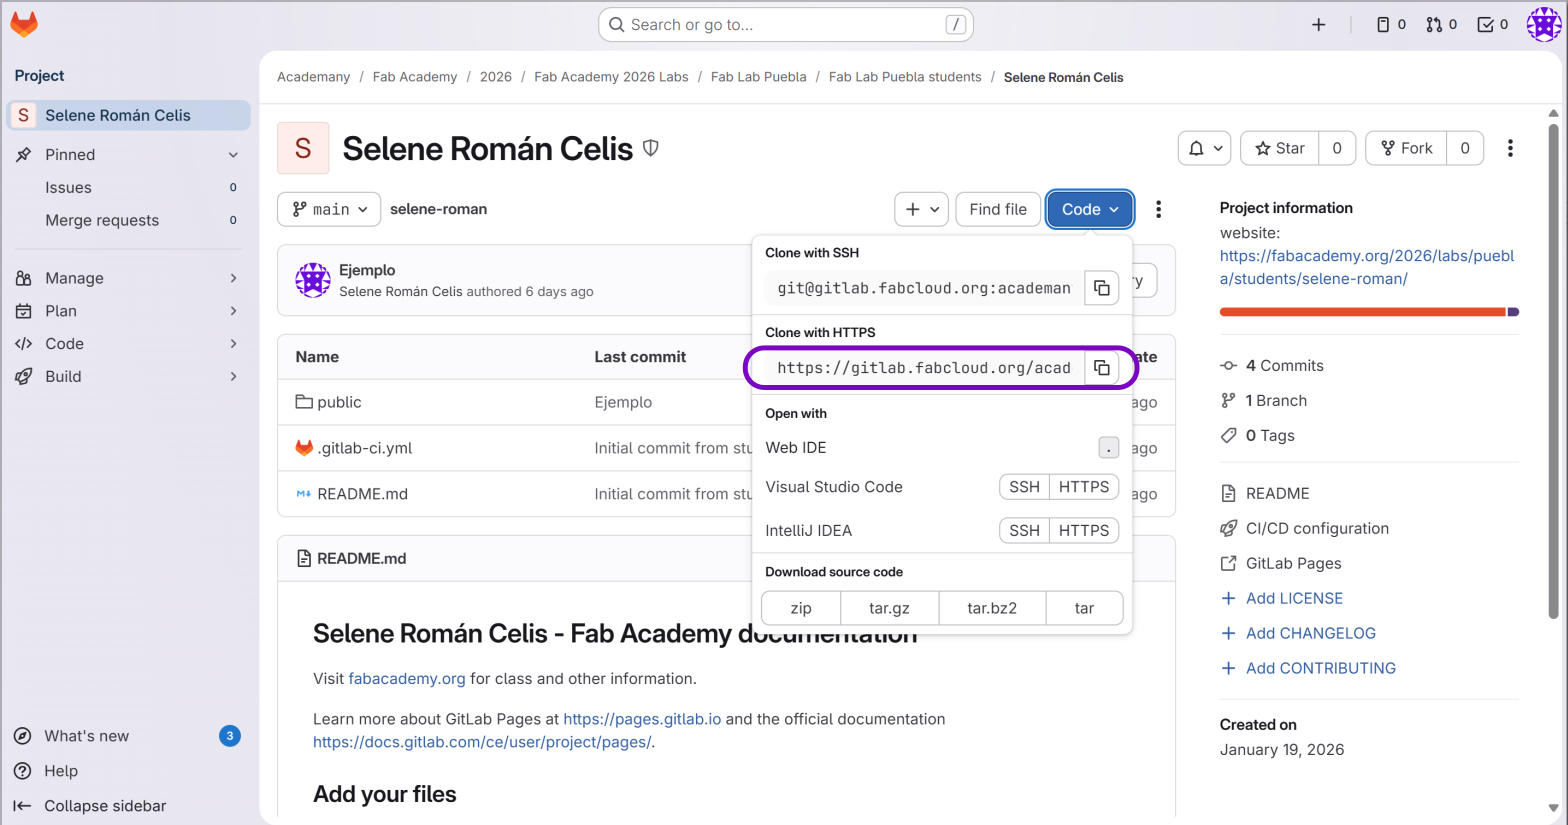 Fig 1. Link Clone with HTTPS
git clone https://gitlab.fabcloud.org/academany/fabacademy/...Enter your Fab Academy credentials when requested. Once downloaded, access the folder with:
cd your-username/public Now you can start modifying your local repository from your device.
After cloning the repository, you will find a folder structure that includes:
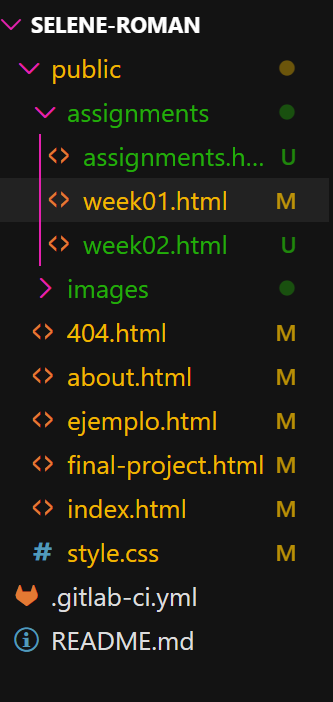 Fig 2. Folder structure
.git folder or the .gitlab-ci.yml file. These are critical system files, and modifying or removing these files may cause irreversible errors in the page's execution.
To modify and update the website, we use the following commands in the terminal:
git clone : Downloads the entire repository to your computer.git add .: Adds all new or modified files.
git add /folder1: Adds a specific folder to upload.git commit -m "Message": Saves the changes with a descriptive message.git push: Uploads committed changes to the cloud (GitLab).git status: Shows the current status of the repository (modified files, etc.).git pull: Downloads changes from the cloud that are not on your local computer.git reset --soft/hard HEAD~1: Deletes the last commit.
Soft reset: Deletes the commit.Hard reset: Deletes the files.The main commands that must always be executed to edit the webpage are:
git add .: Adds files to upload everything.git commit -m "Message": Command to save the changes made.git push: Uploads the changes to the cloud.
After doing a git push, go to your GitLab profile > Build > Pipelines. You should see a green checkmark indicating that changes were uploaded and published correctly.
 Fig 3. Status of the pipeline
HTML is the markup language that gives structure to content. Here are the essential tags I used:
<h1> to <h6>: Titles and subtitles.<p>: Text paragraphs.<b> or <strong>: Text in bold.<br>: Line break.<a href="link">: Hyperlinks. Add target="_blank" to open in a new tab.<ul>: Lists with dots<ol>: Lists with numbers<li>: Lines that will be in the list<div>: Divisions to organize and separate sections of the page.<img src="...">: To insert images.Compressing images reduces their file size without significantly affecting quality, improving page load times.
To compress the images i used GIMP.
Steps to compress images using GIMP:
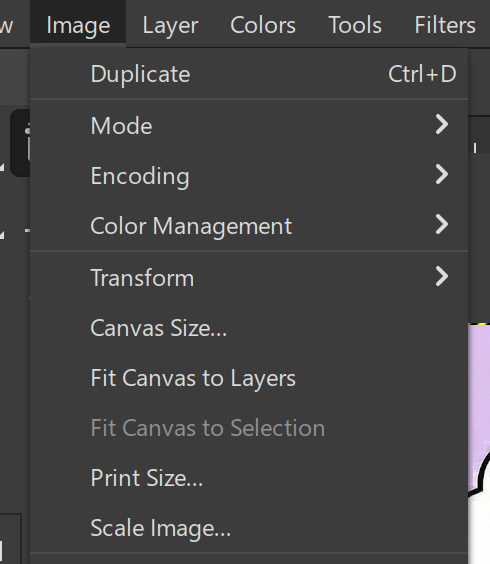 Fig 4. Scale Image
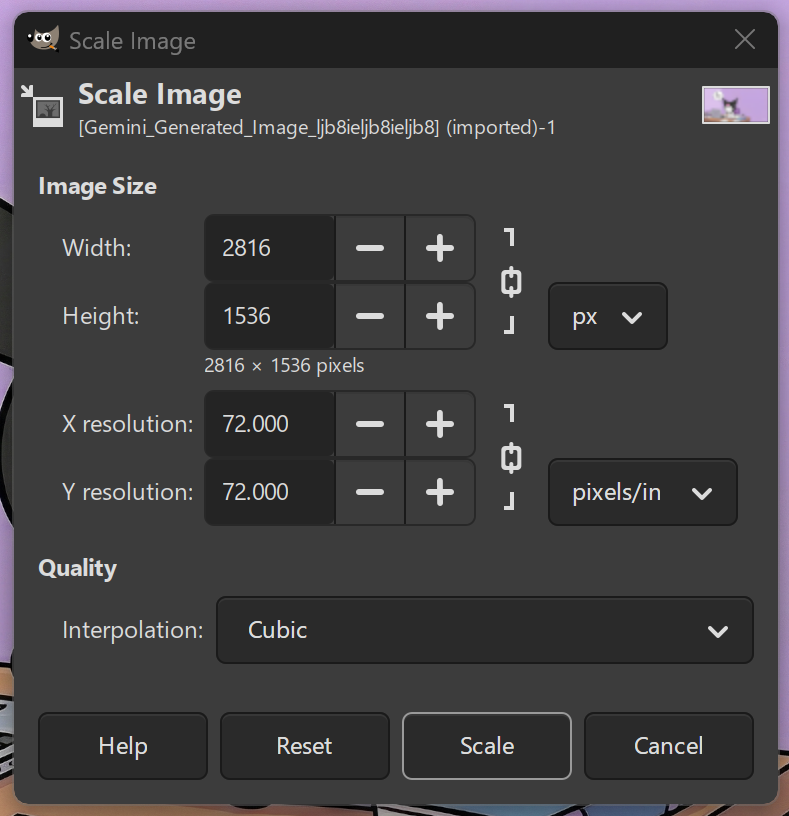 Fig 5. Image resolution
To "decorate" the page I used CSS (Cascading Style Sheets), which allows controlling colors, fonts, and layout.
To use CSS, first you need to define style rules or classes in the CSS file, specifying characteristics such as shape, color, size, and typography. Then, within the HTML code, you apply these styles to specific elements by referencing the class names where needed.
1. Define the class in your style.css file:
.my-title {
            color: pink;
            font-weight: bold;
            }
2. Import to HTML code:
<h1 class="my-title">Hello World</h1>Essential CSS properties for web design:
color: Changes the text colorbackground-color: Changes the background color of an elementfont-size: Changes the size of the textfont-family: Changes the font typtext-align: Aligns the textfont-weight: Defines the font thicknesswidth: Defines the width of an elementTo achieve an aesthetic and functional design, I used Google Gemini as a programming assistant. I provided the following prompt to generate the base of my interface:
Thanks to this, I was able to establish a coherent color palette and a responsive grid structure for the assignments page.