Week 5. Scanning and 3D printing
Summary
This week we focused on learning how to use 3d scanners hardware and software, also on how 3d pirnters are useful to make complicated geometries or shapes of figures that can onlt be made in this kind of machine.
Group assignment
Here is the group assignment to check more information about the topic scanning and 3D printing.
1. Basic concepts
1.1 What is a 3d scanner and why is it useful?
A 3D scanner is a device that captures the actual shape of an object or environment and converts it into a three-dimensional digital model. It does this by measuring thousands or millions of points on a surface (a "point cloud") and typically then generates a mesh that represents the geometry; some also capture color/texture. It is used to digitize parts for editing in CAD or 3D software, reverse engineering (replicating or redesigning existing components), 3D printing (creating an STL file from a physical object), and more.
1.2 Programs used for scanning
This programs are necessary if you are going to use any creality or einscan hardware, for downloading is as simple as clicking on the links below and the select the download option. Later I will explain how to use the einscan software.
- EinScan SE, the one I used
- Creality Scan
1.3 What is 3d printing and why is it useful?
It is a manufacturing process where an object is built layer by layer from a 3D digital model. Instead of removing material (as in CNC machining), material is added until the part is formed. Several technologies exist; the most common are FDM/FFF (filament), SLA/MSLA (resin), and SLS (powder).
It is useful for:
- Rapid prototyping: testing shapes and assemblies before mass production.
- Custom parts: adapted to a specific user or application.
- Low-volume production: manufacturing a few units without molds.
- Education and design: validating ideas, iterating, and visualizing complex geometries.
- Tooling and fixtures: jigs, fixtures, templates, housings.
- Spare parts and repair: hard-to-find parts.
1.4 Programs for 3d printing
For 3d printing you will need to use any program that function like a slicer due to how a 3d printr works adding layer by layer, this kind of programs allows us to visualize how our model will be printed, allowing us to configure our printing to optimize time, change supports, infill, etc. Later I will talk abour this more in deep.
- Prusa slicer, the one I used.
- Ultimaker Cura.
- Anycubic.
1.5 Types of suports
- Grid: A classic mesh-shaped support. It's rigid and stable, working well for large overhangs and flat pieces. Pros: Very reliable and holds up well. Cons: Uses more material/time and tends to leave more marks where the piece touches the support.
- Tight: A support that's built closer to the piece's geometry, following its contours more closely. Pros: Holds details better and reduces unsupported areas. Cons: Because it's closer, it's usually more difficult to remove and can leave more marks if the spacing parameters aren't correct.
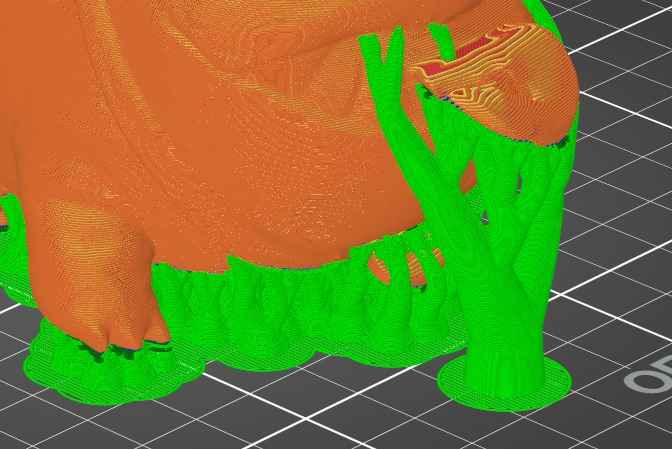
- Organic/Tree: A tree-like support with branches that grow upwards and only touch where needed. Pros: Uses less material, is easier to remove, and often leaves a better finish on many pieces. Cons: Can be less stable on very tall/thin supports and sometimes requires adjusting the density or diameter of the branches.
1.6 Types of infills
- Lines (Rectilinear): A simple pattern in a single direction per layer (alternating direction between layers). It's fast and sufficient for basic functional parts. Good time/strength ratio, but not the strongest under torsion.
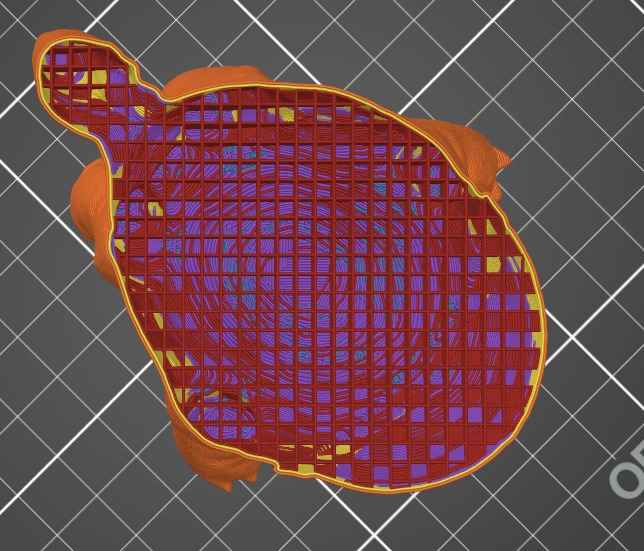
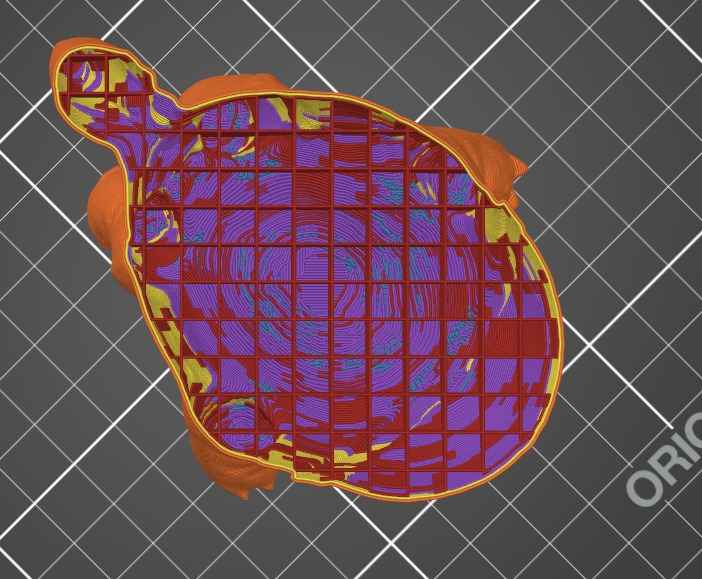
- Grid: Intersecting lines forming a mesh. Provides uniform stiffness and good support for lids/surfaces, with moderate print times. It's a versatile option for prototypes and general-purpose parts.
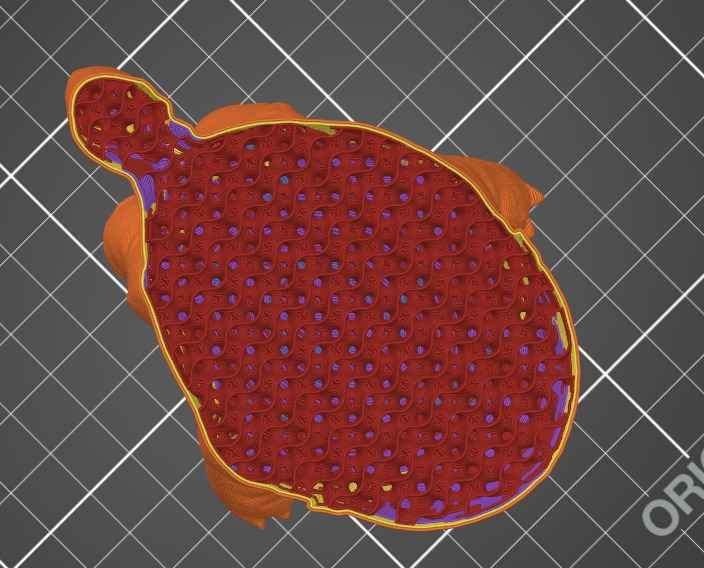
- Gyroid: A continuous 3D pattern (curves) without abrupt changes. Excellent for more isotropic strength (in multiple directions) and good vibration absorption; it tends to print quite cleanly and strong for its weight.
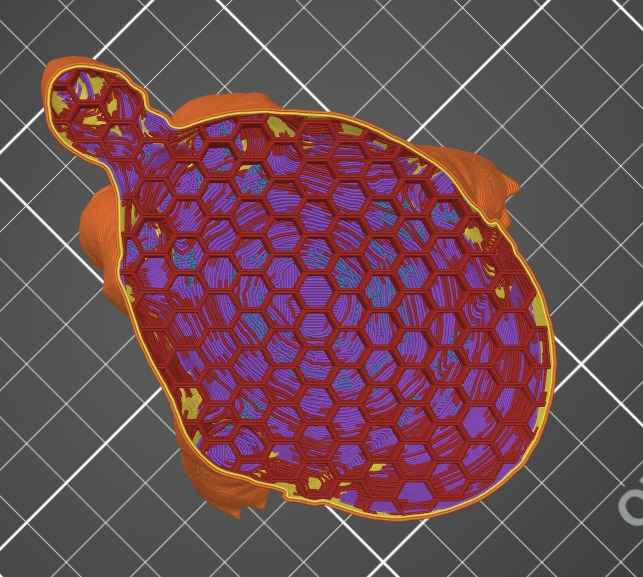
- Honeycomb: Hexagonal cells. A very good compromise between stiffness and weight, especially under compression and distributed loads. It can take longer than lines and grid patterns, but is popular for strong parts without excess material..
2. Using the 3d scanner
2.1 Download the software
You must have to download the EinScan SE program to follow the tutorial I'm doing because I used the EinScan SE
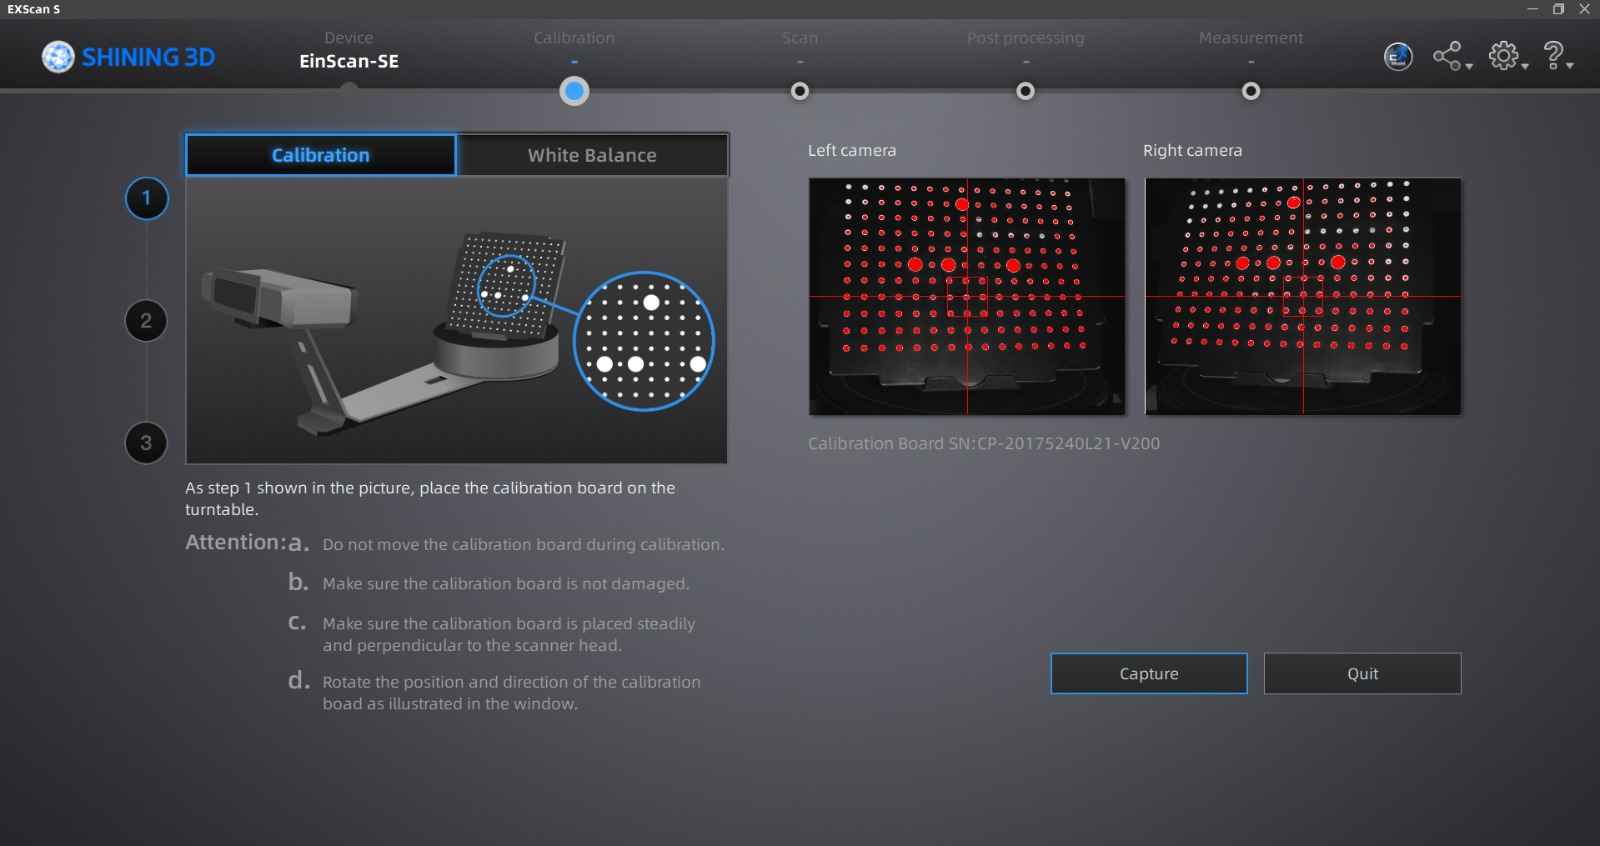
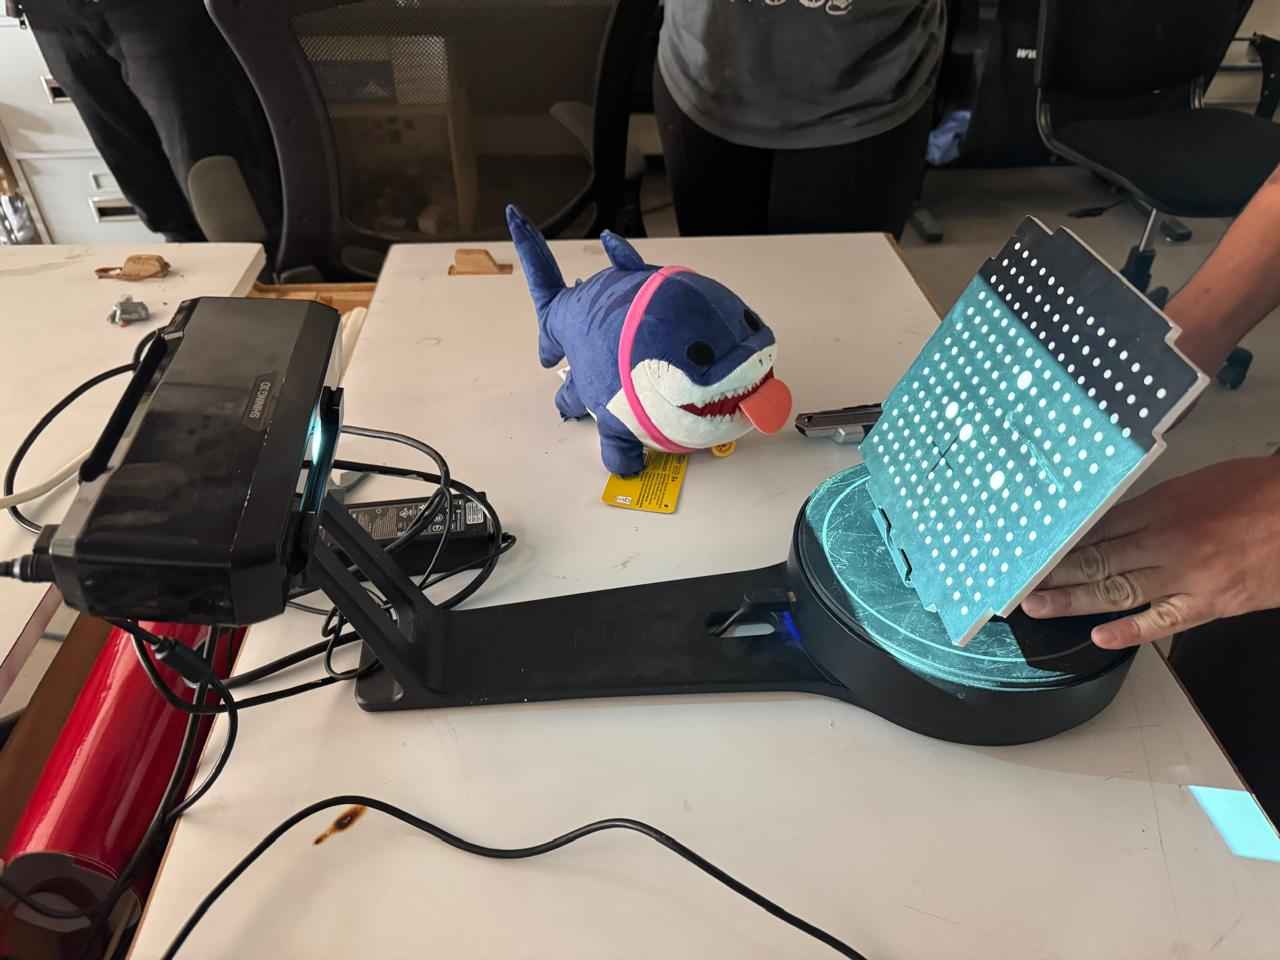
2.2 Calibrating the device and the program
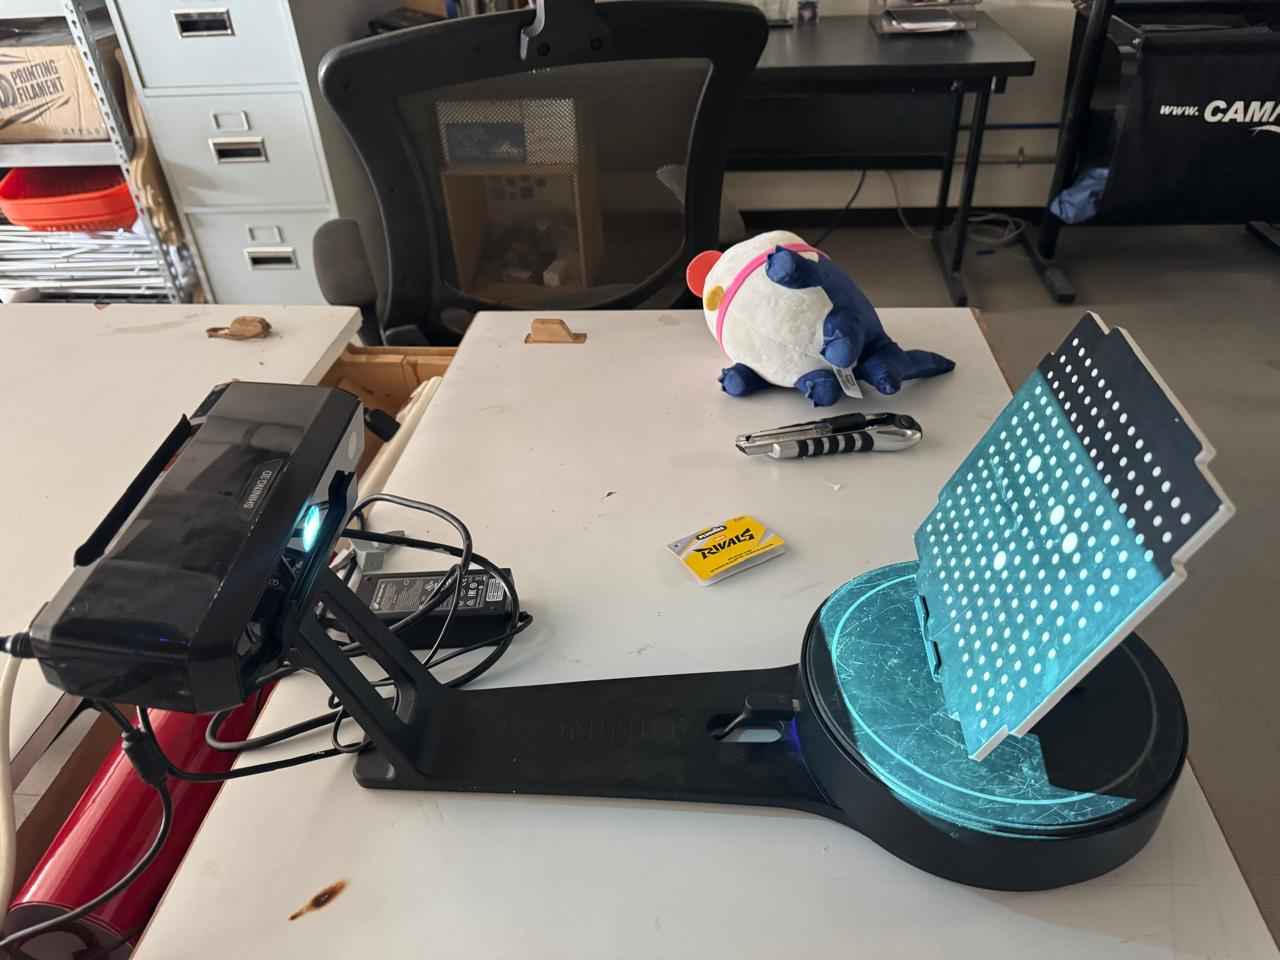
Once you have installed the program you will have to connect the device through an usb cable with your computer before you open the program so the program automatically recognize the device.
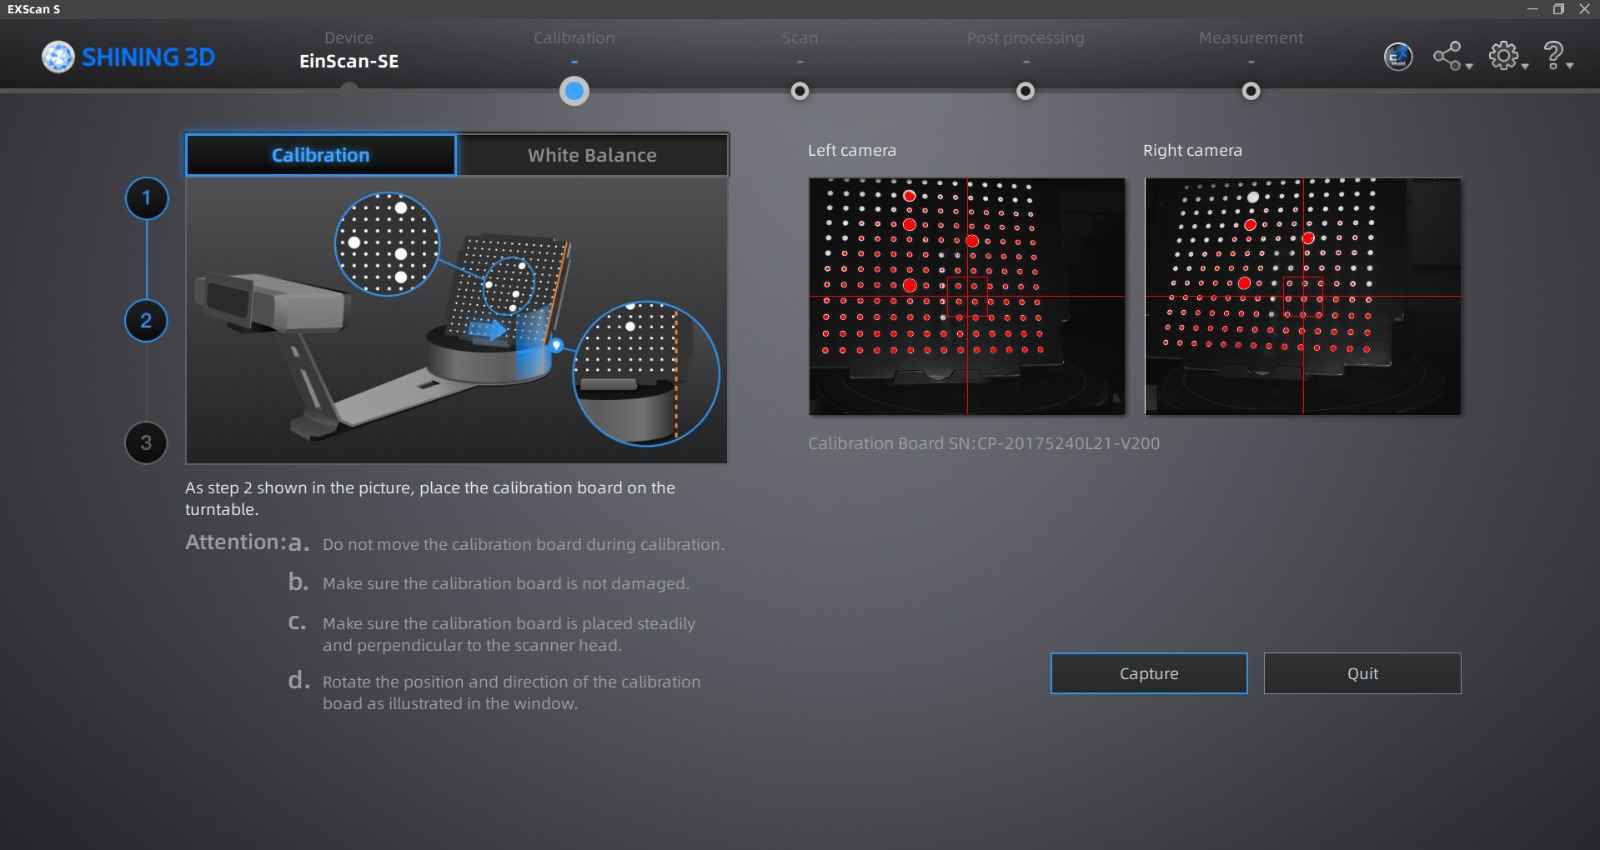
You will have to do in total 4 calibartion tests:
- 1st calibration
- 2nd calibration
- 3rd calibration
- 4th calibration
We must match the points in the image that appears in the program with those we have in the physical table.
Repeat and match the points in the image that appears in the program with those we have in the physical table.
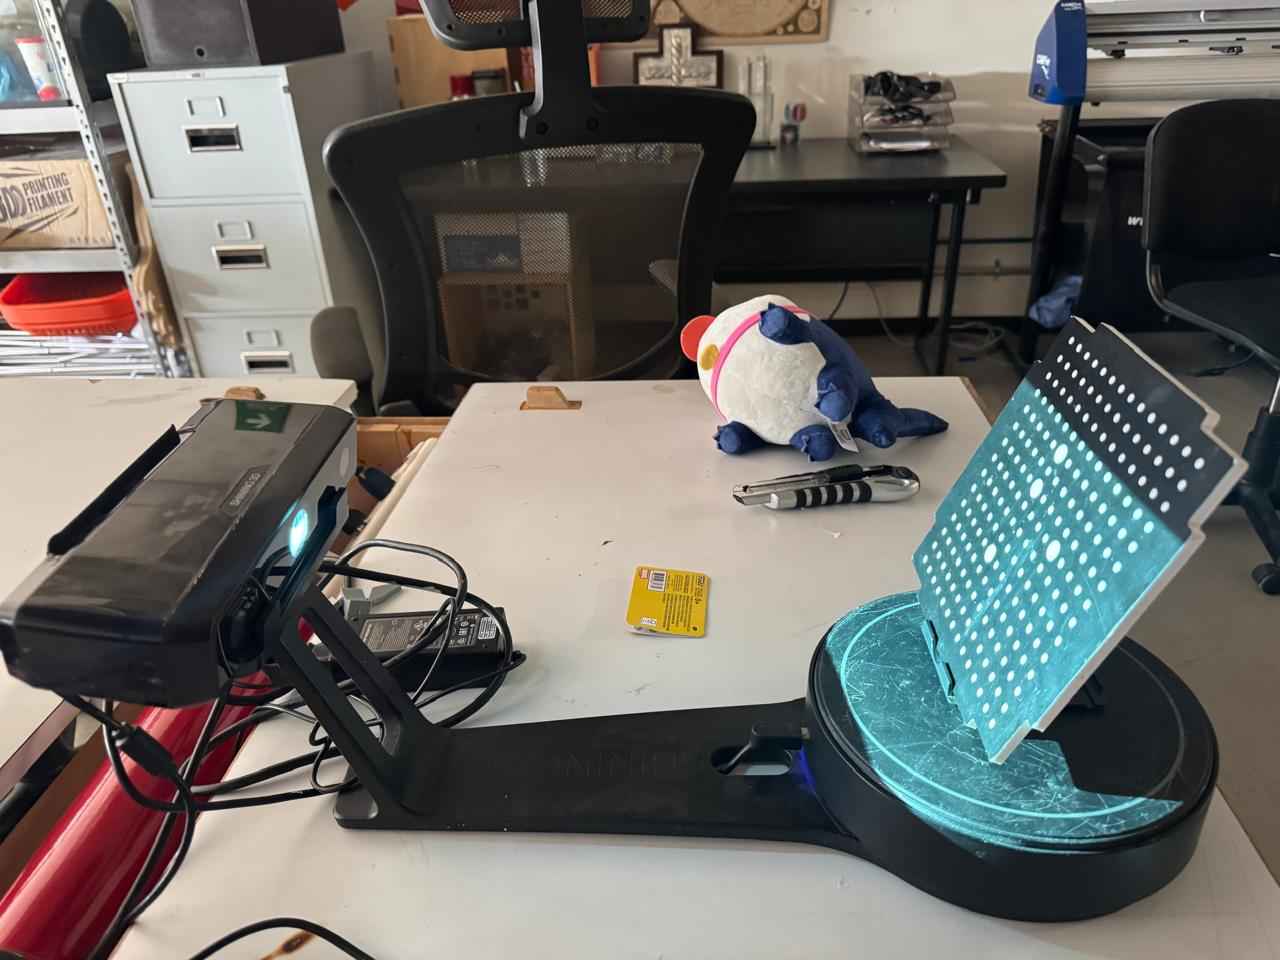
Repeat and match the points in the image that appears in the program with those we have in the physical table.
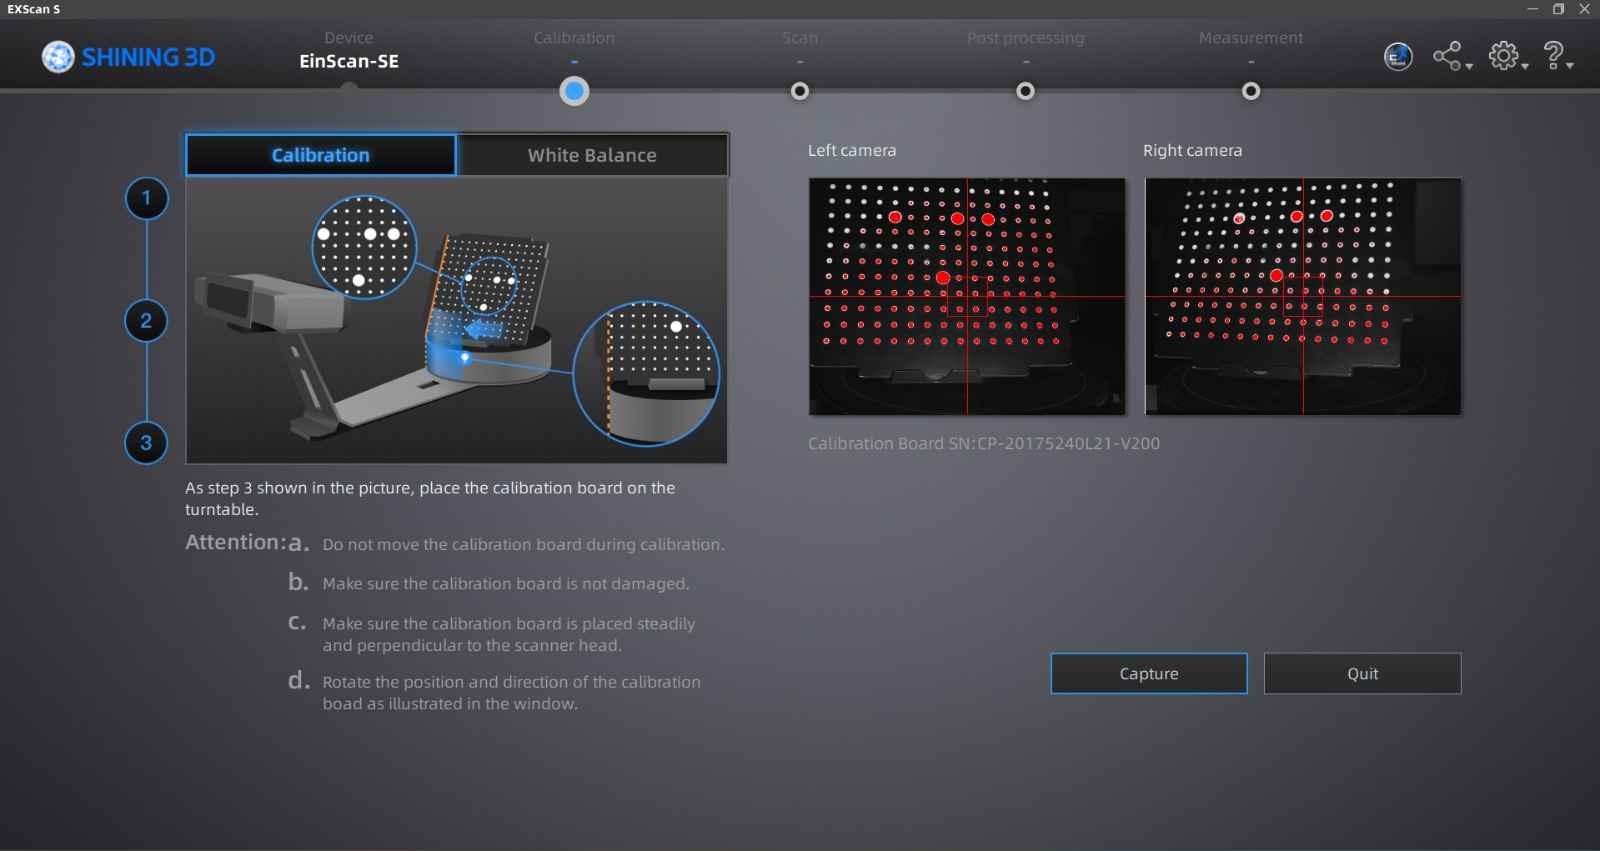
Place a blank page in the table and click continue.
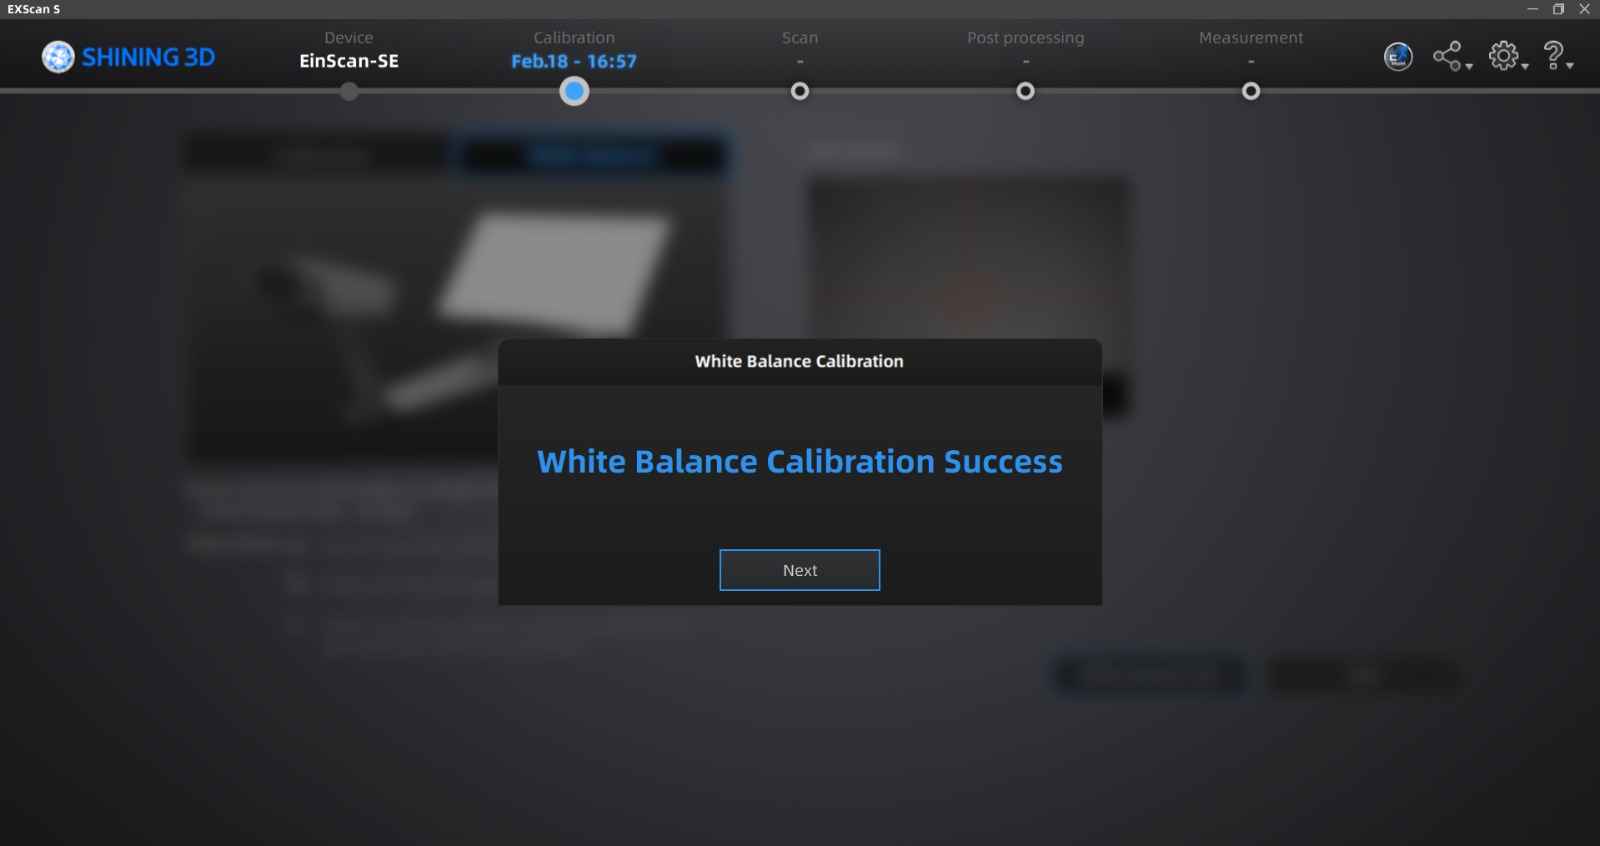
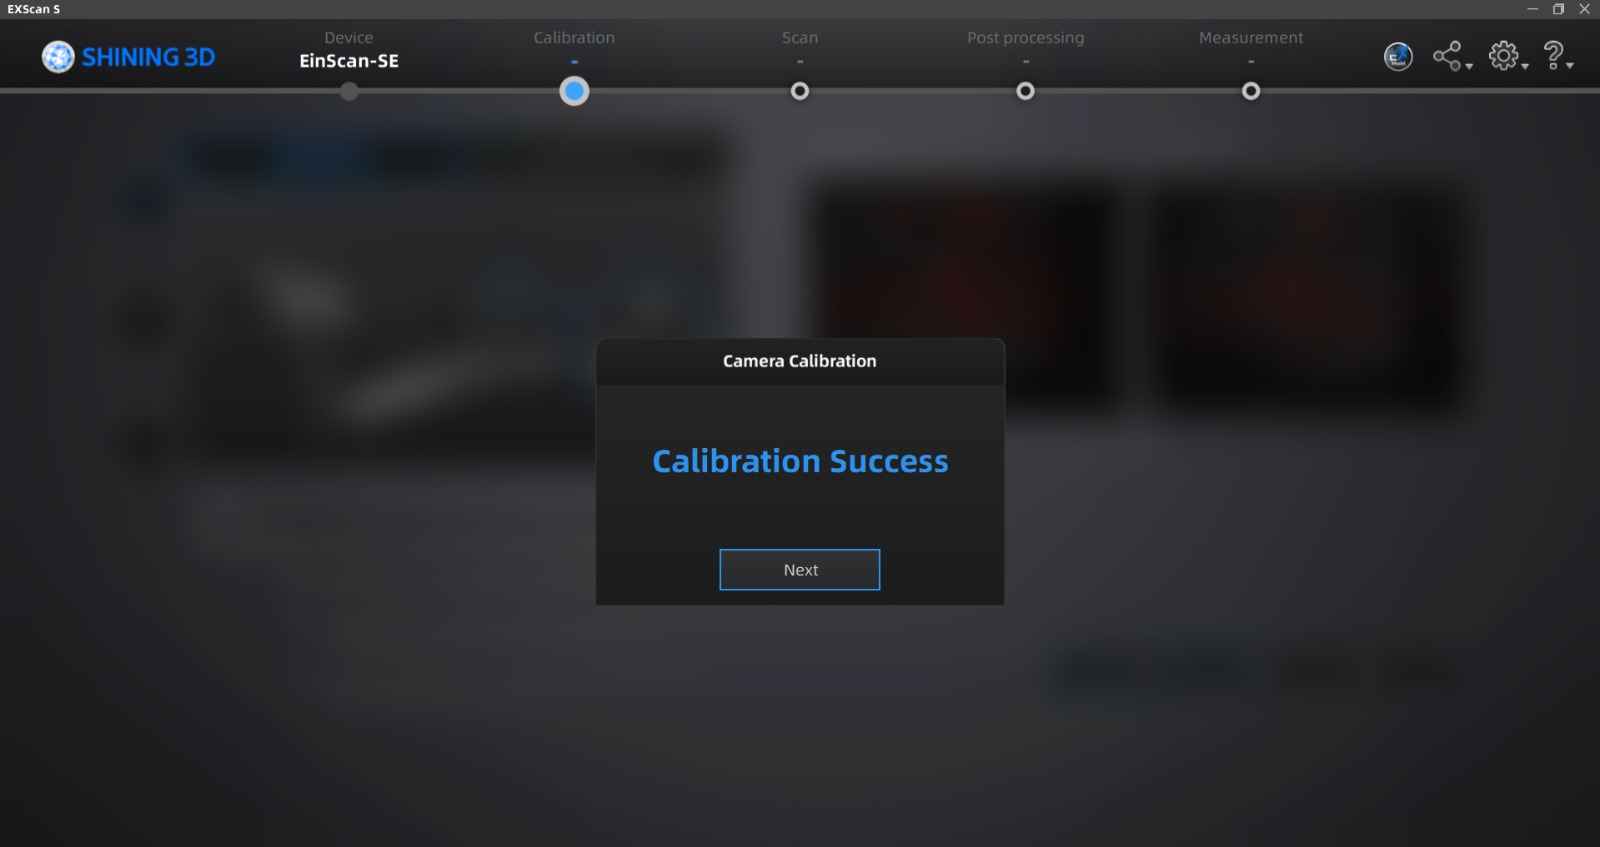
After the 4 calinrations a tab will show that you have completed the calibration
2.3 Scan your object
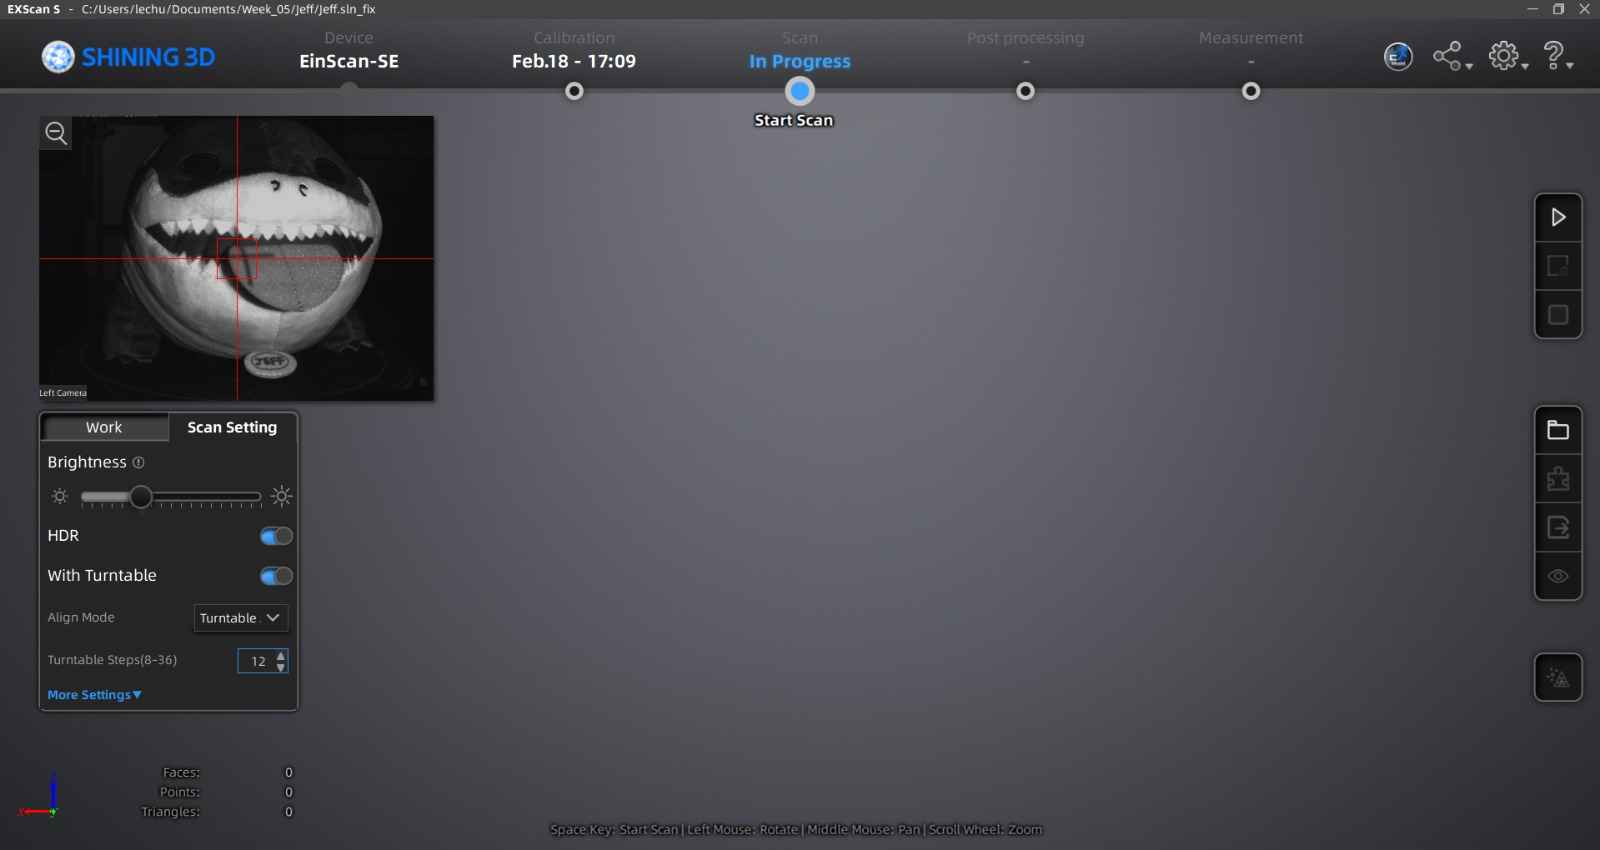
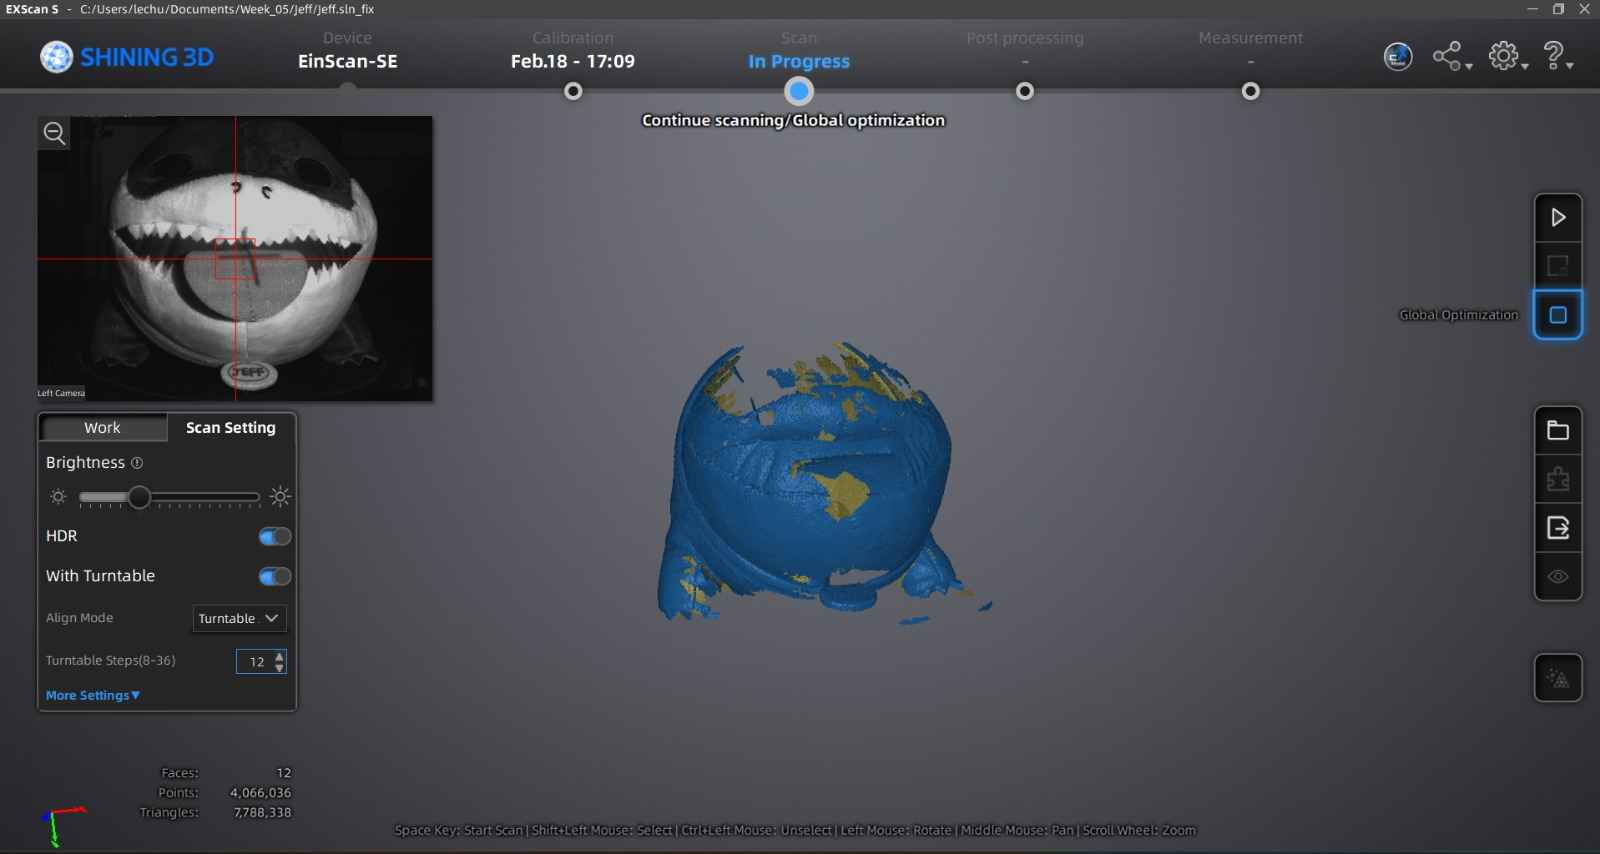
We can set how many steps per rotation our turntable will take; my local instructor Beto recommended 12 steps and activate the HDR option.
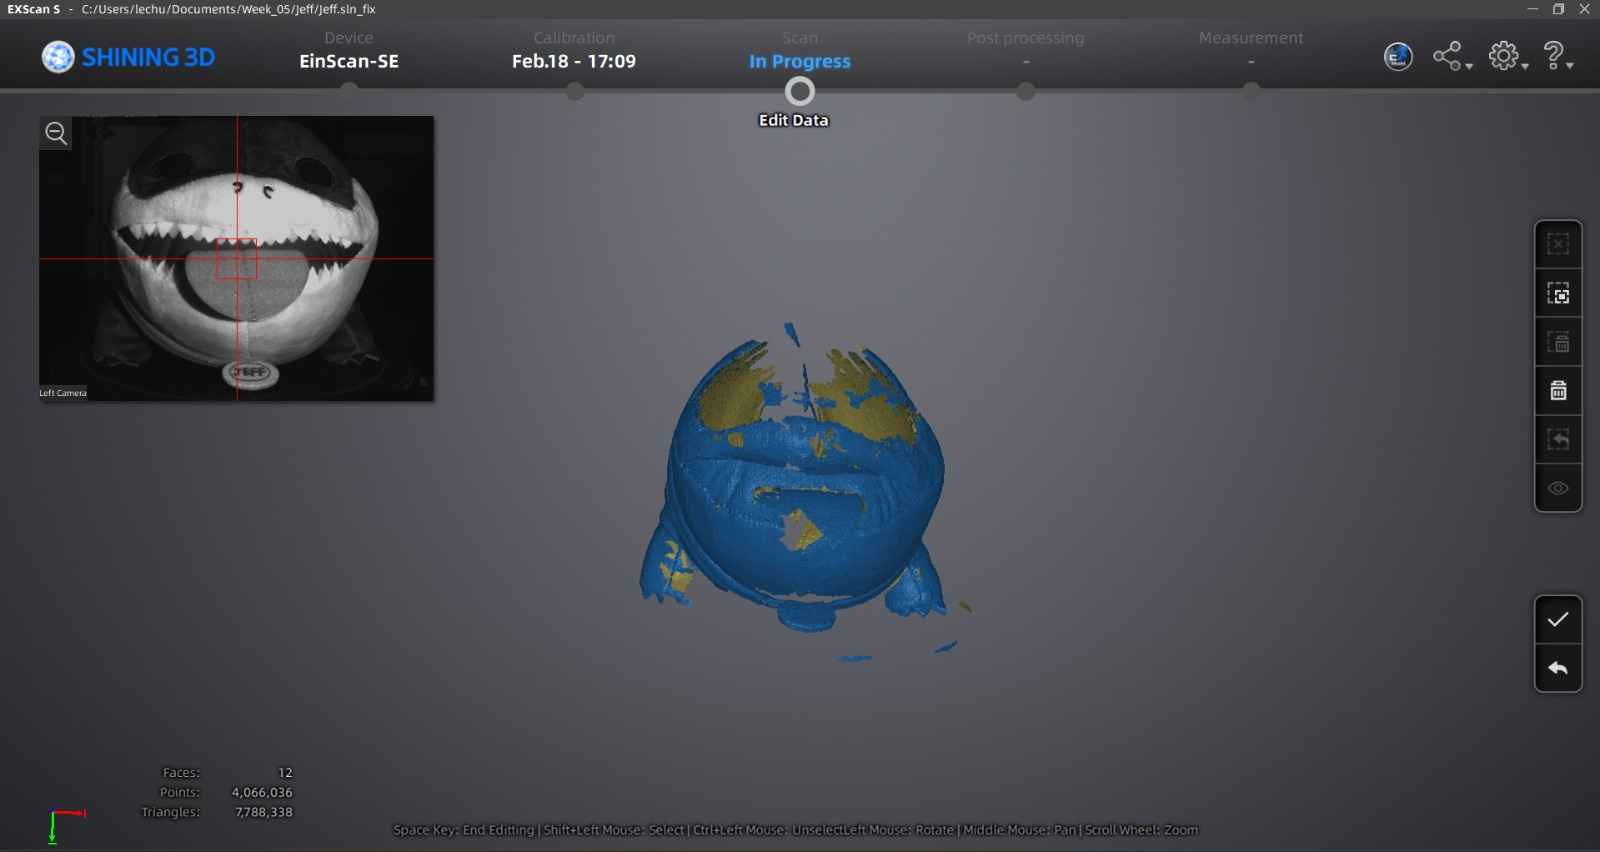
This how our model looks once is has finished the first scan.
After each scan, we must select the "global optimization" option and continue with the next position to scan or perform another scan in the same pose to complete geometries.
We must repeat this process until we are satisfied with the model obtained or if the model starts to not getting any change.
2.4 Generate the stl model
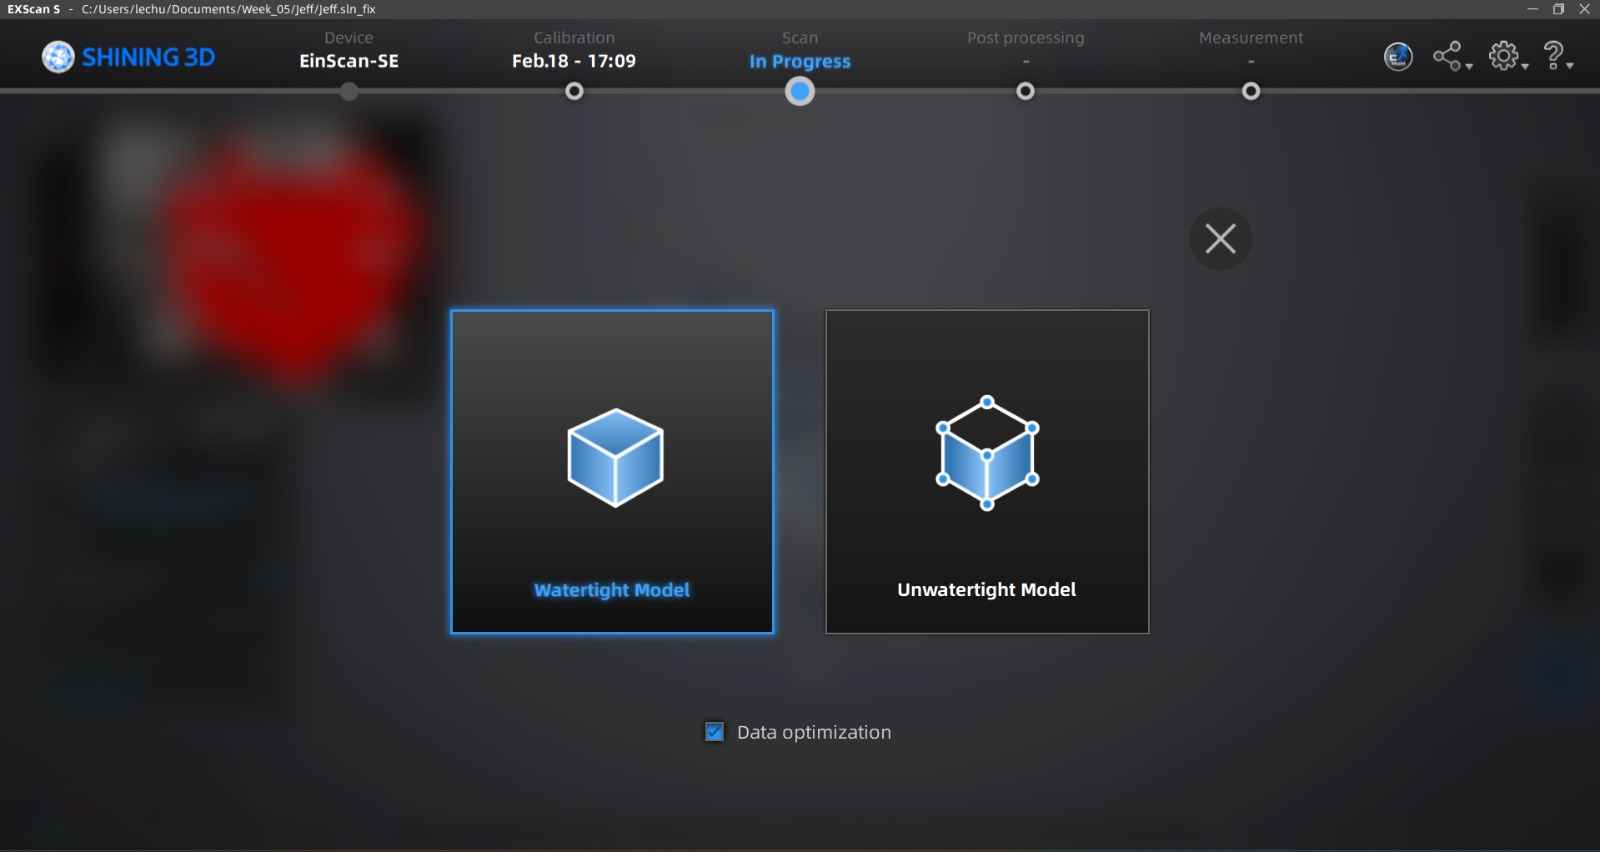
To export our model, we will click on the export symbol and choose Waterlight Model, as it offers a closed design model which is optimal for 3D printing.
Then select the medium modeling option; in my case, I used this one because of my computer's processing power. The modeling level will depend on your computer.
Here is the waterlight model generated, you can save it as obj and stl.
2.5 Post-processing
For this part I recommen to use blender, you can work with the obj or stl file for make some corrections or to smooth your surface.
Here is my process of the post-processing.
2.6 Printing the model
For printing I will use "prussa slicer", but almost every program of this kind works similar.
2.6.1 Insert the model
Drag your stl file from the desk or the place you have it on the window of the prusa slicer program.
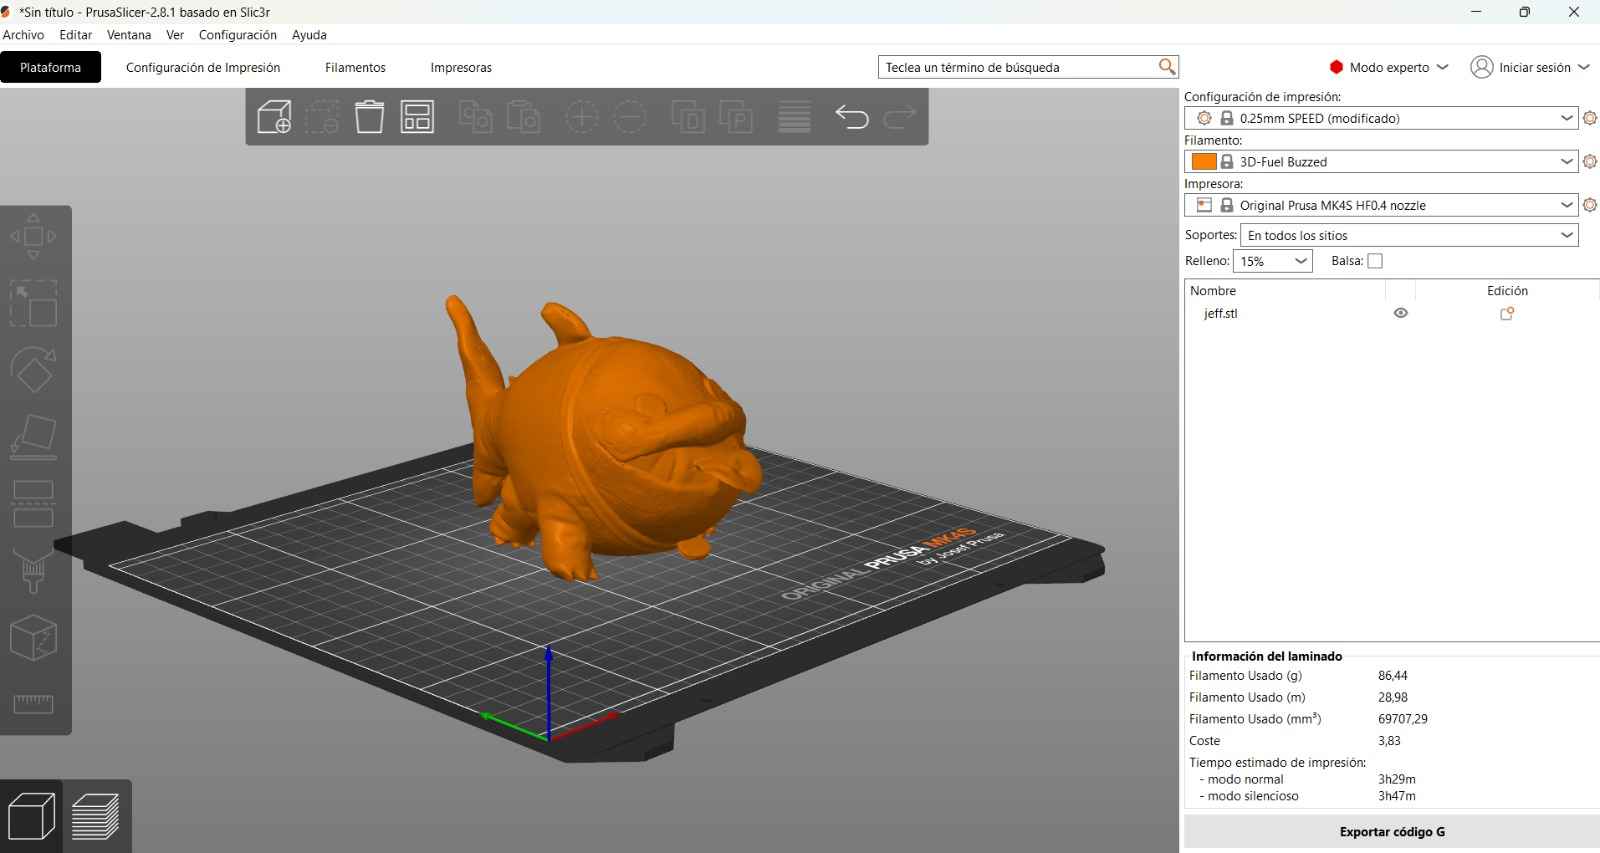
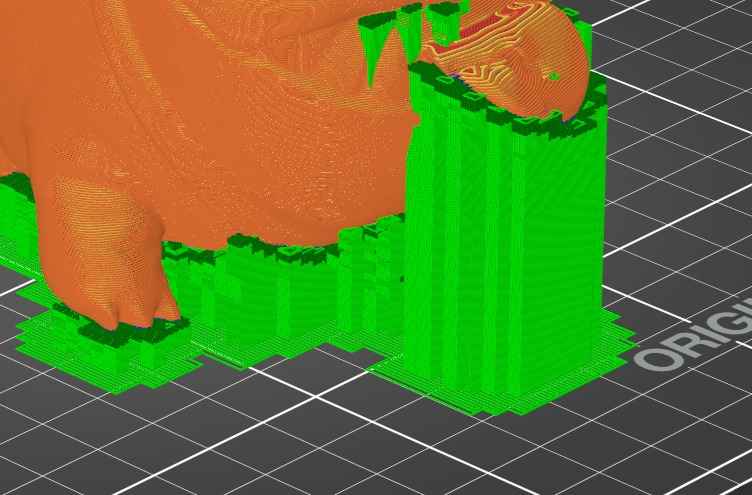
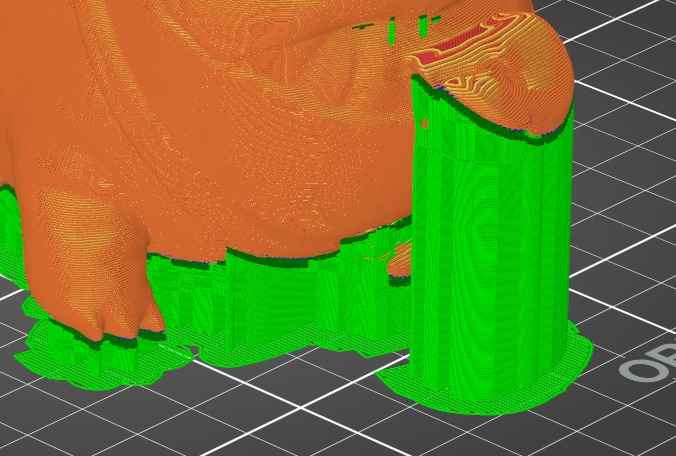
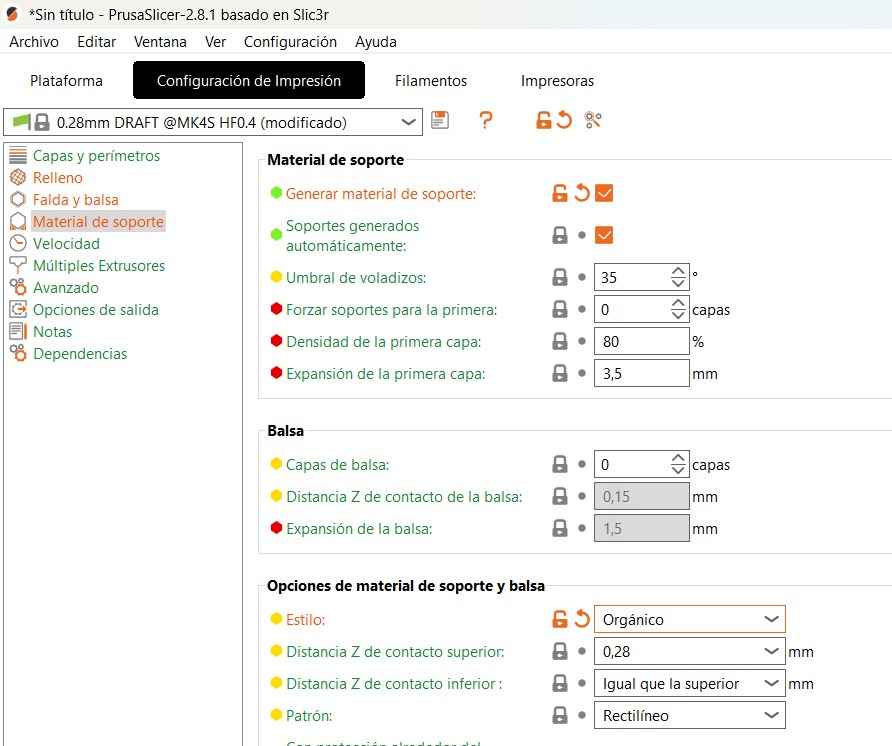
2.6.2 Set printing parameters
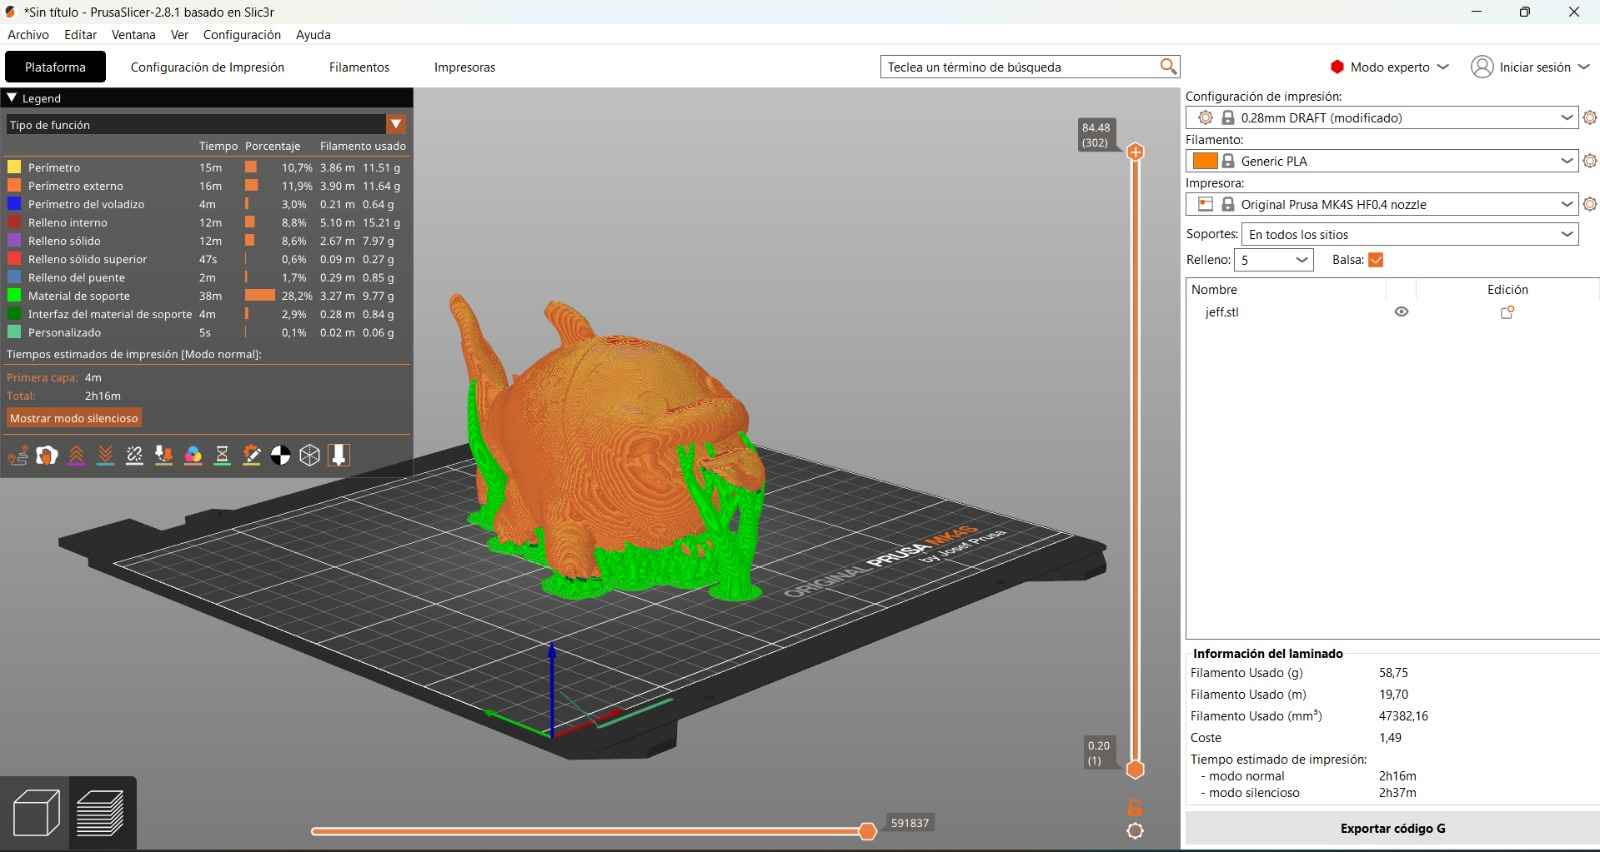
For this you fill go to the tab printing configurations and in the tab of support material select the Trerr/Organic support due to the geometry of jeff so it is easier to remover the supports. Also selected the linear and 5% infill. Finally on the option of printing material you will select PLA so the printer know at which temperature the nozzle of the extruder has to be heated.
After you finish selecting your configuration you will click on laminate model, that way you can import your model to an usb to print on the 3d printer and also know the printing time and how many filament will be used.
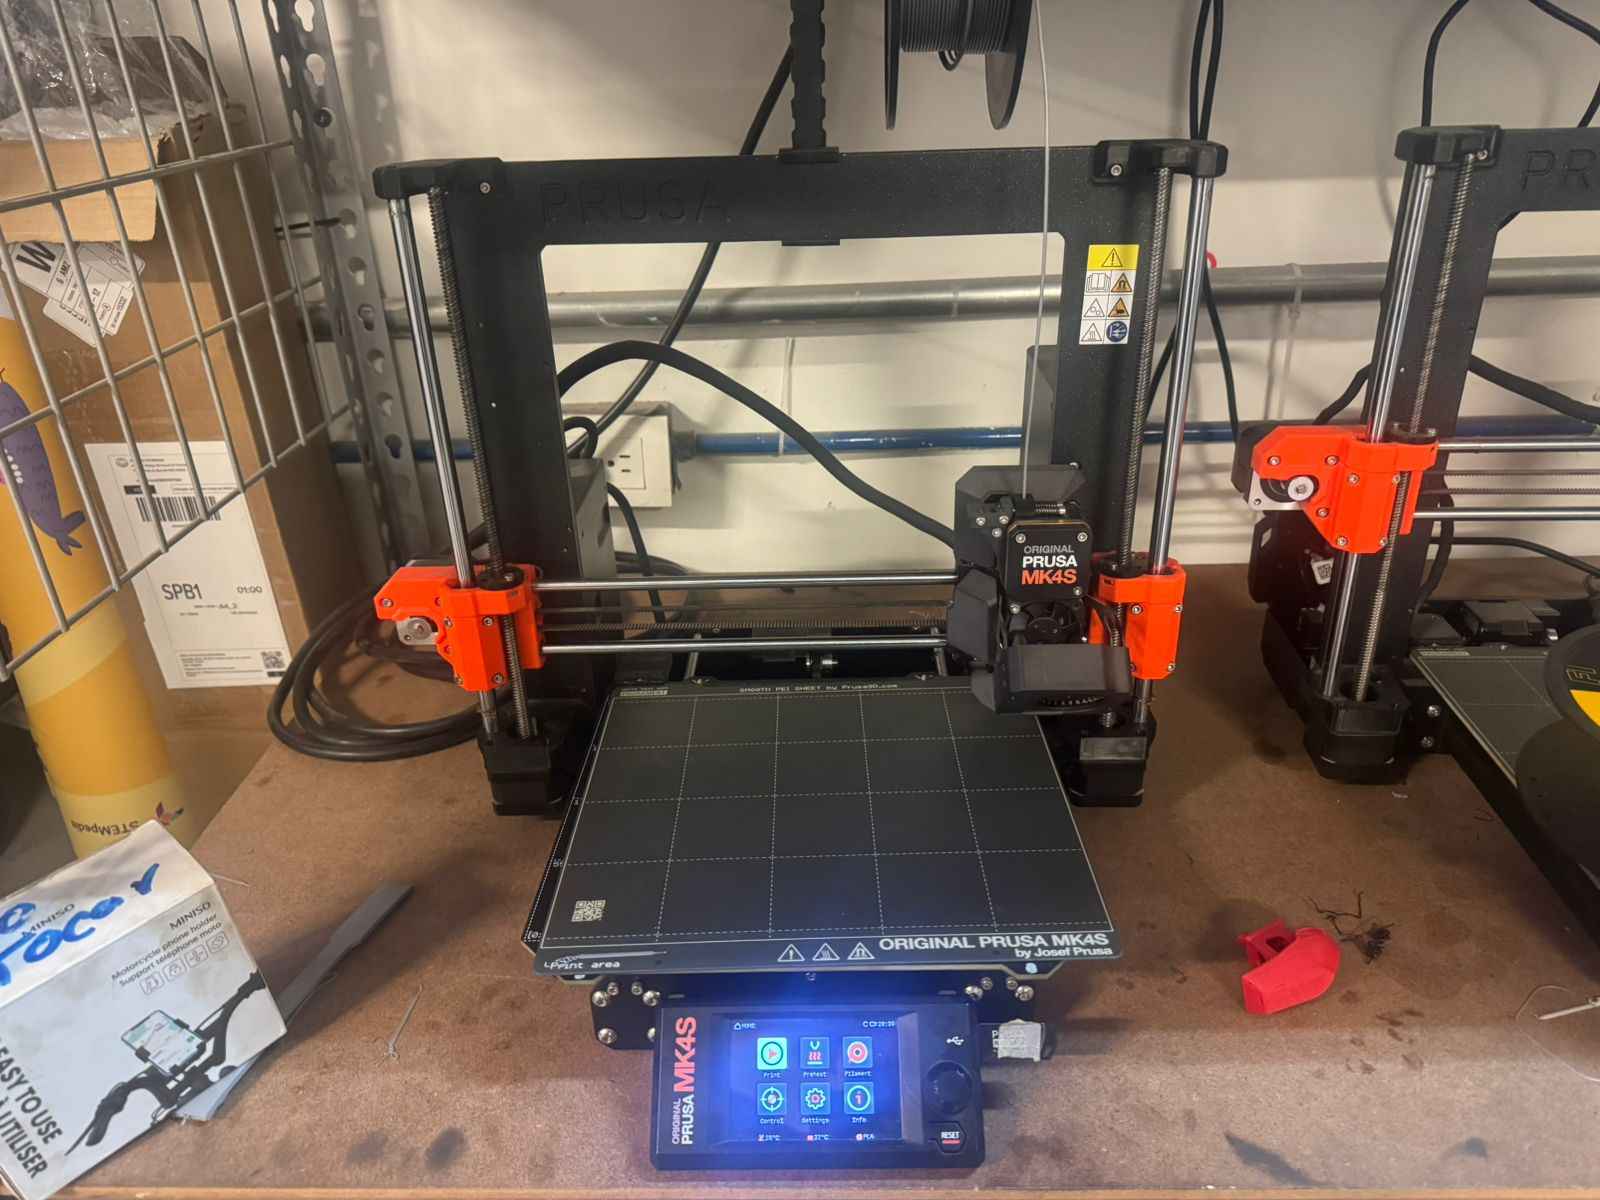
2.6.3 Insert the usb on the 3d printer
After you exported your file on a usb you will connect it to the 3d printer you will use.
2.6.4 Select you file and print
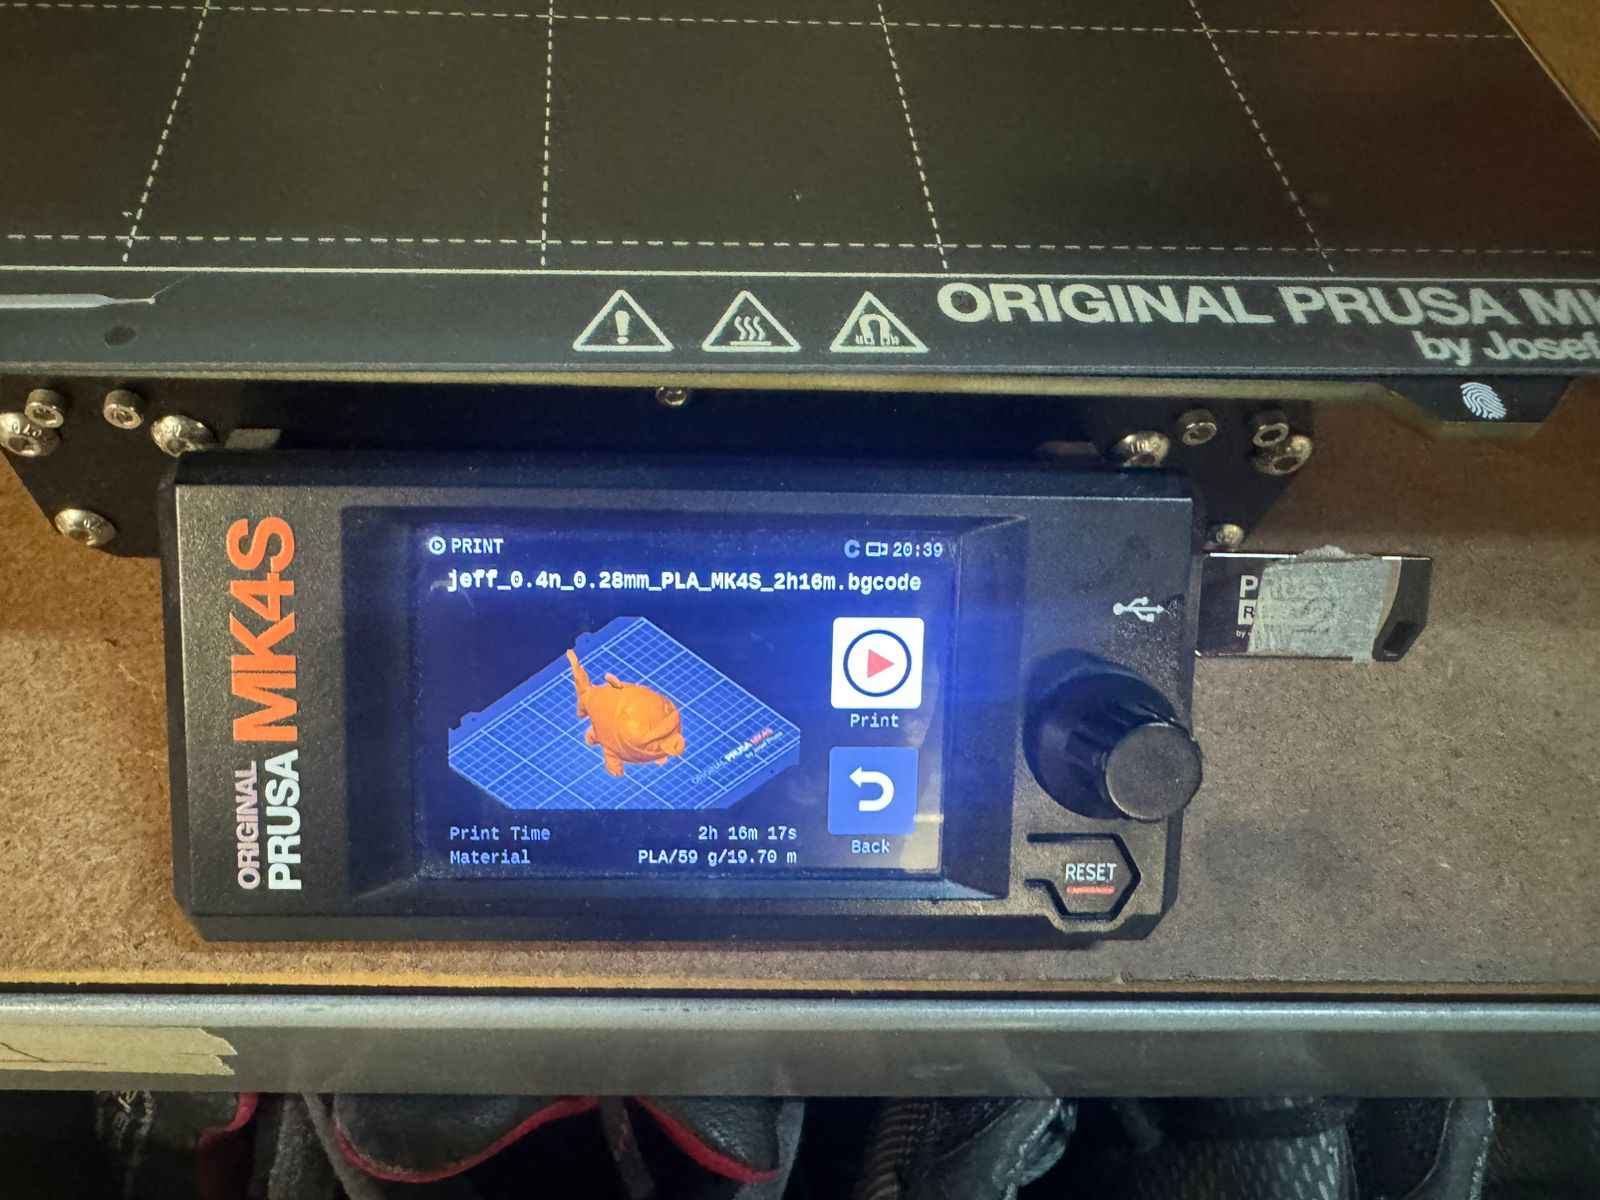
Now you will select print and choose the file.
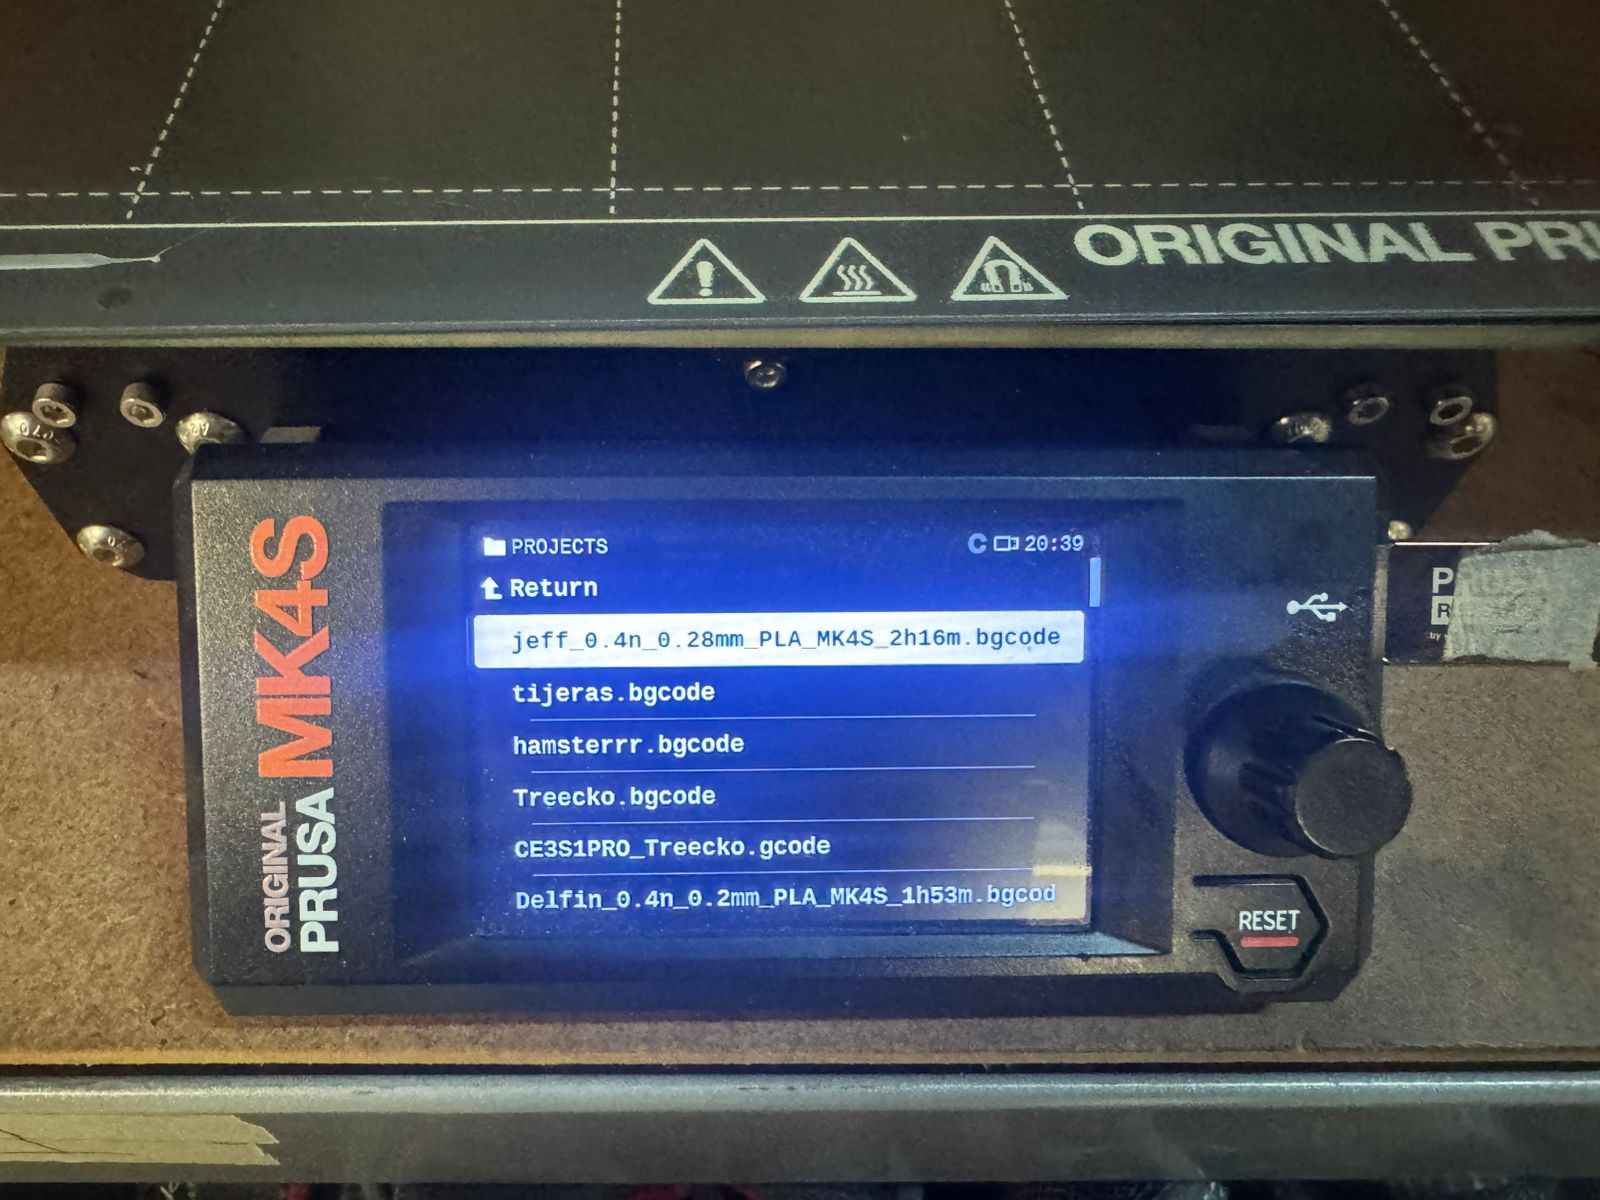
This will be the preview; click on print and it will print. It is recommended to pay attention for the first 15 minutes, as this is when prints commonly start to fail because they detach from the bed.
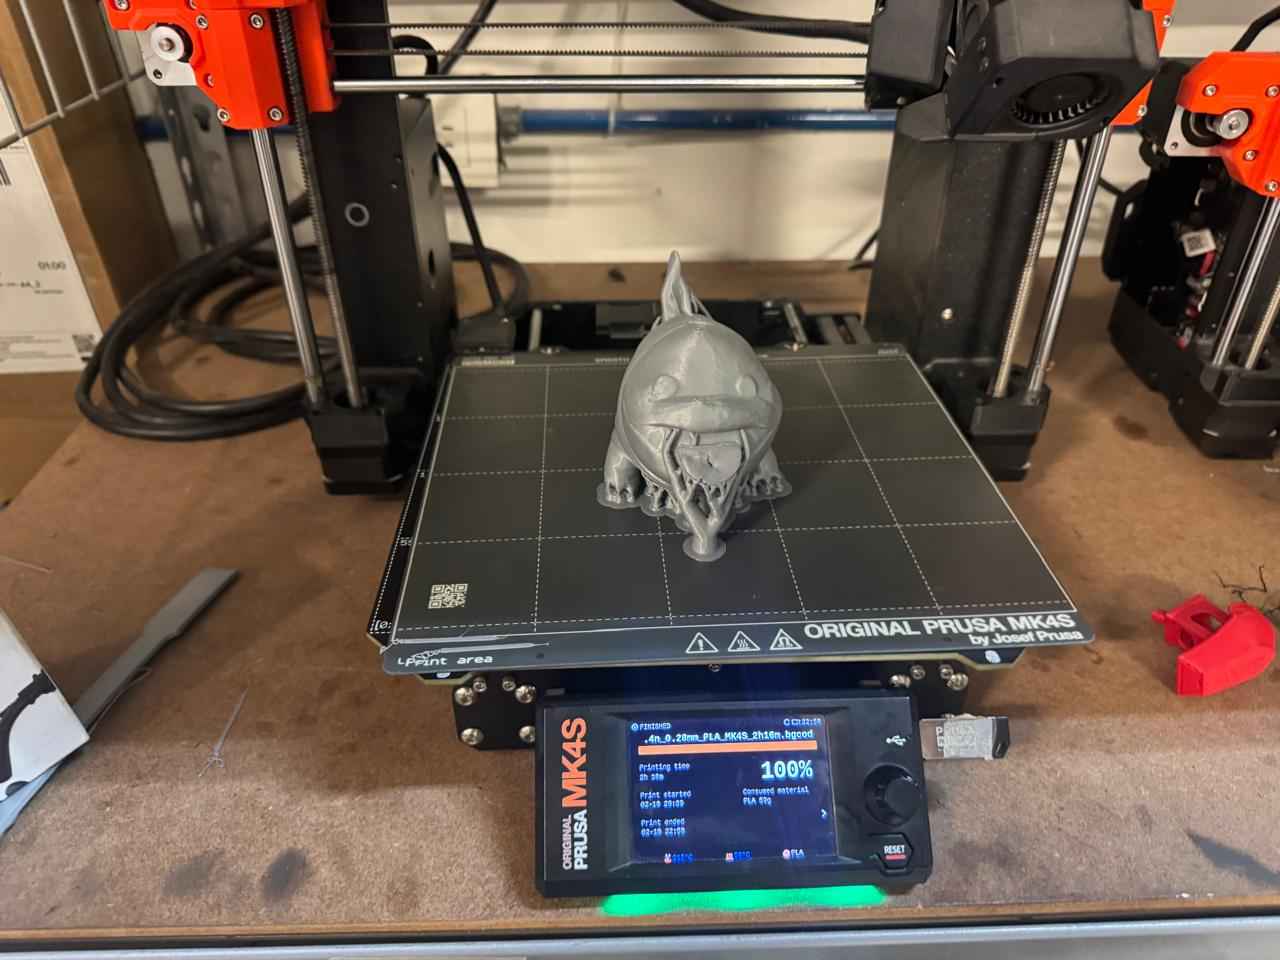
This is how it looks the 3d printer working.
Here is the look of the just finished printing.
2.6.5 Detach it from the bed
You can detach it with just your hand or any object.
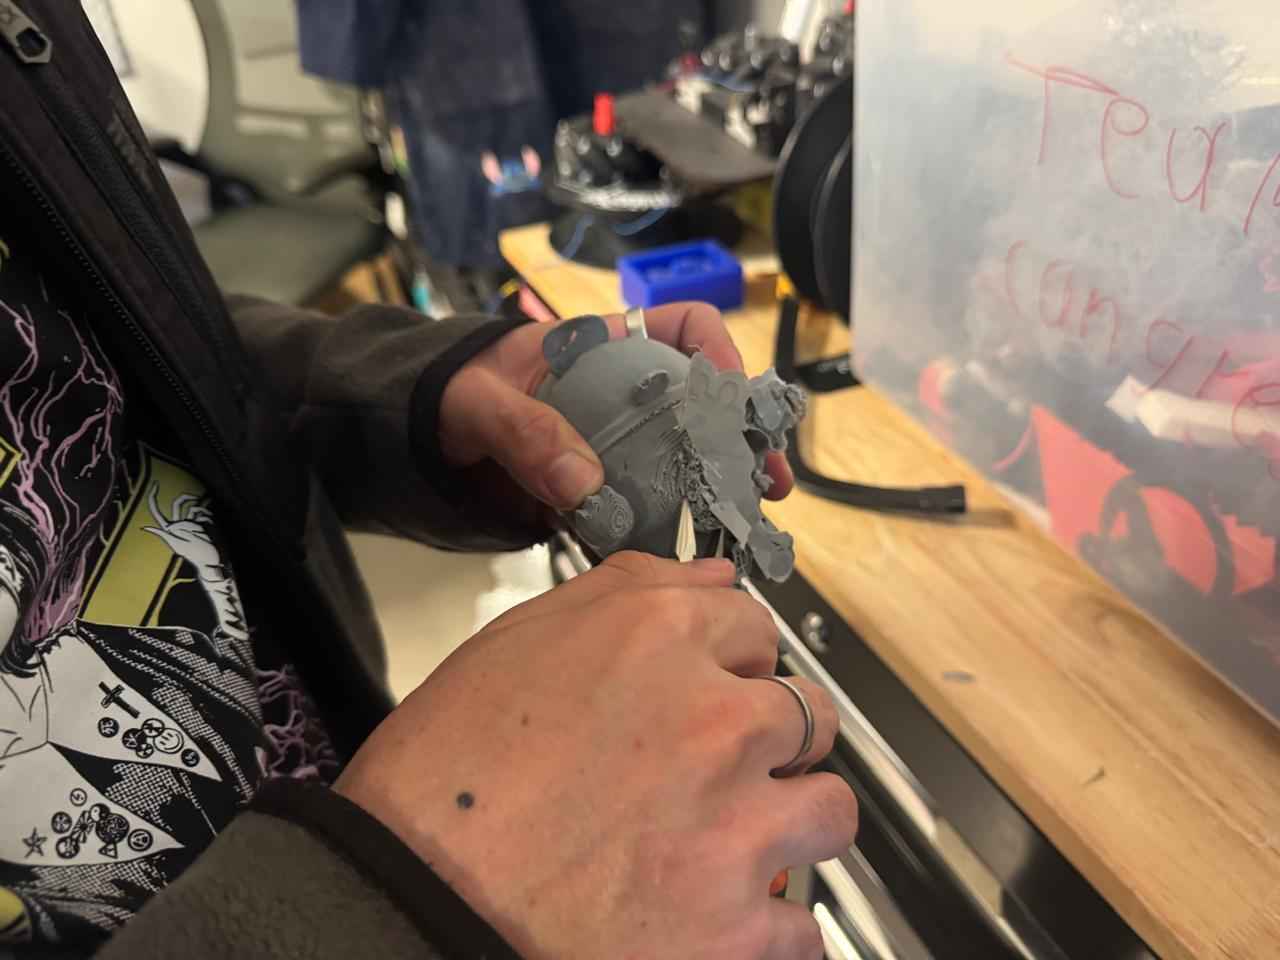
2.6.6 Remove the supports
Remove the suports with your honds and tweezers to not break any detail.
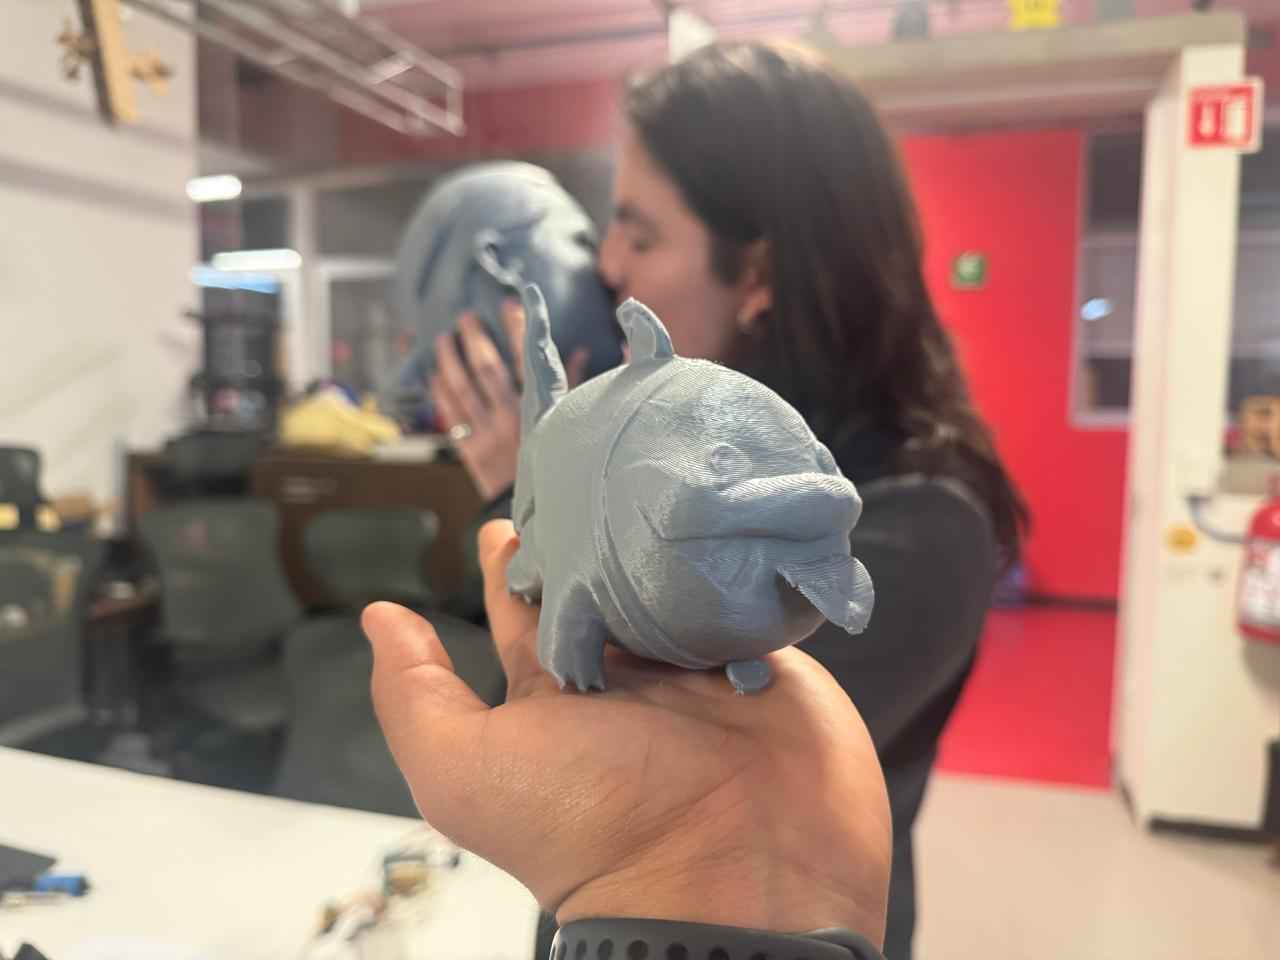
2.6.7 Result
Here is the look of Jeff the land shark, that I scanned and 3d printed.
2.6.8 Printing with other material
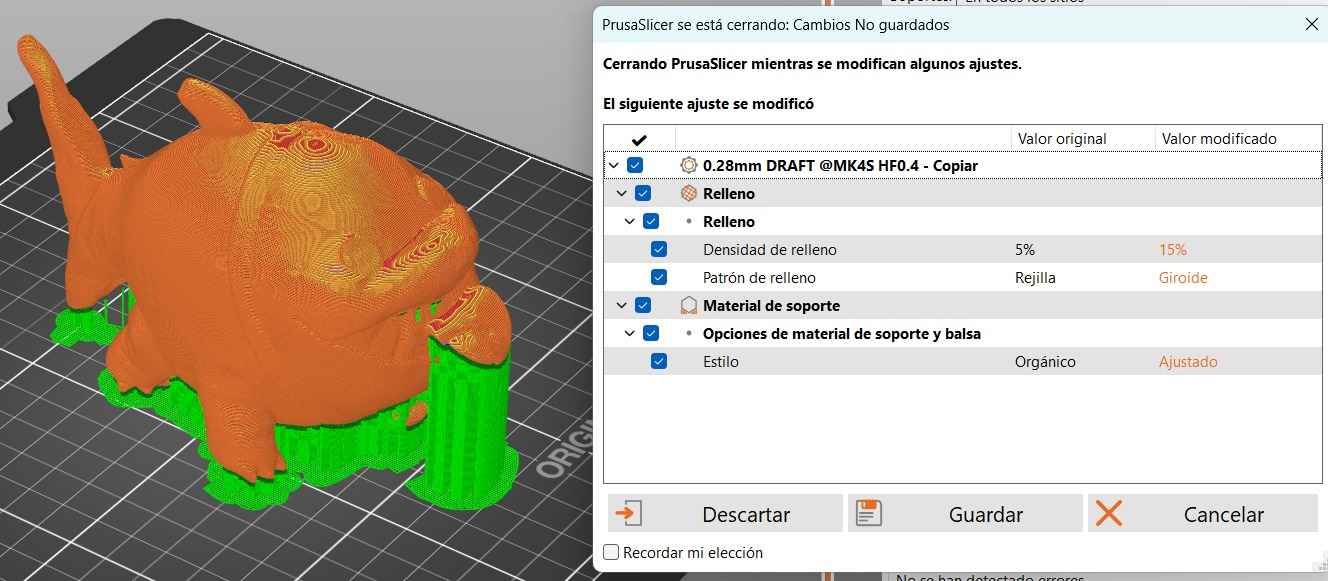
I also printed in TPU which is a flexible material that allows a piece to be flexible and squishy, by that I only changed the parameters to material TPU, gyroid infill, 15% of infill and linear supports. Except for this, everything else needs to be repeated.
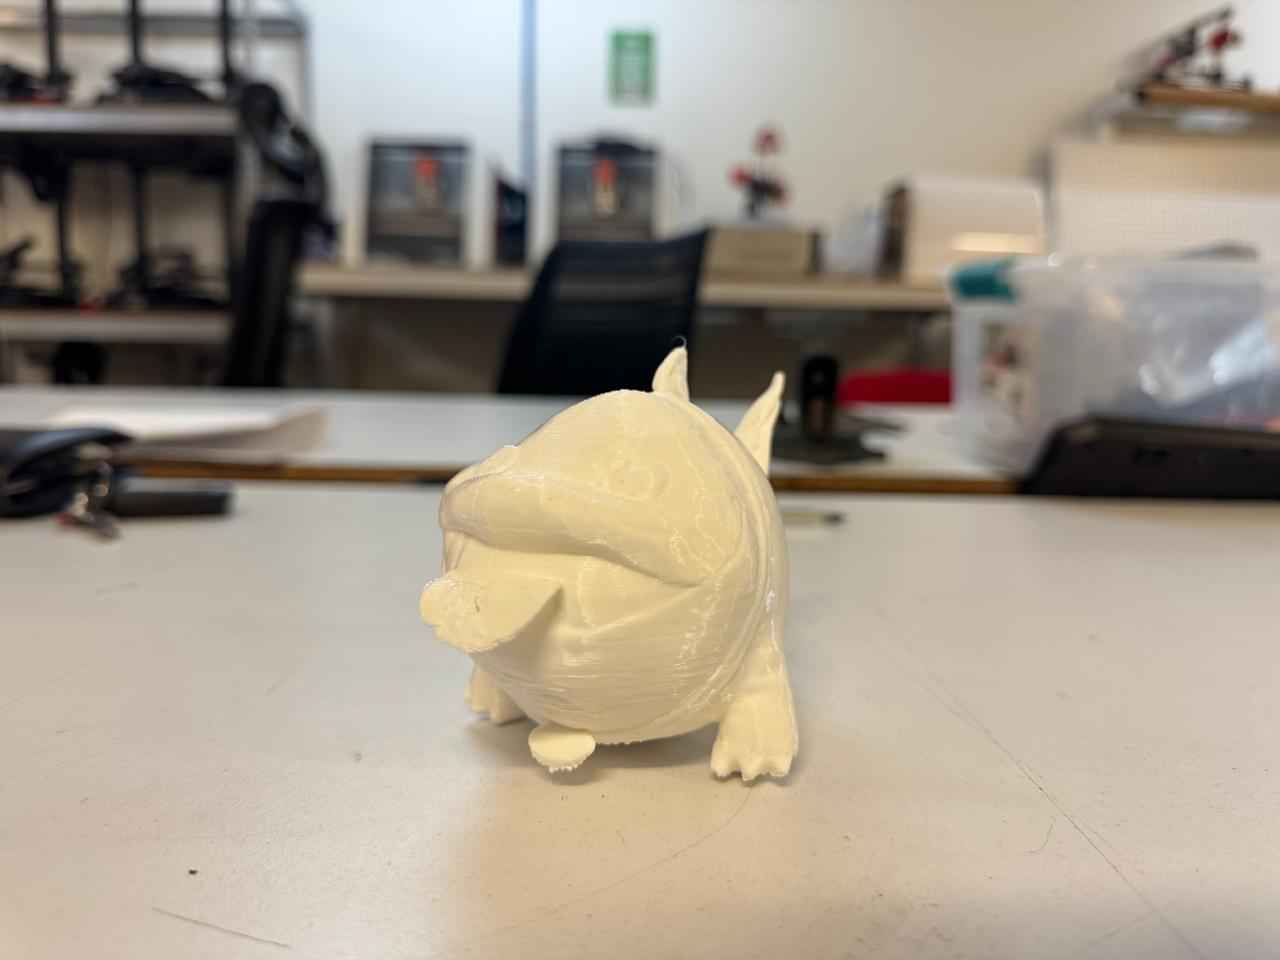
Here is how it looks already printed and without the supports.
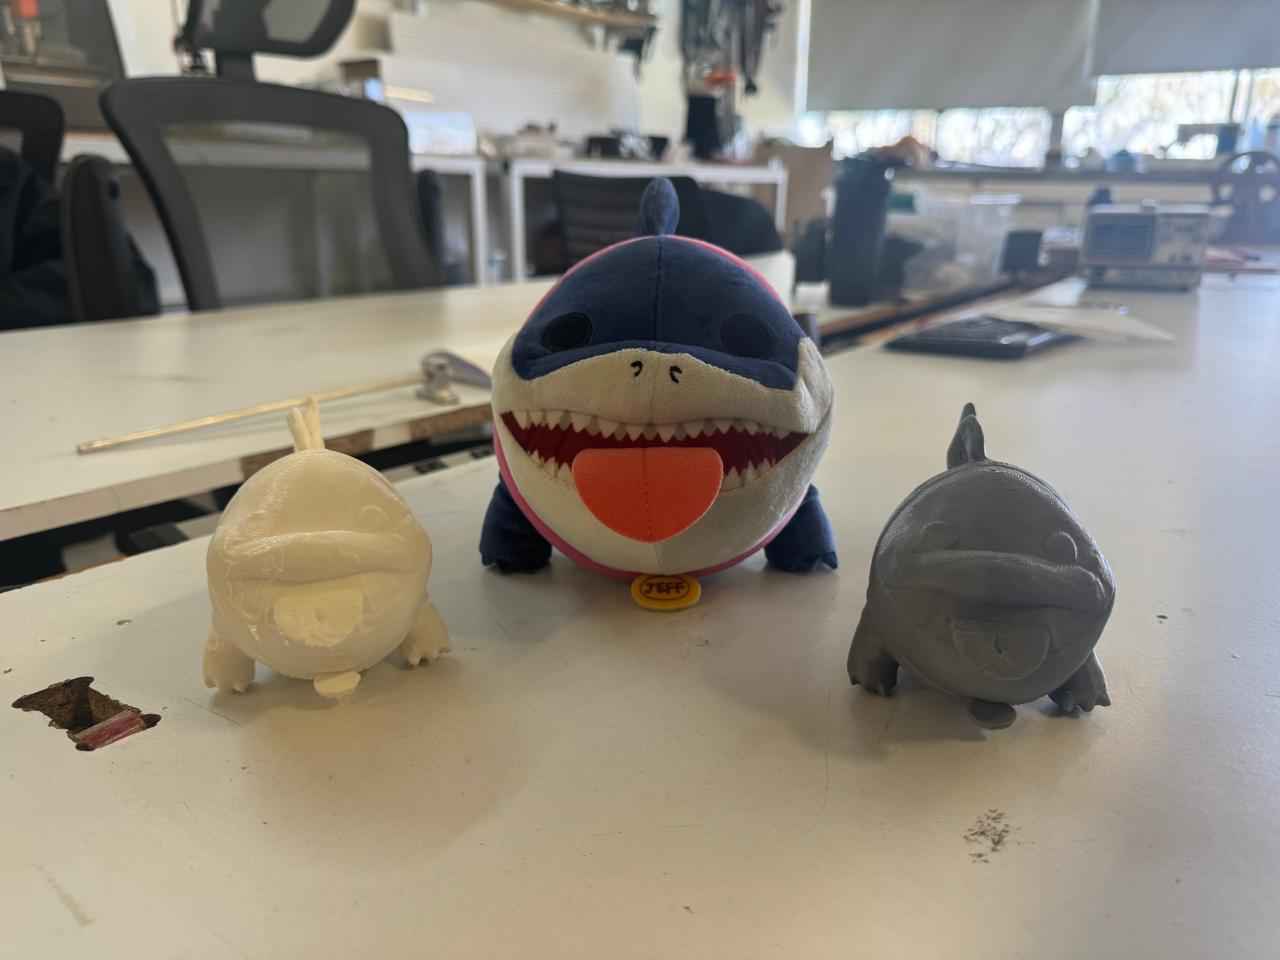
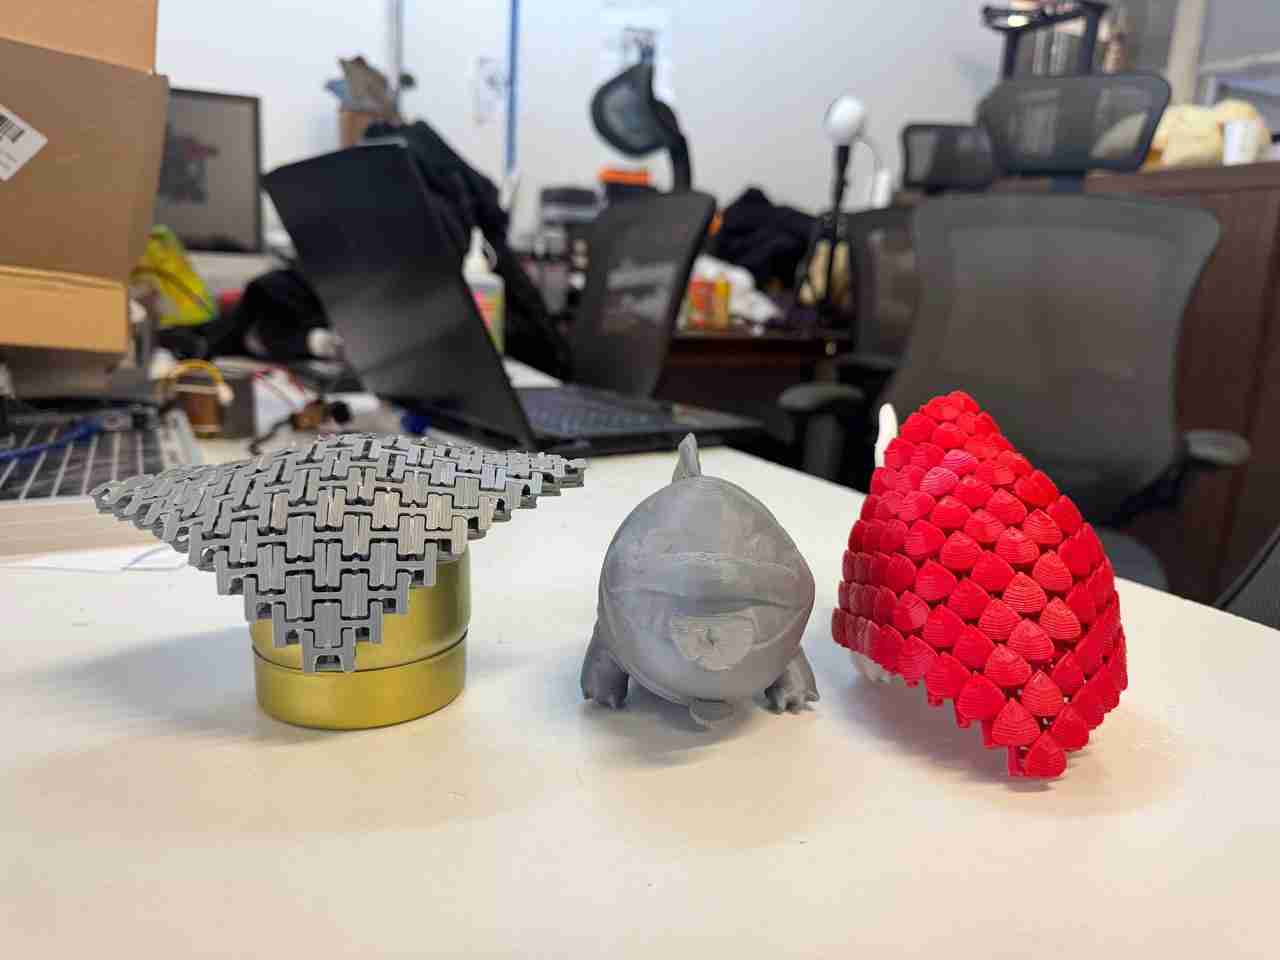
2.7 Comparisson
Here is a final photo of the original jeff and the ones that were printed.
3. 3d printer
3.1 Inspiration of the 3d model
For this task we will we had to model something that could only be printed due to its geometry or the way it was generated. I'll use this video of Iker Libano | Knin Custom Design flexible meshes for 3D printing step by step | Fusion 360 as a reference, which models 3D printed fabric and explains difference between these fabrics that are perfect for cosplay props.
3.2 Making the model
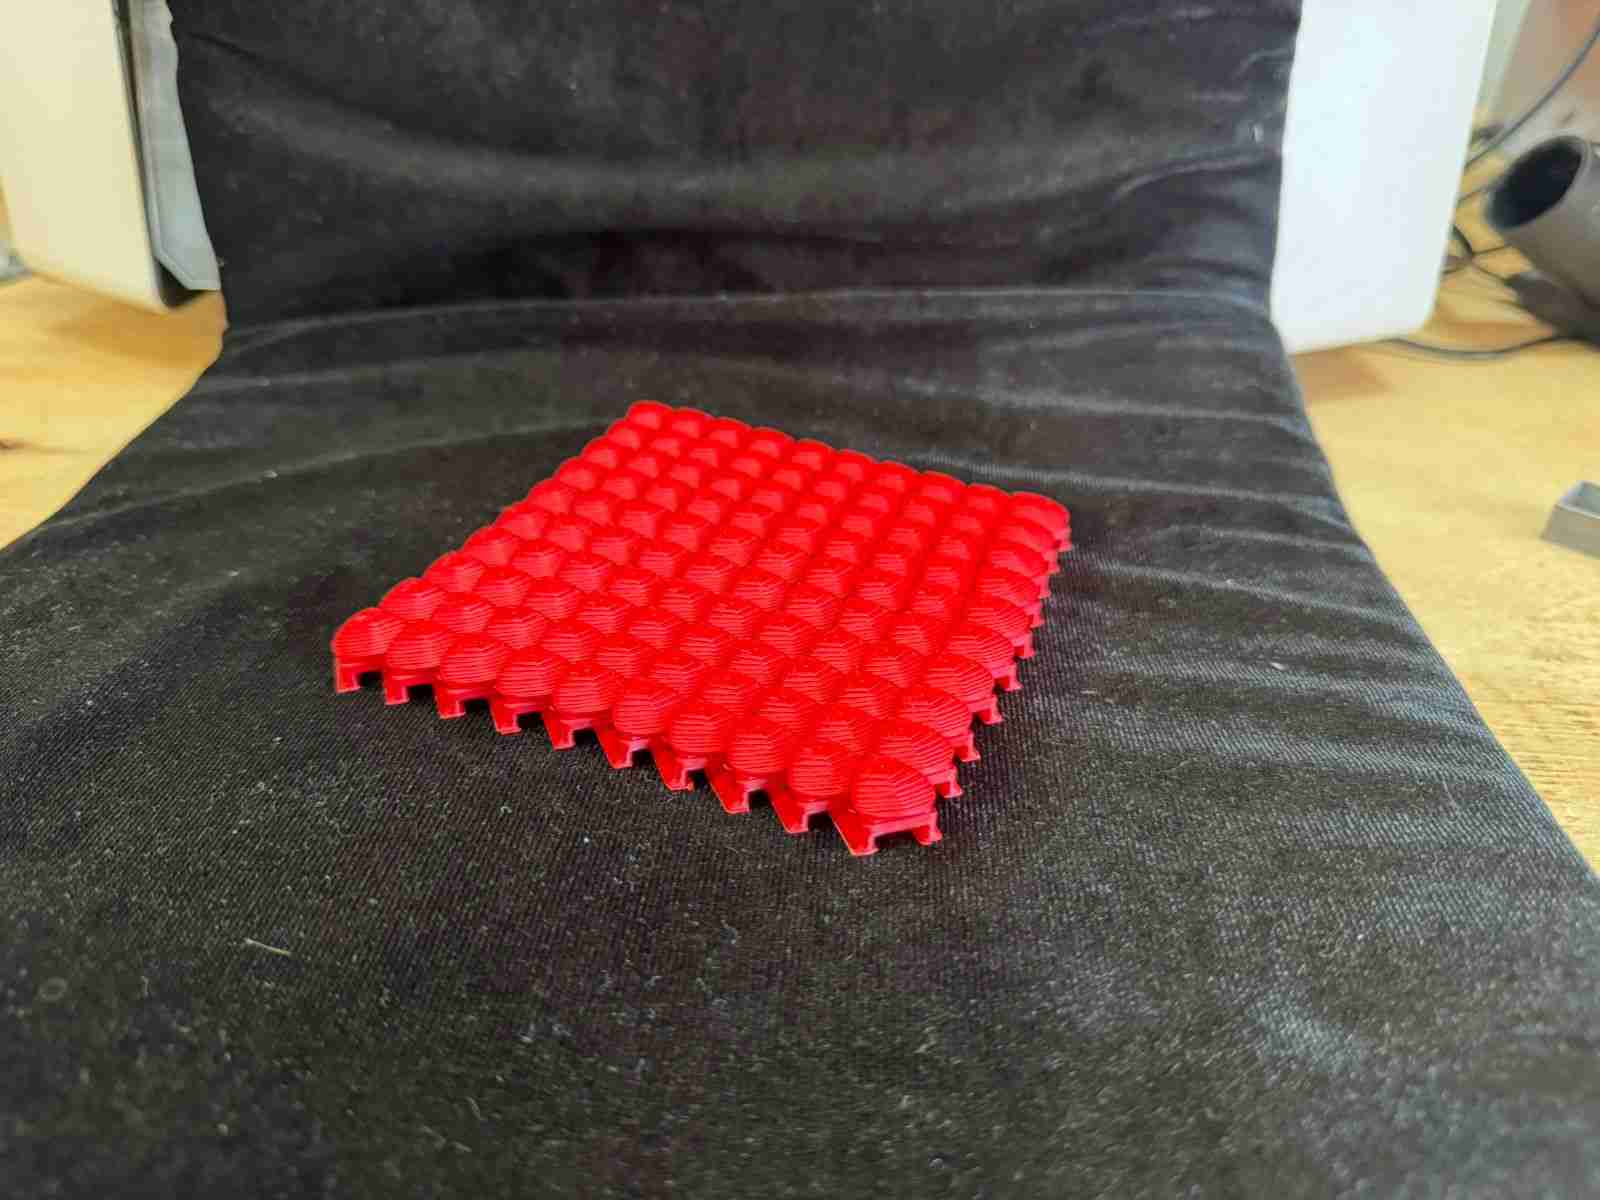
Since I already explained how to model I will upload the videos for the making of this piece starting with the square chain which is the main base for the 3d fabric in this case and then the decoration that will be dragon skin.
3.2.1 Making the square chain
This square is the base and support of everything, it depends on this the way the fabric can move, due to the geometry it can only move 90 degrees to one side and 45 degrees to the other side. This squares will held our dragin skin.
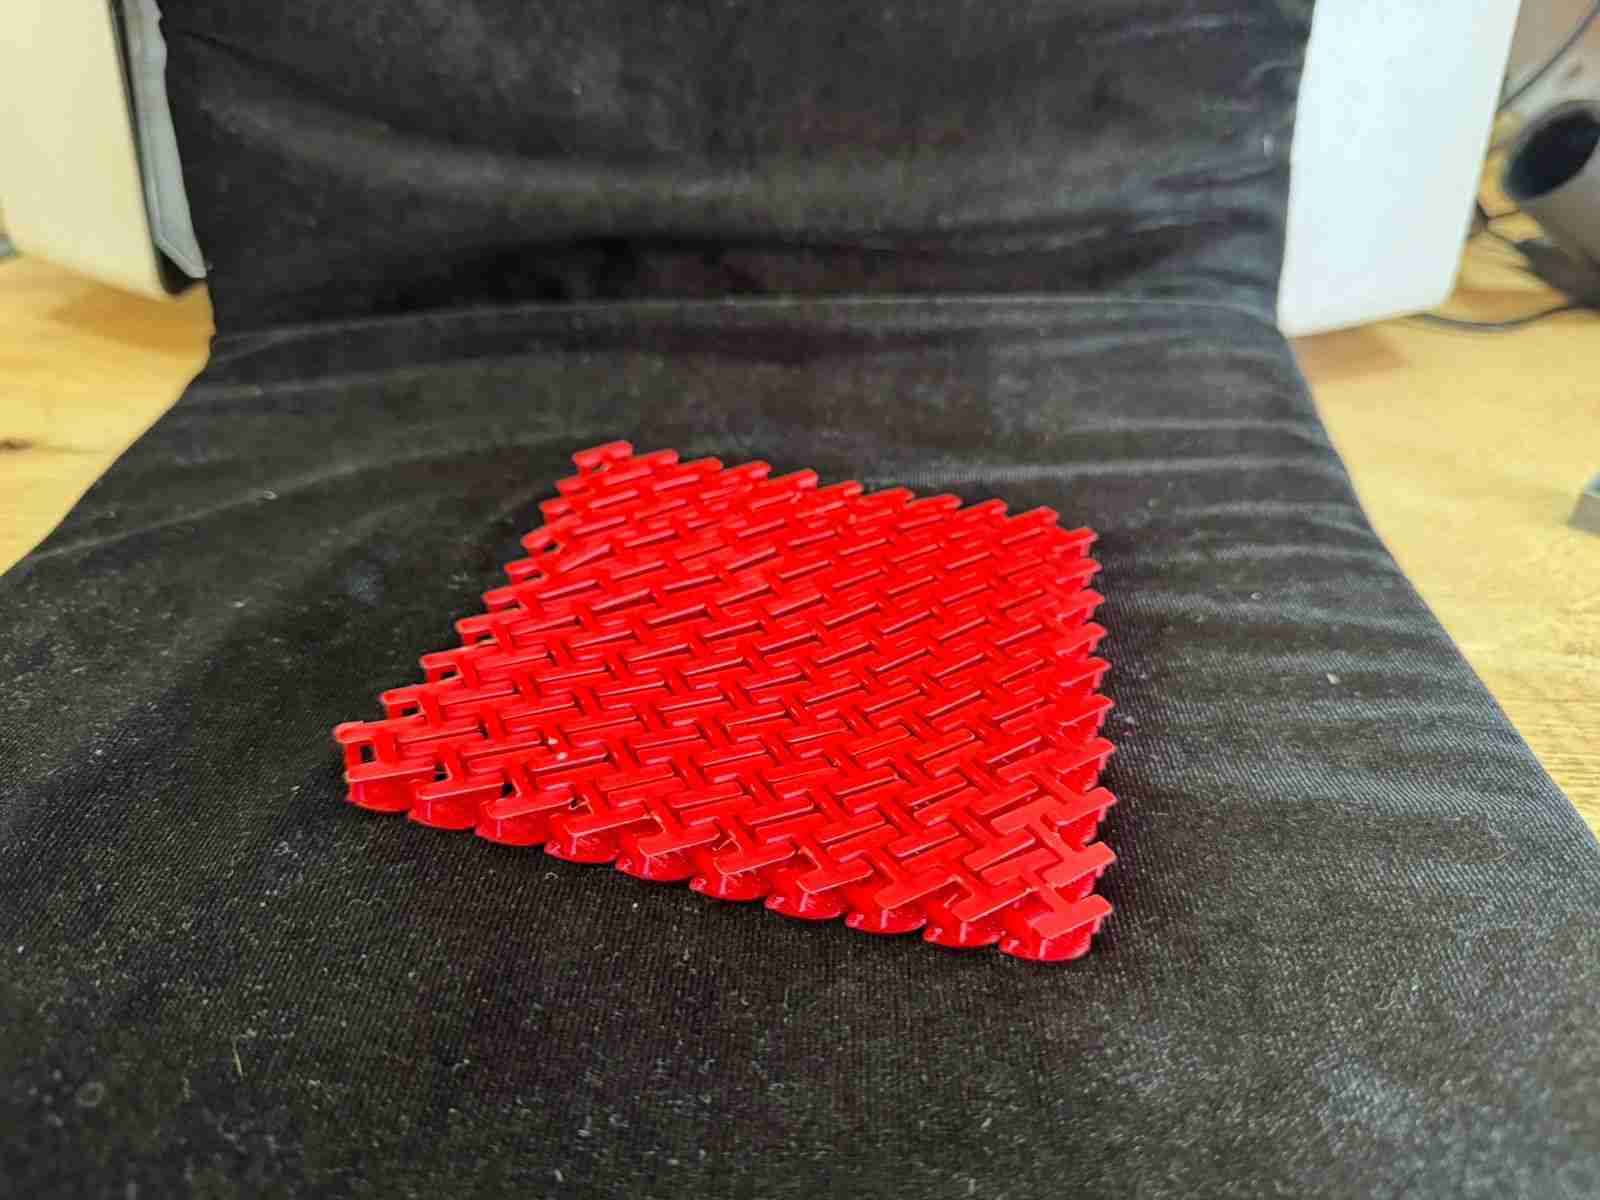
3.2.1 Making the dragon skin
After I made the chain I started makin the decoration wich is the dragon skin. Making first the shape of the dragon skin.
Now I finally, I made the necessary cuts so that I could create a linear pattern with the dragon skin and that it would not cross itself, allowing the free movement of the fabric.
3.3 Printing the dragon skin
Once I finished modelling I save the file in STL format and inserted it in the Pursa Slicer, changin the parameters to 10% of infill and in material generic PLA.
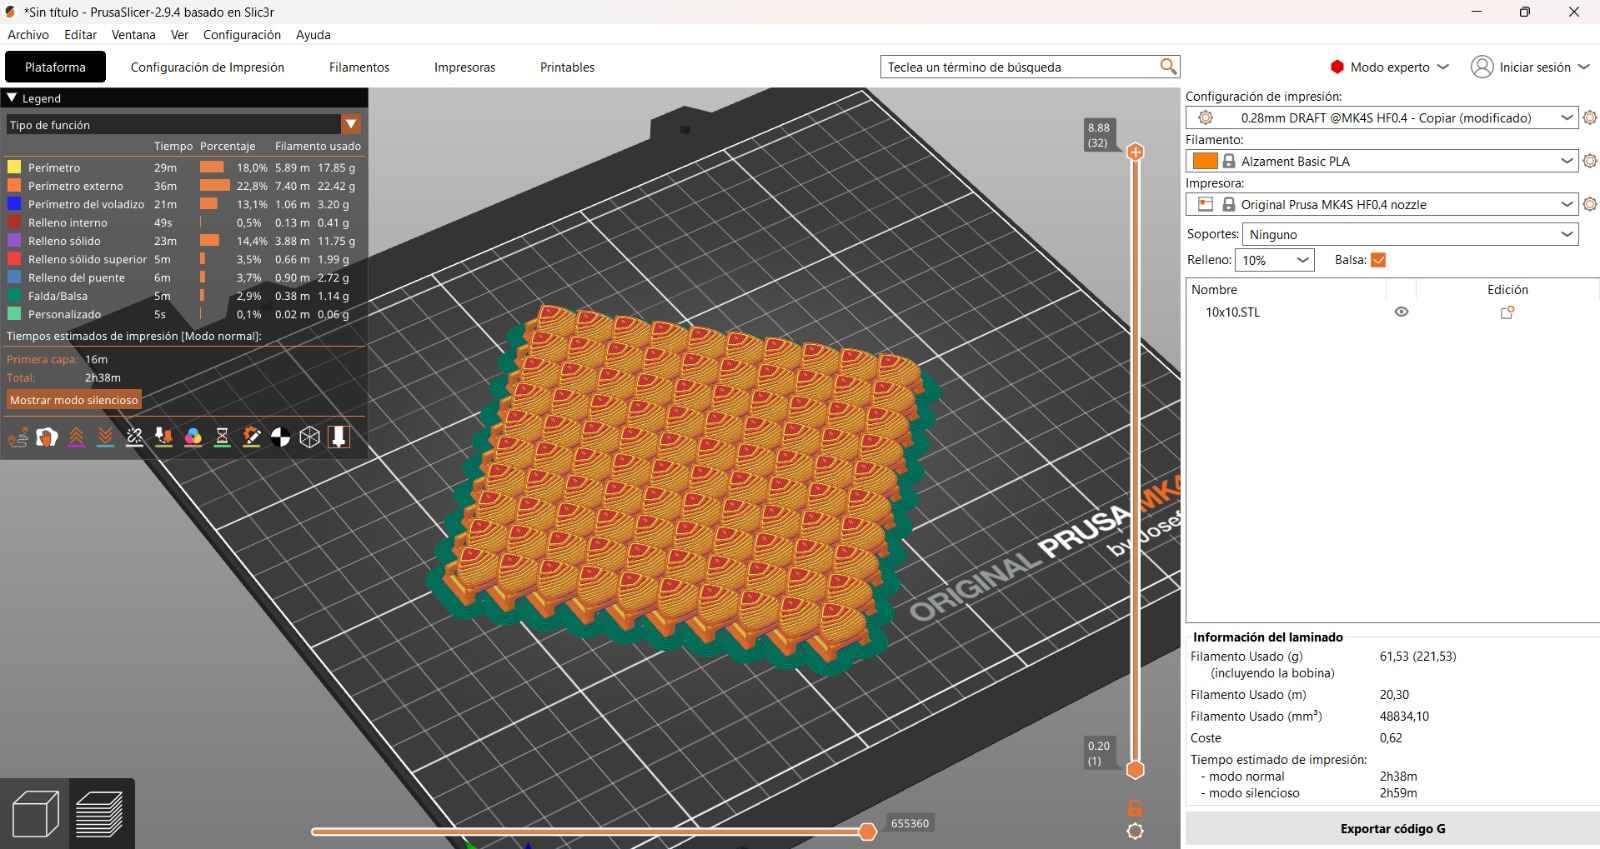
We will repeat the same process from the scanner section, when I printed Jeff the land shark.
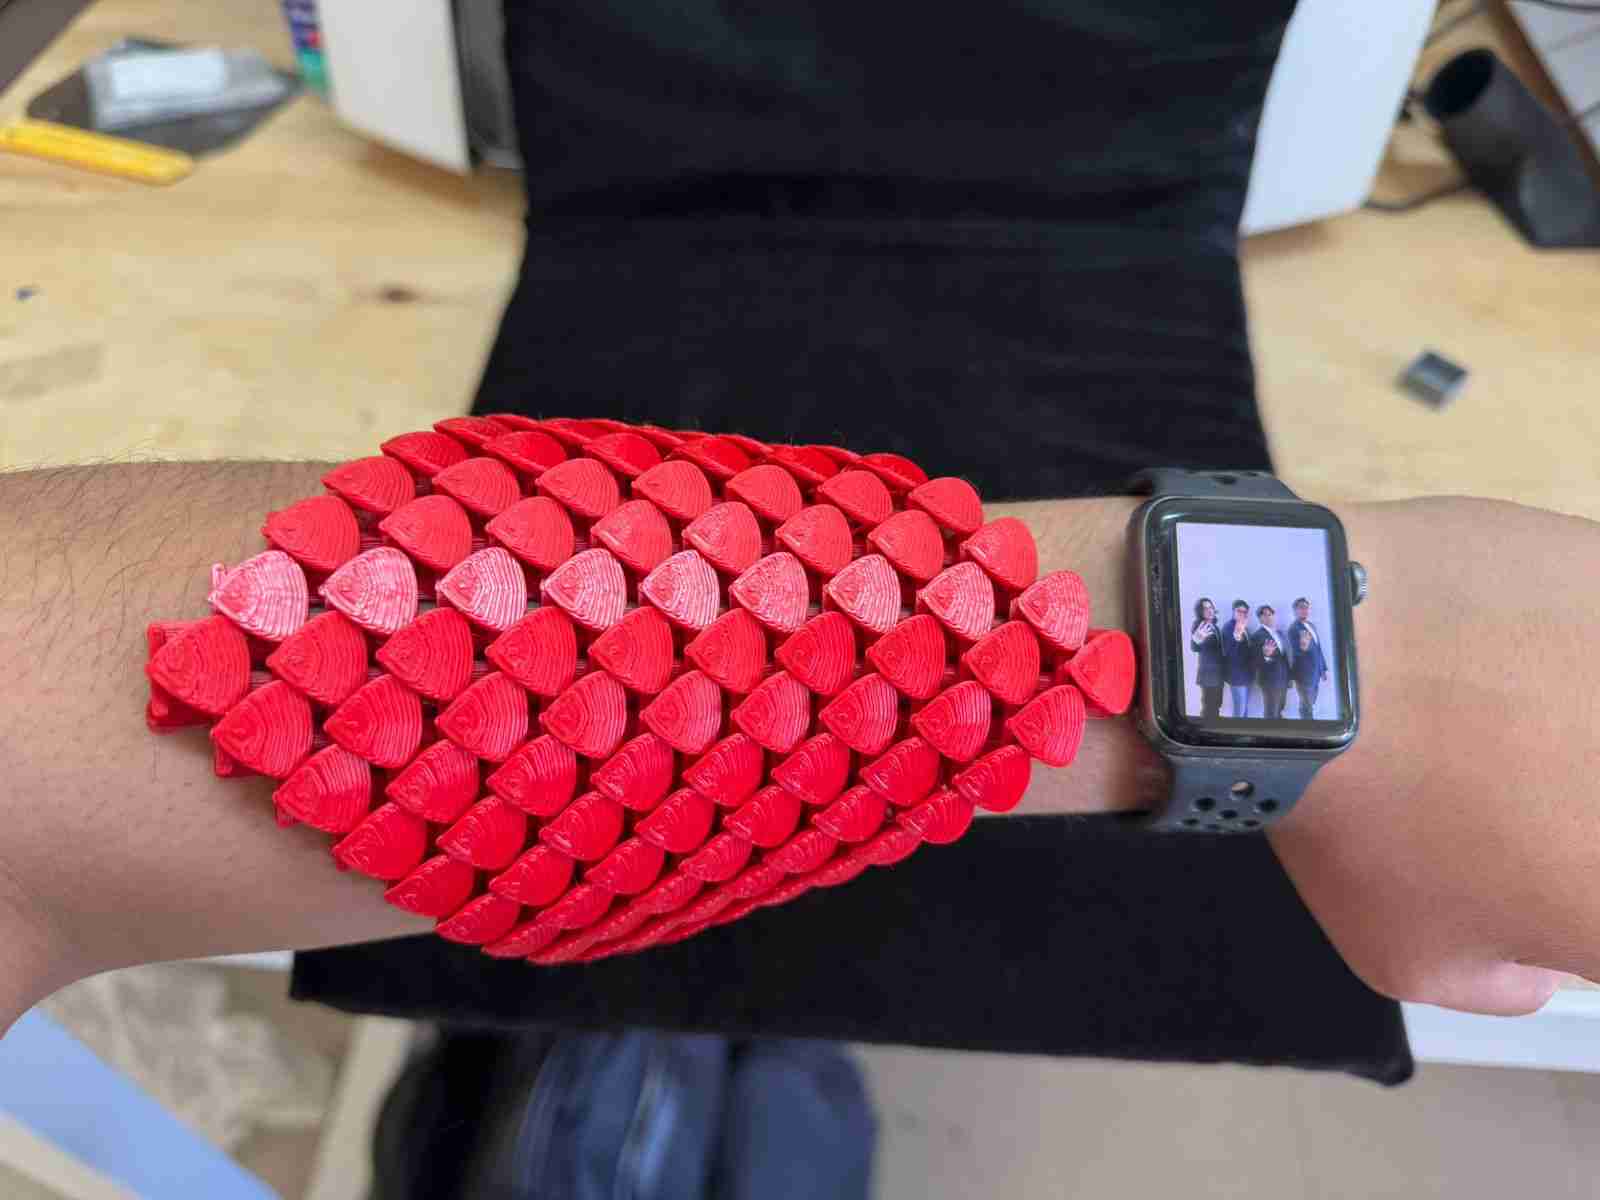
3.4 Dragon skin result
Here is the result and how it looks on physical.
Here is how it looks if someone would like to wear it, I used my forearm as the surface were the dragon skin lays.
4. Conclusions
3d printers are very useful tools specially for making figures or shapes that are complicated to do in other CNC machine or by other manufacture process, also being great for making reverse engineering like the 3d scanner does or for digitalize any shape from the real world.
5. Files created
Click on the "Download ZIP" to download all the files I made for this week assignment, it will take you to a Google Drive folder because of the size of the files.