Insert the STL
file into SolidWorks. For this, I simply placed the file by dragging it from my folder to the program. It will appear as a Graphic.
For this week, a mold of parts will be made using one of the selected techniques. In order to carry out this week, I divided my work into various sections, which encompass: prior information search for mold making, resin printing, silicone mold, final product.
Molds are models in which faithful pieces can be repeated according to the product. They are very useful for people who wish to make the exact same piece. There are two fundamental types of molds used in reproduction processes.
It is a replica of the final object. It is the original model to be reproduced. It is used to create the negative mold, meaning it creates the cavity that will later serve to make the copies.
It is the cavity or impression that reflects exactly the volume and shape of the positive, like a hollow. It is known or commonly seen as the mold itself. When the material is poured inside, a copy of the original positive is obtained.
It is necessary to consider various aspects:
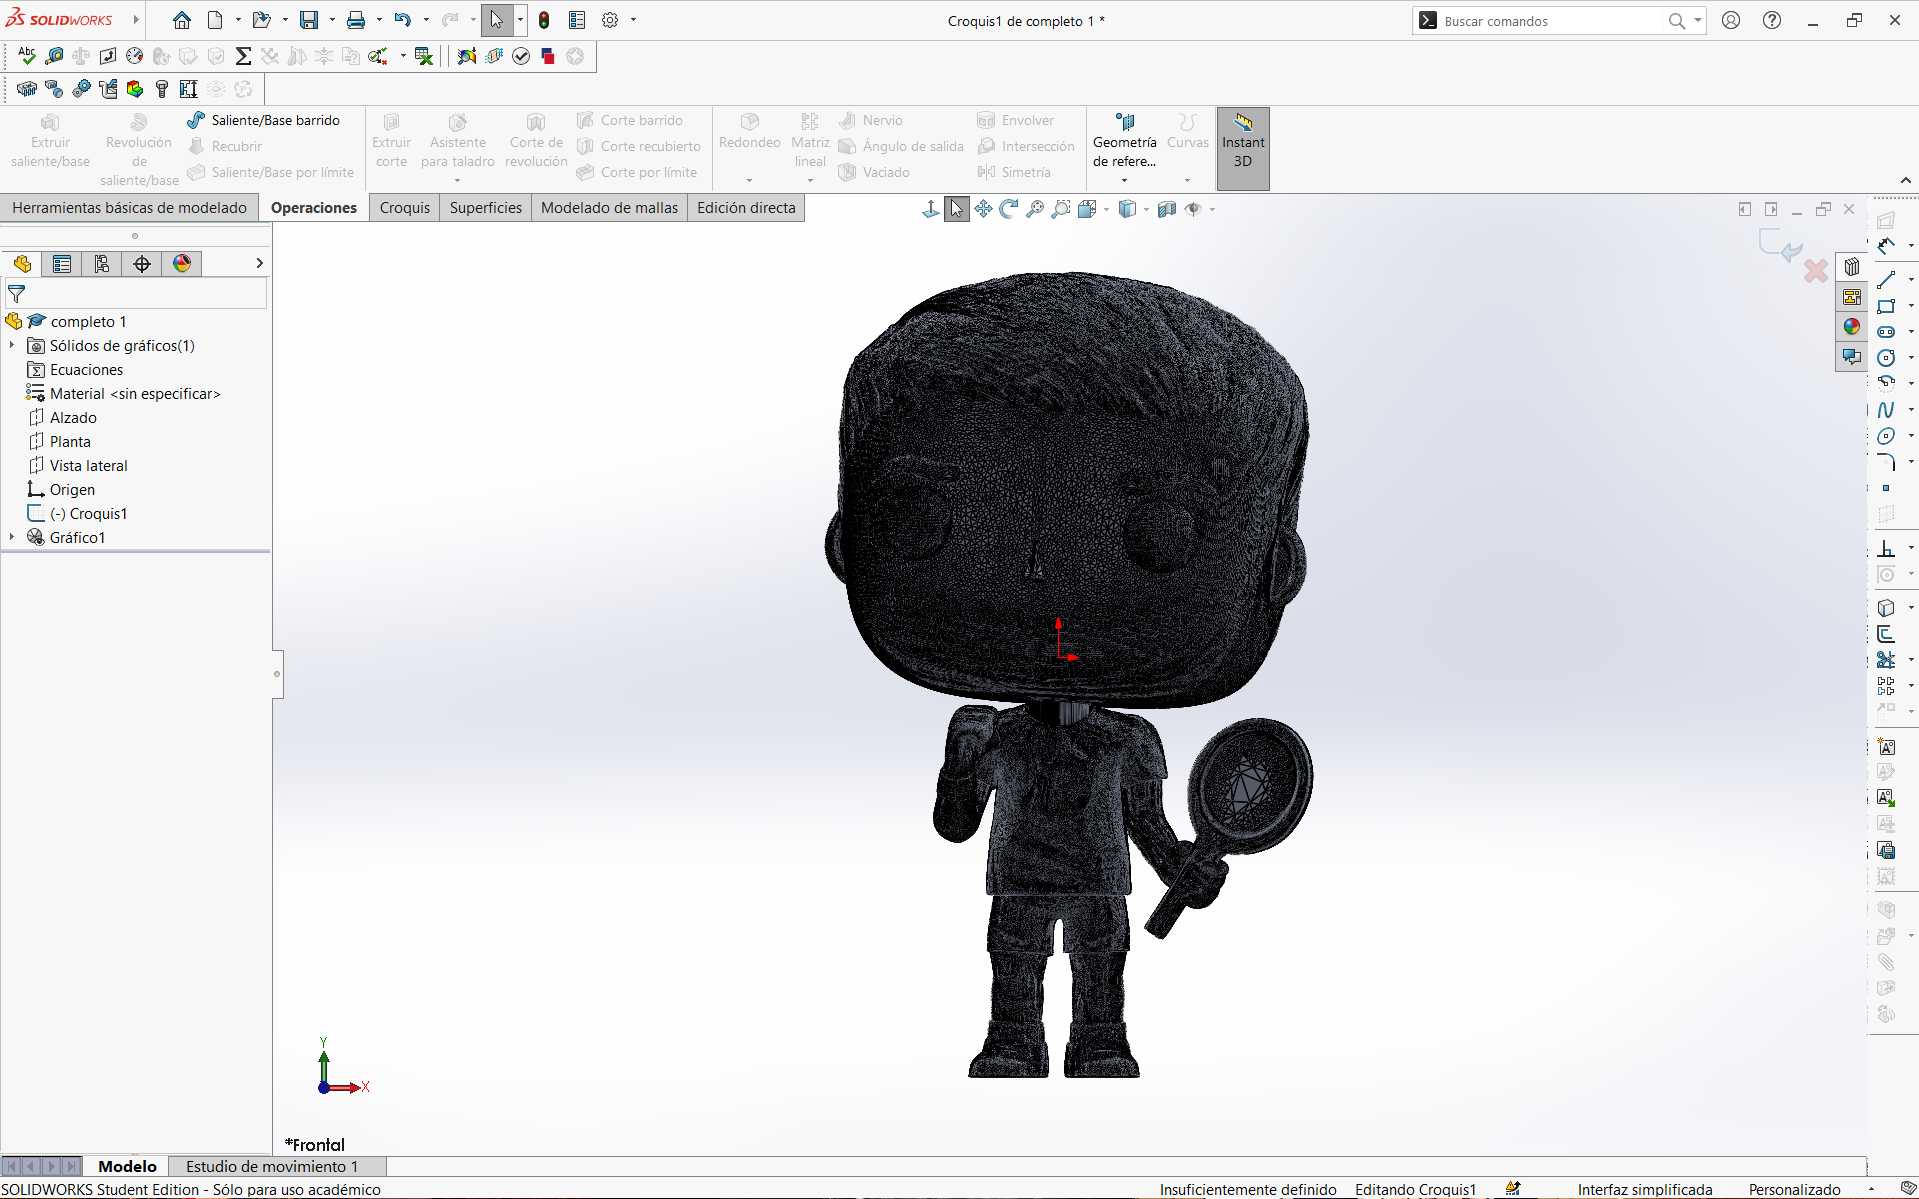
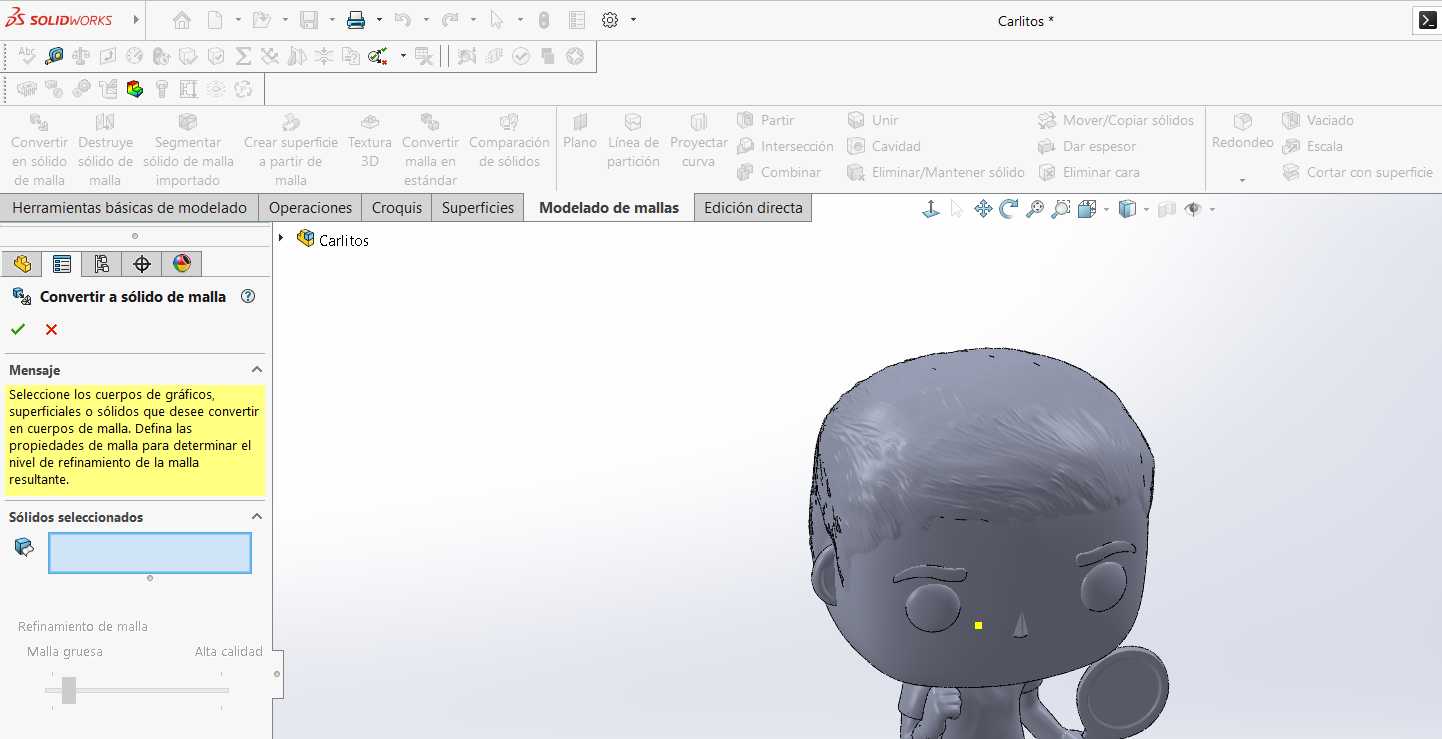
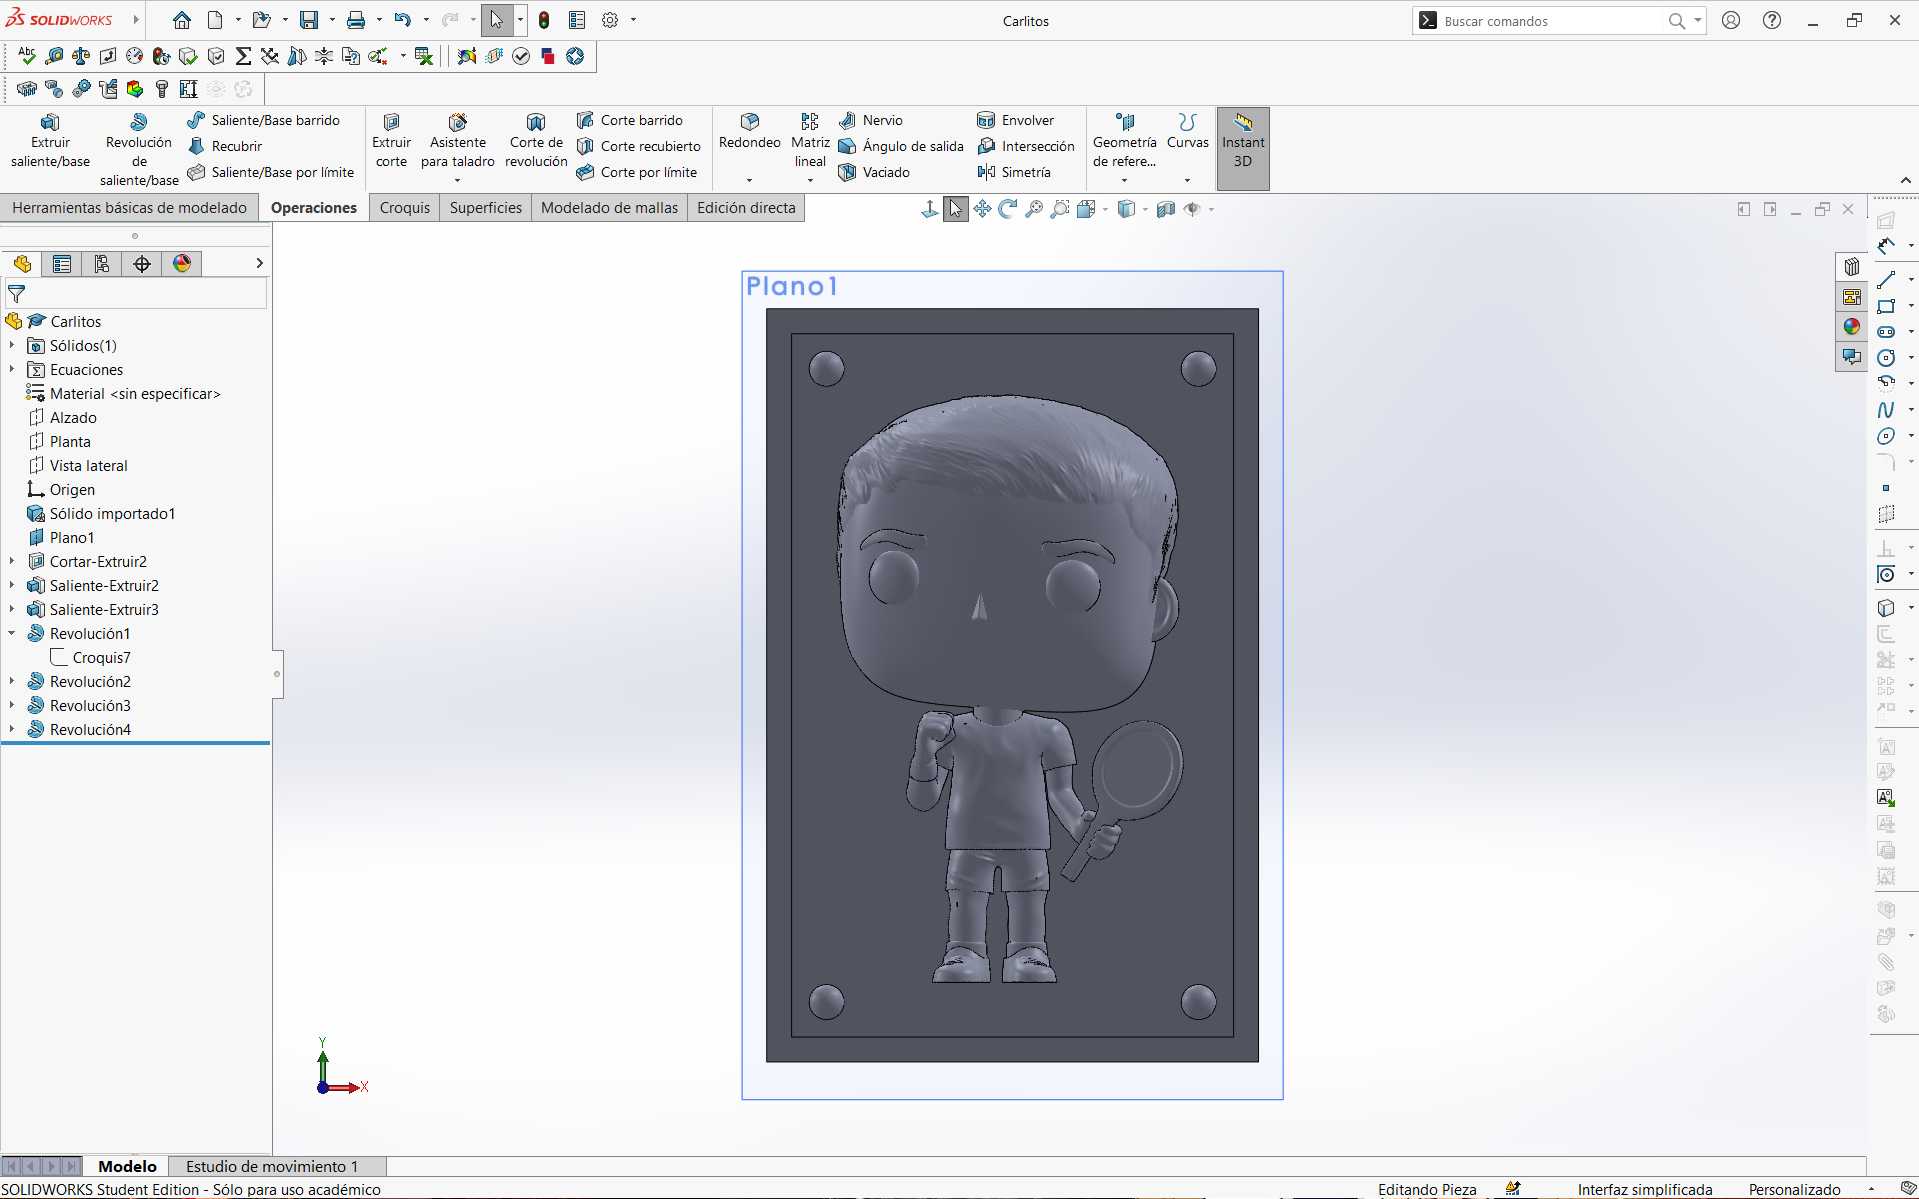
First of all, it is very important to create your mold in some software that allows part editing. In my case, I used SolidWorks. I wanted to make a funko of Carlos Alcaraz. To do this, I first downloaded the model from this page. Afterwards, I carried out the following steps in SolidWorks, which helped me create my mold.
file into SolidWorks. For this, I simply placed the file by dragging it from my folder to the program. It will appear as a Graphic.
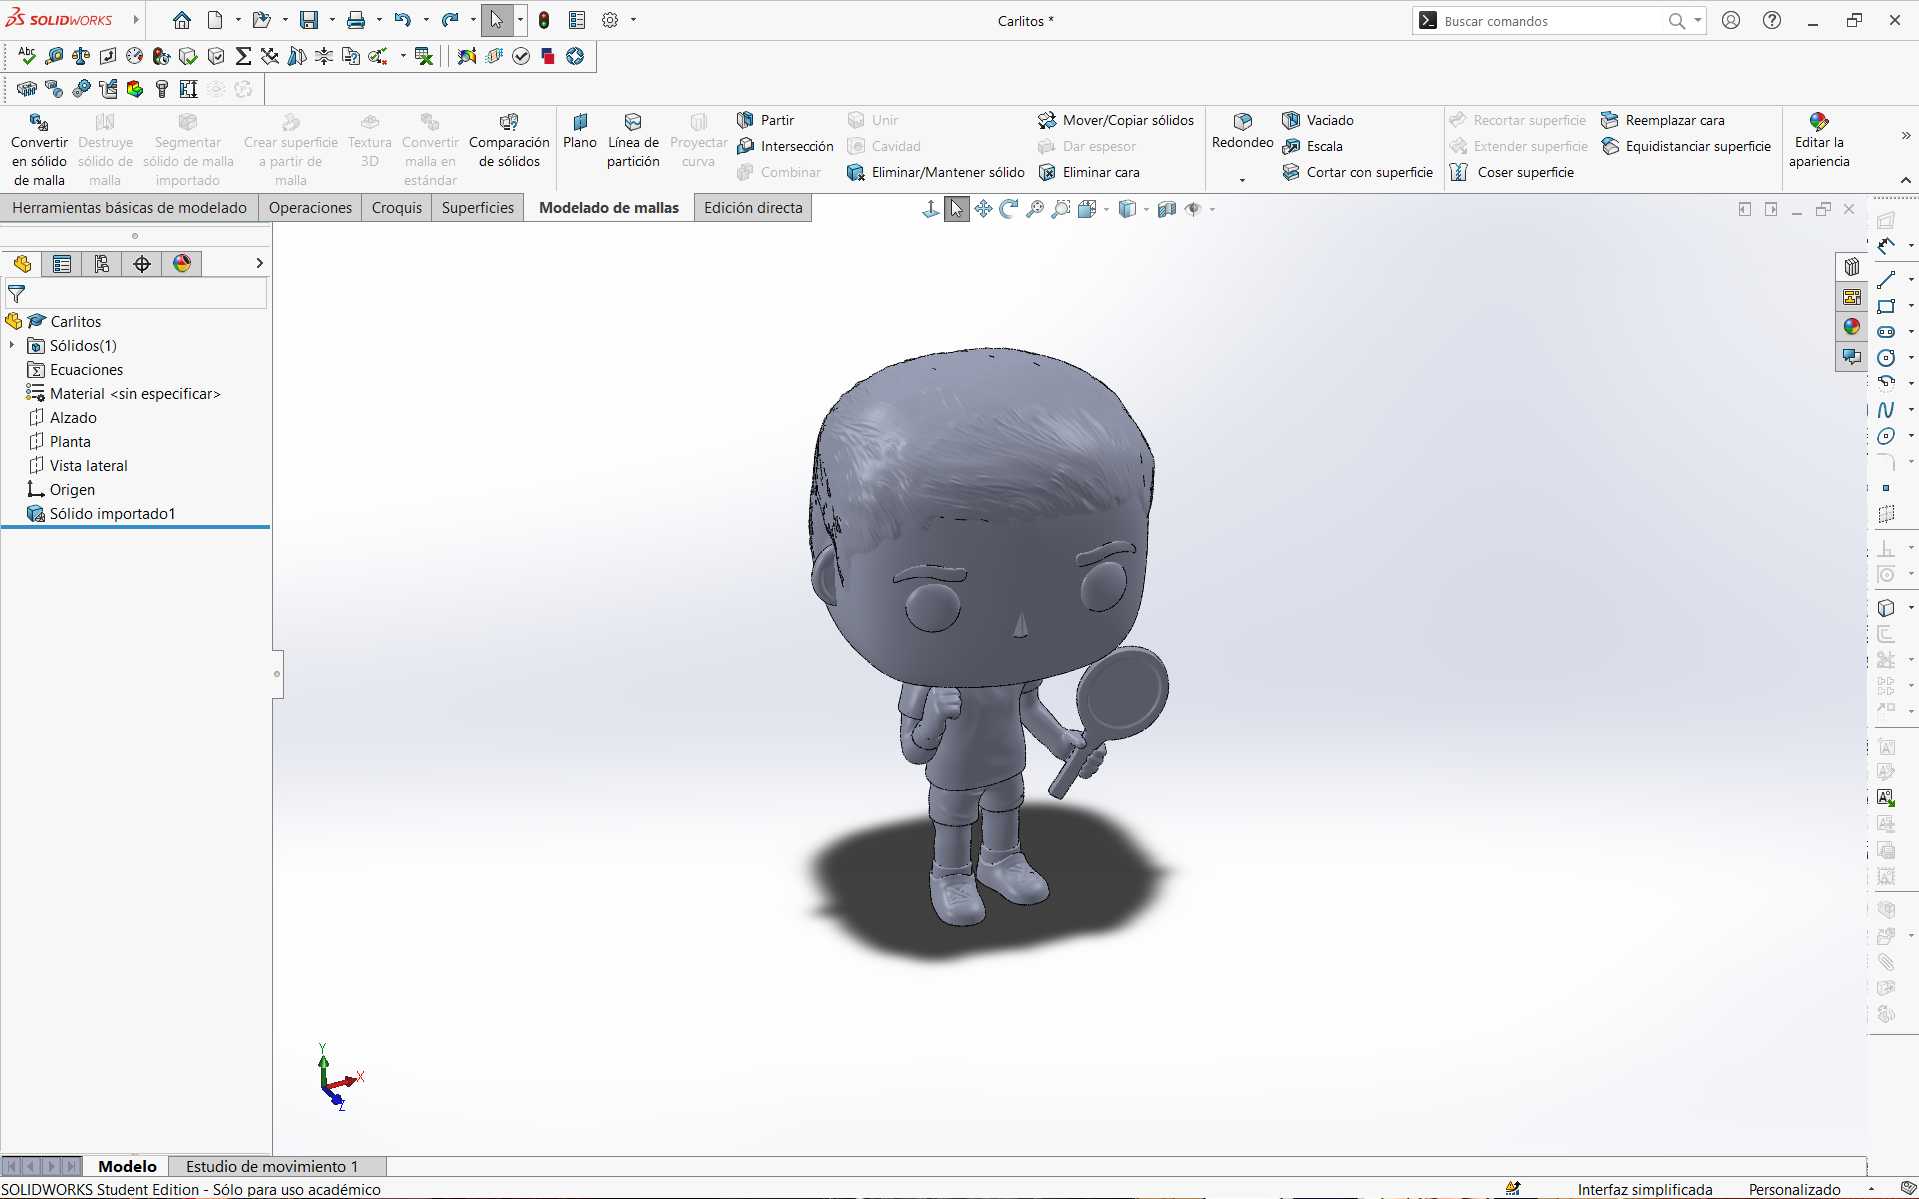
the Convert to Mesh Solid tool. In this way, a part was created from the STL. This can now be editable in the program.
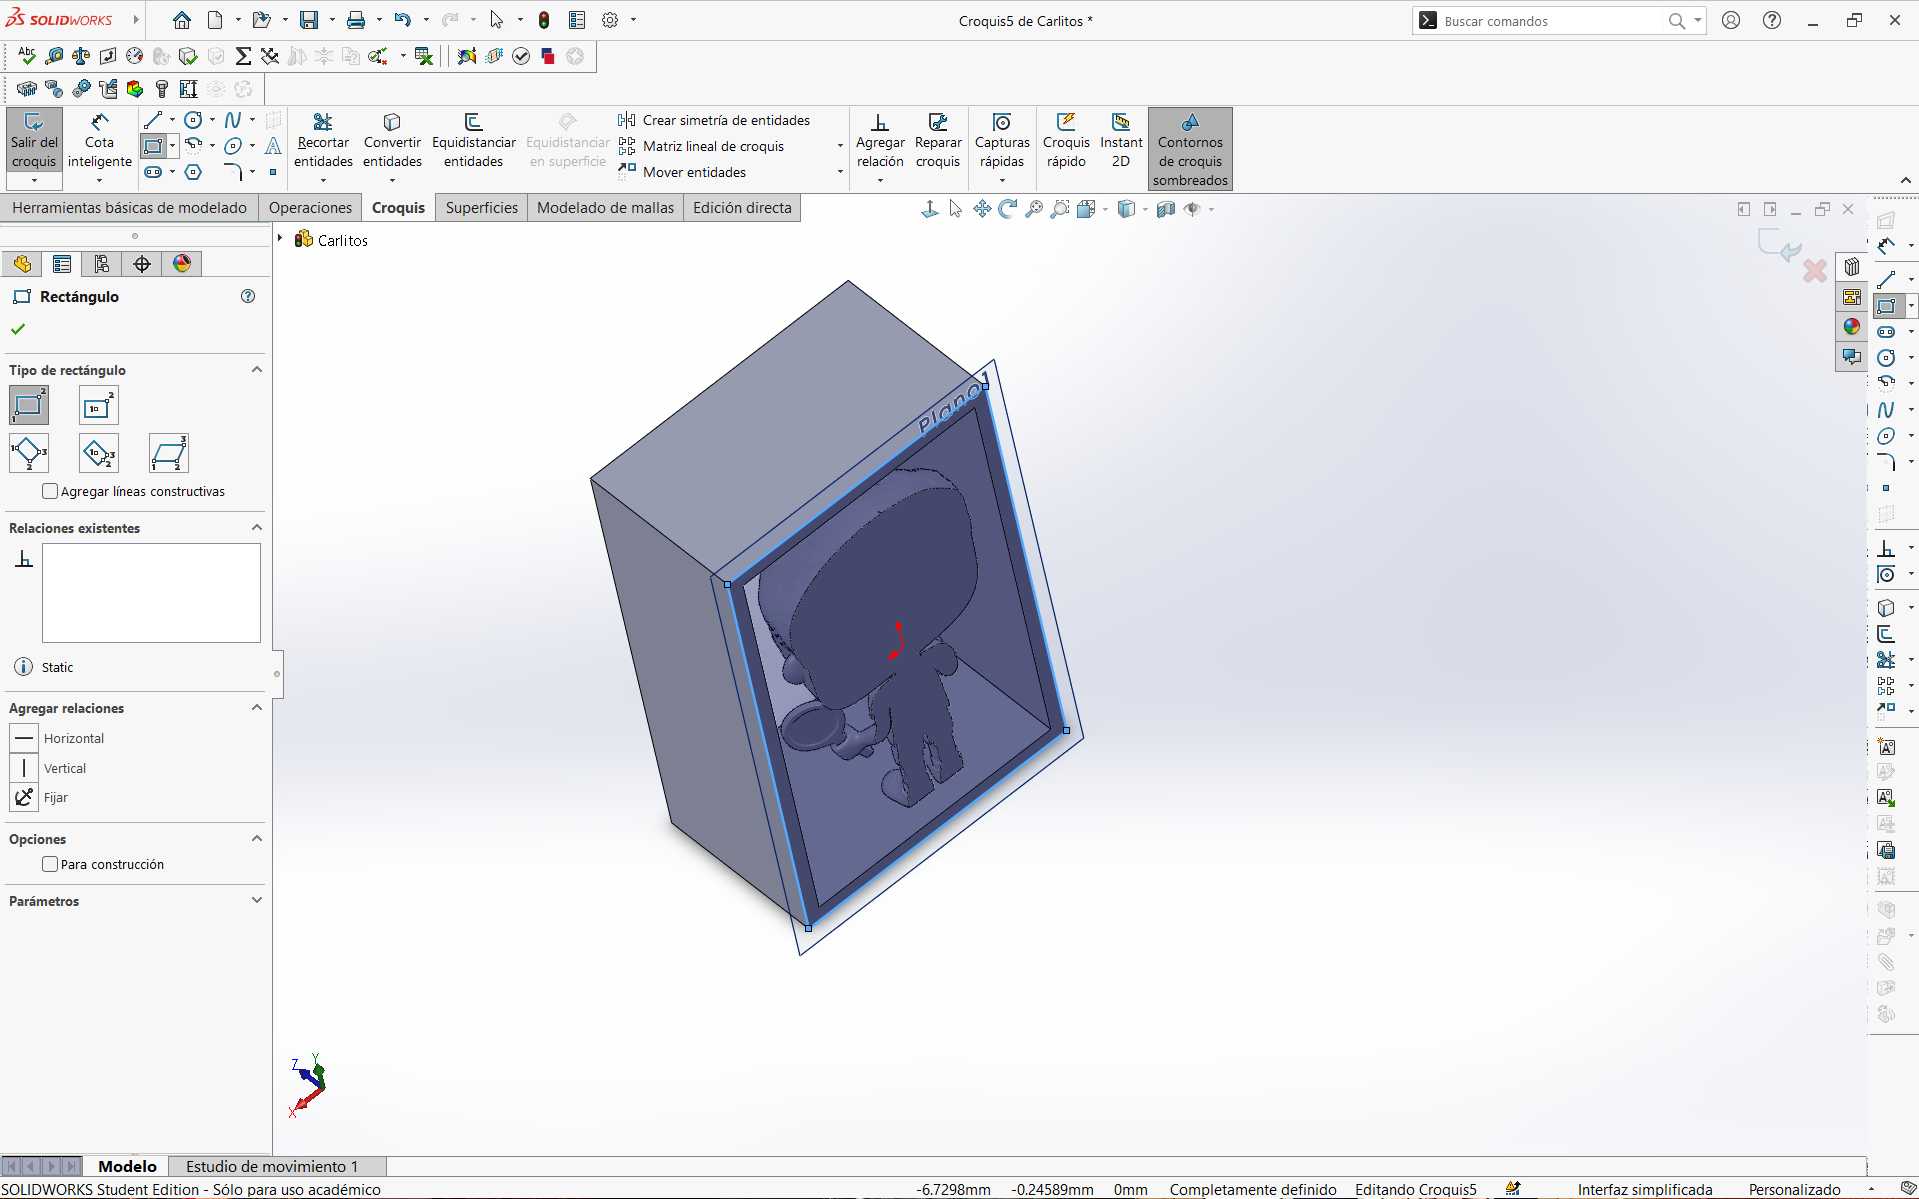
a sketch on a plane according to my convenience to eliminate the part behind my piece.
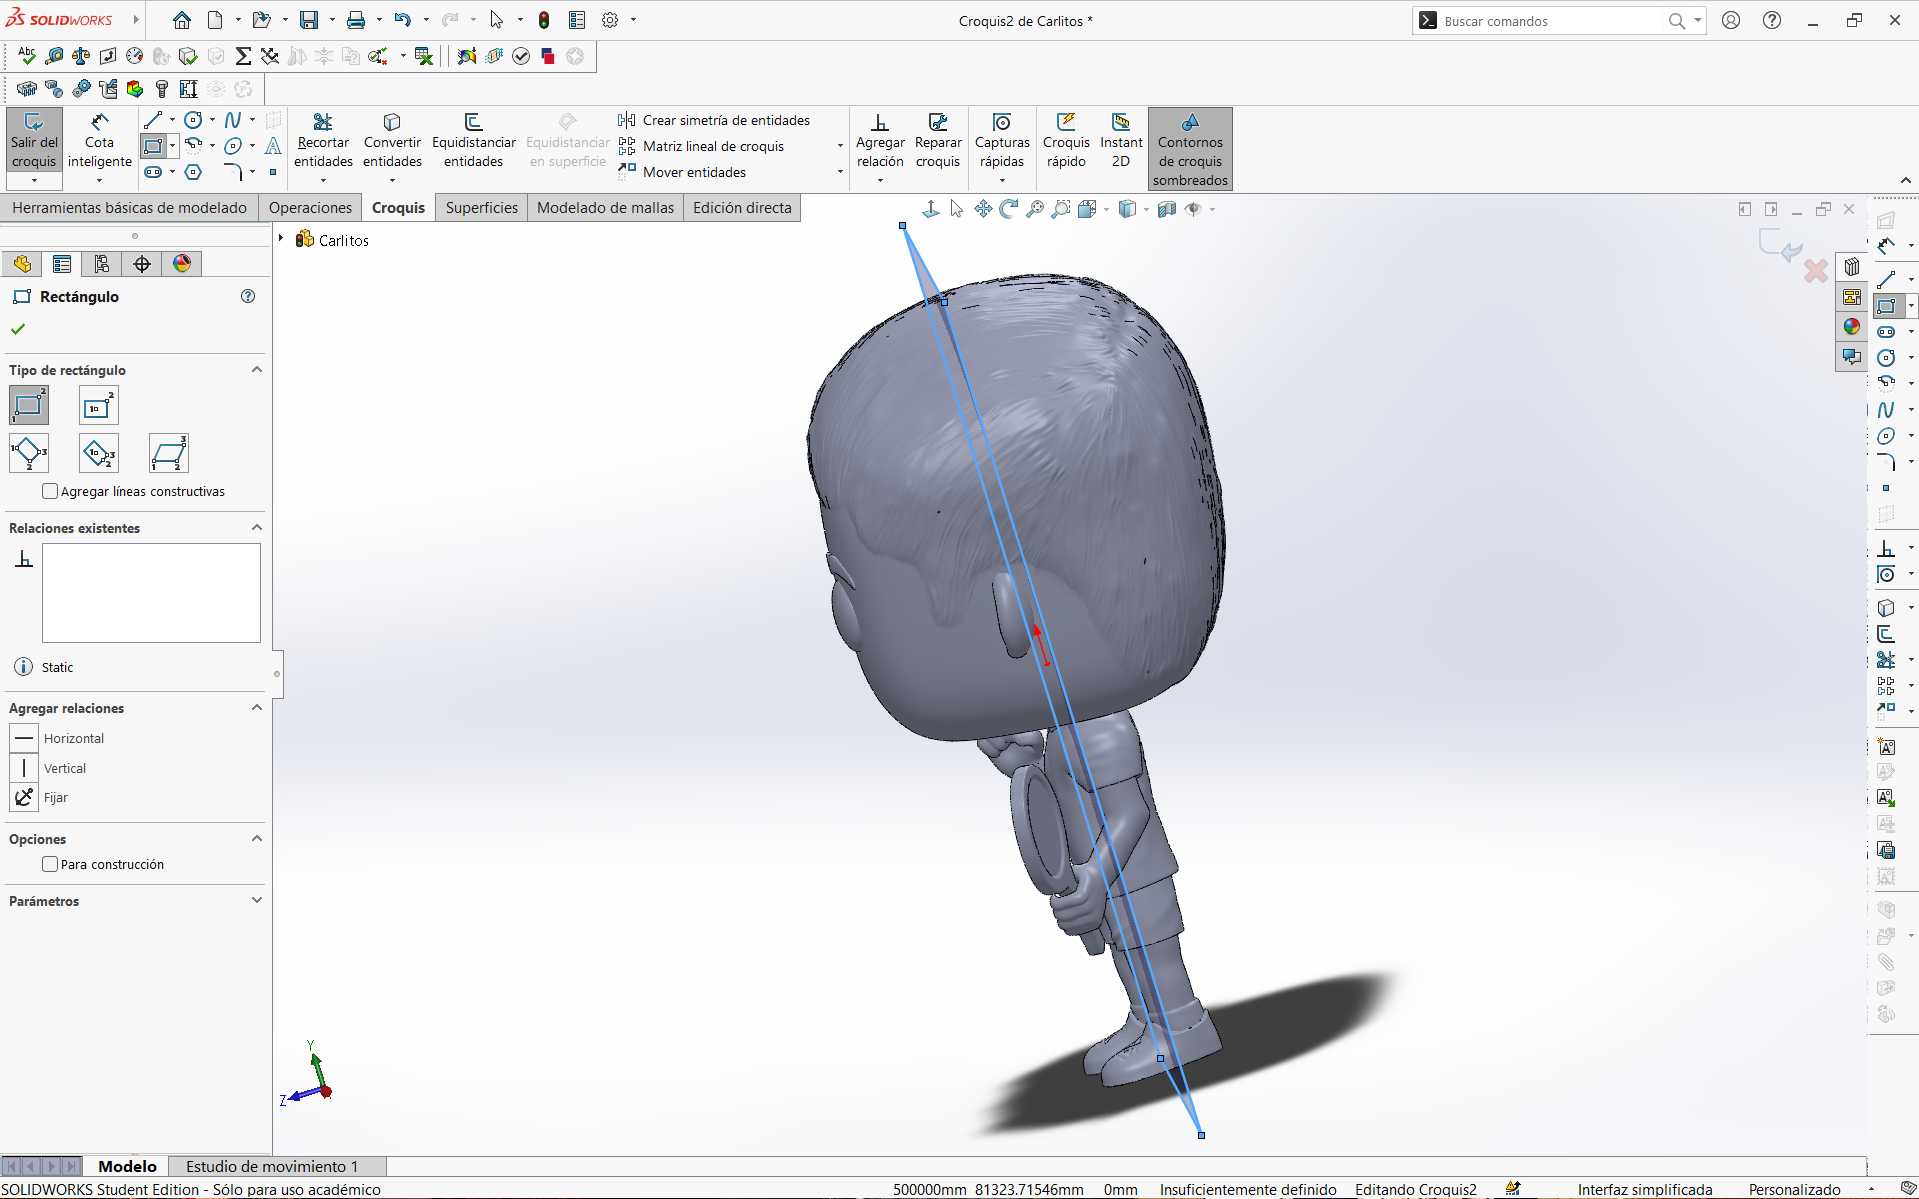
cutting tool I eliminated half of my piece.
this.
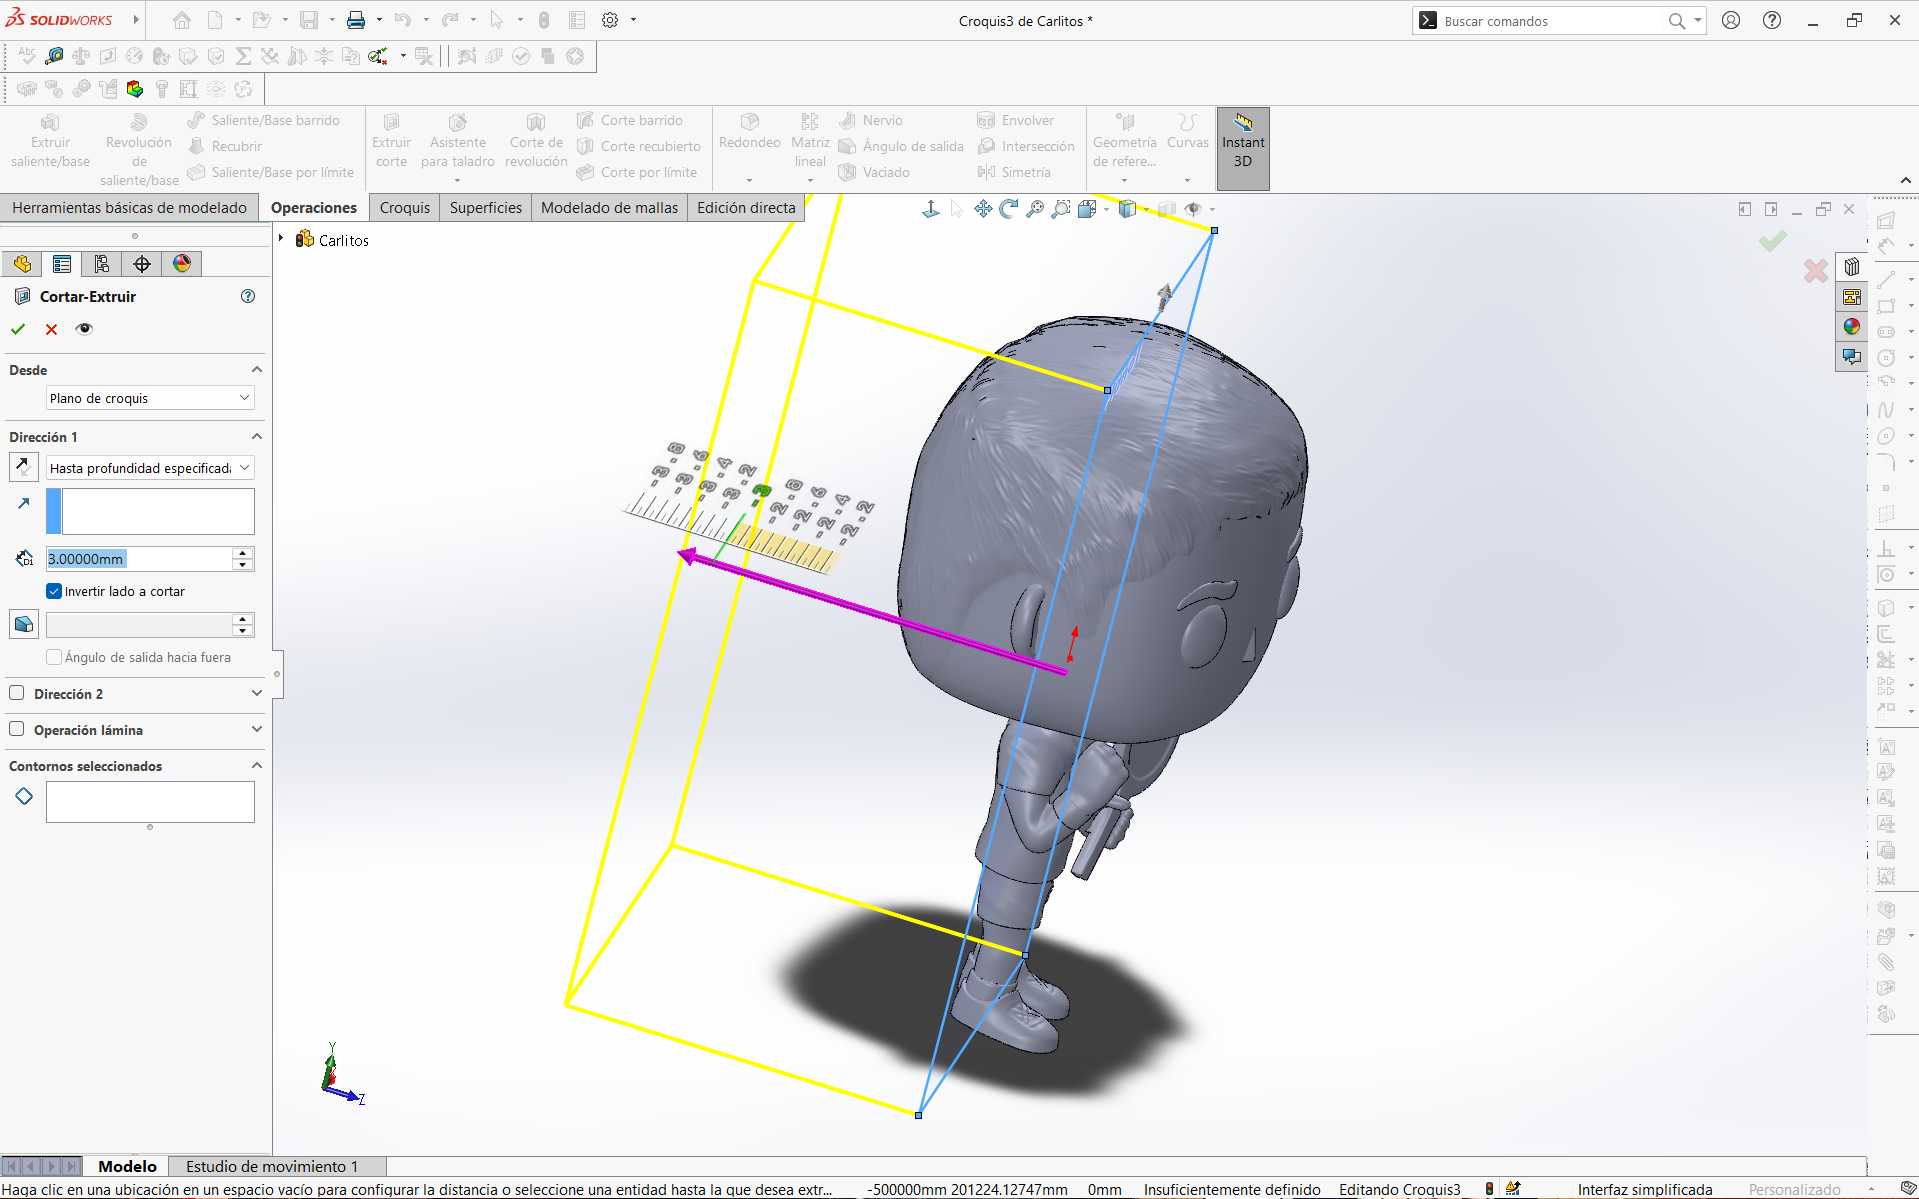
a plane where I drew a rectangle for the initial base of my mold and assigned the values according to my measurements and the size of mold I wanted.
plane.
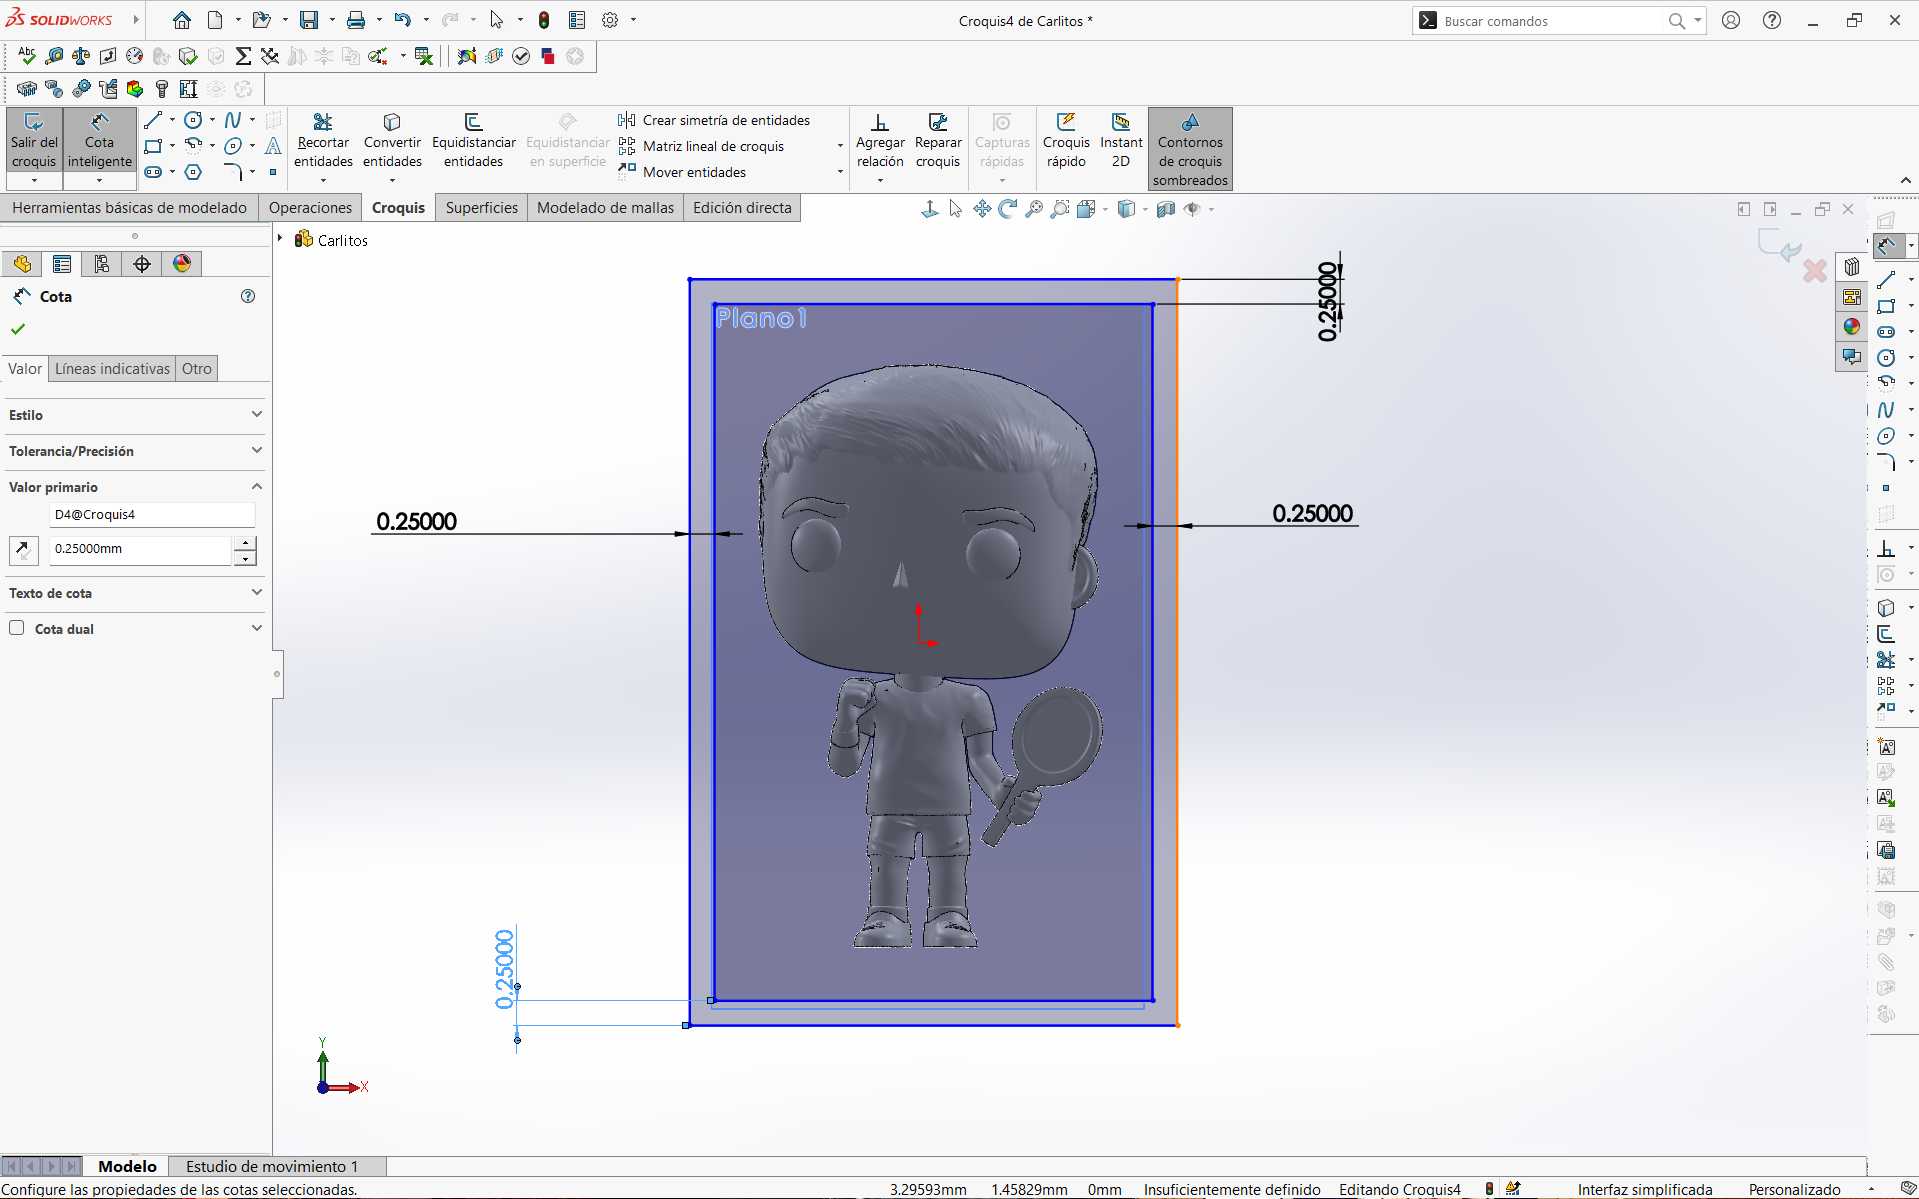
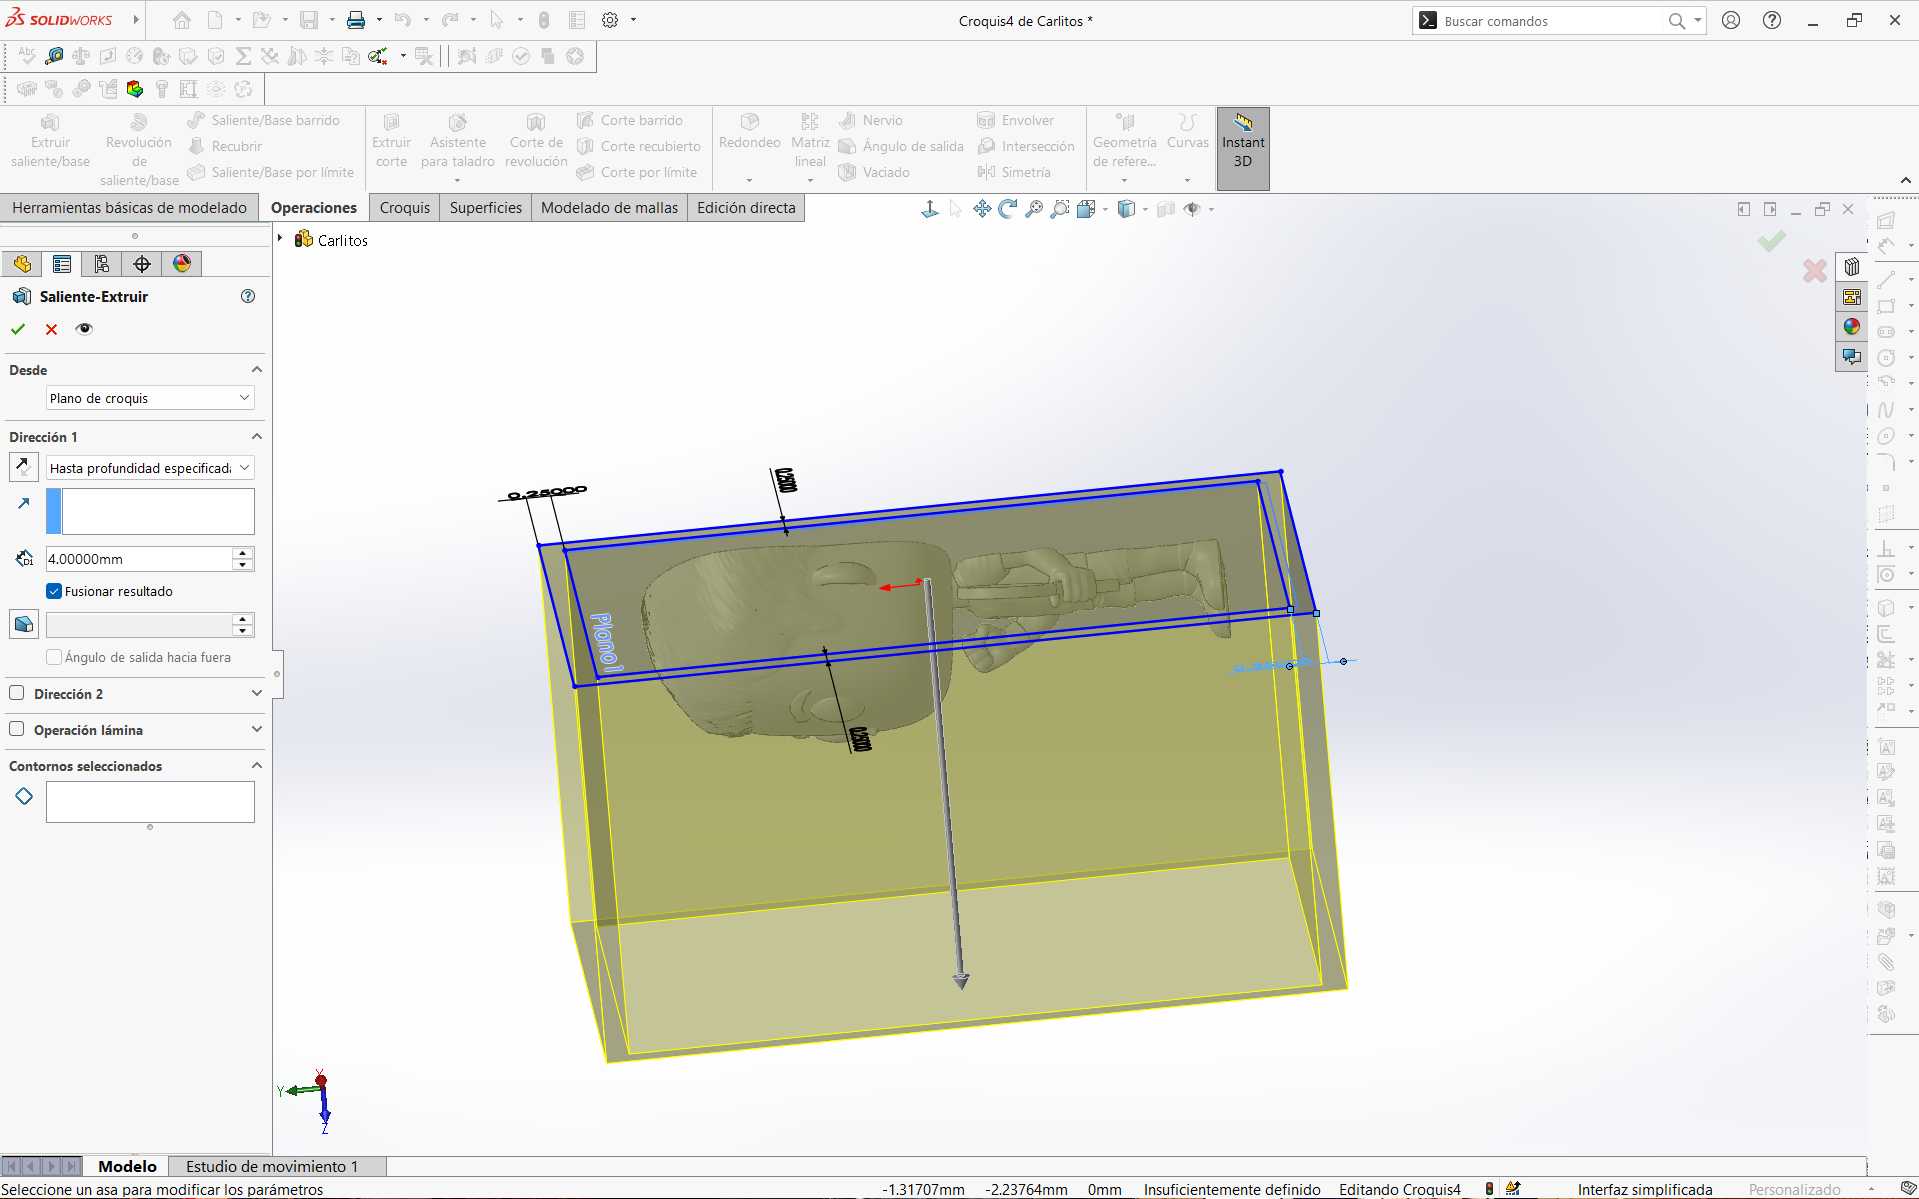
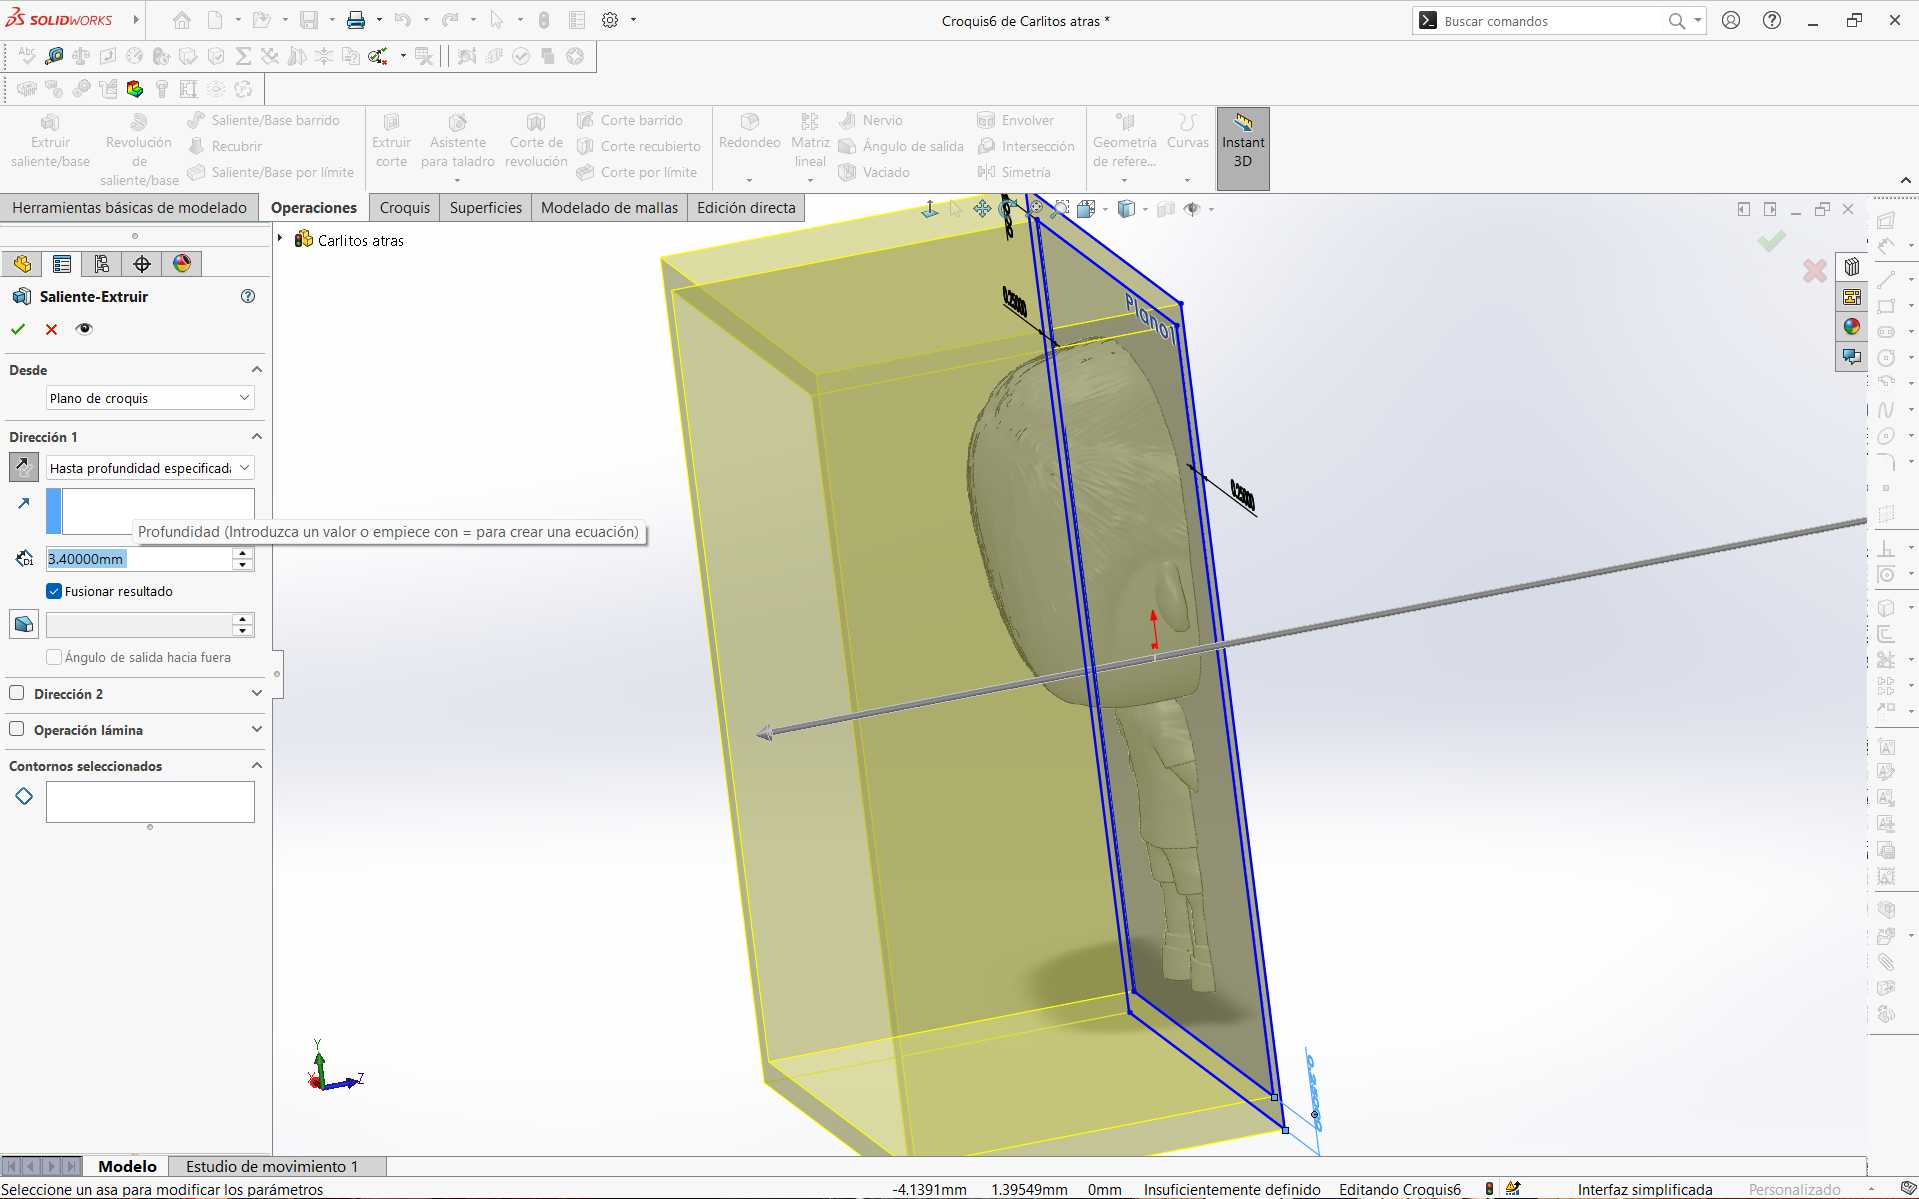
I placed a new plane on top of the cut part and started a sketch to make the base part of the mold.

extruded.
these steps with the other side of the piece.
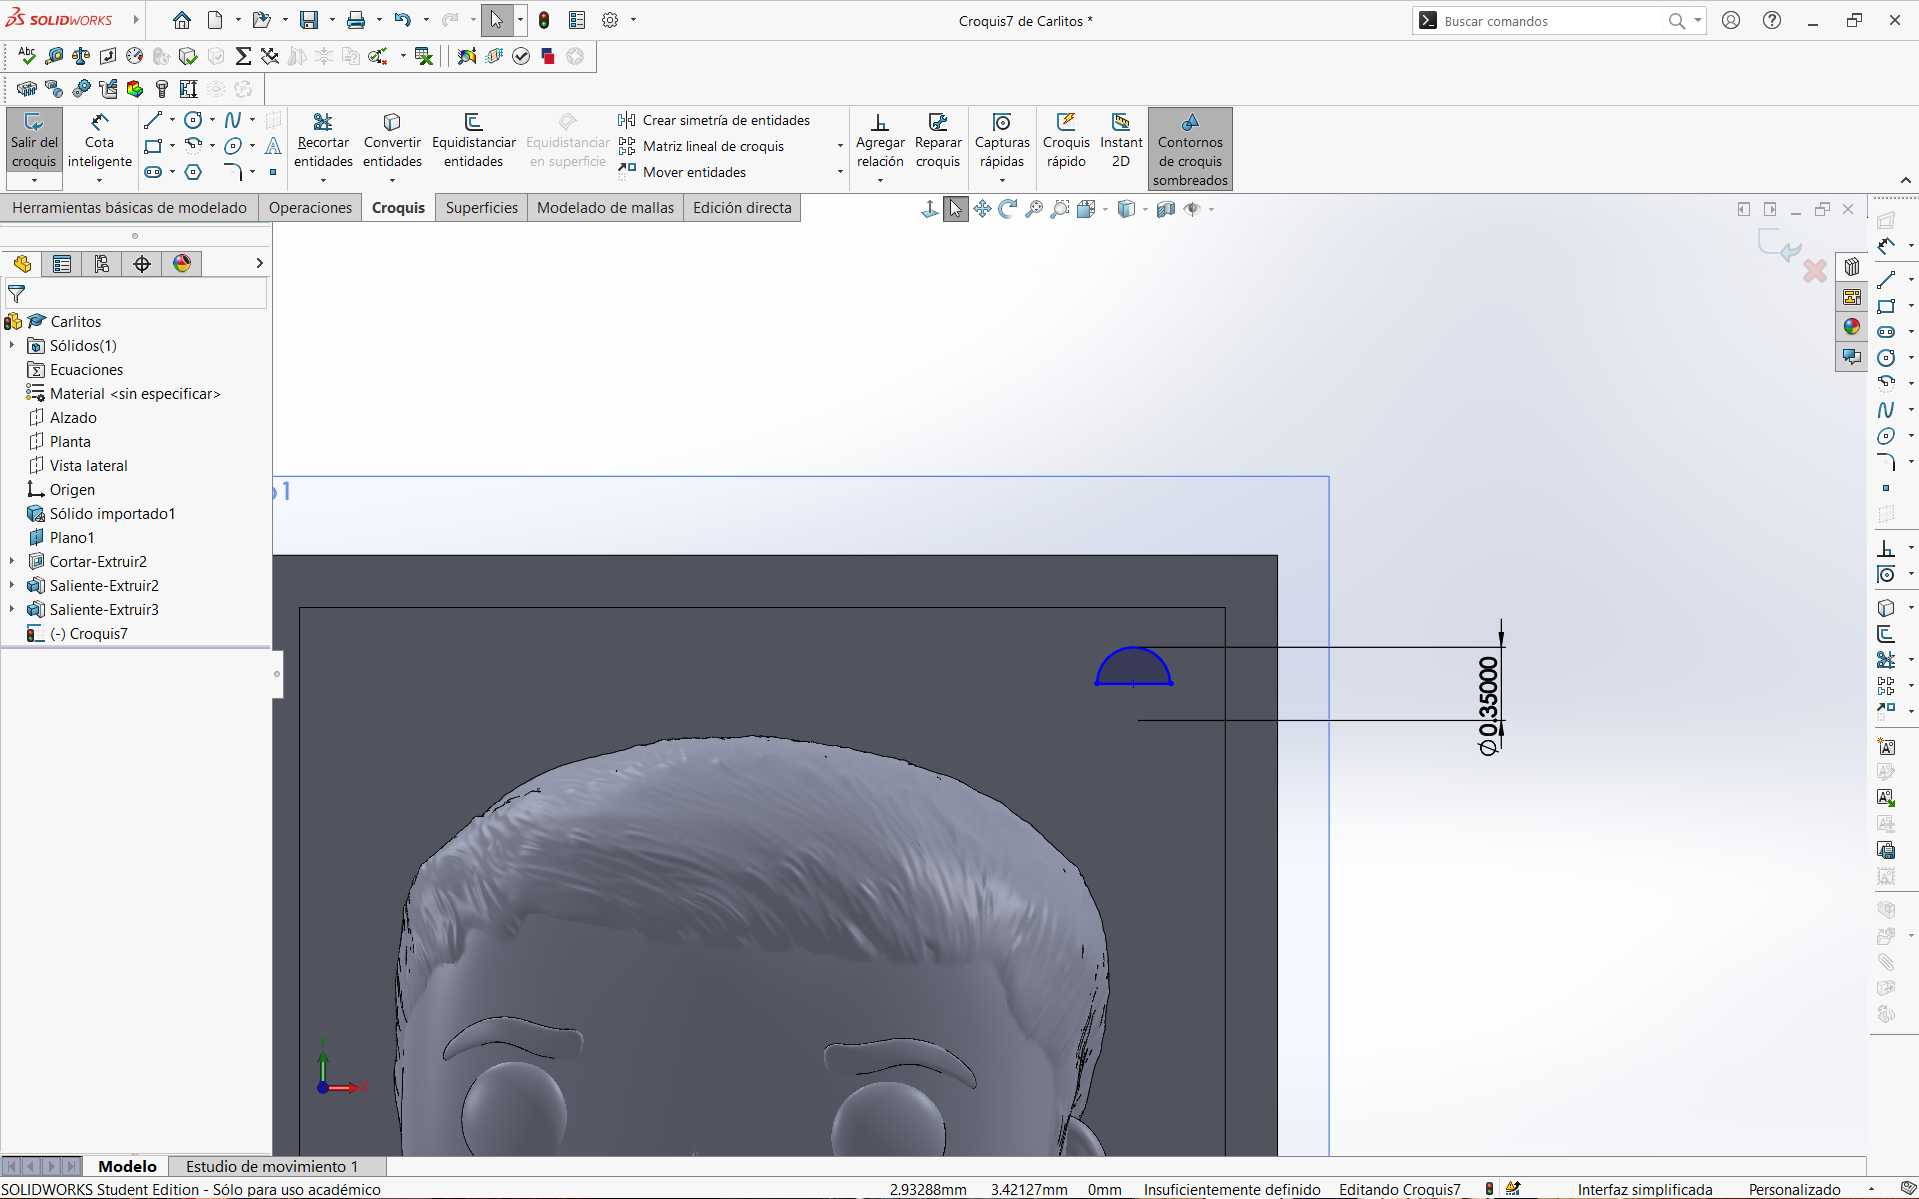
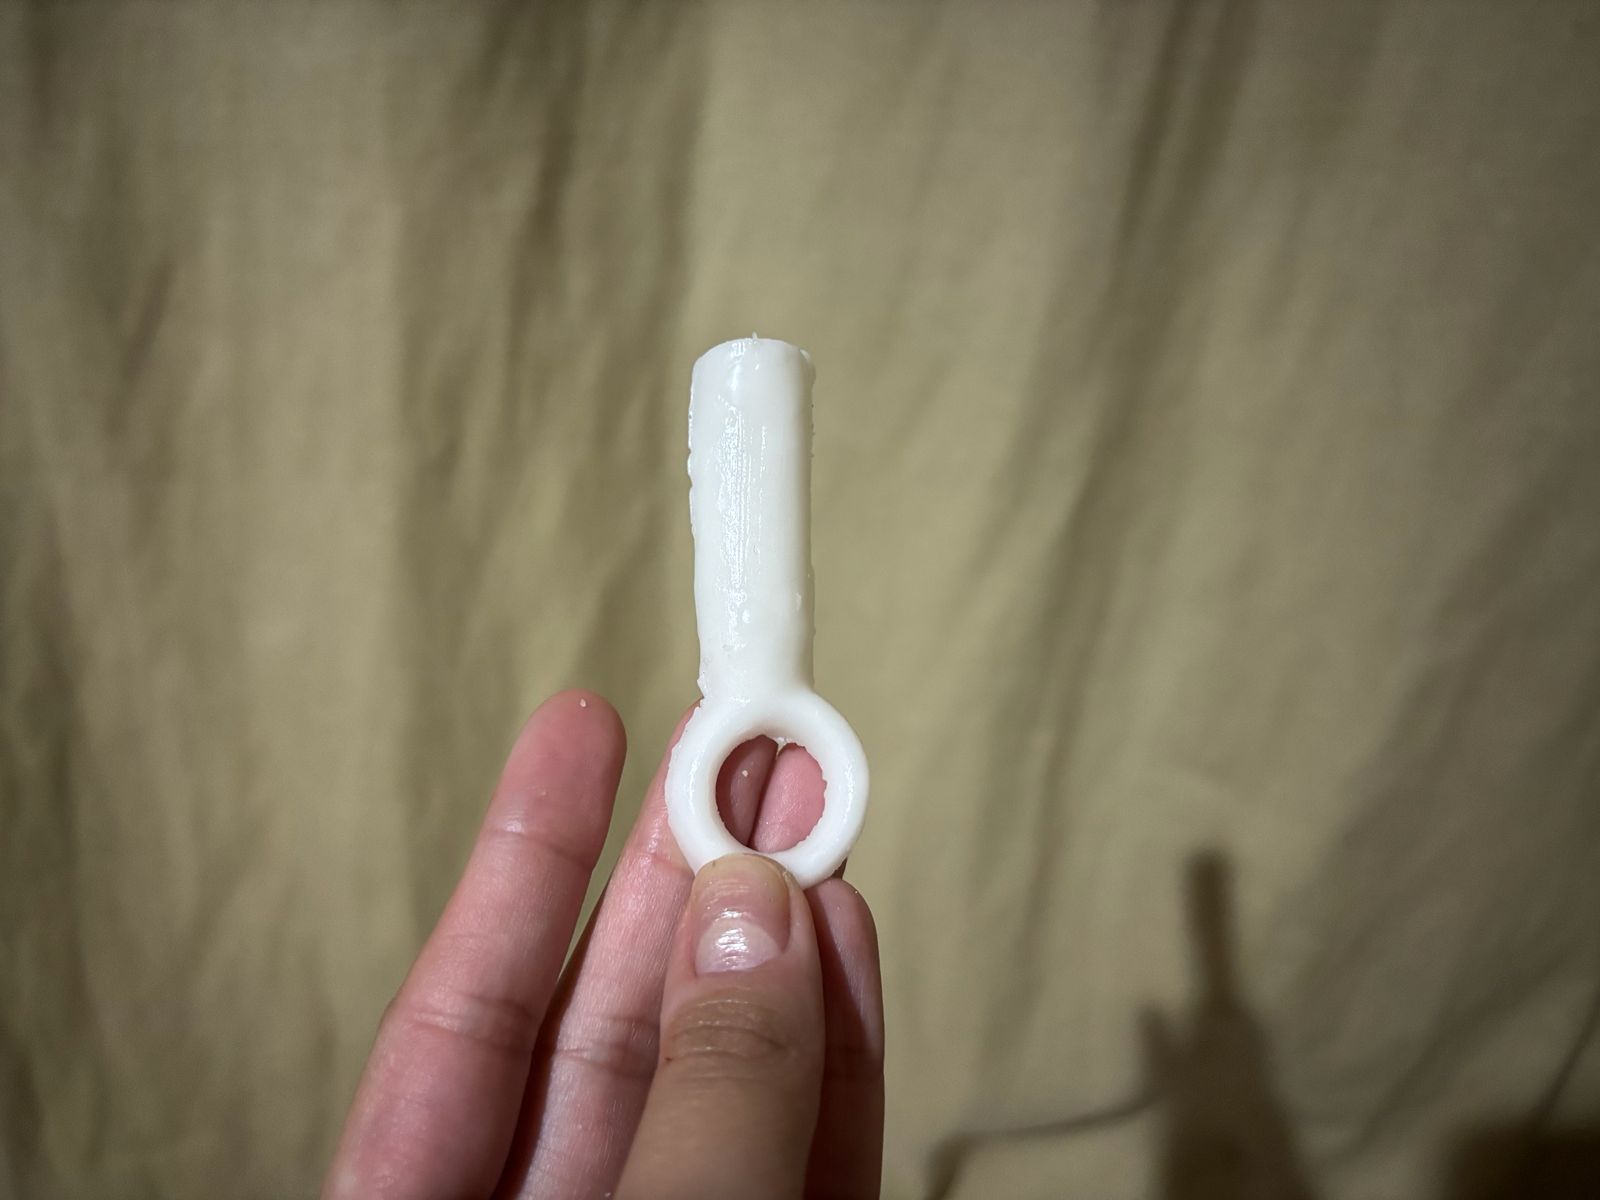
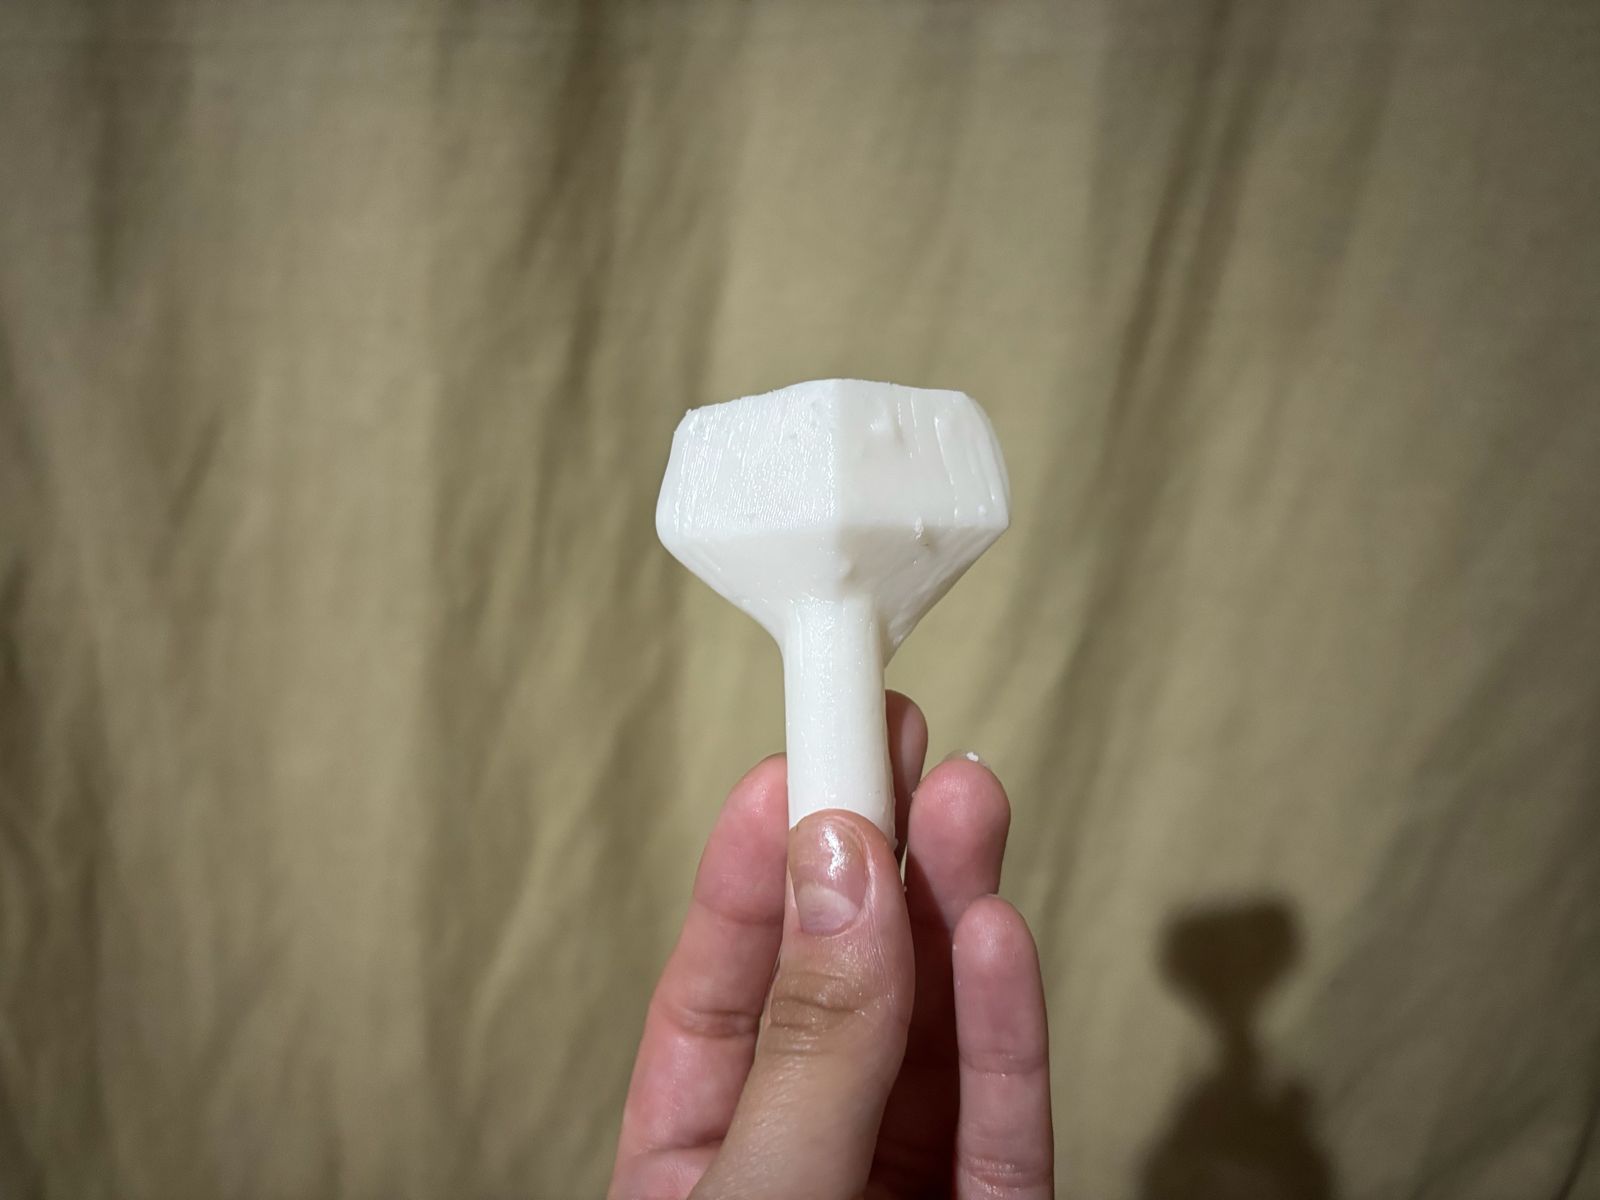
locks (keys), depending on what is desired (in my case spheres), I followed this process. First, I made a half circle with values I assigned according to my piece.
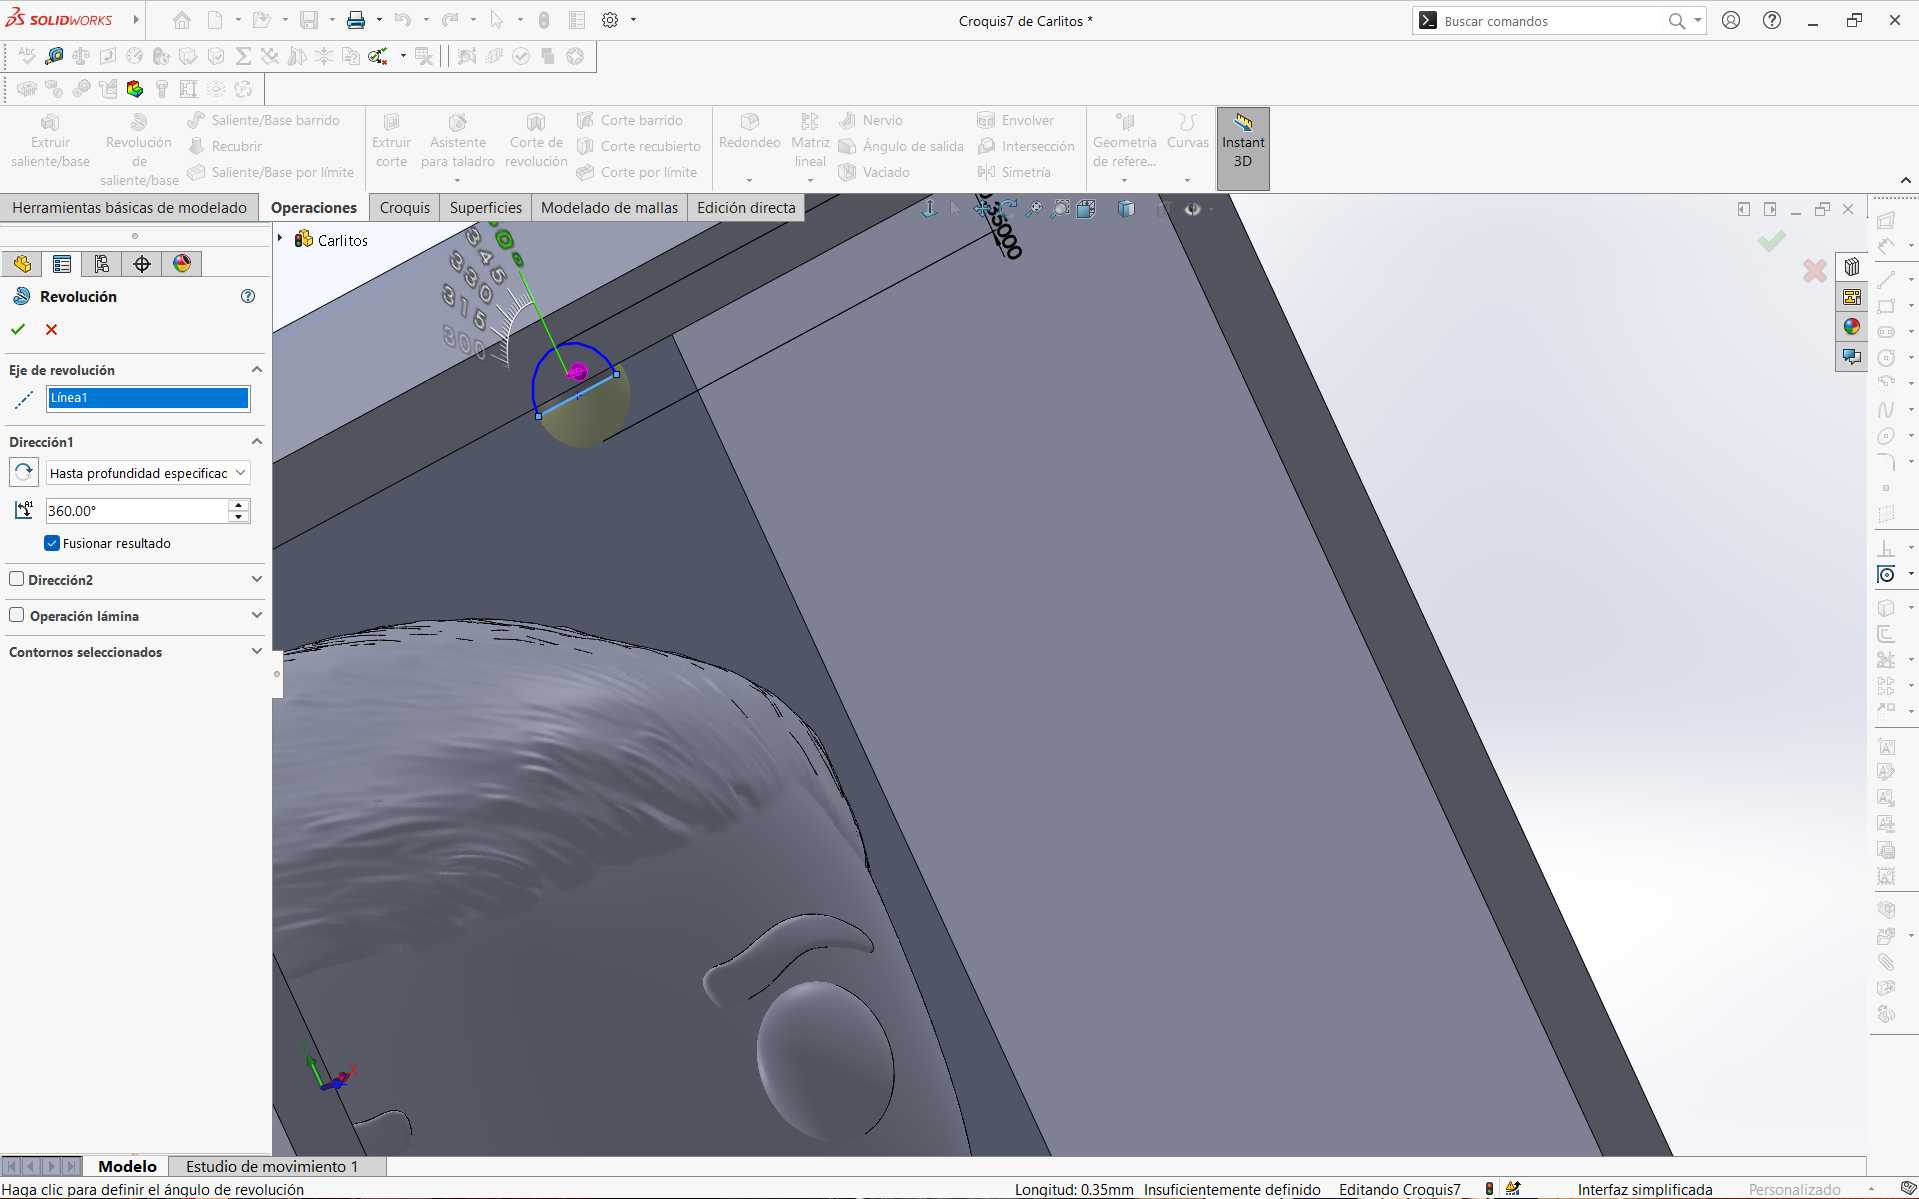
to make a sphere, I selected the Revolve tool and chose the diameter line of my half circle as the axis. Finally, a depth of 360 degrees.
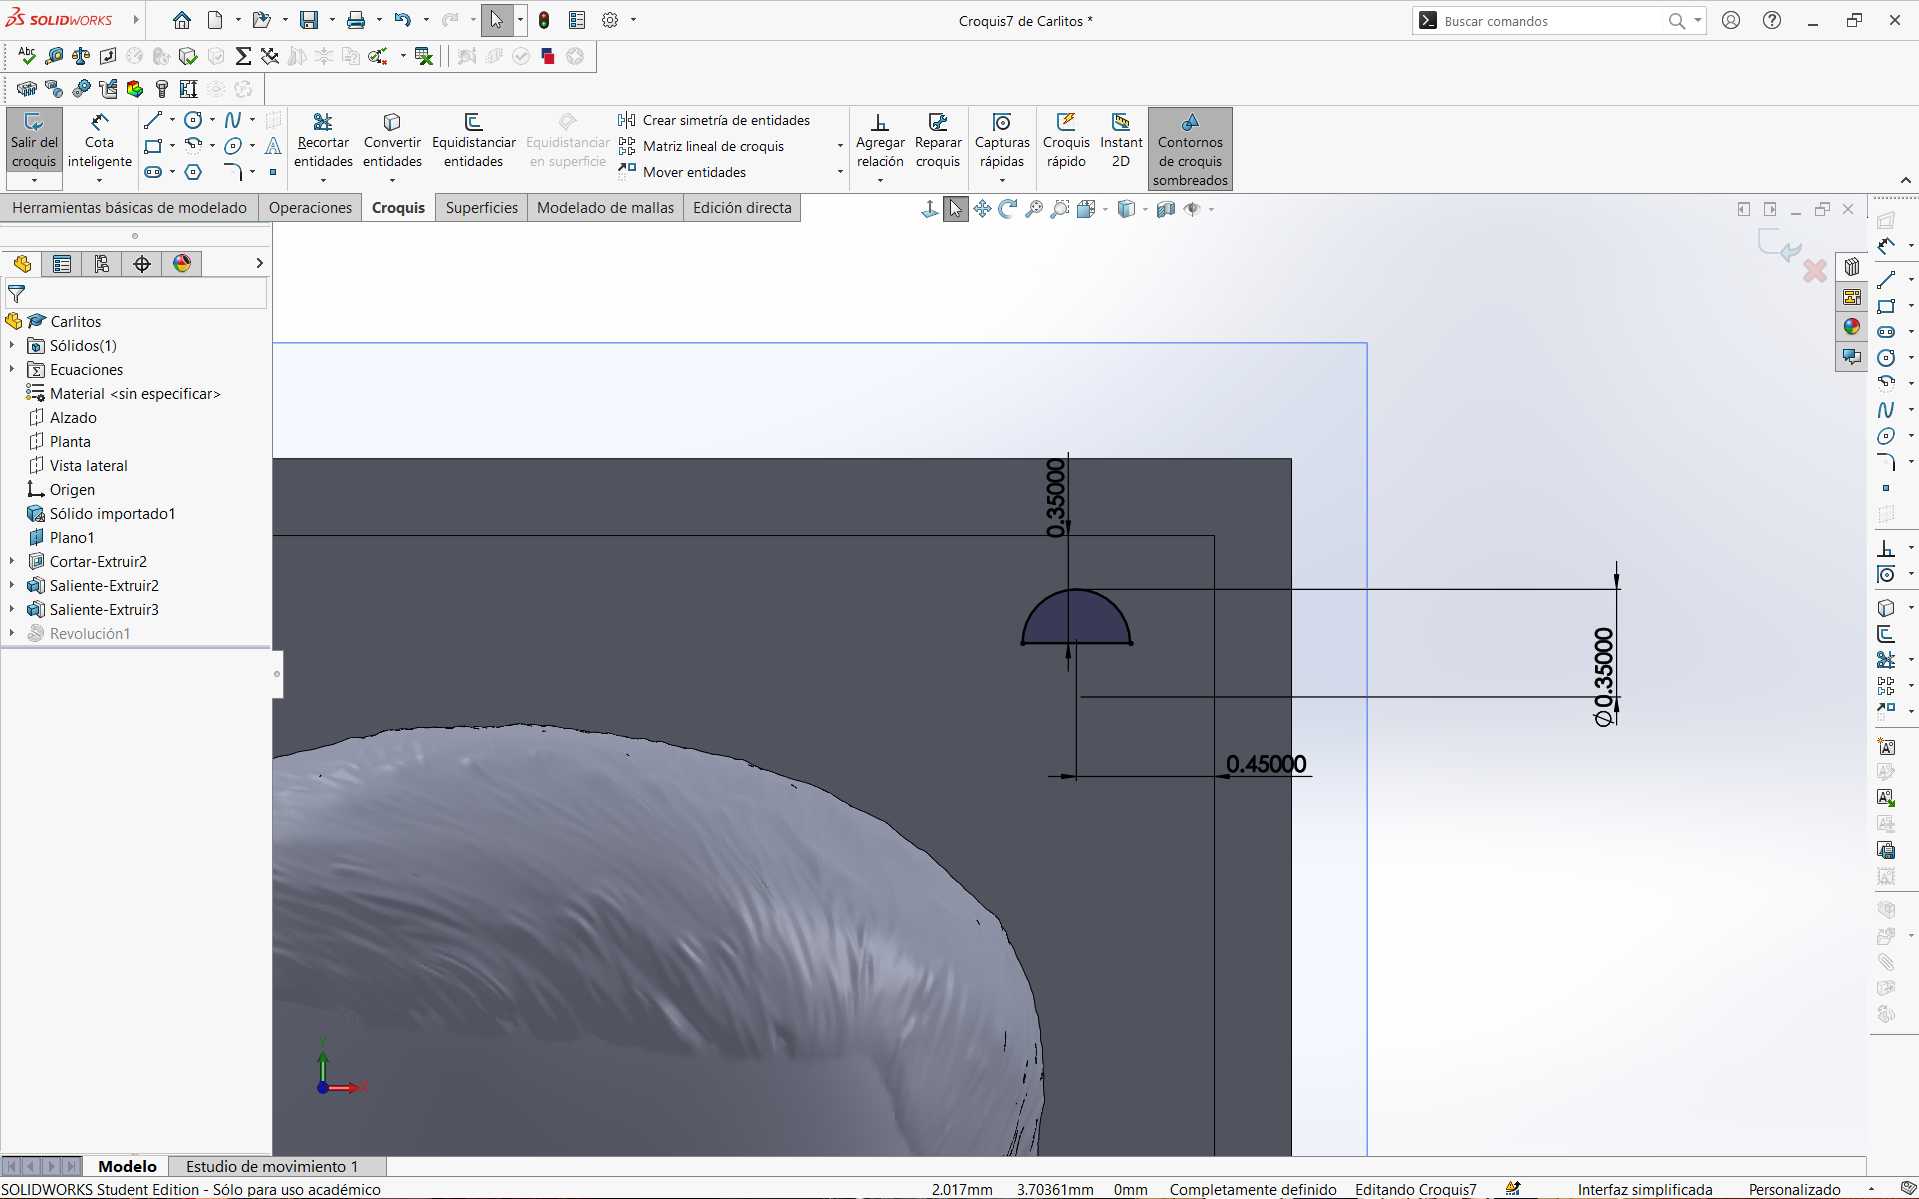
of making spheres as cavities, instead of selecting the Revolve tool, I selected Revolve Cut.
process at the corners of my mold. It is important that these locks are aligned or in the same position on both molds. Likewise, that one contains a sphere and the other the sphere-shaped cavity.
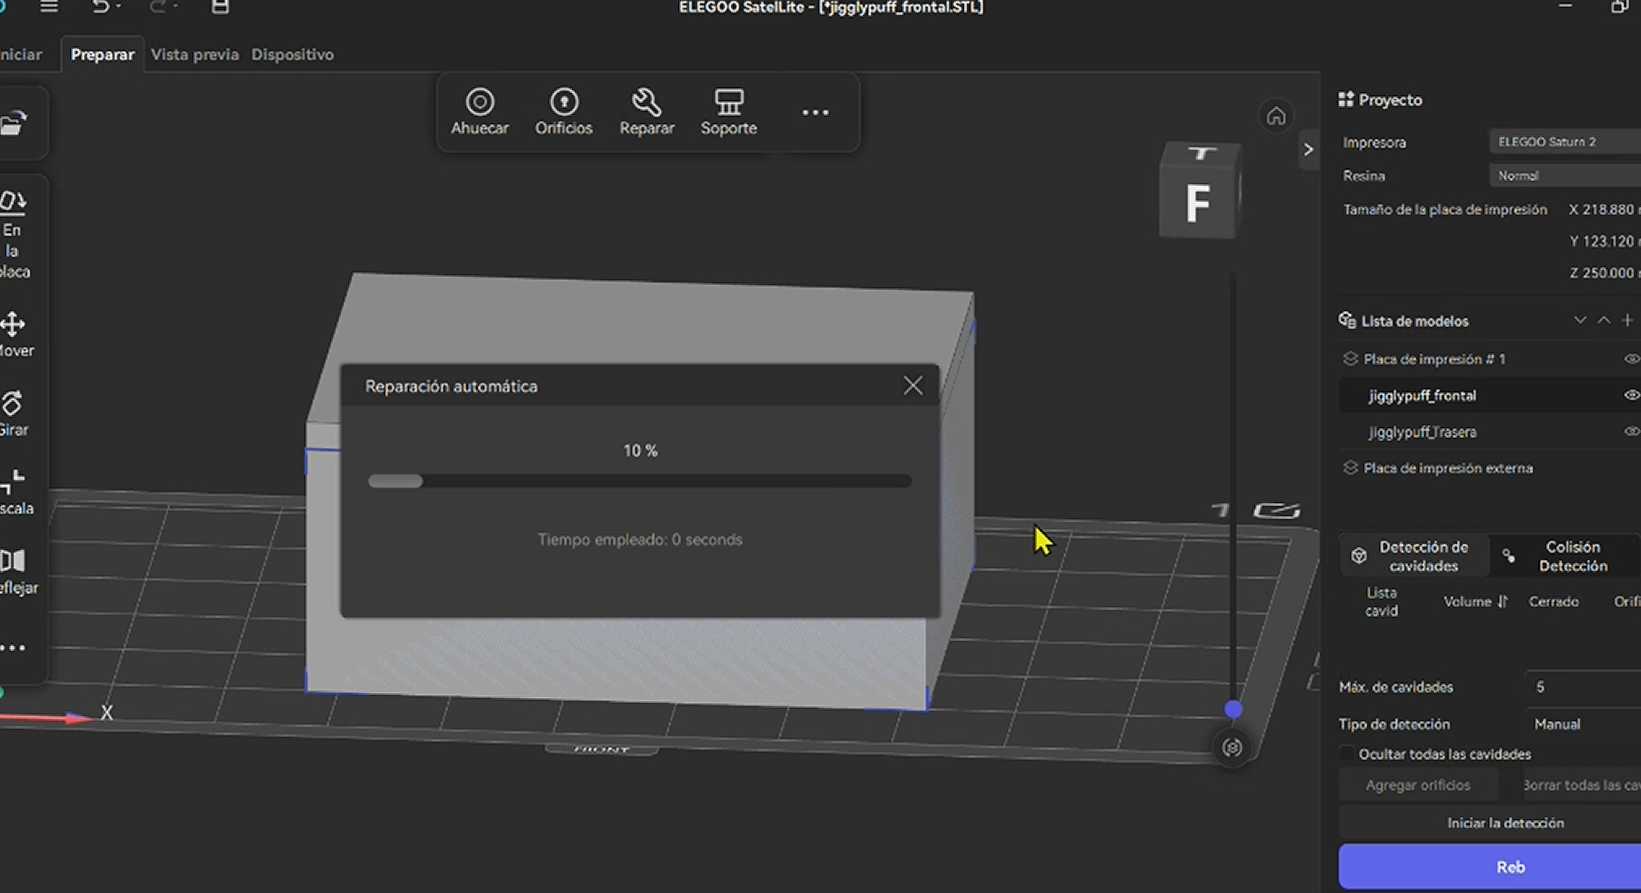
Finally, this is how my two molds looked. These were exported again as STL.
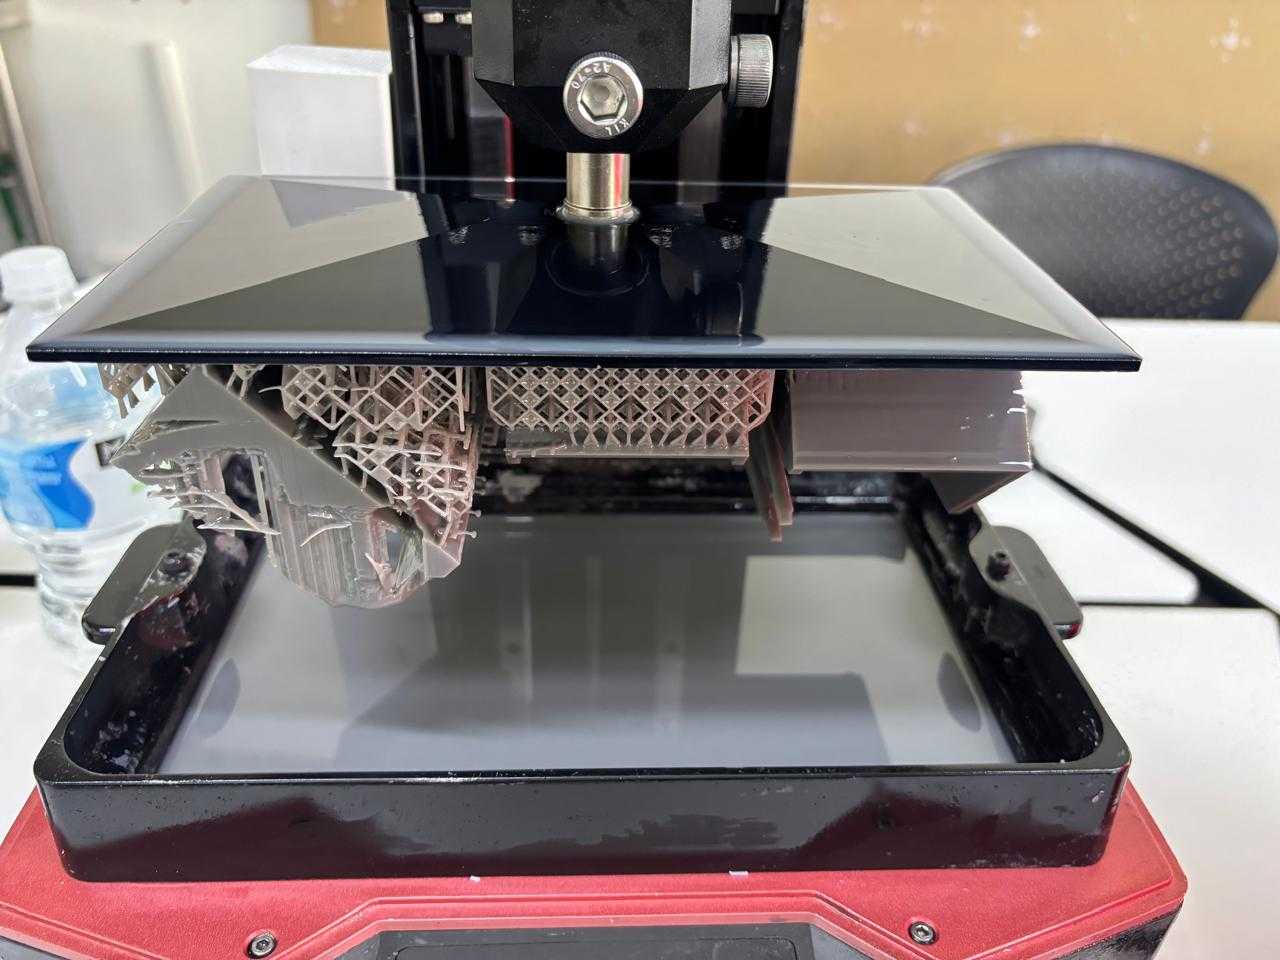
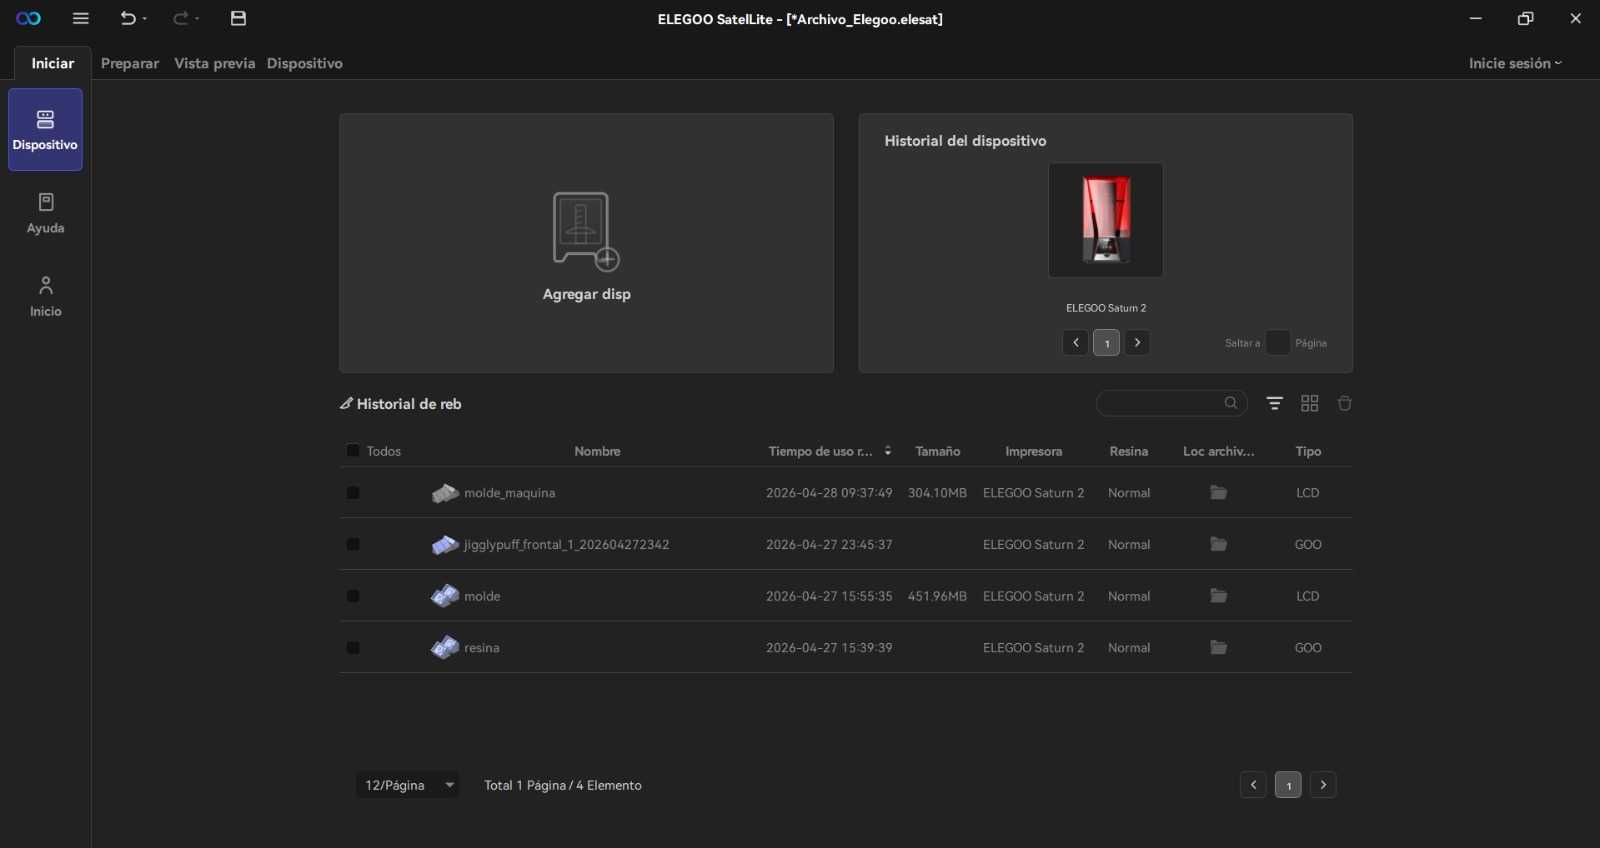
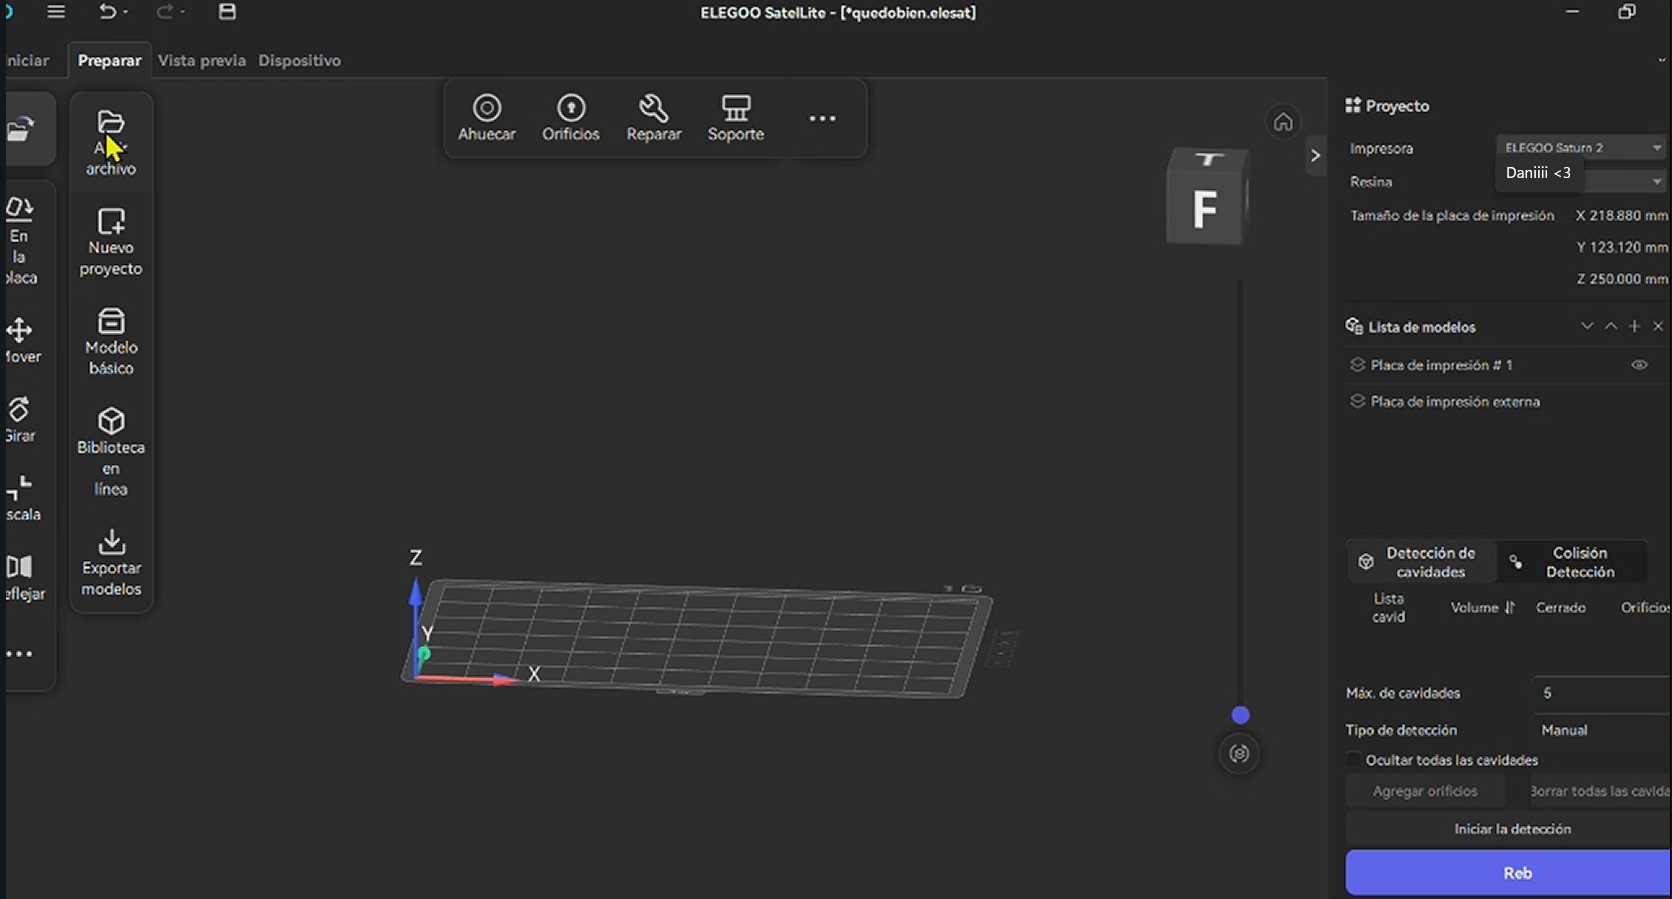
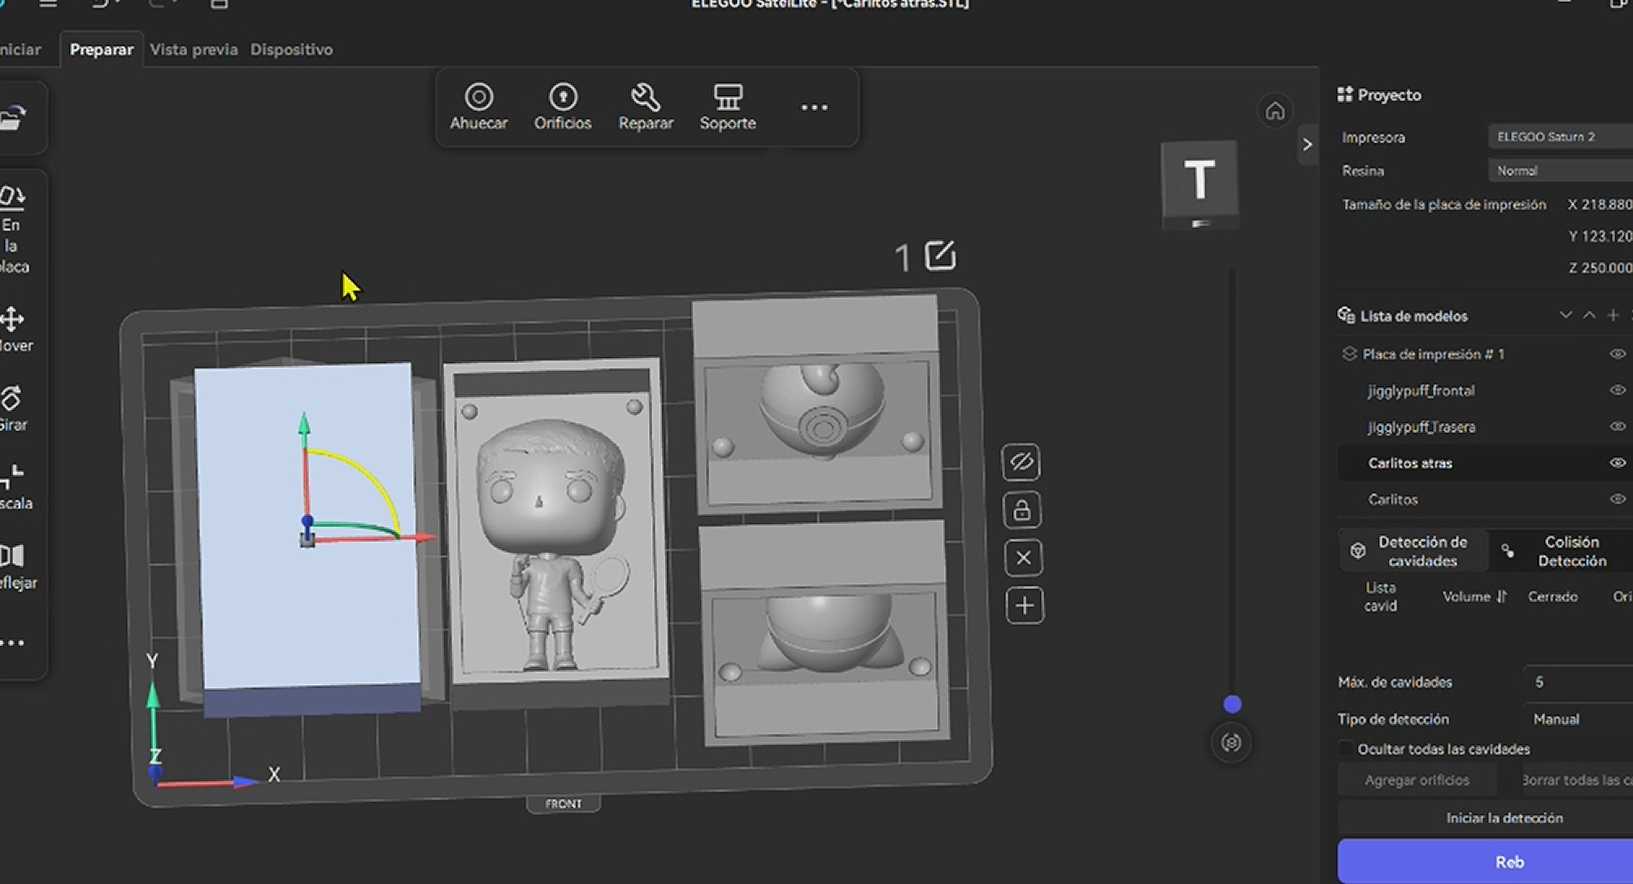
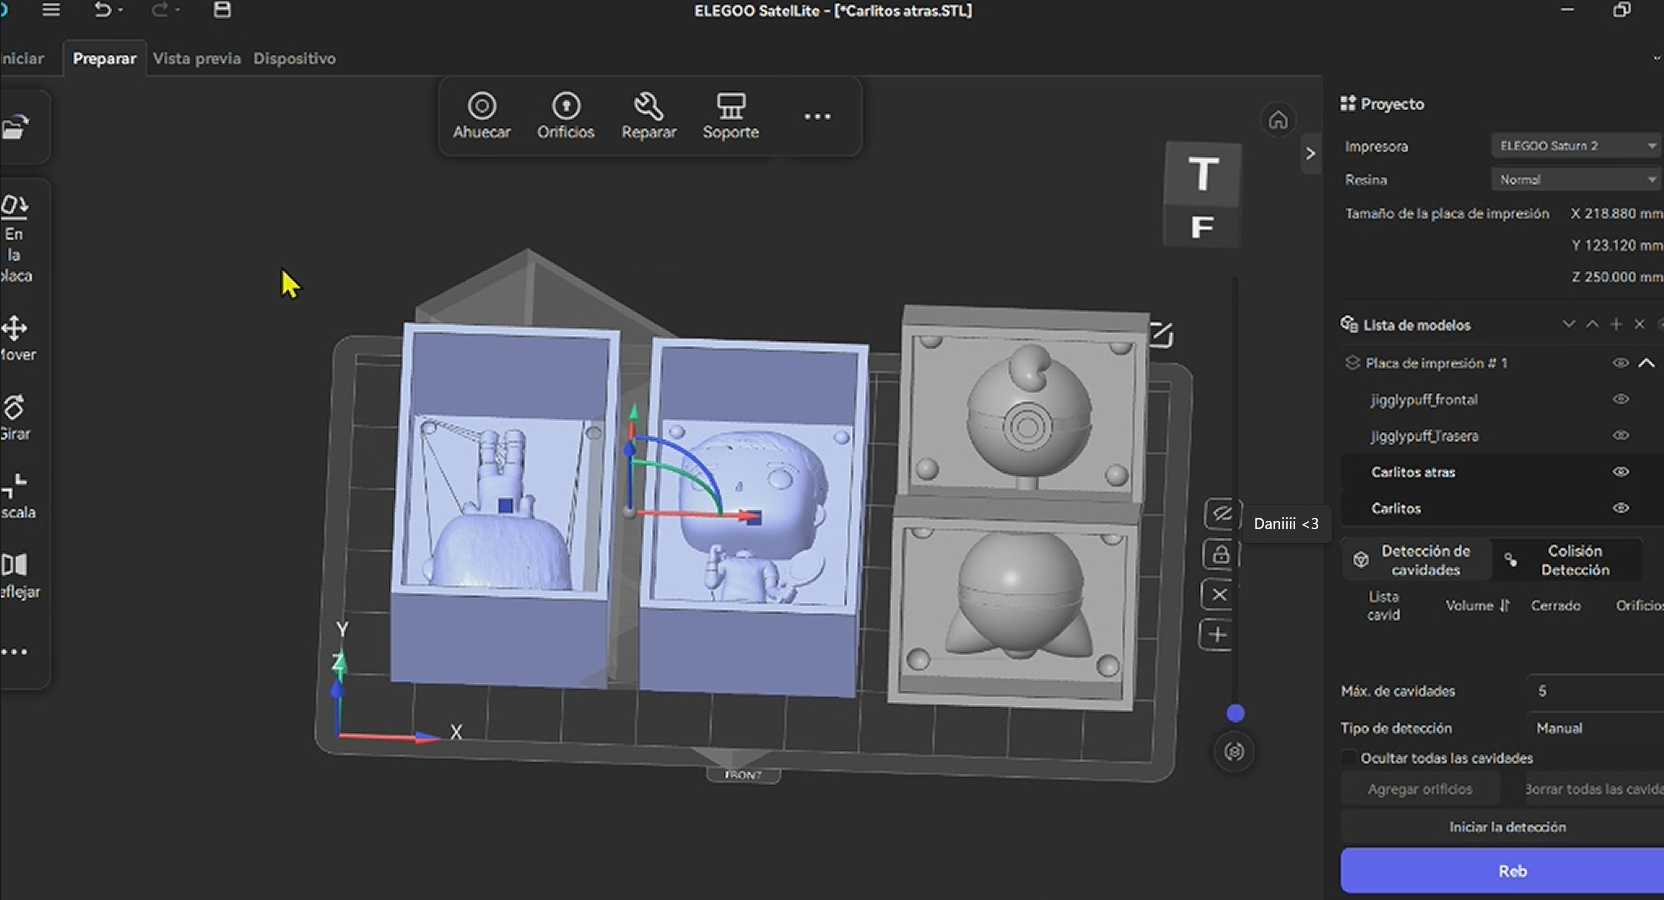
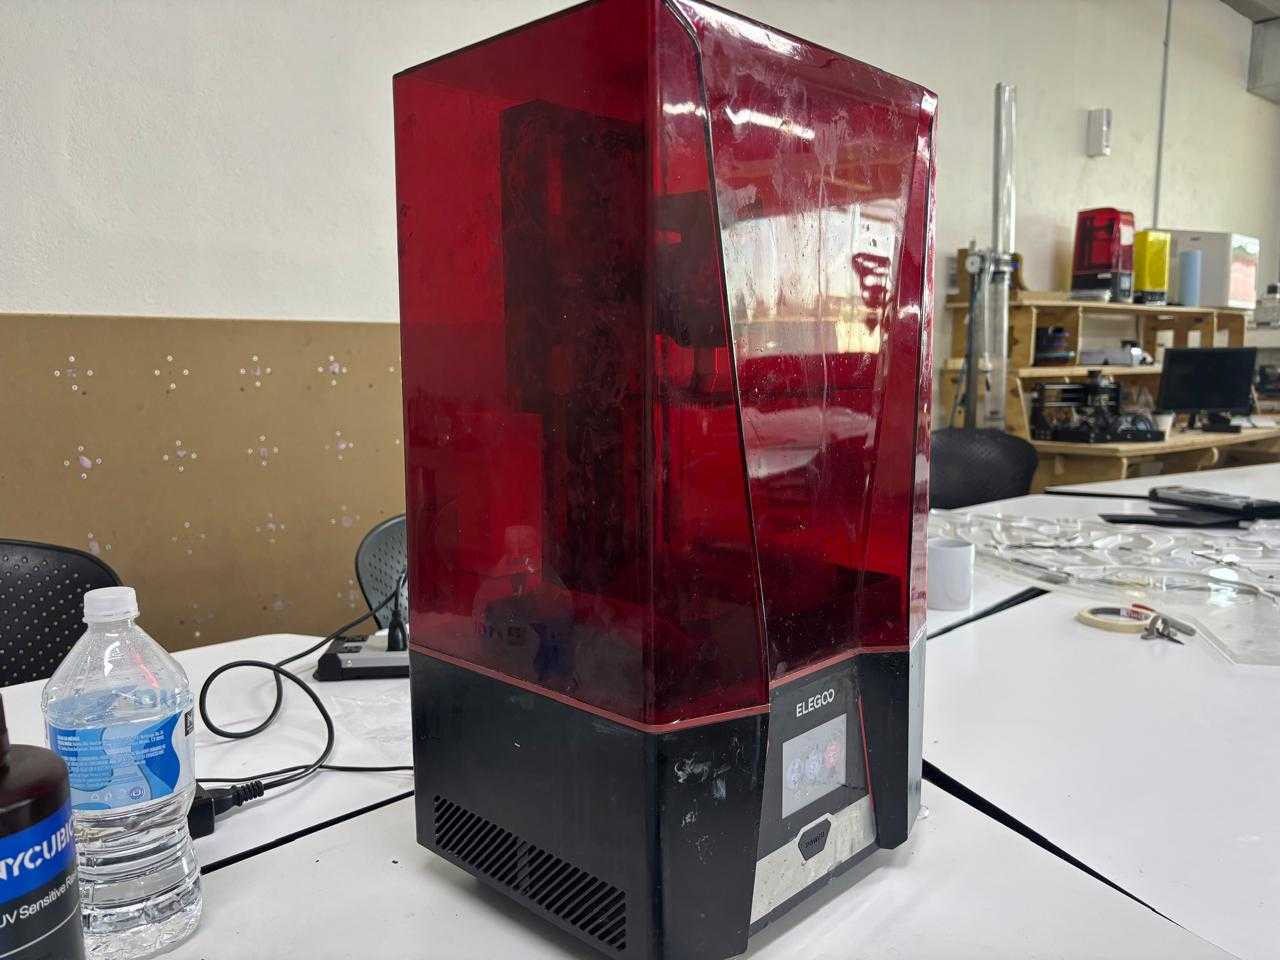
To set the parameters and configurations for resin printing, I first downloaded the ELEGOO software. You can download it here. Then I followed these steps.
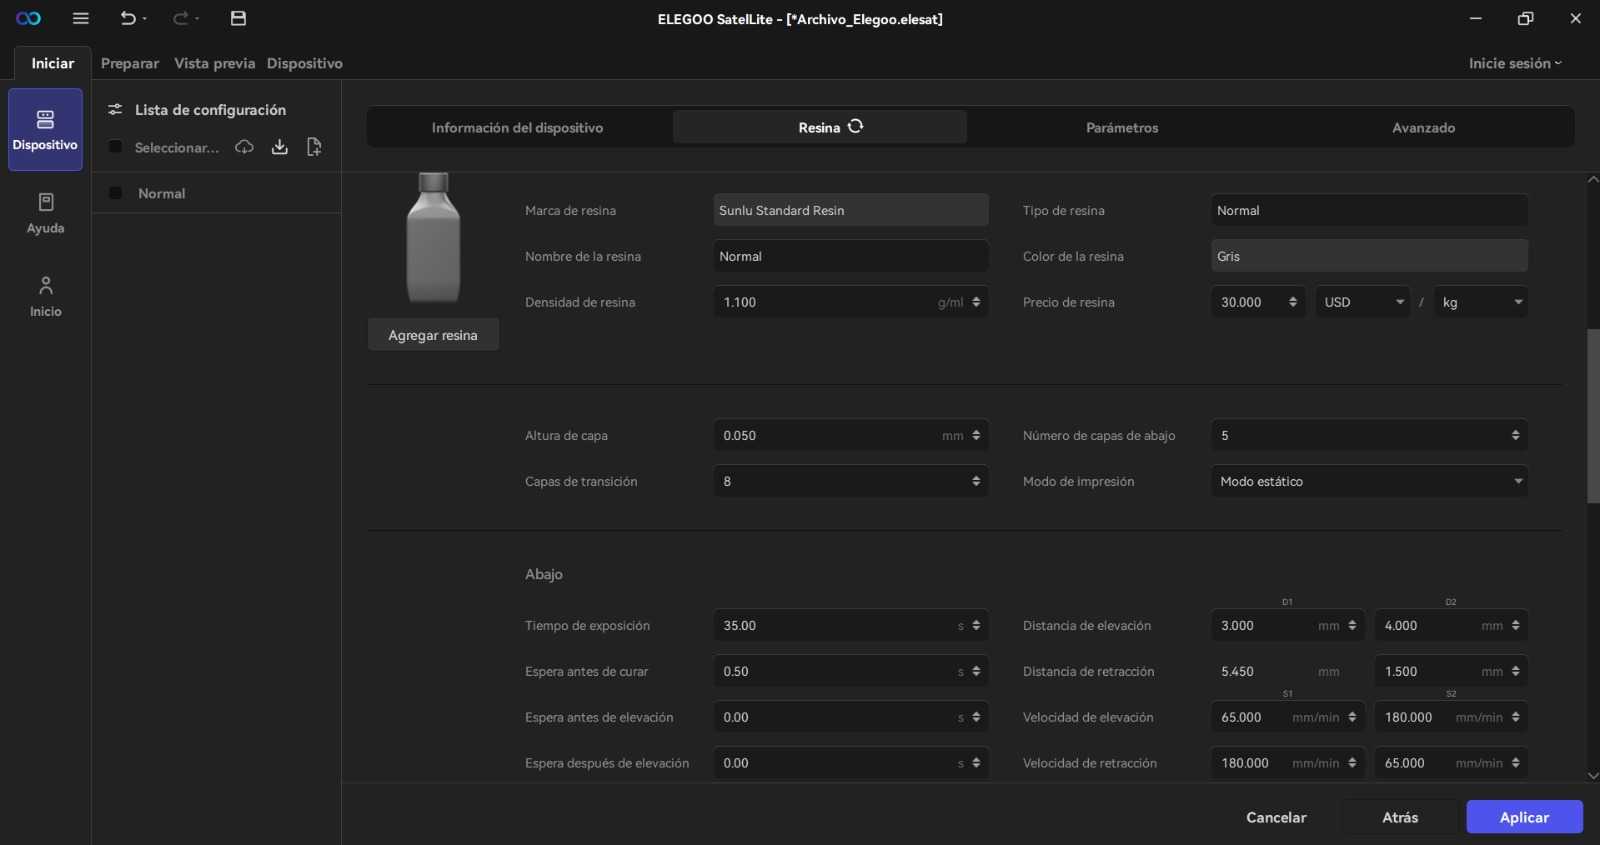

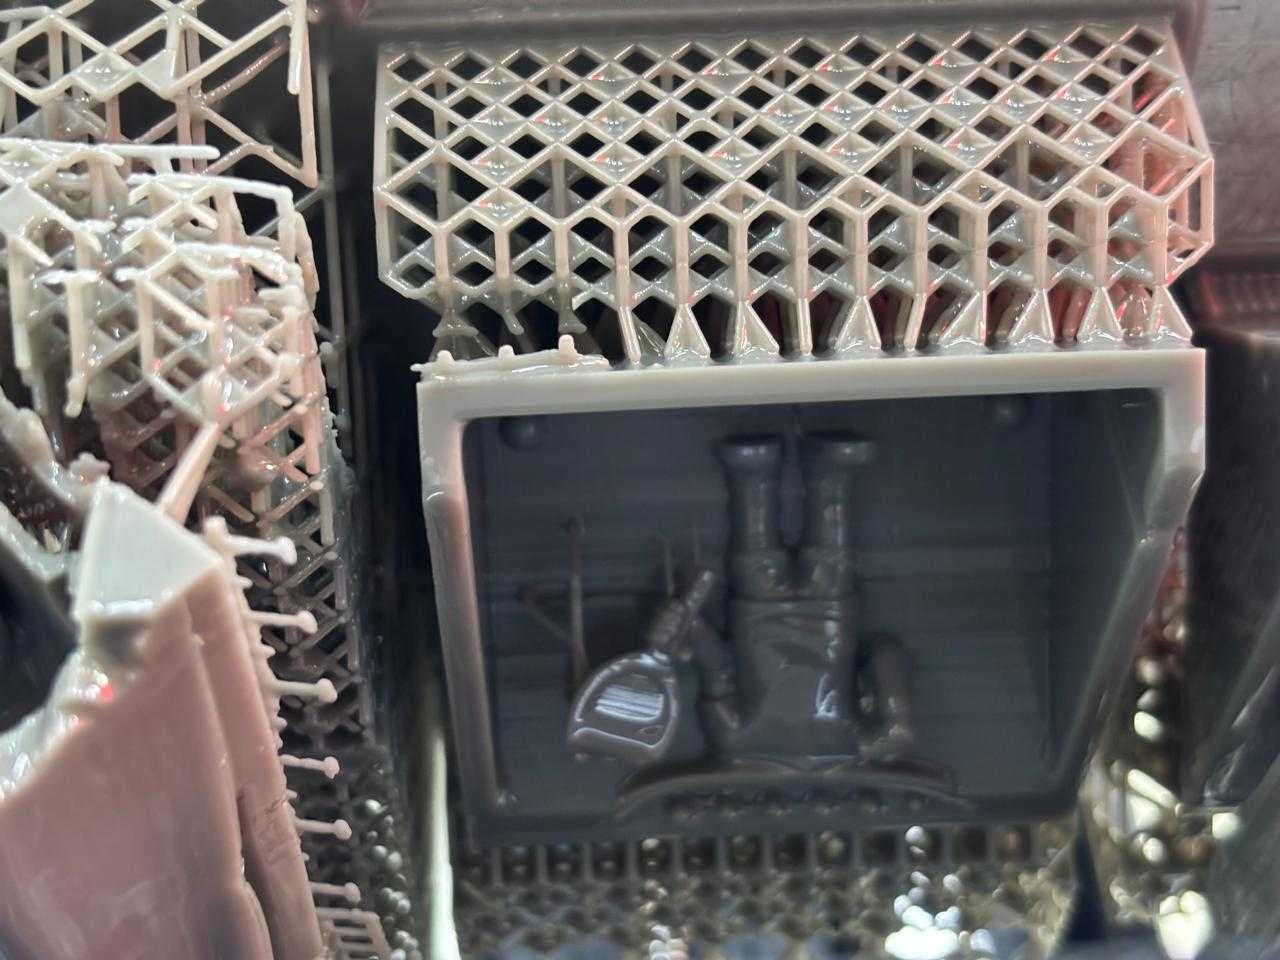
Using the printer was a very simple step. I only needed a USB memory where I saved my previous file. Afterwards, it is important to ensure that the printer is completely clean on the top part and the base. To do this, use gloves and isopropyl alcohol, clean the mentioned parts of the printer with a towel and alcohol. Afterwards, I placed my resin into the base until it filled up (fixed mark on the base itself). Once done, I put on the lid and looked for the file on the machine. I started the print.
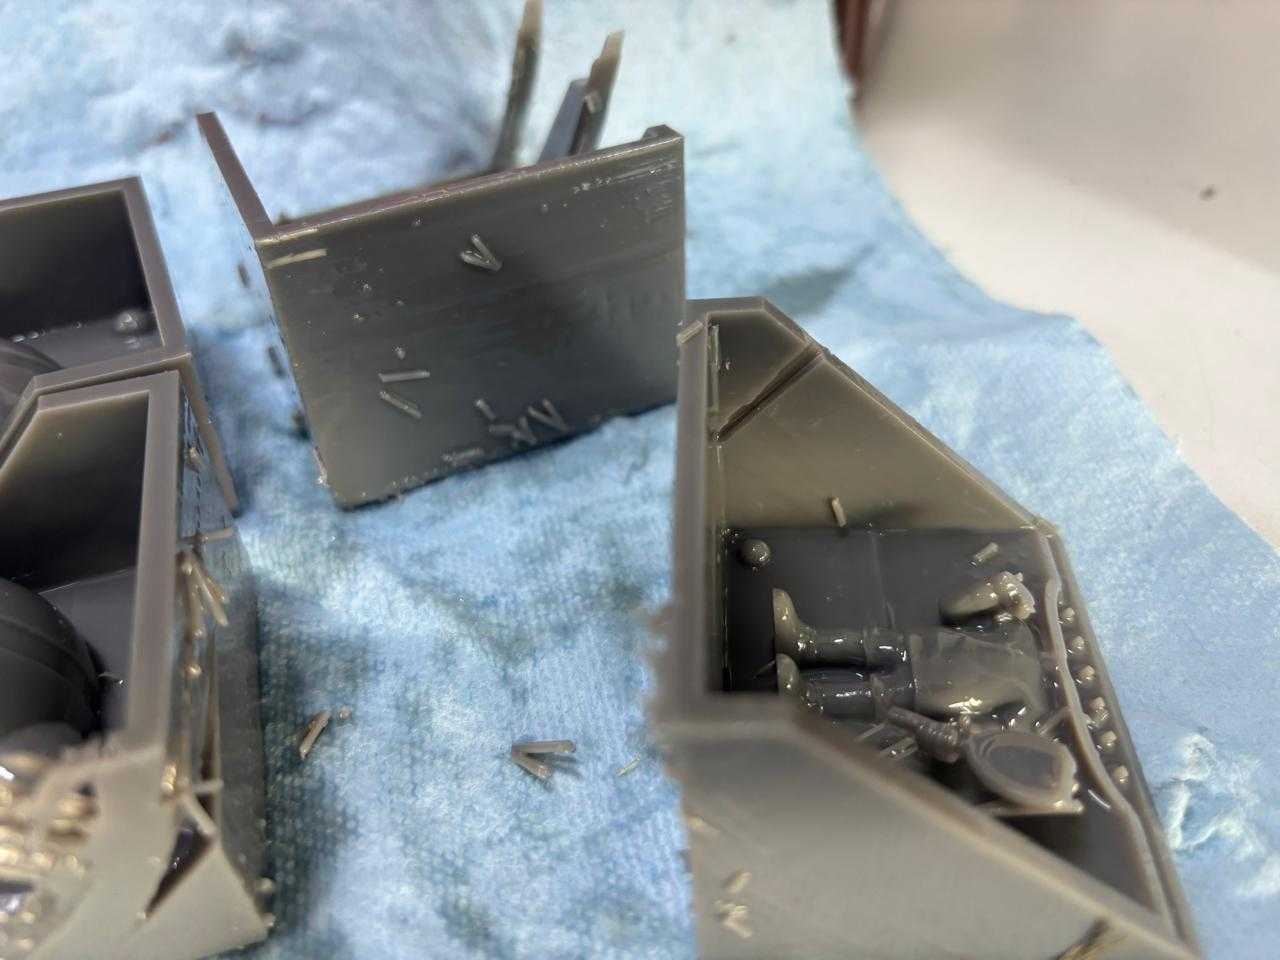
Once the machine has completely finished printing the pieces, I removed them with the help of a spatula and gloves. I also washed them with isopropyl alcohol. It is important to carry out this step because, if not done correctly, the curing of the piece will not take place properly.
Finally, I cleaned the machine again.
To carry out the curing, I used the ELEGOO MERCURY PLUS 2.0 machine. To use it I only had to turn it on, then with its buttons I could change the time and mode of the machine (switch to curing).
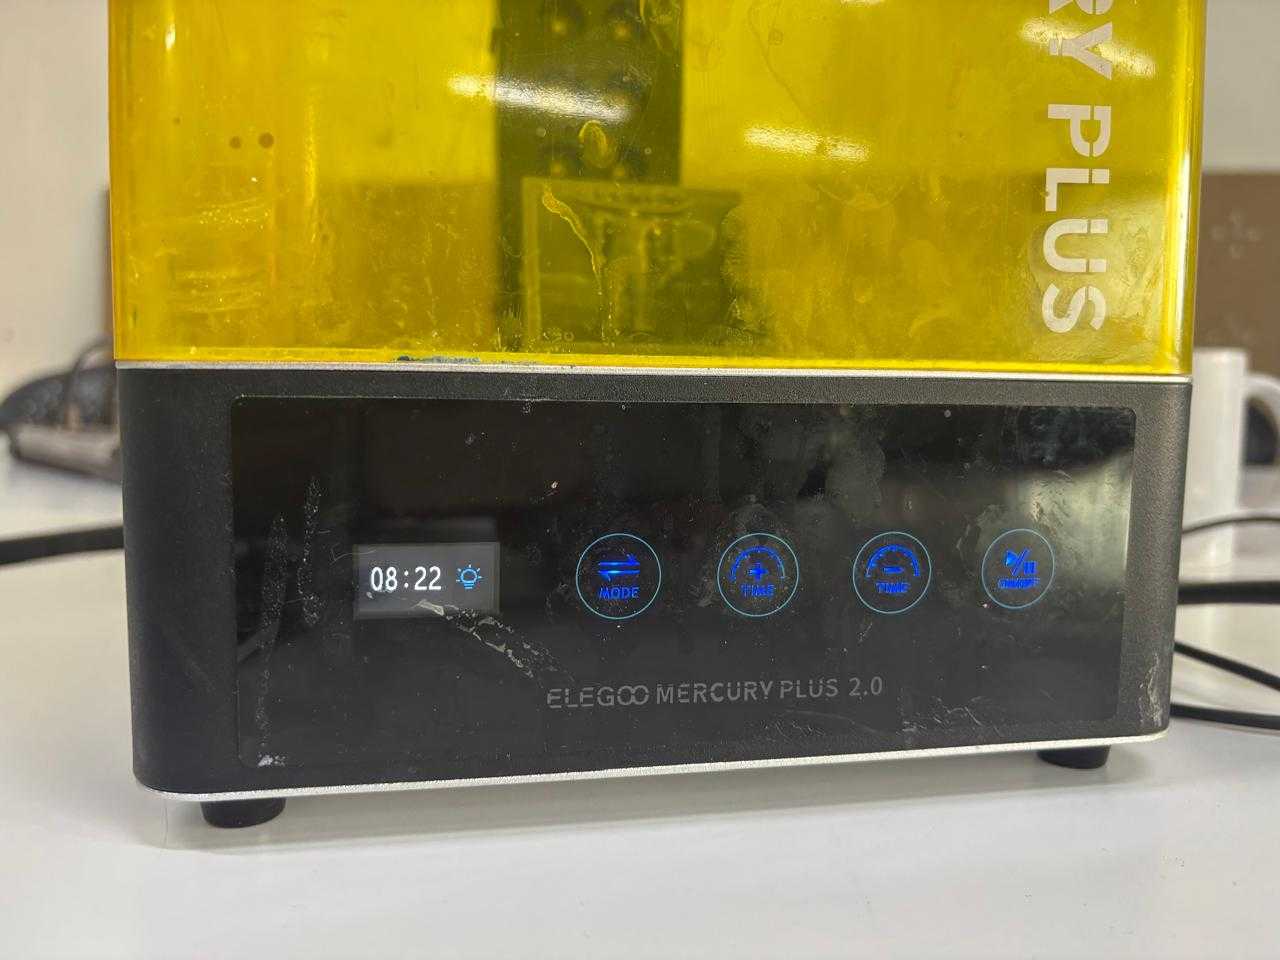
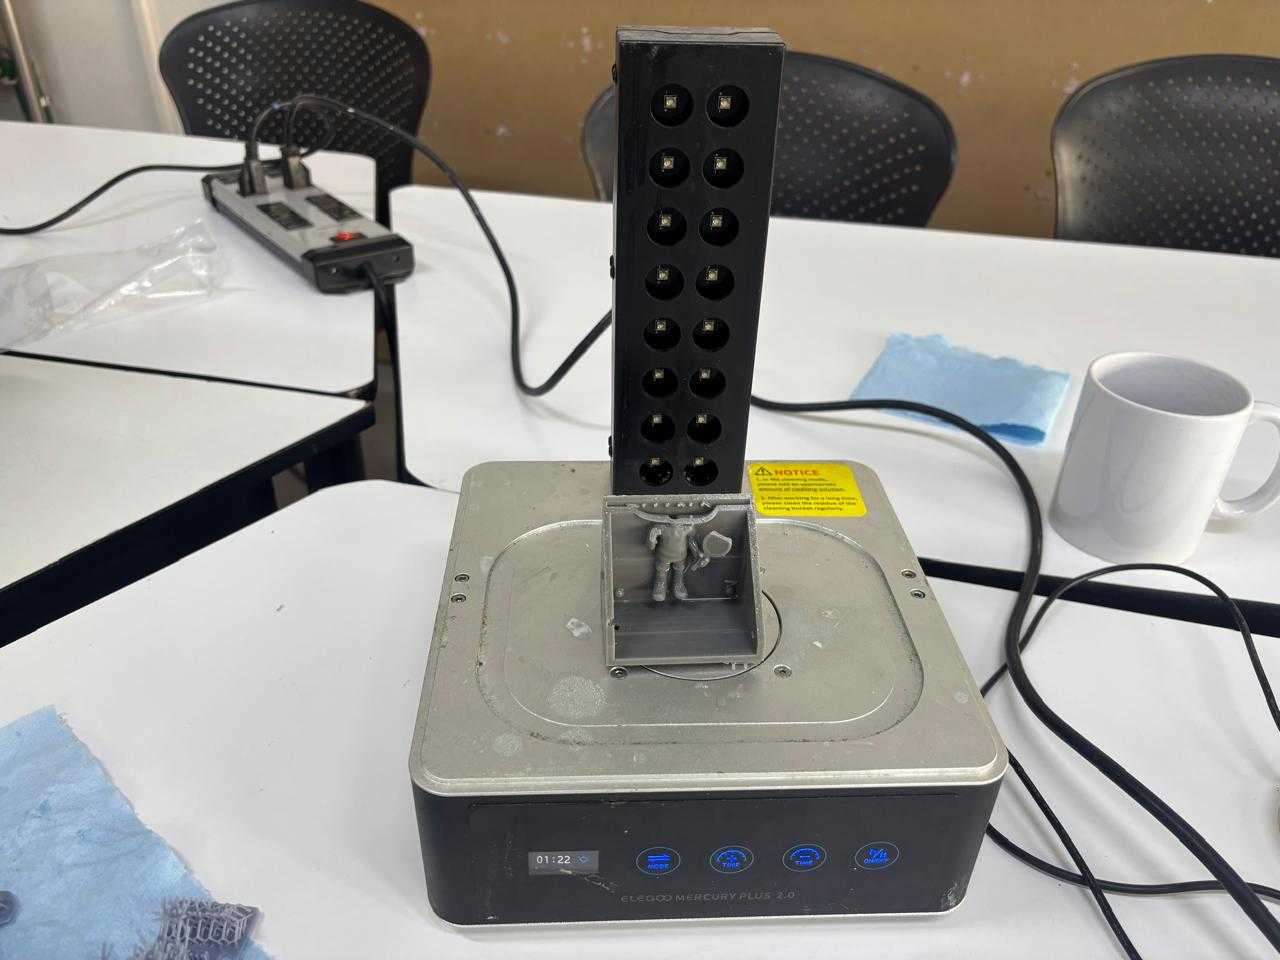
It is the final process of hardening induced by UV light that transforms liquid resin into a solid object.
Each piece took 15 minutes to become completely fixed.
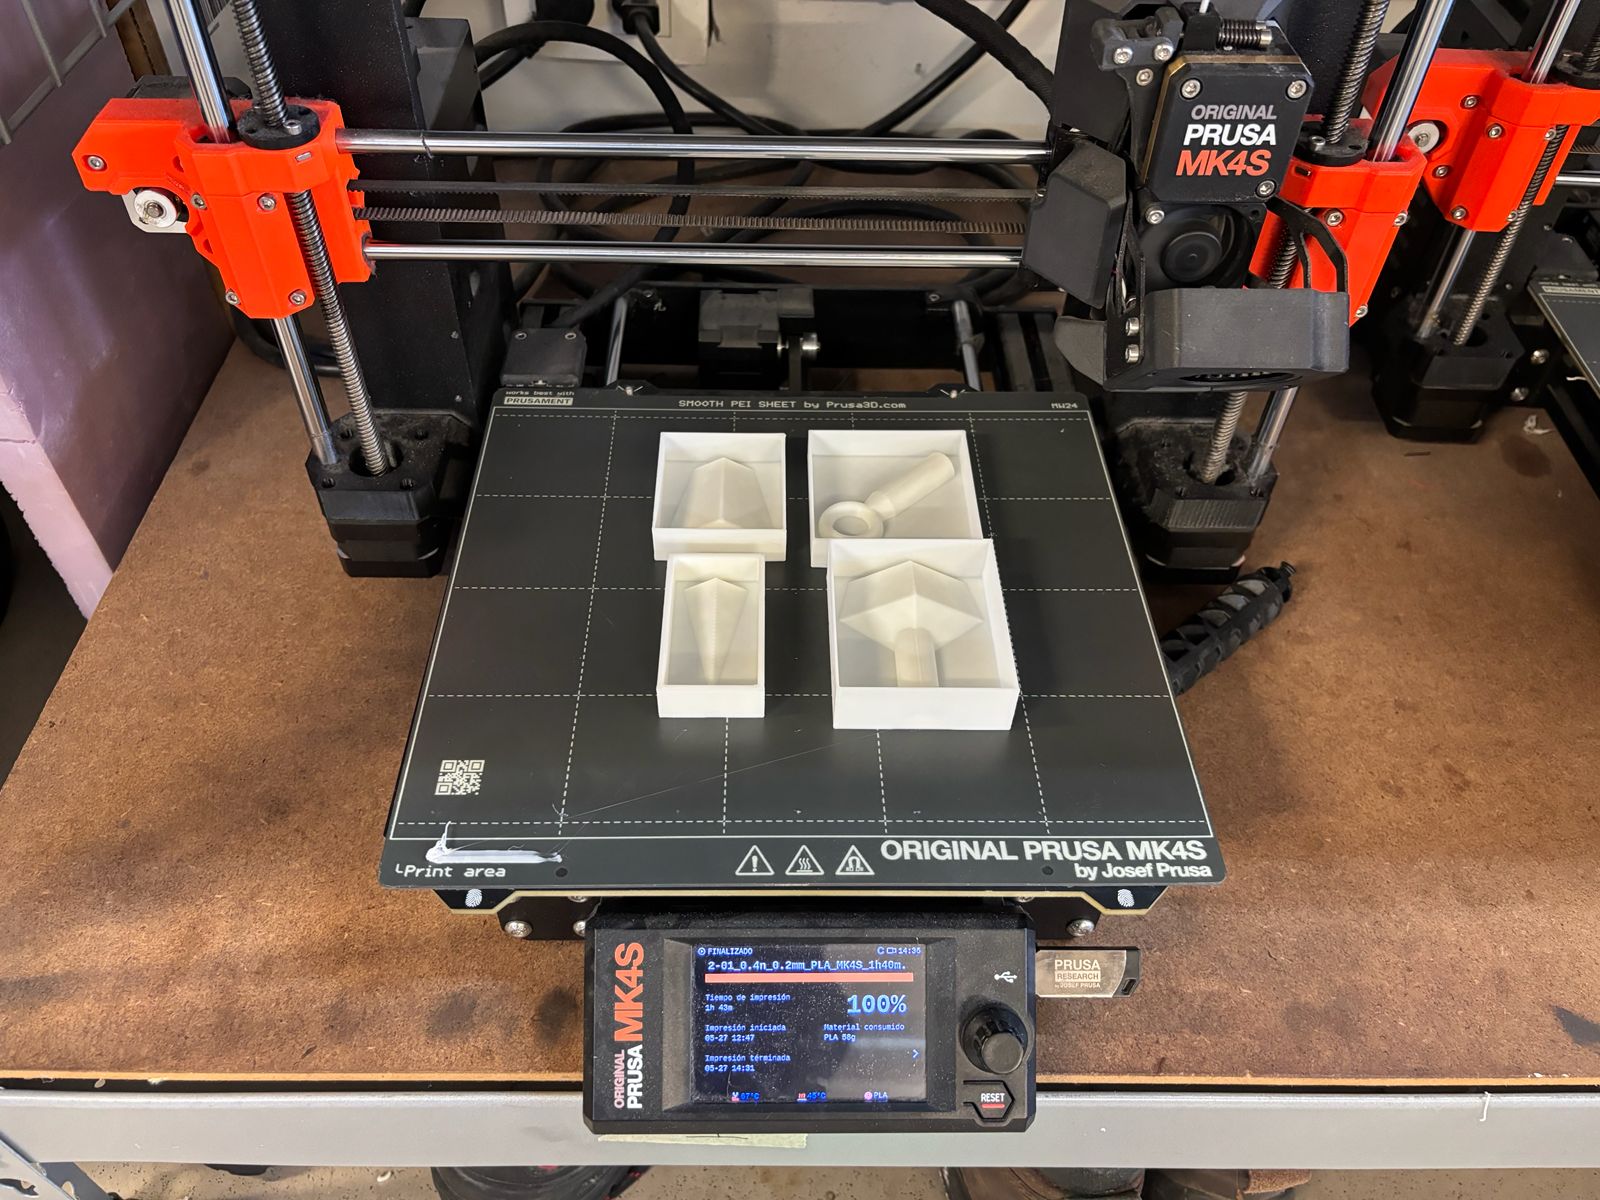
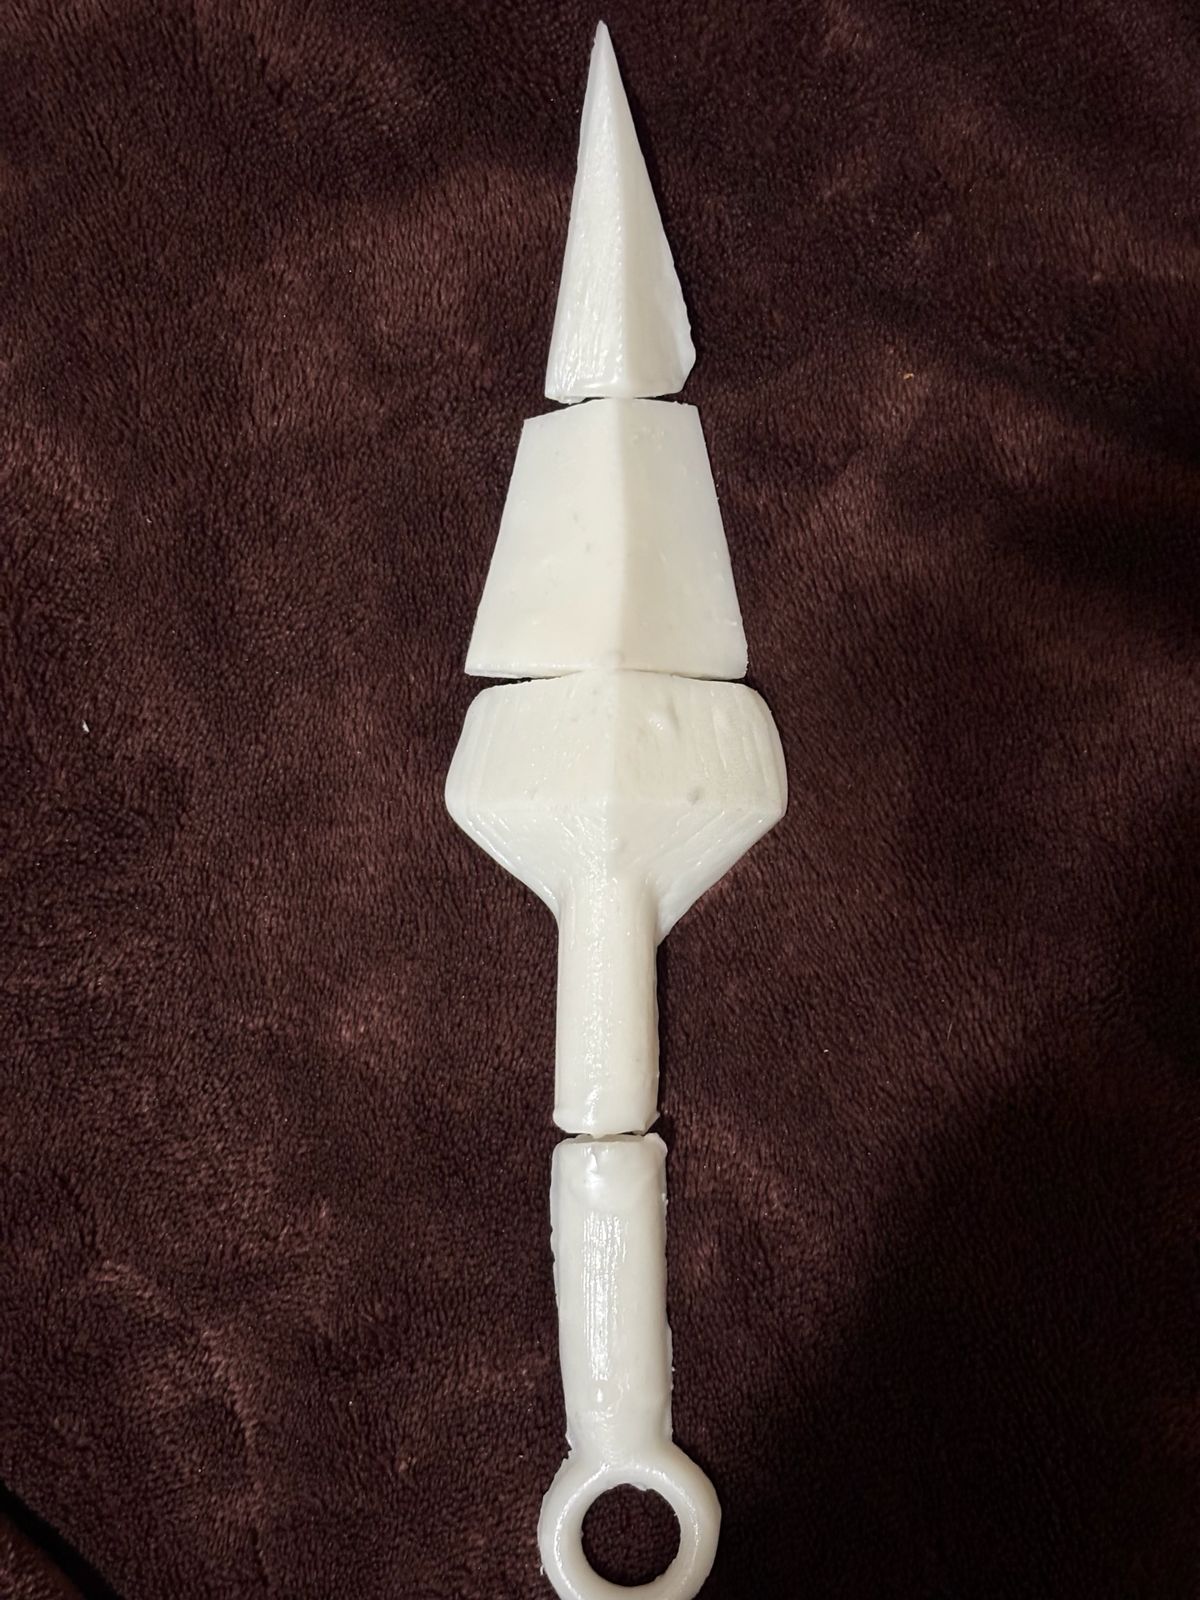
Due to my piece failing, I redesigned the molds. In this case, I selected a different design based on a tool from one of my favorite anime series. From this, I 3D printed the molds using PLA.
There are several reasons why it is necessary to consider whether to manufacture a single mold for one part or divide it into multiple sections. Finally, there are several additional advantages to this approach, such as the possibility of reusing the parts, repairing them individually in the event of wear, having better control over the parting lines, and achieving an easier demolding process, among others. In particular, I decided to create multiple mold pieces for the following reasons:
Once the pieces were obtained, I used plaster to make the molds. I had researched that plaster is commonly used to make molds for ceramics. The way they were made was very interesting, simple, and accessible.
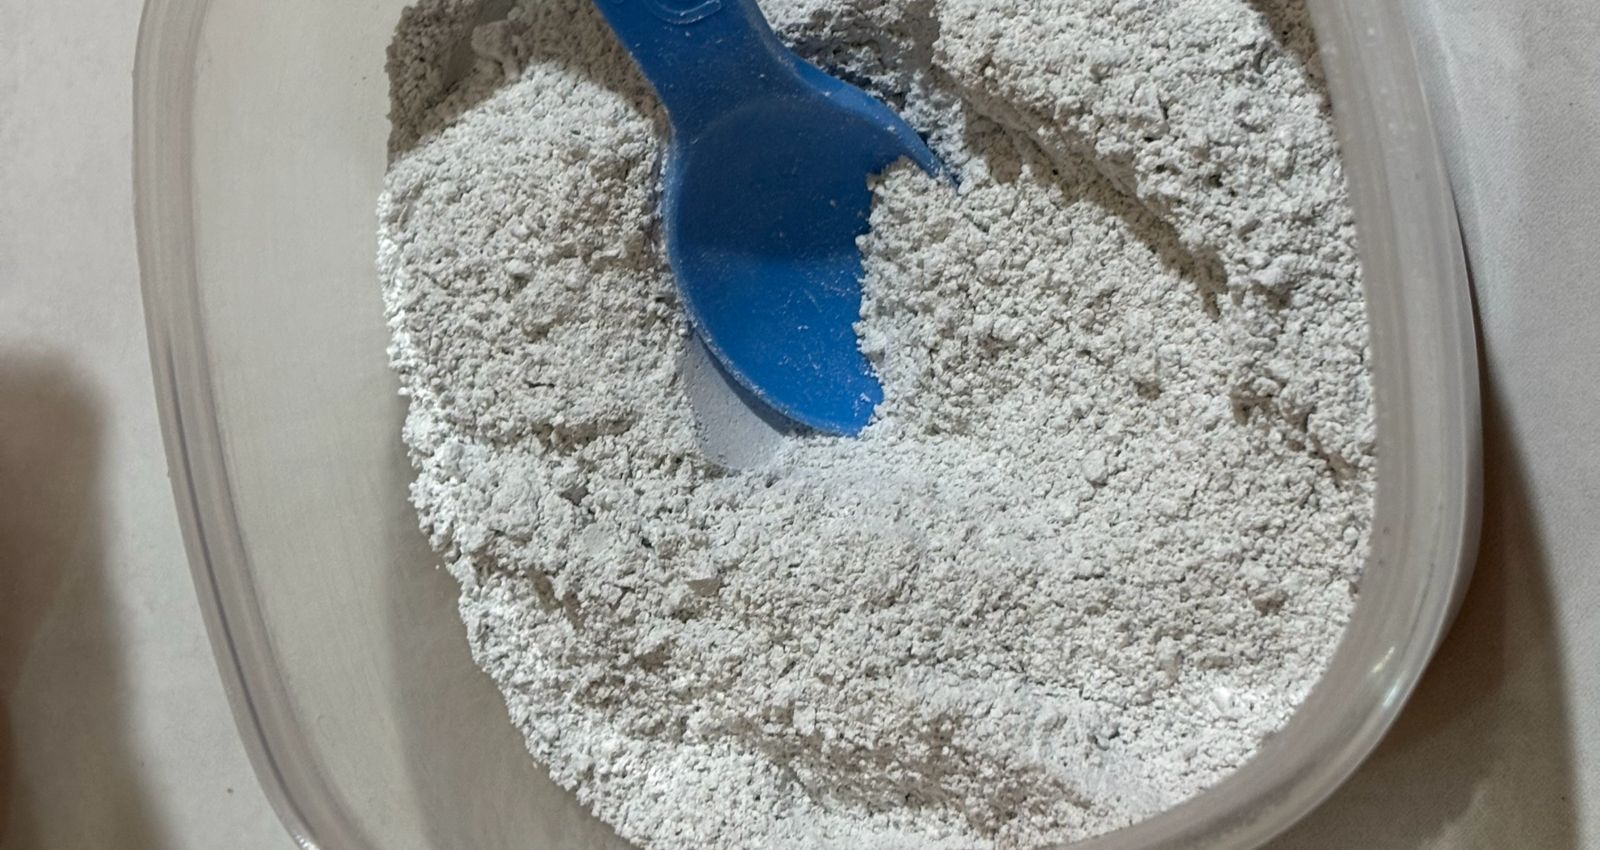
To prepare the plaster mixture, I used 1 part water to 1.5 parts plaster. I poured the water into a clean container and then slowly added the plaster until all of it had been incorporated. There are different ways to prepare plaster pieces; however, I found this technique very interesting because many people used the same method. Once the plaster and water are together, the plaster is allowed to absorb the water (about two minutes), and then it is gently mixed to avoid the formation of air bubbles.
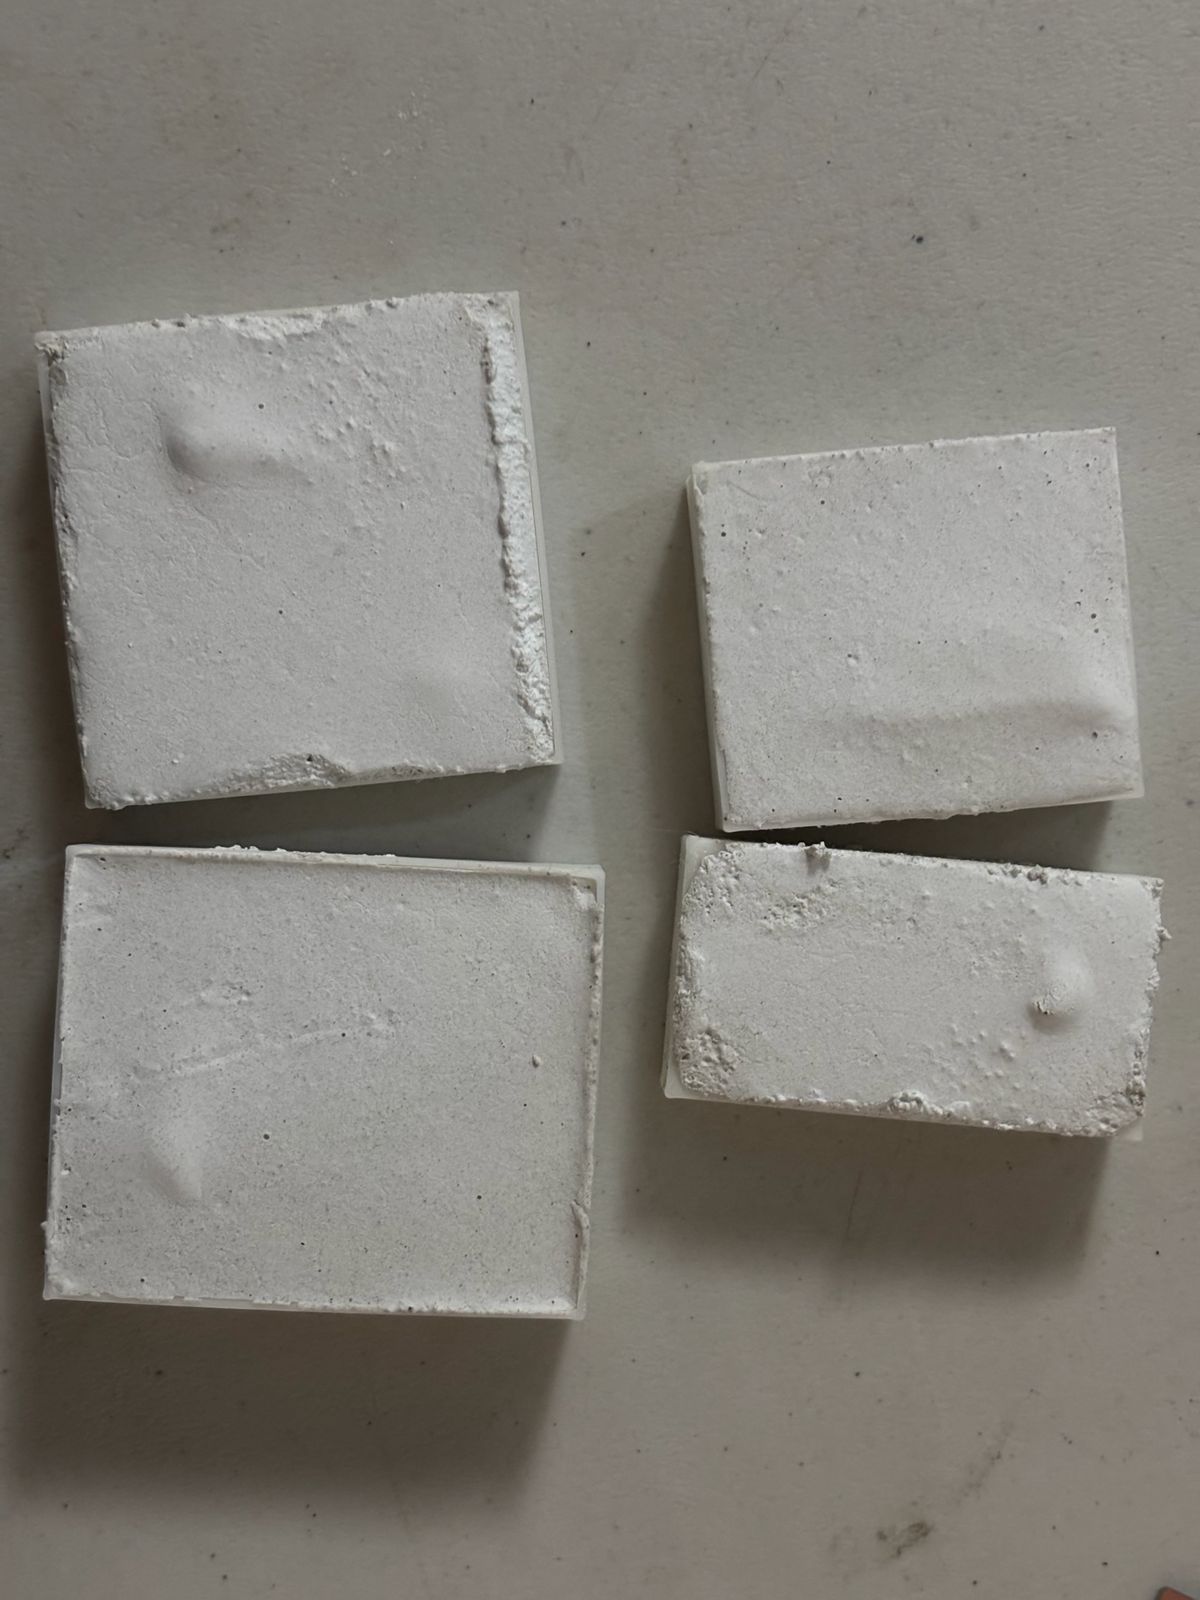
Once mixed, it was poured into the printed pieces (which had oil applied around them to prevent sticking). It was then left to dry for approximately one hour. Plaster tends to harden very quickly, but during the setting process it heats up, so after about one hour it can be removed from the mold. After that, it was left to air dry for a full day.
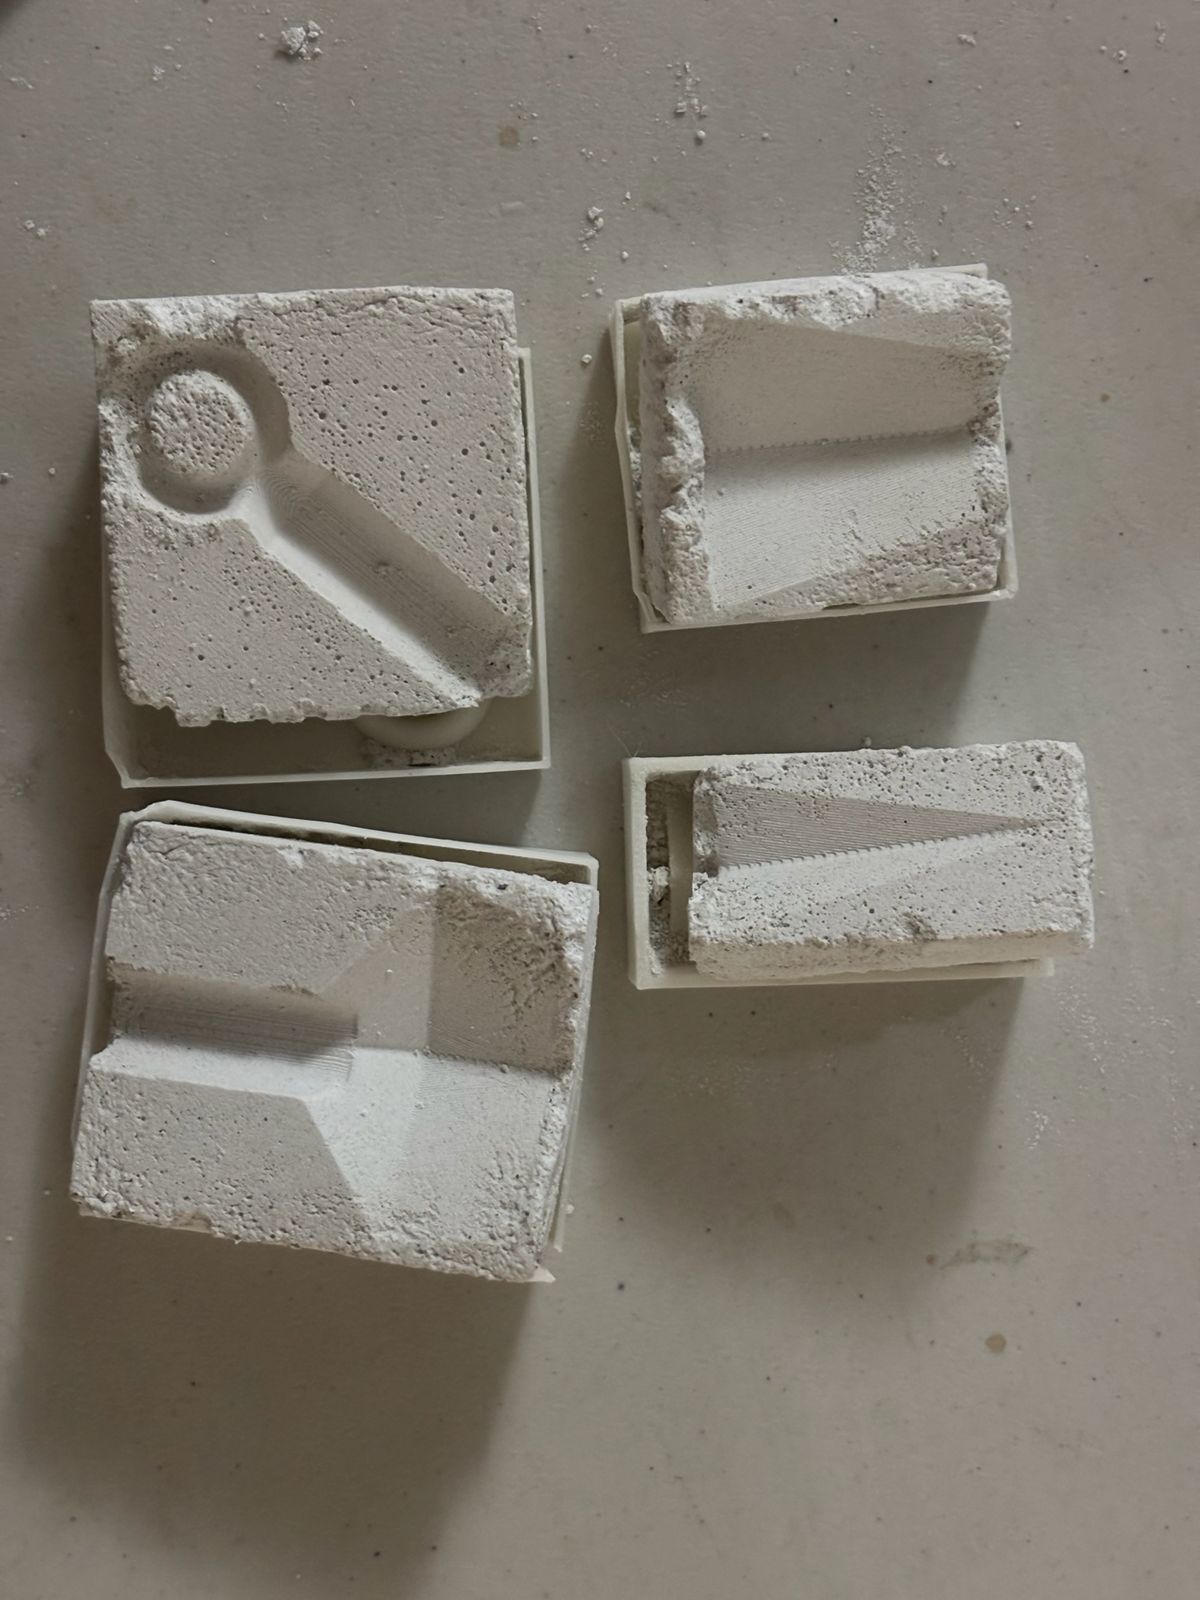
Once the plaster pieces were obtained, they were sanded to remove imperfections and rough surfaces. I used 220-grit sandpaper to smooth the surfaces of my mold. (I was not careful and I broke one of the pieces)
This happened for two main reasons. First, although petroleum jelly was applied to improve the demolding process, it is better to use a proper mold release agent, as it leaves a silicone-based layer that allows the part to be removed more easily.
On the other hand, while reviewing the design of the parts, I identified two important issues. First, I had not left enough clearance between the mold wall and the part. Second, the parts were designed with completely vertical 90° walls, whereas I should have included a slight draft angle to facilitate demolding. It is important to incorporate draft angles or slightly incline the walls so that the geometry becomes somewhat tapered, allowing the mold to be removed without damaging either the mold or the printed part.
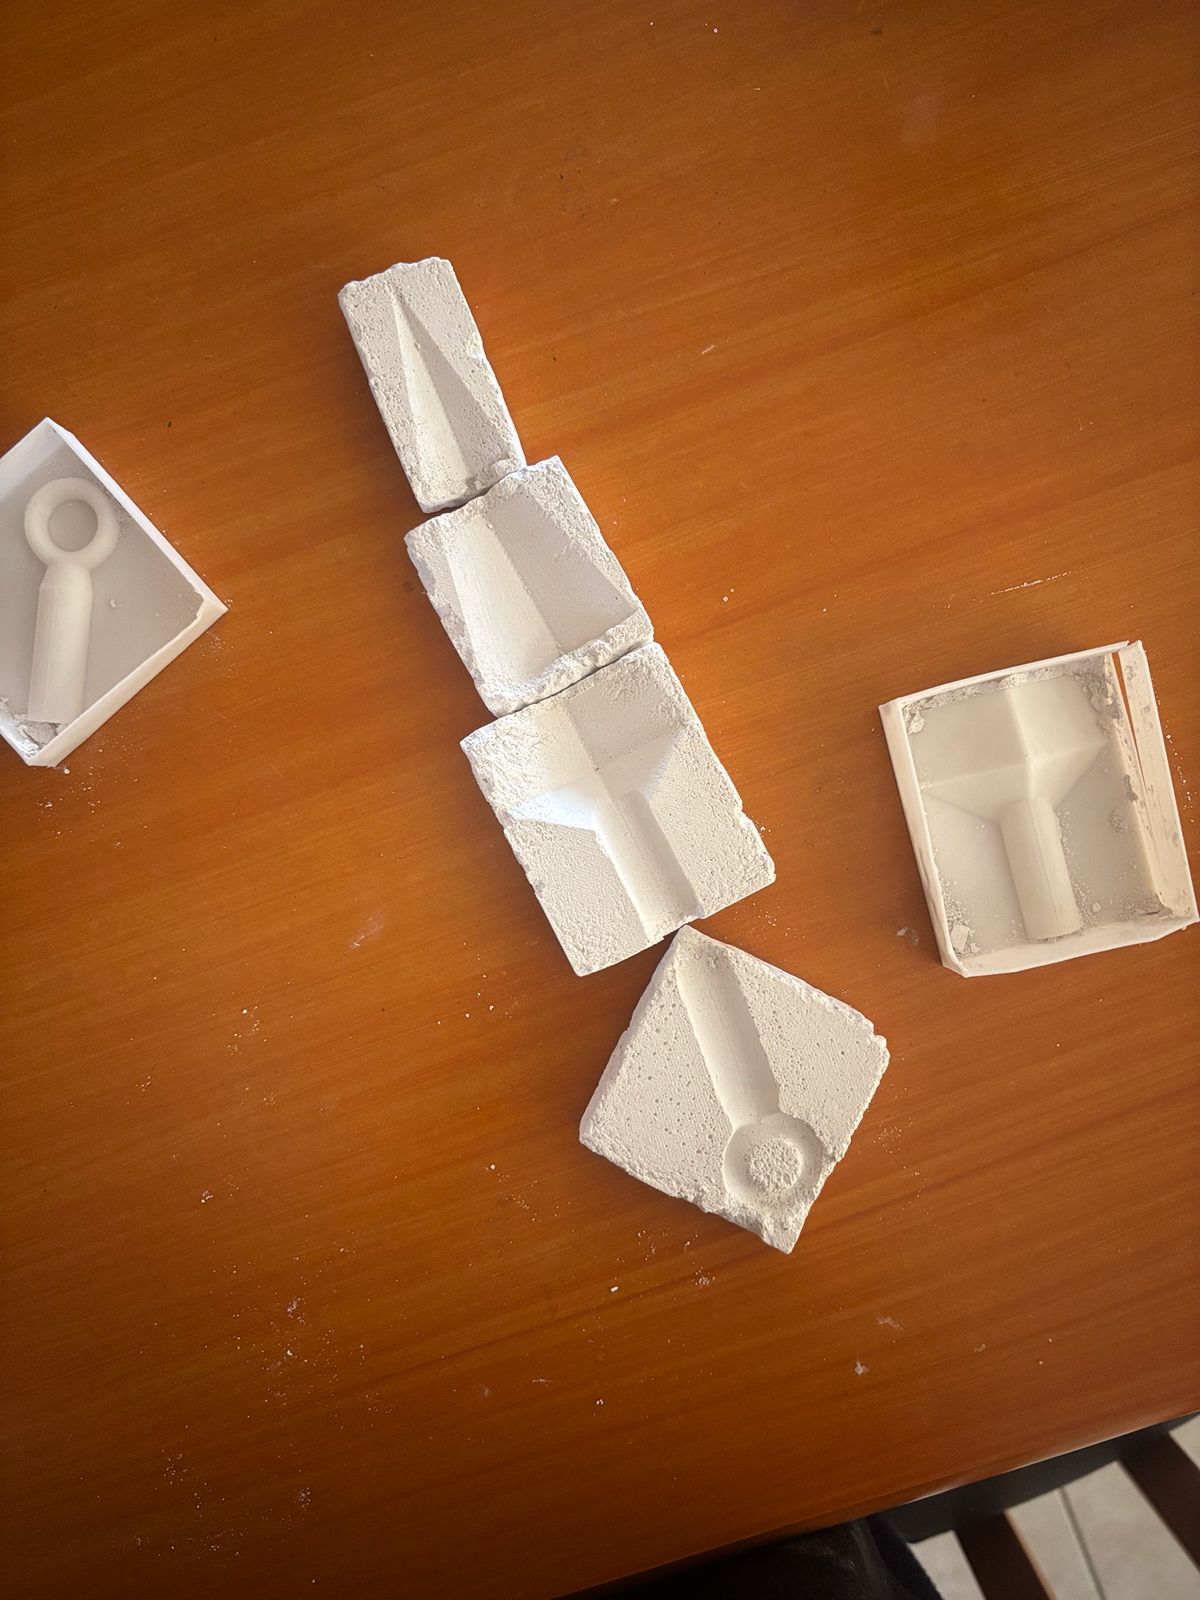
Here you can find the corrections of the models:
Finally, I applied vaaseline to the mold to prevent the wax from sticking. There are different options that can be used. In my case, I had vaseline available.
However, sealers and mold release agents can also be used to prevent the plaster from absorbing the wax due to its porosity.
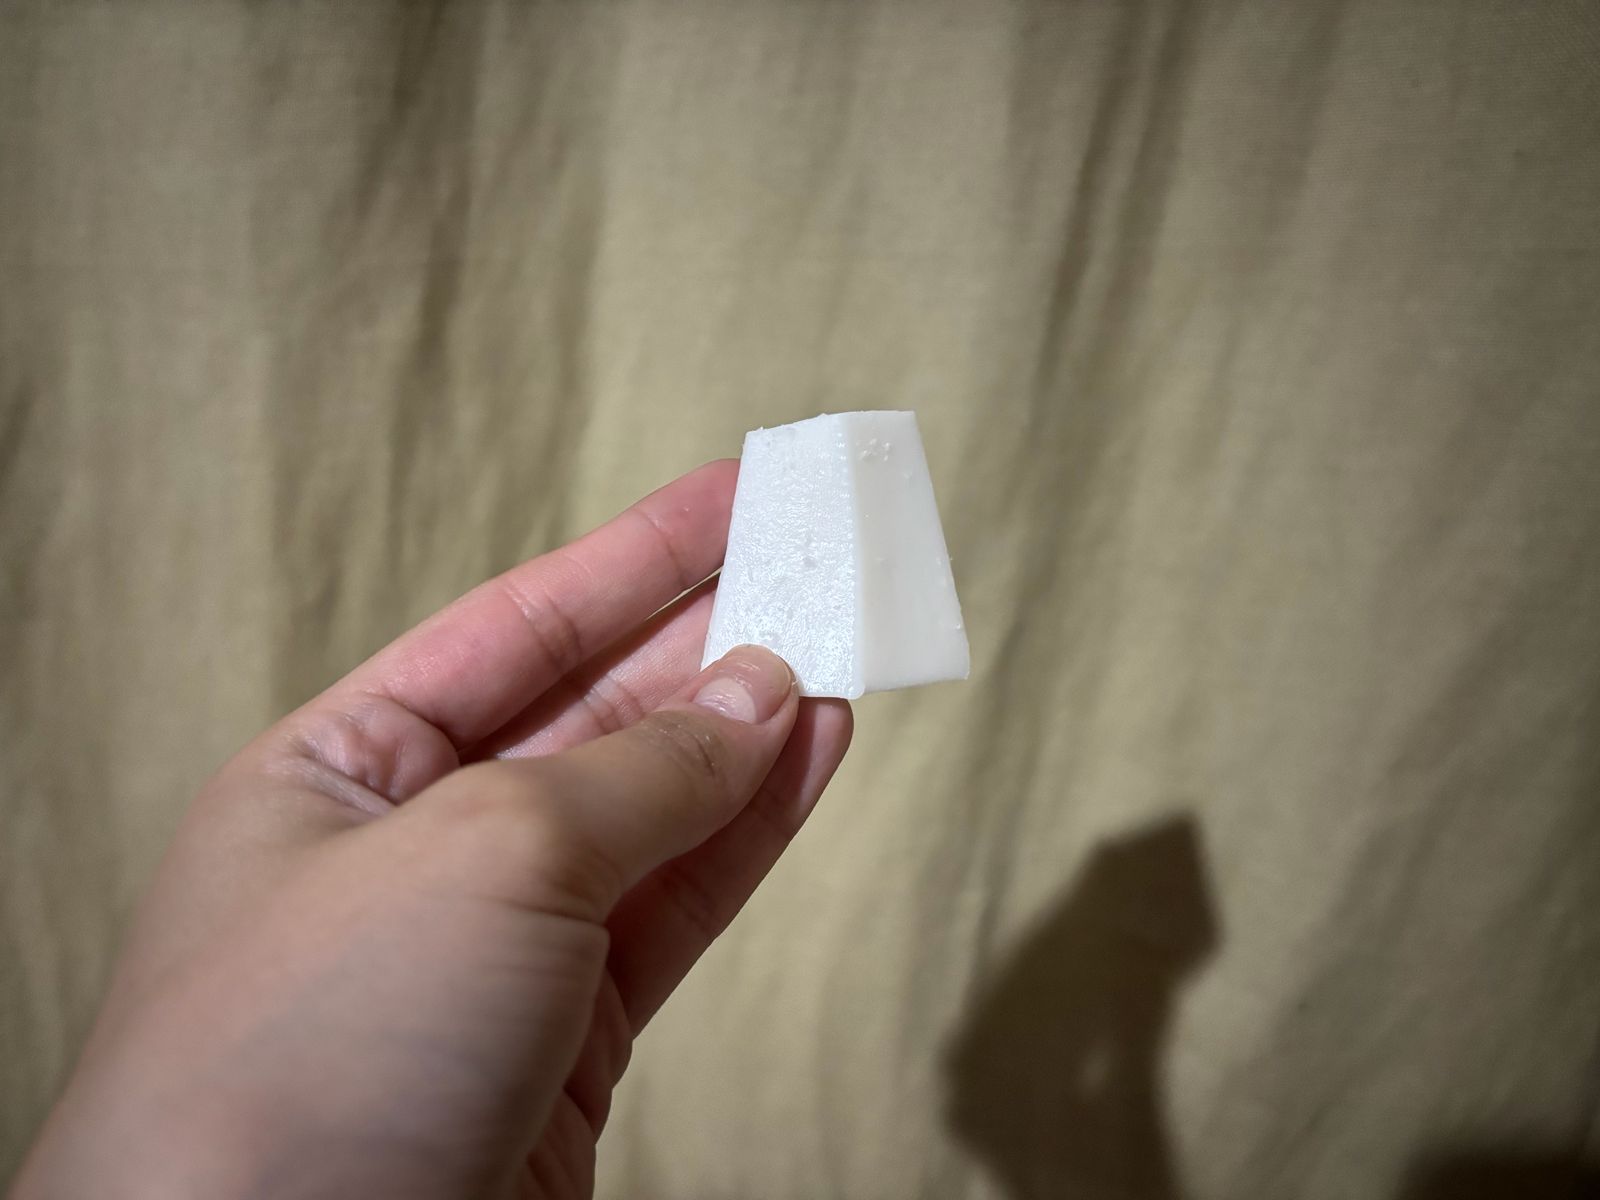
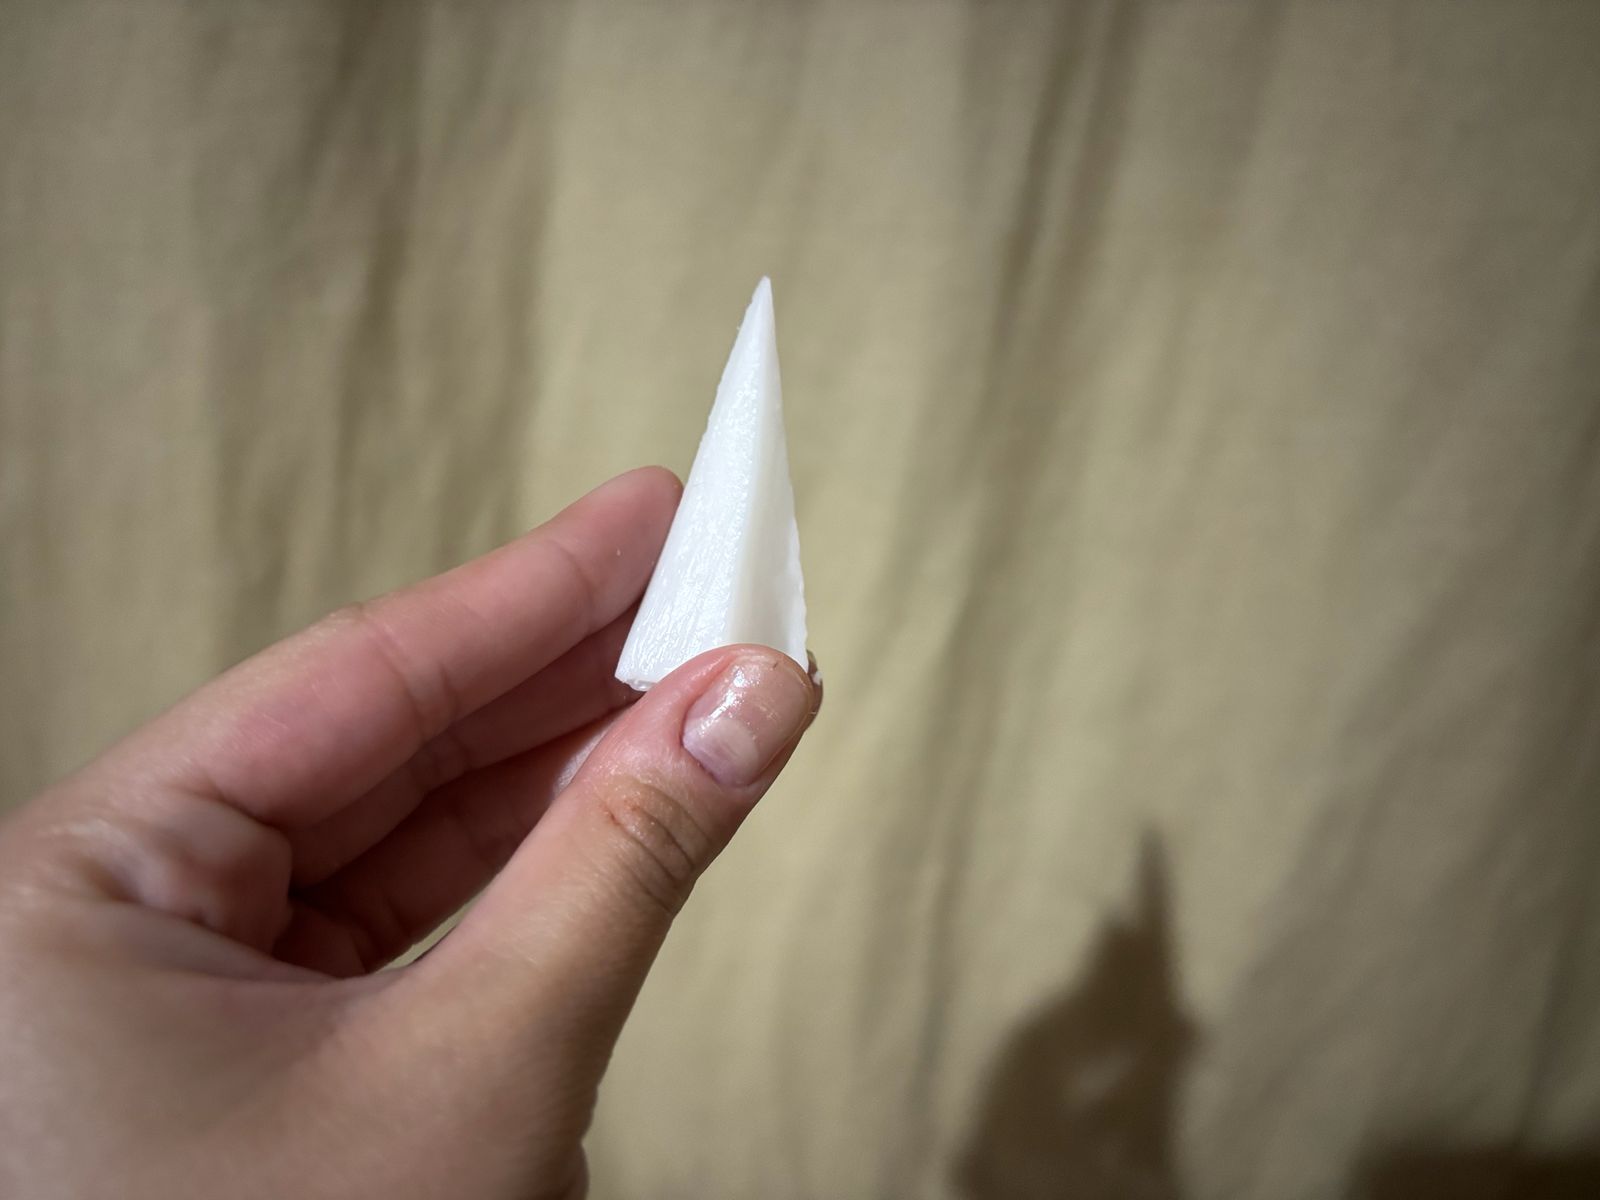
Finally, I obtained these four pieces. I also remade the molds for my Funko figure, but this time following this technique, and obtained the following result:

Mold making is extremely important for the repeated production of identical parts. It helps save time, reduce costs, and minimize errors. Without a doubt, it is necessary to follow the process correctly and have a well-defined workflow for each step. There are many different methods and techniques for making molds, and for me it was important to research and learn approaches from other fields that I would not normally explore.
If you want to access to my work from this week, please click here to download!
Finally, for the group assignment for this week, you can find the information here