✦ R2040
The RP2040 is a 32-bit microcontroller designed by Raspberry Pi, it is optimized for performance and flexibility, offering a significant amount of SRAM and programmable I/O capabilities. Due to its higher processing power and expanded memory, the RP2040 is suitable for more complex embedded applications that require multitasking or advanced peripheral control.

CPU
Dual-core Arm Cortex-M0+
Clock speed
Up to 133 MHz
✦ ESP32-C3
The ESP32-C3 is a single-core Wi-Fi and Bluetooth 5 (LE) microcontroller SoC, based on the open-source RISC-V architecture. It strikes a balance between power, cost, and performance. It is known for its security features and its great community support, making it ideal for IoT projects.
CPU
32-bit RISC-V single-core processor
Clock speed
Up to 160 MHz
◆ Comparative Analysis
While all three devices are microcontrollers, they target different application areas. On one hand, AVR microcontrollers are characterized by their simplicity and low power consumption, making them suitable for basic embedded systems. Meanwhile, the RP2040 offers a higher performance with a dual-core architecture and large SRAM, enabling more complex embedded applications. Finally, the ESP32 stands out due to its integrated wireless communication capabilities, although it has additional complexity and higher power consumption.
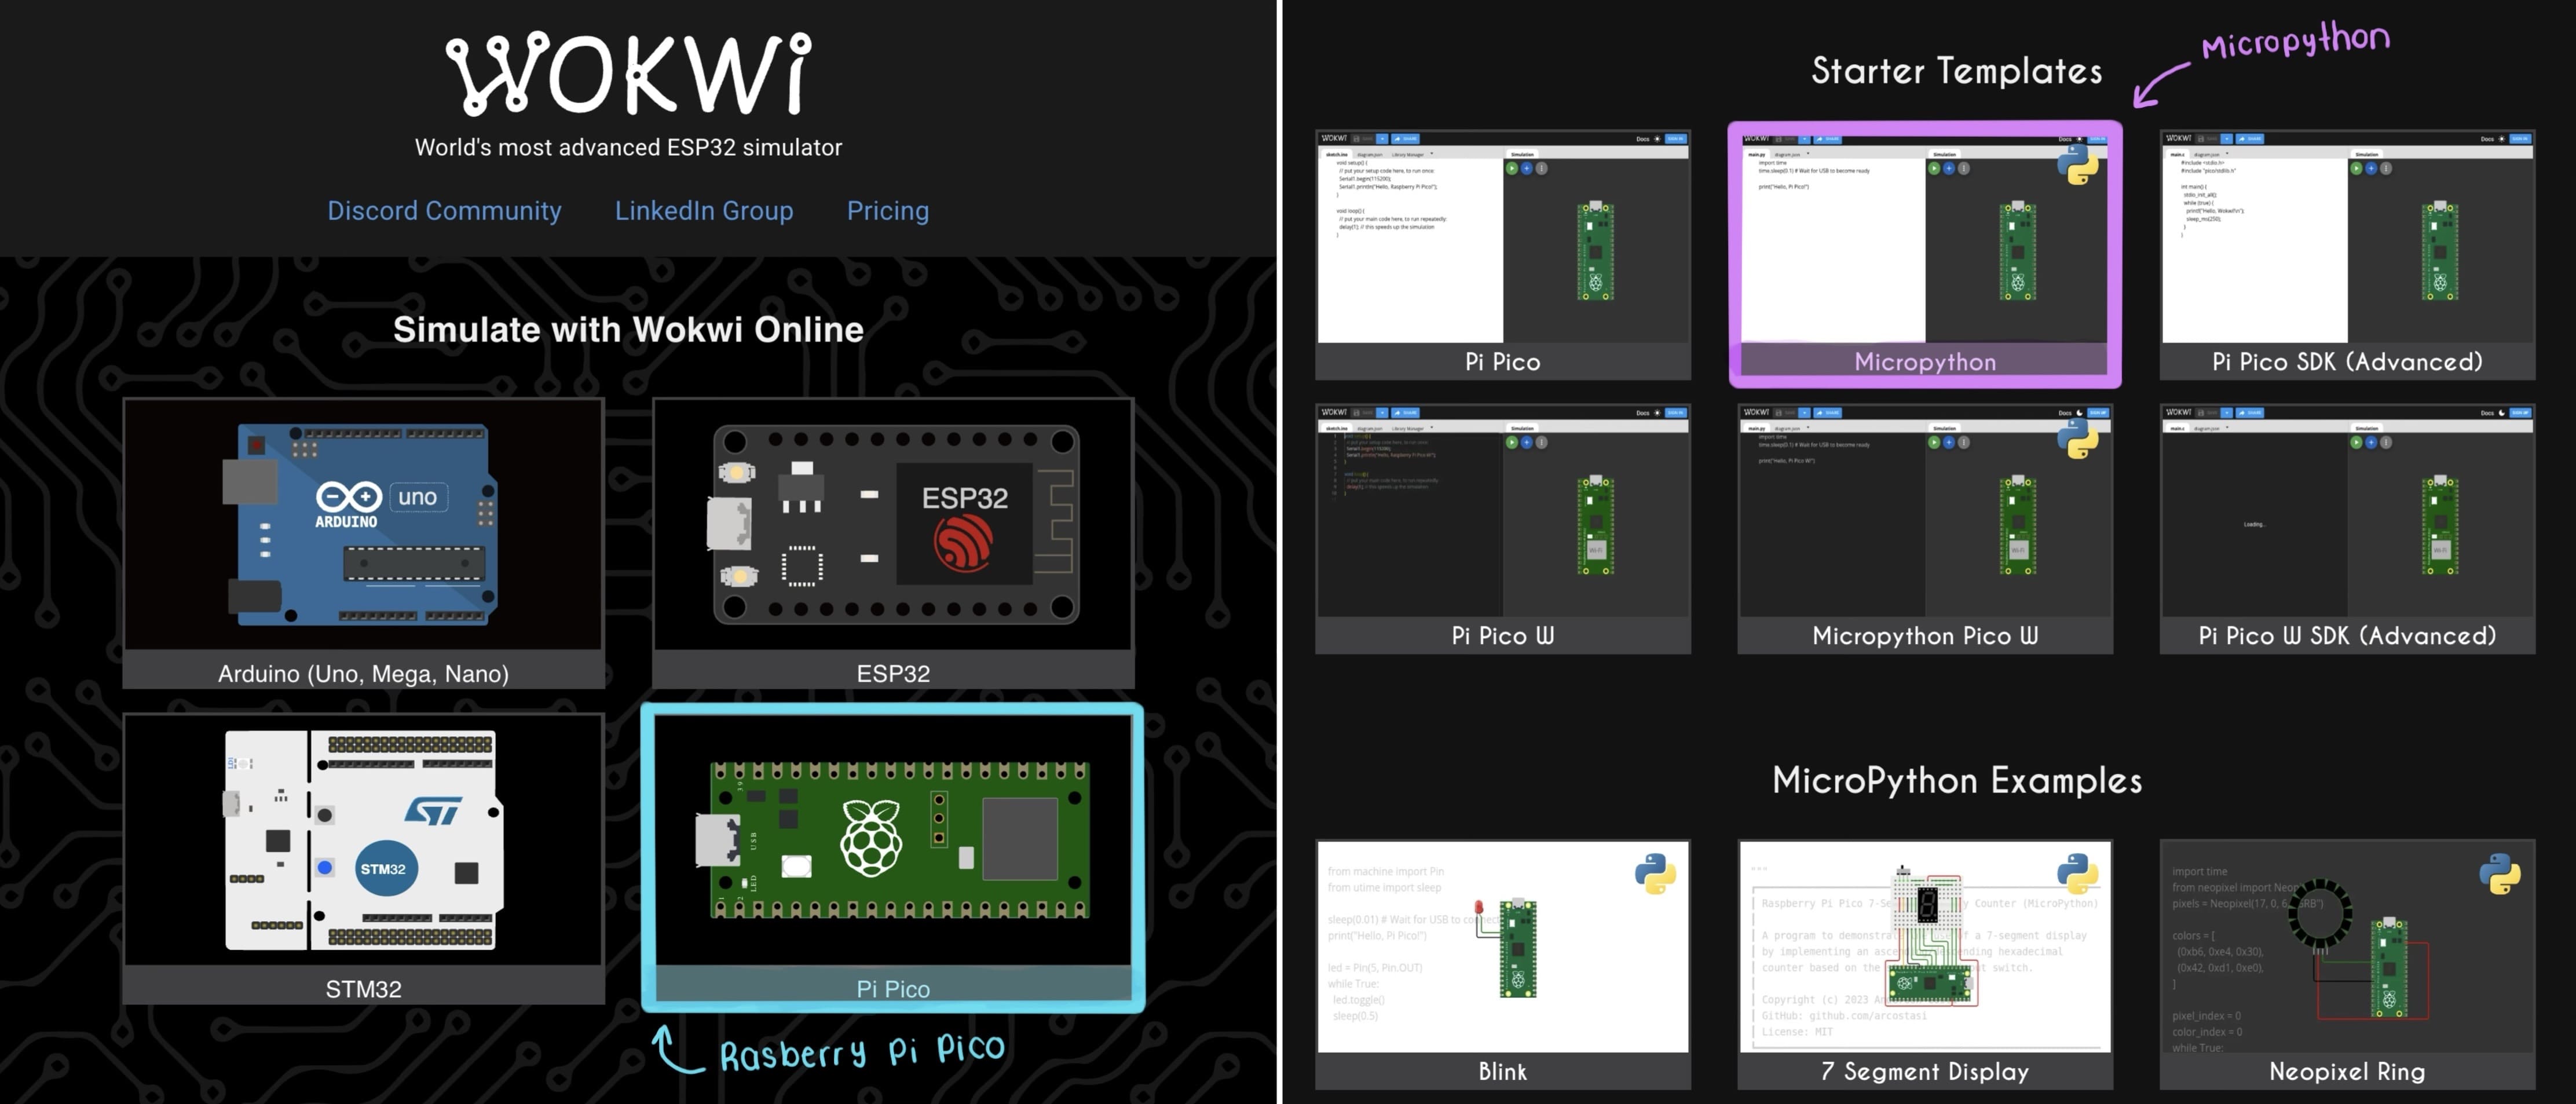
✦ Virtual Laboratory - Wokwi
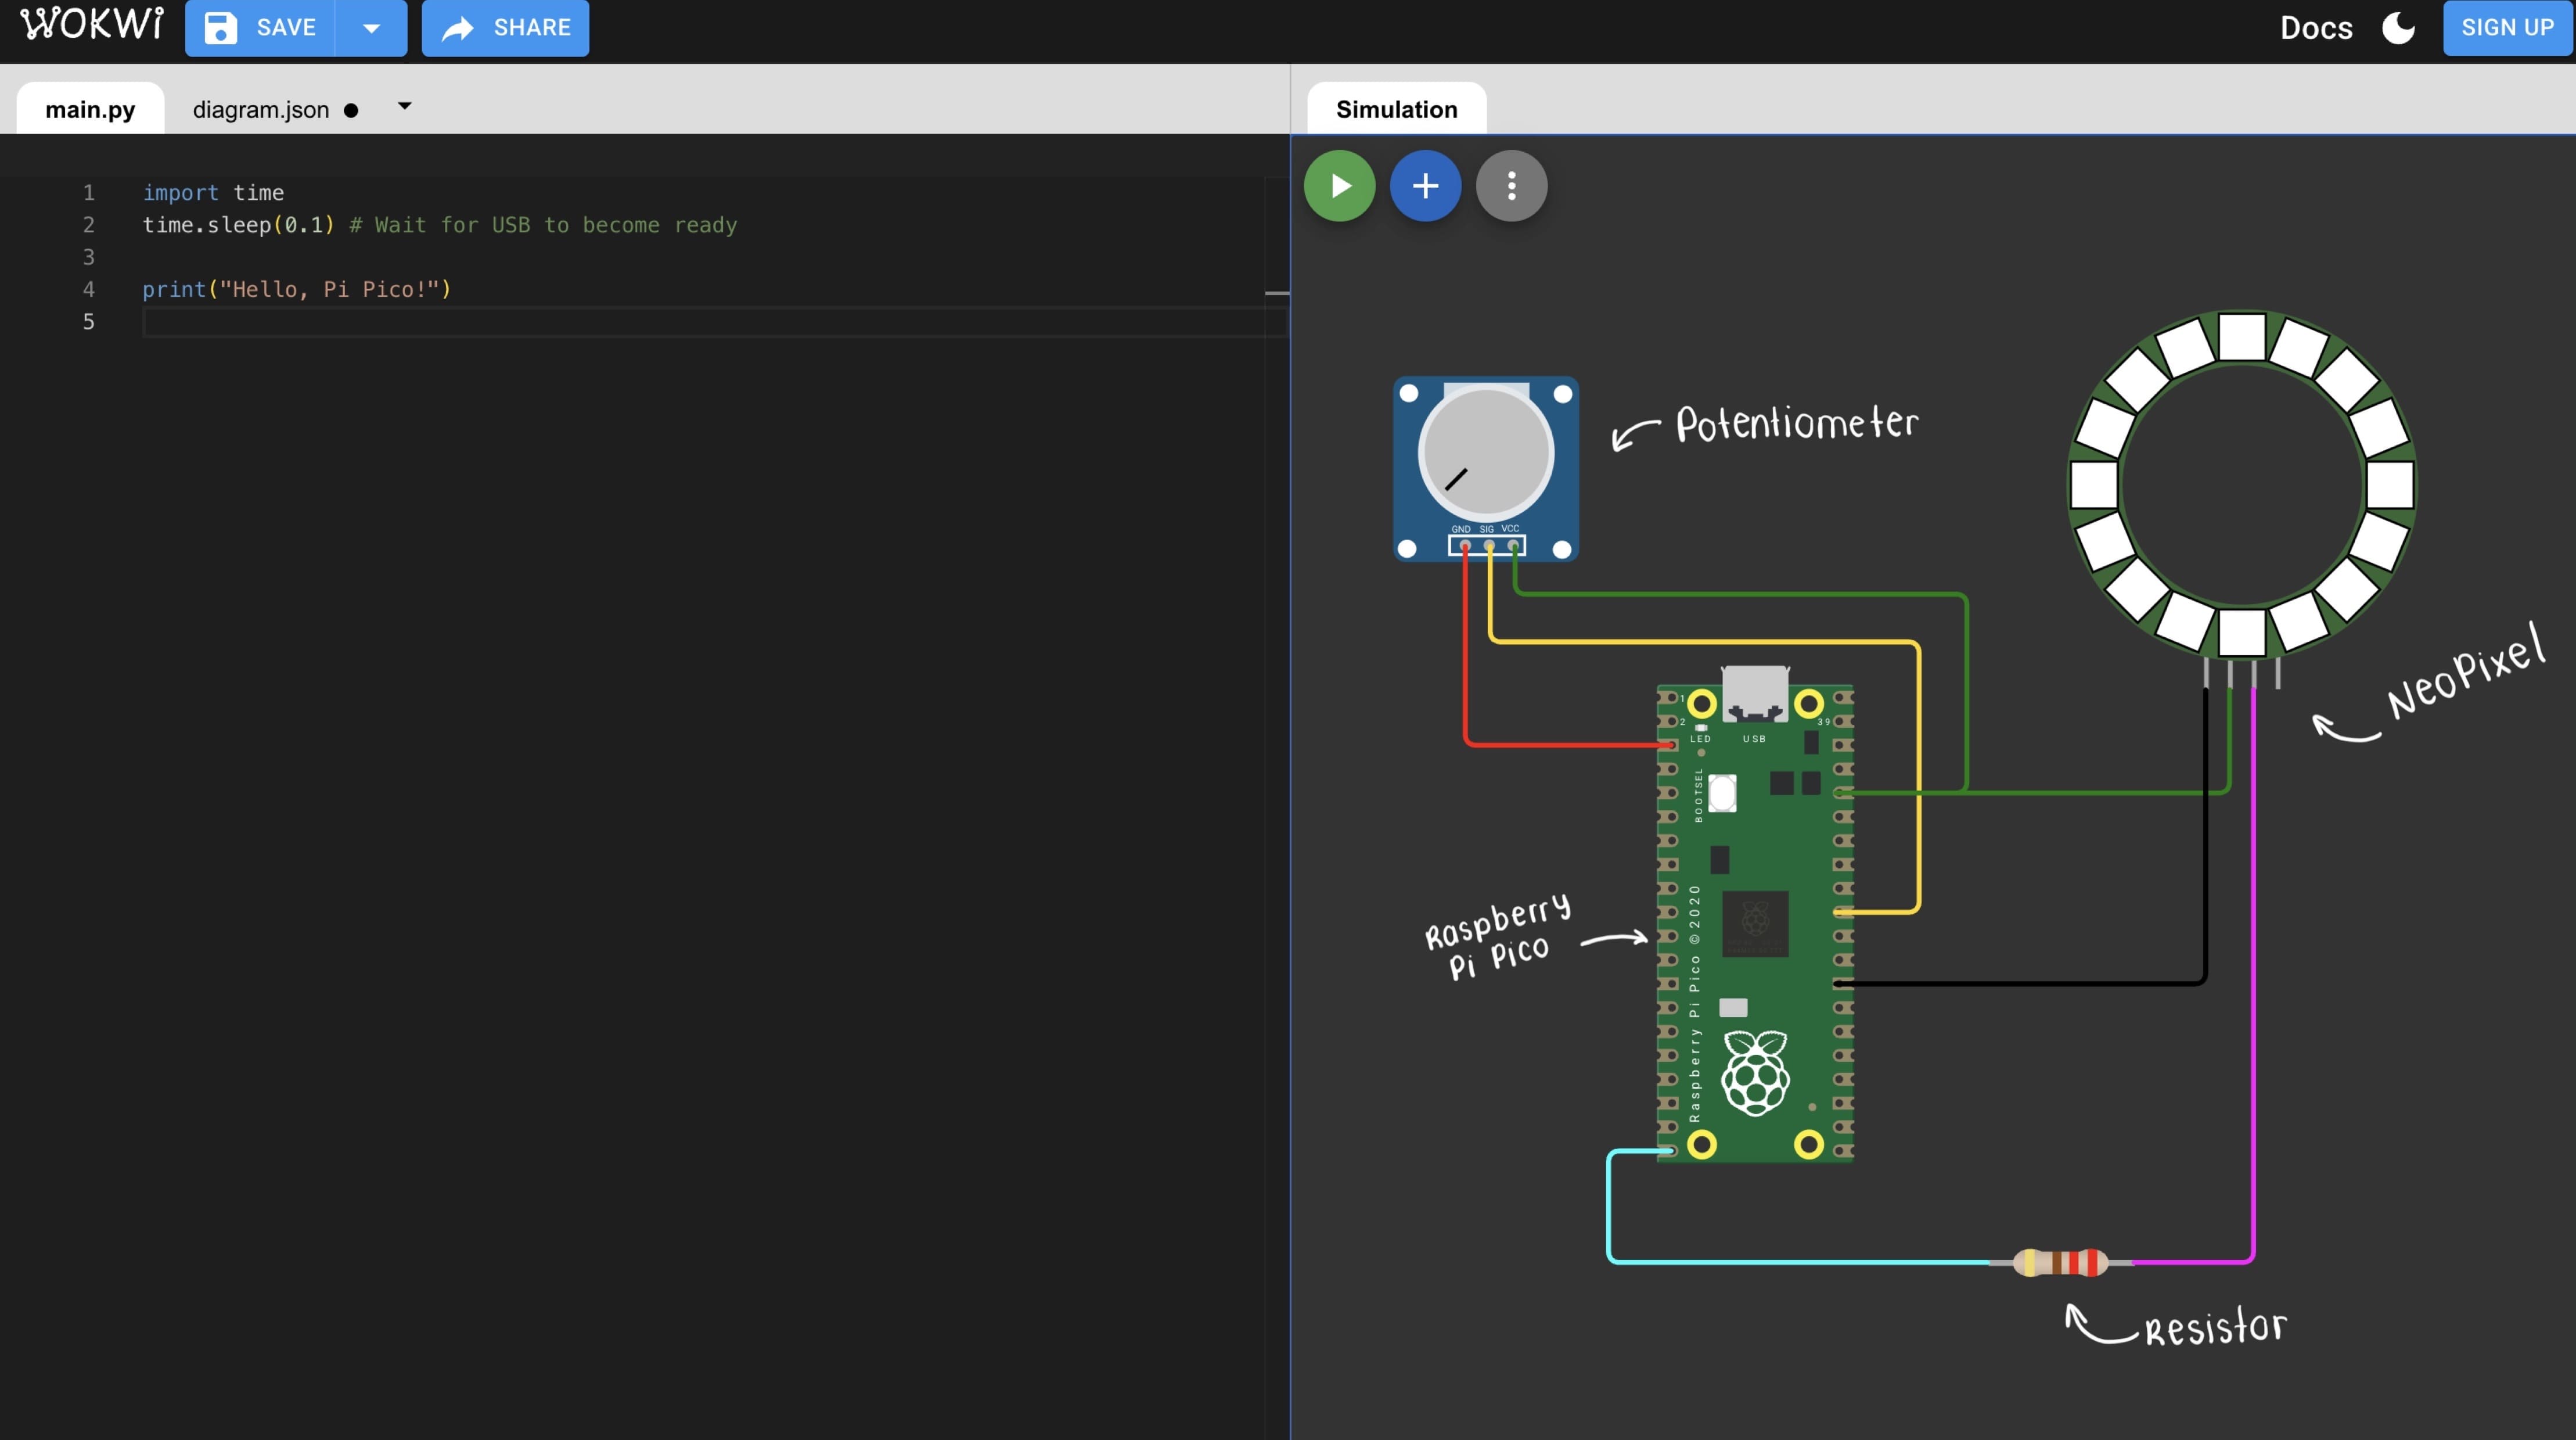
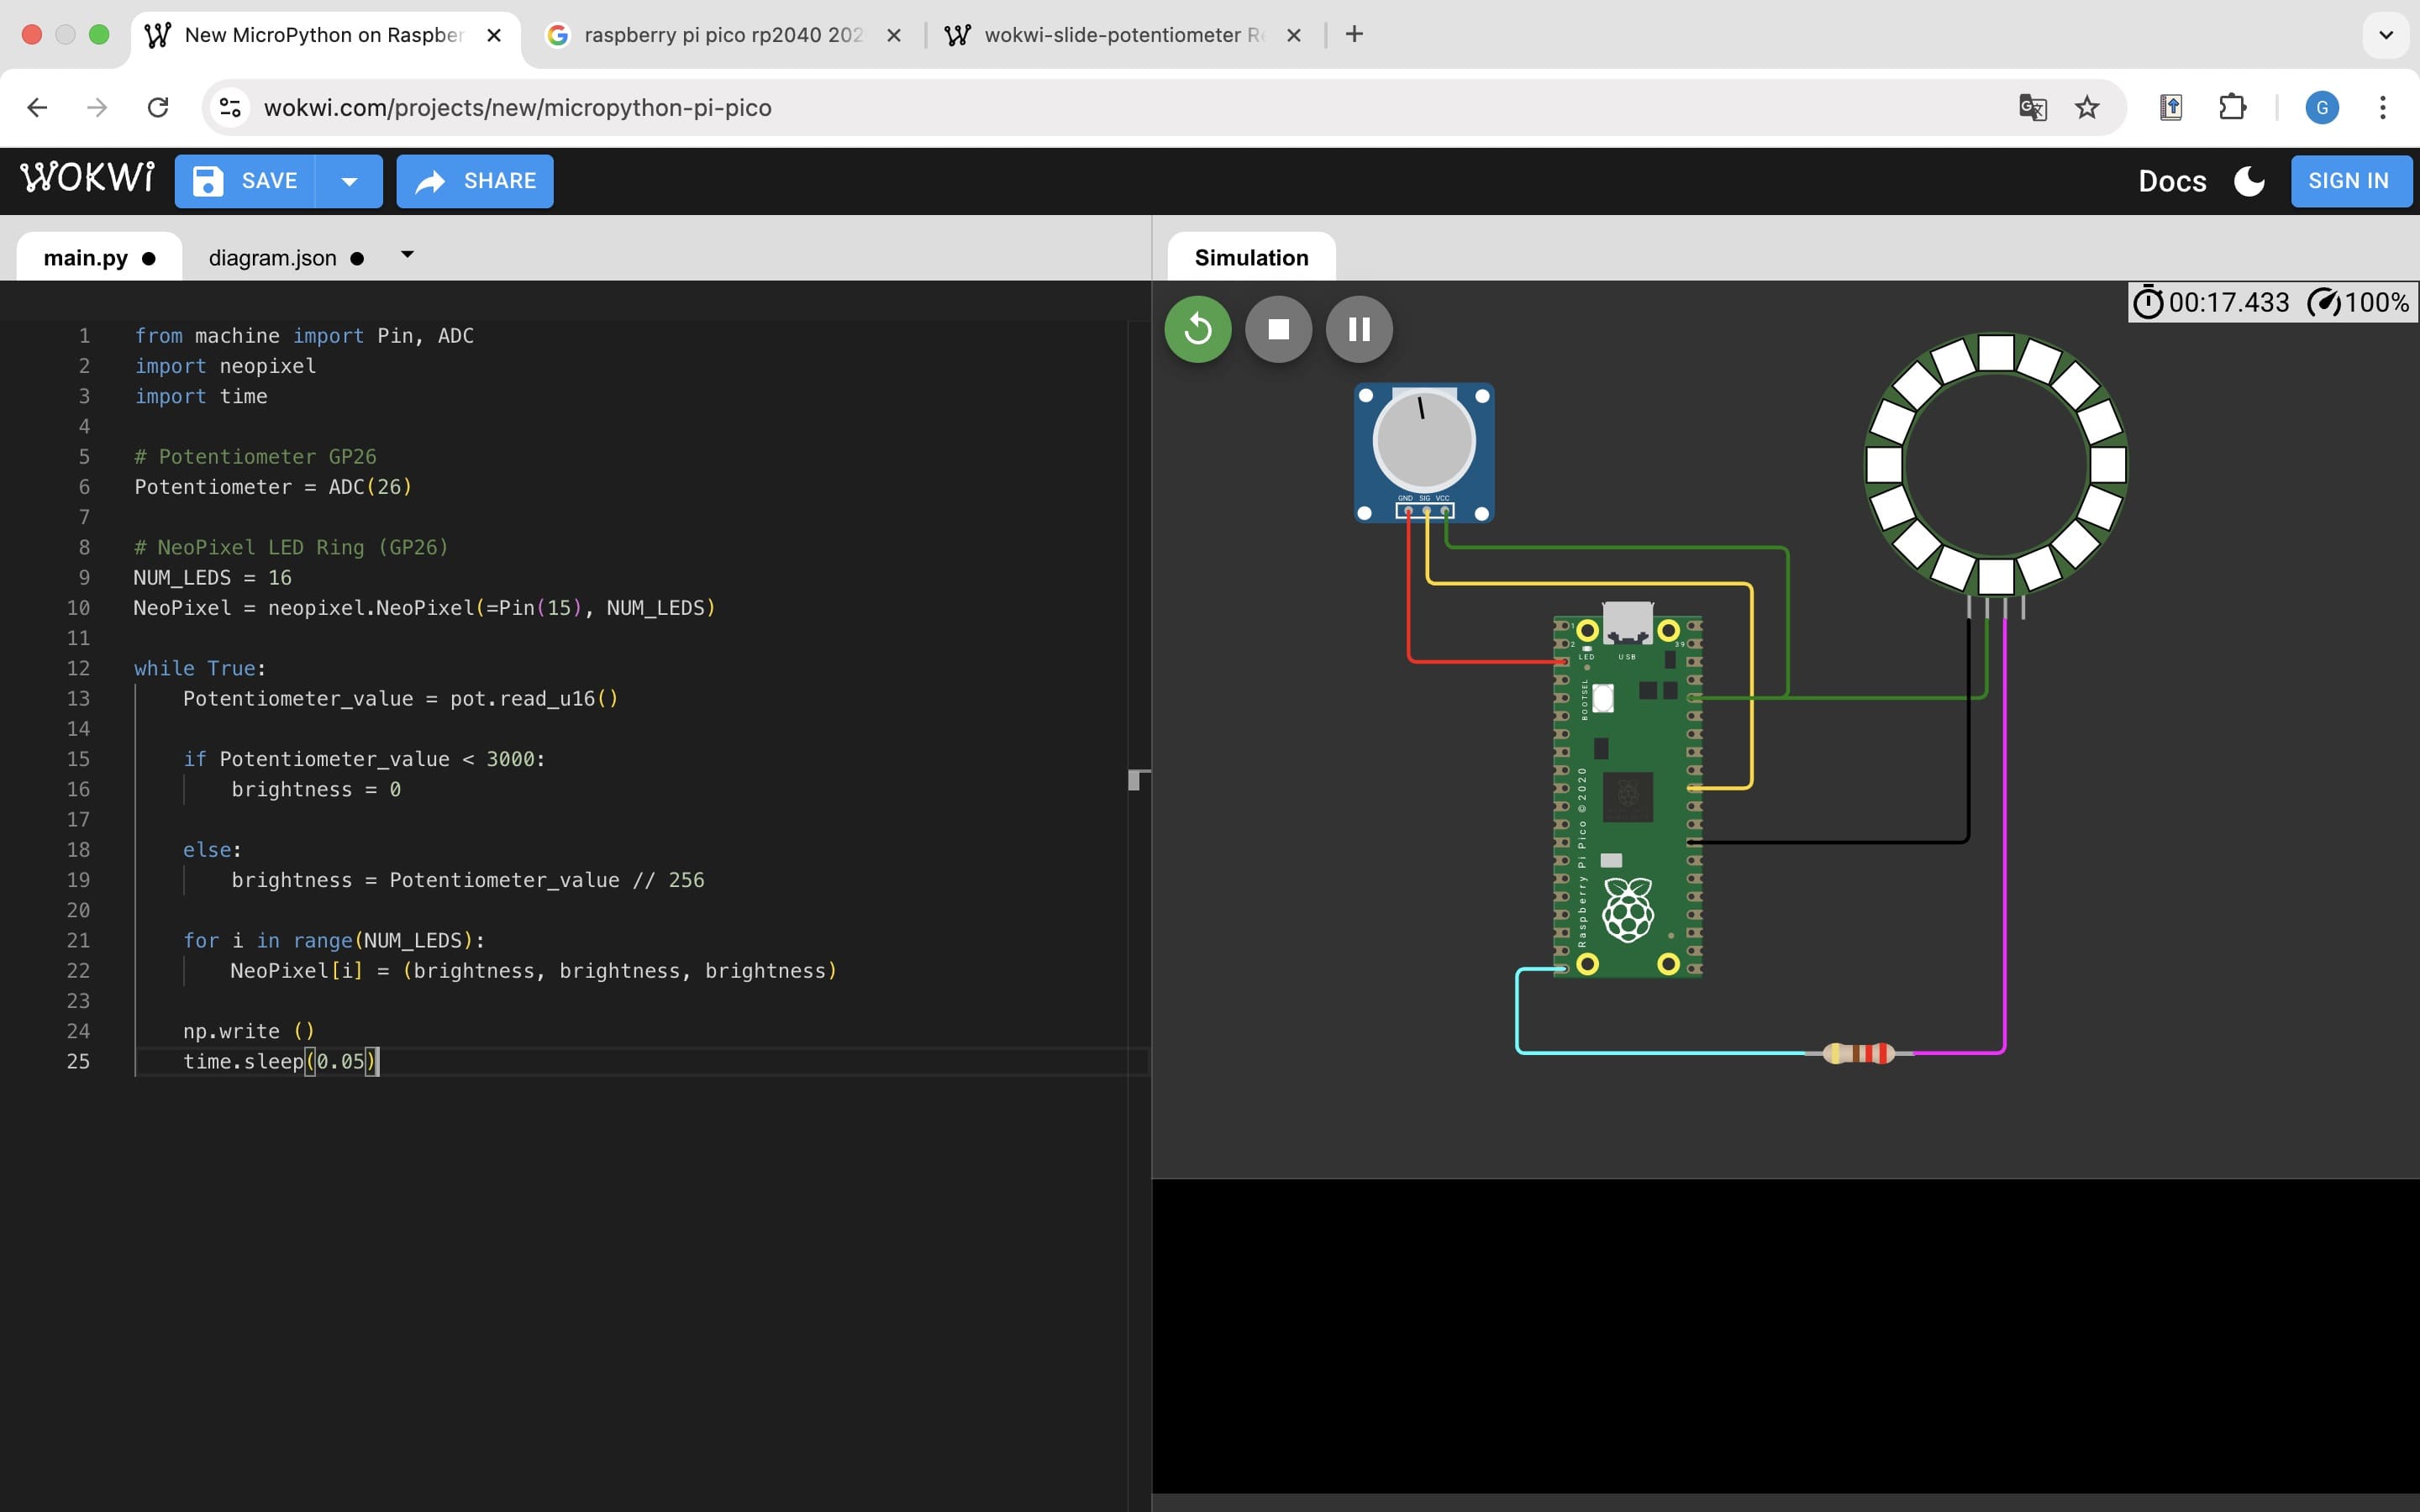
As an exercise for this assignment, I used Wokwi to simulate a simple lamp system based on the RP2040 (Raspberry Pi Pico) and programmed it using MicroPython. In this setup, I decided to do a potentiometer, which is used as an analog input to control the brightness of an LED.
01. Open Wokwi
New Proyect > Raspberry Pi Pico > MicroPython
02. Add Components
Add: Potentiometer, NeoPixel Compatible LED Ring (WS2812), Resistor (220).
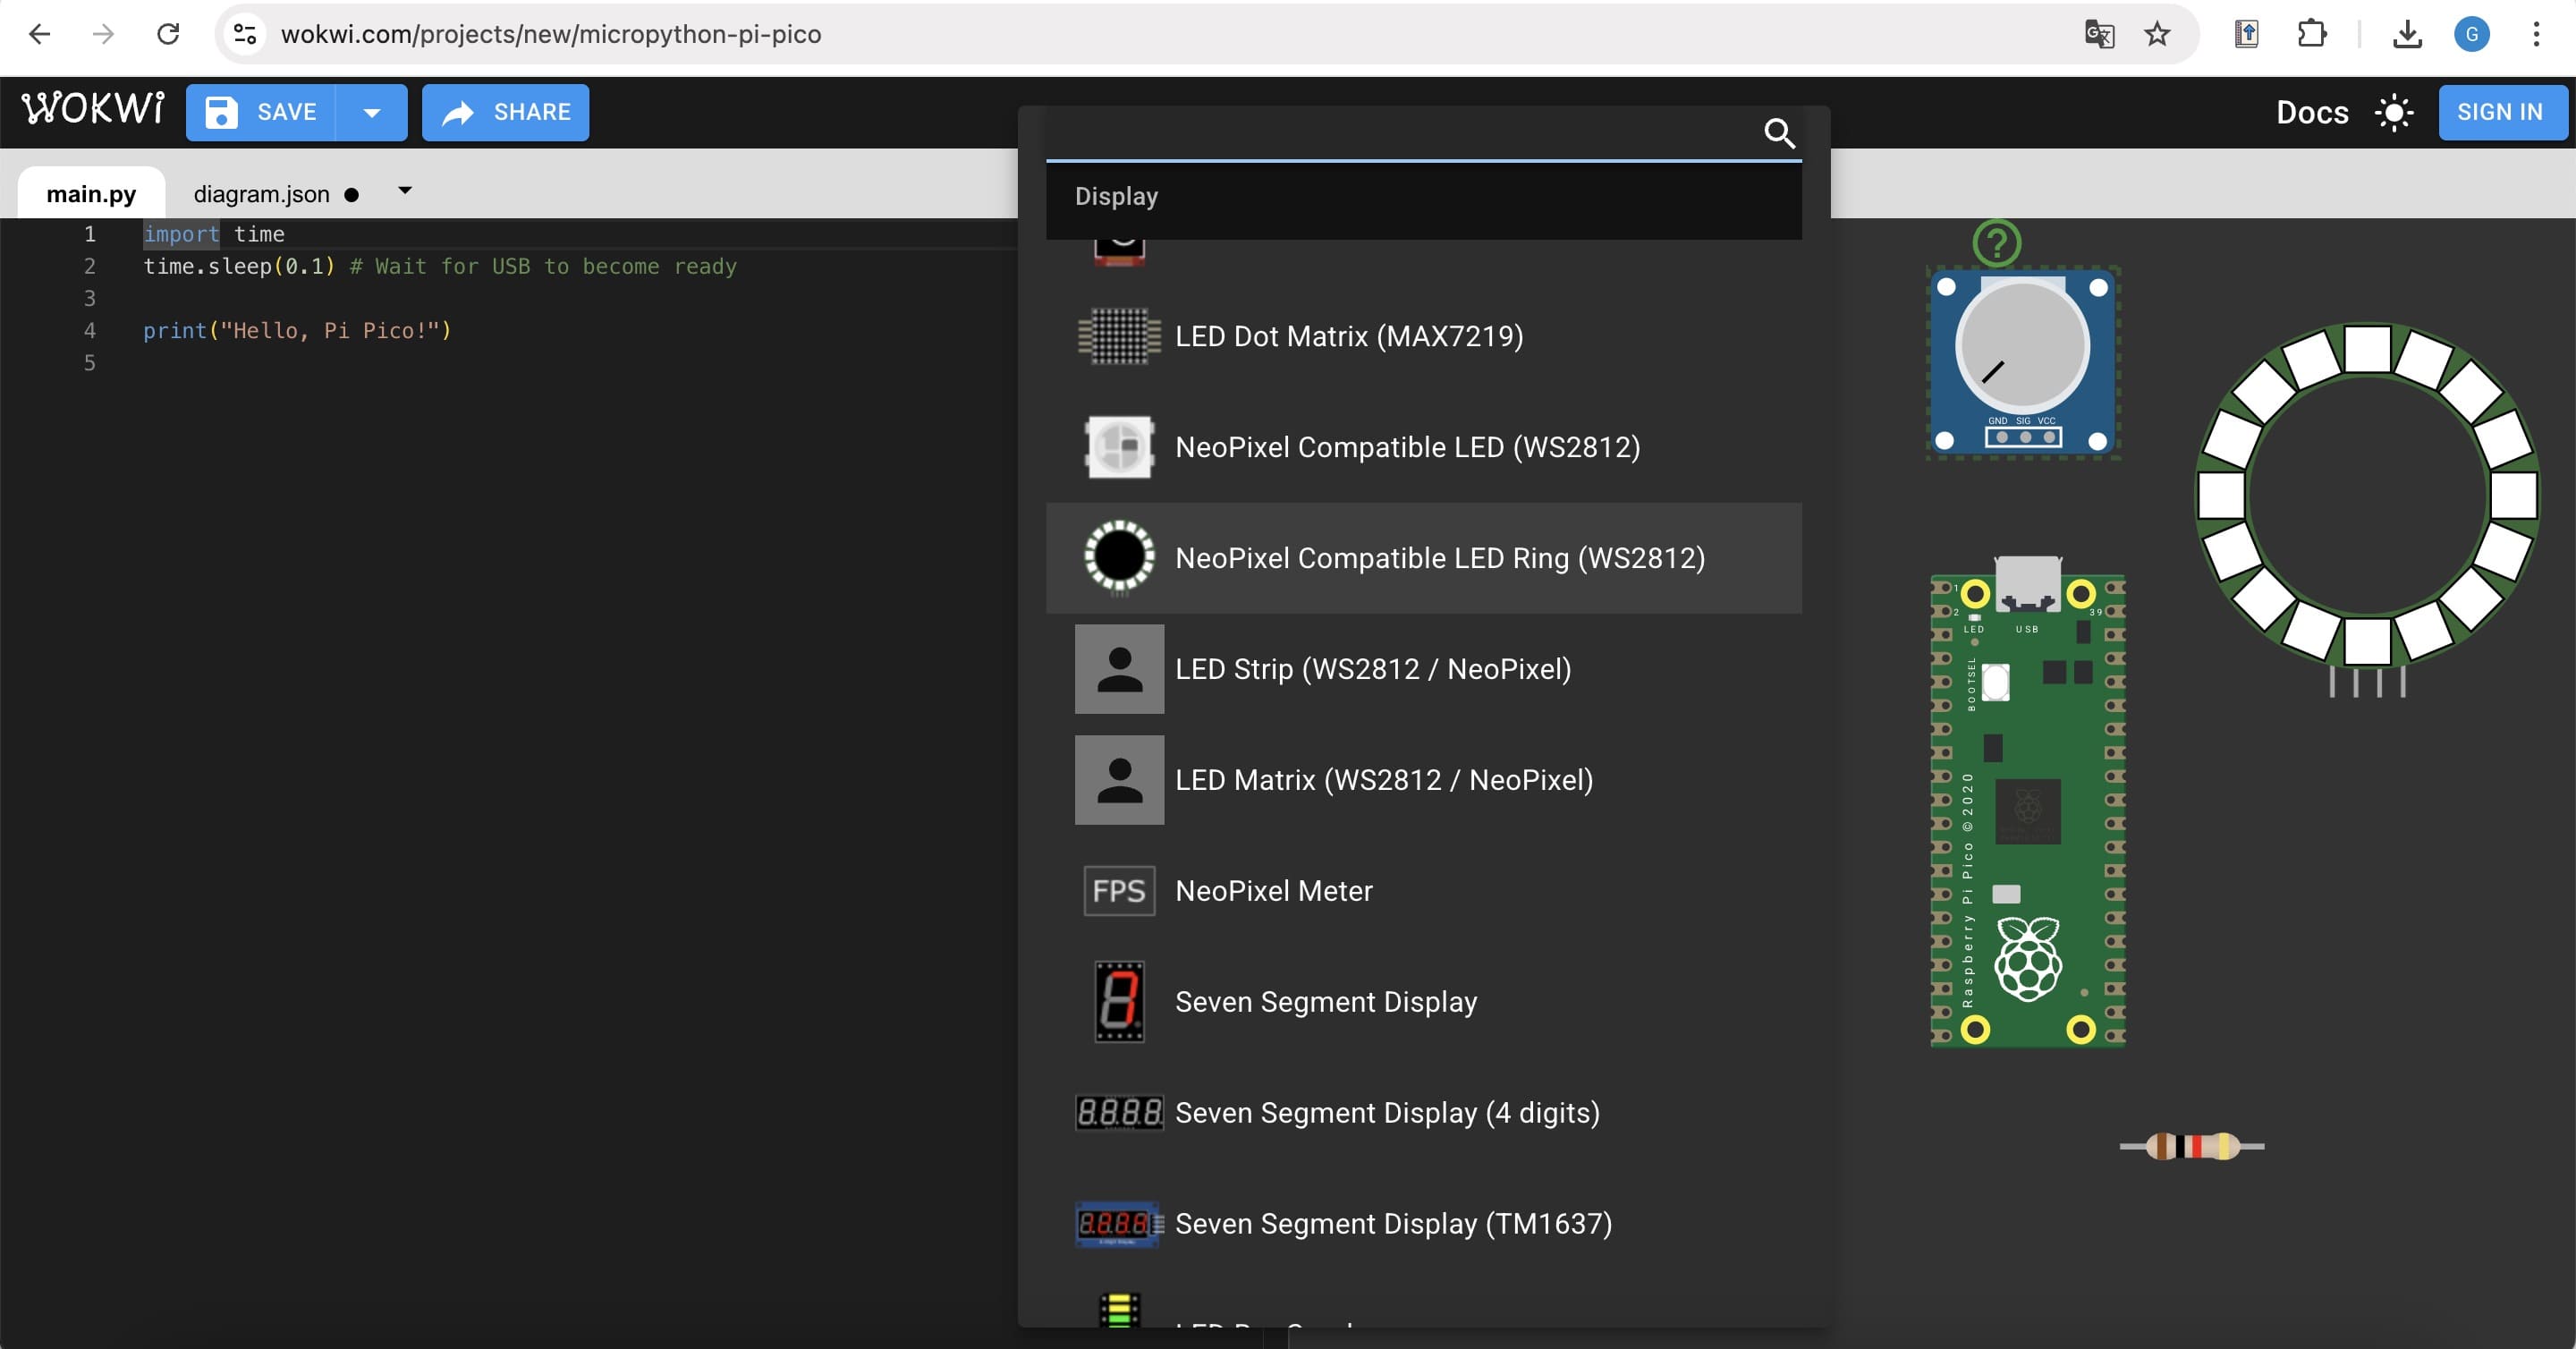
03. Circuit Connections
The potentiometer was connected to an ADC pin of the RP2040 to provide an analog input signal, while the NeoPixel LED Ring was connected to a digital GPIO pin through a current-limiting resistor.
04. Final Result
Once everything was connected, I started the simulation. The final result is a dimmable lamp simulation where light intensity is controlled using a potentiometer.
05. My Code
There are different embedded languages that can be used to program code, just like: C, C++, Rust and Python; for this task I will be using the last one.
from machine import Pin, ADC
import neopixel
import time

# Potentiometer (GP26)
potentiometer = ADC(26)

# NeoPixel LED Ring (GPI15)
NUM_LEDS = 16
np = neopixel.NeoPixel(Pin(15), NUM_LEDS)

while True:
    pot_value = potentiometer.read_u16()

    if pot_value < 3000:
        brightness = 0
    else:
        brightness = pot_value // 256

    for i in range(NUM_LEDS):
        np[i] = (brightness, brightness, brightness)

    np.write()
    time.sleep(0.05)
✦ Weekly Reflection
At the beginning of this week, embedded programming felt intimidating. However, step by step, I started understanding how microcontrollers operate and how inputs and outputs interact through code.
Working in simulation gave me the space to experiment and make mistakes without fear. Although it required patience and debugging, it gave me confidence to continue developing interactive elements for my final project.
✦ Download Here
In this section, you can find the downloadable source files developed during this week.