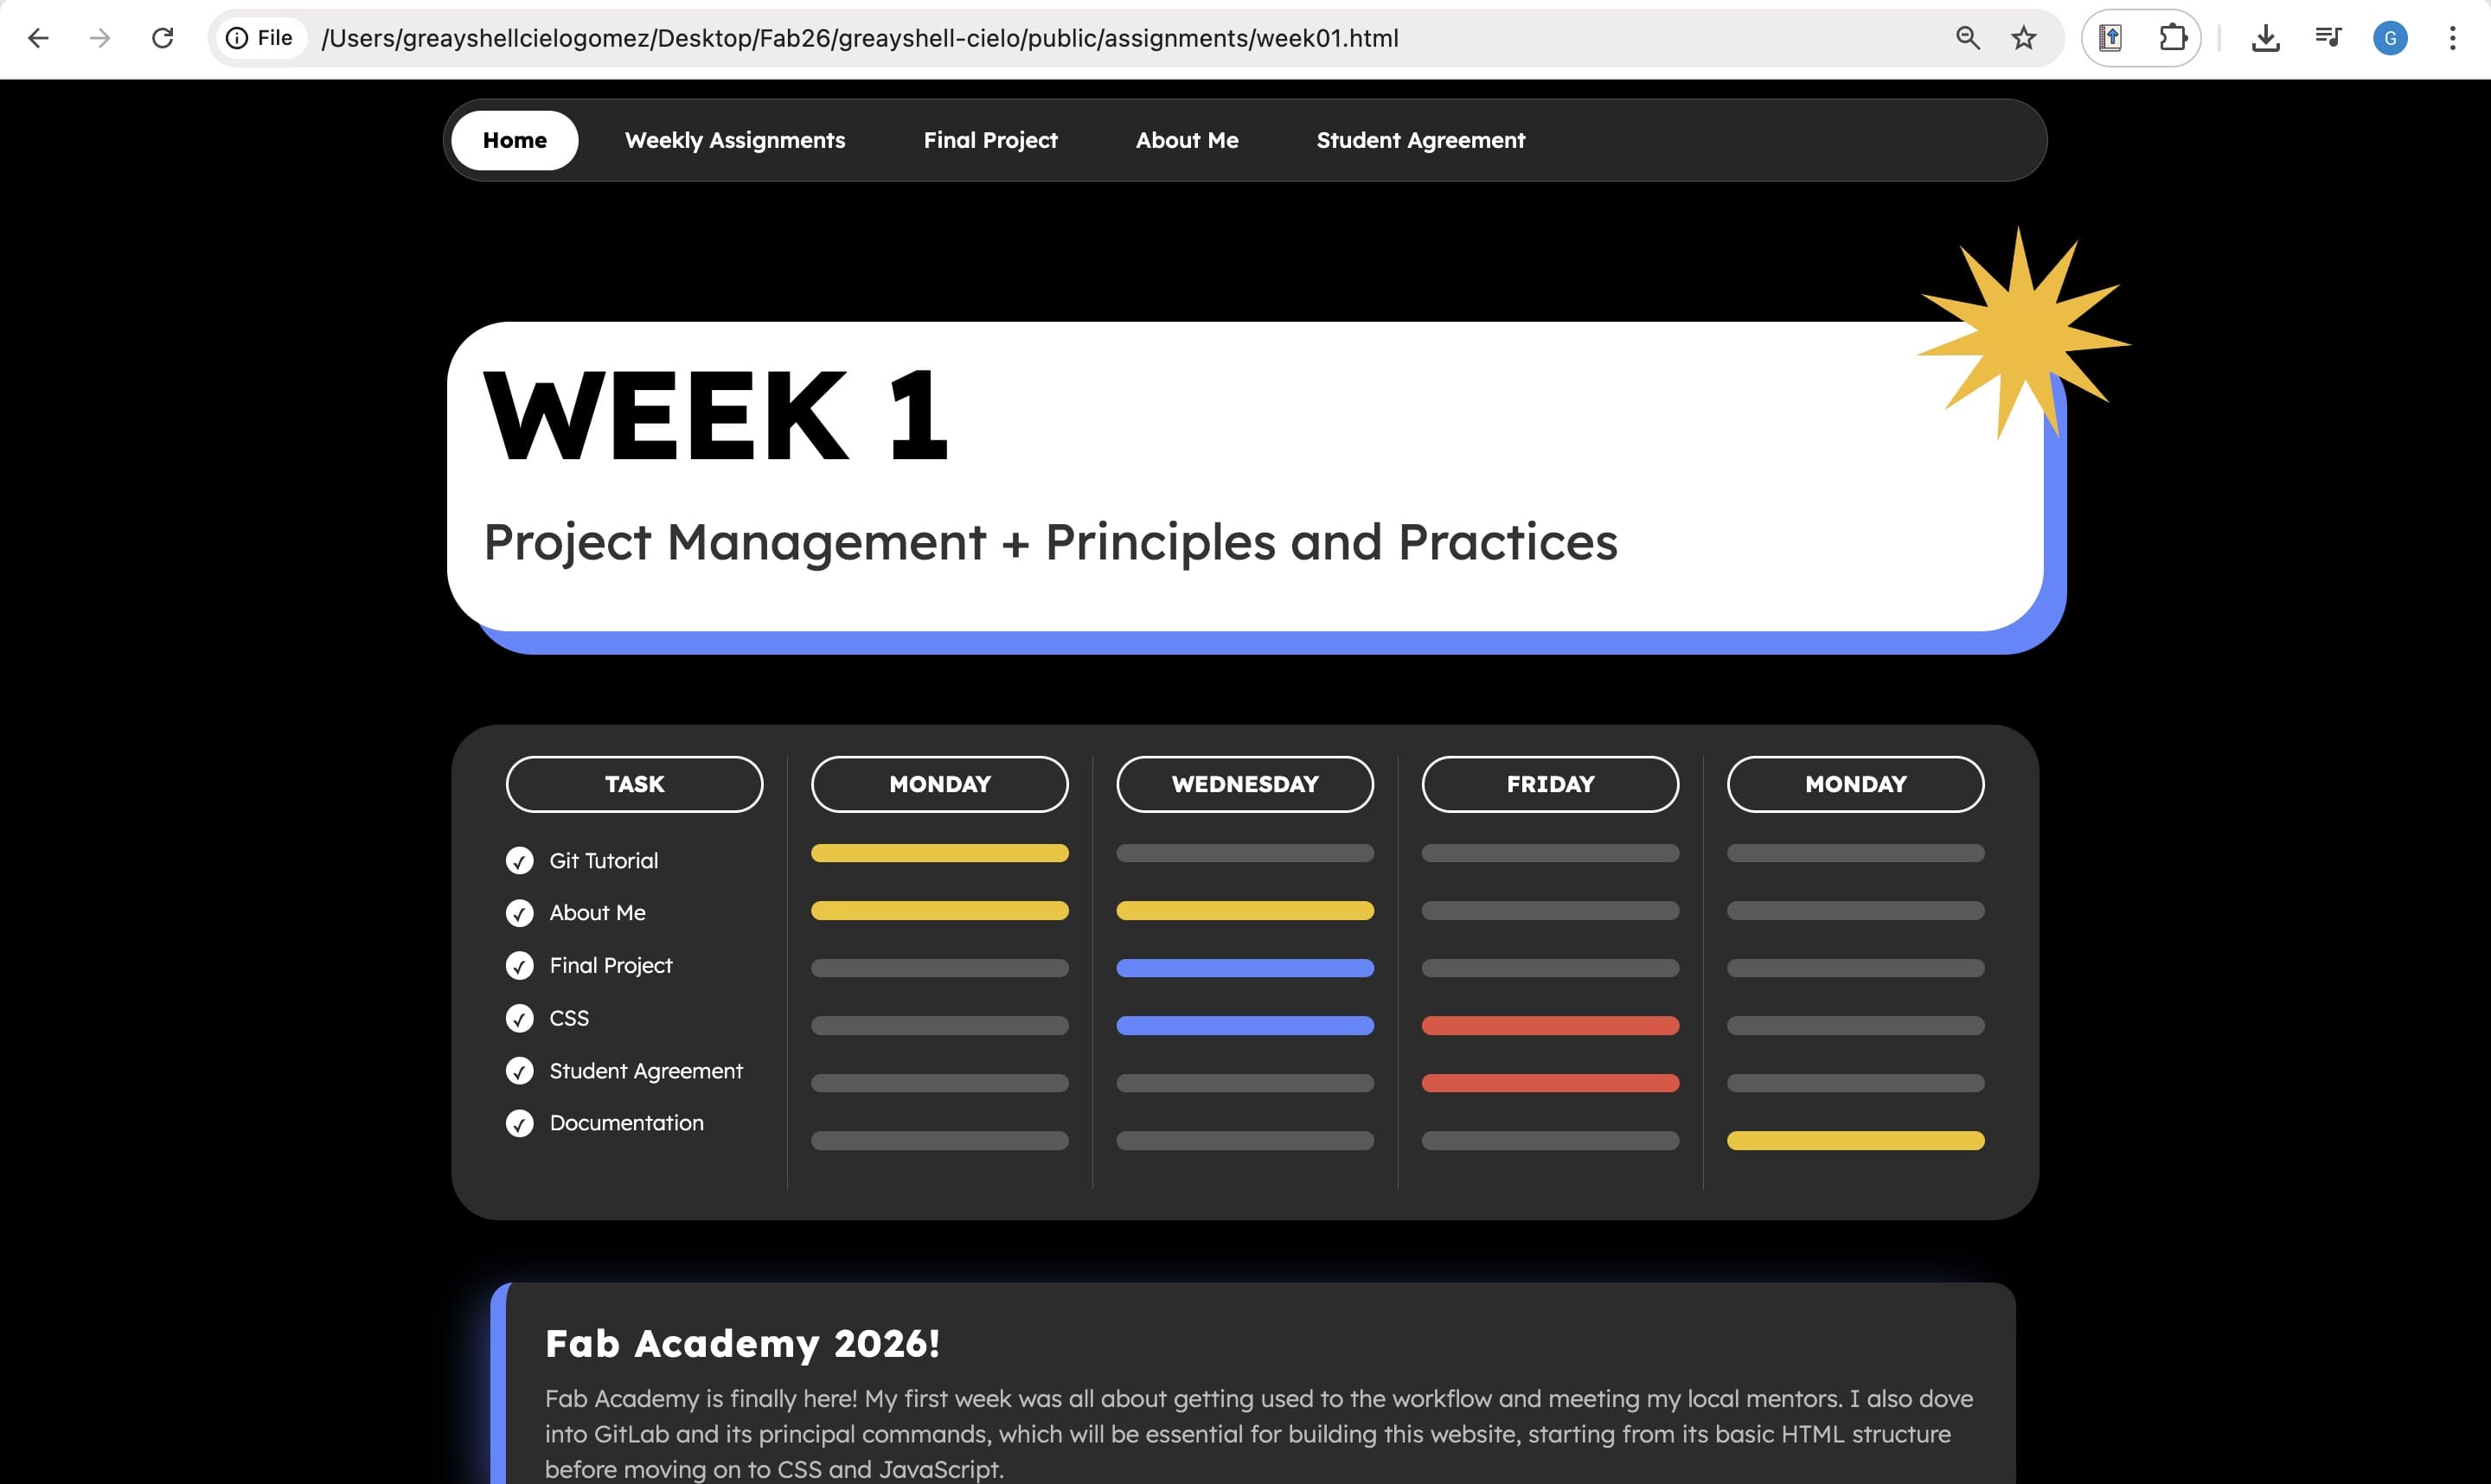
Fab Academy is finally here! My first week was all about getting used to the workflow and meeting my local mentors. I also dove into GitLab and its principal commands, which will be essential for building this website, starting from its basic HTML structure before moving on to CSS and JavaScript.
Mastering Git basics
Before making any changes to my website, I focused on learning the core Git commands that will help me throughout the site's development.
Building my website!
It's time to bring this website to life.
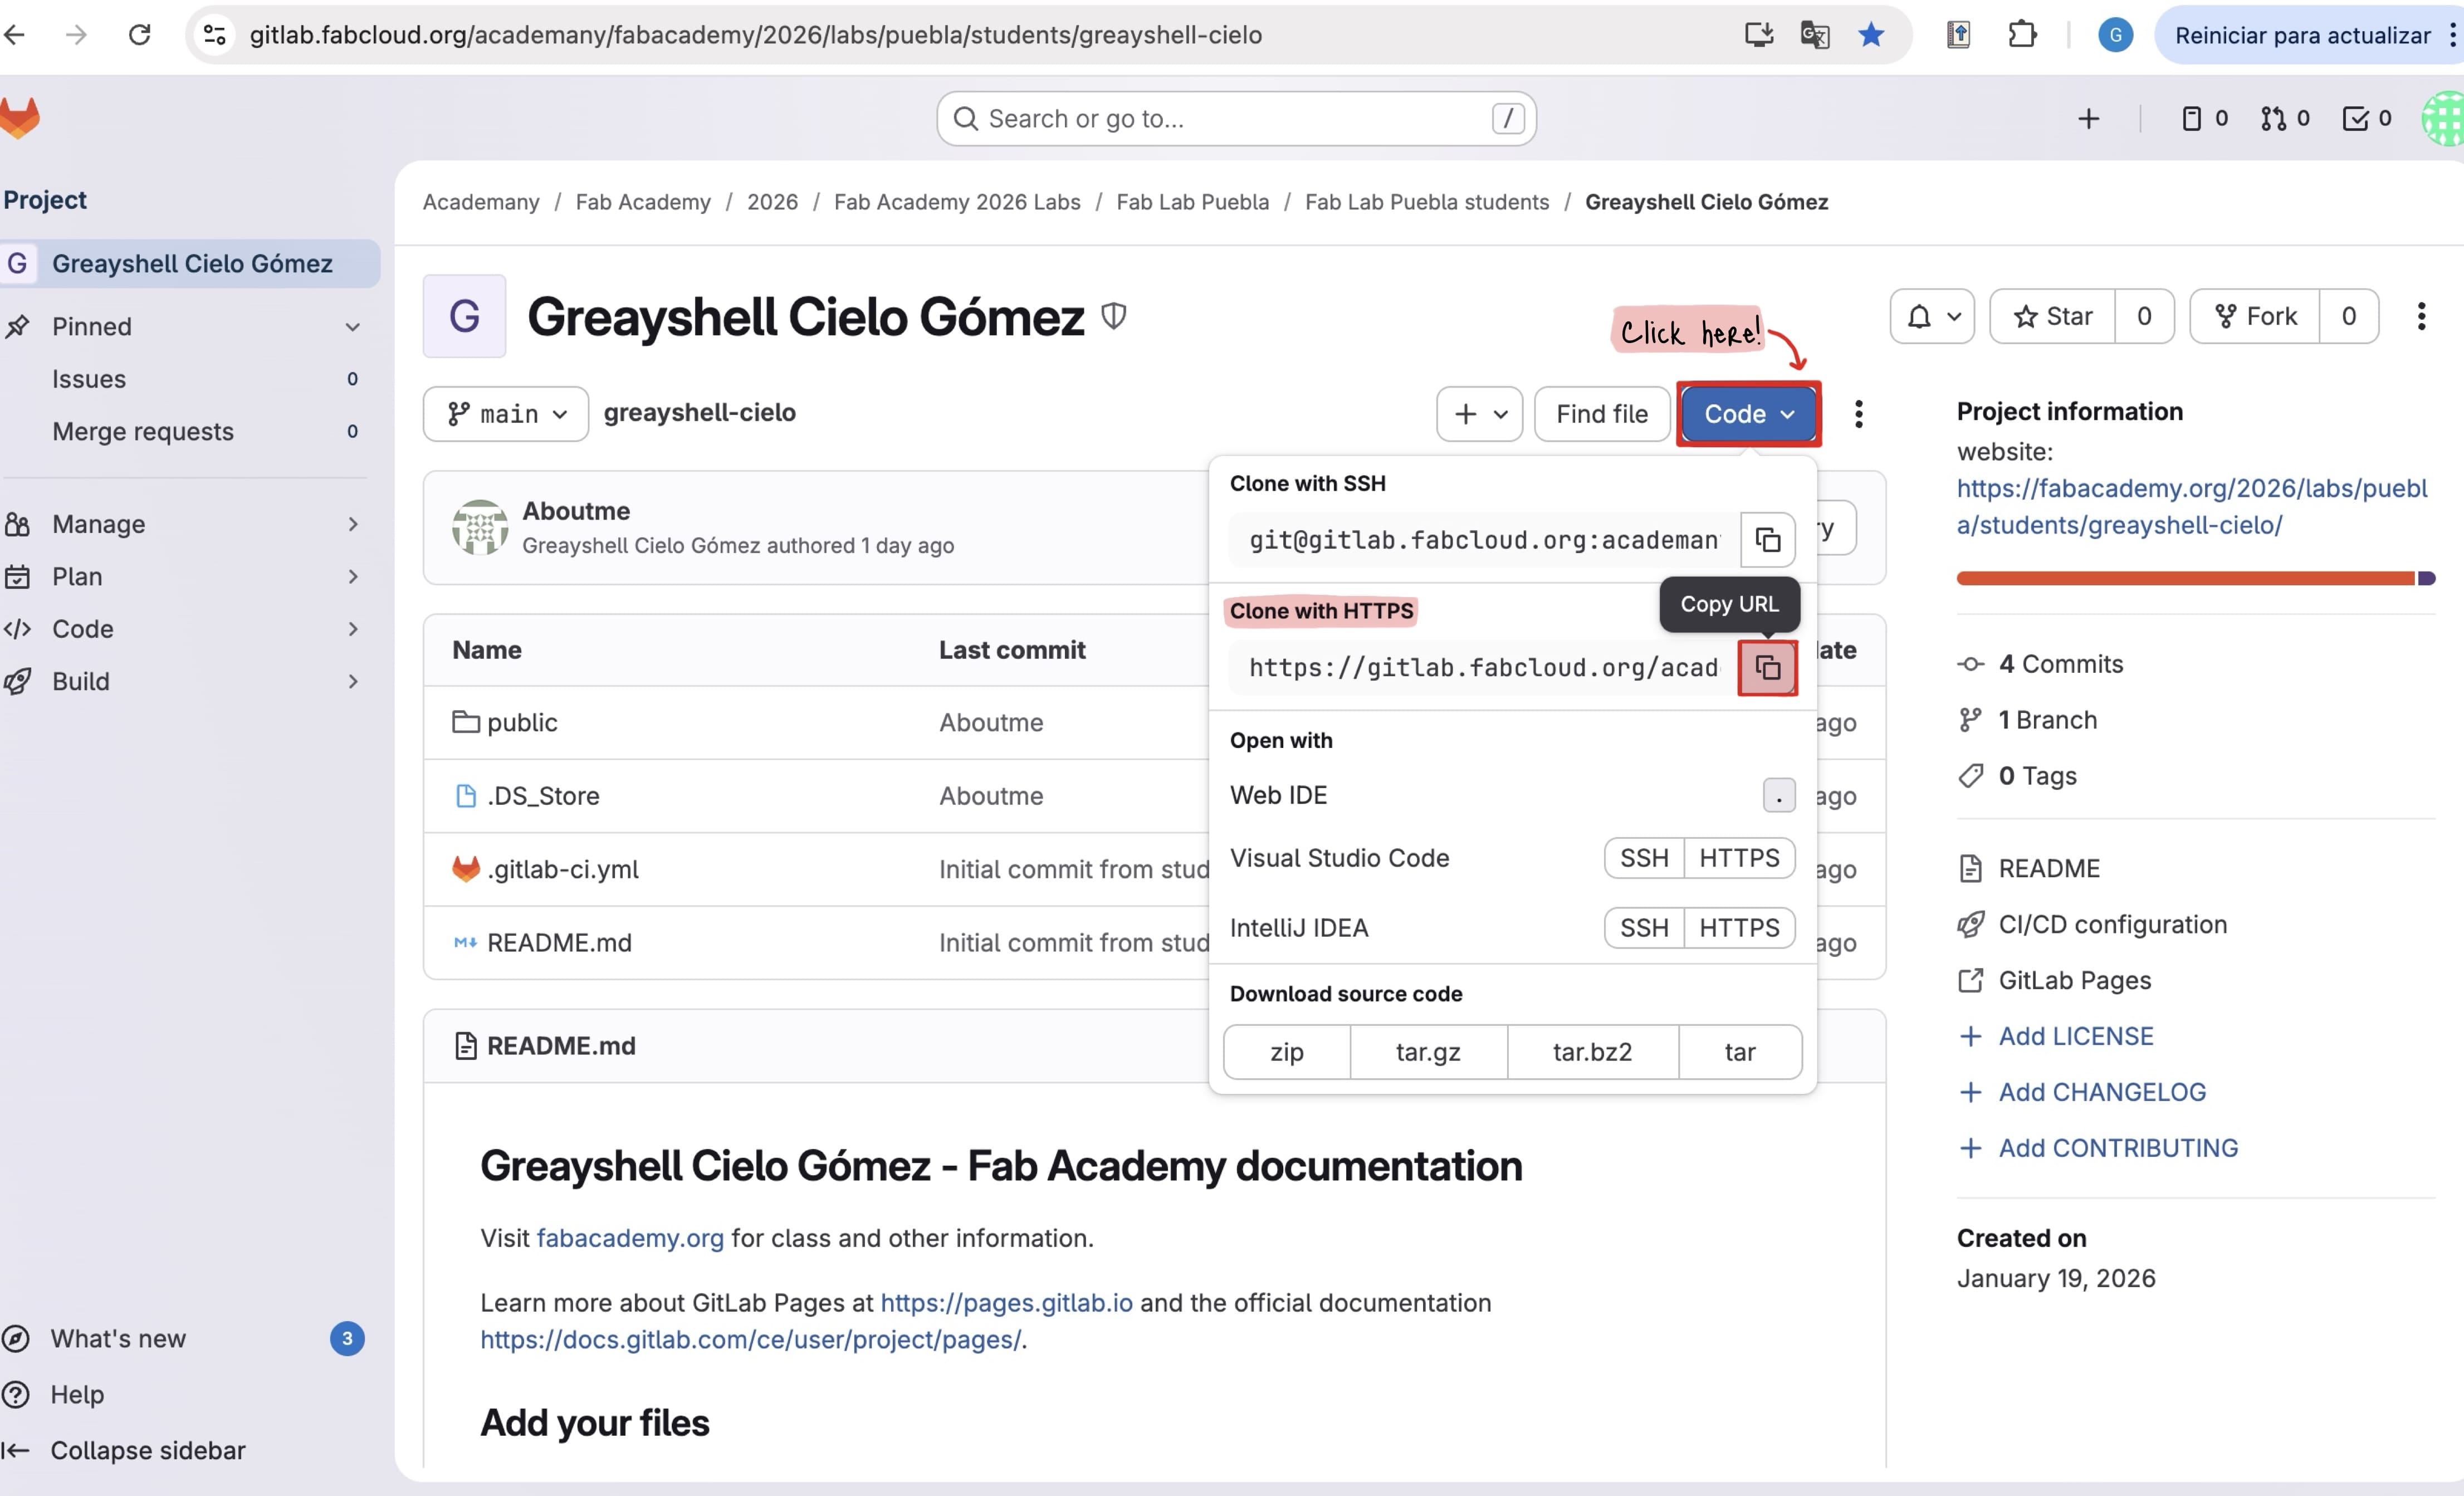
01. GitLab Login
I signed into my GitLab account, went to the "Code" tab, and copied the "Clone with HTTPS" link."
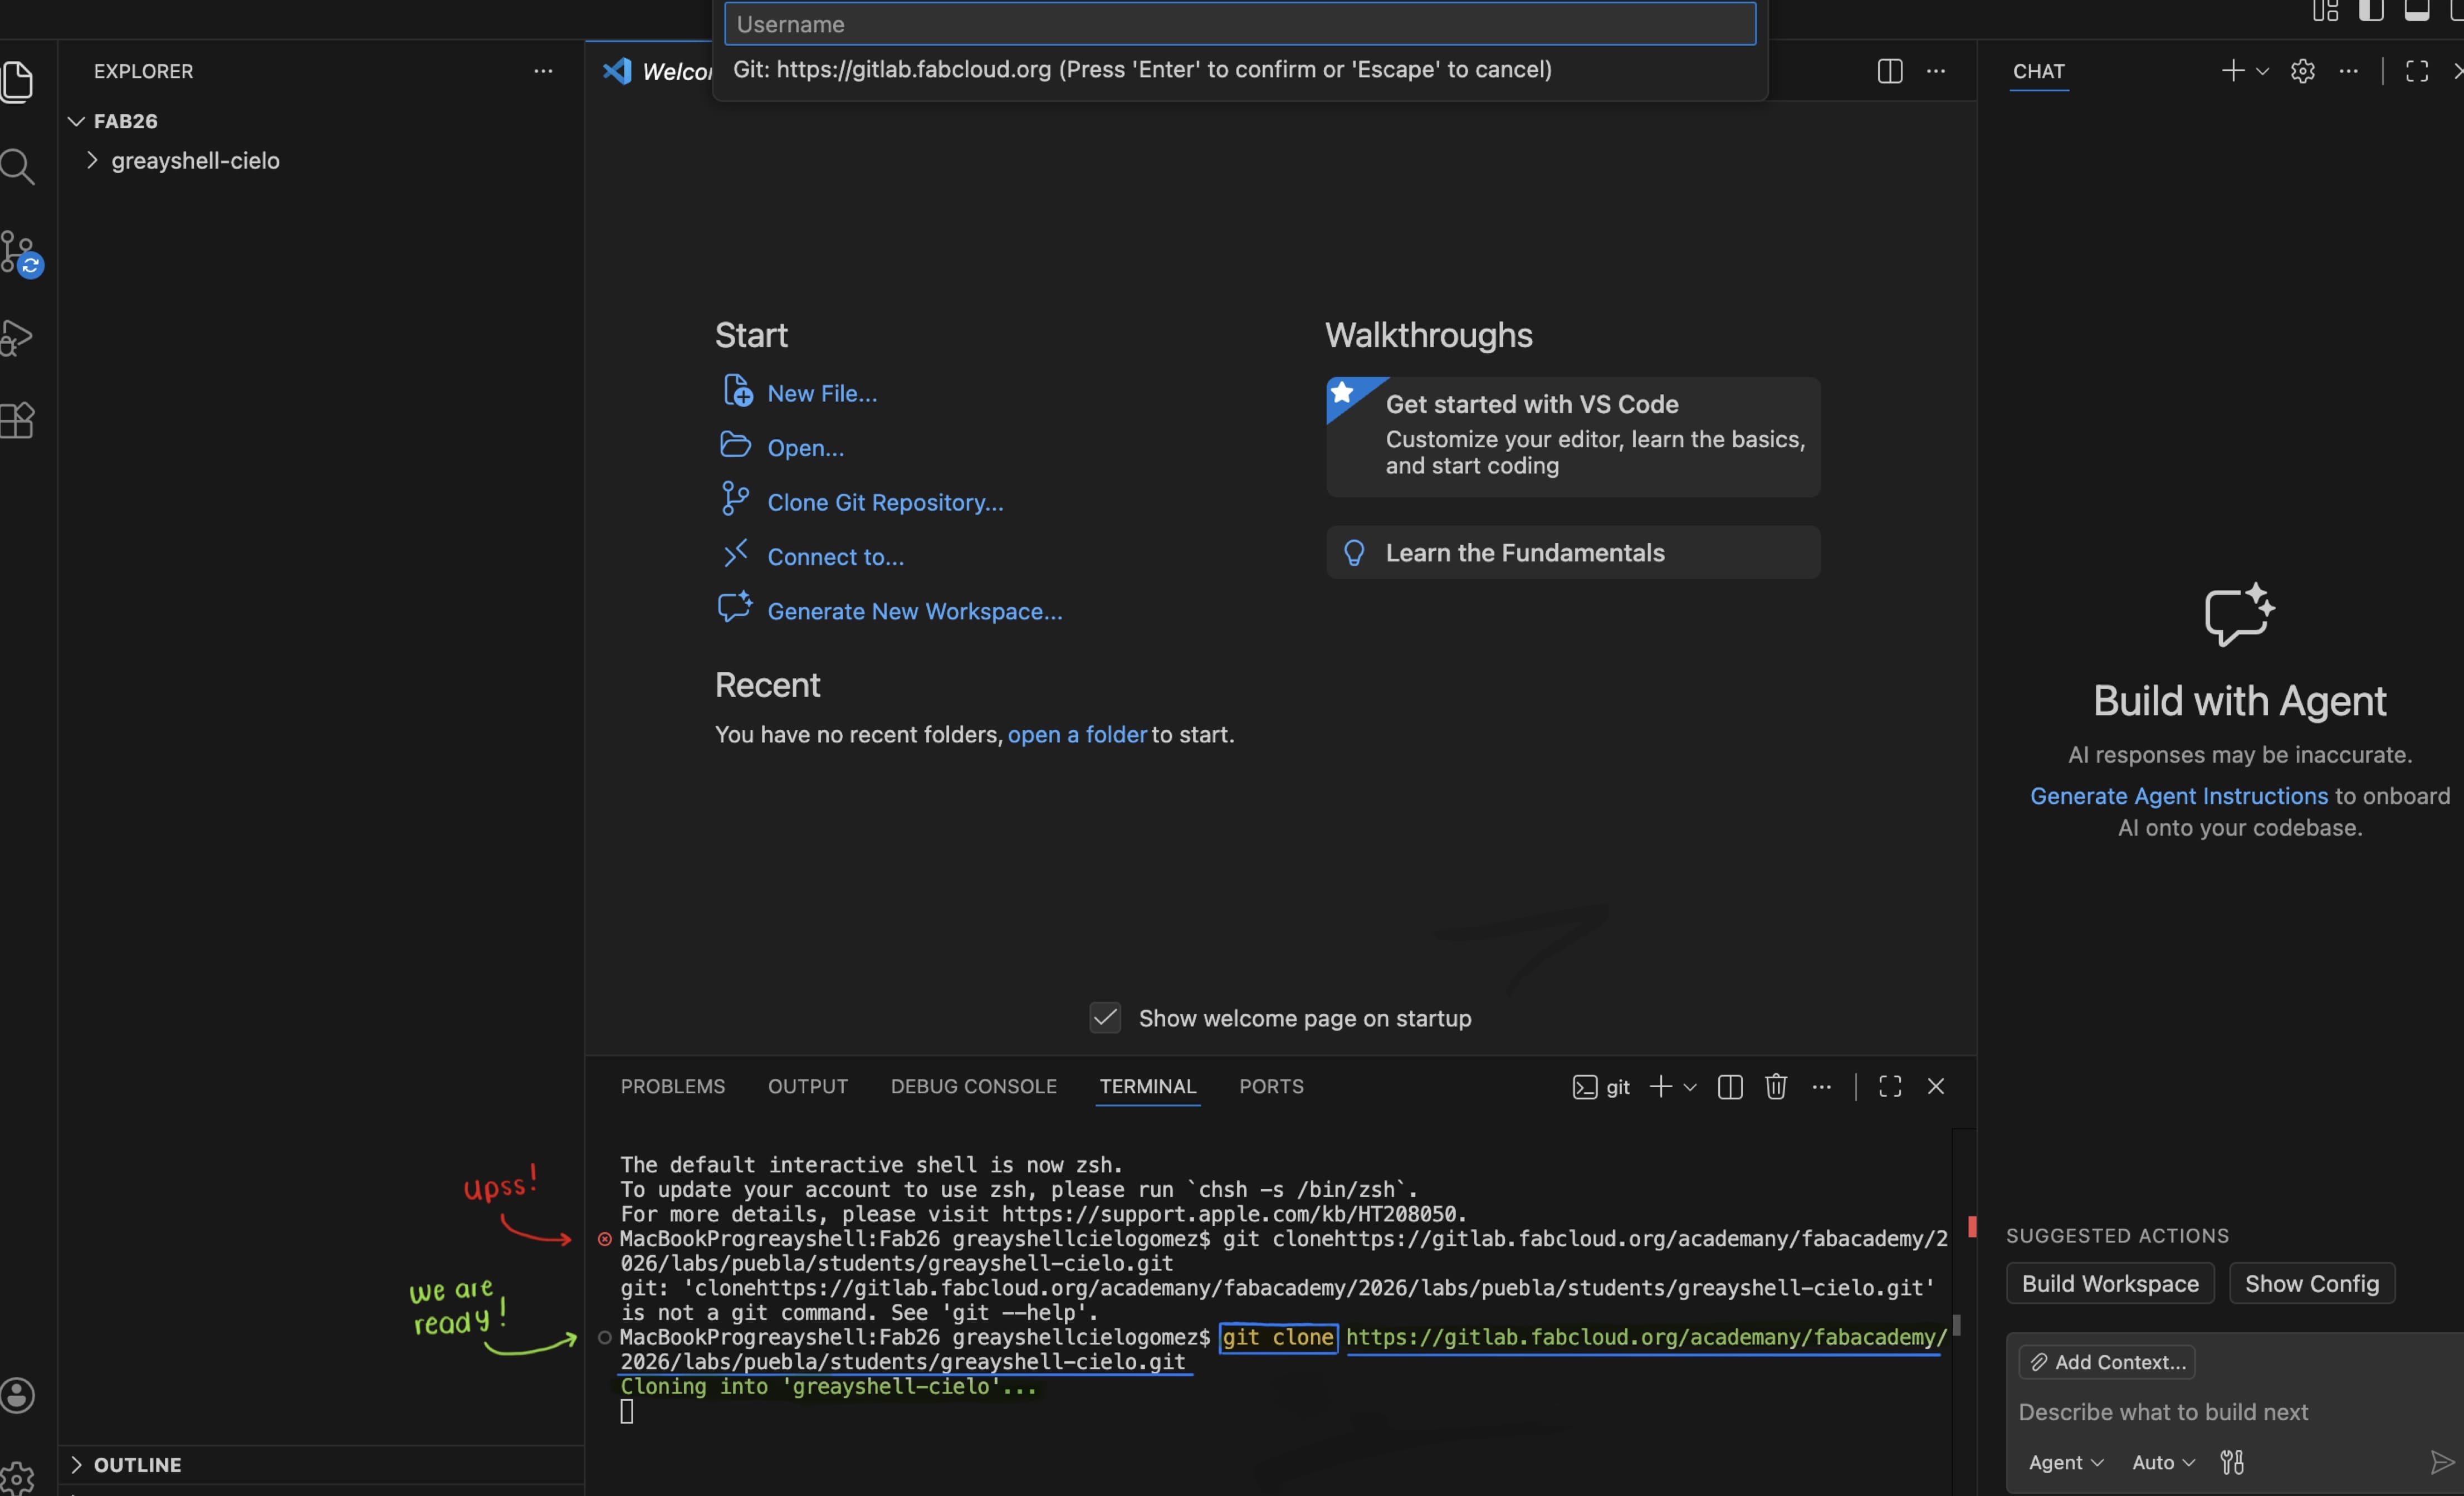
02. Repository Cloning
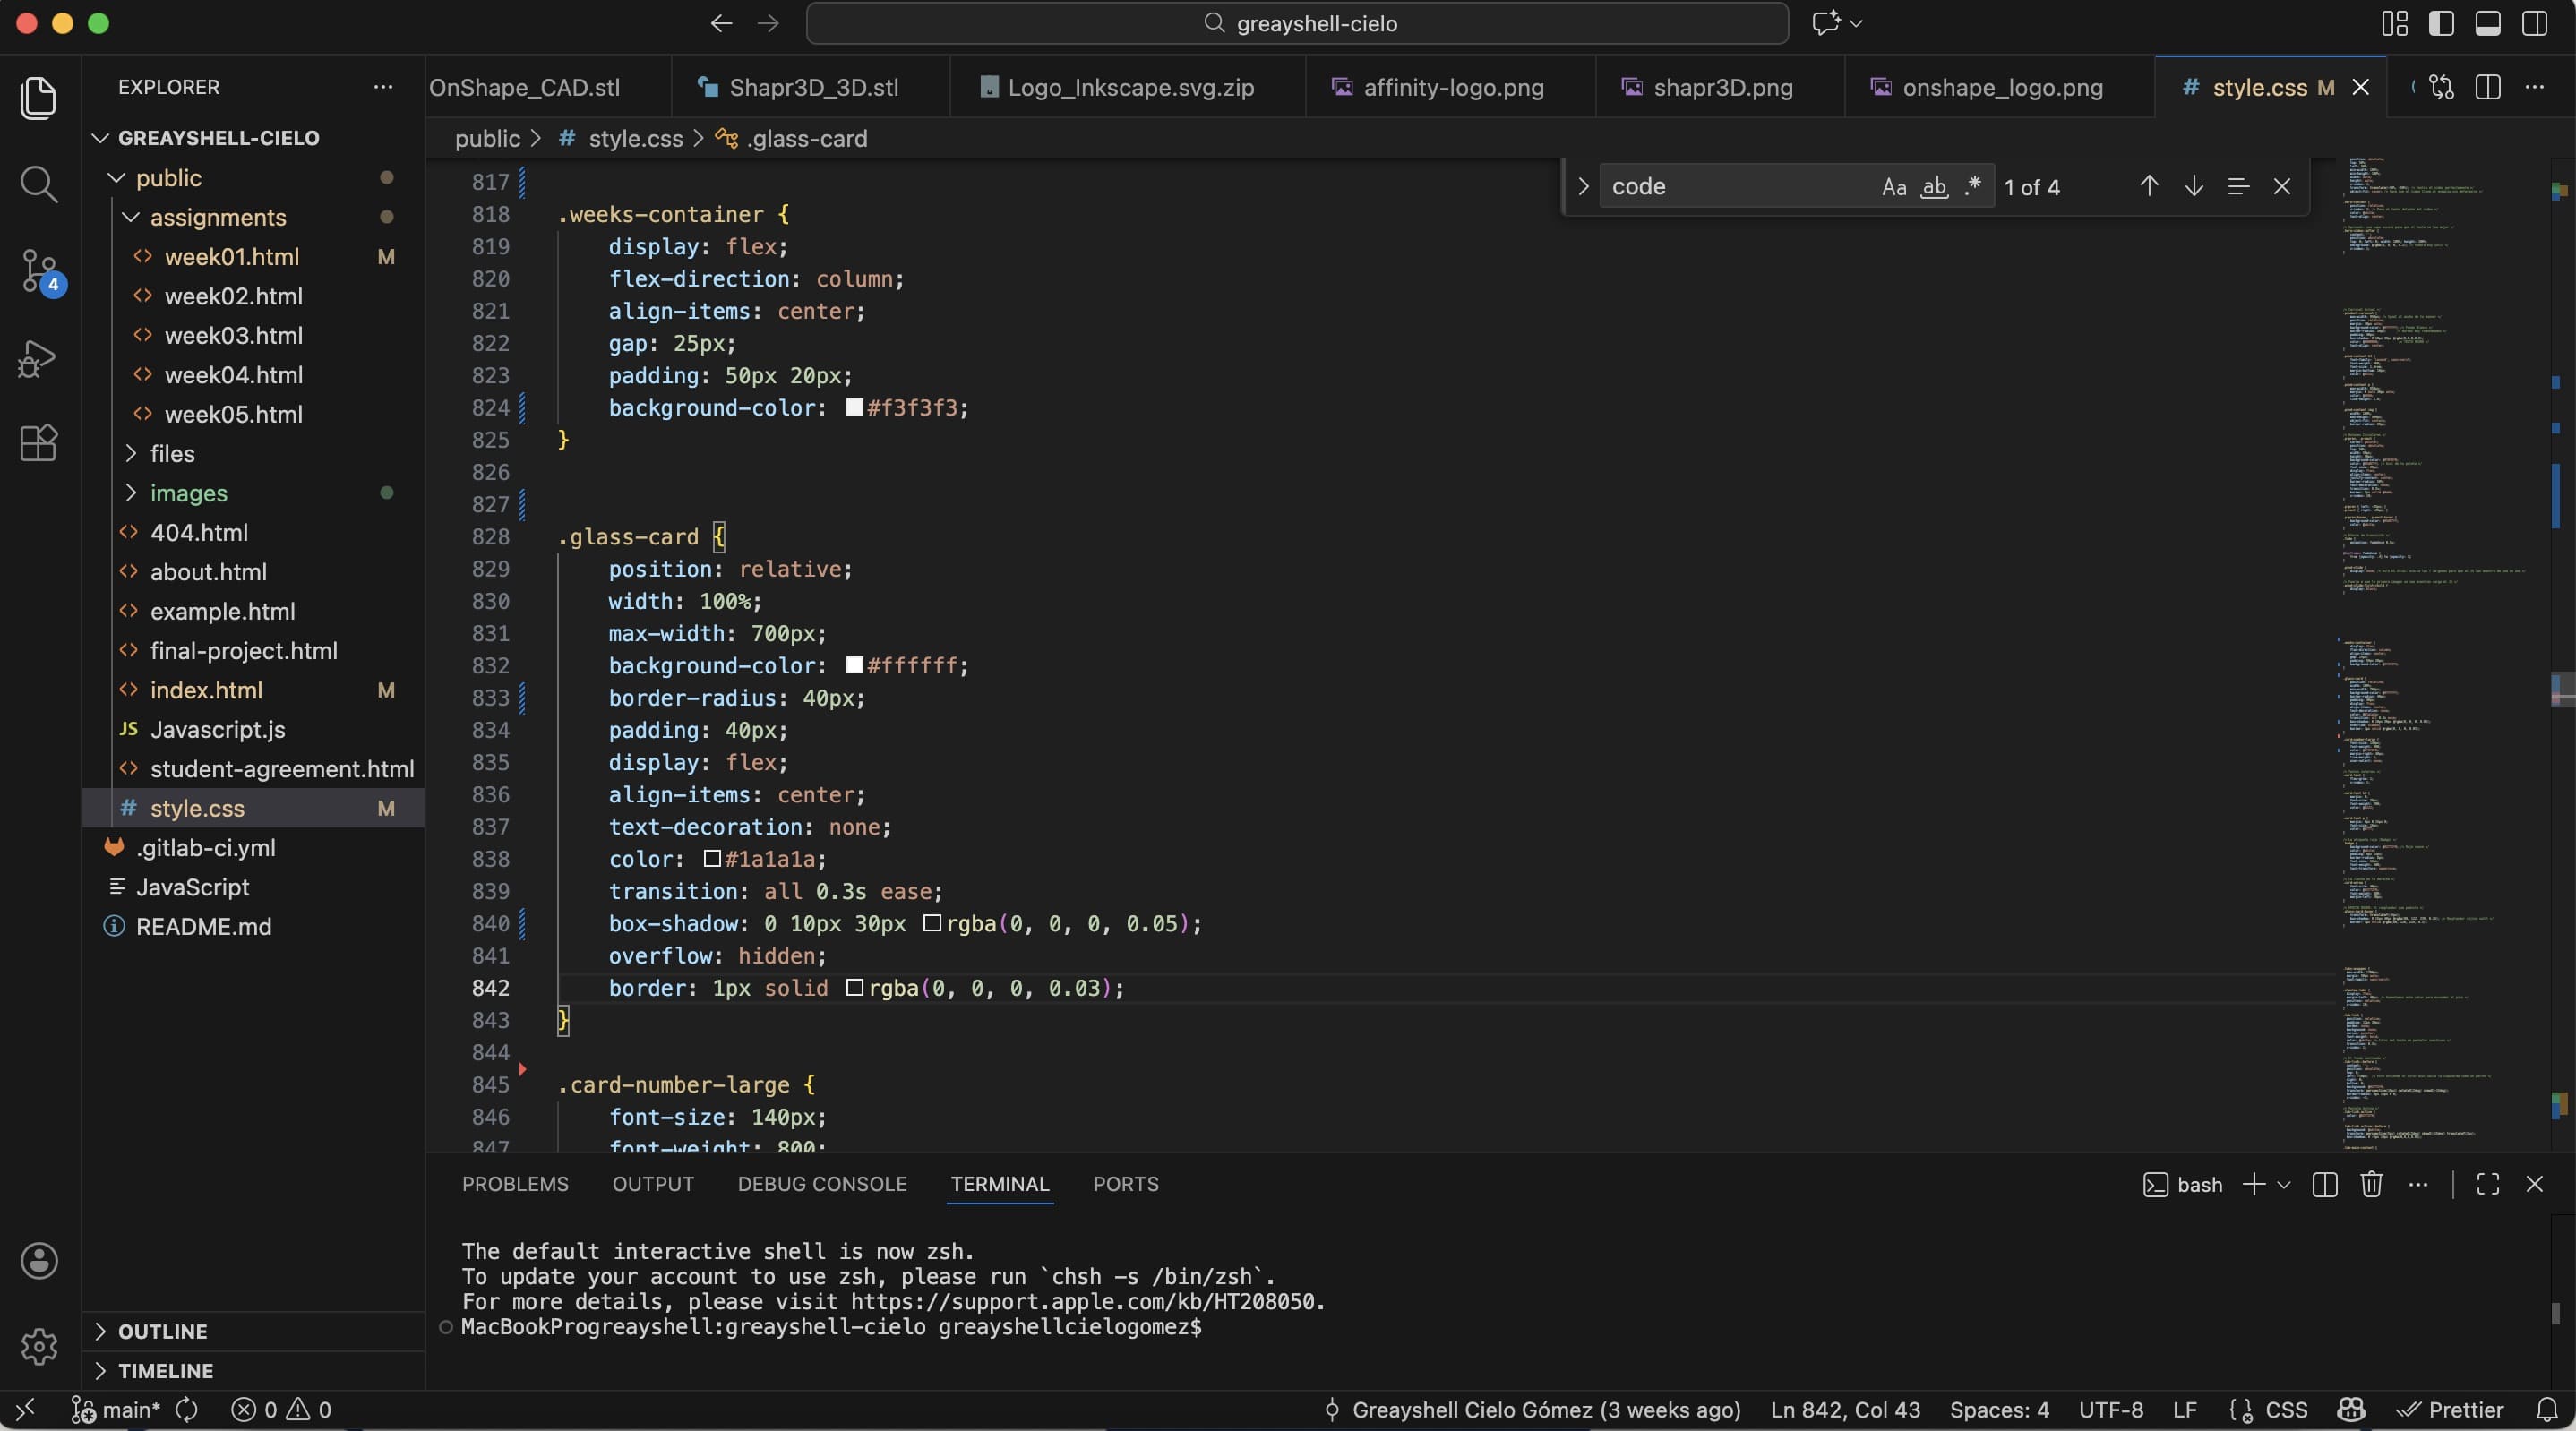
Using Visual Studio Code, I opened my local project folder. Then, in a new terminal, I used the git clone command and pasted the copied link.
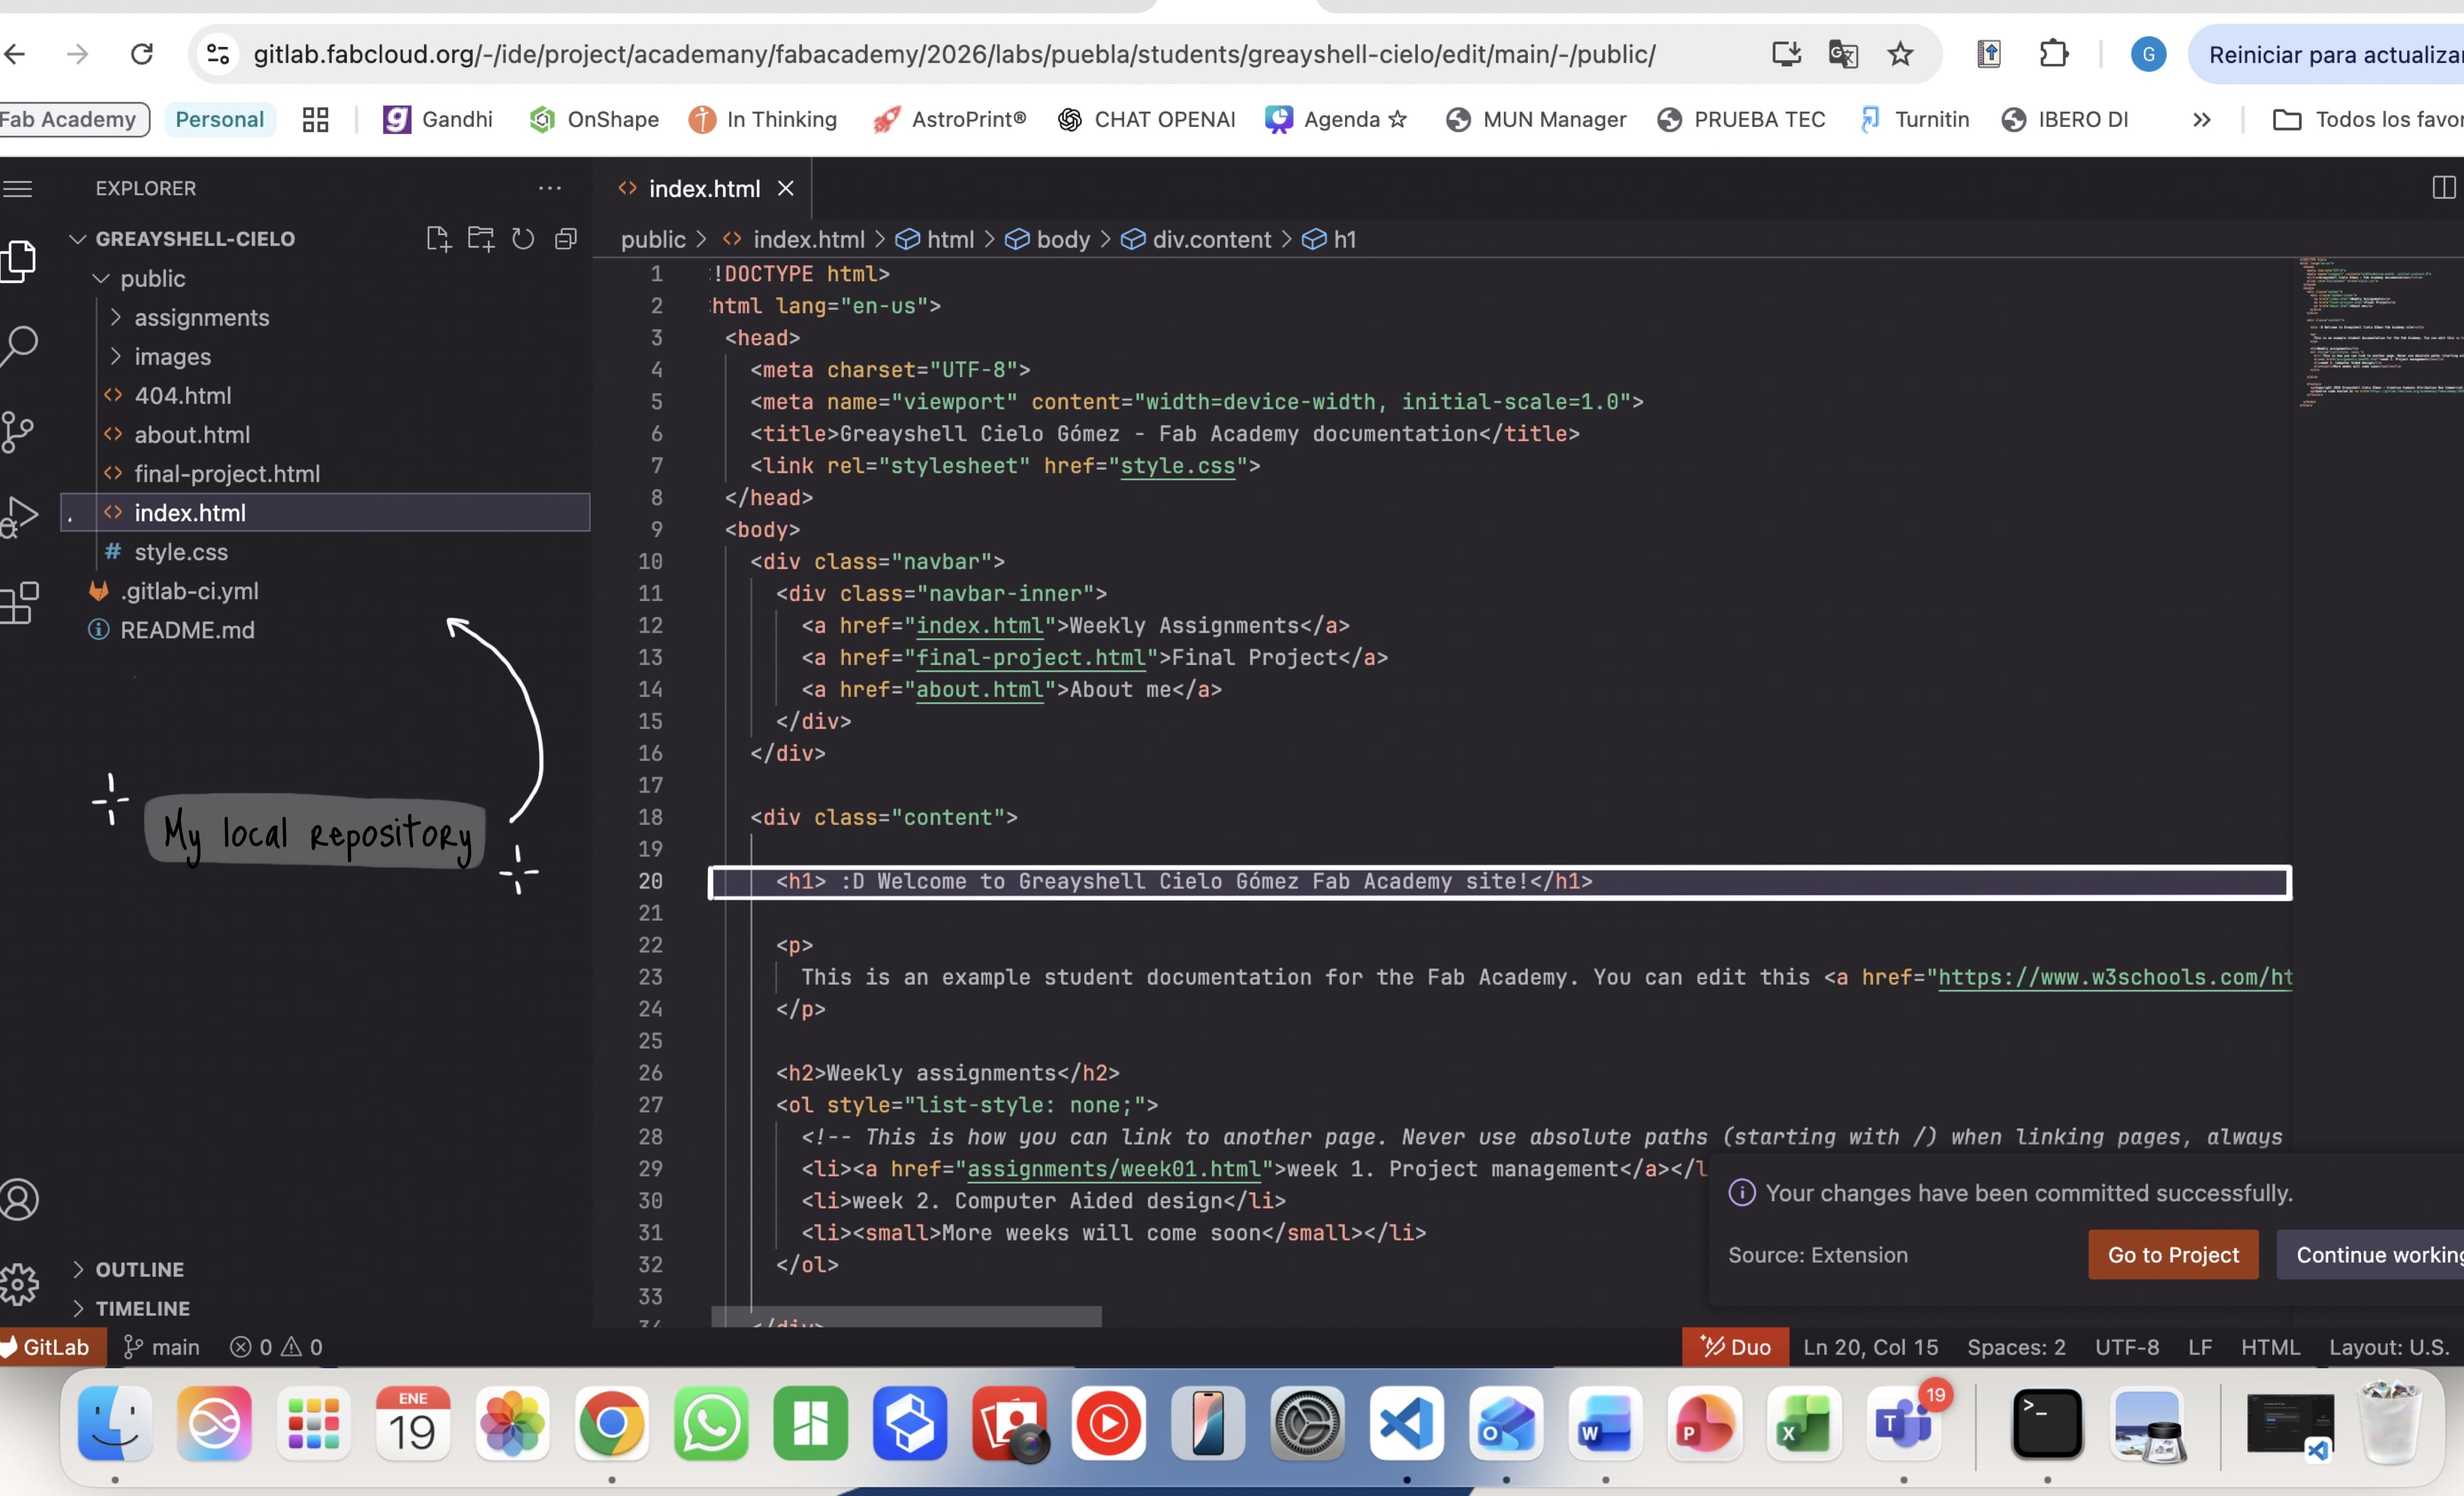
03. Website Structure
Inside my local repository, my files are organized like this:
index.htm: The main page of my site.about.html: The page containing my personal information.week01.html: The page for this specific documentation.final-project.html: The page for everything related to the final project.404.html:The error page for broken links./assigments: A folder to document each work's week./img: The main page of my site./css: The main page of my site.
04. Git Commands
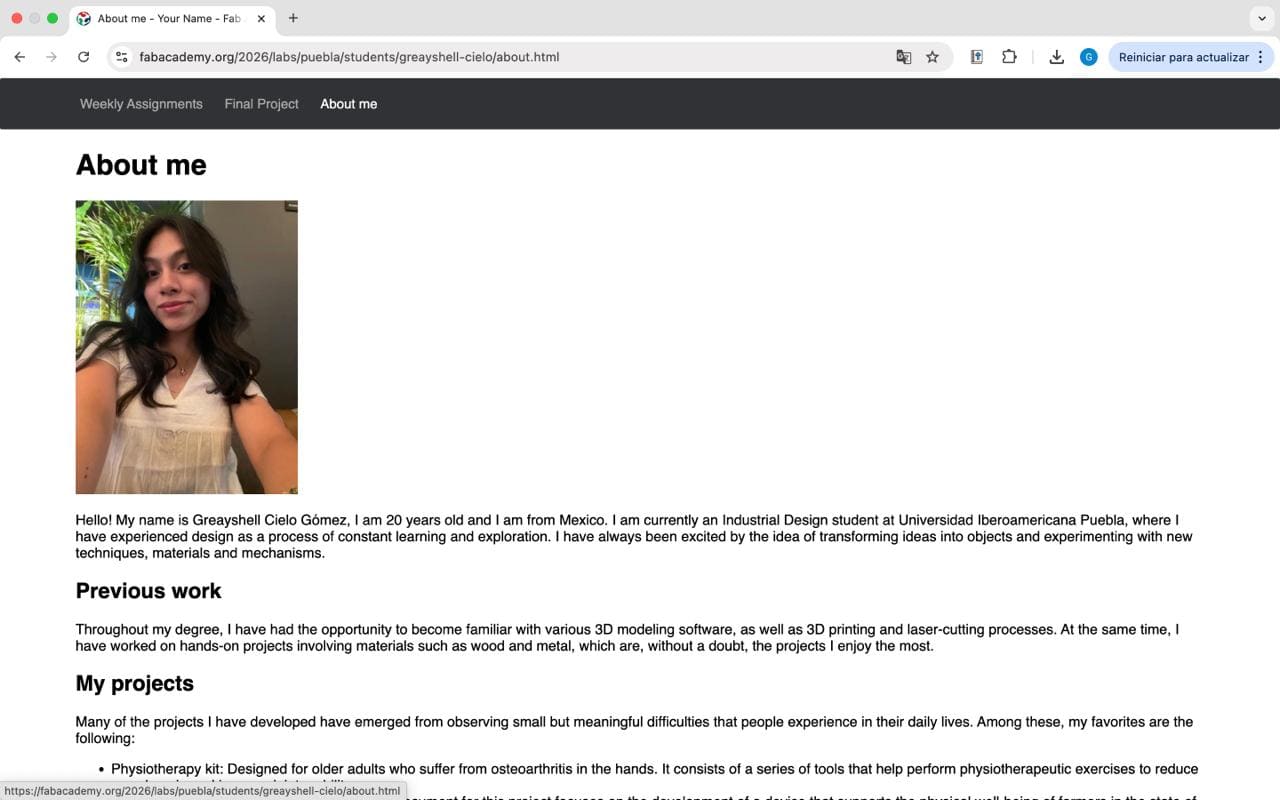
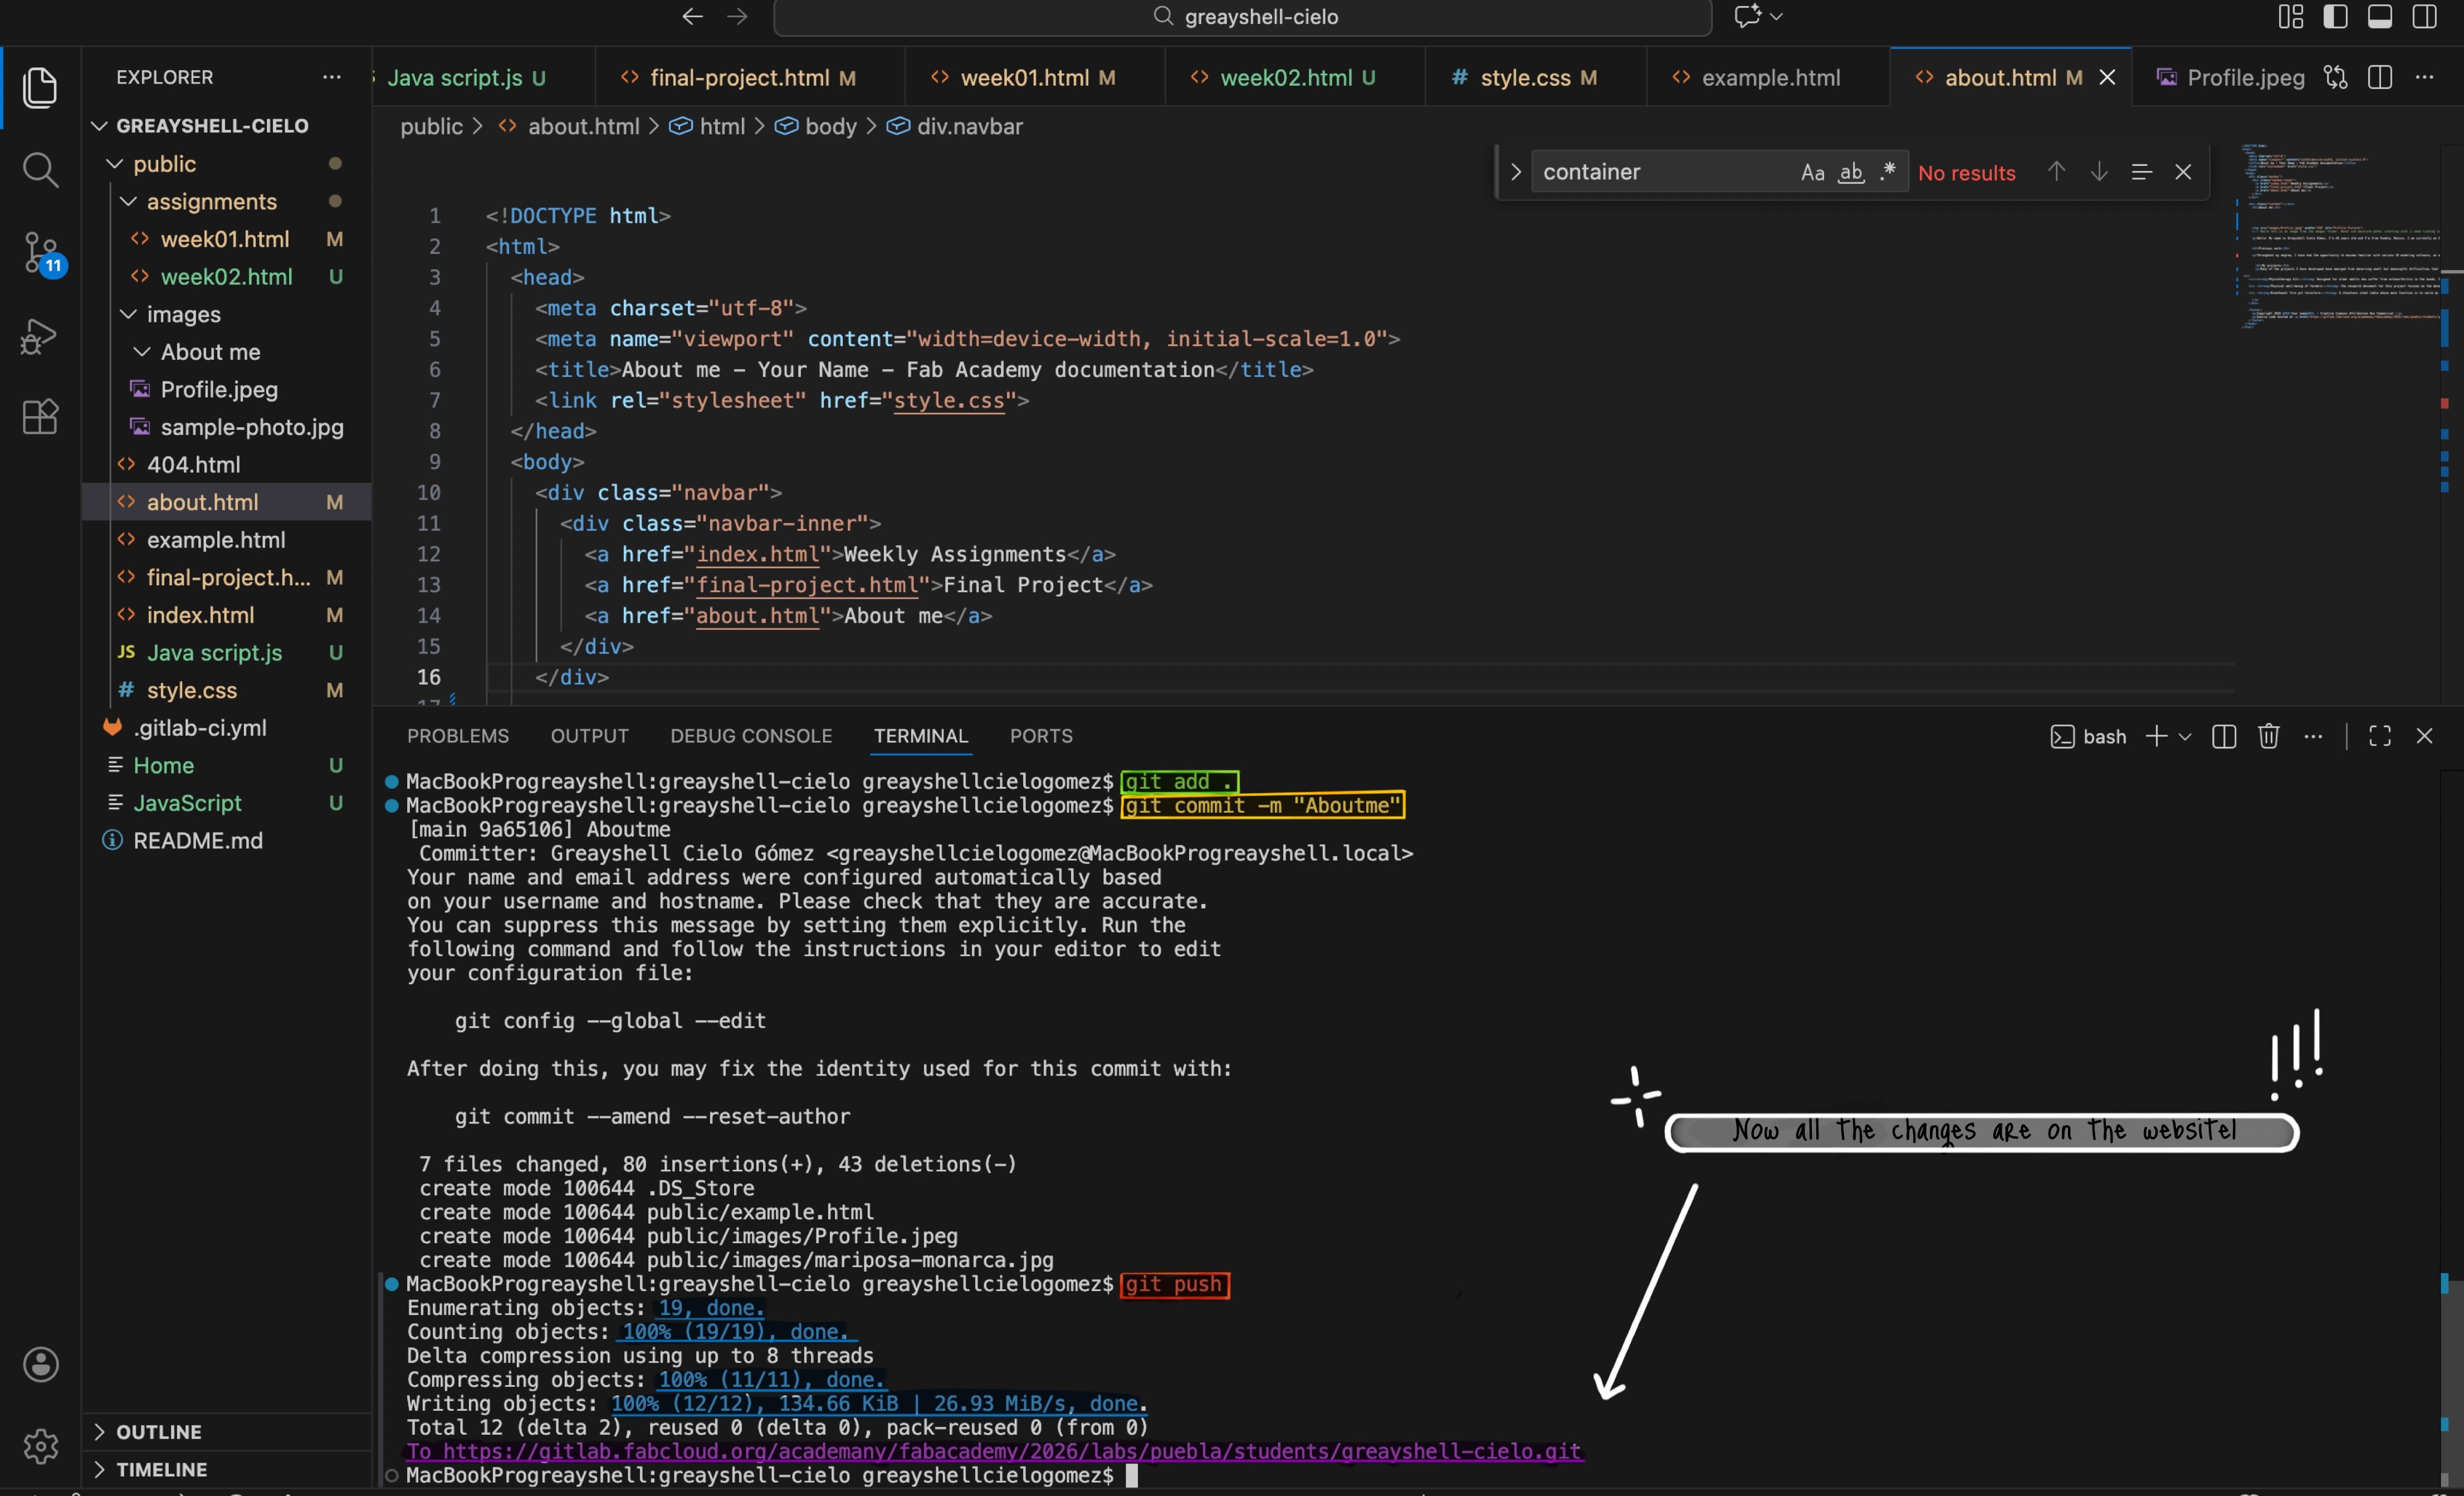
Once inside the directory, I updated my "About me" section. To apply this changes, I ran the git add ., git commit -m Aboutme and git pushcommands.
05. Publishing to GitLab
Finally, to make the website public on GitLab, I executed the following commands:
git add .to stage the files.git commit -m "Aboutme"to save the progress.git pushto upload it to GitLab.
Everything is now set for me to start editing mu website!
> Image Management
To keep my repository lightweight, I make sure to compress all the images before uploading them to the Fab Academy website. For that, on macOS, I use the following workflow for JPG files:
Right-click + Quick Actions + Convert Image + Image Size + Select (Large, Medium, Small) + Convert
> From Zero to Code
When I first started this process, I had absolutely no prior experience with Visual Studio Code and felt quite unfamiliar with HTML and CSS. It has definitely been a journey of trial and error, with plenty of "oops" moments along the way. However, I feel proud of my ability to find solutions on my own, by searching tutorials and receiving guidance from my fellow students. Thanks to this, I have been gradually gaining new skills and confidence in web development. The best feeling is when the code finally works!
> Using IA
To help me navigate this new world, I’ve been using Gemini to generate creative prompts that guide me in structuring and building my site more effectively. I’m also constantly learning from tutorials and my amazing fellow students.
> Prompt
To ease into this new world, I've been using Gemini to create code that helps me structure that I can modify and keep developing my website more effectively. For this, I generate a prompt like this:
"Please generate code to place in the student-agreement.html file so that the PDF opens in a separate browser tab."
<div class="content">
<h1>Student Agreement</h1>
<p>Para leer el acuerdo completo en una pestaña nueva, haz clic en el siguiente botón:</p>
<a href="images/Fab Academy Student Agreement.pdf" target="_blank" class="btn-download">
Ver Student Agreement (PDF)
</a>
</div>
CSS: Work in Progress!
Please note that my CSS section is still a work in progress! I’ll continue to nurture and grow throughout the entire course, while I continue learning to modify CSS. I can't wait to see how it evolves!"