Final project
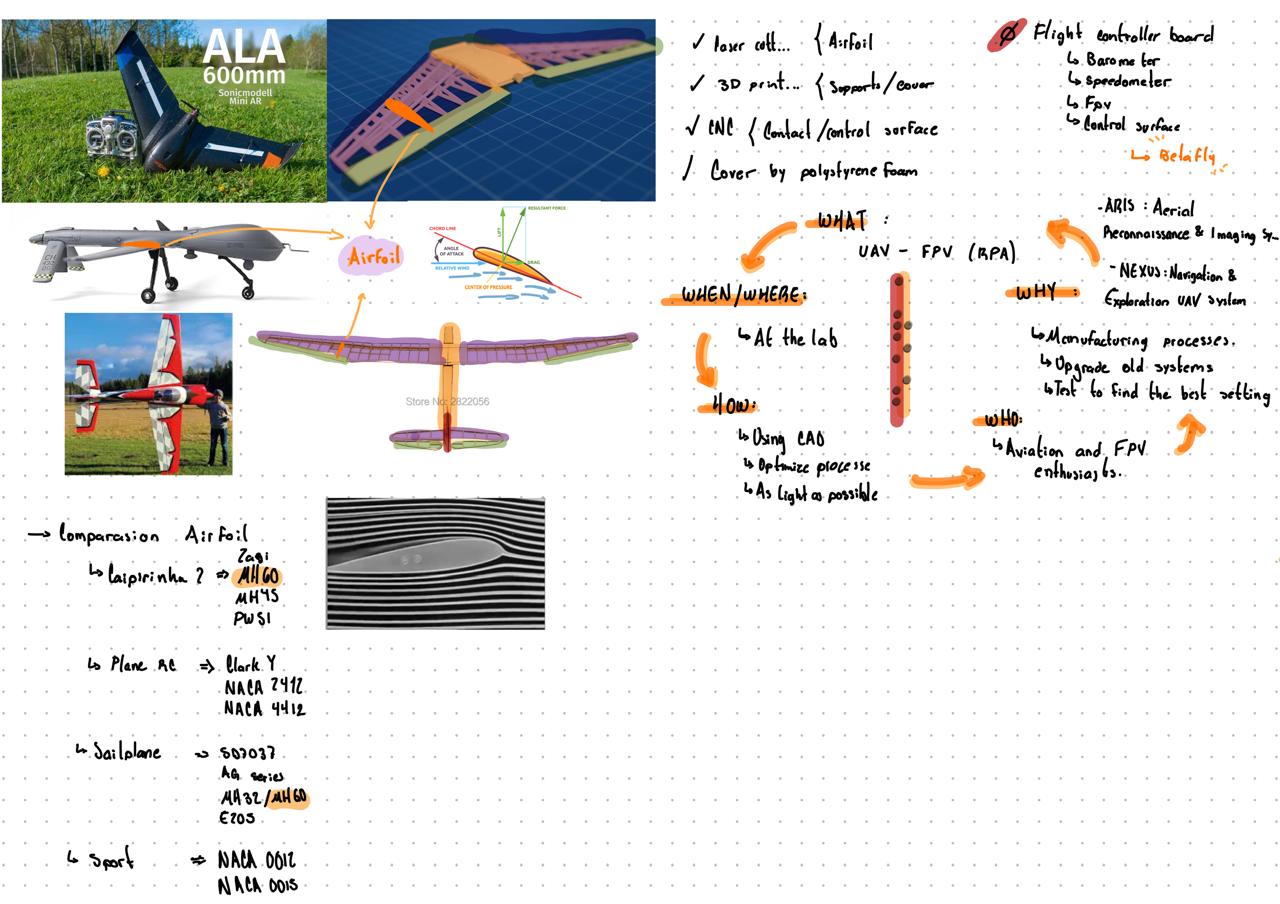
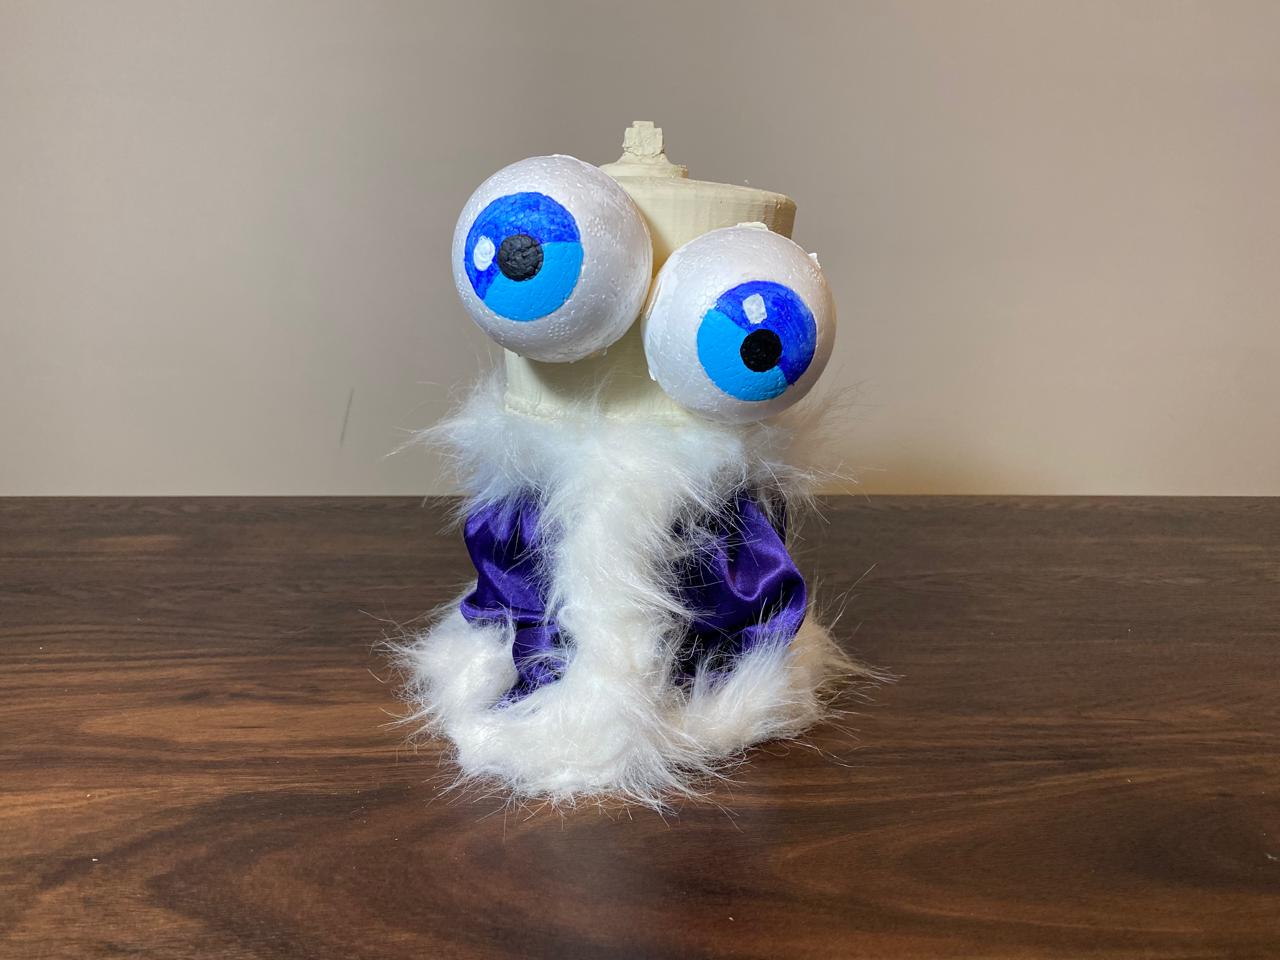
KINGER
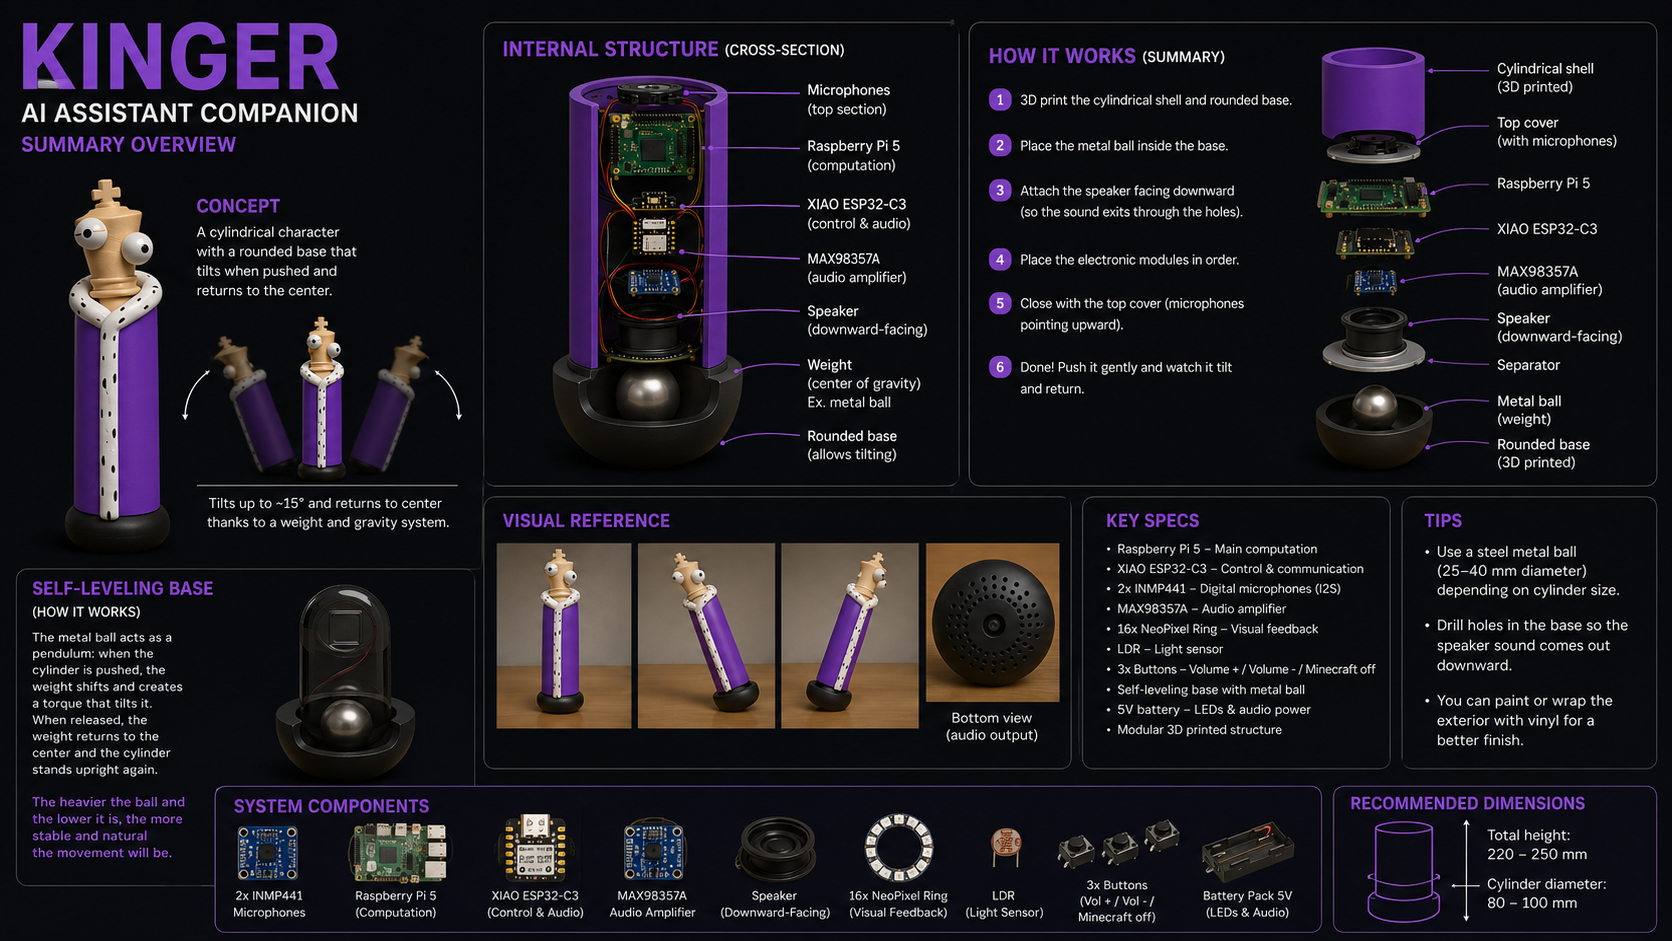
Based on the character Kinger from The Amazing Digital Circus by Glitch Studios.KINGER is a modular, voice-enabled intelligent assistant that combines embedded systems and local AI inference tools.
Project Objectives
The goal of KINGER is to integrate voice input, local artificial intelligence, audio output, physical controls, visual feedback, custom electronics, and a 3D printed mechanical enclosure into a single standalone desktop companion. The system was designed to operate entirely on local hardware, without dependence on cloud services for speech recognition, language inference, or speech synthesis.
- Develop a completely self-hosted physical voice assistant using a standard Linux Single Board Computer.
- Implement low-latency local execution of Large Language Models (LLMs) and acoustic processing blocks.
- Isolate high-level applications from raw input/output tasking through a dedicated peripheral co-processing unit.
- Build an optimized spatial PCB distribution array using vertical interconnect strategies to maximize a small-footprint form factor.
The planned hardware platform consists of:
- Raspberry Pi 5 — main computing unit, runs speech recognition, AI inference, and speech synthesis.
- INMP441 I2S microphones — digital audio capture.
- MAX98357A I2S amplifier — audio output stage.
- 3W 4Ω speaker — audio output transducer.
- XIAO ESP32-C6 — peripheral co-processor for LEDs and buttons.
- 16-pixel NeoPixel ring — visual feedback.
- Physical buttons — volume control and mode switching.
- Power distribution system — 5V supply for the Raspberry Pi and peripheral electronics.
- Custom PCBs — designed and milled in-house (see PCB Design Strategy).
- 3D printed enclosure — houses all internal components.
Schedule & Interactive Timeline
System Architecture
KINGER separates time-critical I/O and user interaction from heavy AI inference by dividing the system into two cooperating layers: a high-level processing unit running on the Raspberry Pi 5, and a low-level peripheral controller running on the XIAO ESP32-C6.
High-Level Processing Unit (Raspberry Pi 5)
Acts as the central logic core of the system. It captures raw PCM audio streams from the I2S microphone bus, runs the local speech recognition and language model pipeline, evaluates the conversational stack, and renders the synthesized voice response in real time.
Low-Level Control Unit (XIAO ESP32-C6)
Acts as a physical peripheral co-processor. It is responsible for the LED ring, the physical buttons, and connects to the system over WiFi/MQTT to receive system state updates and publish user-generated button events.
| Item | Details | Qty | Unit Price ($) | Source / Link |
|---|---|---|---|---|
| Raspberry Pi 5 | Main AI processing unit | 1 | $95 | Official Raspberry Pi distributor |
| XIAO ESP32-C6 | Peripheral control microcontroller | 1 | $8 | Seeed Studio |
| INMP441 | Digital I2S microphones | 2 | $4 | Amazon / AliExpress |
| MAX98357A | I2S audio amplifier | 1 | $5 | Amazon / AliExpress |
| Speaker | Audio output system | 1 | $6 | Electronics supplier |
| NeoPixel Ring | 16 RGB LEDs feedback system | 1 | $10 | Adafruit / Amazon |
| Push Buttons | Volume and mode controls | 3 | $0.50 | Local electronics store |
| Battery Pack | NeoPixel and speaker power | 1 | $12 | Amazon |
| 3D Printed Parts | External shell and modular structure | 1 set | $20 | Fab Lab Puebla |
Voice Processing Workflow
The complete voice pipeline executed on the Raspberry Pi follows the flow below:
Audio Capture
Stereo audio is captured from the INMP441 I2S microphones using arecord at 48 kHz, 32-bit, and converted to mono using sox for transcription.
Speech-to-Text
Faster-Whisper (tiny model, CPU, int8 quantization) transcribes the mono audio to Spanish text.
Command Analysis
The transcribed text is passed to commands.py. If a recognized command pattern is found (e.g. time, date), it is resolved directly and a response is generated immediately.
AI Response (if not a command)
If no command matches, the text is forwarded to brain.py, which queries Ollama running the Qwen 2.5 3B model with the full conversation history.
Text-to-Speech
The resulting response text is converted to a WAV file using Piper (es_MX-ald-medium voice model).
Audio Output
The WAV file is played back through the MAX98357A I2S amplifier to the speaker using aplay.
Conversational memory is handled by brain.py, which maintains an in-memory list of conversation turns (system prompt, user messages, and assistant responses) that is sent to Ollama on every call. This allows Qwen 2.5 3B to generate responses with context from previous exchanges in the same session.
Communication Architecture
The original system architecture considered a UART connection between the Raspberry Pi and the XIAO peripheral controller, with the Pi sending state strings (IDLE, LISTENING, THINKING, SPEAKING) and the XIAO returning button events over a serial link at 115200 bps.
During integration testing, reliability and synchronization issues appeared when handling simultaneous audio processing on the Raspberry Pi and interface events on the XIAO. The serial link required both devices to remain tightly synchronized in real time, and the audio capture/playback load on the Raspberry Pi made consistent UART servicing difficult to guarantee.
To improve modularity, scalability, and maintainability, the architecture evolved toward an MQTT-based communication layer over WiFi. This decouples the two subsystems in time: each device publishes and subscribes to topics independently, without requiring a synchronous serial handshake.
Raspberry Pi → XIAO (kinger/state)
The Raspberry Pi publishes high-level system states to the MQTT broker:
- IDLE
- LISTENING
- THINKING
- SPEAKING
- MINECRAFT
XIAO → Raspberry Pi (xiao/boton)
The XIAO publishes numeric event codes corresponding to button presses and mode changes:
- 1 — Volume up
- 2 — Volume down
- 3 — Thinking mode
- 4 — Gaming mode
- 5 — Listening mode
- 6 — Error mode
Only high-level states and discrete events are exchanged between the two subsystems. This reduces coupling: the Raspberry Pi does not need to know how the LED ring renders a given state, and the XIAO does not need to know how the AI pipeline produces a response. Each device can be updated, restarted, or reflashed independently as long as the MQTT topic contract is respected.
Hardware Integration Layers
Audio capture and output avoid the noise and complexity of analog conversion stages by using the I2S digital bus. The Raspberry Pi 5 acts as the bus master, providing the bit clock and word select lines:
- Digital Capture (INMP441): Transmits serialized audio data over GPIO pins configured for I2S. Uses three signals: bit clock (SCK), word select (WS), and serial data (SD).
- Power Amplification (MAX98357A): A high-efficiency Class D amplifier with an integrated DAC that decodes I2S audio directly from dedicated Pi pins (GPIO18 → BCLK, GPIO19 → LRCLK, GPIO21 → DIN) and delivers up to 3W to a 4Ω speaker.
XIAO ESP32-C6 Firmware
The XIAO ESP32-C6 firmware is responsible for the LED ring and physical interaction. On boot, it follows a fixed initialization sequence:
Boot Sequence
Power On
→ NeoPixel ring initialization (16 pixels, brightness 60)
→ WiFi connection (blocking, retries until connected)
→ MQTT broker connection:broker.emqx.io randomized client ID
→ Subscribe to xiao/boton
→ Enter main loop, default mode: LISTENING
The firmware does not run any AI or speech processing. Its only responsibilities are reading incoming MQTT messages and driving the NeoPixel ring according to the current mode. Five animation modes are implemented:
MODE_LISTENING
Default mode. A breathing animation cycles the brightness of all 16 pixels in a blue tone, increasing and decreasing brightness in steps of 4 every 20 ms.
MODE_THINKING
A four-pixel comet trail rotates around the ring every 50 ms, with decreasing blue intensity along the trailing pixels, indicating that the AI is processing a response.
MODE_ERROR
All 16 pixels blink red, toggling fully on and off every 200 ms, used to indicate an error or fault state.
MODE_GAMING
A continuous rainbow animation using HSV color space, where the hue offset of each pixel is advanced by 350 every 15 ms, used for the "Minecraft mode" visual identity.
MODE_VOLUME
A volume-bar animation: the number of lit pixels (in blue) corresponds to the current volume level (0–16). After 5 seconds with no further volume events, the ring automatically returns to the previous mode.
Mode transitions are driven entirely by single-character MQTT messages received on xiao/boton. Codes 1 and 2 adjust the volume level and temporarily switch to MODE_VOLUME, after which the firmware restores the previously active mode (previousMode). Codes 3 through 6 directly switch between Thinking, Gaming, Listening, and Error modes.
Volume State Restoration
When a volume event is received currentMode is set to MODE_VOLUME and a timestamp volumeStartTime is recorded. On every loop iteration, the firmware checks whether more than 5000 ms have elapsed since that timestamp; if so currentMode is reset to previousMode restoring the LED ring to whatever animation was active before the volume change (e.g. Listening or Thinking).
Software Pipeline & Deployment
To run the complete conversational engine of KINGER locally on the Raspberry Pi 5 under Raspberry Pi OS, the following deployment steps are followed.
1. Isolated Environment Setup
Due to the externally-managed-environment policy of modern Python distributions on Linux, a virtual environment ( venv) is required to avoid conflicts with system-wide packages:
# Create the project directory and required subfolders
mkdir -p ~/kinger_ai/voices ~/kinger_ai/models
cd ~/kinger_ai

# Create the isolated Python virtual environment
python3 -m venv venv

# Activate the virtual environment (must be done before any install or script run)
source venv/bin/activate
2. Installing Critical Dependencies
With the environment active, the speech pipeline layers and system utilities are installed:
# Install system utilities for audio capture and manipulation
sudo apt-get update && sudo apt-get install -y alsa-utils sox python3-pip

# Install AI engines inside the active venv
pip install --upgrade pip
pip install faster-whisper piper-tts ollama paho-mqtt
3. Deploying Ollama and Qwen
Ollama manages the LLM weights and accelerates inference on ARM64 architectures. The system daemon is installed and the quantized Qwen model is downloaded:
# Download and install the Ollama engine binary
curl -fsSL https://ollama.com/install.sh | sh

# Verify the service is running in the background, or start it manually:
# ollama serve

# Download the Qwen 2.5 3B parameter model locally
ollama pull qwen2.5:3b
4. Python Module Structure
The system logic is split into dedicated modules coordinated by a main dispatcher. The implementations below reflect the actual code running on KINGER:
brain.py
Maintains the conversation history in a structured in-memory list and sends chat requests to the local Ollama daemon.
from ollama import chat

conversation = [
    {"role": "system", "content": "Tu nombre es KINGER, eres el asistente de voz físico del cuarto. Responde conciso."}
]

def ask_ai(question):
    conversation.append({"role": "user", "content": question})
    response = chat(model="qwen2.5:3b", messages=conversation)
    answer = response["message"]["content"]
    conversation.append({"role": "assistant", "content": answer})
    return answer
speak.py
Takes plain text, synthesizes it using Piper (Mexican Spanish voice model), and plays the resulting WAV file directly to the I2S amplifier through ALSA.
import os

def speak(text):
    clean_text = text.replace('"', '').replace('\n', ' ')
    # Make sure the ONNX model has been downloaded to the correct path
    model_path = "~/kinger_ai/voices/es_MX-ald-medium.onnx"

    # Pipe text into Piper and write the resulting WAV
    os.system(f'echo "{clean_text}" | piper --model {model_path} --output_file response.wav')

    # Direct playback to I2S hardware via ALSA
    os.system('aplay -D plughw:0,0 response.wav')
commands.py
Pre-LLM interception filter. If the transcribed text matches a known pattern, an immediate response is returned without calling Ollama.
import datetime

def check_commands(text):
    text_clean = text.lower().strip()
    if "hora" in text_clean:
        now = datetime.datetime.now().strftime("%H:%M")
        return f"Son las {now}."
    if "fecha" in text_clean:
        today = datetime.datetime.now().strftime("%A %d de %B")
        return f"Hoy es {today}."
    return None # Not a command, must be handled by Qwen
mqtt.py
Wraps the paho-mqtt client. Connects to the public broker, subscribes to kinger/event for incoming XIAO events, and exposes shortcut functions used by main.py to publish system states to kinger/state.
import paho.mqtt.client as mqtt

BROKER = "broker.emqx.io"
PORT = 1883
TOPIC_STATE = "kinger/state"
TOPIC_EVENT = "kinger/event"

client = mqtt.Client()
last_event = None

def on_connect(client, userdata, flags, rc):
    print(f"[MQTT] Connected ({rc})")
    client.subscribe(TOPIC_EVENT)

def on_message(client, userdata, msg):
    global last_event
    try:
        payload = msg.payload.decode().strip()
        last_event = payload
        print(f"[MQTT EVENT] {payload}")
    except Exception as e:
        print(f"[MQTT ERROR] {e}")

client.on_connect = on_connect
client.on_message = on_message

client.connect(BROKER, PORT, 60)
client.loop_start()

def send_state(state):
    client.publish(TOPIC_STATE, state)
    print(f"[MQTT TX] {state}")

def set_idle(): send_state("IDLE")
def set_listening(): send_state("LISTENING")
def set_thinking(): send_state("THINKING")
def set_speaking(): send_state("SPEAKING")
def set_minecraft(): send_state("MINECRAFT")

def get_event():
    global last_event
    event = last_event
    last_event = None
    return event
main.py (Central Dispatcher)
The continuous loop that ties together I2S audio capture, Faster-Whisper transcription, command evaluation, Ollama inference, MQTT state updates, and the final audio output stage.
import os
from faster_whisper import WhisperModel
import brain
import speak
import commands
from mqtt import (
    set_idle,
    set_listening,
    set_thinking,
    set_speaking,
    get_event
)

# Initialize quantized Whisper model for efficient execution on ARM CPU
stt_model = WhisperModel("tiny", device="cpu", compute_type="int8")

def run_pipeline():
    print("Capturando audio por I2S...")
    # 5-second stereo recording at the hardware's native 48kHz
    os.system('arecord -D hw:0,0 -f S32_LE -r 48000 -c 2 -d 5 raw.wav')
    # Convert to mono for optimal Faster-Whisper processing
    os.system('sox raw.wav mono.wav remix 1')

    # Local transcription
    segments, _ = stt_model.transcribe("mono.wav", language="es")
    prompt = "".join([seg.text for seg in segments]).strip()

    if not prompt:
        print("No se detectó audio inteligible.")
        return

    print(f"Transcripción: {prompt}")

    # 1. Check for fast control commands
    response = commands.check_commands(prompt)

    # 2. If not a command, send to the local LLM
    if response is None:
        response = brain.ask_ai(prompt)

    print(f"Respuesta de KINGER: {response}")

    # 3. Synthesis and physical output to the speaker
    speak.speak(response)

if __name__ == "__main__":
    # KINGER's main operating loop
    while True:
        # MQTT events from the XIAO button interface are integrated here
        run_pipeline()
PCB Design Strategy
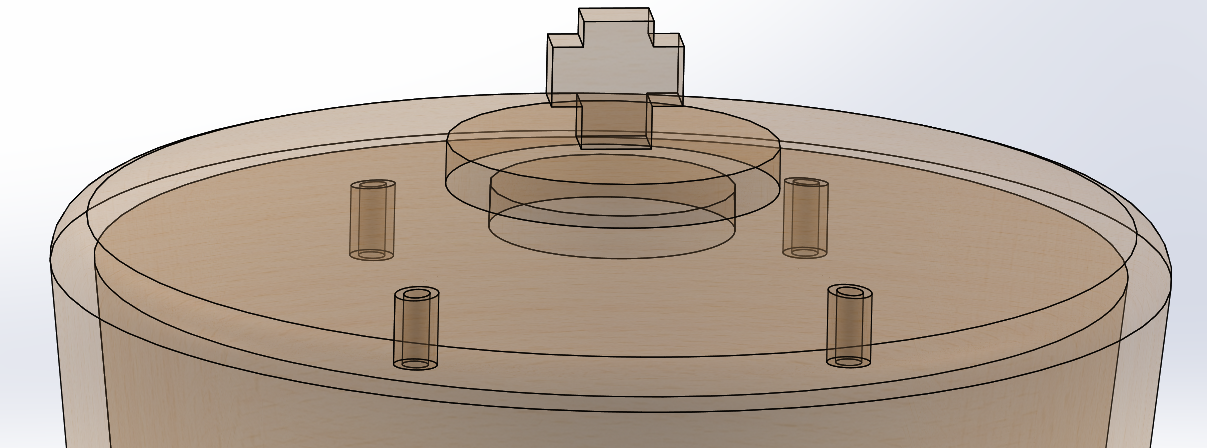
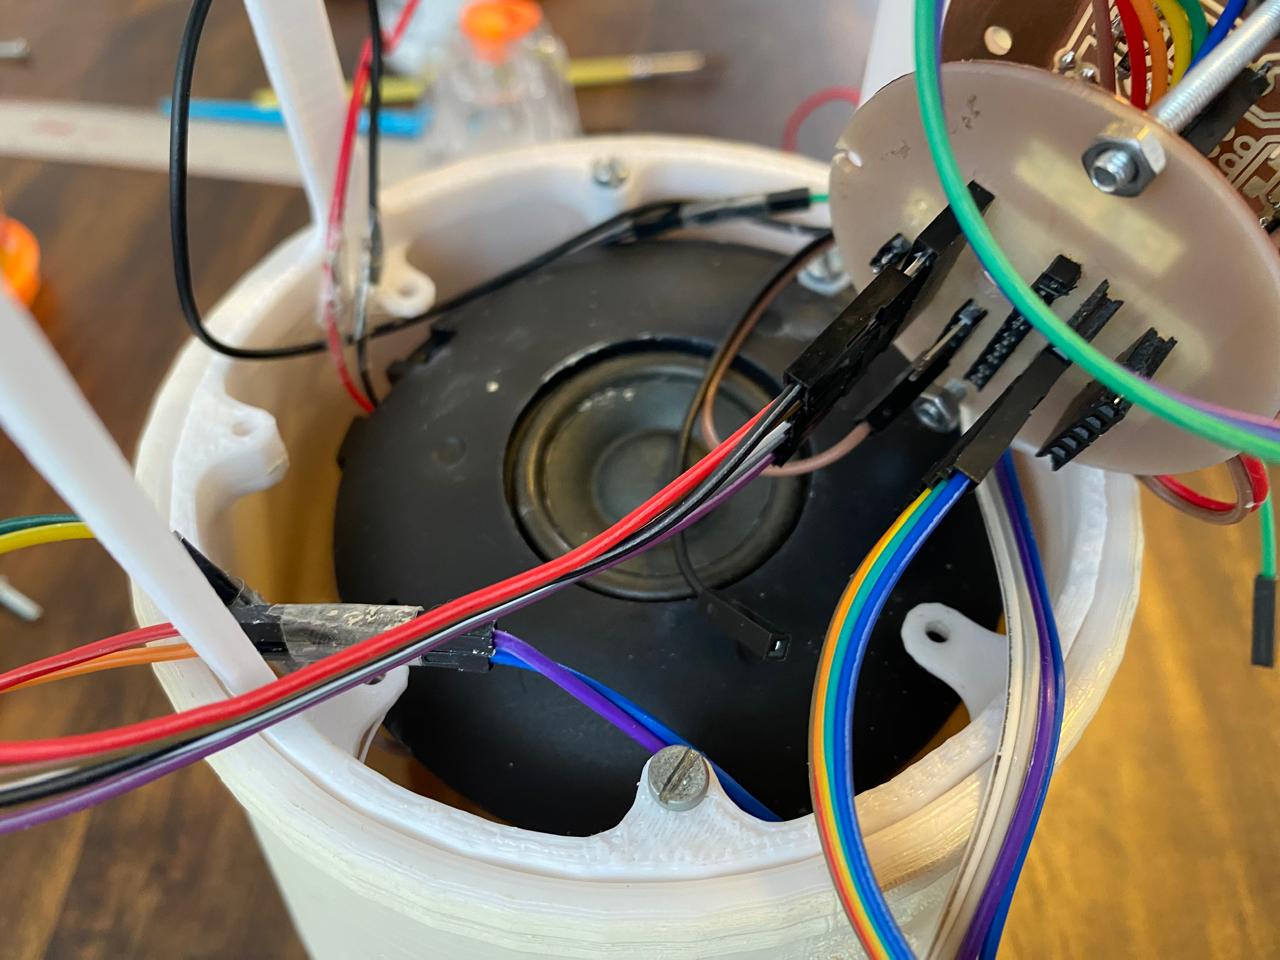
To consolidate KINGER's electronics inside a compact cylindrical chassis, a modular system was structured around the vertical stacking of three independent boards, milled in-house on the SRM-20. The full schematic design, PCB layout, routing decisions, 3D verification, and manufacturing workflow (KiCad → Gerber export → toolpath generation in MODS → MonoFab milling → soldering) are documented in detail on the Week 15 page.
PCB 1 — Raspberry Pi Interface Board
The top board. Connects directly to the Raspberry Pi 5's 40-pin header. Its main purpose is to route the I2S audio bus cleanly between the header and the audio components below, keeping these traces short and isolated from other signal lines.
PCB 2 — Common Distribution Board
The central power board. Centralizes the common ground reference and 5V/3.3V power distribution between PCB 1 and PCB 3, avoiding redundant wiring and reducing the number of separate power connections inside the enclosure.
PCB 3 — XIAO Interface Board
The bottom board. Hosts the XIAO ESP32-C6 module and provides connection points for the NeoPixel ring data line and the physical buttons.
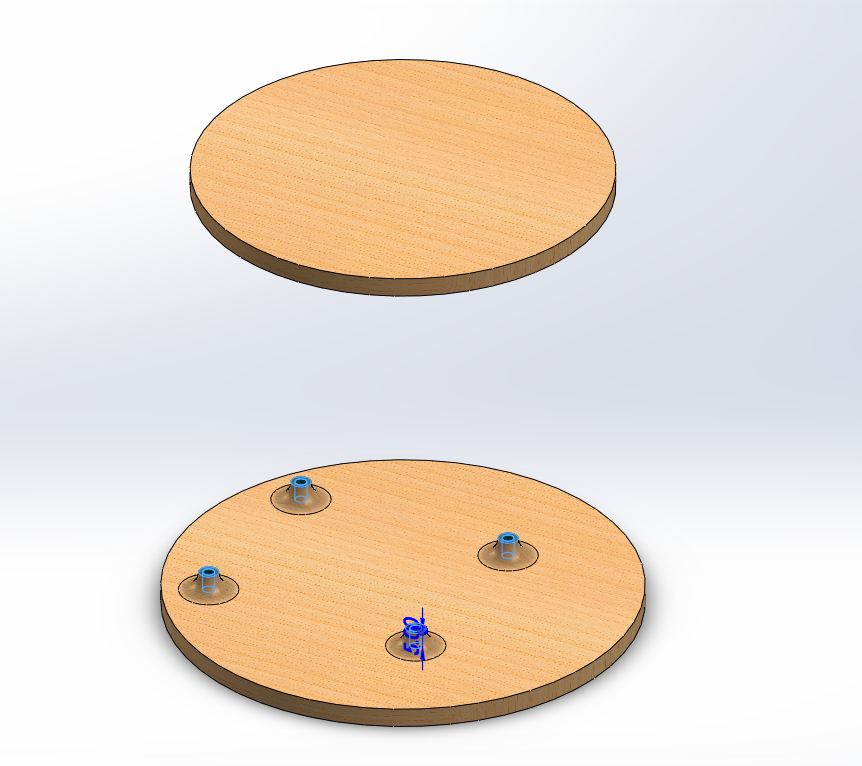
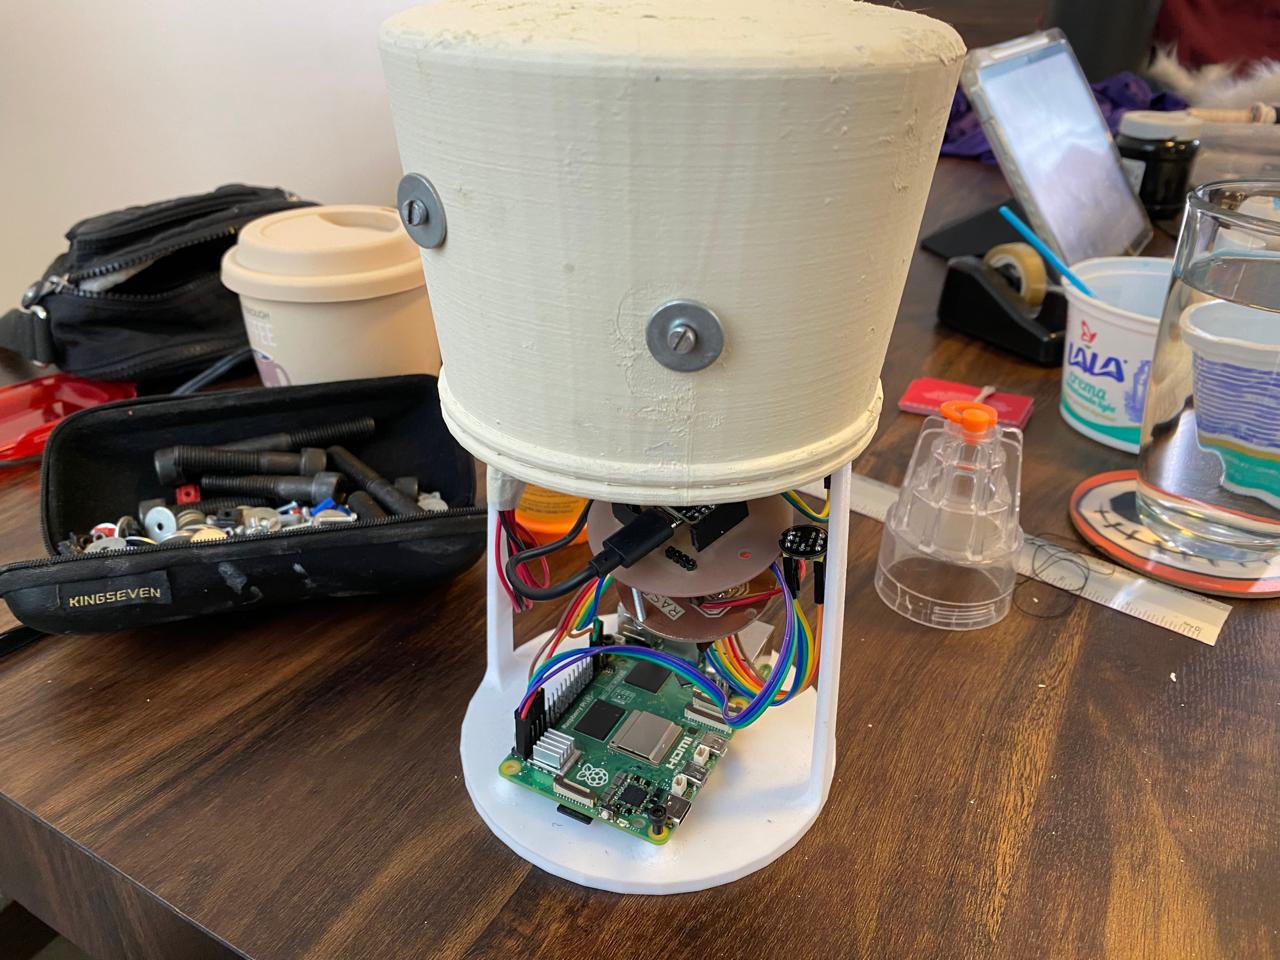
The three boards are assembled as a vertical stack using spacers and screws, reducing the internal volume occupied by the electronics and centralizing all interconnections in a single assembly that can be removed or serviced as a unit.
Initial Testing
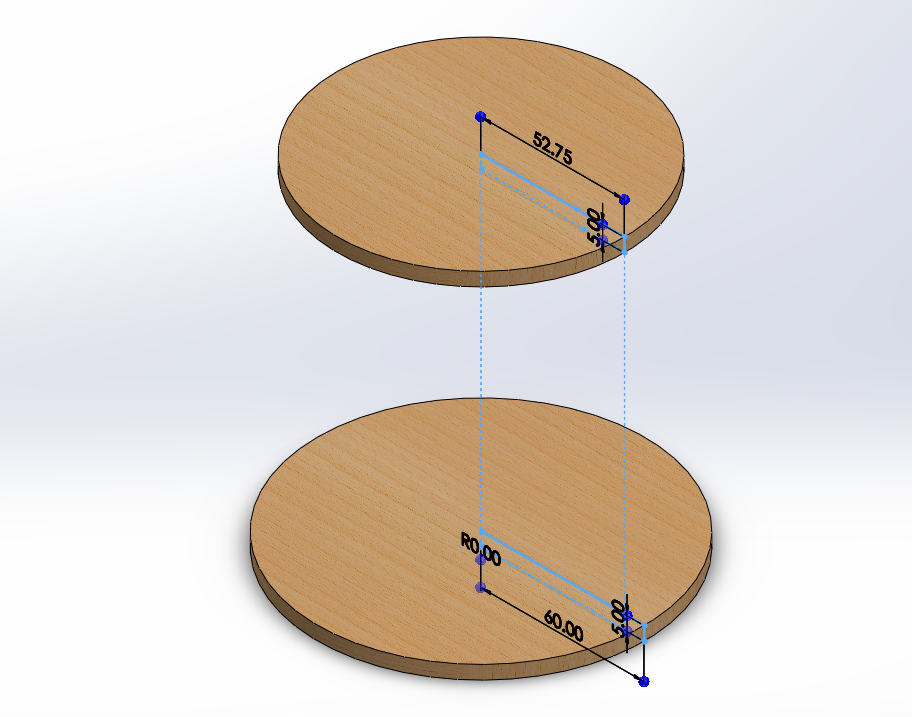
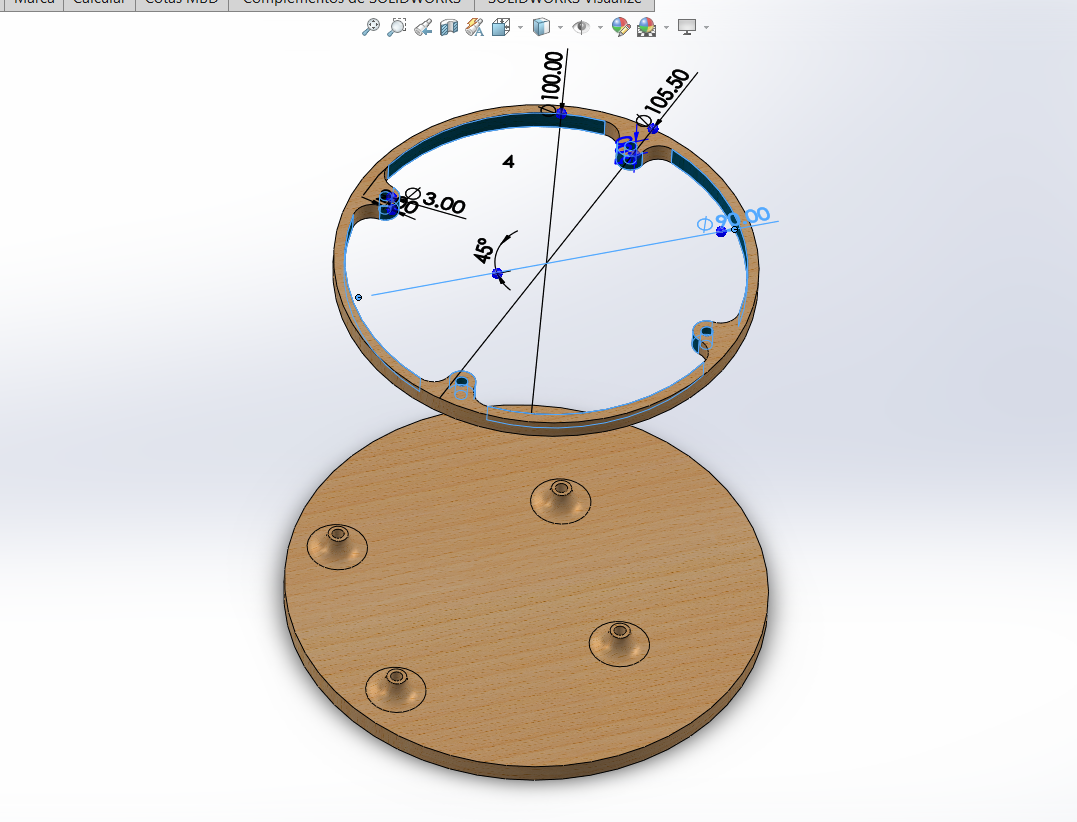
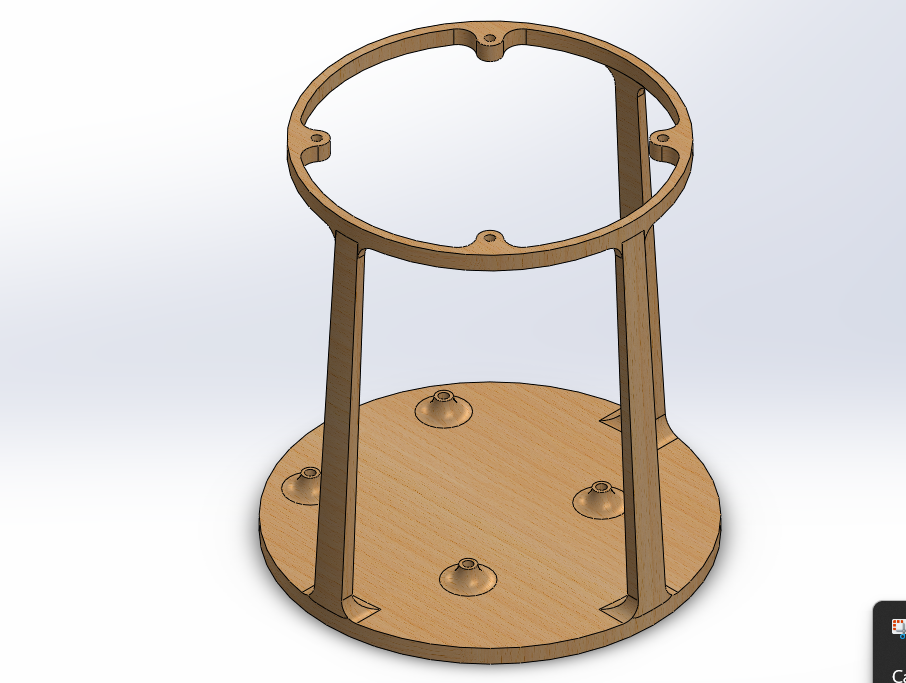
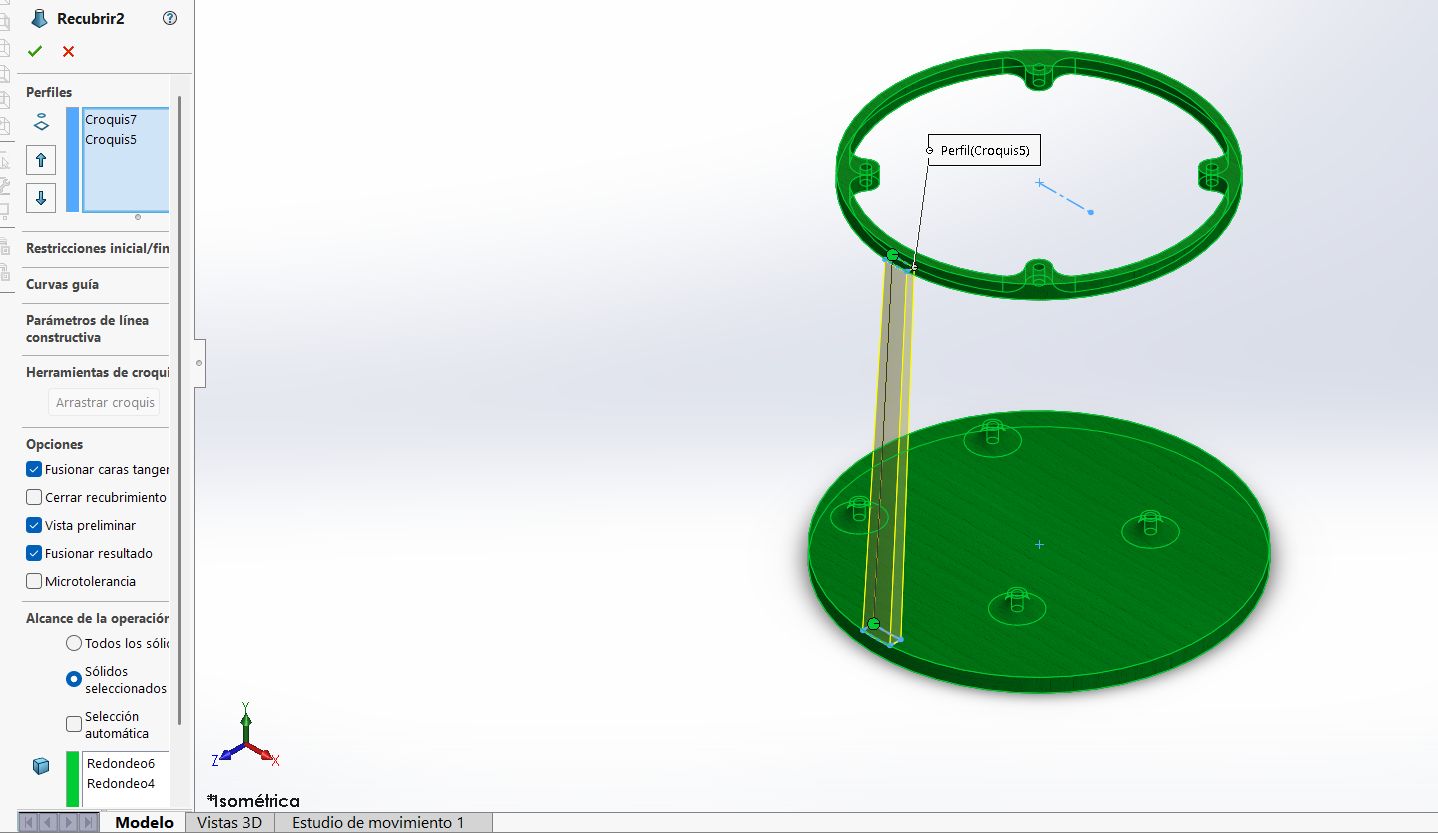
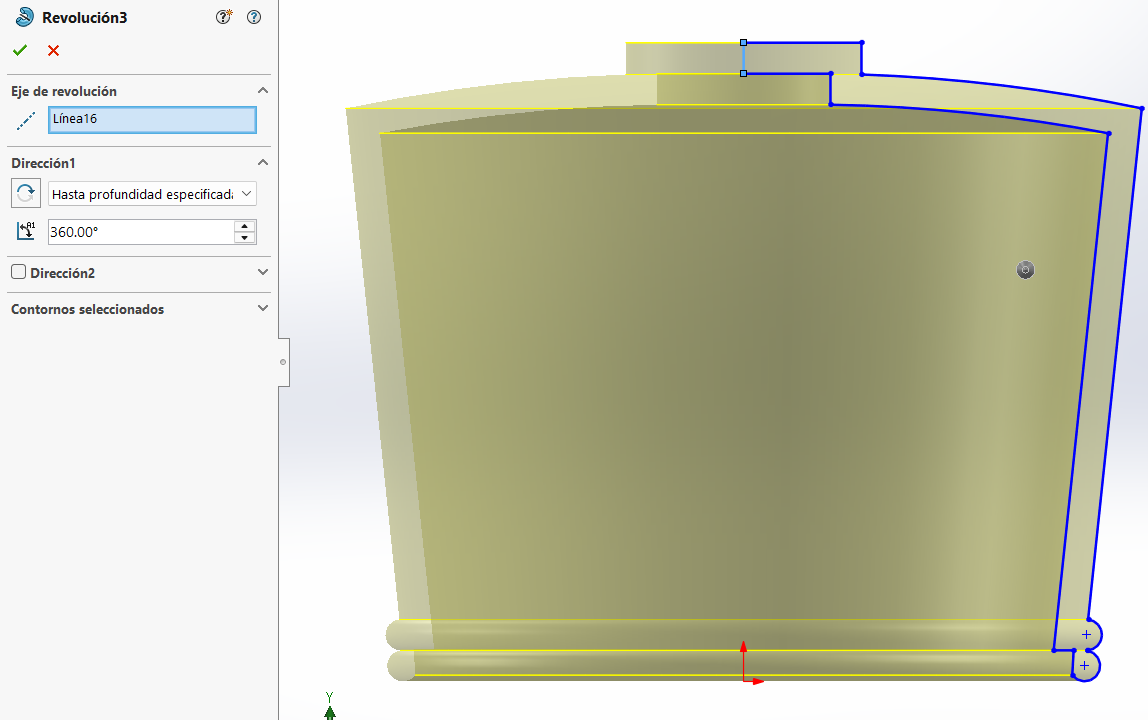
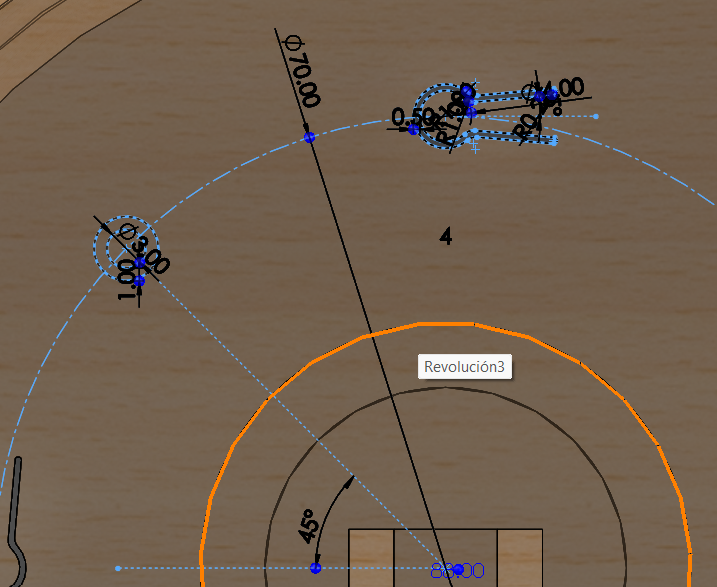
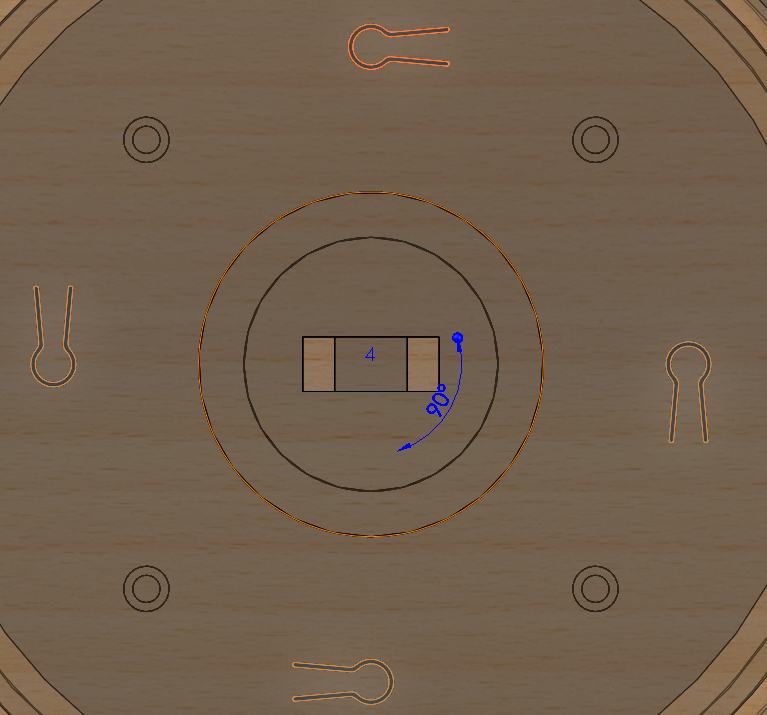
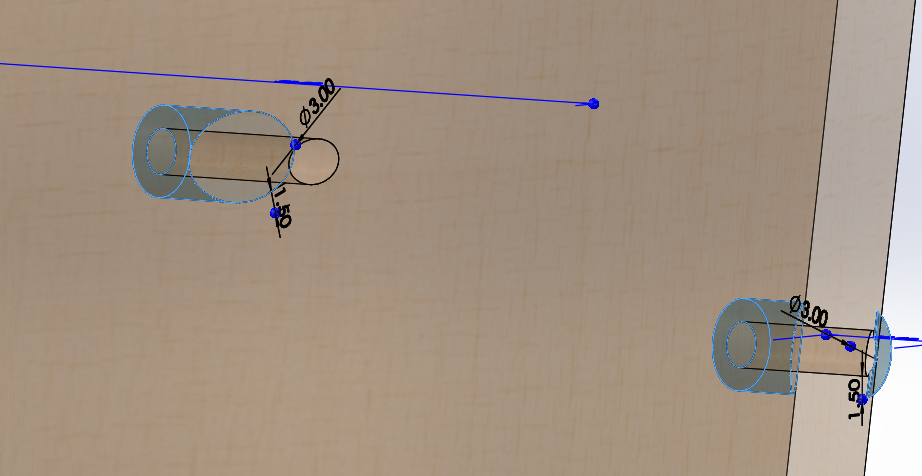
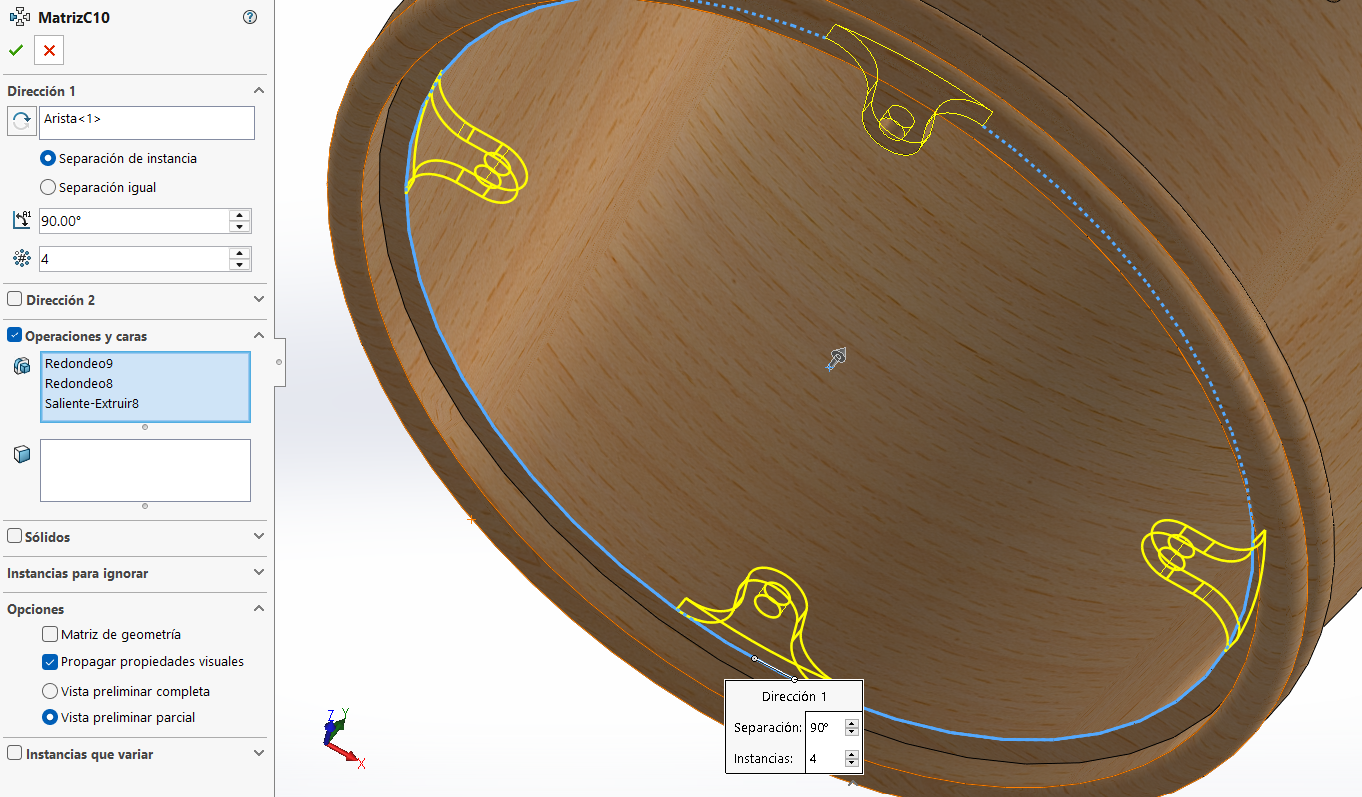
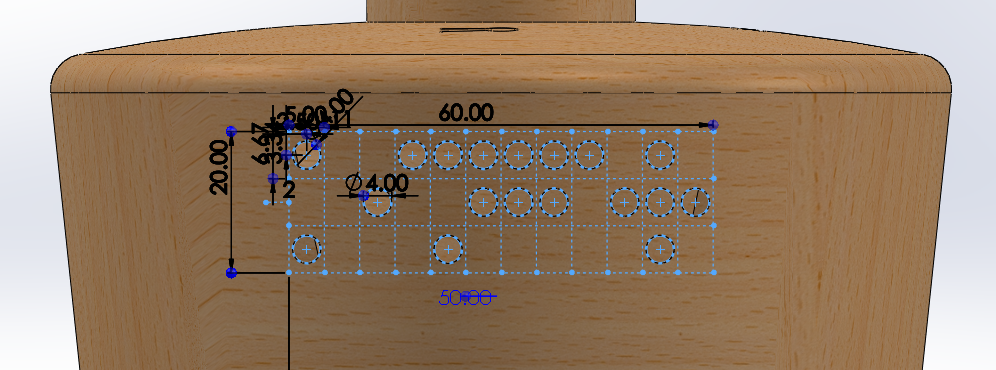
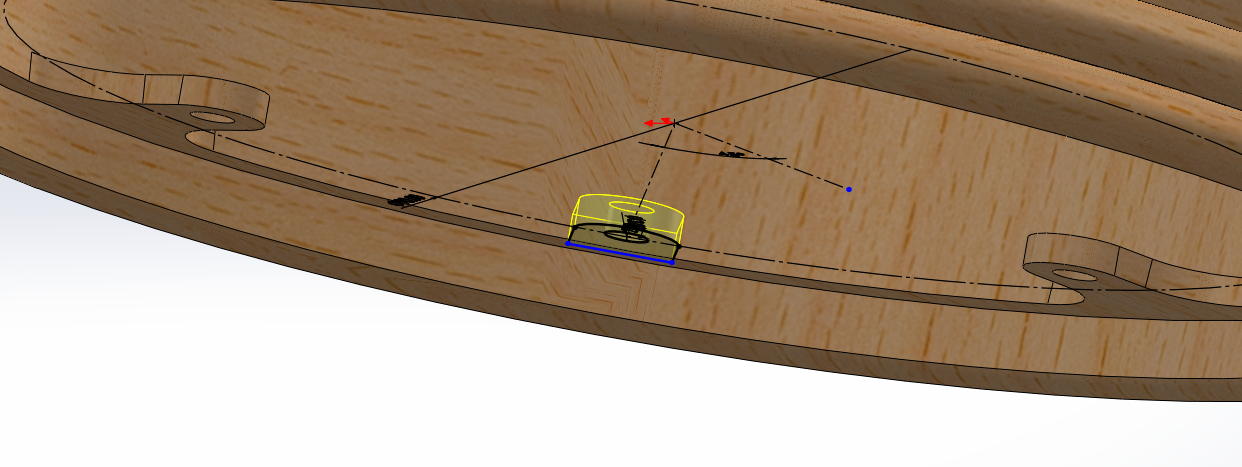
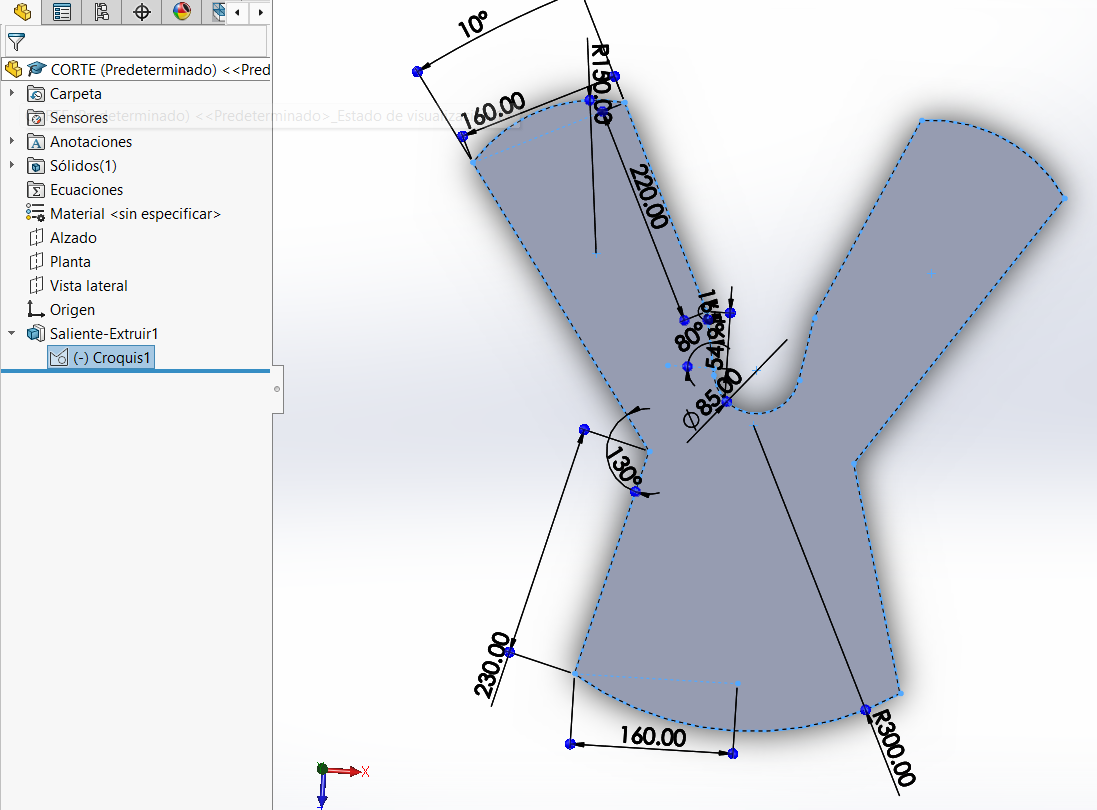
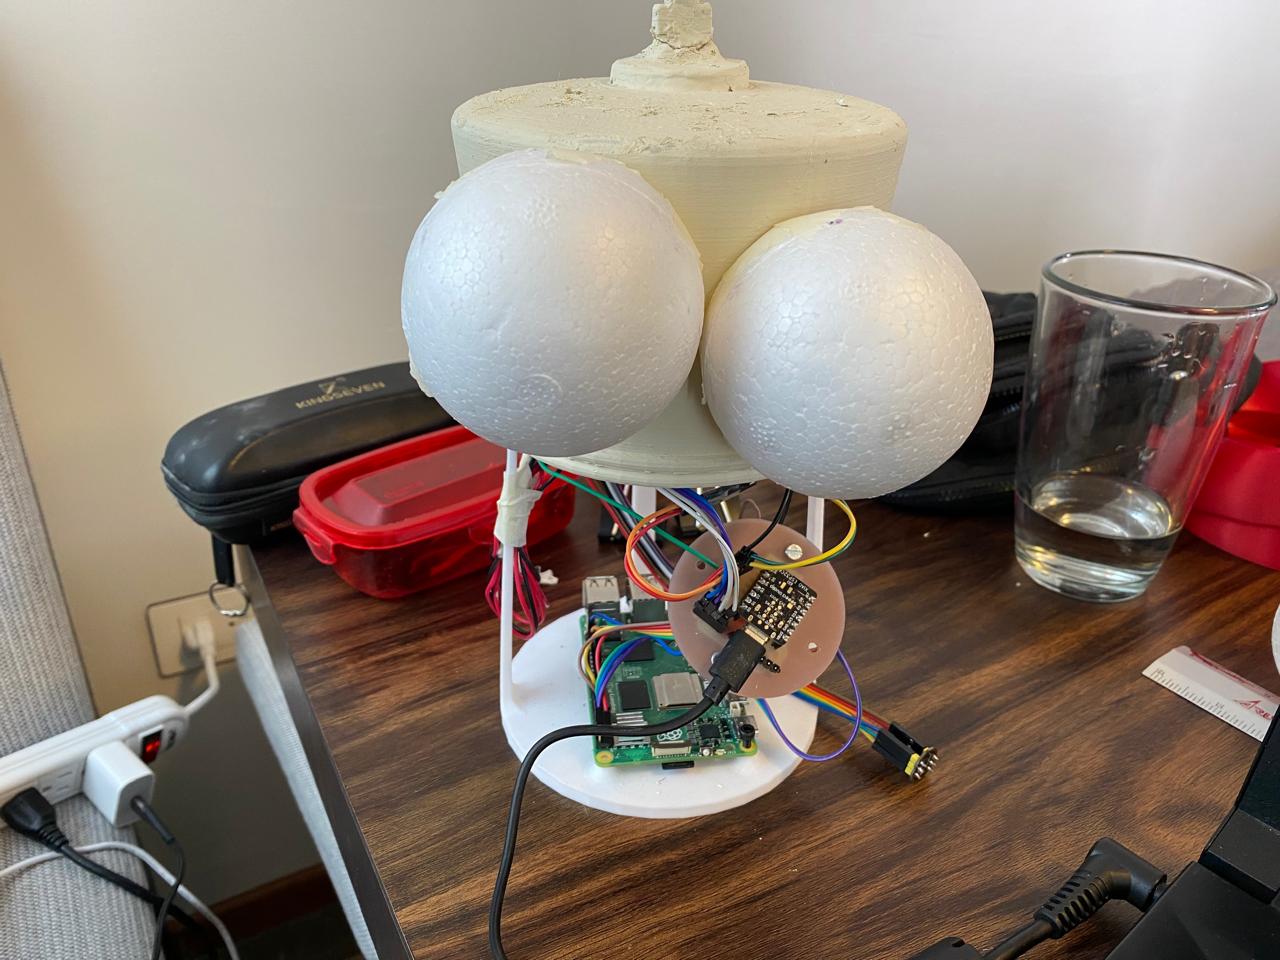
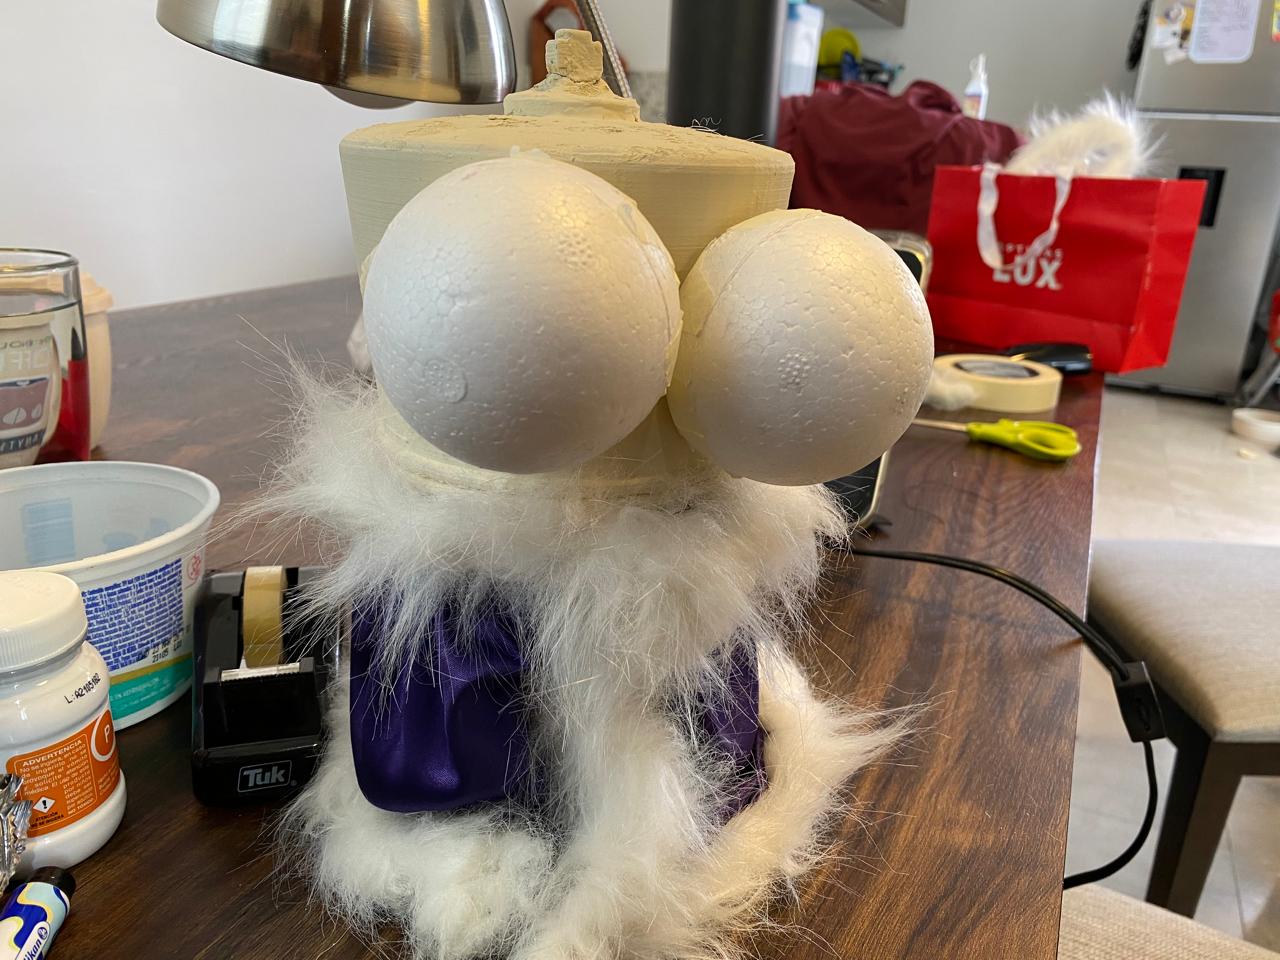
3D Design
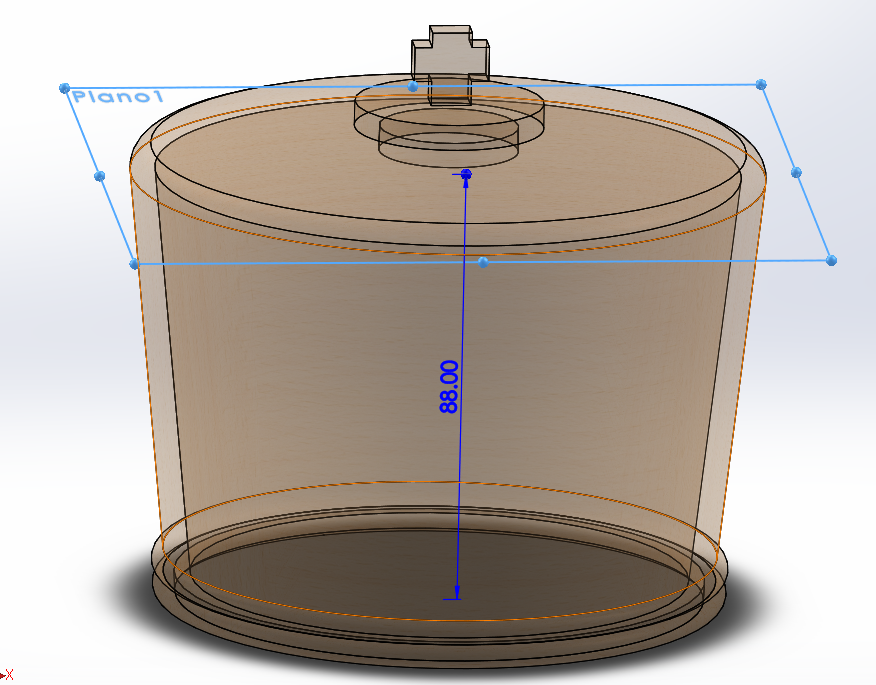
Body Design
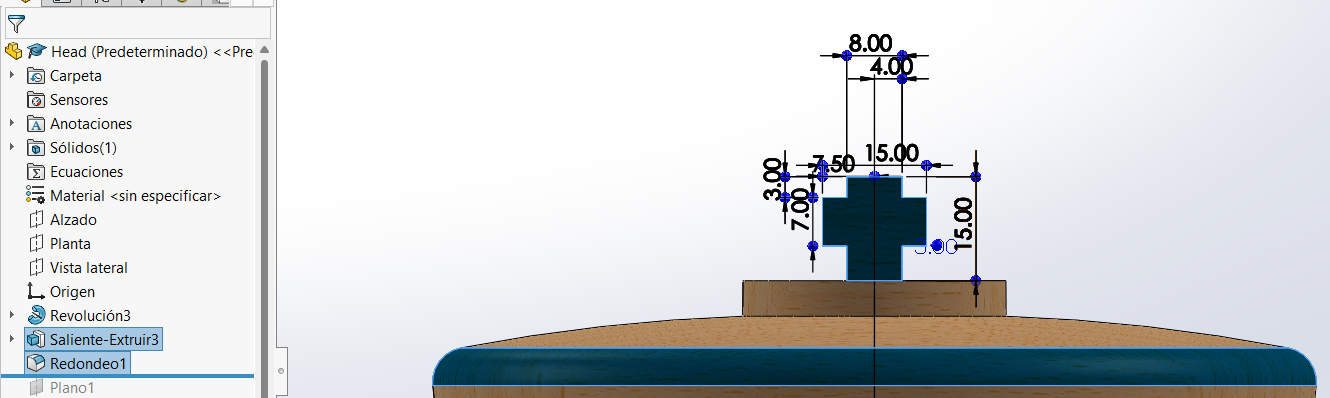
Head Design

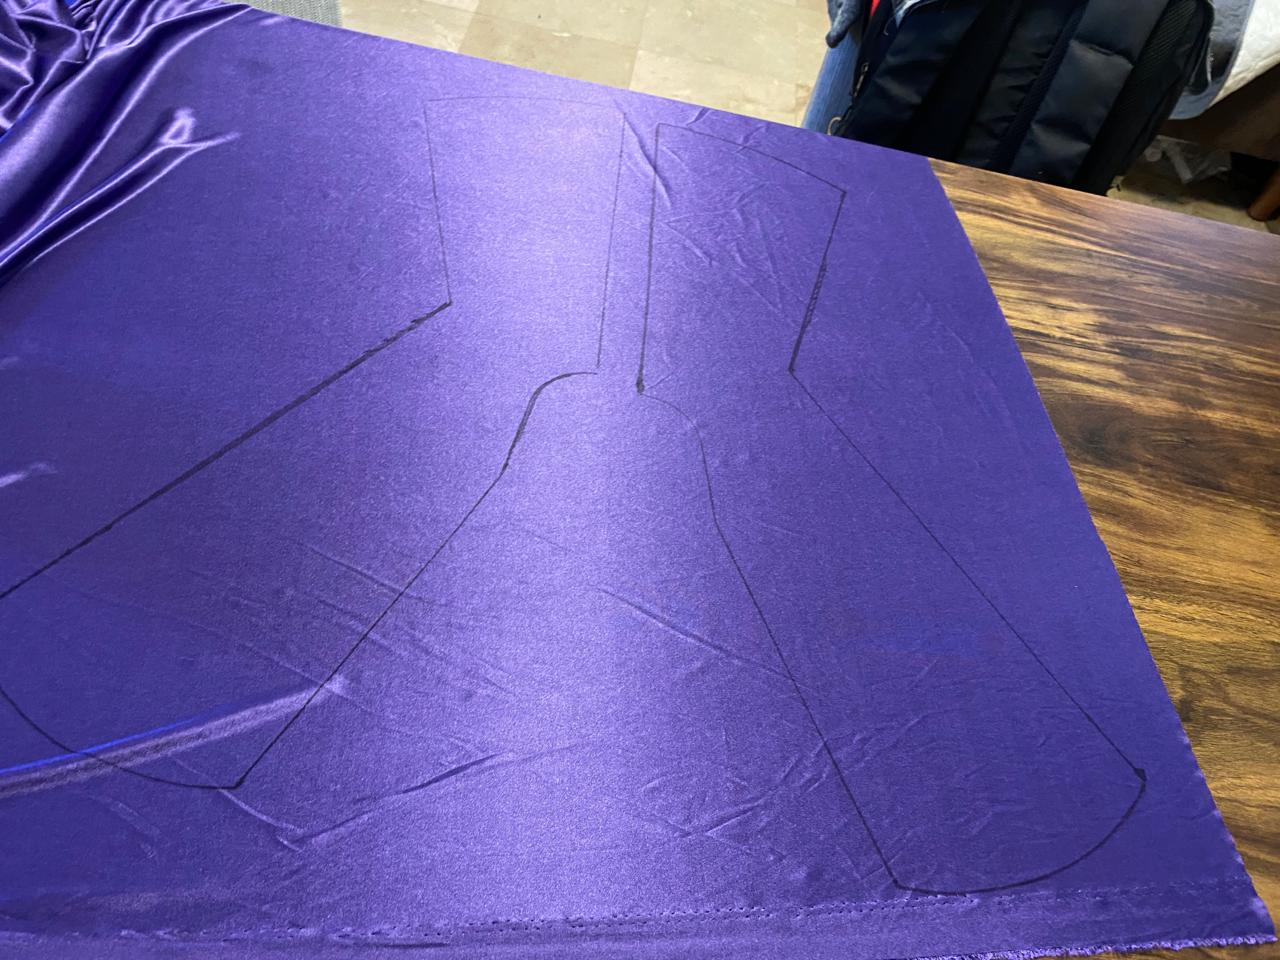
Export
Once the template geometry is complete, save it as .dxf for use with a laser cutter or vinyl plotter.
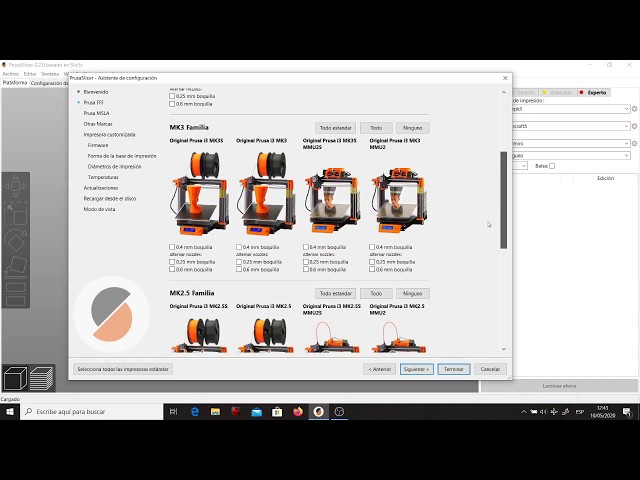
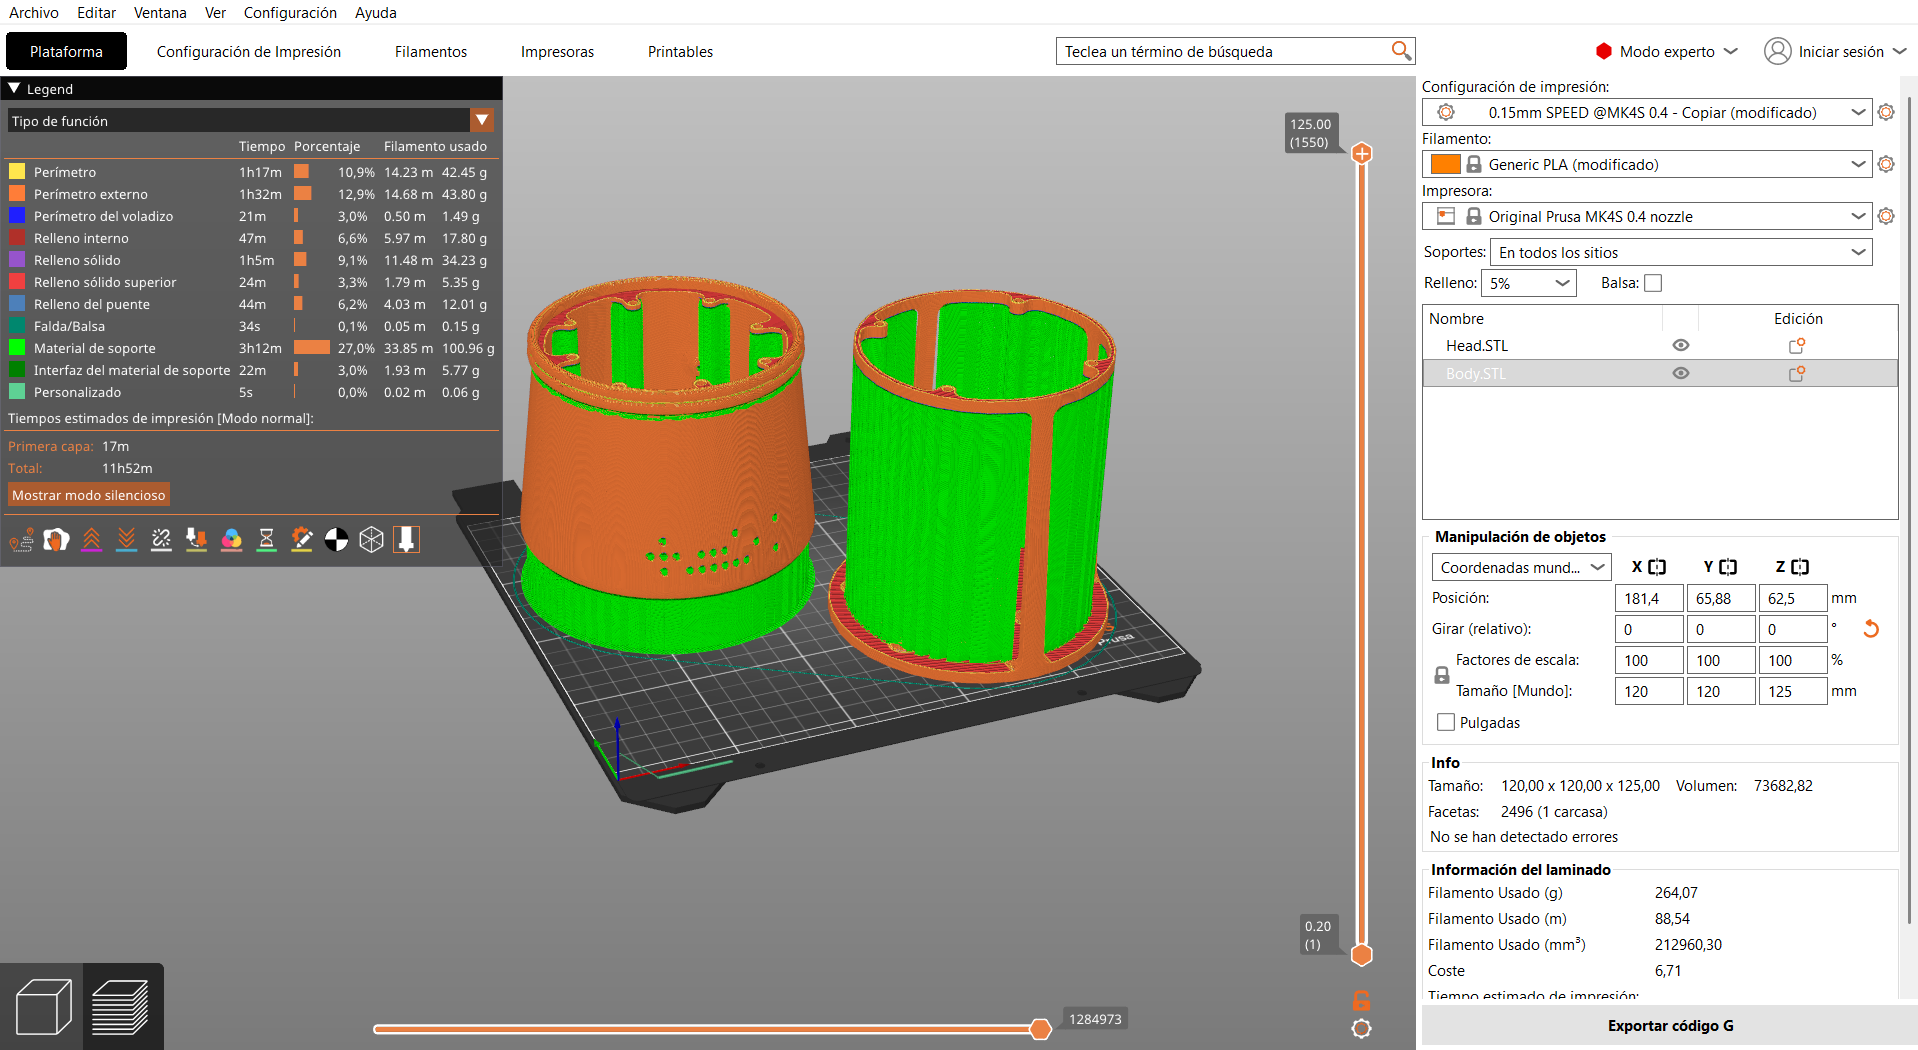
PrusaSlicer
To prepare the 3D models for fabrication, the STL files were processed using PrusaSlicer, the slicing software provided by Prusa Research. This software converts 3D models into machine instructions (G-code) that can be interpreted by the printer.
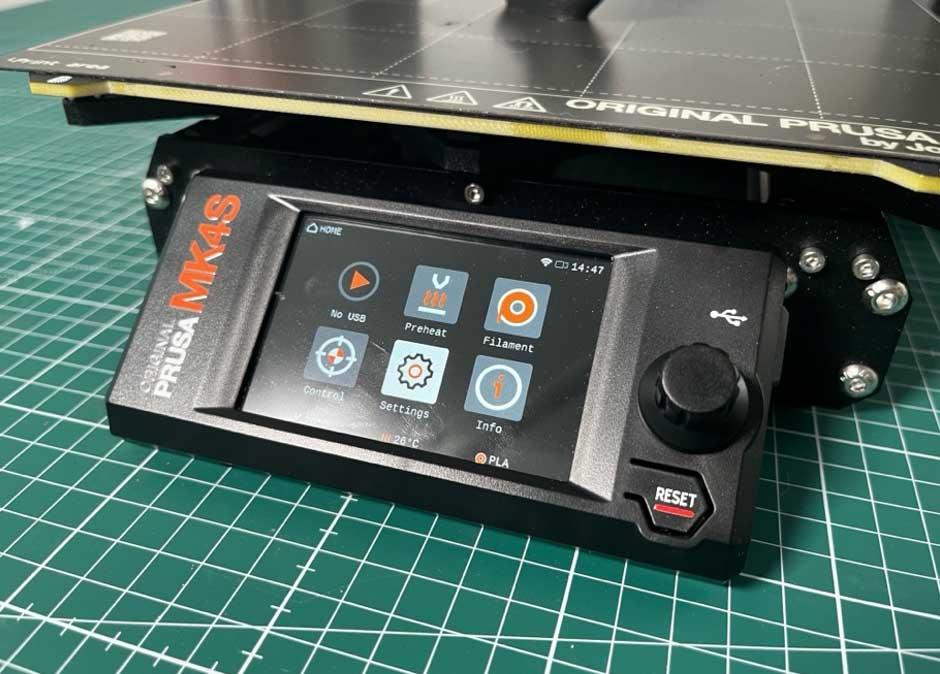
1- Selecting the Printer
Once the application is open, the first step is to select or add a printerIn this project, the Original Prusa MK4S with a 0.4 mm nozzle was used.
To select the printer:
- Navigate to the top toolbar.
- Locate the Printer dropdown menu.
- Select Original Prusa MK4S.
2- Importing the STL File
After setting up the printer:- Click File → Import → Import STL.
- The model will automatically appear on the virtual build plate.
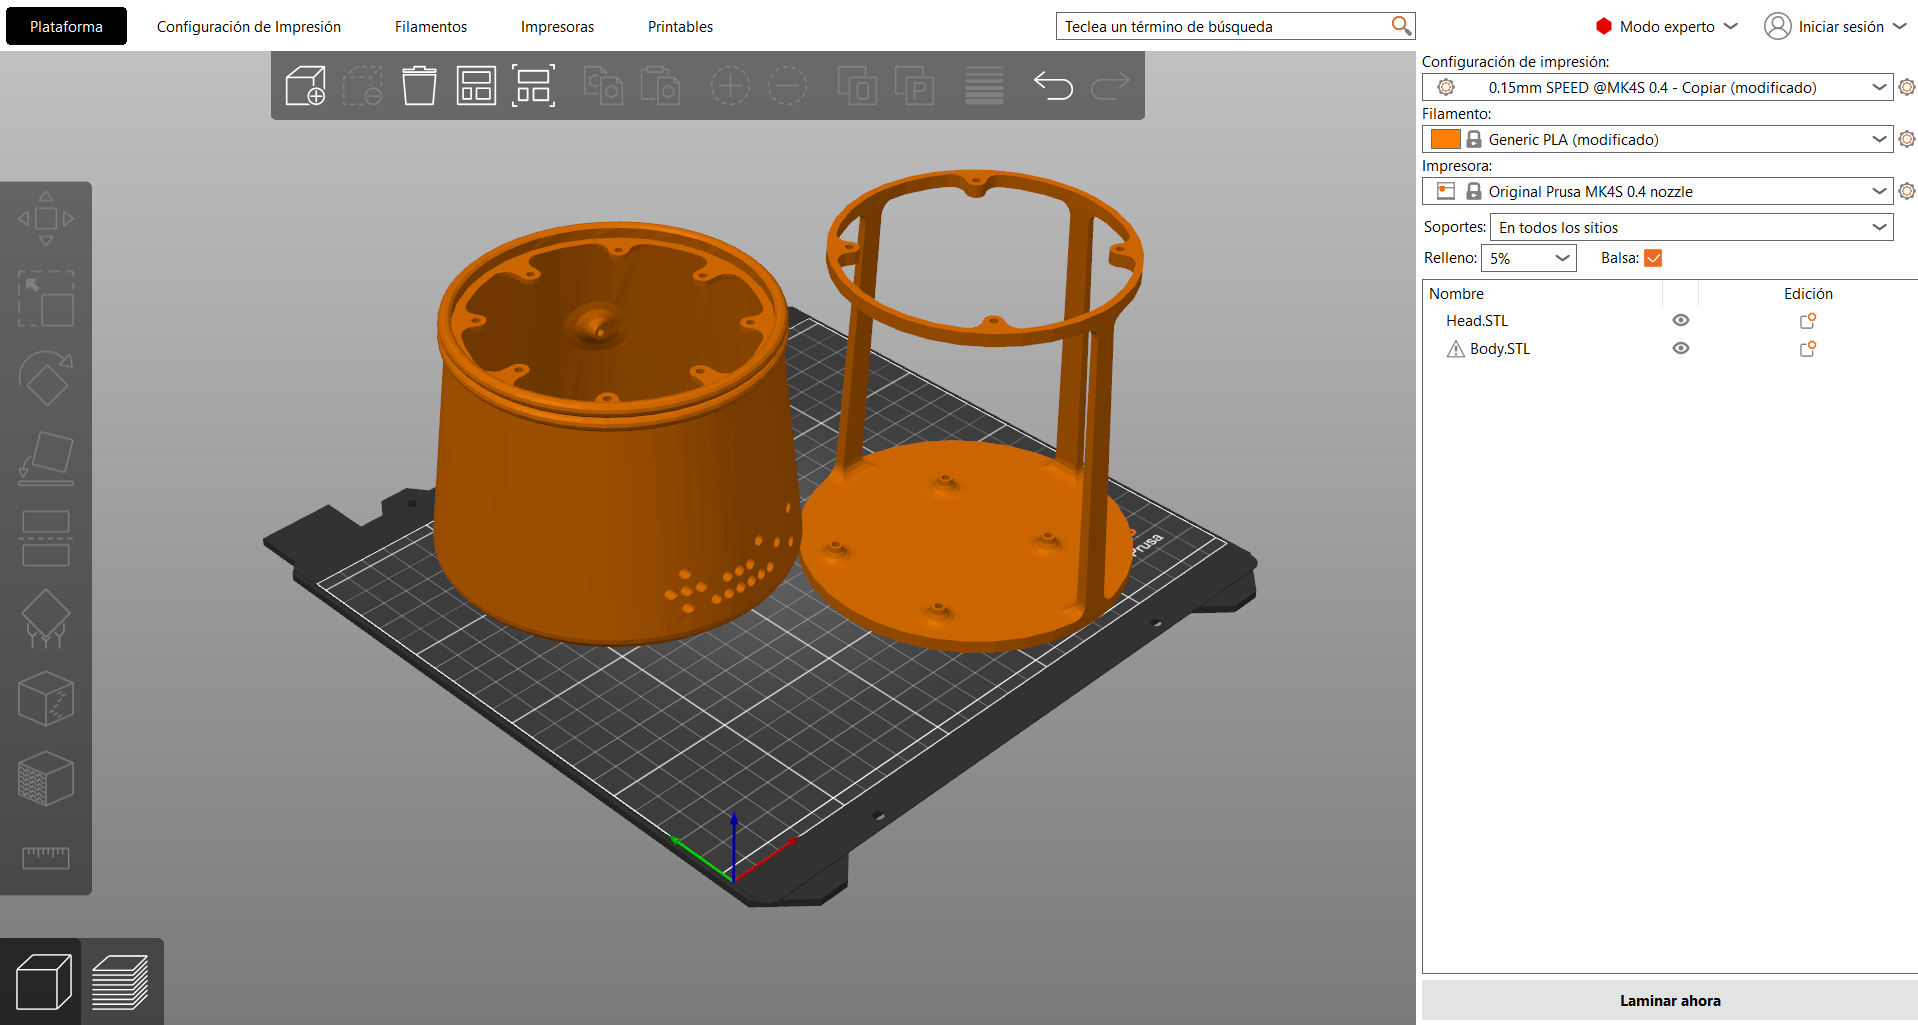
4- Slicing and Preview
Once the parameters are configured:- Click the Slice Now button.
- PrusaSlicer generates the toolpath and calculates:
The preview allows verification of:
- Layer distribution.
- Support structures.
- Infill patterns.
- Potential printing issues.
- Estimated print duration.

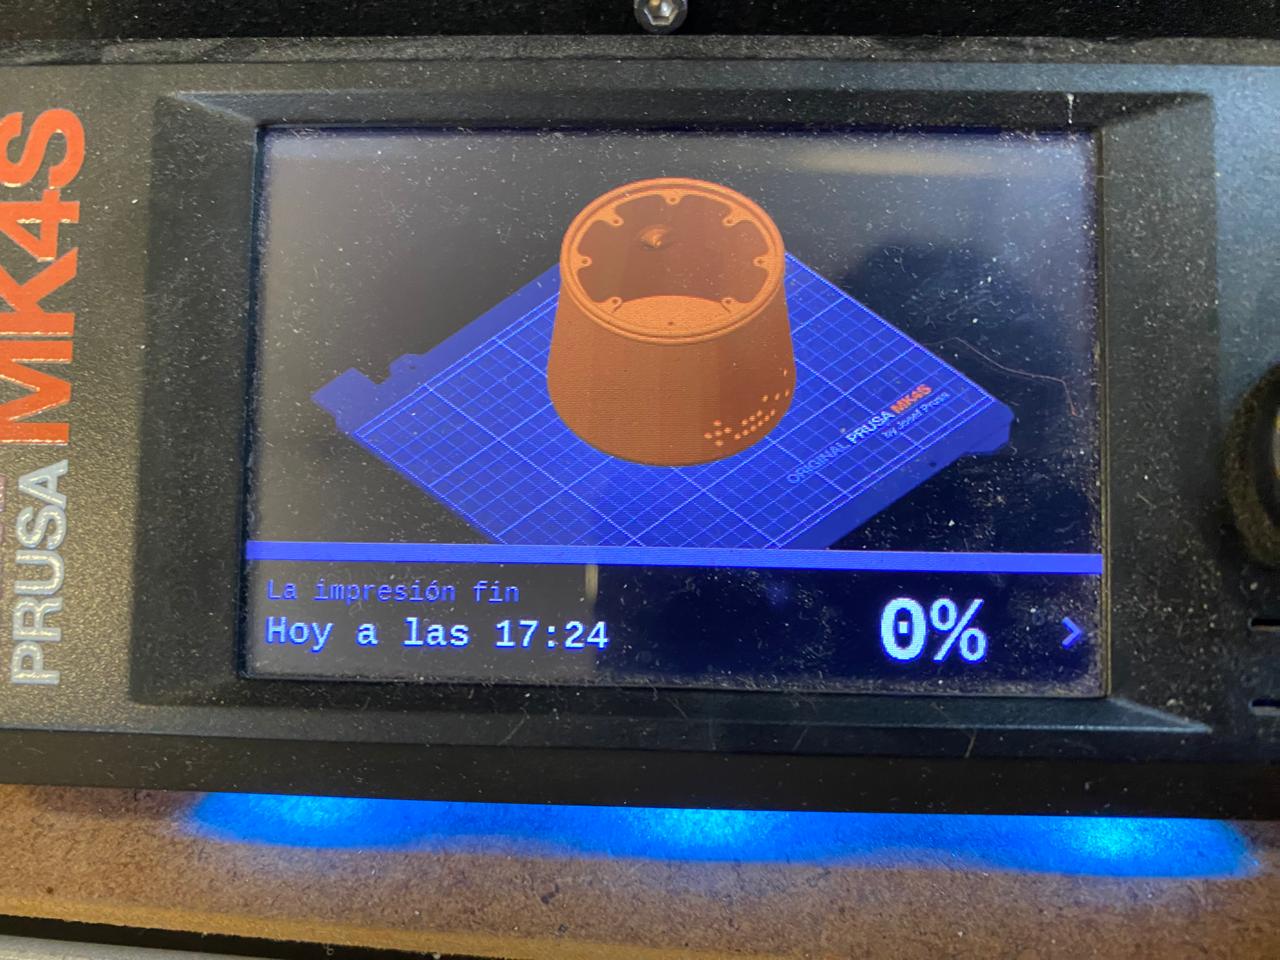
Loading the G-code
After generating the G-code file:- Save the file to the USB drive provided with the printer.
- Safely eject the USB drive from the computer.
- Insert the USB drive into the USB port of the MK4S.

Template
Export
Once the template geometry is complete, save it as .dxf for use with a laser cutter or vinyl plotter.
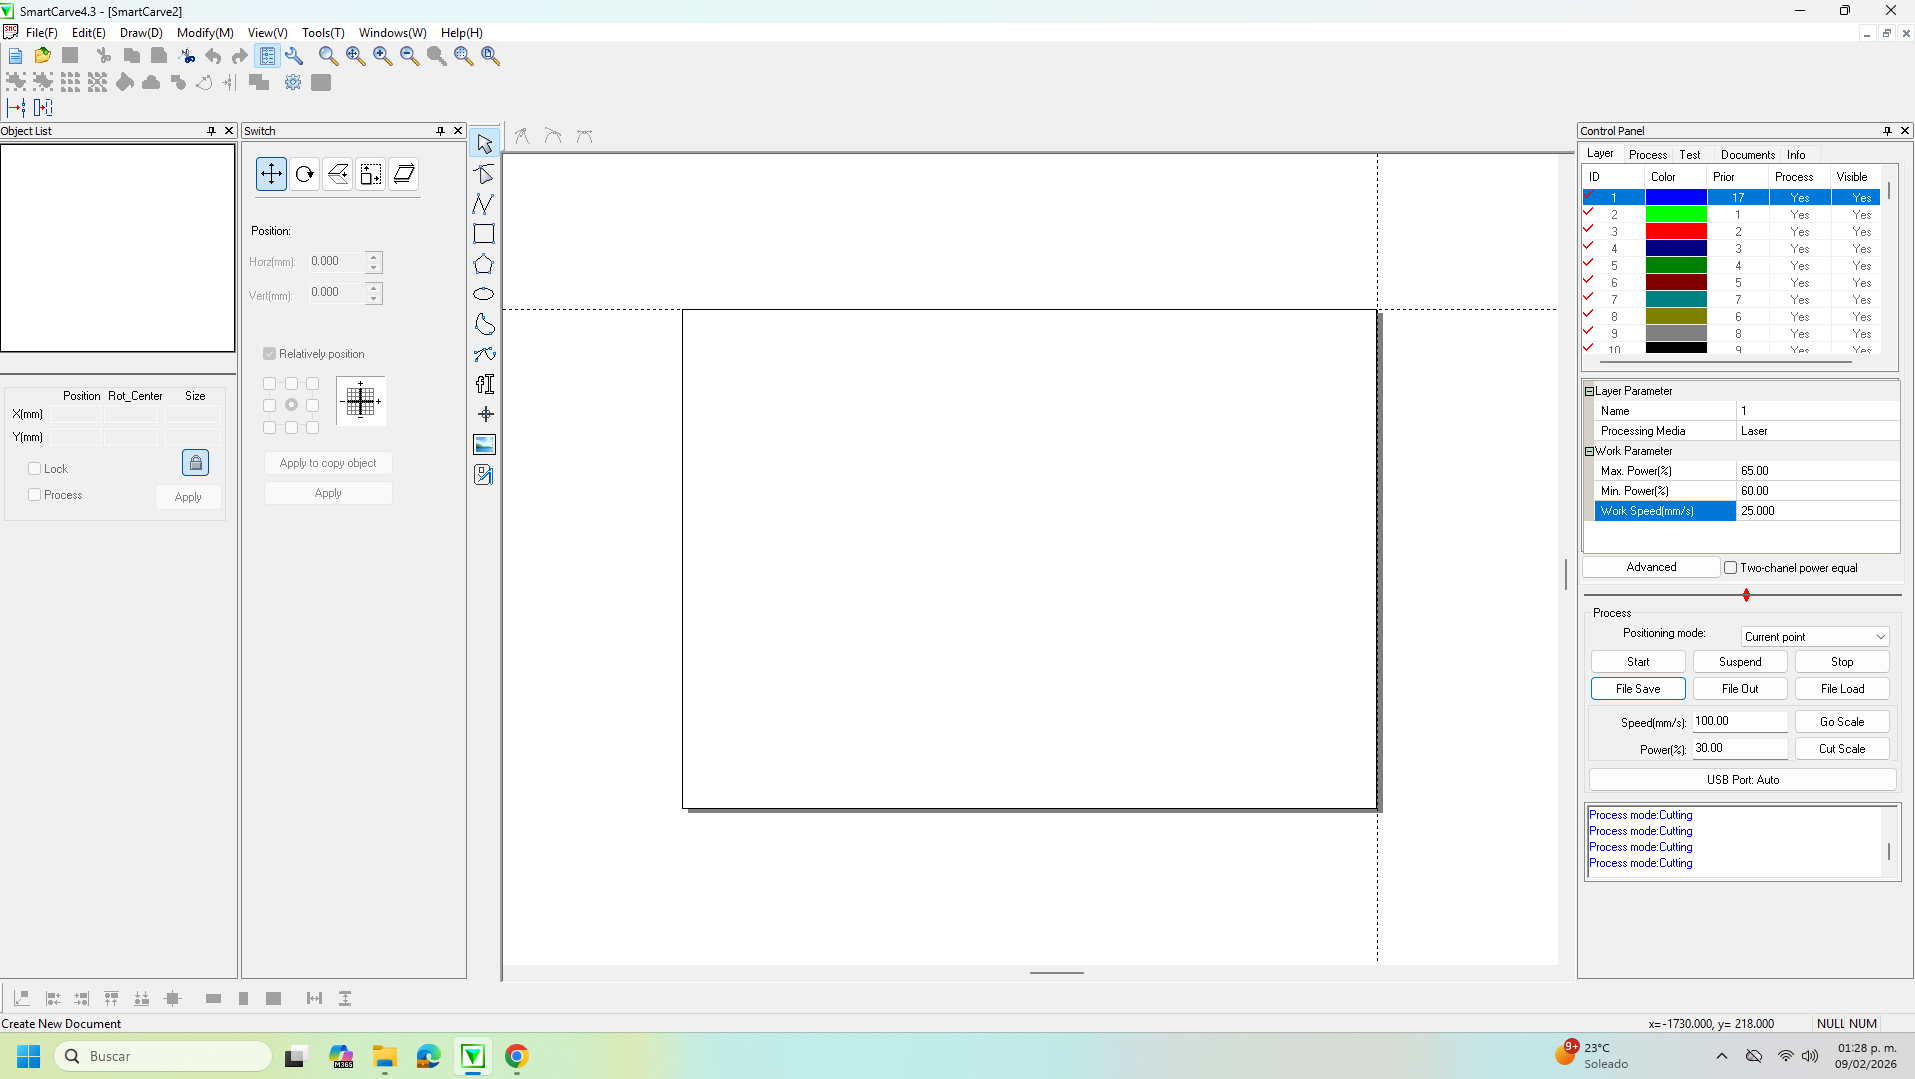
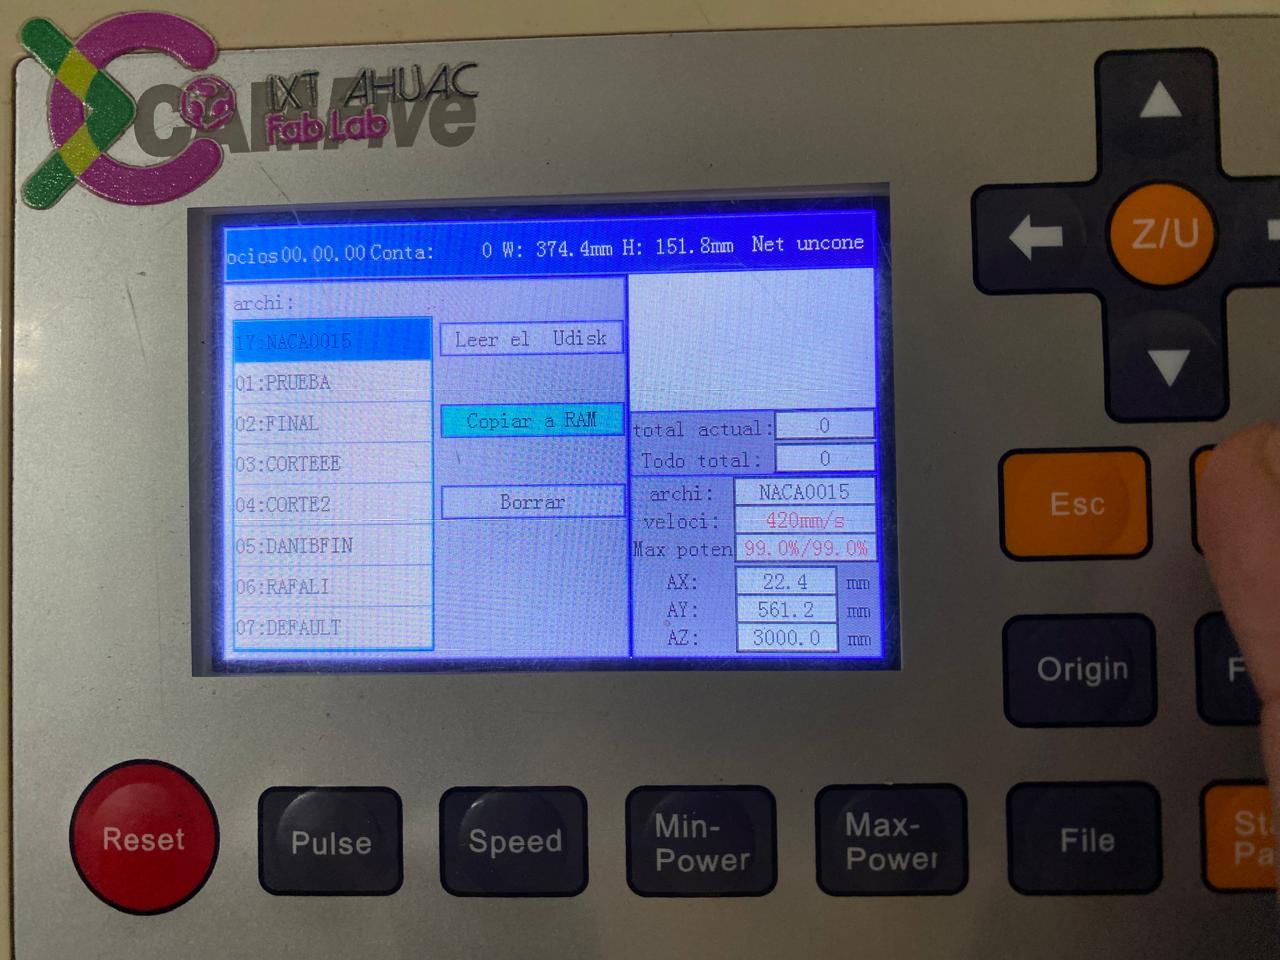
On the left side of the interface there is a tool panel that provides object manipulation functions such as move, rotate, scale, align, and arrange. These tools are used to position parts efficiently on the work area and optimize material usage before machining.
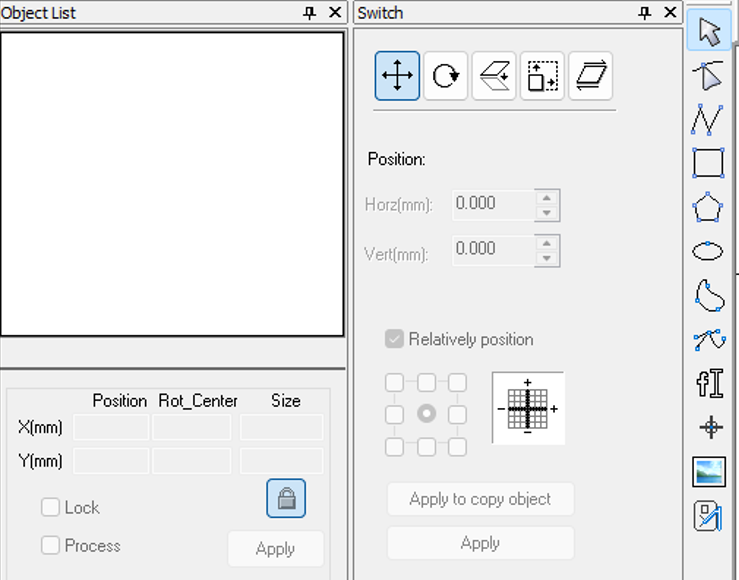
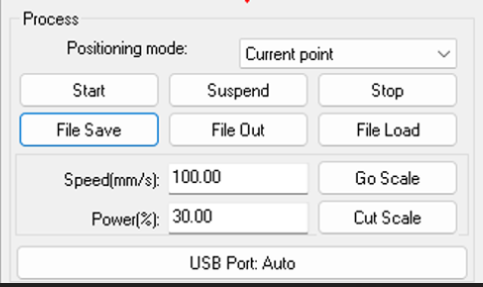
On the right side, the layer manager and process parameter controls are located. Each layer can be assigned independent machining settings such as laser power, speed, and operation type (cut, engrave, mark). This allows you to process different features of the same design with different parameters. Below this section is a process menu, where you can export files for the slicer or even manipulate them directly.

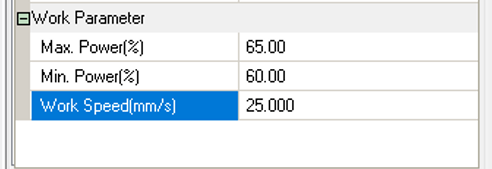
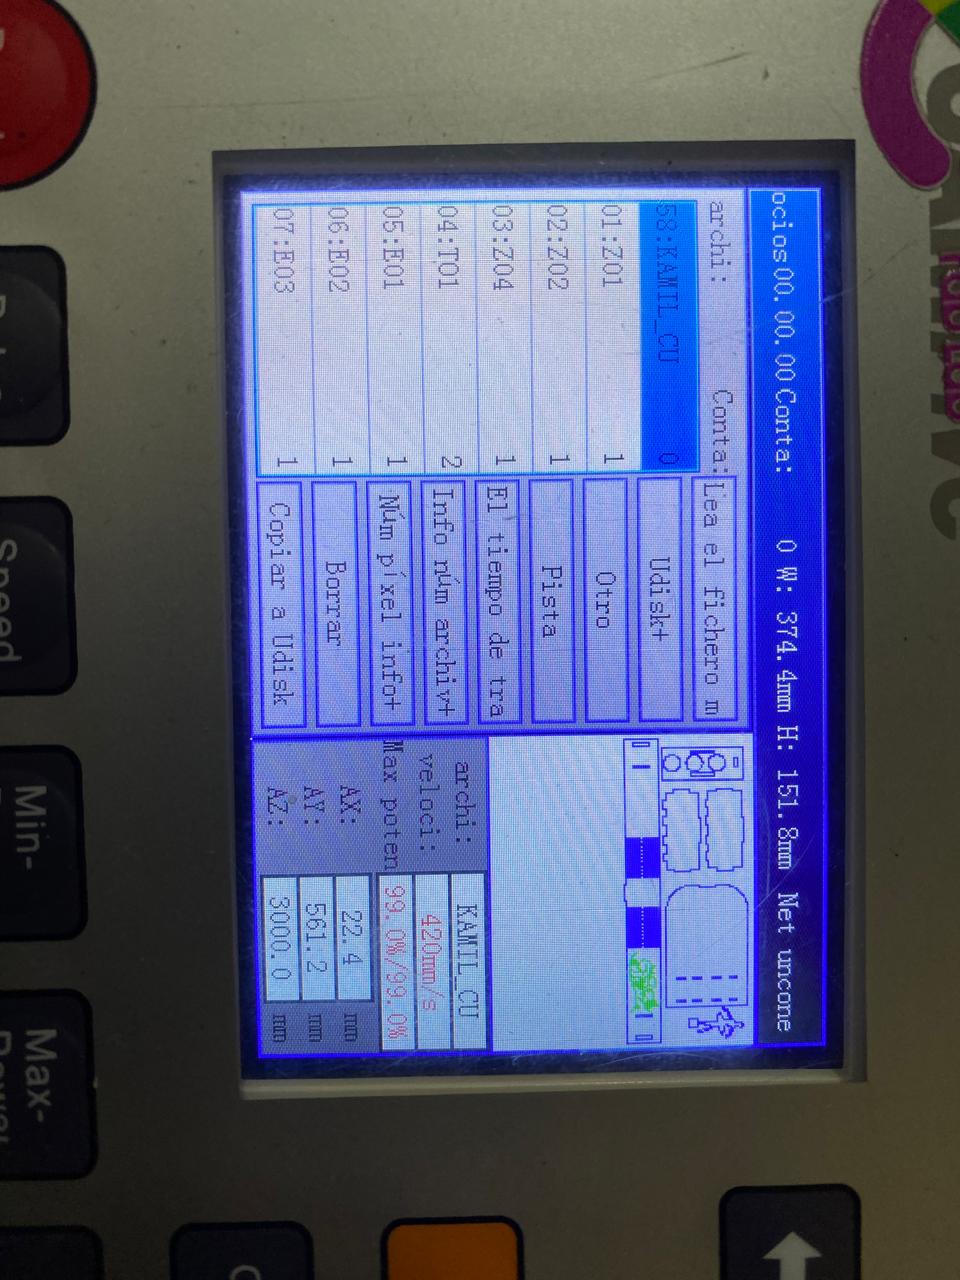
Based on previous group tests and calibration runs, the parameters selected for this working configuration are:


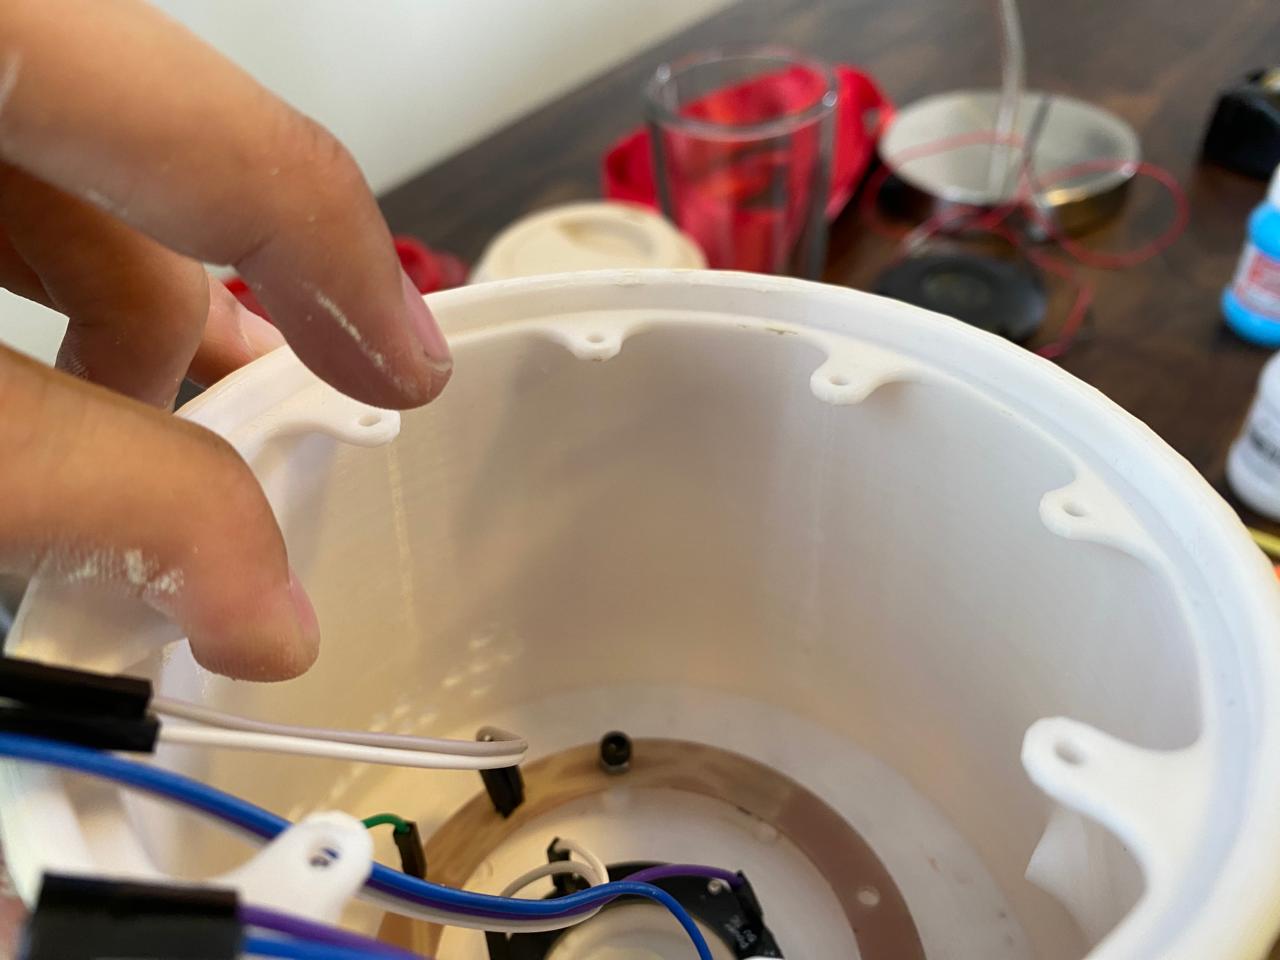
Final Integrated System
After completing the enclosure and confirming that the AI pipeline was operating correctly with Faster-Whisper for speech recognition and Piper for speech synthesis, a decision was made to replace the original voice. Since the final Fab Academy presentation required a voice that more closely matched the character from the series, a voice model based on Kinger was selected from Fish Audio.
The objective was to preserve the existing architecture while replacing only the speech synthesis stage. The new voice model was integrated into the response pipeline so that every answer generated by the language model would be spoken using the custom Kinger voice instead of the default Piper voice.
fish_tts.py (Fish Audio Voice Synthesis Module)
This module sends the generated response to Fish Audio, downloads the synthesized speech, and automatically plays it through KINGER's speaker system.
from fish_audio_sdk import Session
from fish_audio_sdk import TTSRequest
import tempfile
import subprocess

API_KEY = "YOUR_API_KEY"

session = Session(API_KEY)

VOICE_ID = "KINGER_VOICE_ID"

def speak(text):

    with tempfile.NamedTemporaryFile(
        suffix=".mp3",
        delete=False
    ) as f:

        audio_path = f.name

    with open(audio_path, "wb") as file:

        for chunk in session.tts(
            TTSRequest(
                text=text,
                reference_id=VOICE_ID
            )
        ):
            file.write(chunk)

    subprocess.run([
        "ffplay",
        "-nodisp",
        "-autoexit",
        audio_path
    ])
main.py Modification
The original Piper call is replaced with the Fish Audio synthesis function while preserving the rest of the processing pipeline.
# Original

import speak

...

speak.speak(response)

# New version

from fish_tts import speak

...

speak(response)
This modification significantly improved character consistency during demonstrations by providing a voice that more closely resembled the original Kinger personality while preserving the local speech recognition and AI processing architecture developed throughout the project.
KINGER is a locally operated physical AI assistant capable of listening to voice commands through its I2S microphone array, executing local actions through commands.py, generating contextual AI responses through Ollama and Qwen 2.5 3B when no direct command applies, and speaking the result through Piper and the MAX98357A amplifier. A WiFi/MQTT communication layer connects the Raspberry Pi to the XIAO ESP32-C6, which provides visual feedback through a 16-pixel NeoPixel ring and reads physical button input for volume and mode control. All of these subsystems — electronics, software, and the 3D printed mechanical enclosure — are integrated into a single standalone desktop product.