
Personal and Group Assignment
This week's personal assignment was to design, document and 3D print an object, as well as 3D scan an object.
Group Assignment
Here's also the link to our group assignment of this week.
What is Additive Manufacturing?
It is a much more complex and in-depth industrial manufacturing process, including the entire print workflow. It encompasses multiple processes, while 3D printing refers to only a small part of the process. These operations involve more than creating 3D models, which can include: Modeling (CAD drawings).
How does it work?
To create an object using additive manufacturing, you must first create a design. This is usually done using computer aided design, or CAD software, or by taking a scan of the object you want to print. Software then translates the design into a layer by layer framework for the additive manufacturing machine to follow. This is sent to the 3D printer, which begins creating the object immediately.
Types of 3D Printers
It works by melting a plastic filament (PLA, ABS, PETG) through a heated nozzle to build parts layer by layer.
It uses a light source to cure liquid resin into hardened plastic in a process called photopolymerization.
A powder bed fusion technology that uses a high-power laser to fuse small particles of plastic powder into solid structures.
What was used for this task?

Designing your 3D Model — Articulated
First, we need to design our 3D model.
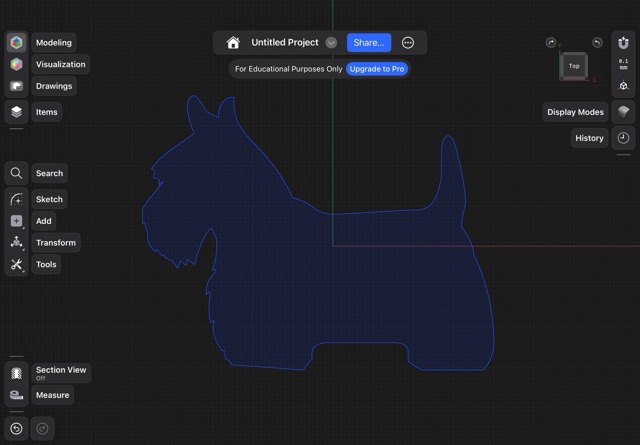
01. Sketch
First, we need to make our sketch in CAD.

02. Extrude
Then, we need to extrude it.
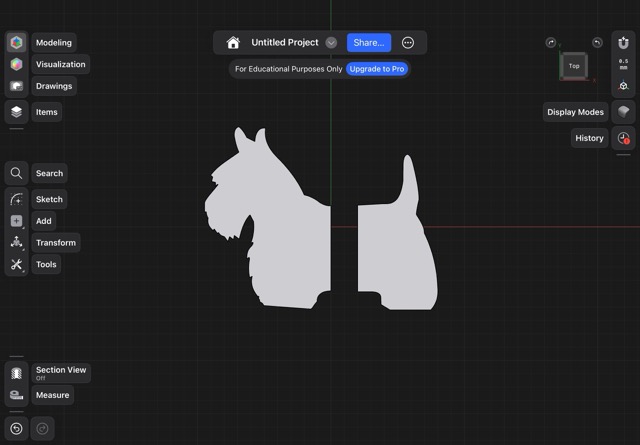
03. Dividing
Now, you need to divide the piece in as many parts that you want.
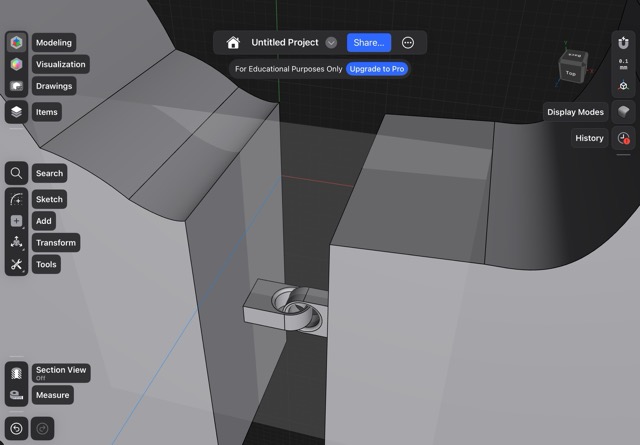
04. Adding connections
After that, you have to add the pieces that will be joining.
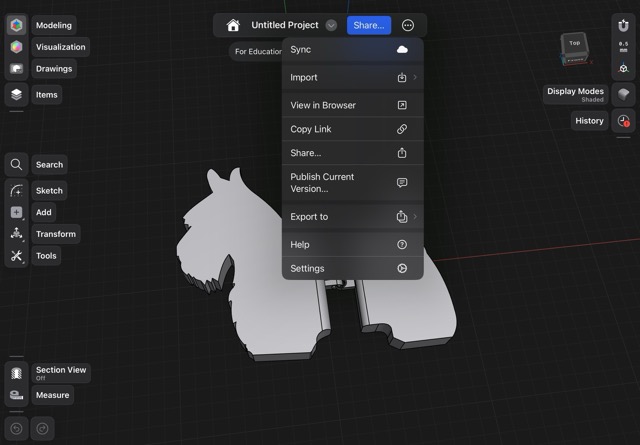
05. Export
To be able to print it, you need to export it as a STL file, so the printer can read it.
Designing your 3D Model — Solid
First, we need to design our 3D model for printing.
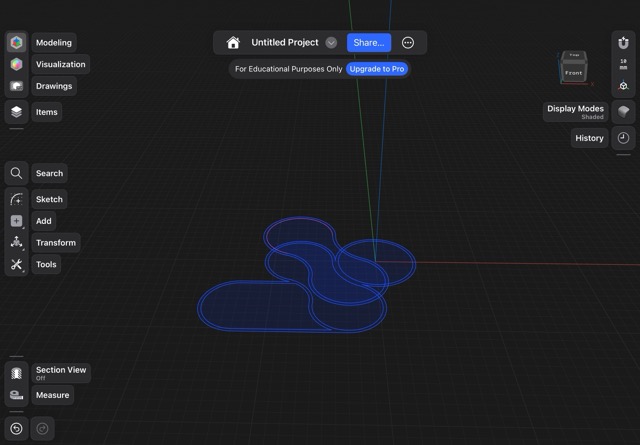
01. Sketch
First, we need to make our sketch in CAD, here I used Shapr3D.
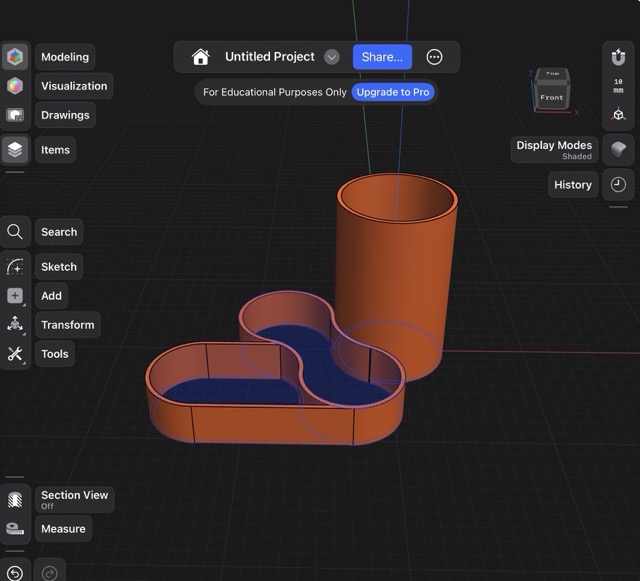
02. Extrude
Then, we need to extrude it.
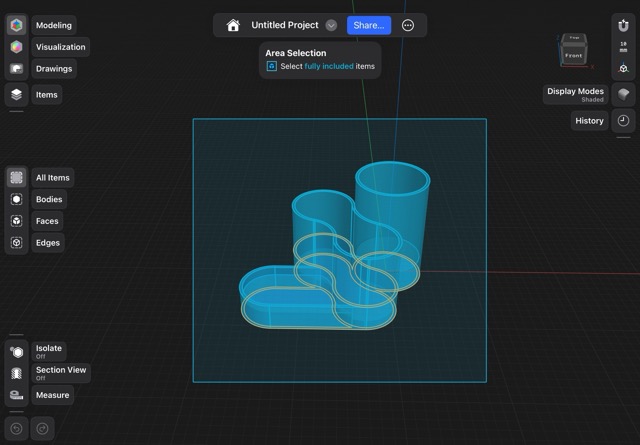
03. Unifying
As we extruded in different heights, we need to unify the whole piece to make sure it prints as one piece.
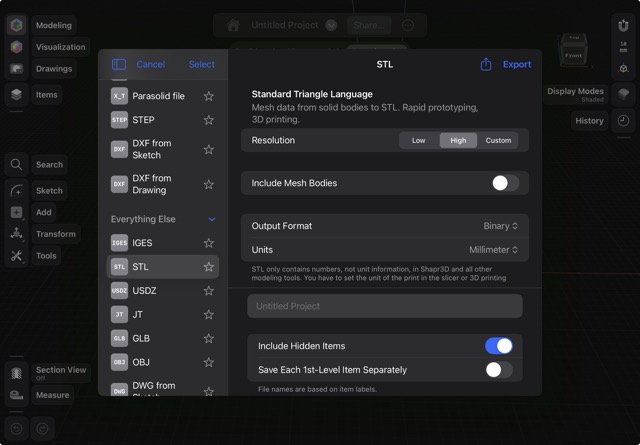
04. Export
To be able to print it, you need to export it as a STL file, so the printer can read it.
3D Printing Slicer Process
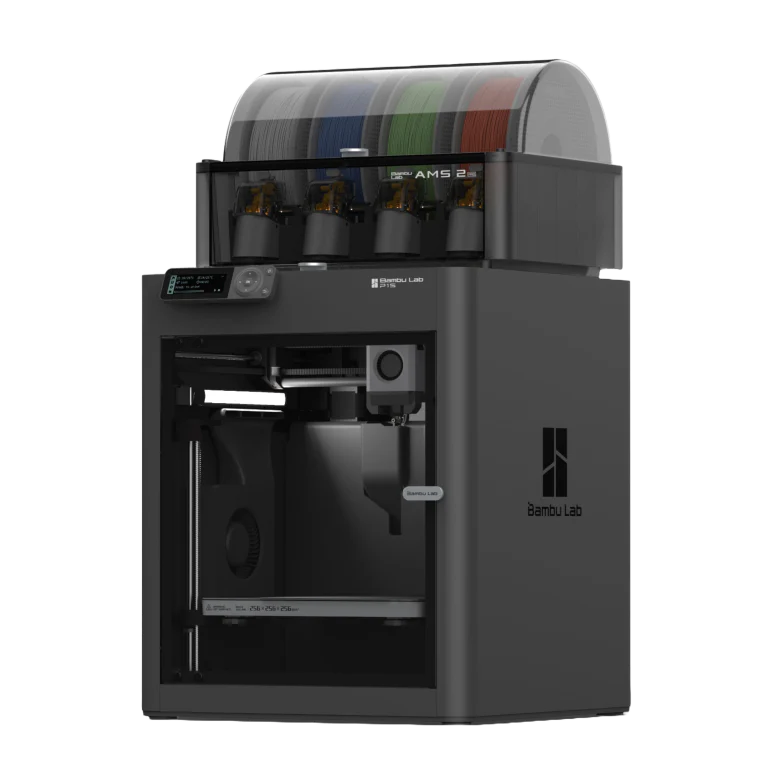
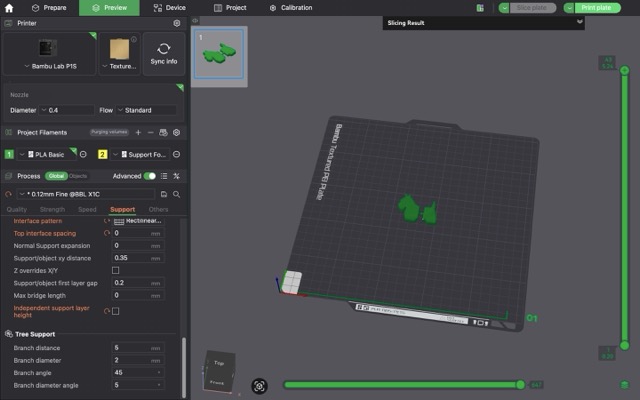
To prepare my model for printing, I used Bambu Studio. Here is the step-by-step configuration for the Bambu Lab P1S.
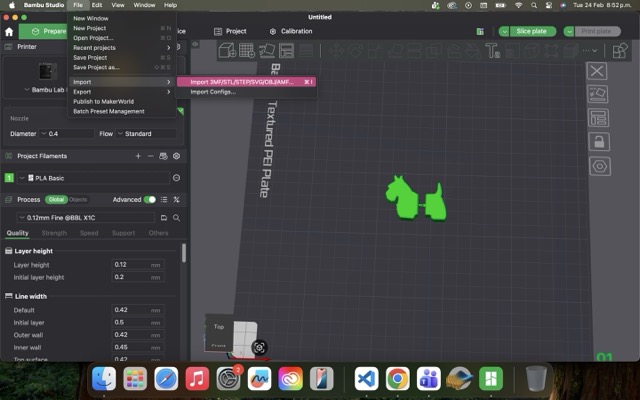
01. Import
I selected the 0.12mm Fine @BBL X1C profile. The layer height is set to 0.12 mm for high detail, with an initial layer height of 0.2 mm to ensure good bed adhesion.
02. Quality settings
I selected the 0.12mm Fine @BBL X1C profile. The layer height is set to 0.12 mm for high detail, with an initial layer height of 0.2 mm to ensure good bed adhesion.
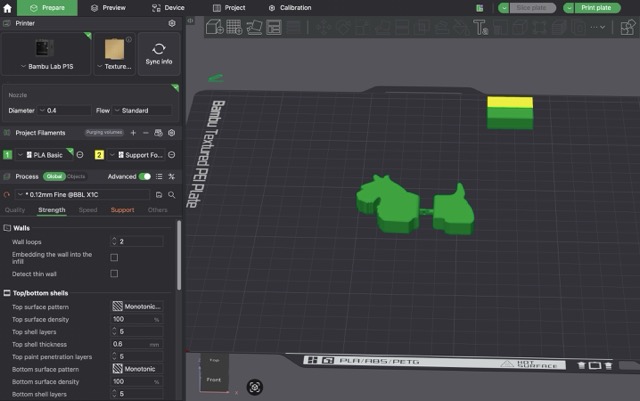
03. Strength settings
In this tab, parameters like the number of walls and the percentage of infill are adjusted to balance the part's durability and material usage.
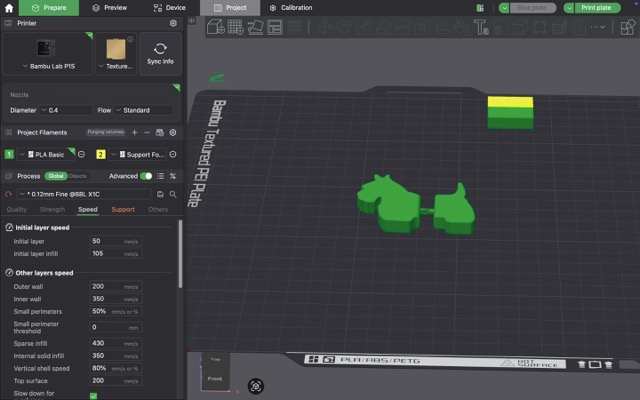
04. Speed settings
Speeds are configured based on the type of filament and desired quality. Standard flow is maintained for consistent results.
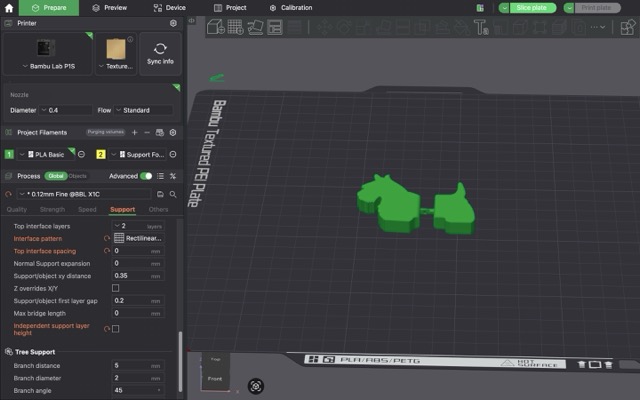
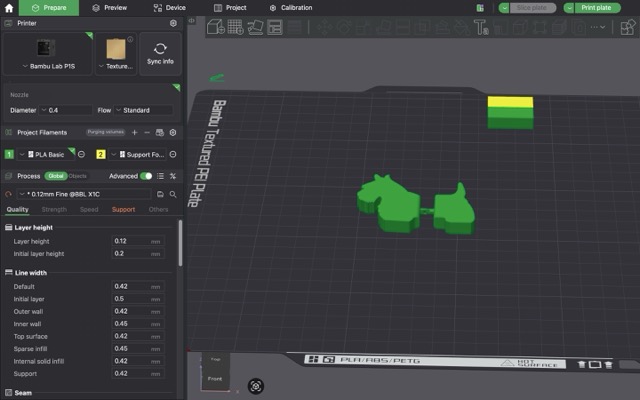
05. Support settings
I enabled Tree Support with a branch distance of 5 mm and a branch angle of 45°. This ensures the overhanging parts are well-supported with minimal material usage.
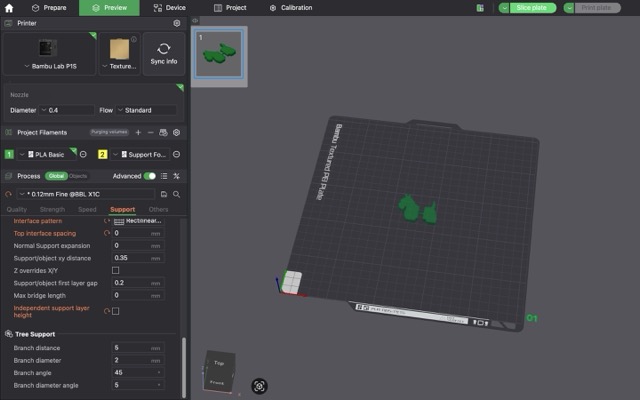
06. Slice plate
Once all settings are ready, I click on Slice plate to generate the G-code and preview the estimated printing time and filament usage.
07. Print plate
Selecting Print plate opens the final dialog to check the printer status and plate type (Bambu Textured PEI Plate) before sending the job.
08. Send Printing
Finally, I click Send to transfer the file via Wi-Fi to the Bambu Lab P1S and begin the print job.
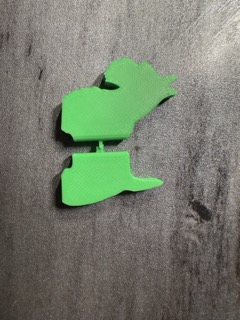
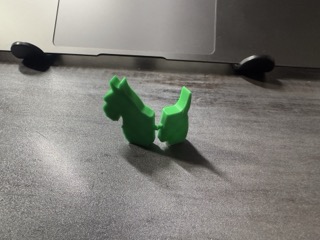
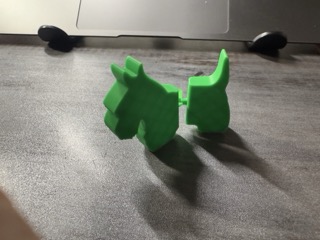
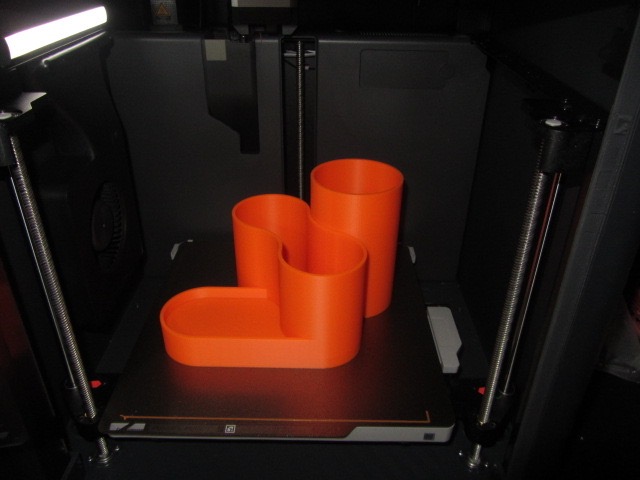
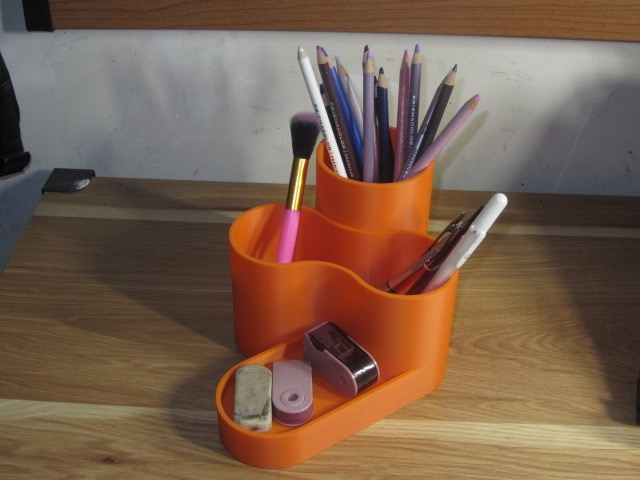
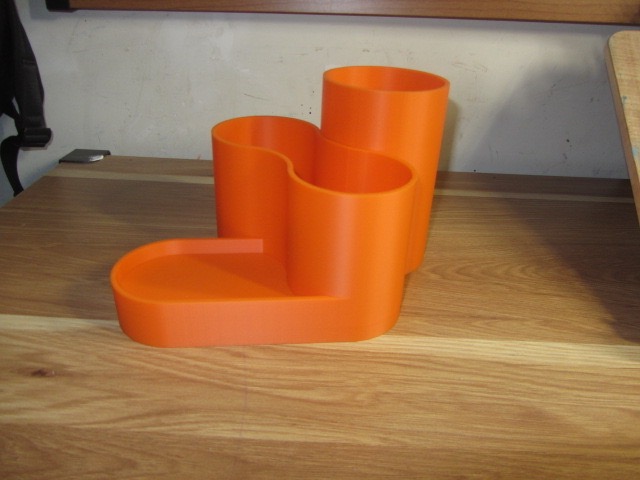
3D Print Gallery
3D Scanning
It is a process of analyzing an object from the real world, to collect all the data in order to recreate its shape and appearance, digitally. Thanks to this process, the object can become a 3D model, which could help you as a base for the 3D project you are about to develop, but it can also be useful to reconstruct, analyze, or simulate ideas.
I'll be using "3D Scanner App".
Step by step scanning Lego Batmobile
Step 1: Download the app
Step 2: Open it
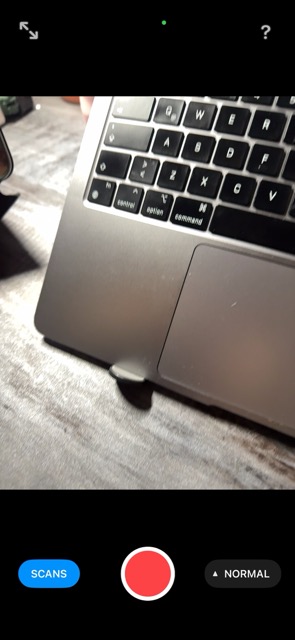
Step 3: Start scanning

Step 4: Process it
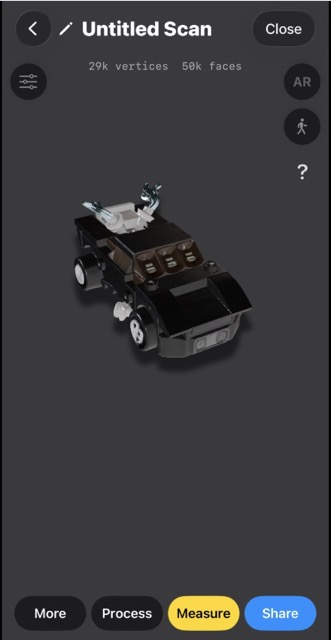
Step 5: Preview
