3D Modeling Exploration
The assignment for this week was to 3D model our possible final project or a piece from it in two different softwares in order to compare. Also to model something in the 2D software that could be useful for our final project.
Shapr3D: Intuitive iPad Modeling
Shapr3D is an intuitive, professional 3D CAD modeling application designed for iPad, Mac, and Windows, allowing users to create precise, manufacturing-ready models.
01. Mobile Sketching
I started by adding basic shapes, modifying it, only working on one side of the sketch, to mirror it to keep the design symmetrical.
02. Sketch Development
Once the main shape was defined, I continued adjusting the sketch, refining proportions and details until I had the complete form.
03. Extrusion
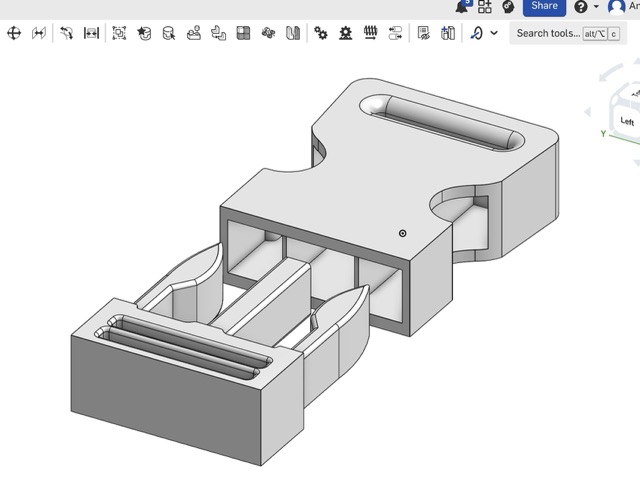
I extruded it to create a solid piece, turning the 2D sketch into a three-dimensional object with volume.
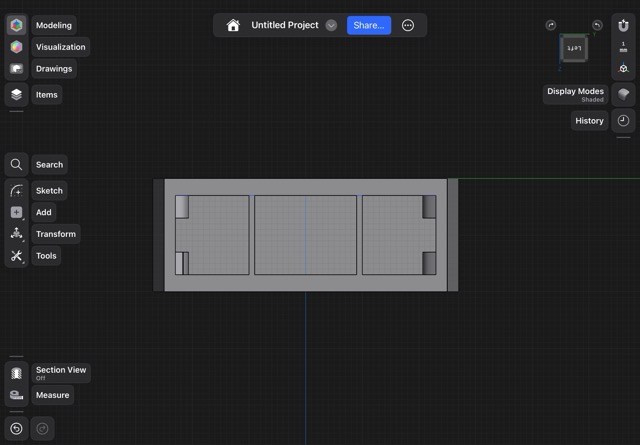
04. Internal Space Definition
I extruded and sketched the areas where I needed to create internal space, defining openings and functional areas without affecting the external shape.
05. Material Application
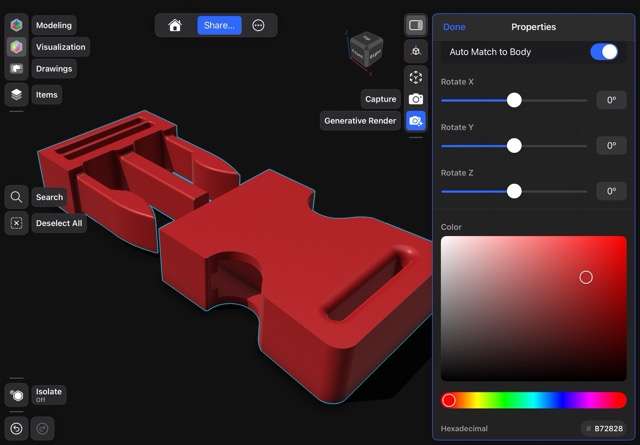
Once the geometry was finished, I added materials to the model to visualize how the final piece would look.

06. Final Review and Export
After checking measurements and details, the model was ready to be exported.
Onshape: Cloud-Native CAD
Onshape is a PTC-developed cloud-native 3D CAD, CAM, and PDM software-as-a-service (SaaS) platform that runs entirely in web browsers and on mobile devices.
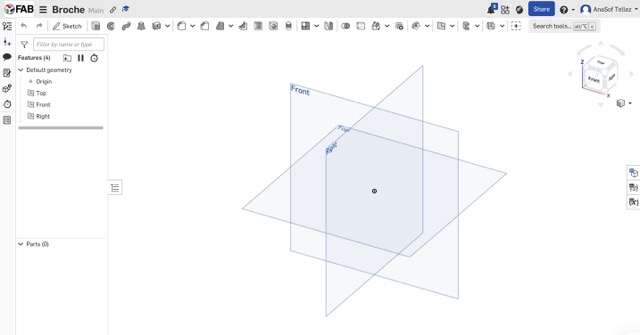
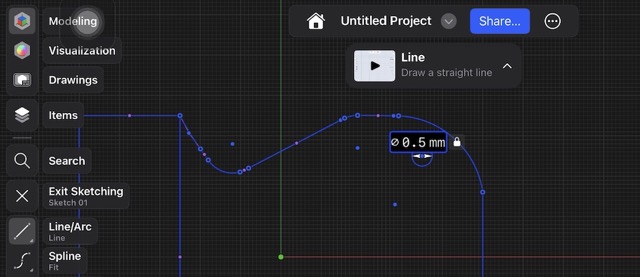
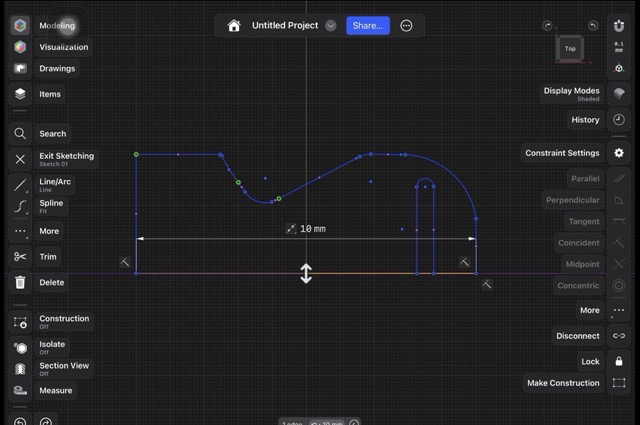
01. Defining Planes
Here you'll have the option to choose in which plane you'll start sketching.
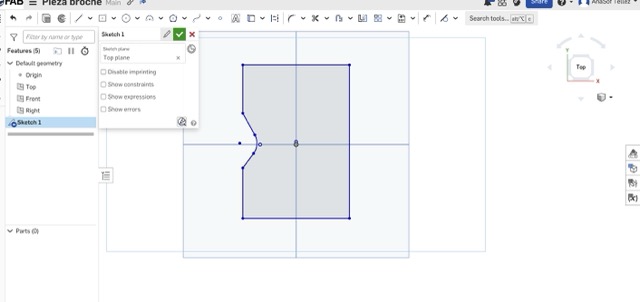
02. Sketch
You can start sketching until you have your desired shape.
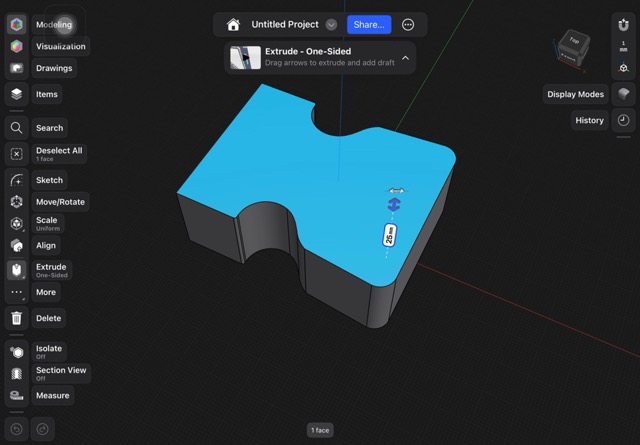
03. Extrusion
Here you'll have the extruded piece with fillets.
Shapr3D vs Onshape
After working with both tools, I found Shapr3D to be more intuitive, user-friendly, and faster for creating organic shapes and quick prototypes. Its touch-based workflow makes the modeling process feel natural and easy to understand.
Onshape, on the other hand, is a powerful parametric CAD platform with strong engineering capabilities and precise control. Although it has a steeper learning curve, it becomes a very useful tool once you understand its logic and structure.
Rendering Process
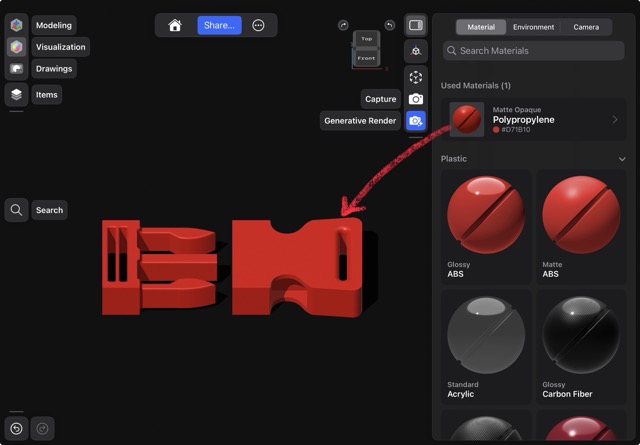
01. Applying Materials
Here you can choose from the variety of materials and colors.
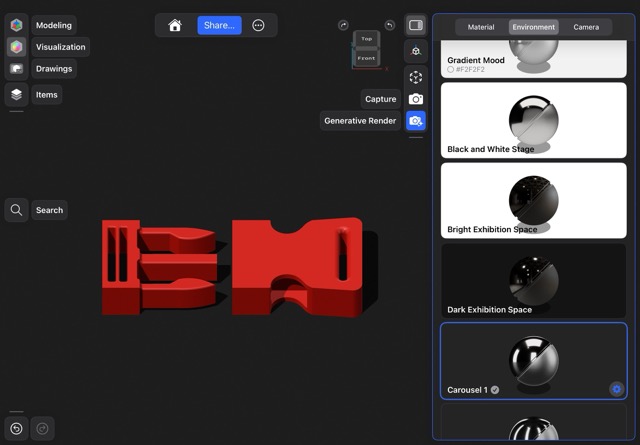
02. Environment
You can choose which environment you want and play with the angles.

03. Generative AI Render
Use a prompt to generate a render with AI from your model.
2D Modeling
Adobe Illustrator
Adobe Illustrator is a vector graphics editor and design software used to create precise vector graphics for digital fabrication.
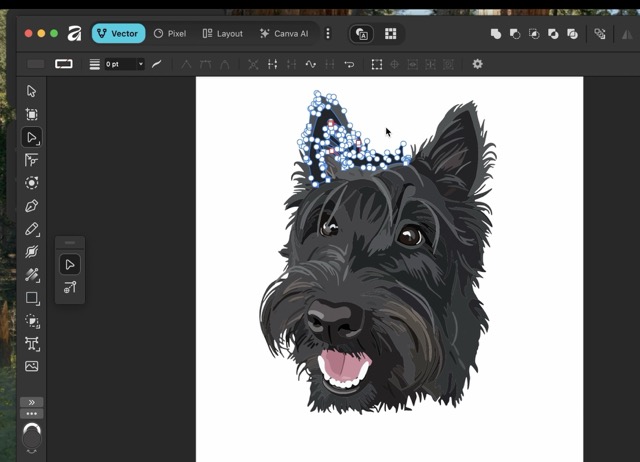
01. Import and Path finder
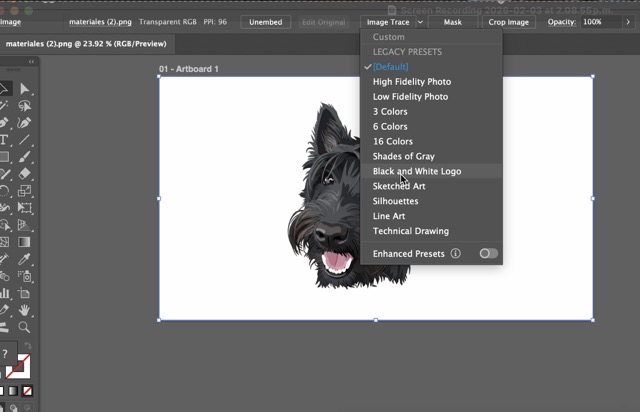
After you've imported your img you need to click on path finder.
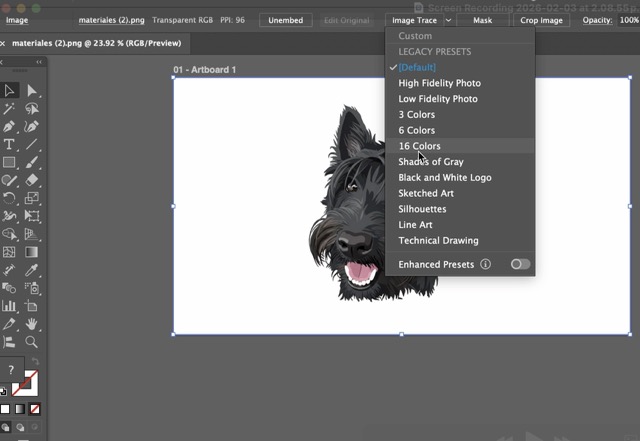
02. Select kind
You can choose in which style you want to vectorize it.
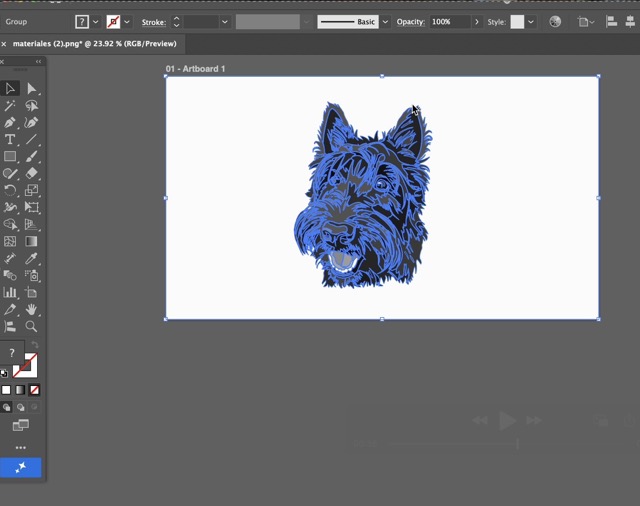
03. All done
You can start modifying your image.
Affinity Designer
Affinity Designer offers professional vector editing capabilities with a smooth performance and a clear workspace.
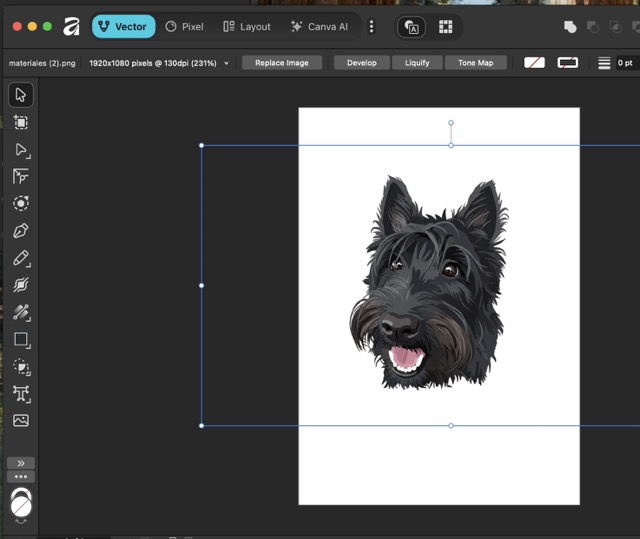
01. Import image
Initial image was imported into the workspace.
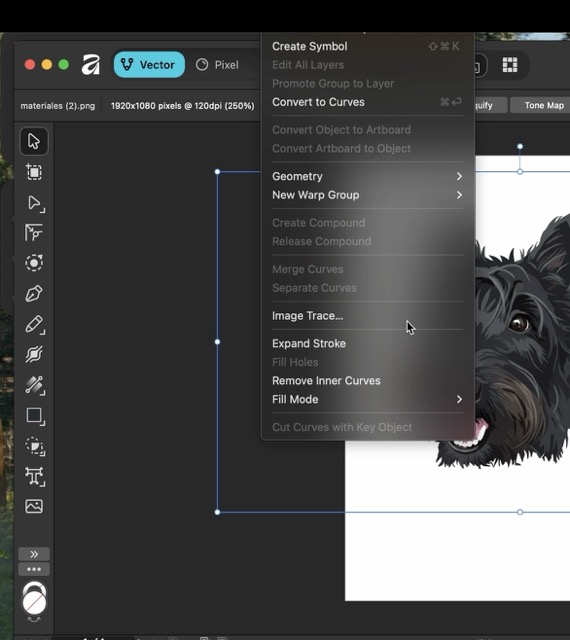
02. Vectorizing
Curves and nodes were adjusted to achieve smooth and accurate geometry.
03. All done
The vector is ready for further editing or export.
Illustrator vs Affinity Designer
Since I have worked with Adobe Illustrator for a longer time, it is the tool I understand best and feel more comfortable using. Affinity Designer, however, is also a powerful tool that proves to be a solid alternative for professional vector design once you become familiar with it.
Image Compression
Mac Quick Actions: Convert Image
macOS includes a built-in Quick Action to convert and compress images directly from Finder, without needing any third-party software. It supports conversion between formats such as JPEG, PNG, HEIF, and more.
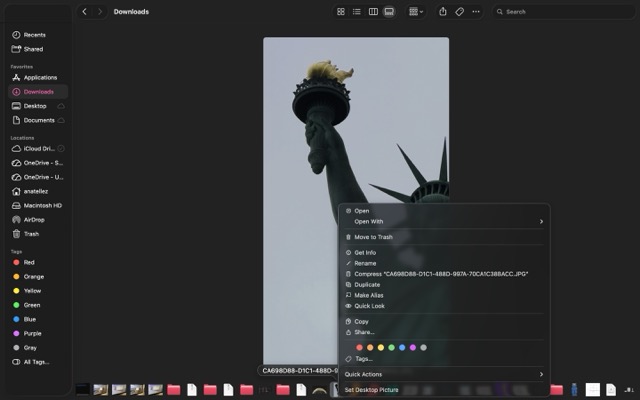
01. Select the image
Right-click the image file in Finder to open the contextual menu.
02. Open Quick Actions
Hover over "Quick Actions" in the menu to reveal the available options.
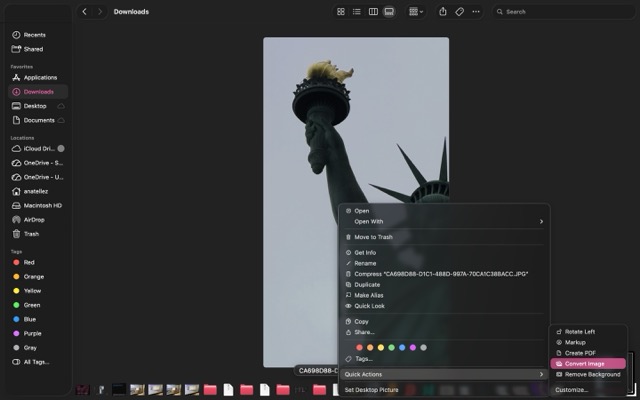
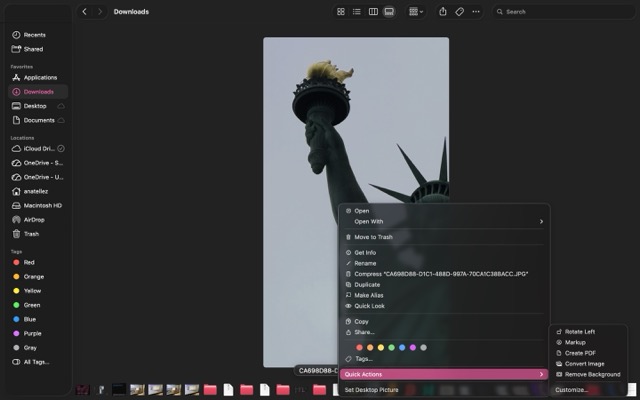
03. Convert Image
Select "Convert Image". A dialog will appear to choose the format and image size.
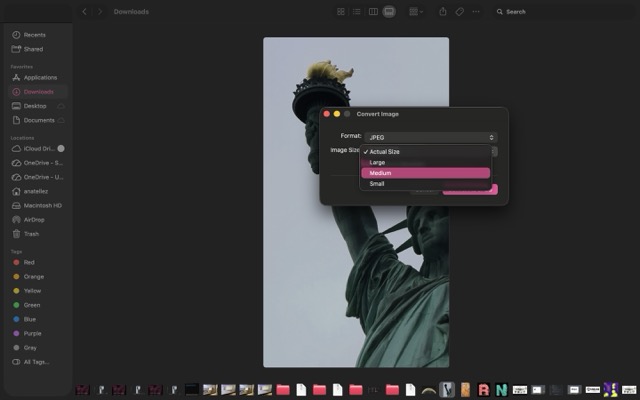
04. Choose format and size
Pick the output format (e.g. JPEG) and the desired resolution — Small, Medium, Large, or Actual Size.
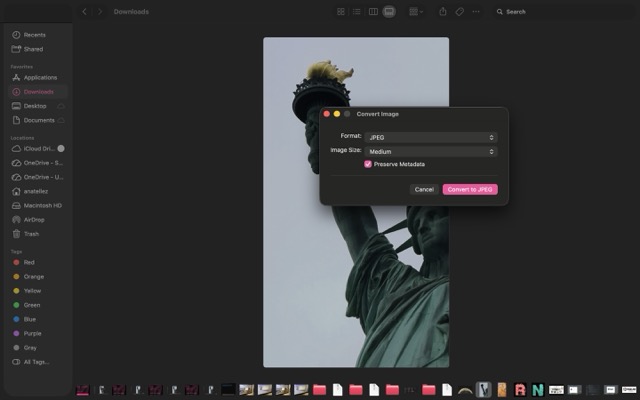
05. Save
The converted file is saved automatically in the same folder as the original, ready to use.
Why use it?
This tool is ideal for quick, lightweight compression without leaving Finder. It requires no installation and handles batch conversion by selecting multiple files at once. For more advanced control over quality and file size, a dedicated tool may be preferable.
Video Compression
FreeConvert: Online Video Compressor
FreeConvert is a free online tool that allows you to compress video files without installing any software. It supports a wide range of formats including MP4, MOV, AVI, and MKV, and gives you control over quality settings.
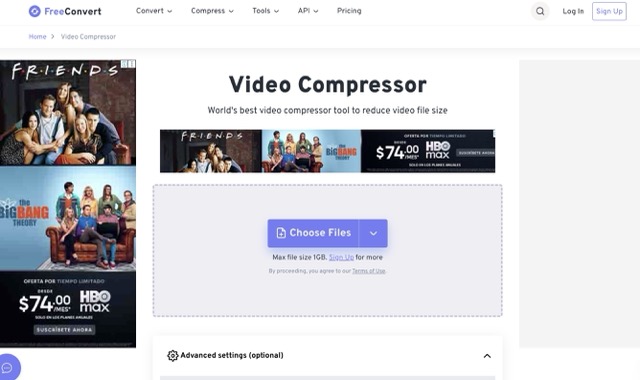
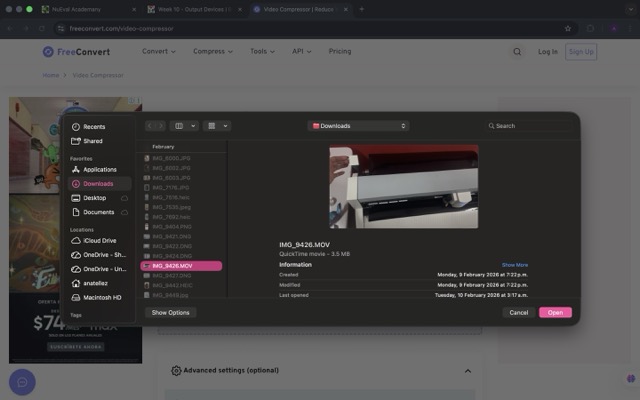
01. Go to FreeConvert
Visit freeconvert.com and navigate to the Video Compressor tool.
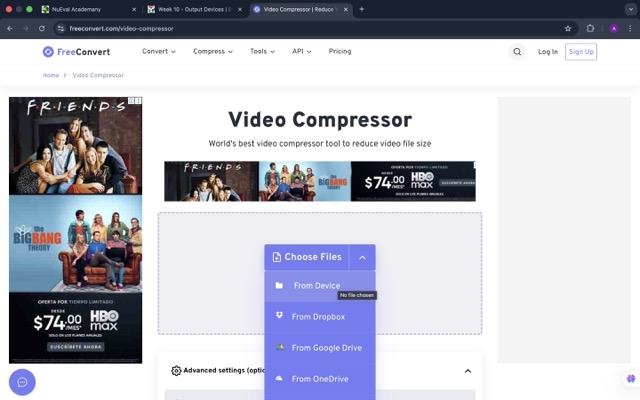
02. Upload your video
Click "Choose Files" or drag and drop your video. Files up to 1 GB are supported on the free plan.
03. Adjust settings
Set the desired output quality or file size target. You can also change the output format if needed.
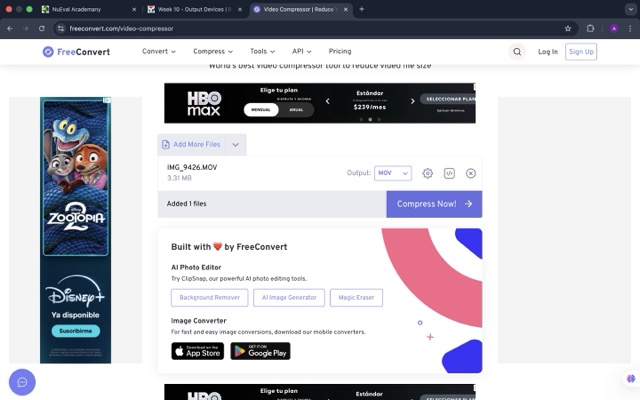
04. Compress
Click "Compress Now" and wait for the process to complete. Processing time depends on file size.
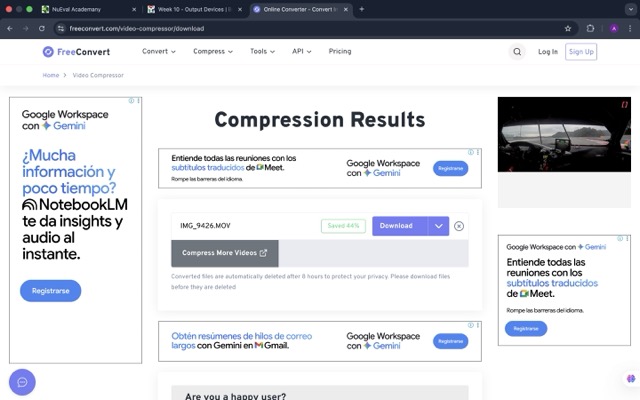
05. Download
Once done, download the compressed file. Files are deleted from the server after a short period for privacy.
Why use it?
FreeConvert is useful for reducing video file sizes before uploading to a website or submitting documentation, without affecting the visual quality too much. Since it runs in the browser, no installation is required and it works on any operating system.