

17. Wildcard Week
This week I taught myself how to use a ceramic 3D printer. This is a different process than the standard FDM 3D printing we did in week 5. The primary differences are that FDM printing uses heat to melt a plastic material which fuses to previous sections of the extruded material as it cools. It is an overall dry, heat sensitive process. The ceramic printer is a form of paste printing. Similar to printing with concrete or procelain, clay is a hydrated aggregate which means that the consistency of the material is dependent on water content. While printing, There is no heat applied. It is a purely mechanical extrusion of the clay through a nozzle and onto the bed. The challenge for me was figuring out how to properly calibrate the extruder, achieve the correct consistency of the clay and get bed adhesion.
The Youtube Tutorials
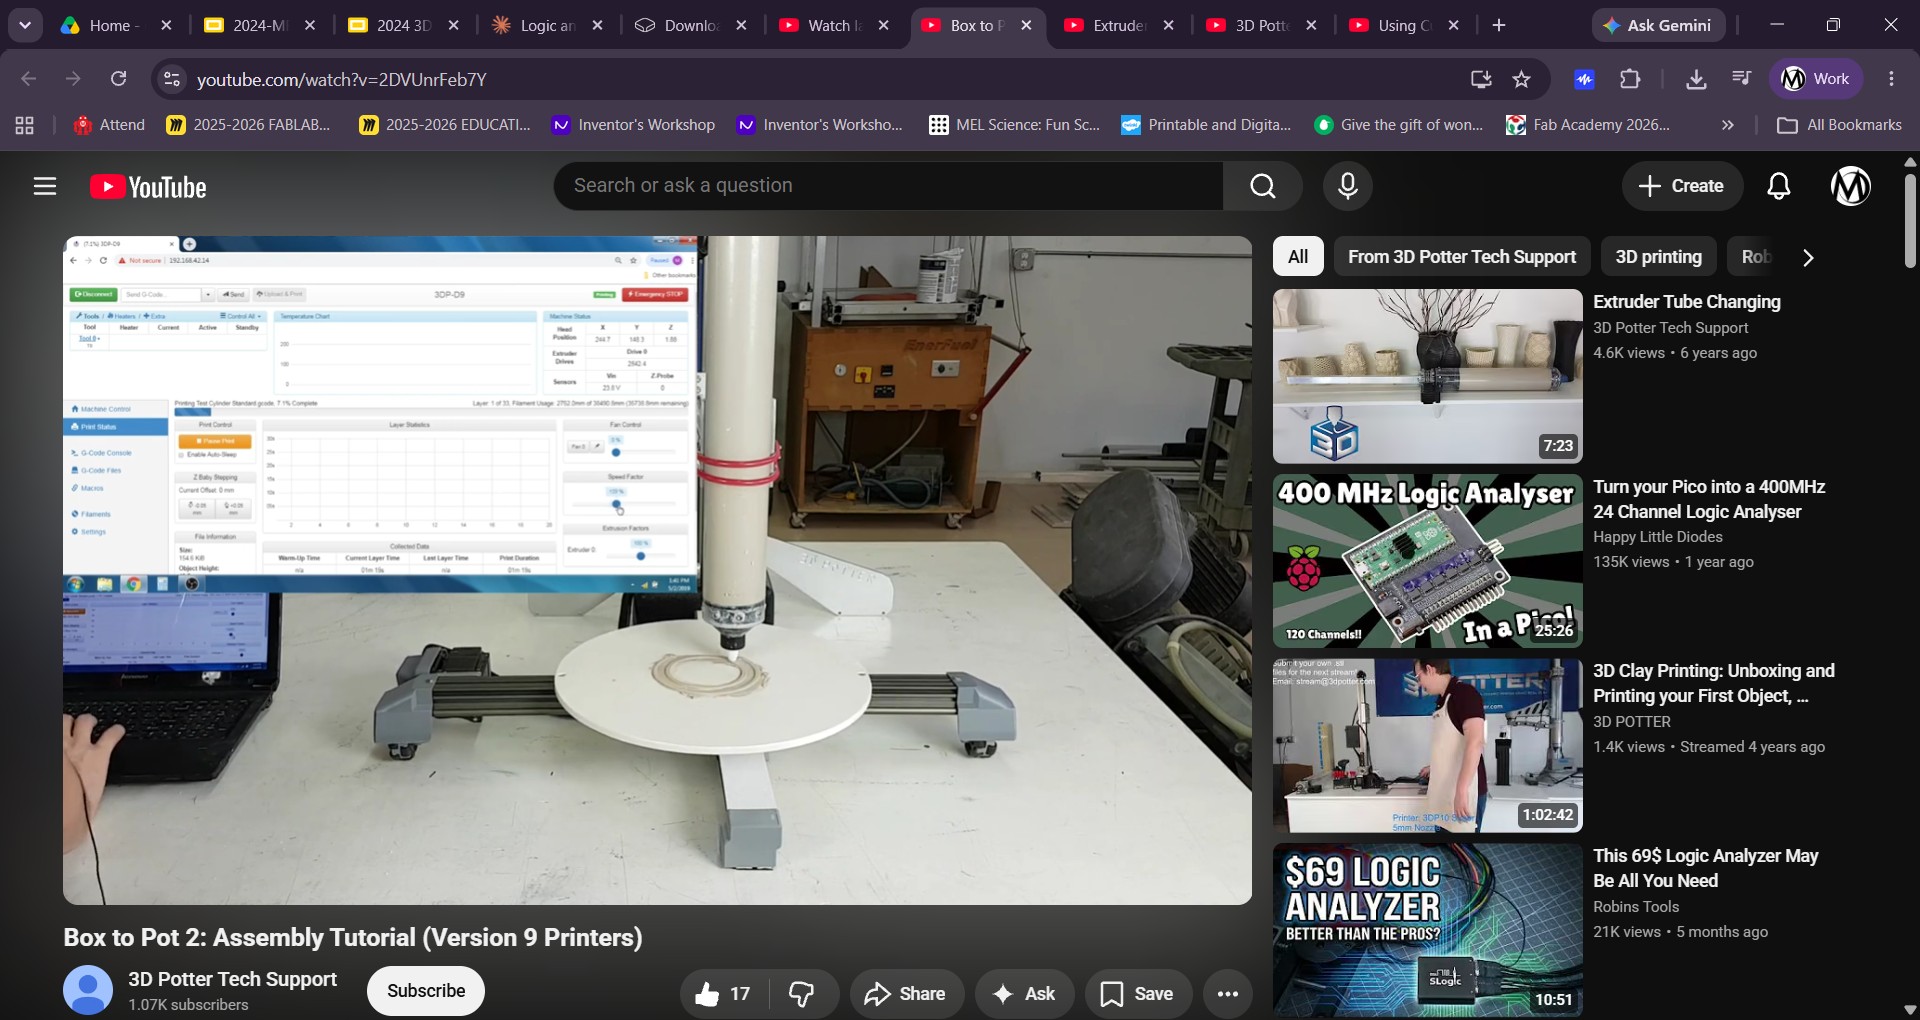
This video walked through the unboxing and assembly of the 3D Potterbot Version 9 Ceramic printer. I was questioning the model I had in the lab because it has zero information on what it is on the body. The only clue was the "POTTER" engraving on the side of the leg. After hours of searching, I though I had a version 8 or 7, but eventually found out it was the version 9 which is a completely browser based user interface. This video explains the components, the differences between models, and how to connect the printer to a computer. It also explains the steps for homing the printer, setting the start point and what it looks like when the print is started.
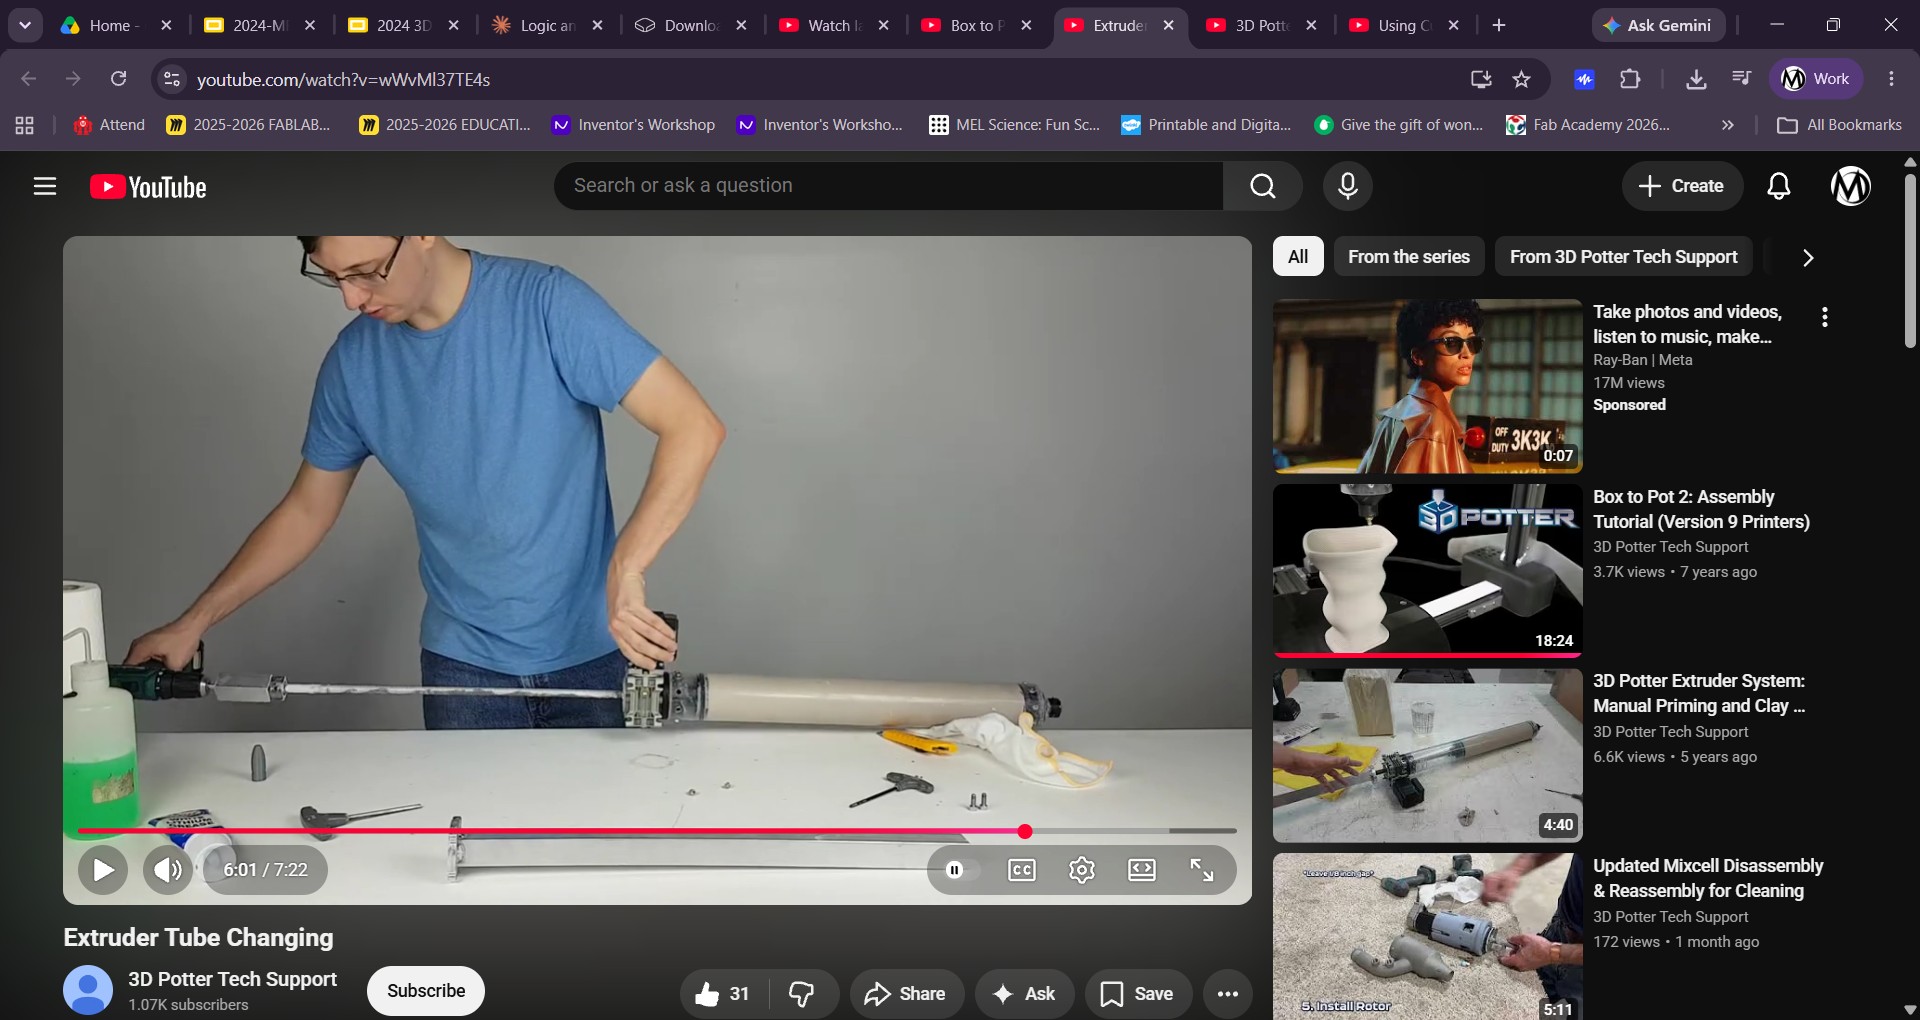
This one explains the process of changing the tubes and what to do when you need to manually turn the auger. This was good to know and helped me familiarize myself with the parts.
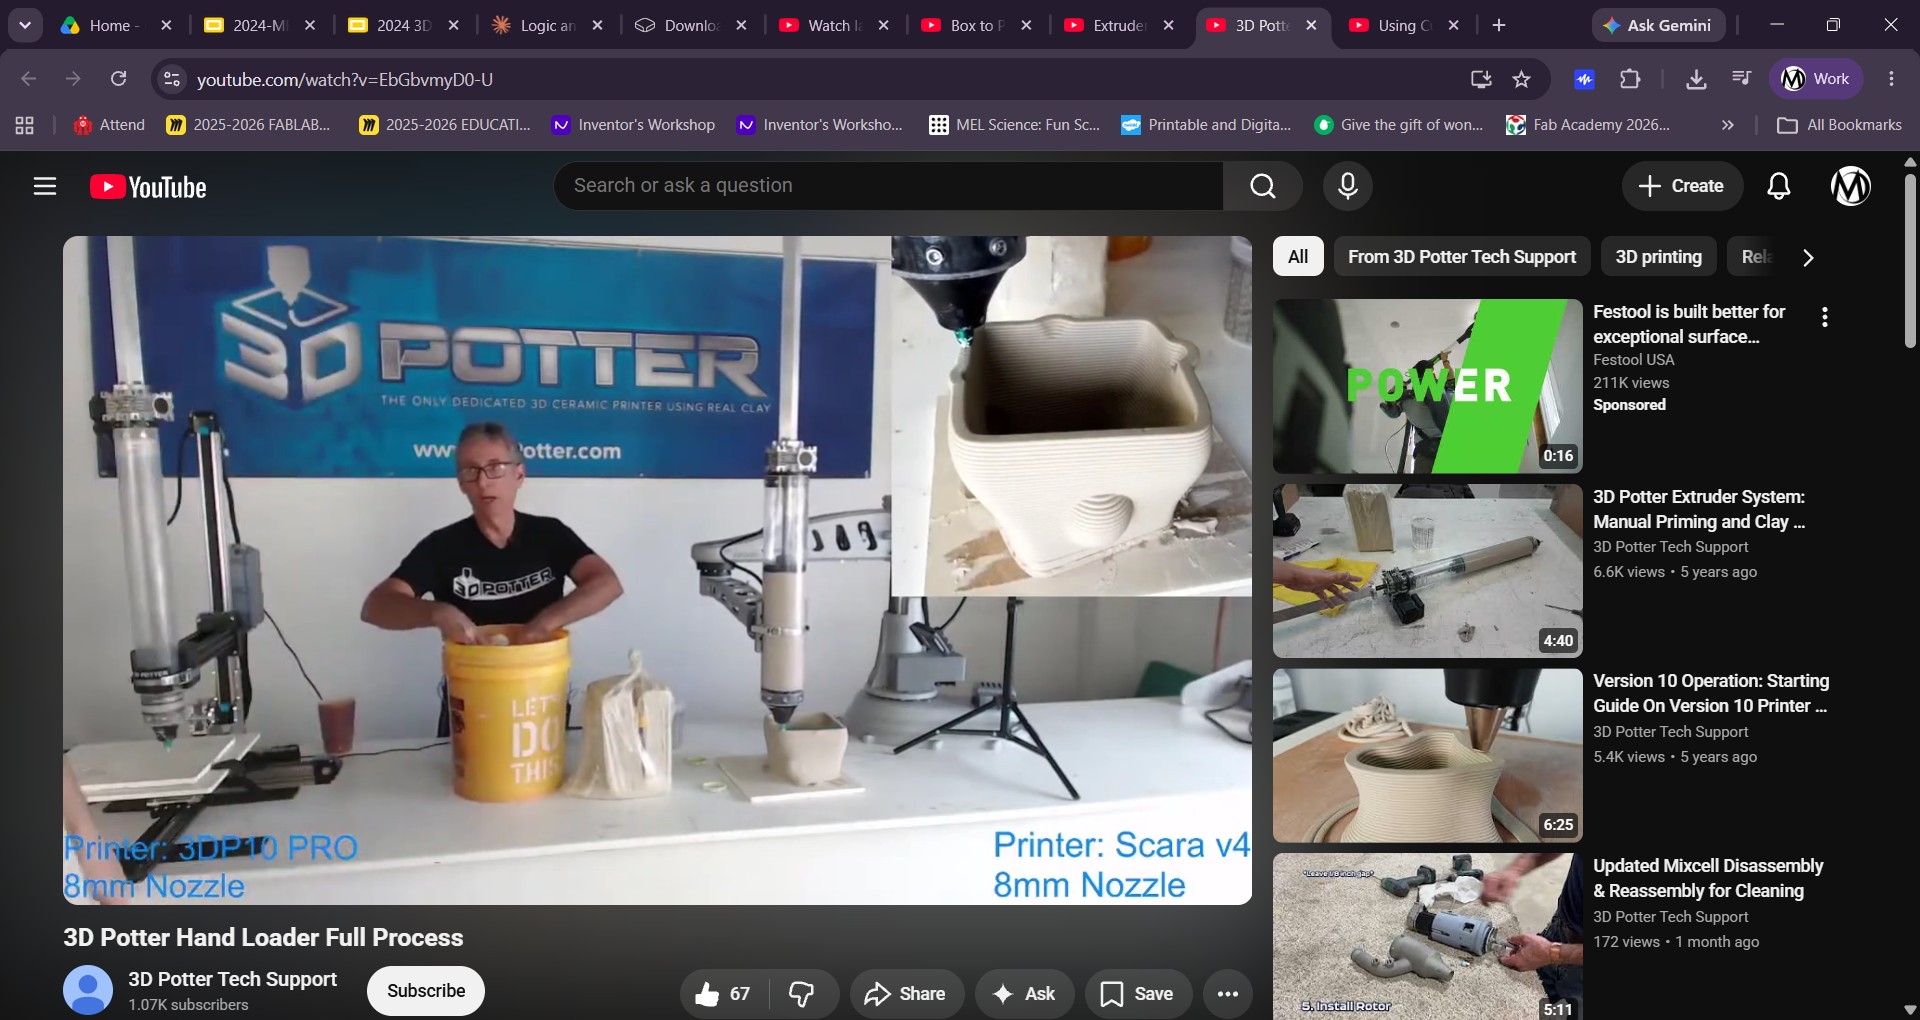
This video turned out to be extremely important and I am so grateful that this company produces such great content to explain how to use their products. They go over the clay consistency and how to properly prepare the material to be able to extrude it. I was able to recreate the main portion of the tutorial, Unfortunately, I was not able to load my clay as effectively as them.
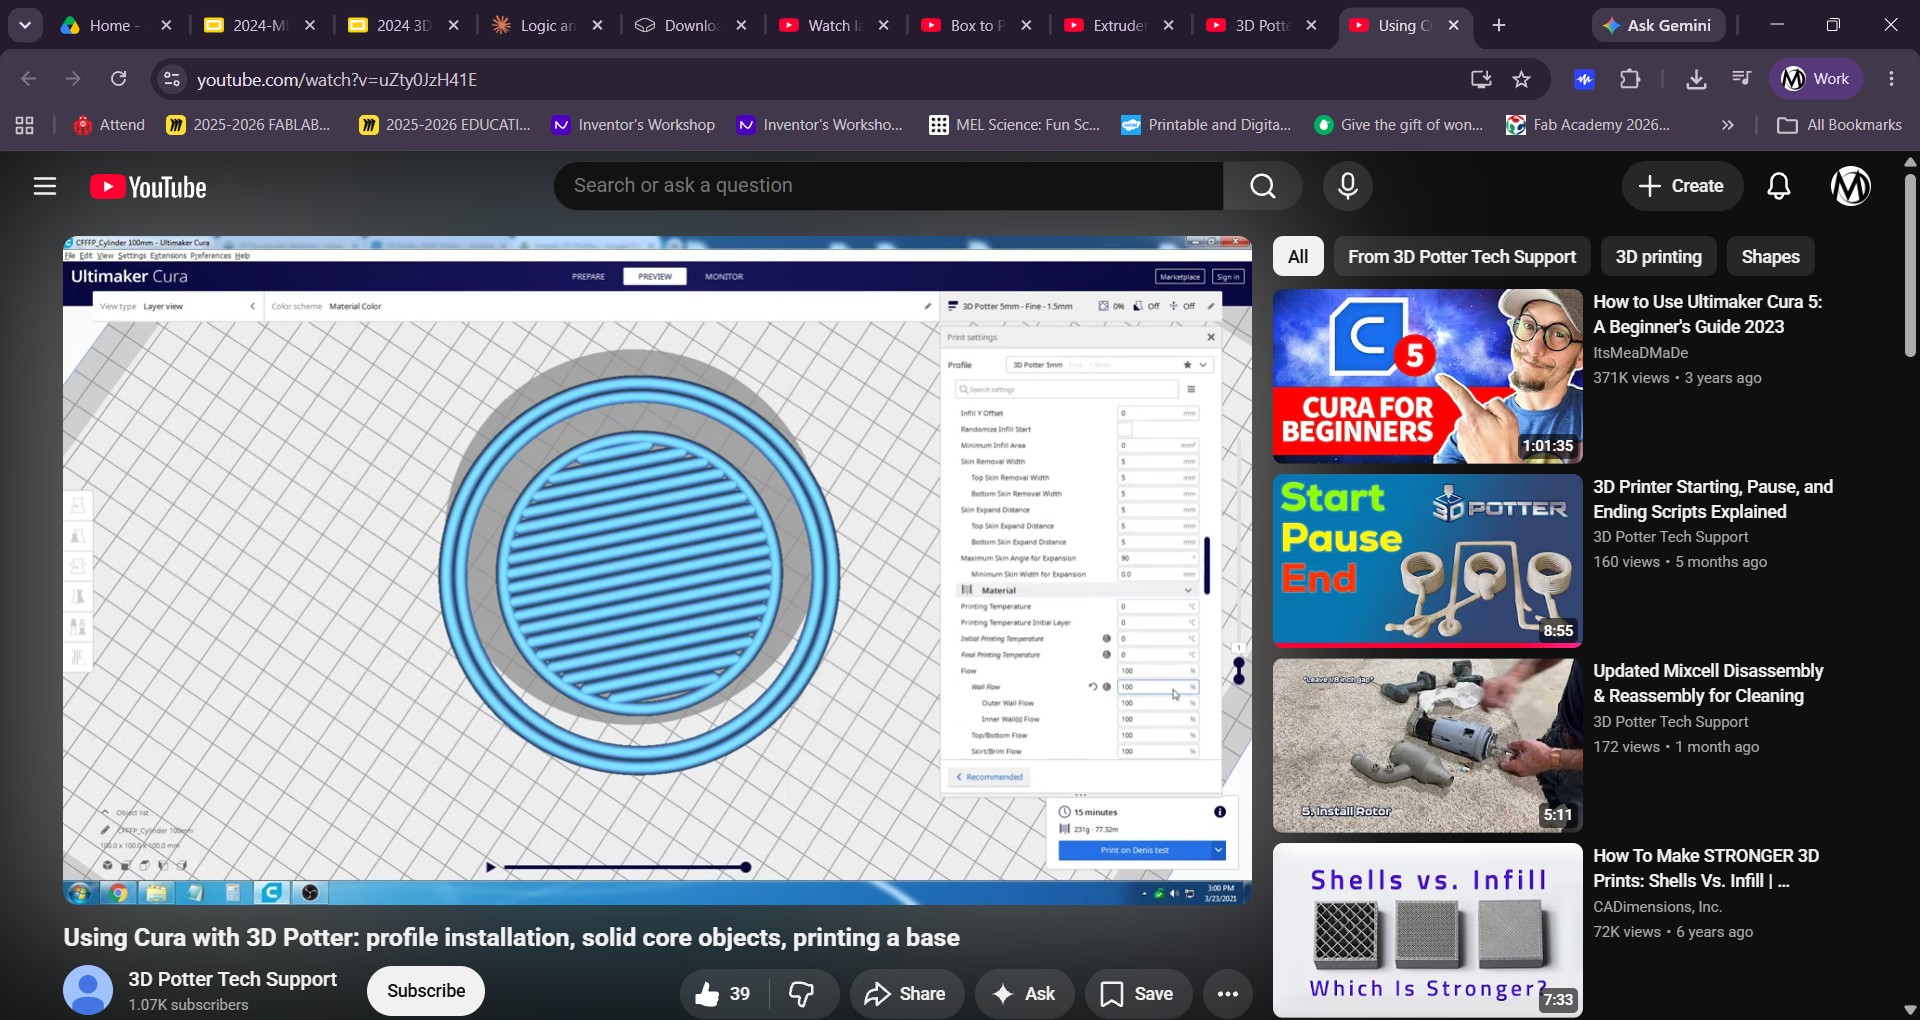
The last video I used was an introduction and tutorial for Cura. This program allows you to slice a 3D object to generate the GCode. This is open source and 3D Potter provides presets for you to upload to Cura. This took a lot of the guessing out of the process.
The Main Parts
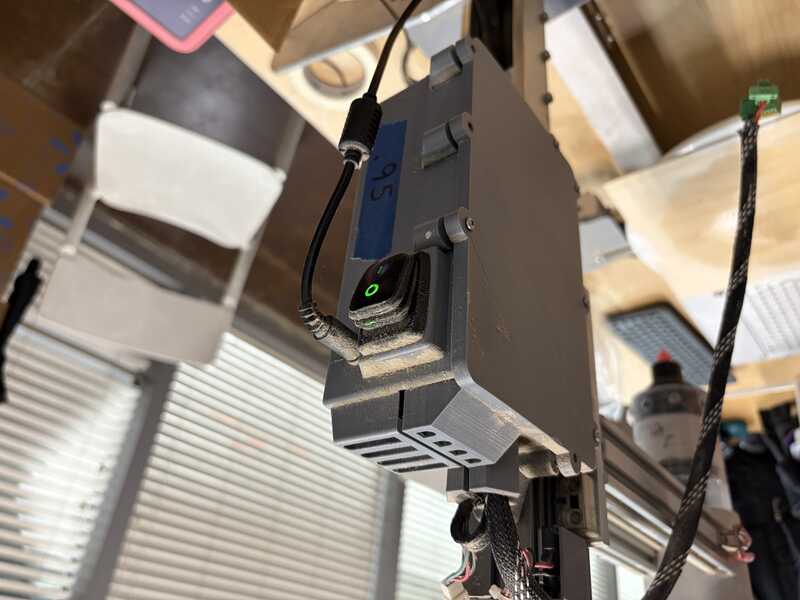
This is the control unit that has a raspberry pi inside. The only interaction you have with this is to flip the switch and connec the cables. It uses a USB data cable but I never found out if it was needed or not.
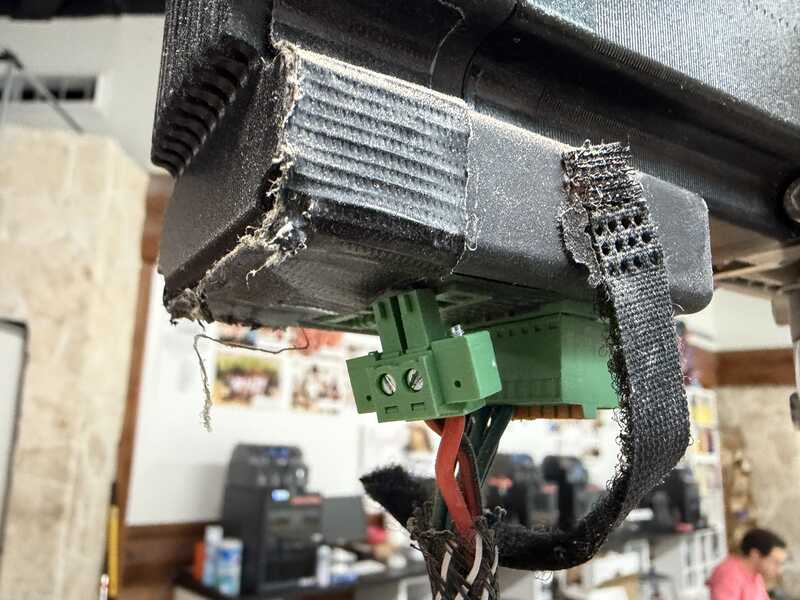
These are the wires that run from the control unit to the motor. They need to be disconnected if you are trying to remove the extruder assembly.
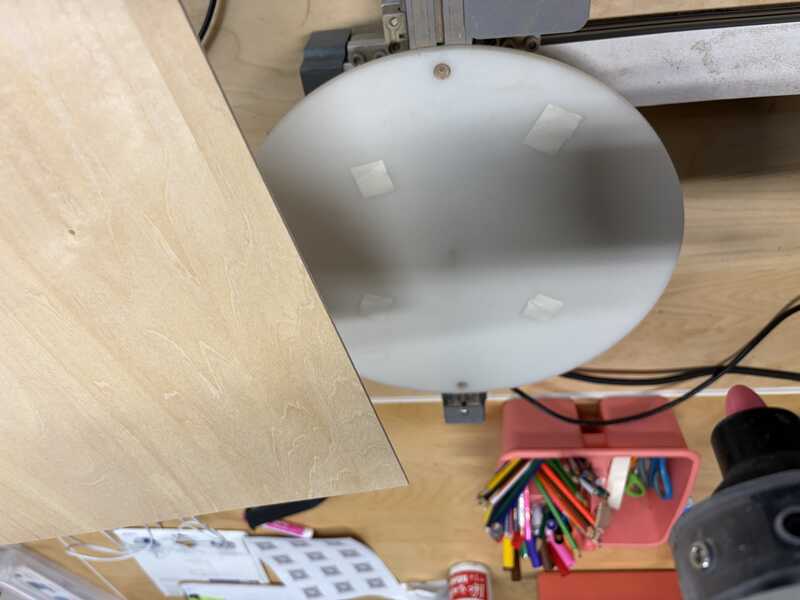
This is the plate which oves in the x and y directions. I put a sheet of basswood on top for easier removal of completed prints.
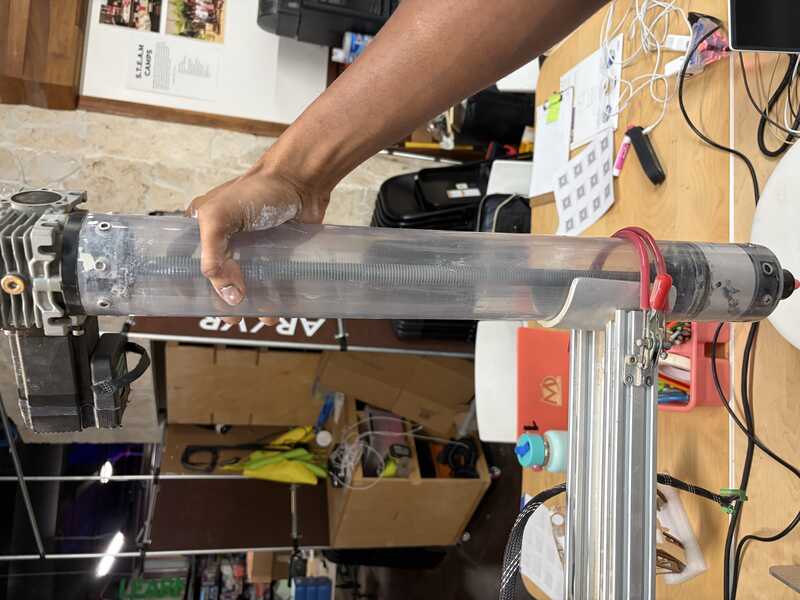
The extruder assembly consists of the tube, auger, motor and the z-axis arm. This needs to be adjusted before use which includes homing and setting the print start location.
The Interface
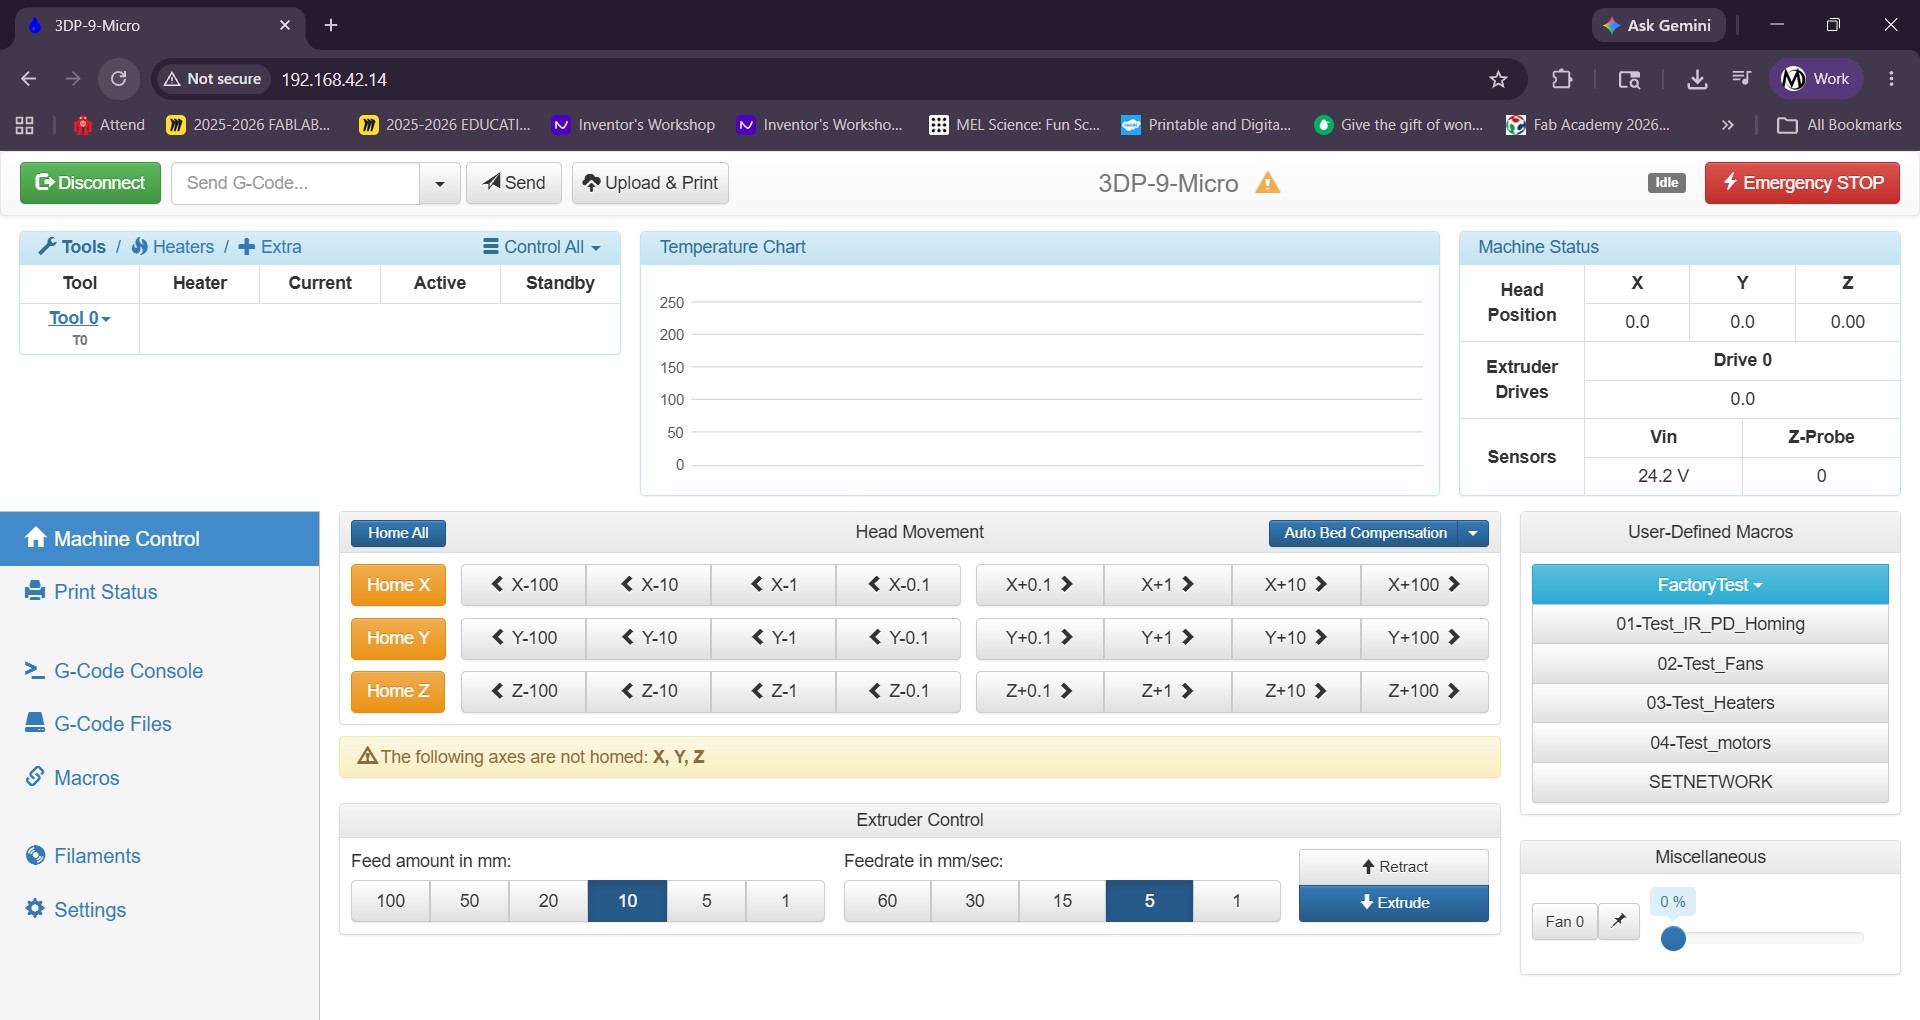
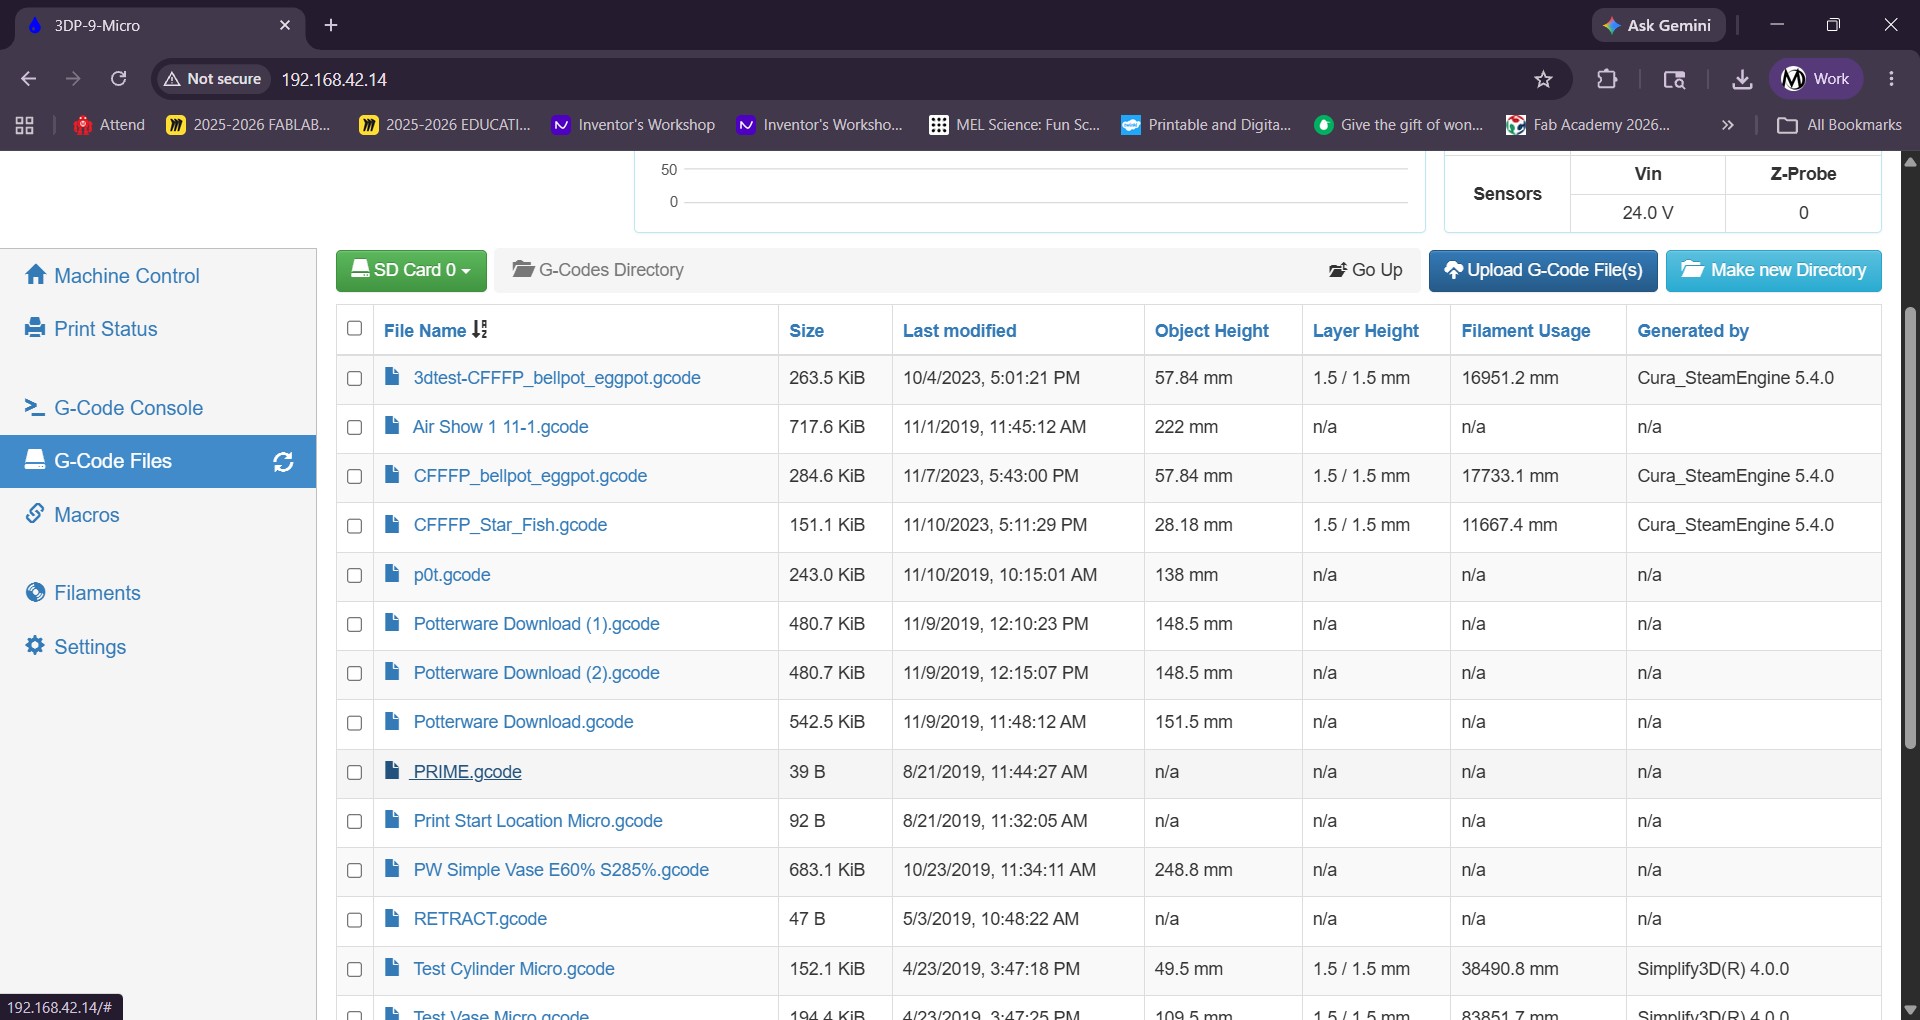
In order to connect the printer to your computer, you need to connect the connect the computer to the printer's wifi network and copy the IP address shared in the first video. The person in the video explained that all of the printers use the same IP address. You then paste the IP into you browser. The interface will open which looks like the images above. Your next step is to home all axes.
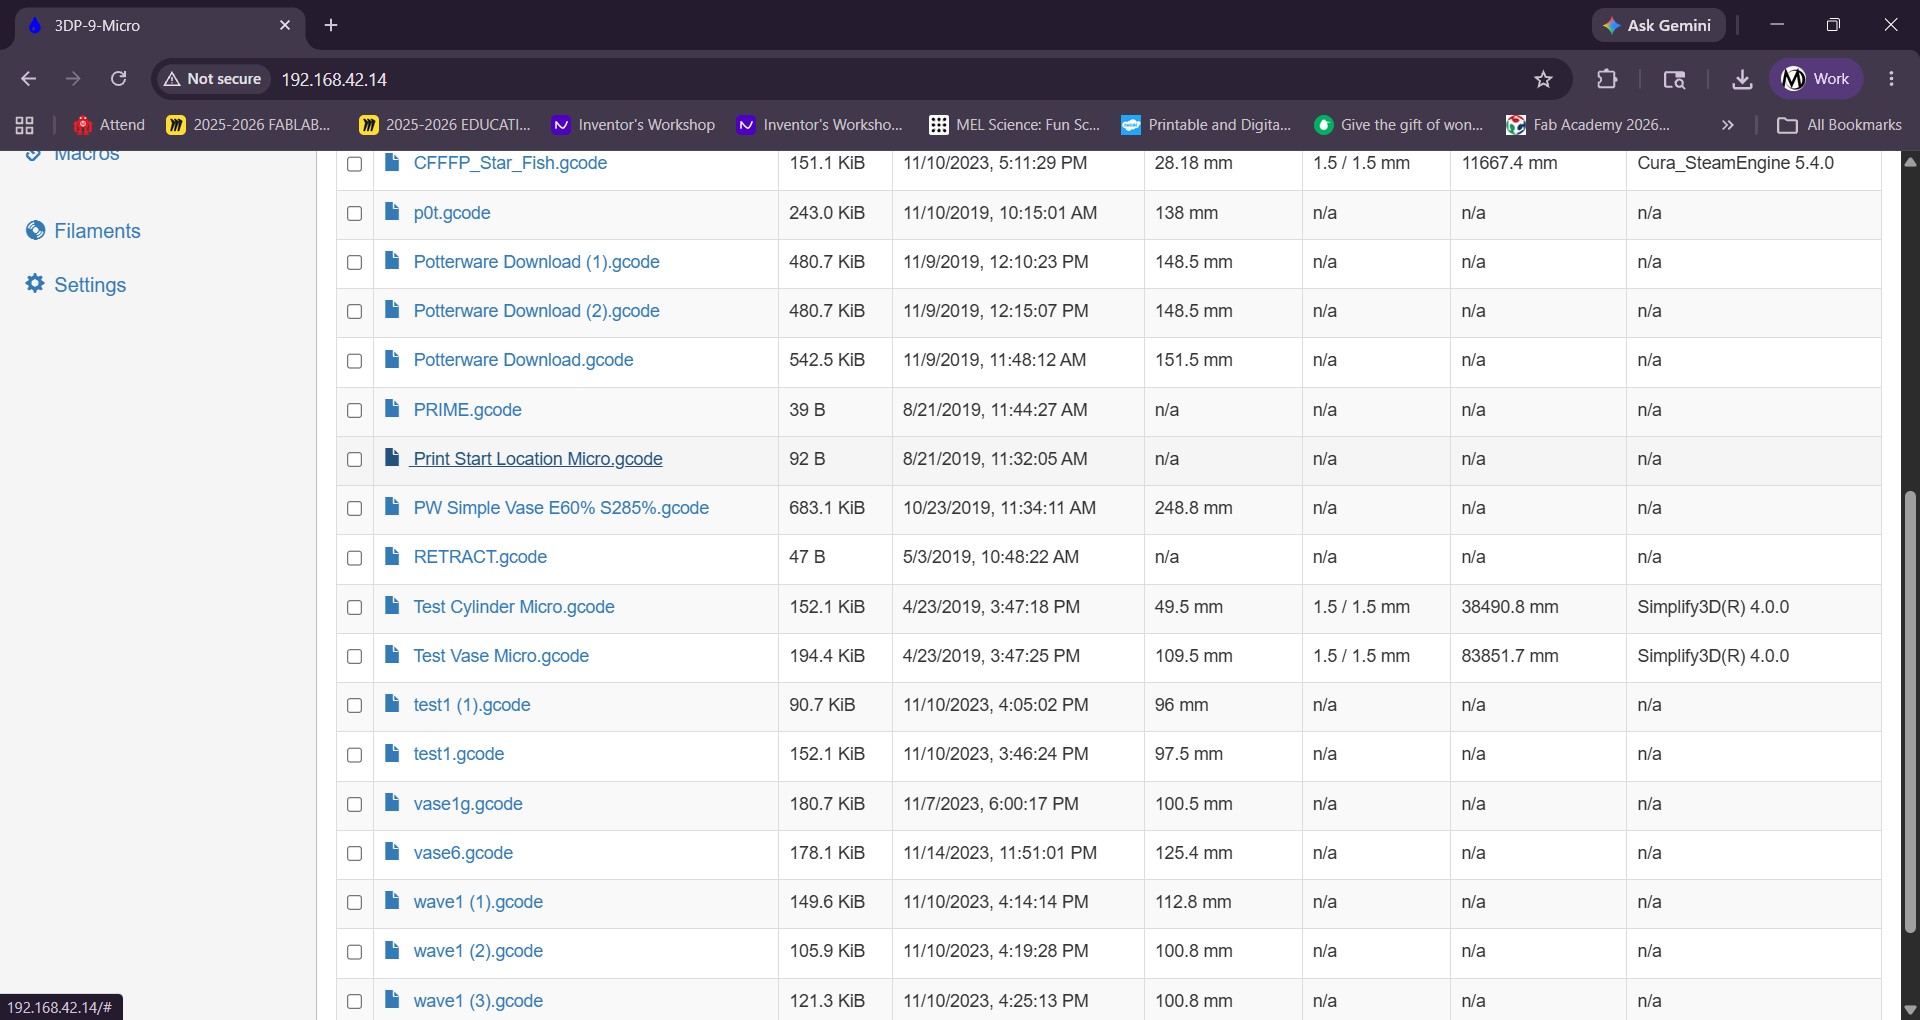
When that is complete, you will loosen the clamp holding the extuder tube and hold it in place as you run the Print Start Location GCode. Be careful with the extruder as it z-axis arm moves. You will manually adjust the height of the extruder keeping an approximate 1mm gap above the print bed.
Preparing a Test Print
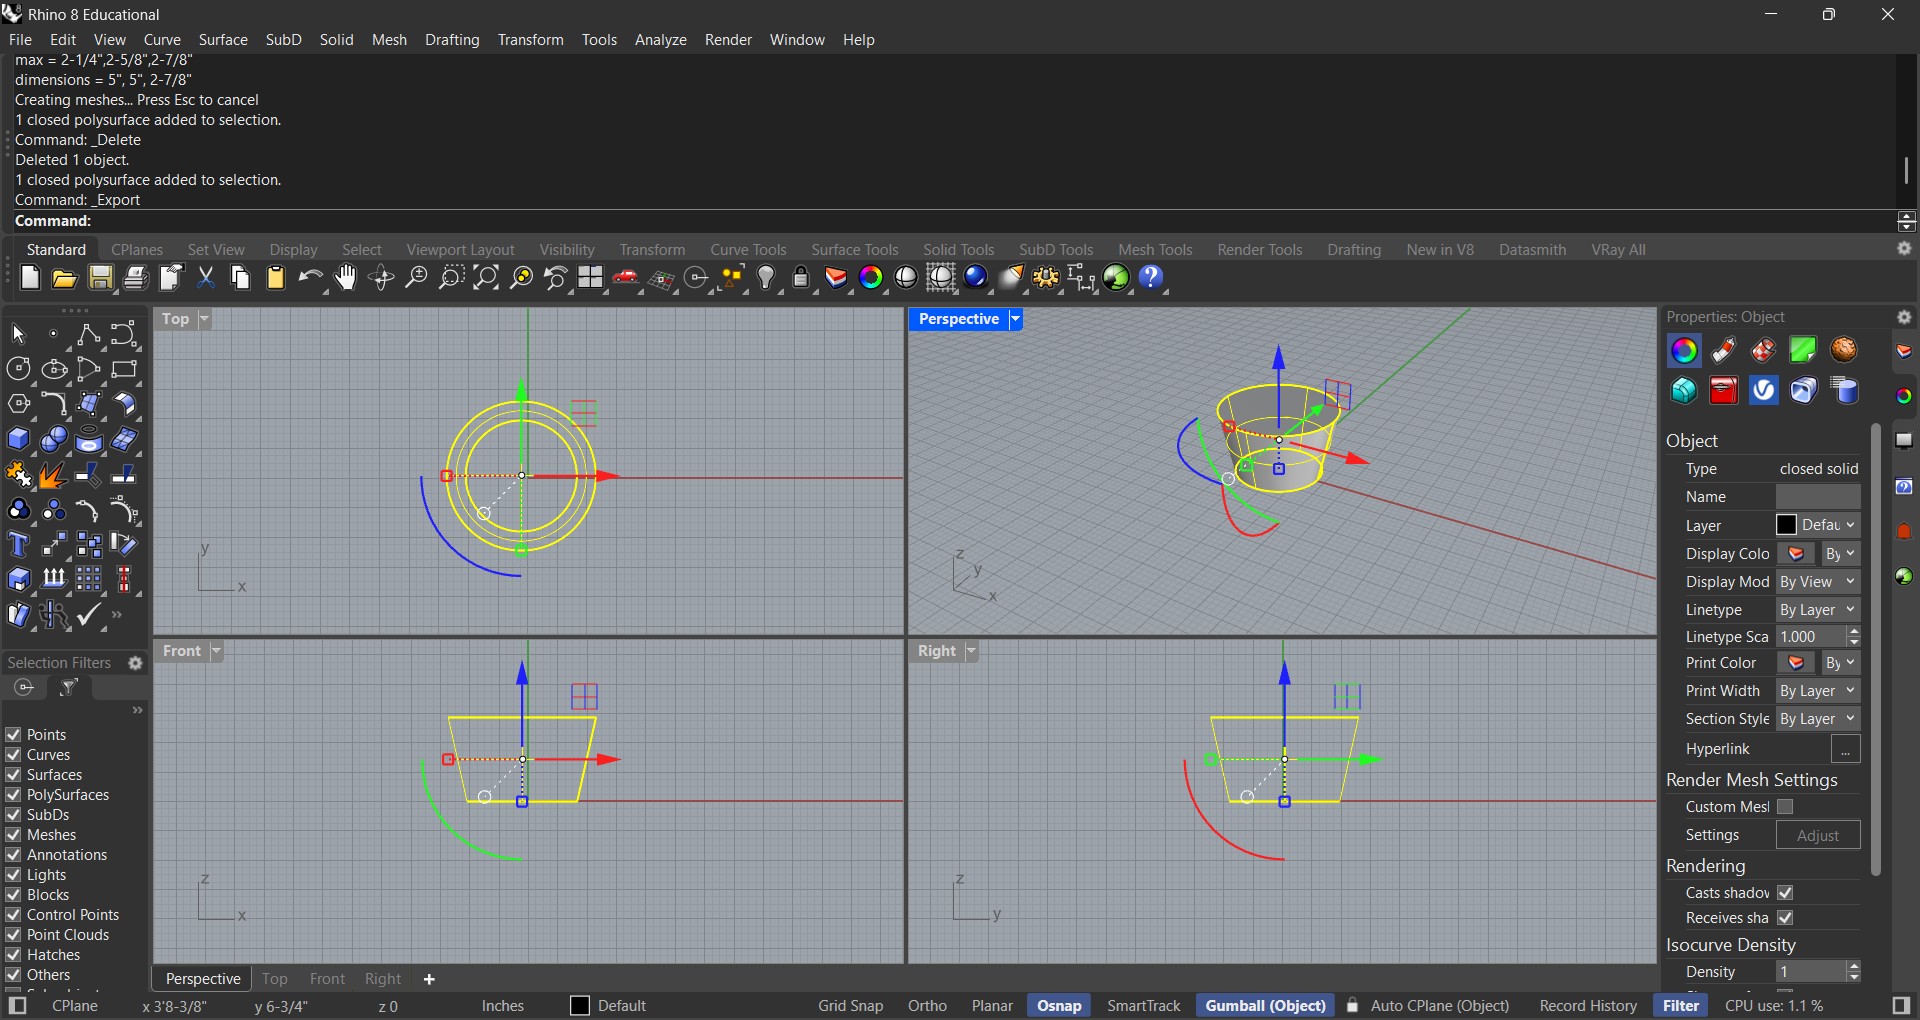
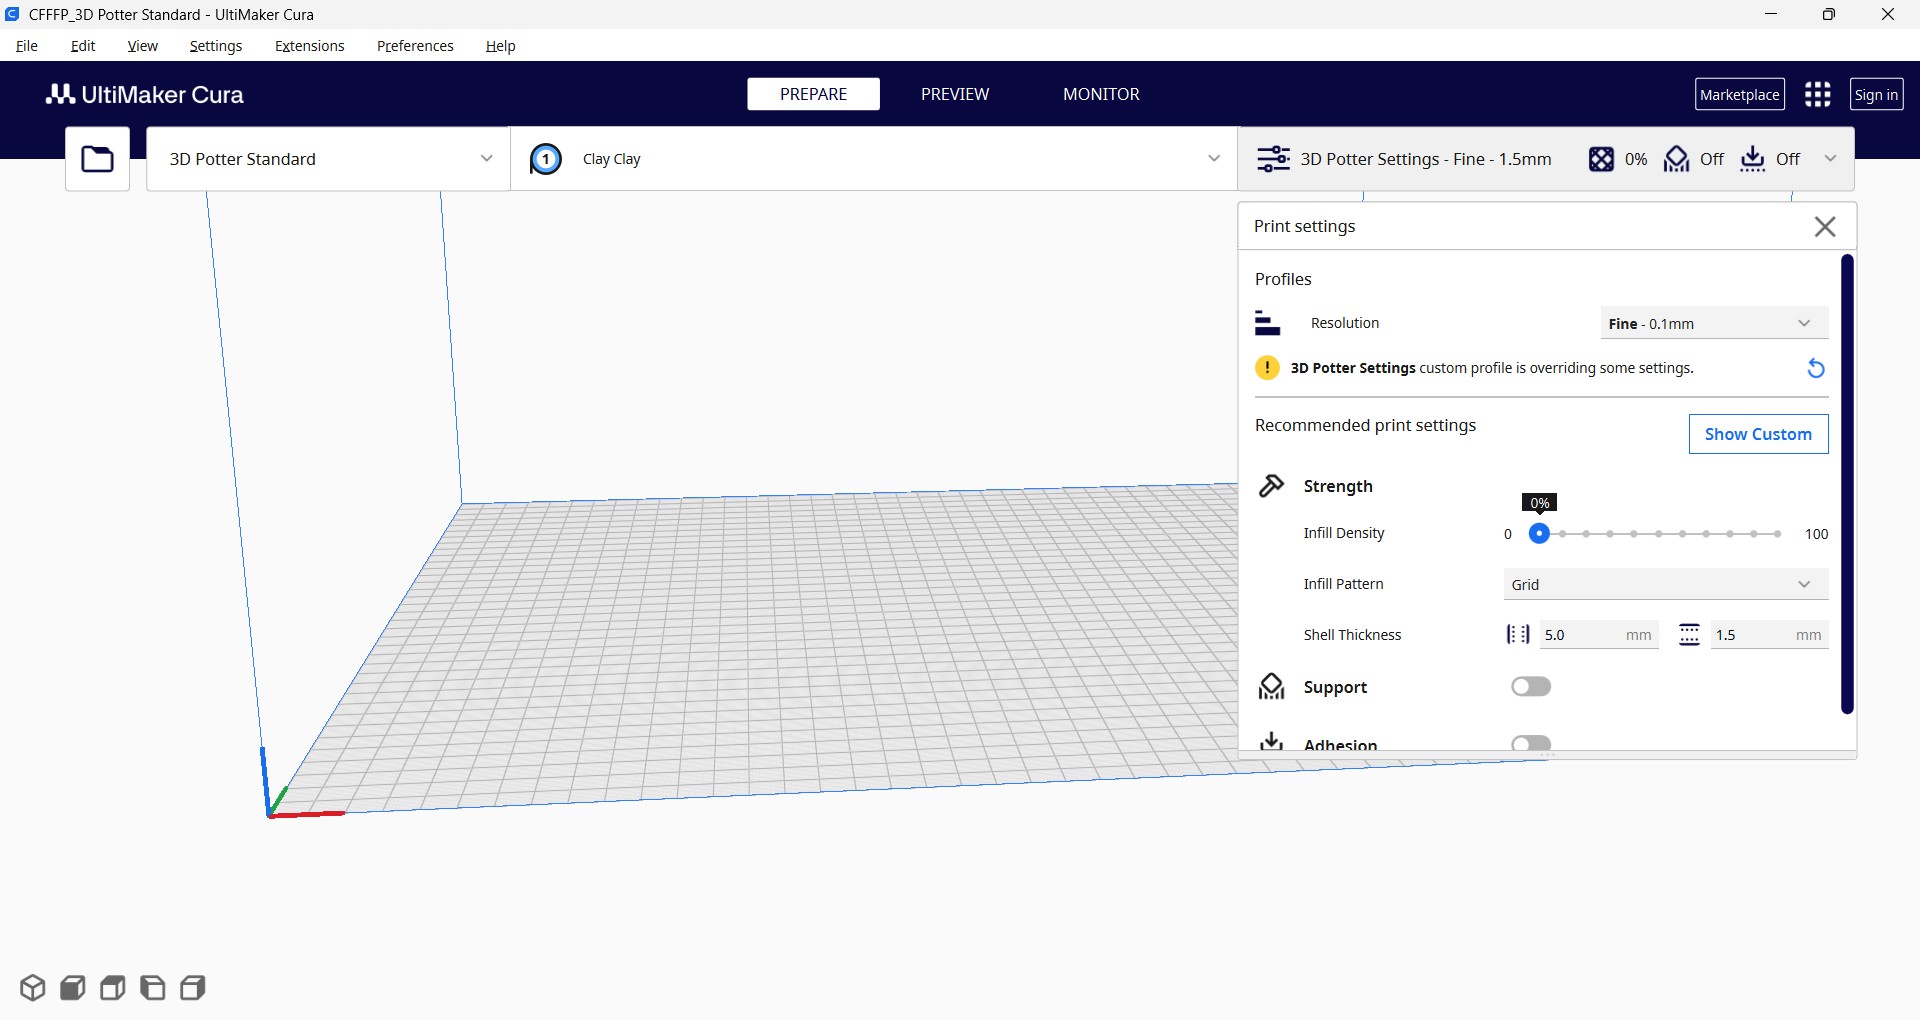
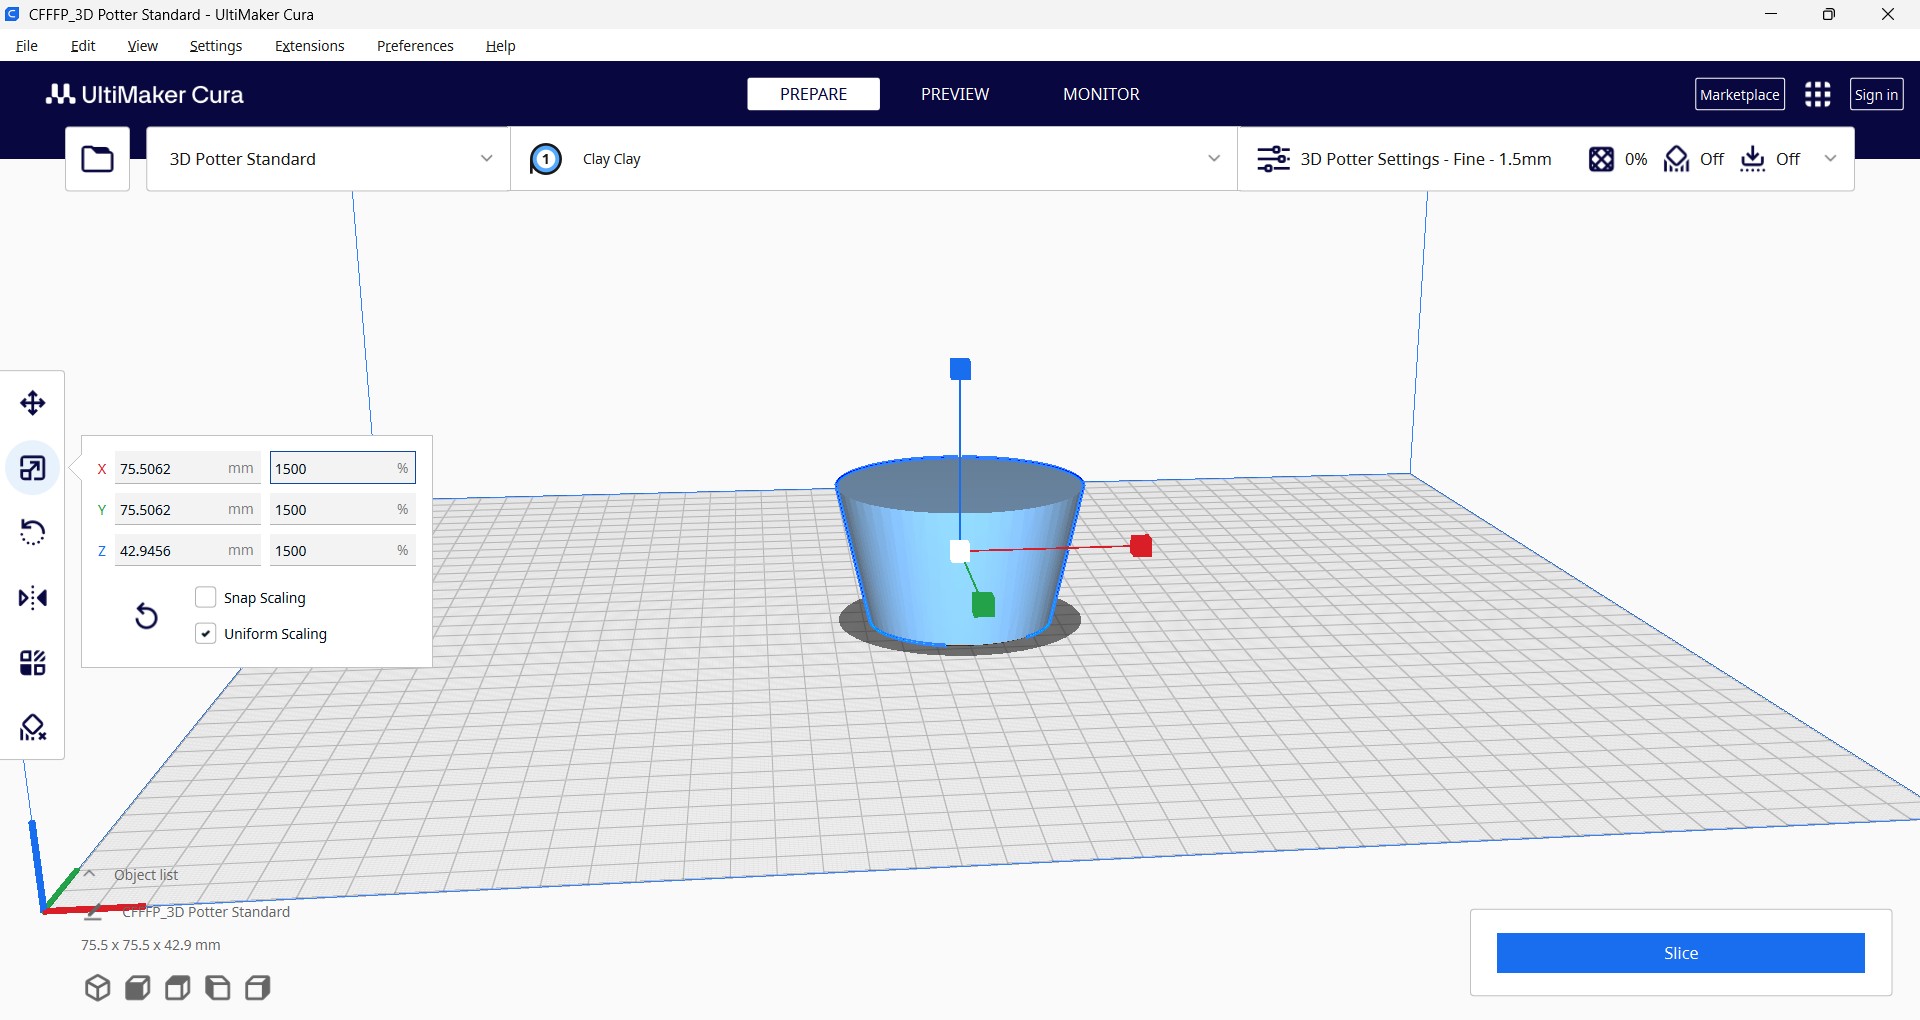
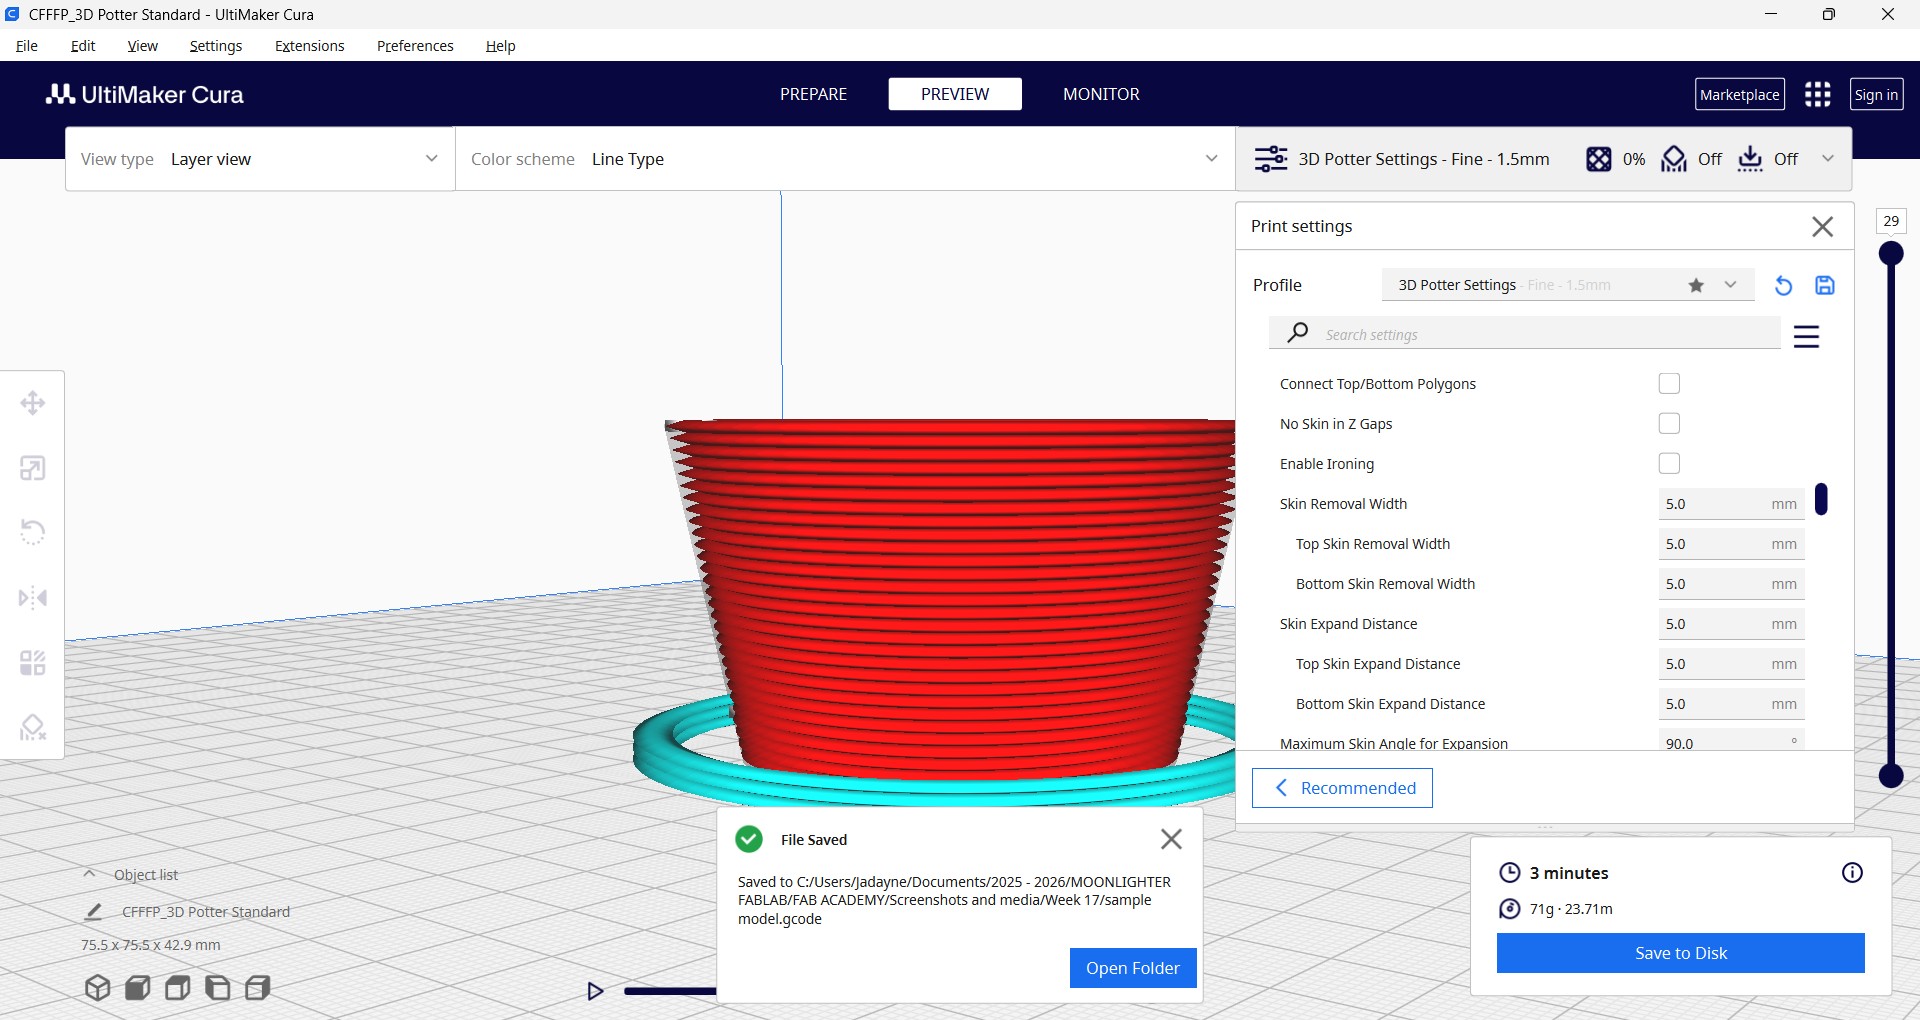
I went to Rhino 8 to make a simple model of a cylinder with a slight taper. I exported it to Cura. Note that this needs to be a solid object when brought into the slicer. Using the presets, I soon had a sliced model wich could be exported as a GCode.
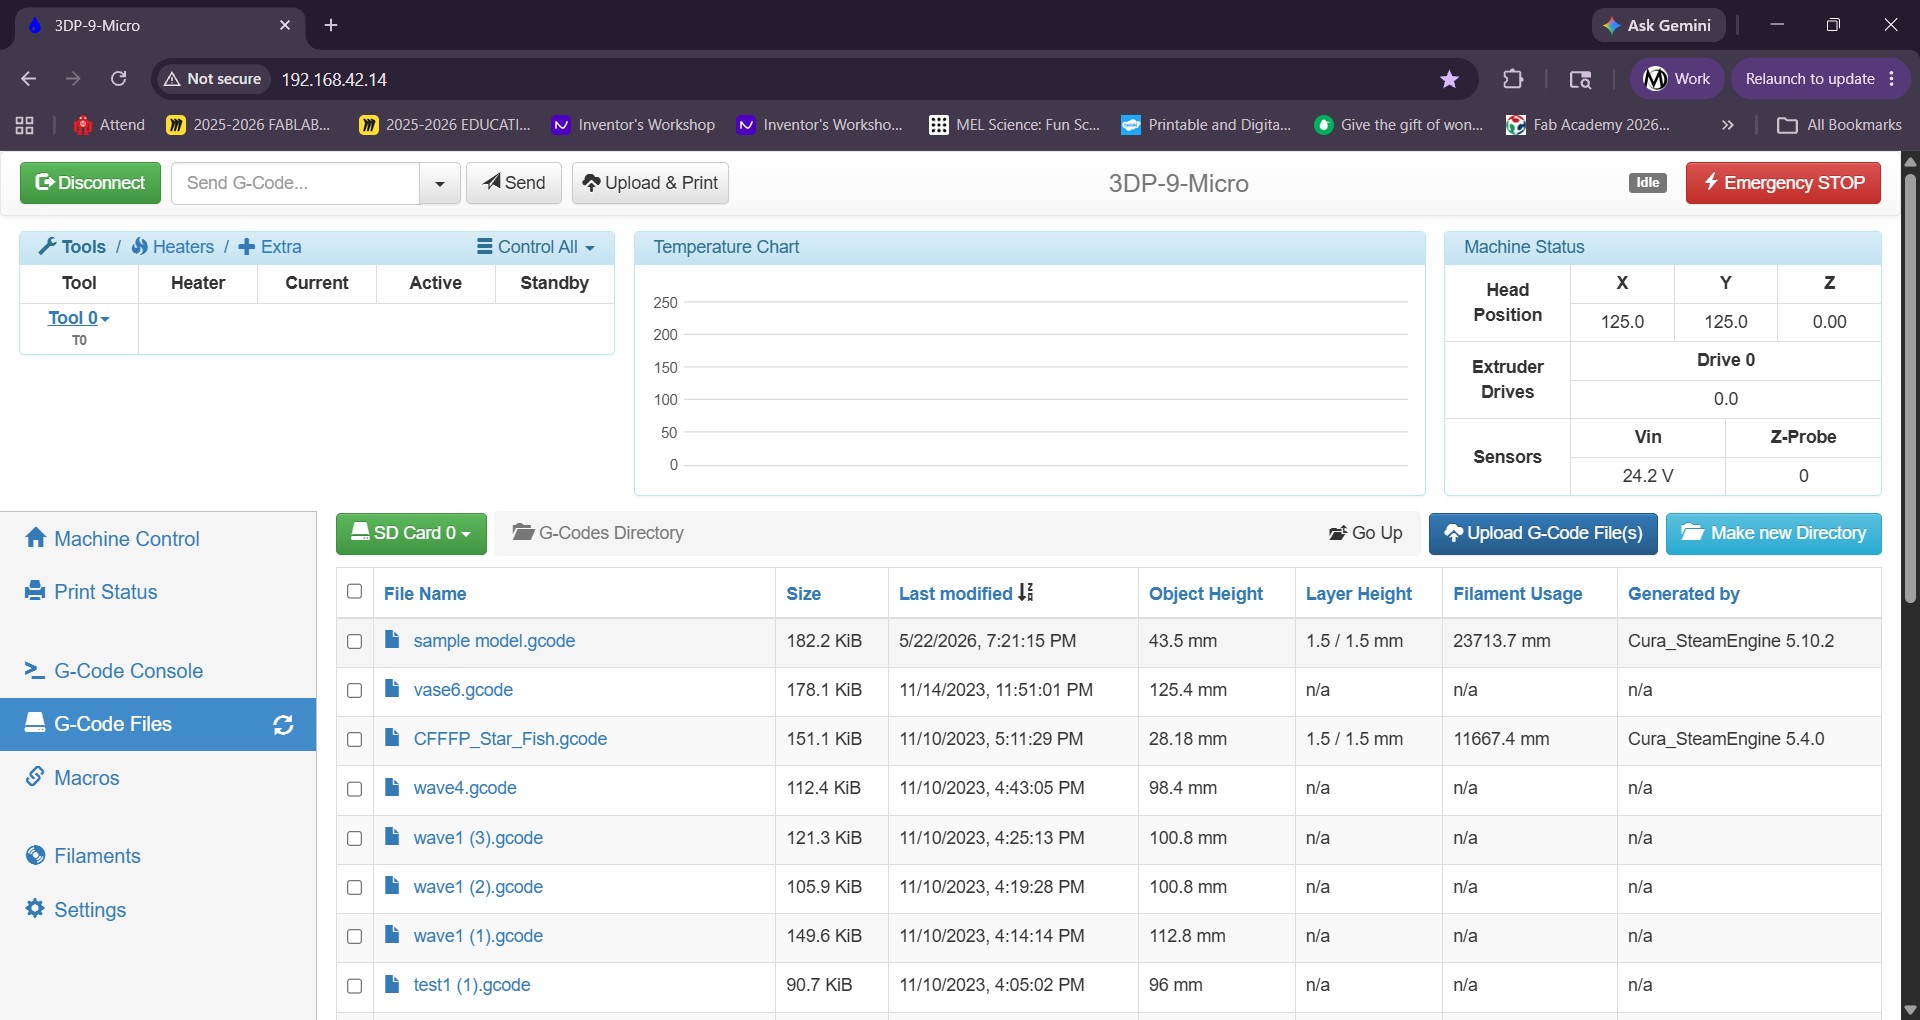
Once uploaded, the file will appear in the GCode files tab.
Loading the Printer
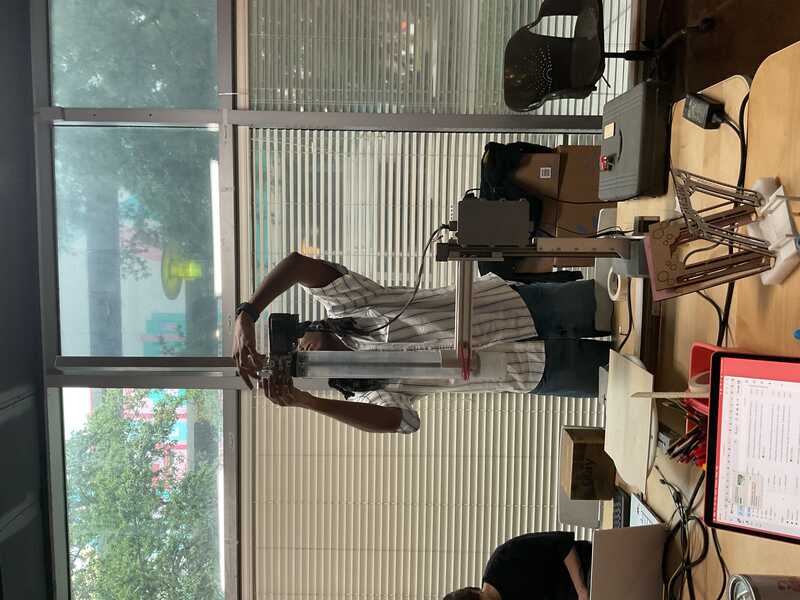
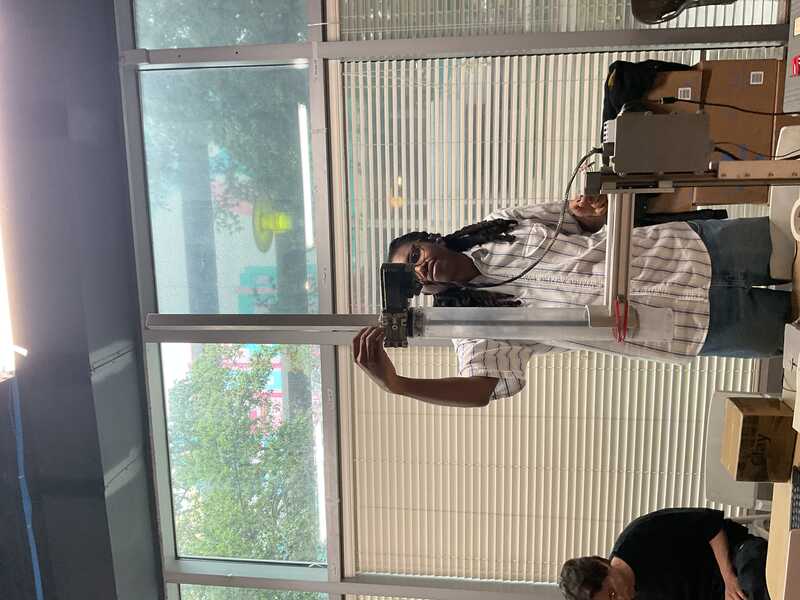
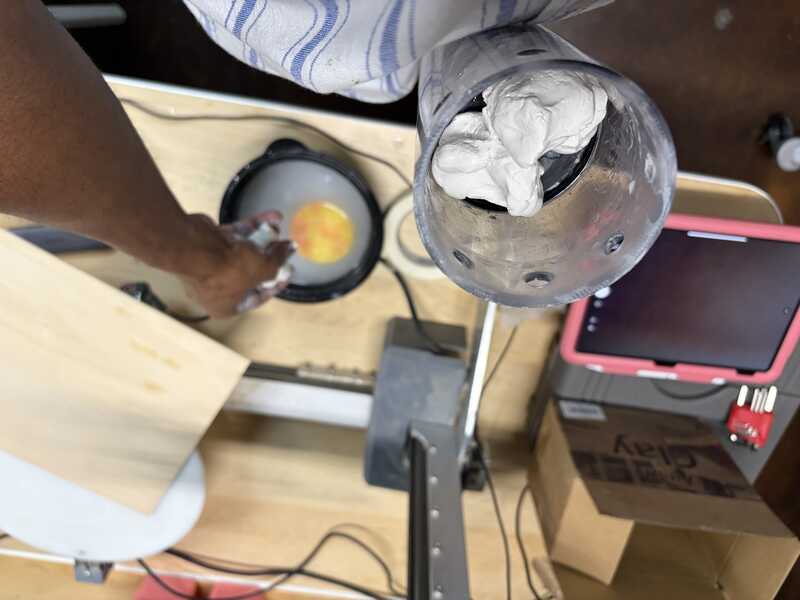
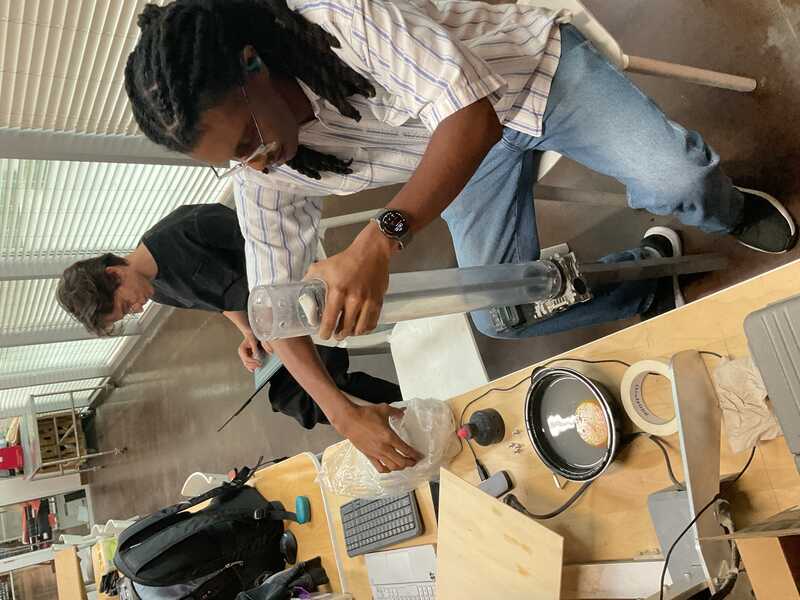
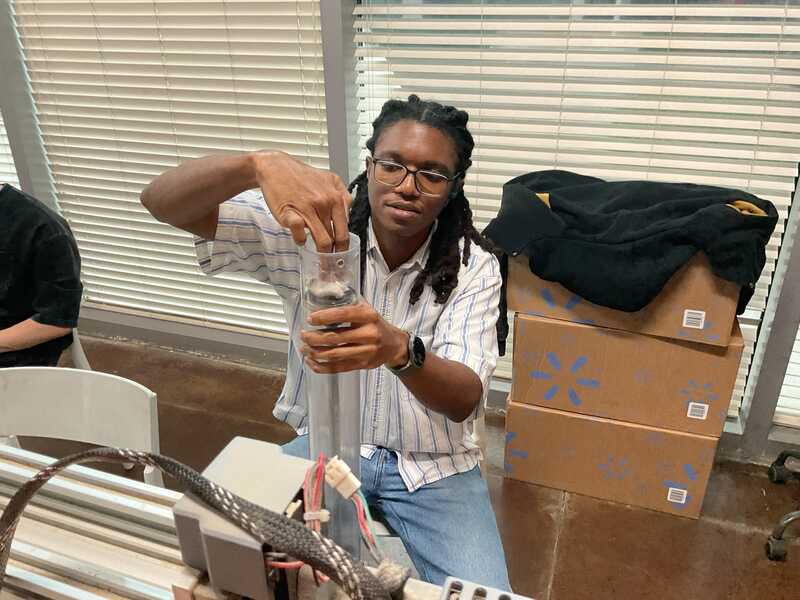
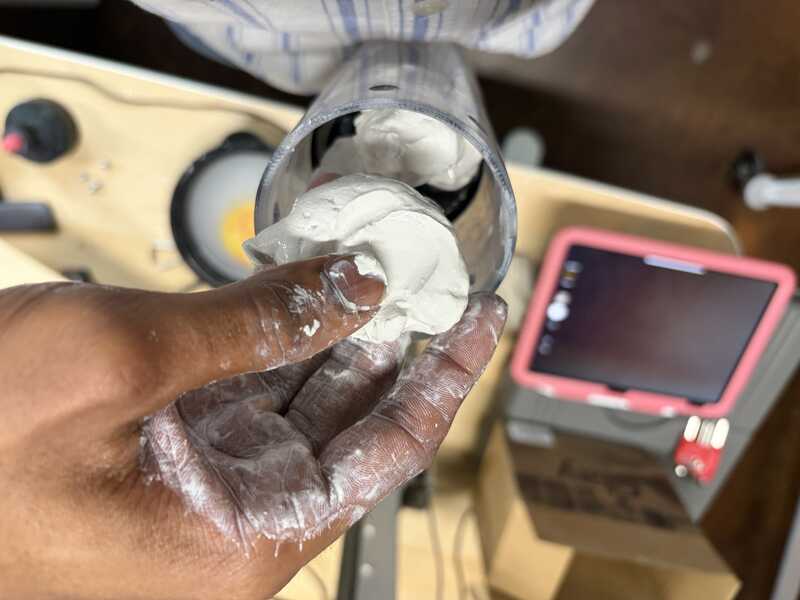
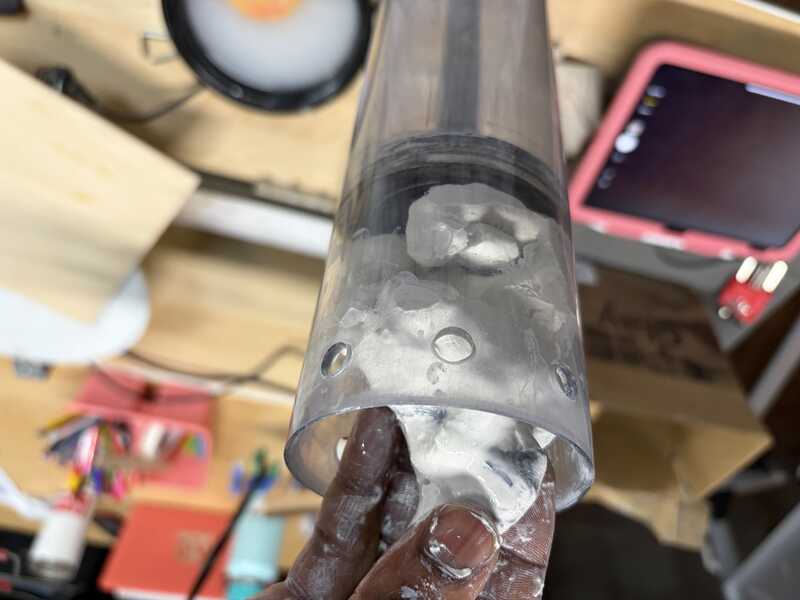
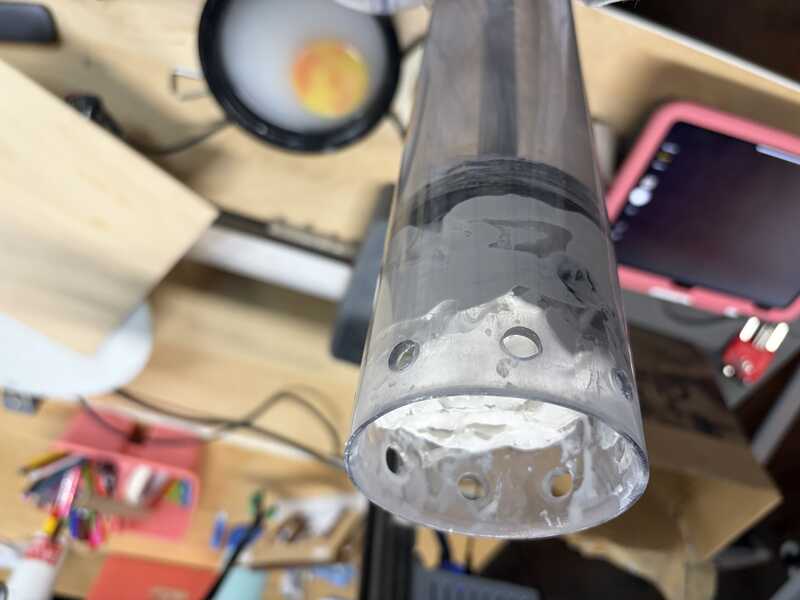
I disconnected the extruder and pinched pieces of clay off of the slab to place in the cylinder. With wet hands, I tried to soften the clay.
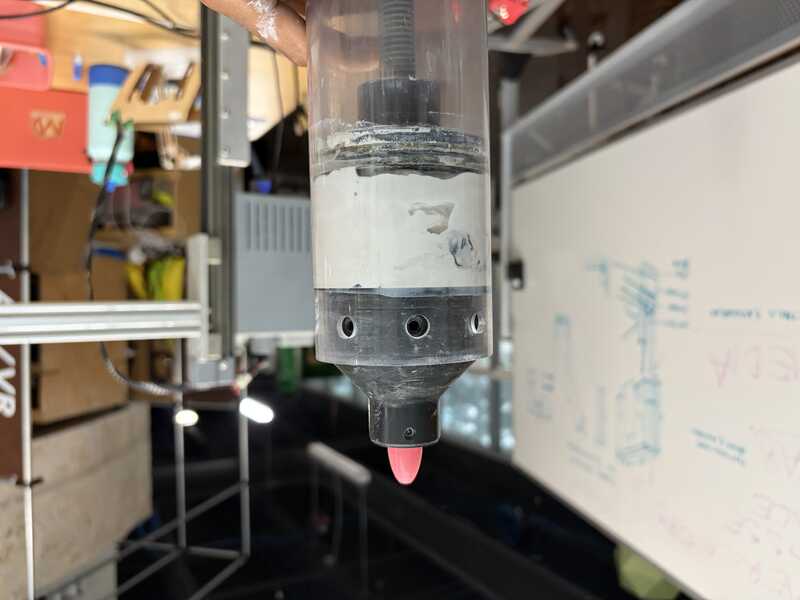
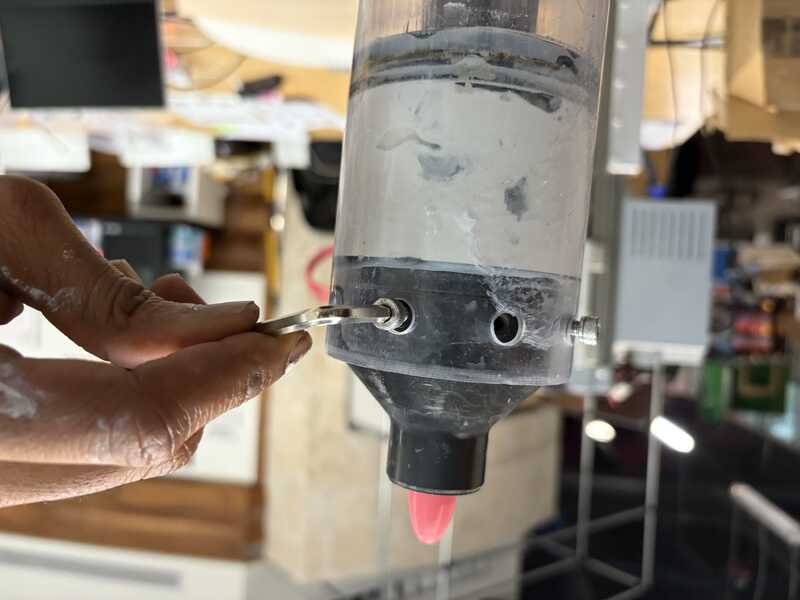
I put the tip back onto the cylinider and screwed in the hexscrews.
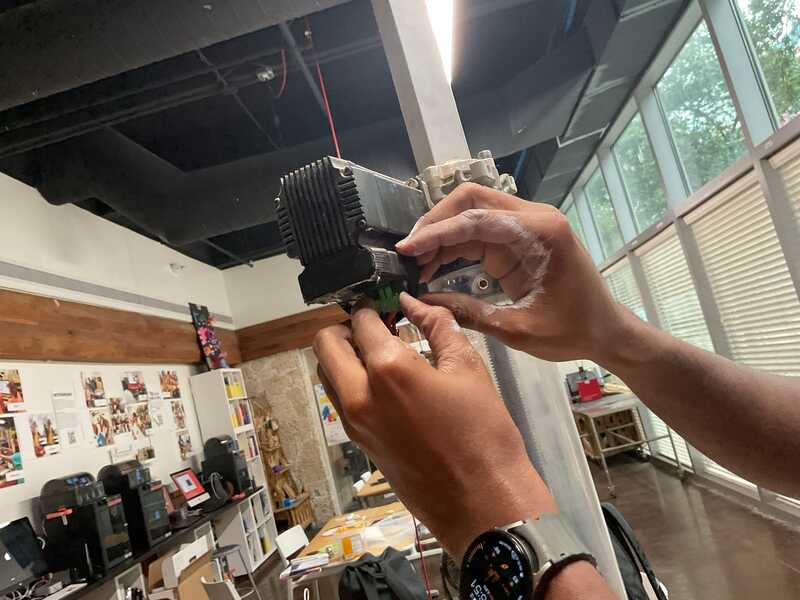
I reconnected the motor to the control unit.
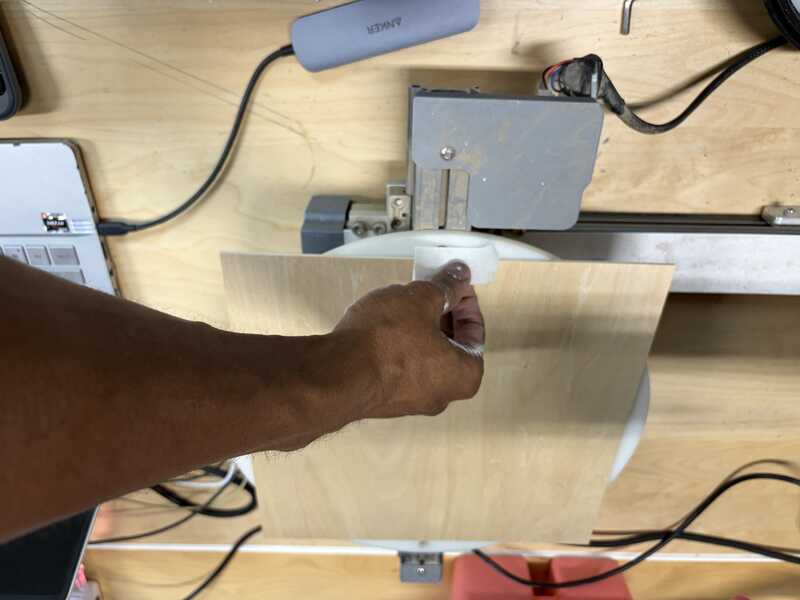
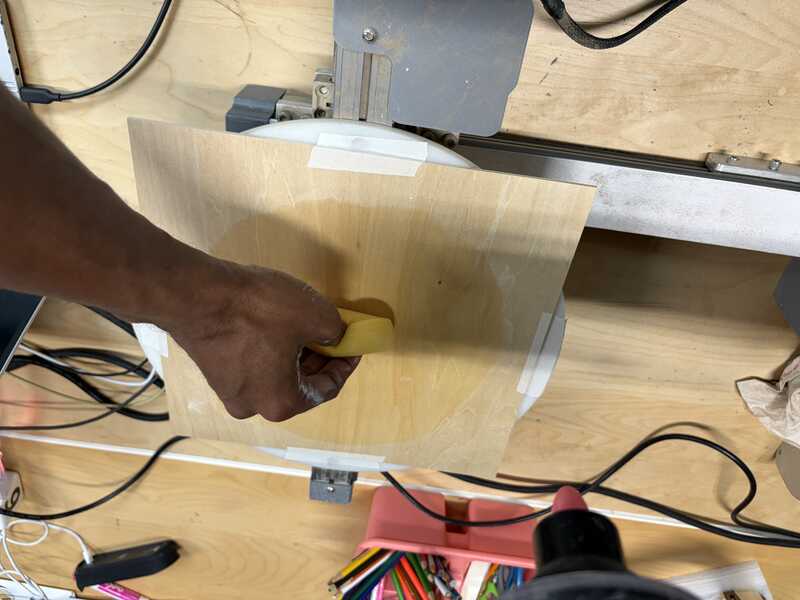
Adding a sheet of basswood to the bed, I secured it with tape.
Adding water to the bed should help with adhesion, but the results I got were not reliable.
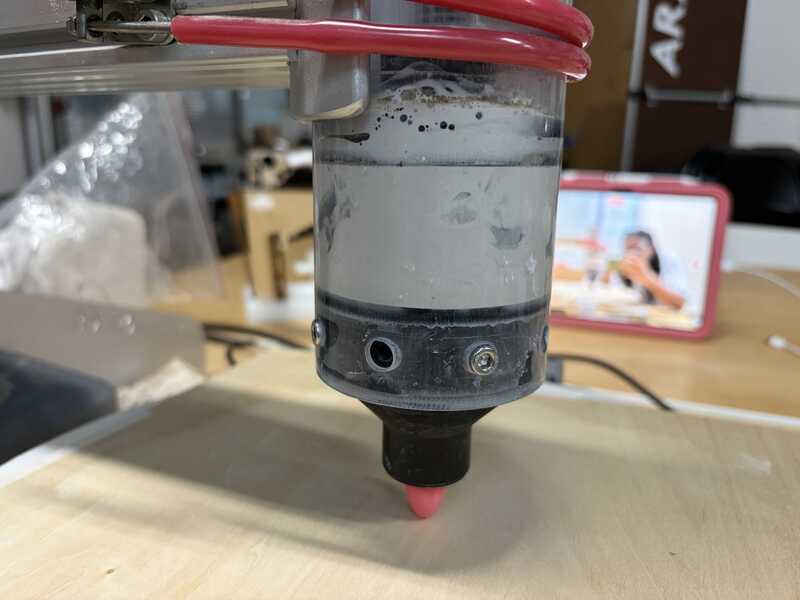
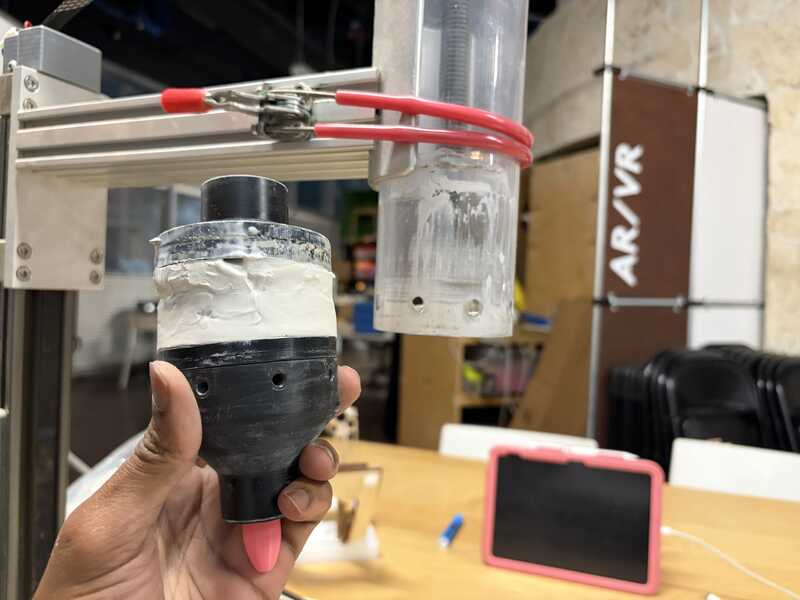
My first failure came with after when I tried to load clay into the tube. The clay we had was a bit hard, and I saw the advice from one video saying to use softened clay. I thought I could get away with wetting the clay, but the clay was still too hard for the extruder. Nothing came out from the test print and I had to disassemble it to get the clay out.
Preparing the Clay
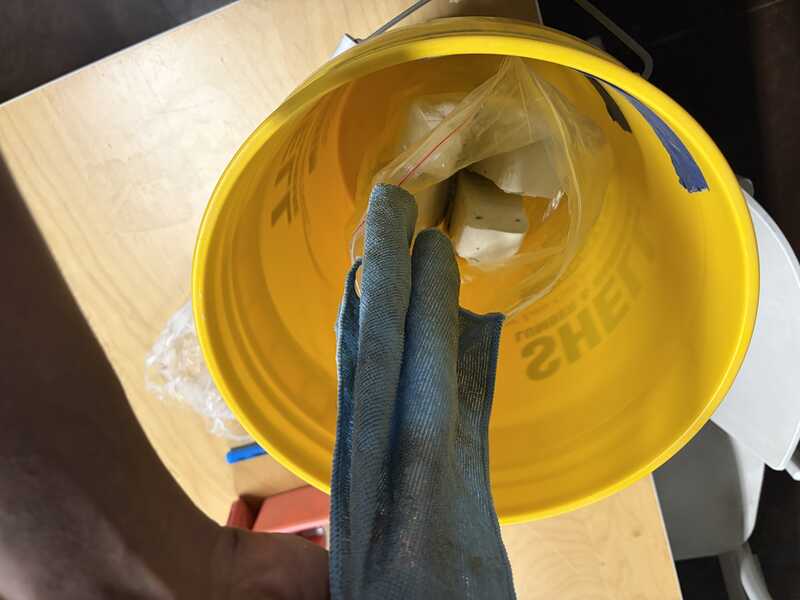
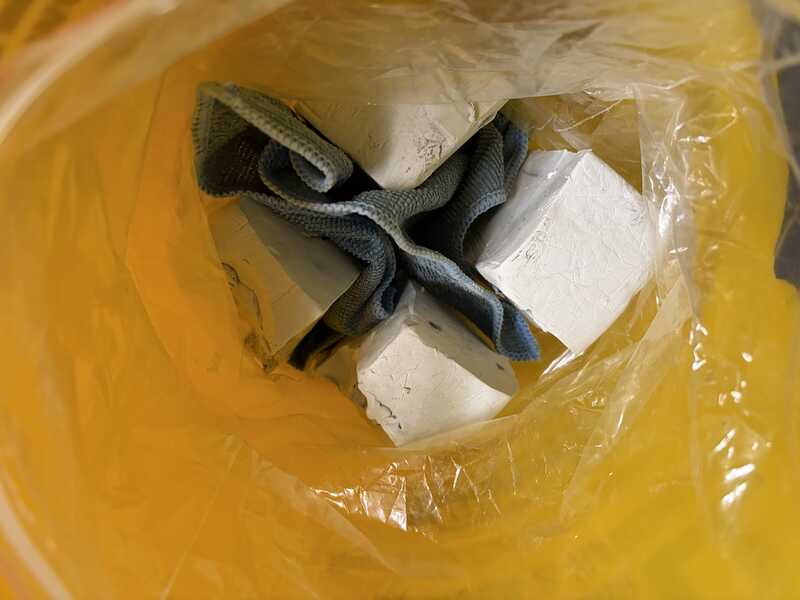
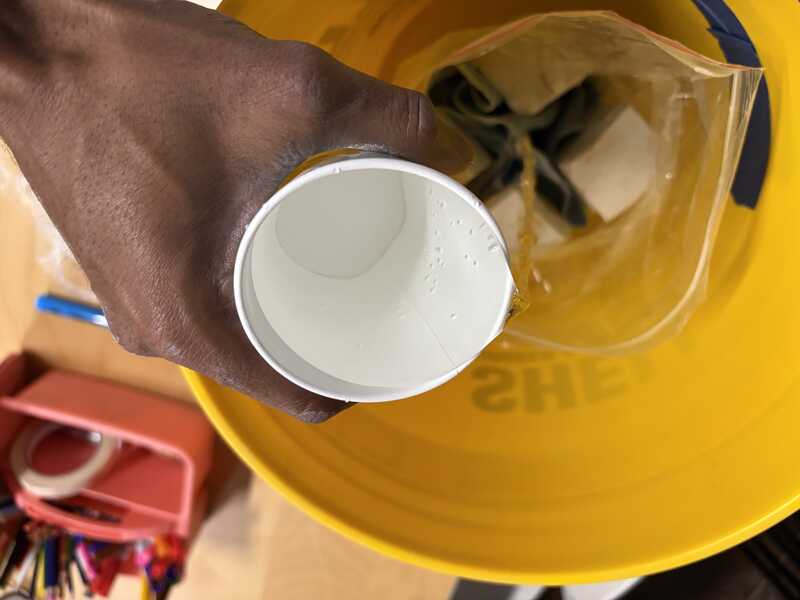
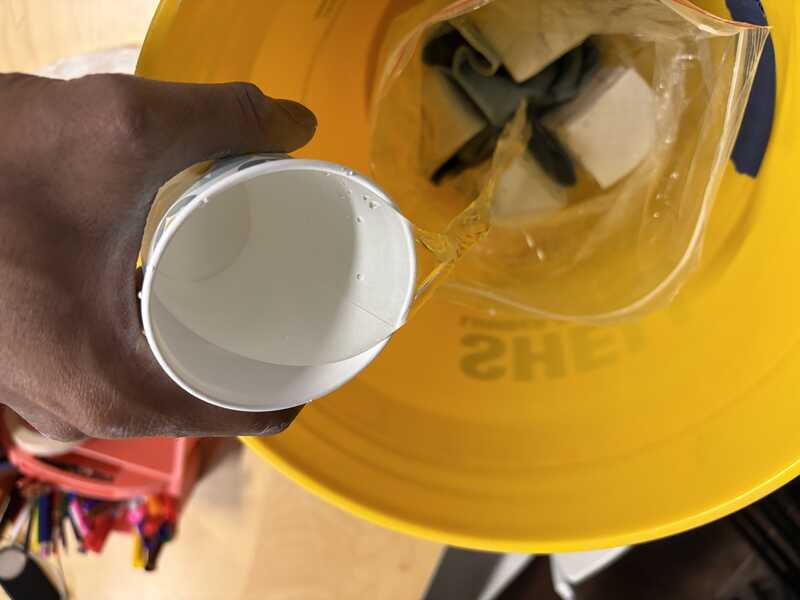
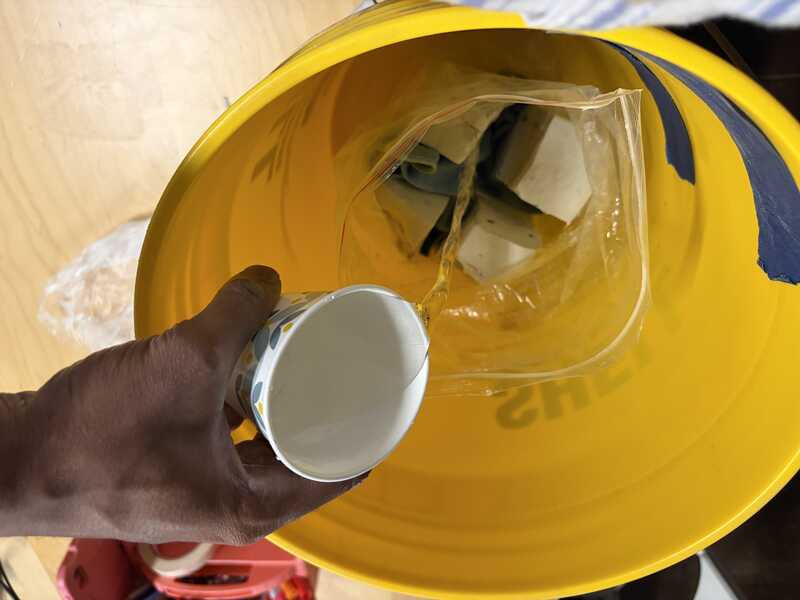
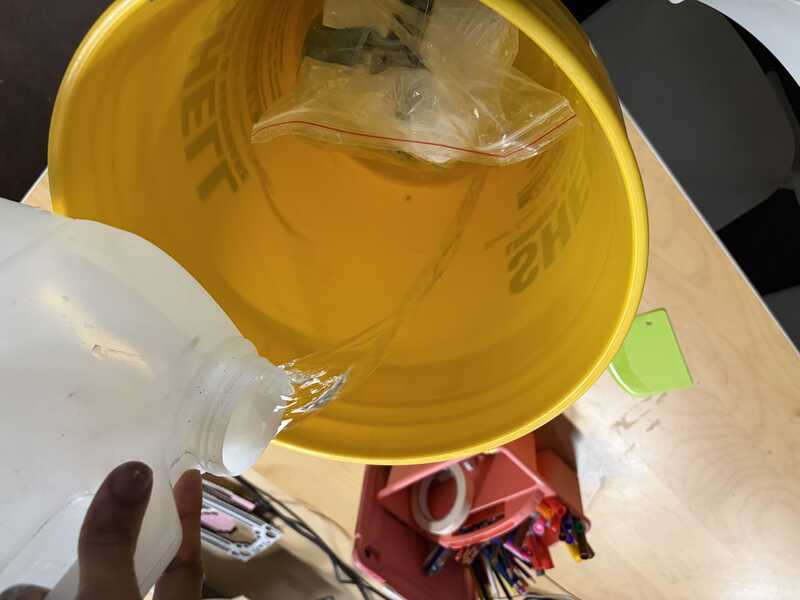
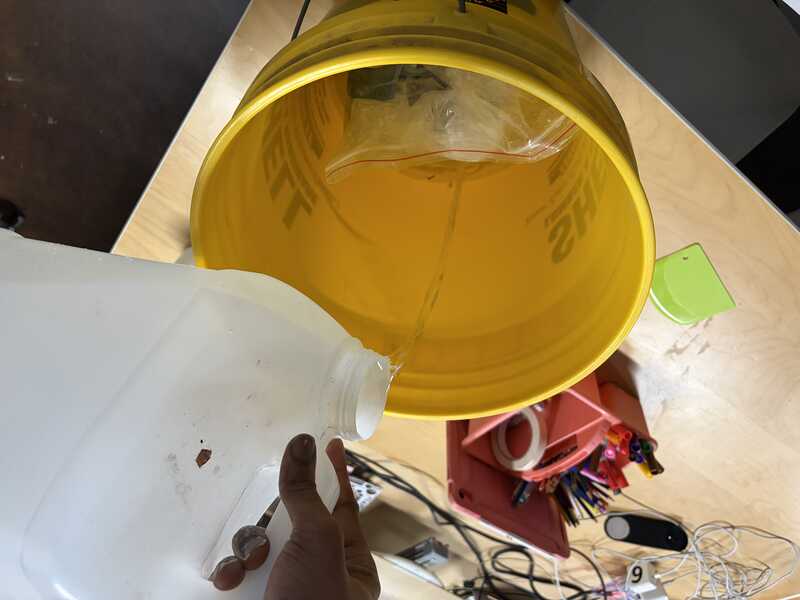
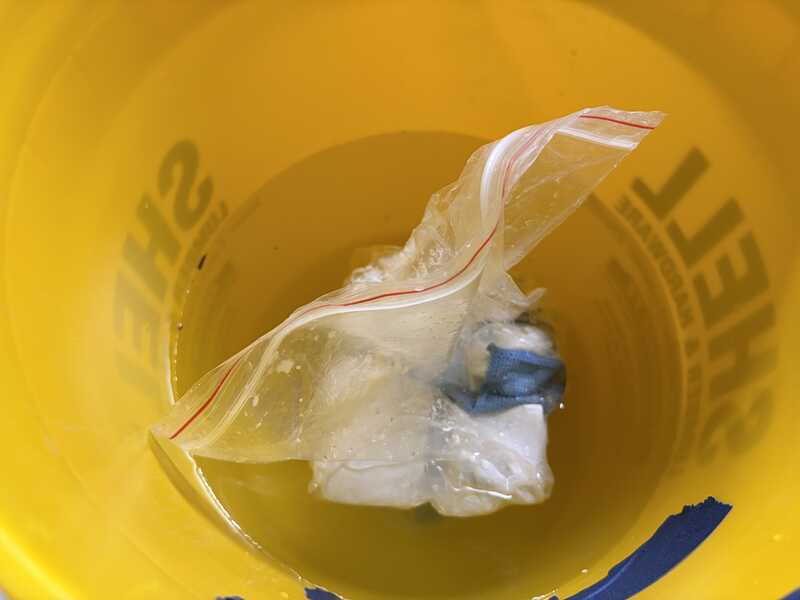
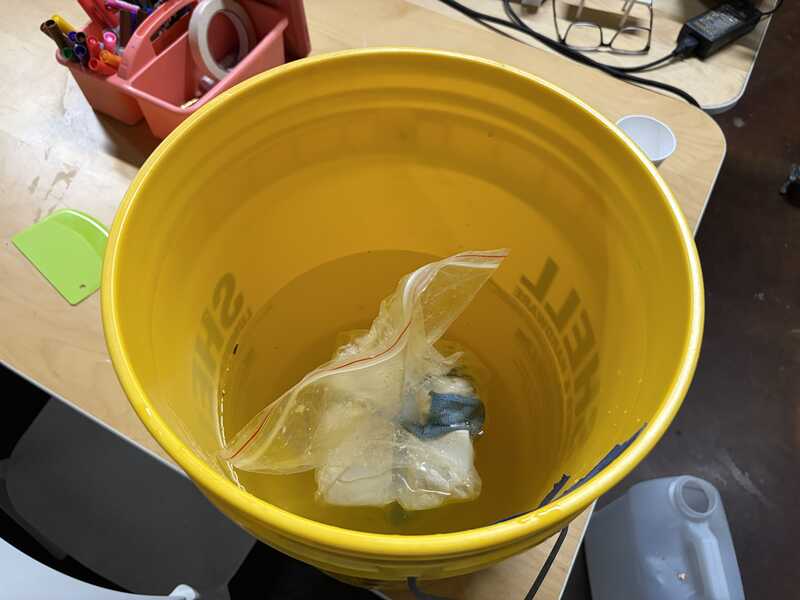
I followed the instructions from the clay video on how to get it softenough for extrusion. First I had to cut the slab of clay into 4, place it in a plastic bag, put a microfiber cloth as a wedge in the clay and pour a specific amount of water into the bag. Next was to put the bag in a bucket of water and let it soak for a 2-3 days.
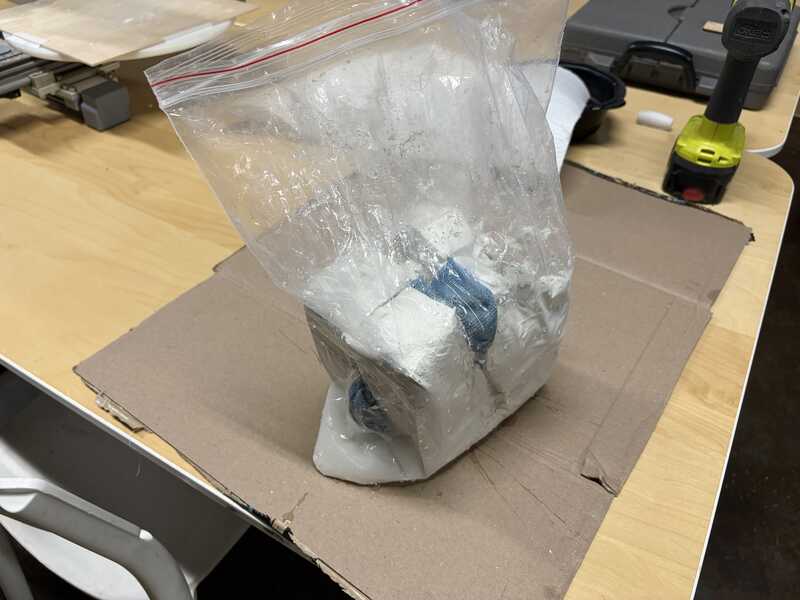
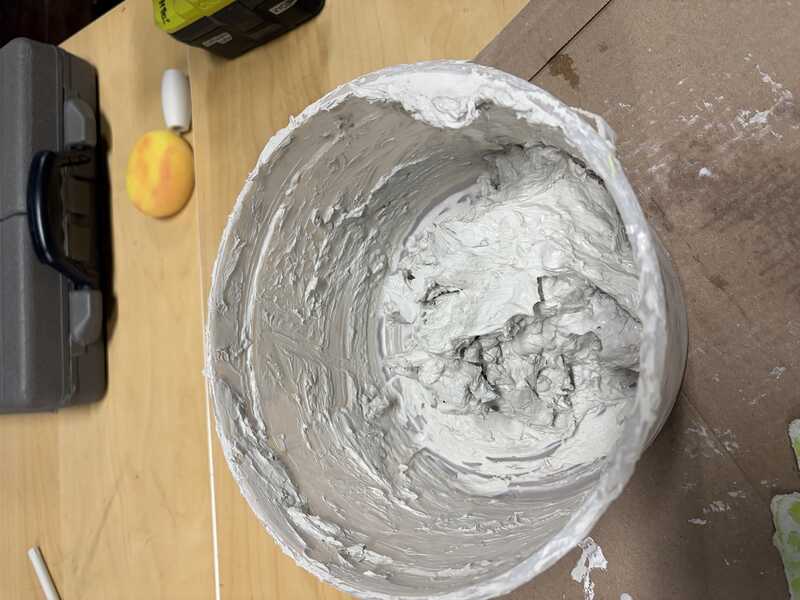
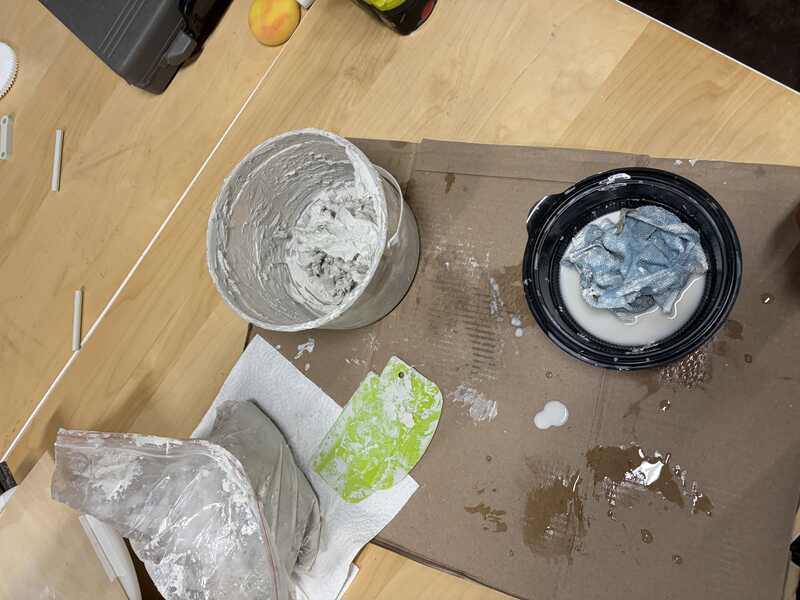
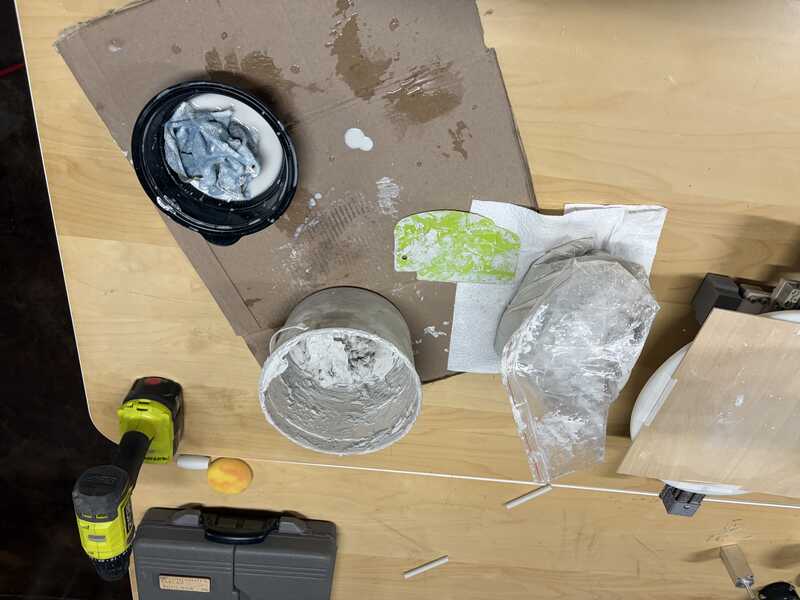
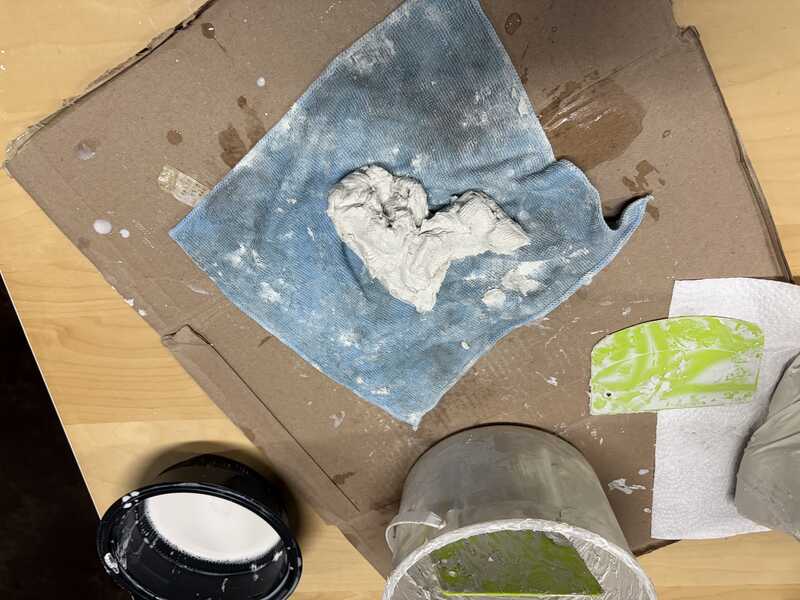
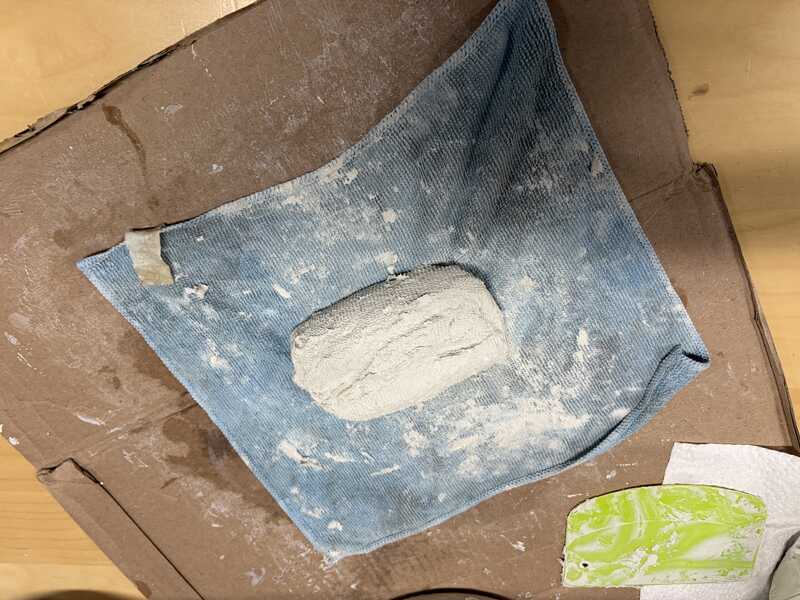
After soaking the clay, it was much softer but the texture was inconsistent and needed more water worked into it. I used a container and a clay knife to cut an kneed the clay as much as possible. I then used the microfiber cloth to shape the clay and keep it hydrated
Loading the Printer Take 2
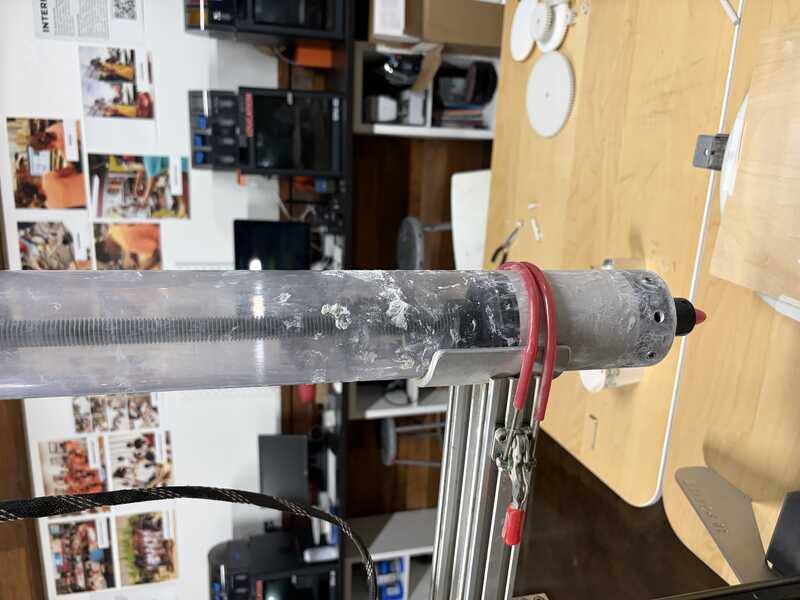
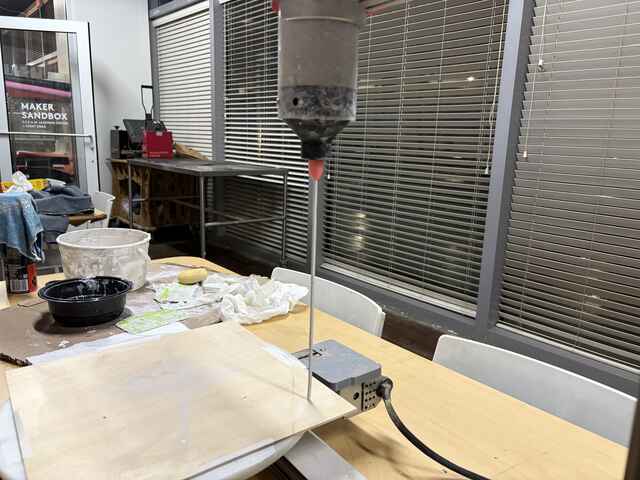
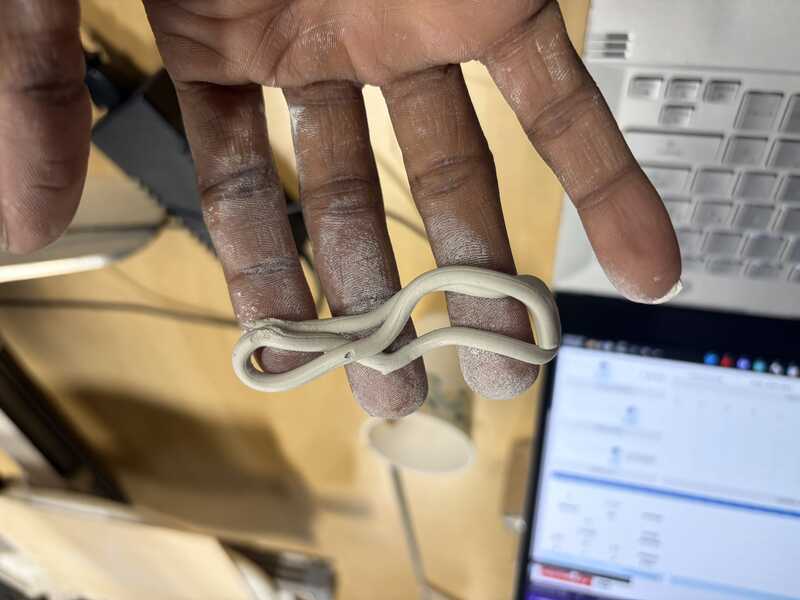
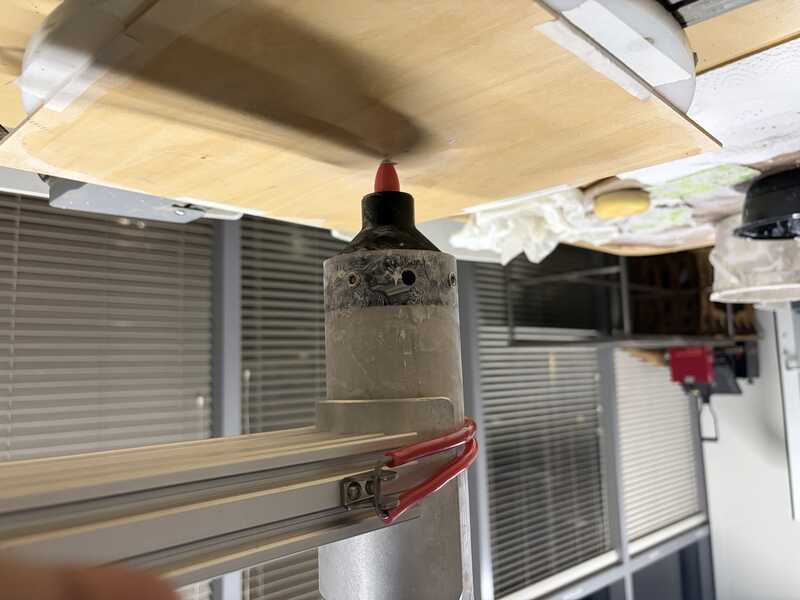
I loaded the extruder and tested it. I finally had usable clay and the consistency was very good.
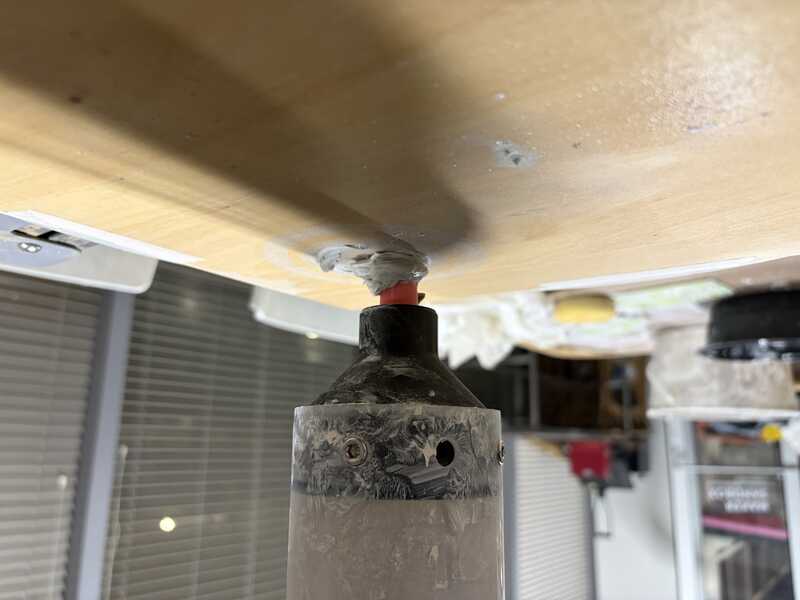
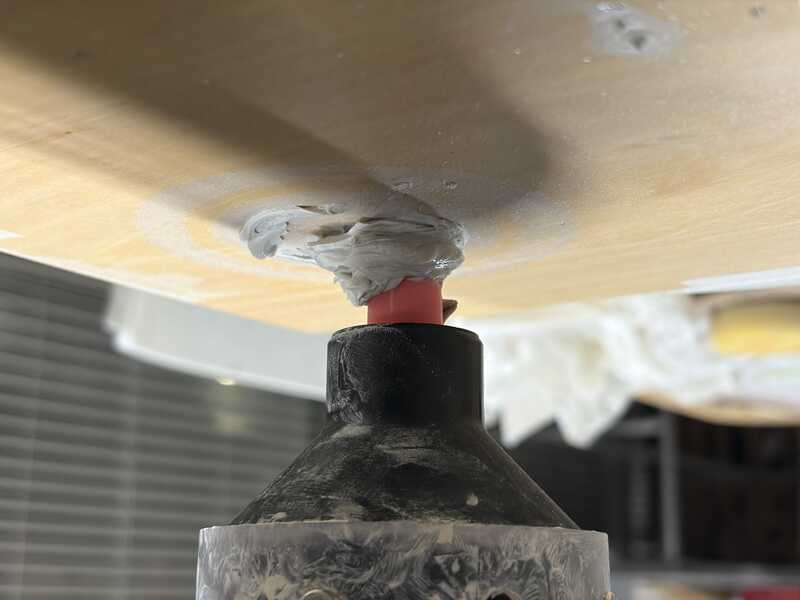
It took a few attempts of failed prints to understand the right pressure and distance from the bed. The distance that worked for me was aproximately 2-3mm. This allowed enough room for the clay to extrude without covering the tip of the extruder.
It wasn't perfect but I was seeing progress. I discovered that I would have a better chance of success if I pressed some of the clay on the bed at the start. That gave it something to hold on to.
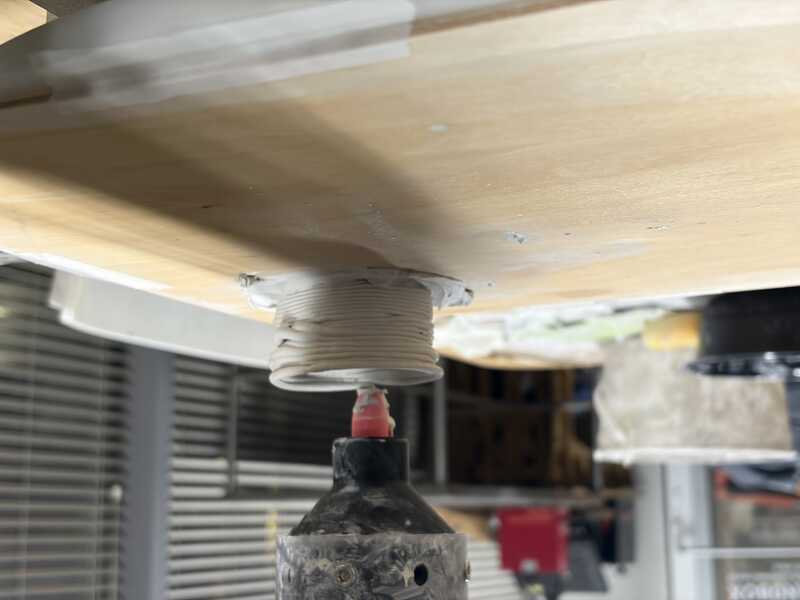
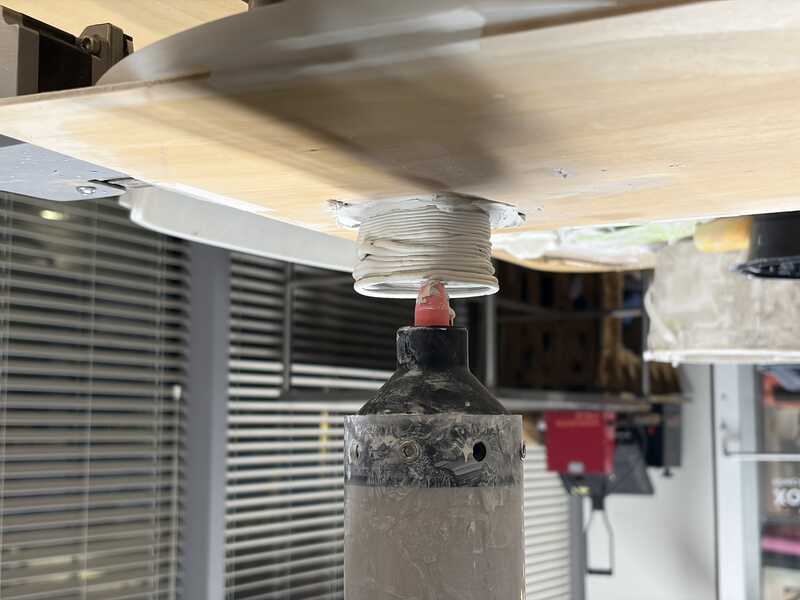
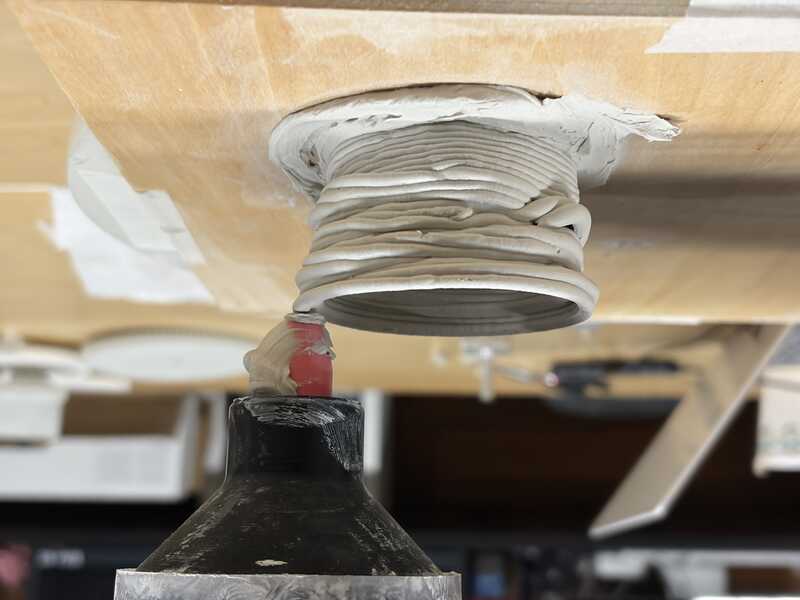
I noticed that the outcome of the prints would be better the more times I ran the print. Keeping in mind that this print has not been in use or maintained in some time, the issue may have been resolving themselves with use.
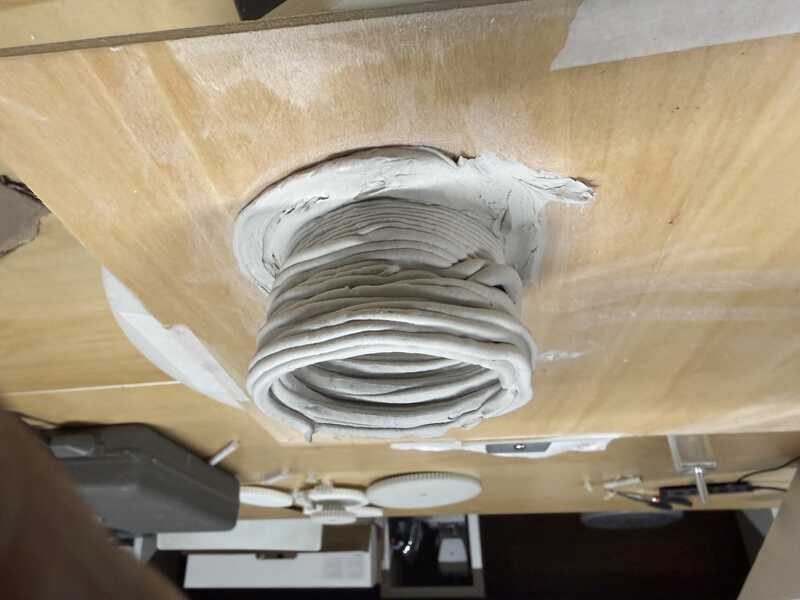
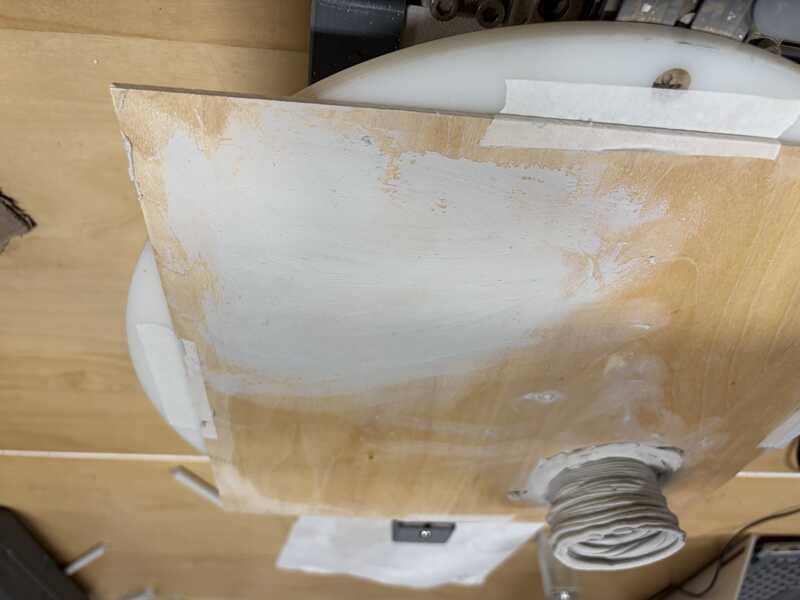
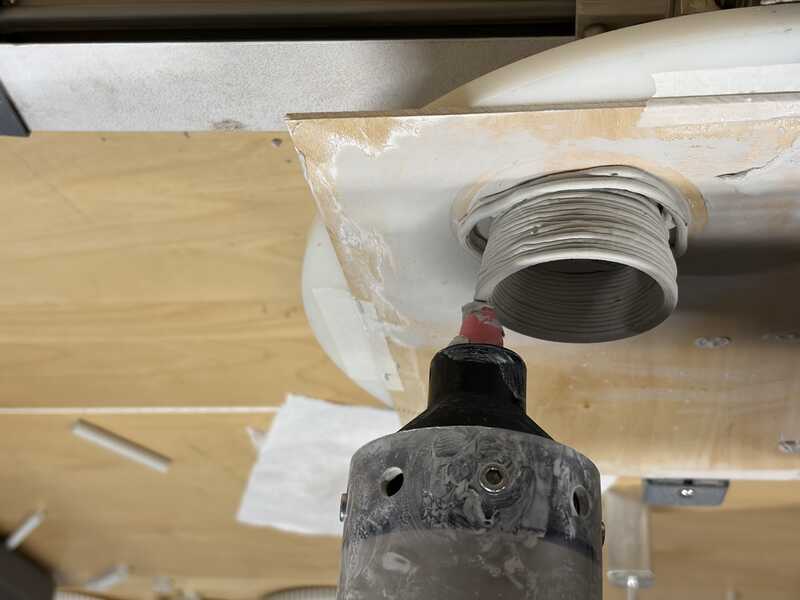
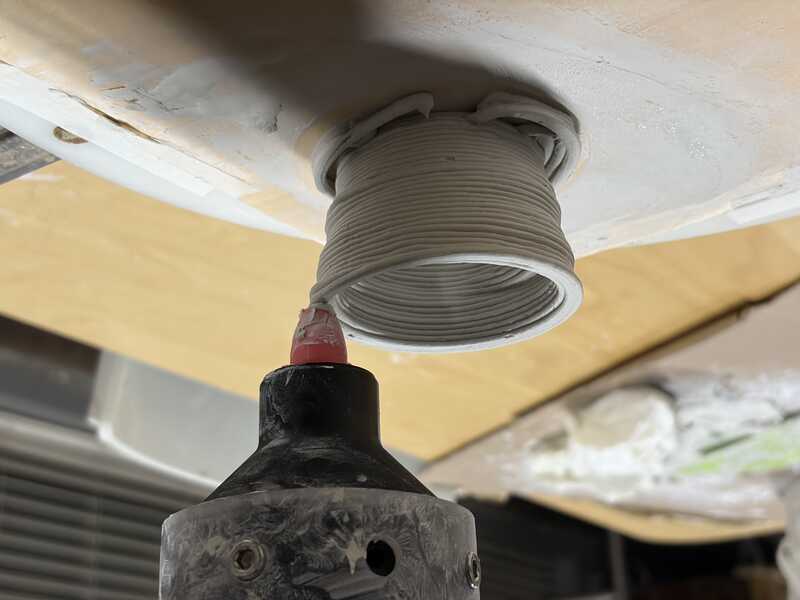
I kept trying until I got a mostly consistent cylinder. I would call this one a success. This print was done using the safe GCode, extruder position and bed location as the other prints. the only factor that changed was the number of times I ran the print before this final attempt.