

1. Project management
To start my Fab Academy journey, I chose to adapt a project idea I was developing for a Spring Camp Program I’m developing for Moonlighter FabLab. The theme is Build-A-Board and is all about teaching campers to come up with their own board game ideas, layouts, game pieces and rules.

Project Design Intent
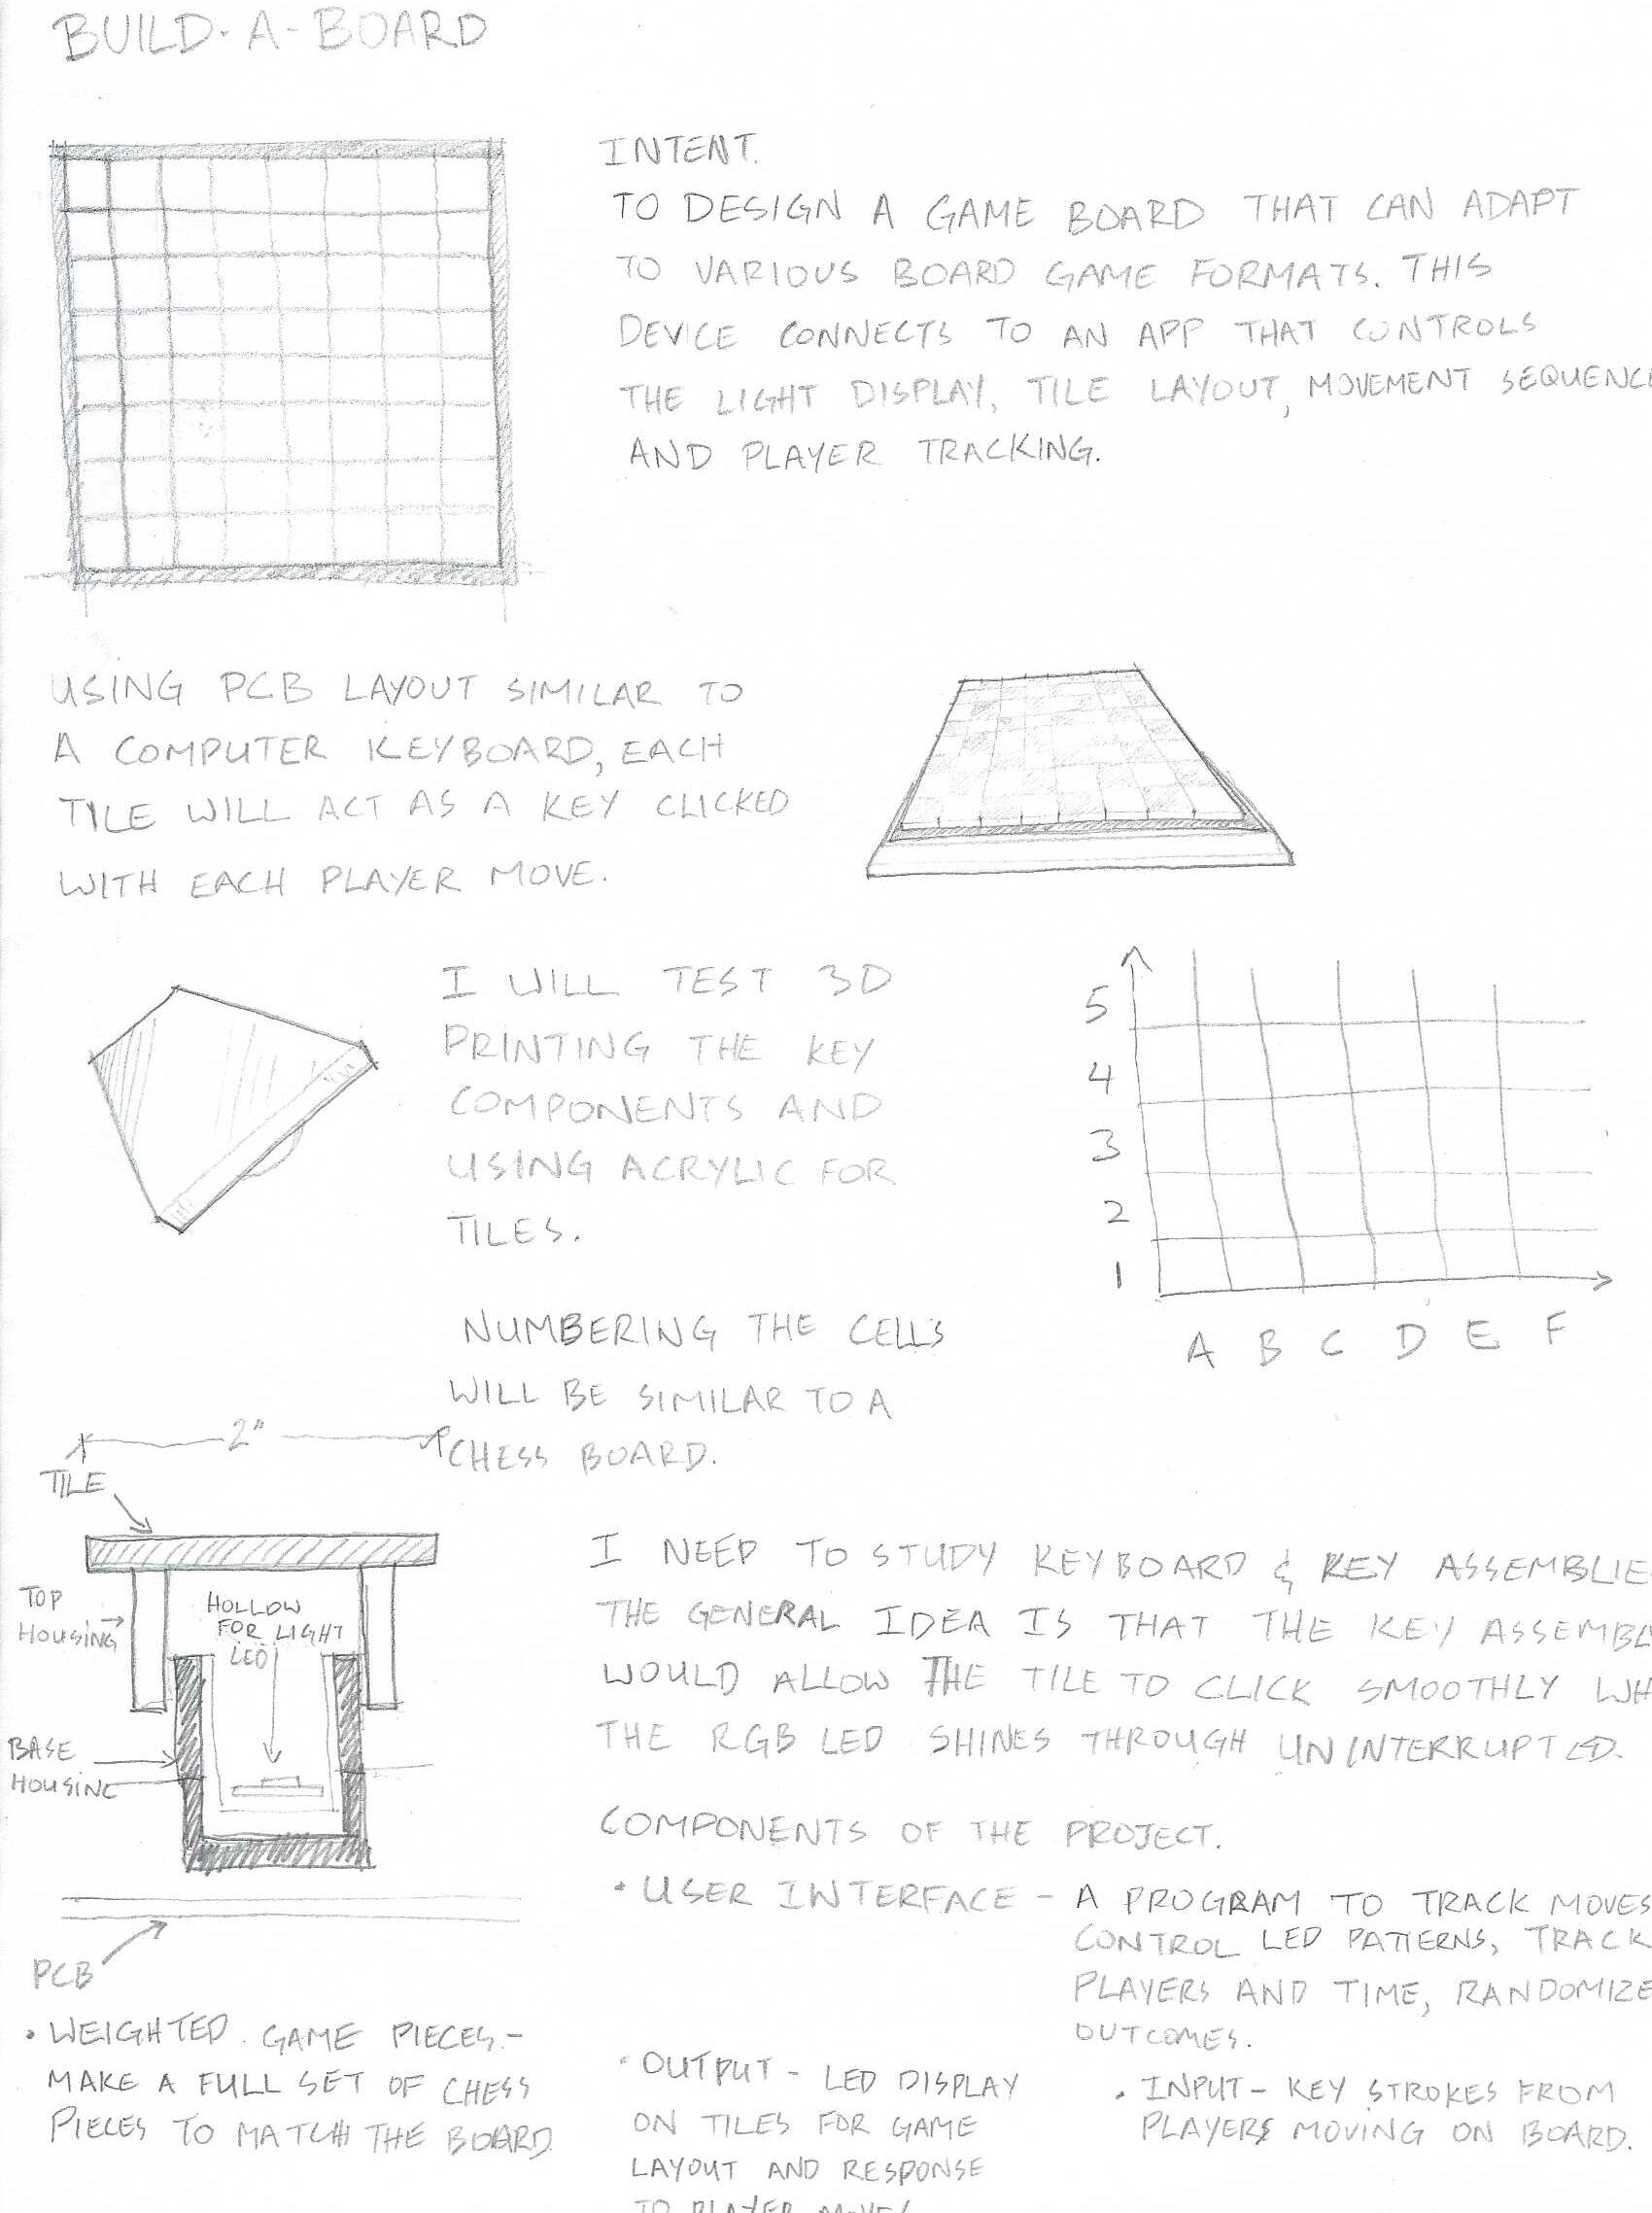
To design a game board that can adapt to various board game formats. This device connects to an app that controls the light display, tile layout, movement sequences and player tracking.
Design
Using a PCB layout similar to a keyboard, each tile will act as a key clicked with each player move. The cells will be numbered to follow a typical chess board I will need to study keyboard and key assemblies. The general idea is that the key assembly would allow the tile to click smoothly while the RGB LED shines through uninterrupted.
Components of the Project
User Interface - A program to track moves, control LED patterns, track players, track time, and randomize outcomes.
Output - LED lights in tiles for game layout and response to player moves.
Input - Key strokes from players moving on board.
Weighted Game Pieces - Make a full set of chess pieces to match the board.
While working on the concept I saw so many possibilities for integrating software and hardware. I am still at basic level when it comes to most electronics and programing so my first thought was to make the prototype using the Makey Makey interface. I was soon advised by my instructors that I would need to advance my thinking as soon as possible. I had a very enlightening conversation with my friend Alie who is a genius when it comes to electronics and LEDs. We walked through the options for sensors, types of boards, how i should breakdown the variations of the projects to save time while maximizing progress. It was this conversation that got me thinking about a keyboard functionality with integrated LEDs. This is my goal however we also discussed incorporating NFC readers to better track specific game pieces.
Setting Up My Website
I started working on the HTML and CSS for my website a week early because I have never coded before. I knew it would take me extra time to wrap my head around it and I’m glad I did. I started by trying to learn what HTML was and how it worked but that got me nowhere without a practical application. I eventually remembered the times Alie and her programmer friends would talk about using chatgpt for vibe coding. It seemed like a good way to get a starting point so I began writing my prompts.
First Prompt
Generate the html code for a portfolio website with Main Title text "Jadayne Smith Fab Academy 2026 Portfolio", Project title "Build-A-Board Interactive Board Game Builder", Include photos and body text in the layout to show stages of the project's progress. Make the color theme be a dark forest green with a slightly lighter green as an accent color and use white text.
Link to ChatGPT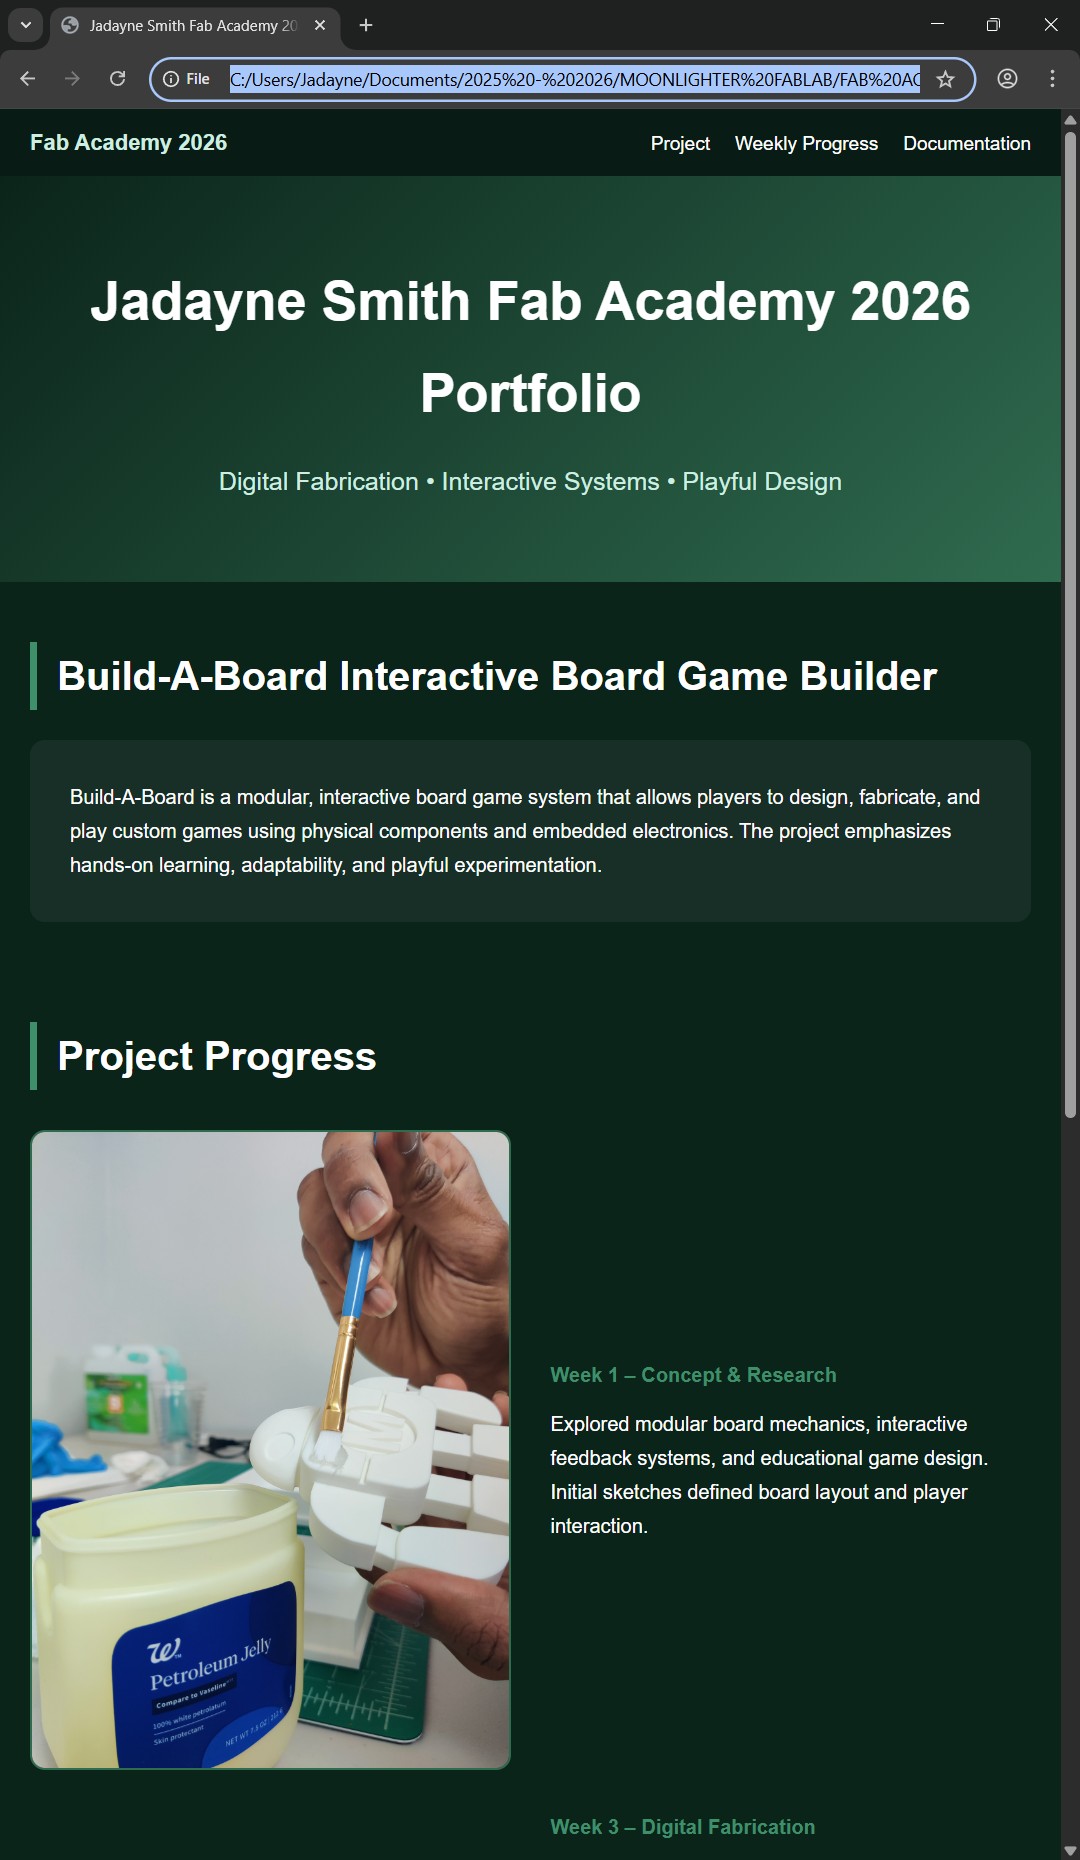
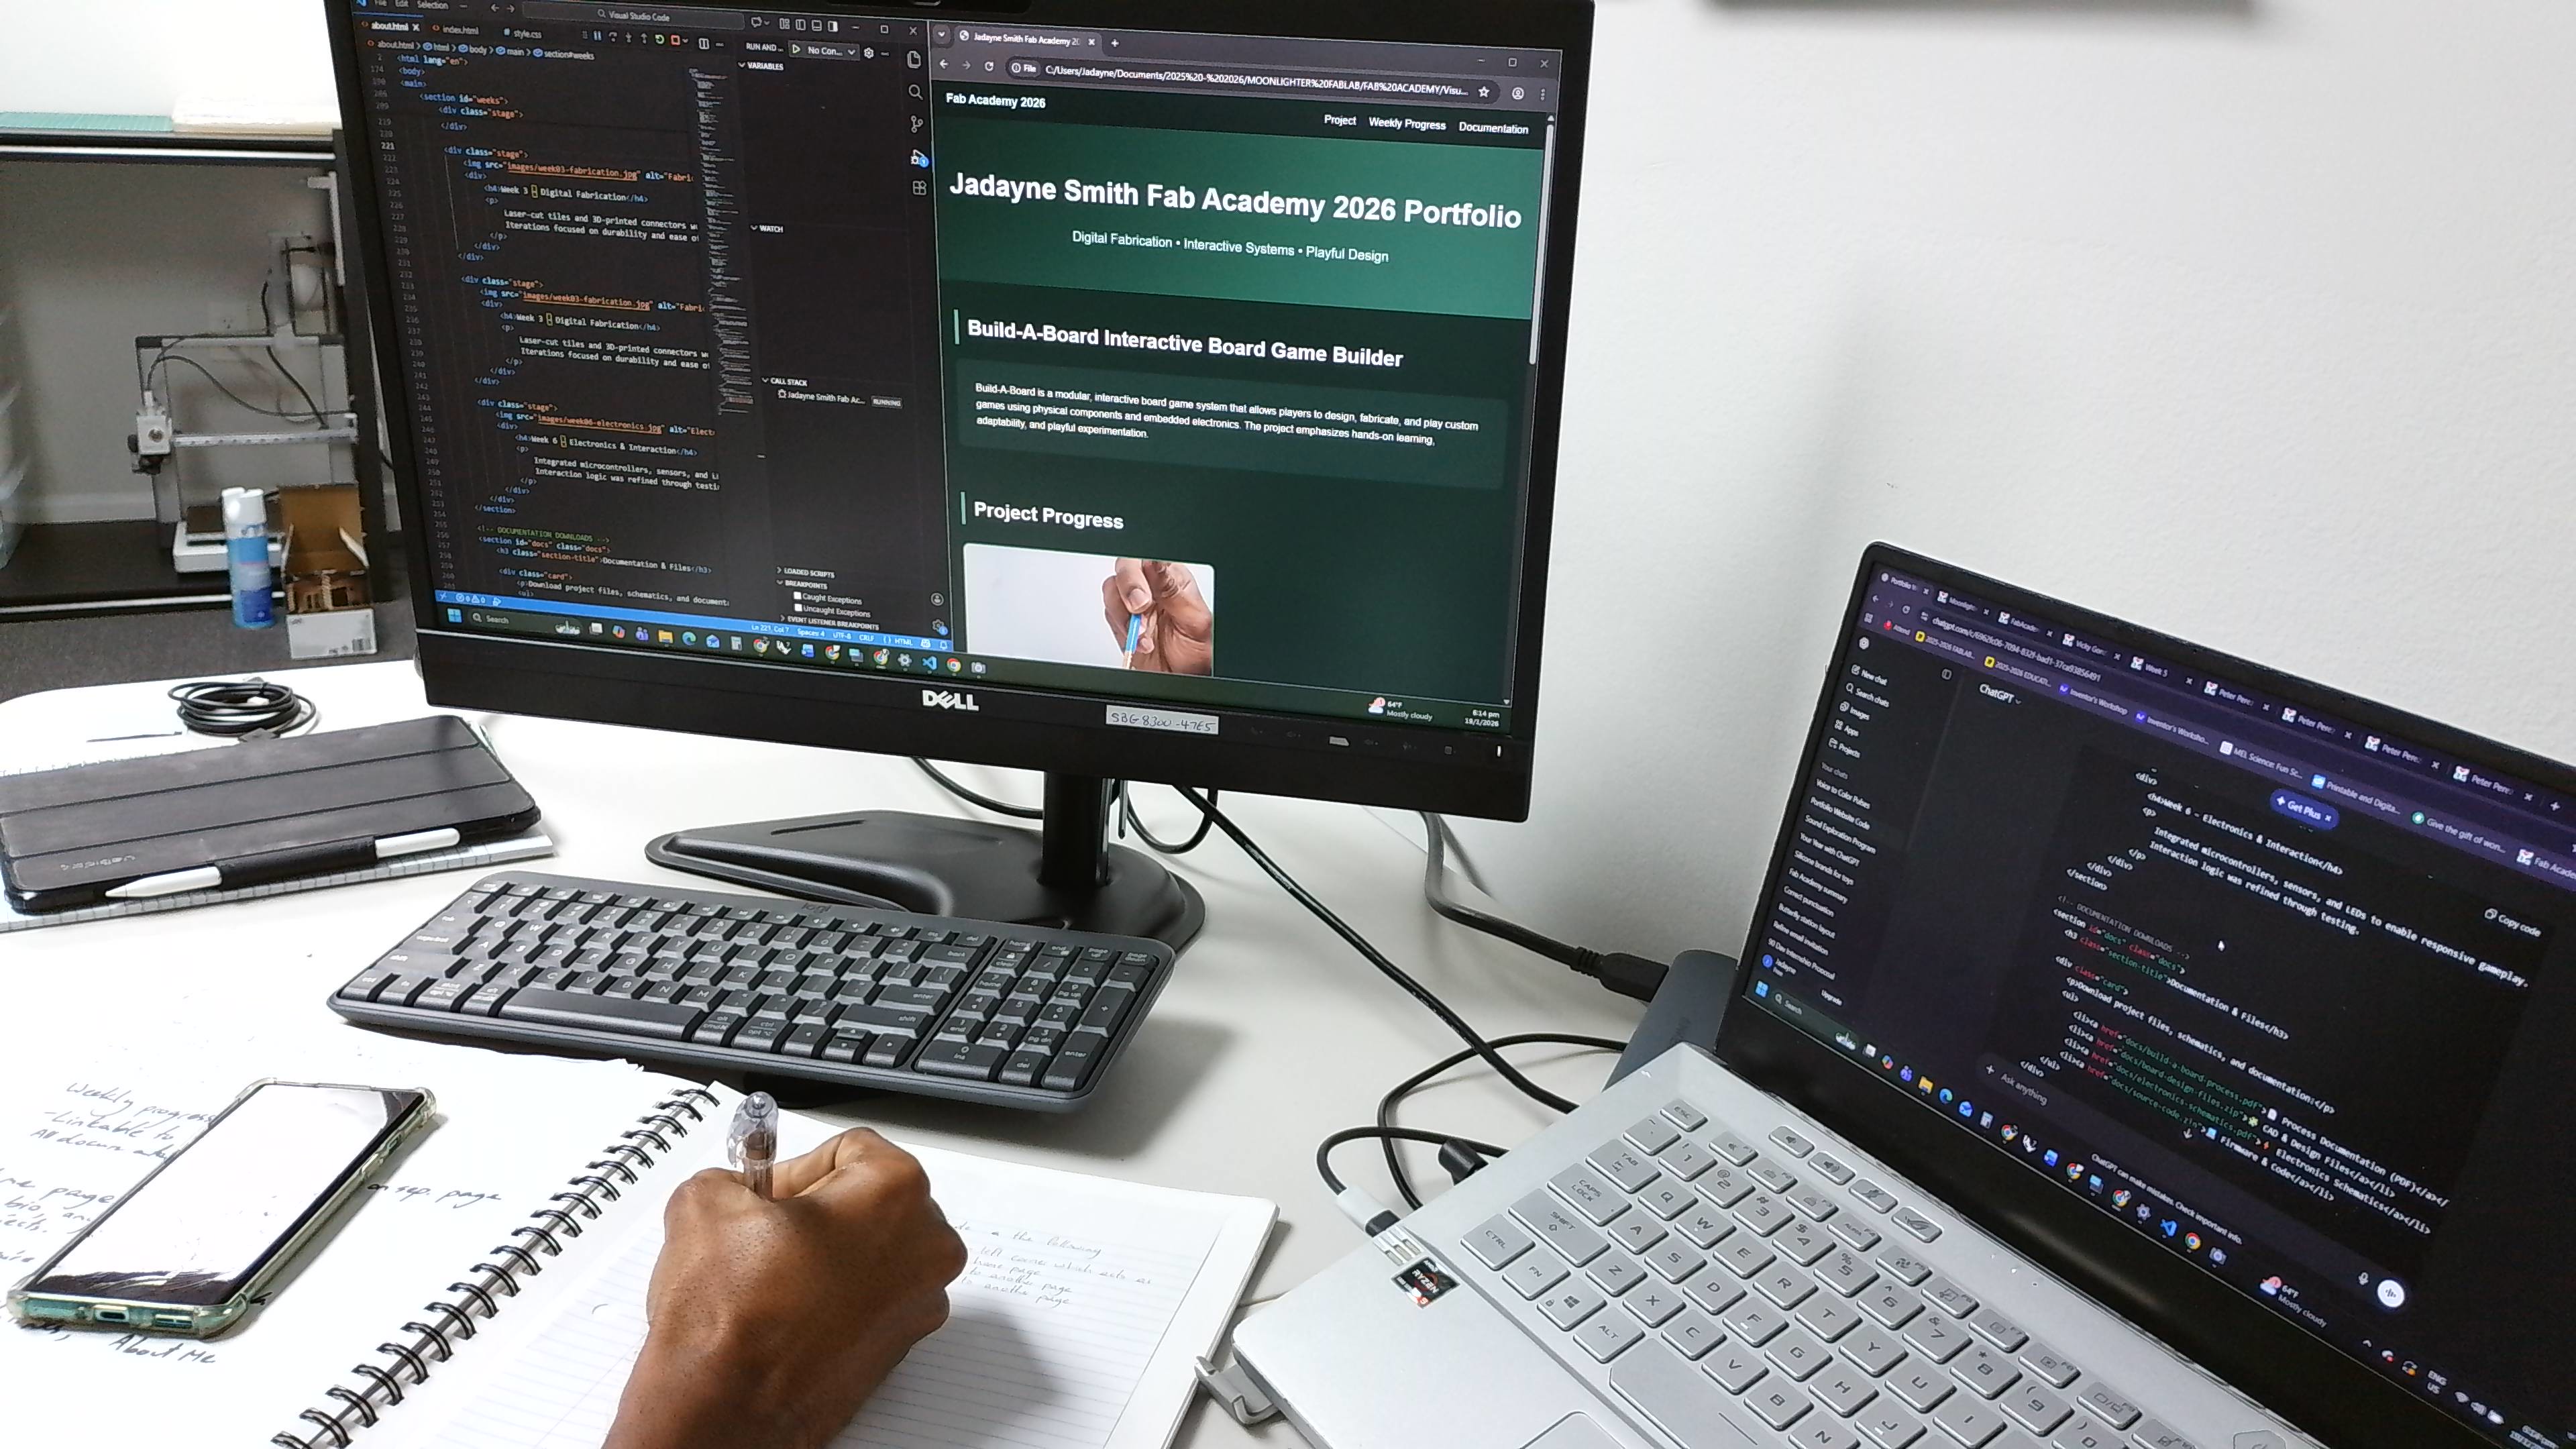
I copied the code into Visual Studio Code which gave me a usable site which I showed to my instructors. They suggested I continue experimenting and developing the code to meet the Fab Academy requirements. They also advised me to reference the work of previous students. I chose to stay close to home and took inspiration from Augusto, Vicky, Tom and Peter.
Reference from Node websitesI began a back and forth with chatgpt to resolve issues and test design features and studying the lines of code to better understand each element and manually alter them. There were many times that I would ask chatgpt to show me the code to fix a specific problem just so I could find my own solution.
Link to ChatGPT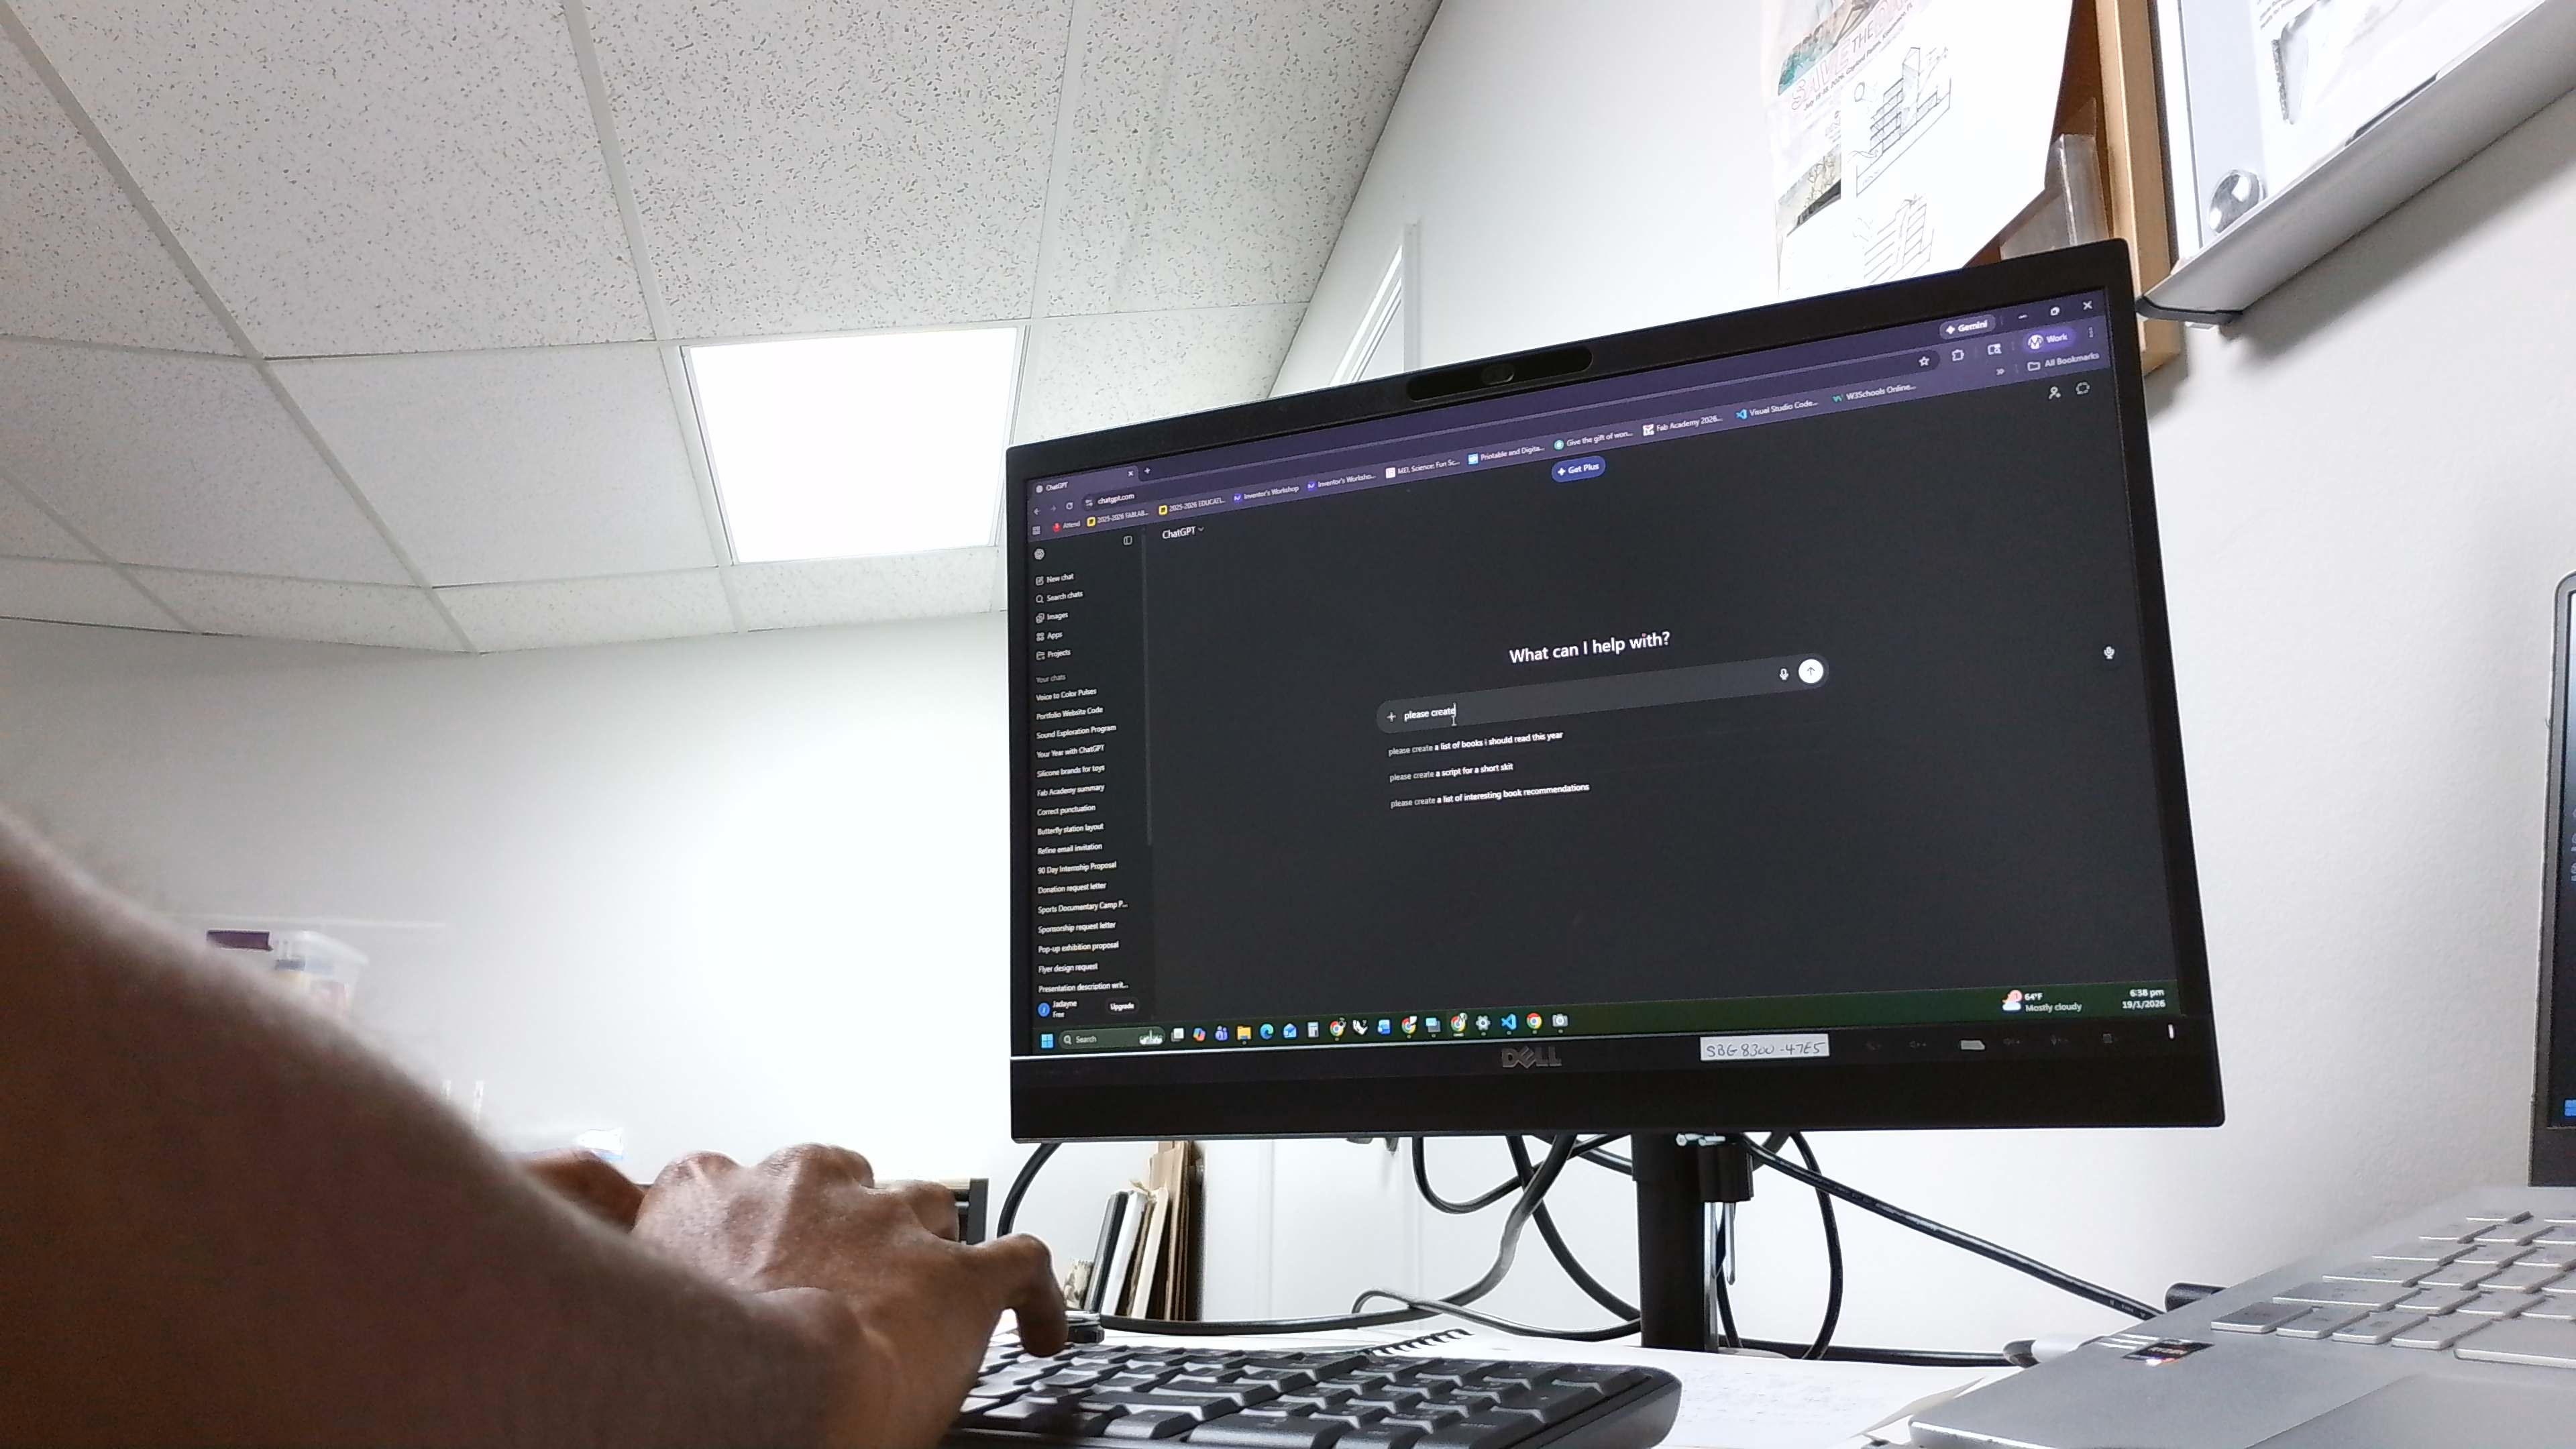
Second Prompt
Generate the HTML code for a portfolio website based on the following:
Layout the website using 5 even columns. The content should be in a grid which follows the square dimensions of the base columns. Allow text and colors to be editable but incorporate century gothic and hexcodes ffffff, acb291 and 74846a in the design. Text block and images will be in squares or rectangles with rounded corners using the grid layout. There should be a consistent spacing between elements. Include smooth transitions.
For the website home page there should be a header which includes:
A logo at the top left corner which links back to the home page. The animation should fade from the main logo image to the secondary logo when the mouse hovers over
FabLab, About Me and Final Project buttons linked to their respective pages. These buttons should be customizable and located to the right of the header
The website should have a left side bar with my headshot and professional qualifications.
The body of the website should be a 4x5 grid of square photos which link to separate pages for each week of the 20 week portfolio. Label them sequentially started with week 1.
After the body include a button that links to the Downloadable Files.
Add a banner images that is 4 columns wide and 1 row high.
The footer should say “Copyright 2026 Jadayne Smith - Creative Commons Attribution Non Commercial” “Source code hosted at gitlab.fabcloud.org”
Link to ChatGPT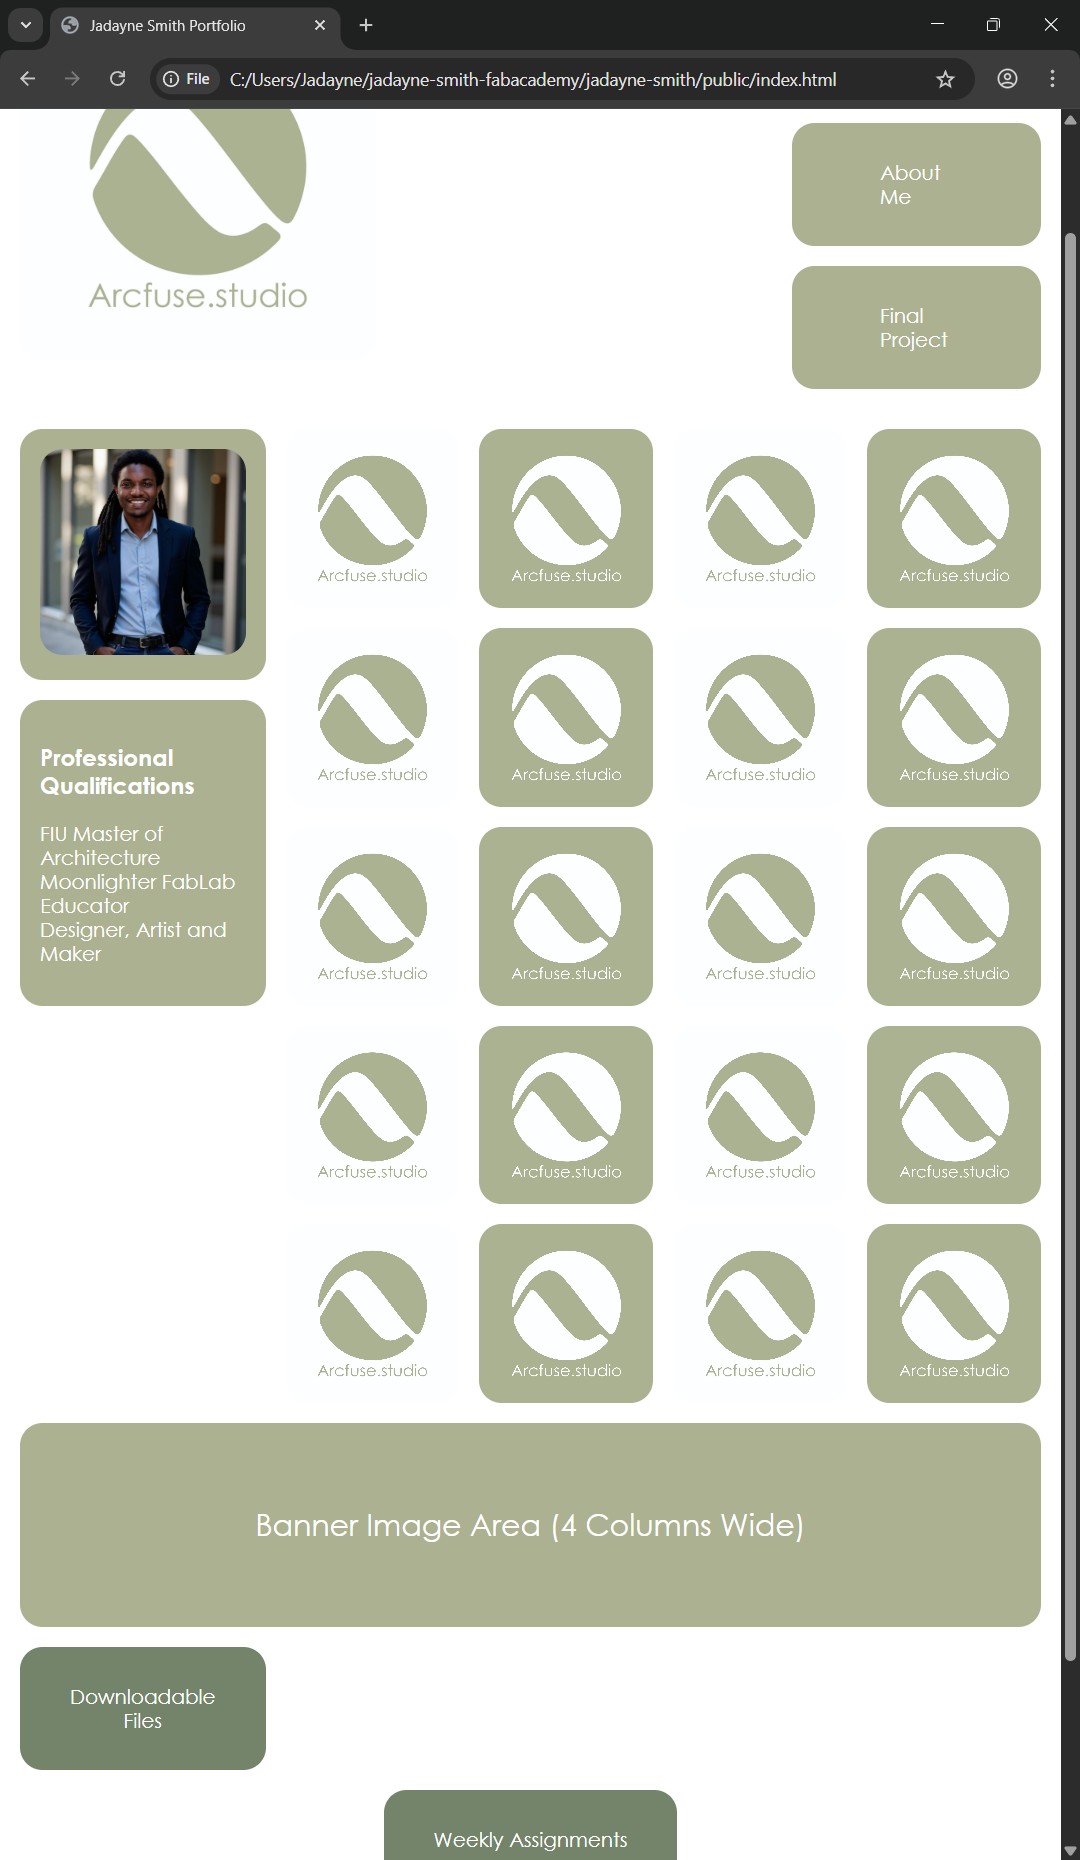
GETTING ON GIT
Learning about Git lab and the entire setting up process was overwhelming. I began following the tutorials and got a significant amount of work done before the first recitation, however, there were still a lot of steps I needed to get through.

I got confused while doing the keygen and needed to find a Youtube video to help me.
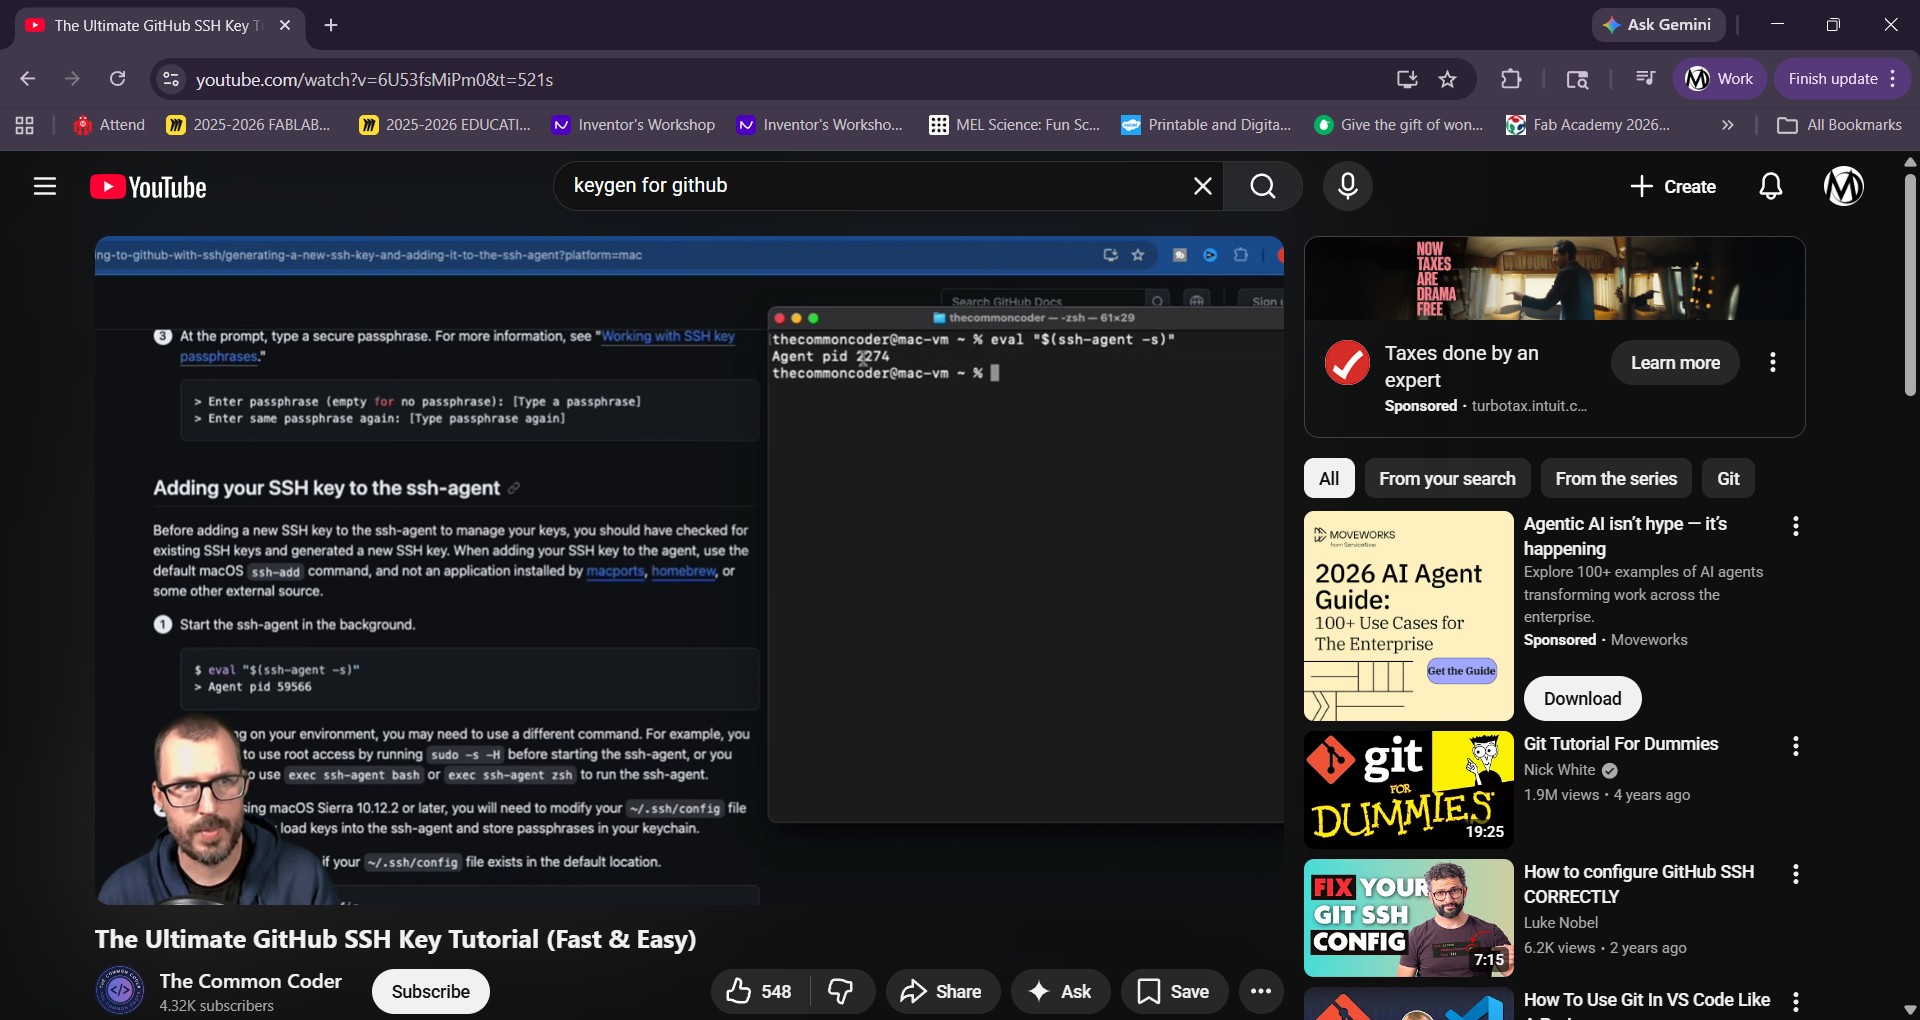 Link The Ultimate GitHub SSH Key Tutorial
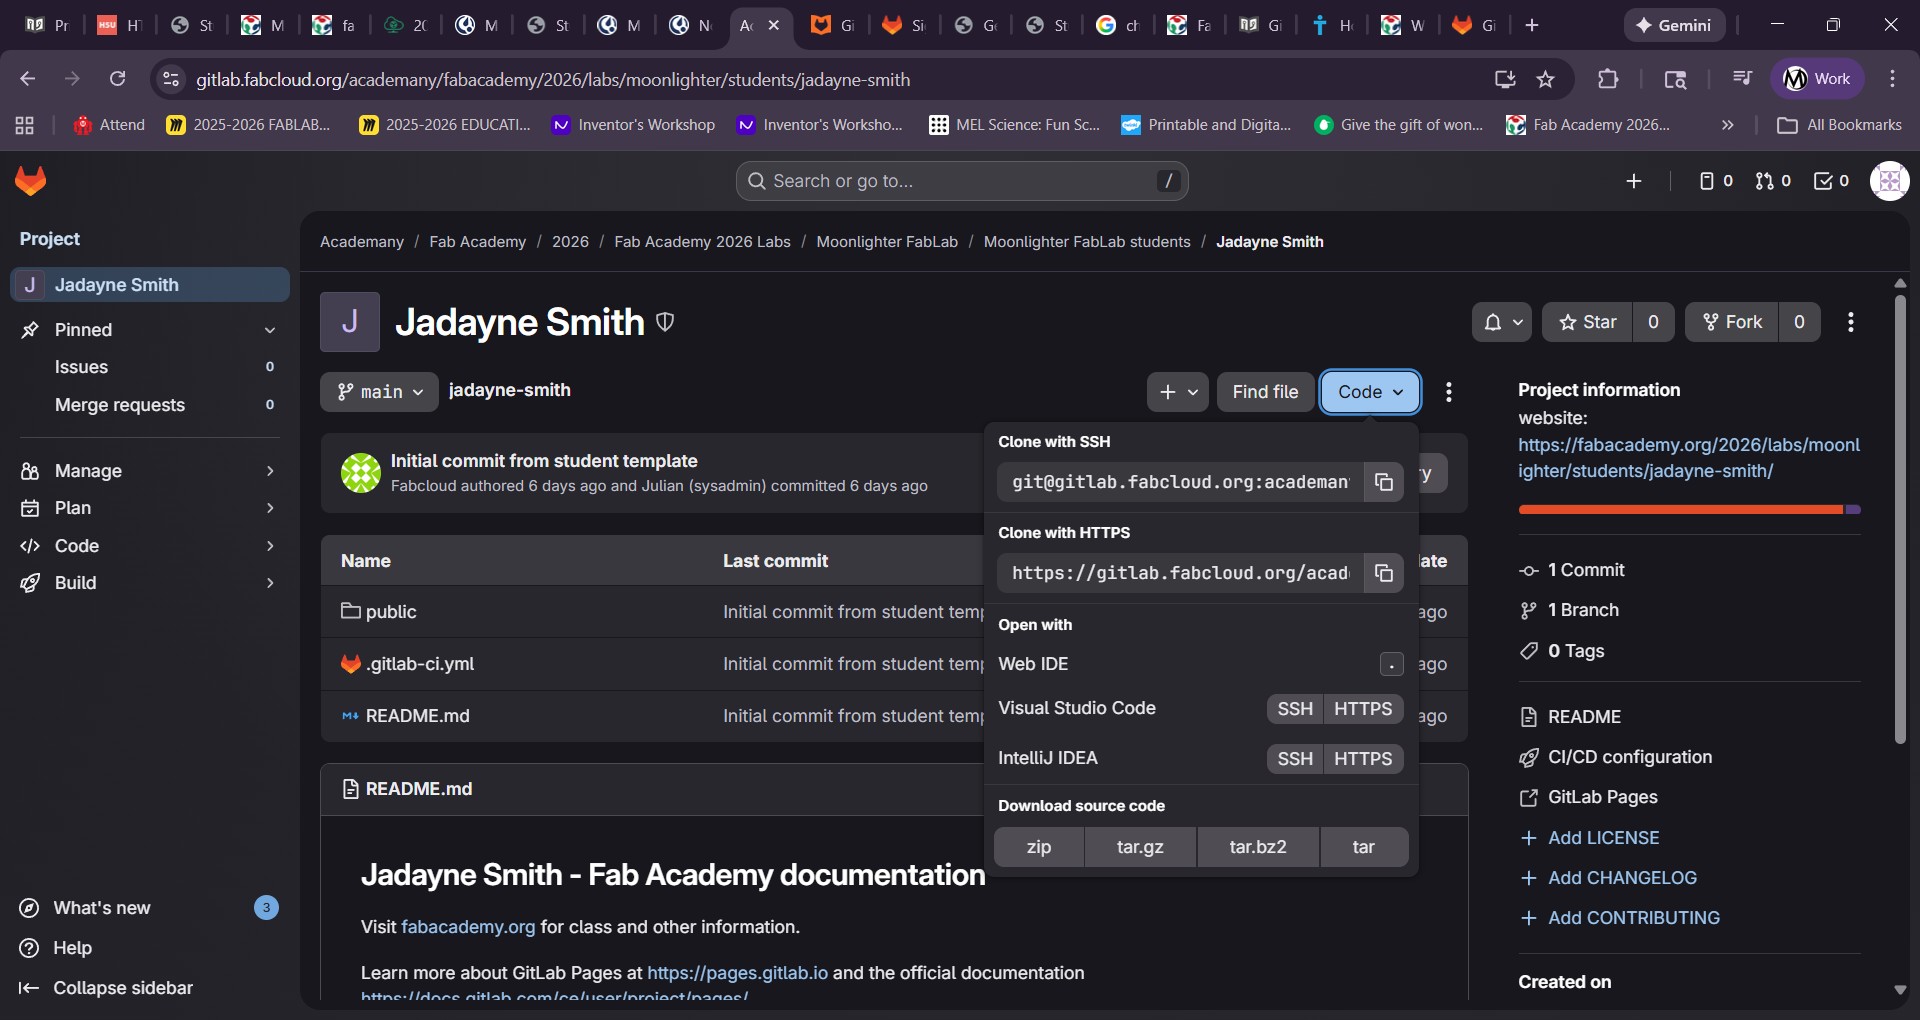
I got the keygen done and figured out how to find my project and codes to push.
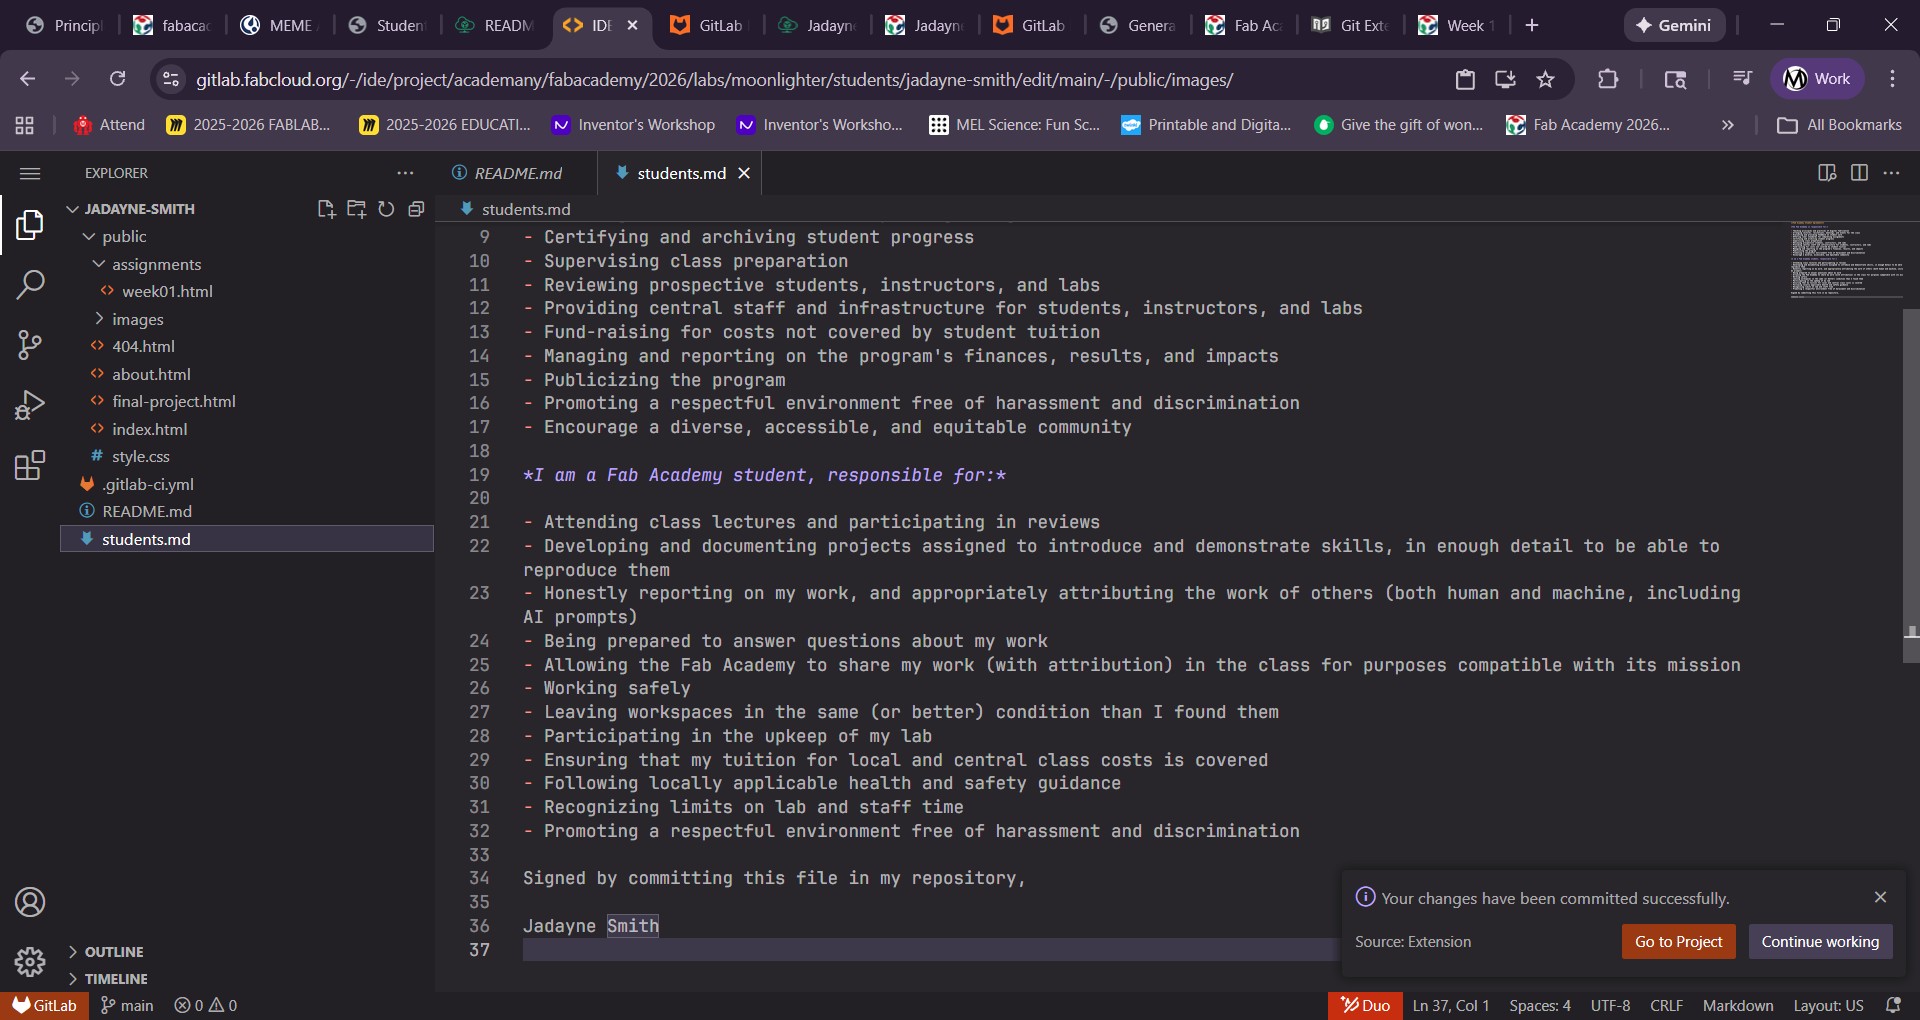
I submitted my student agreement after looking at an example of how to do it from one of my classmates.
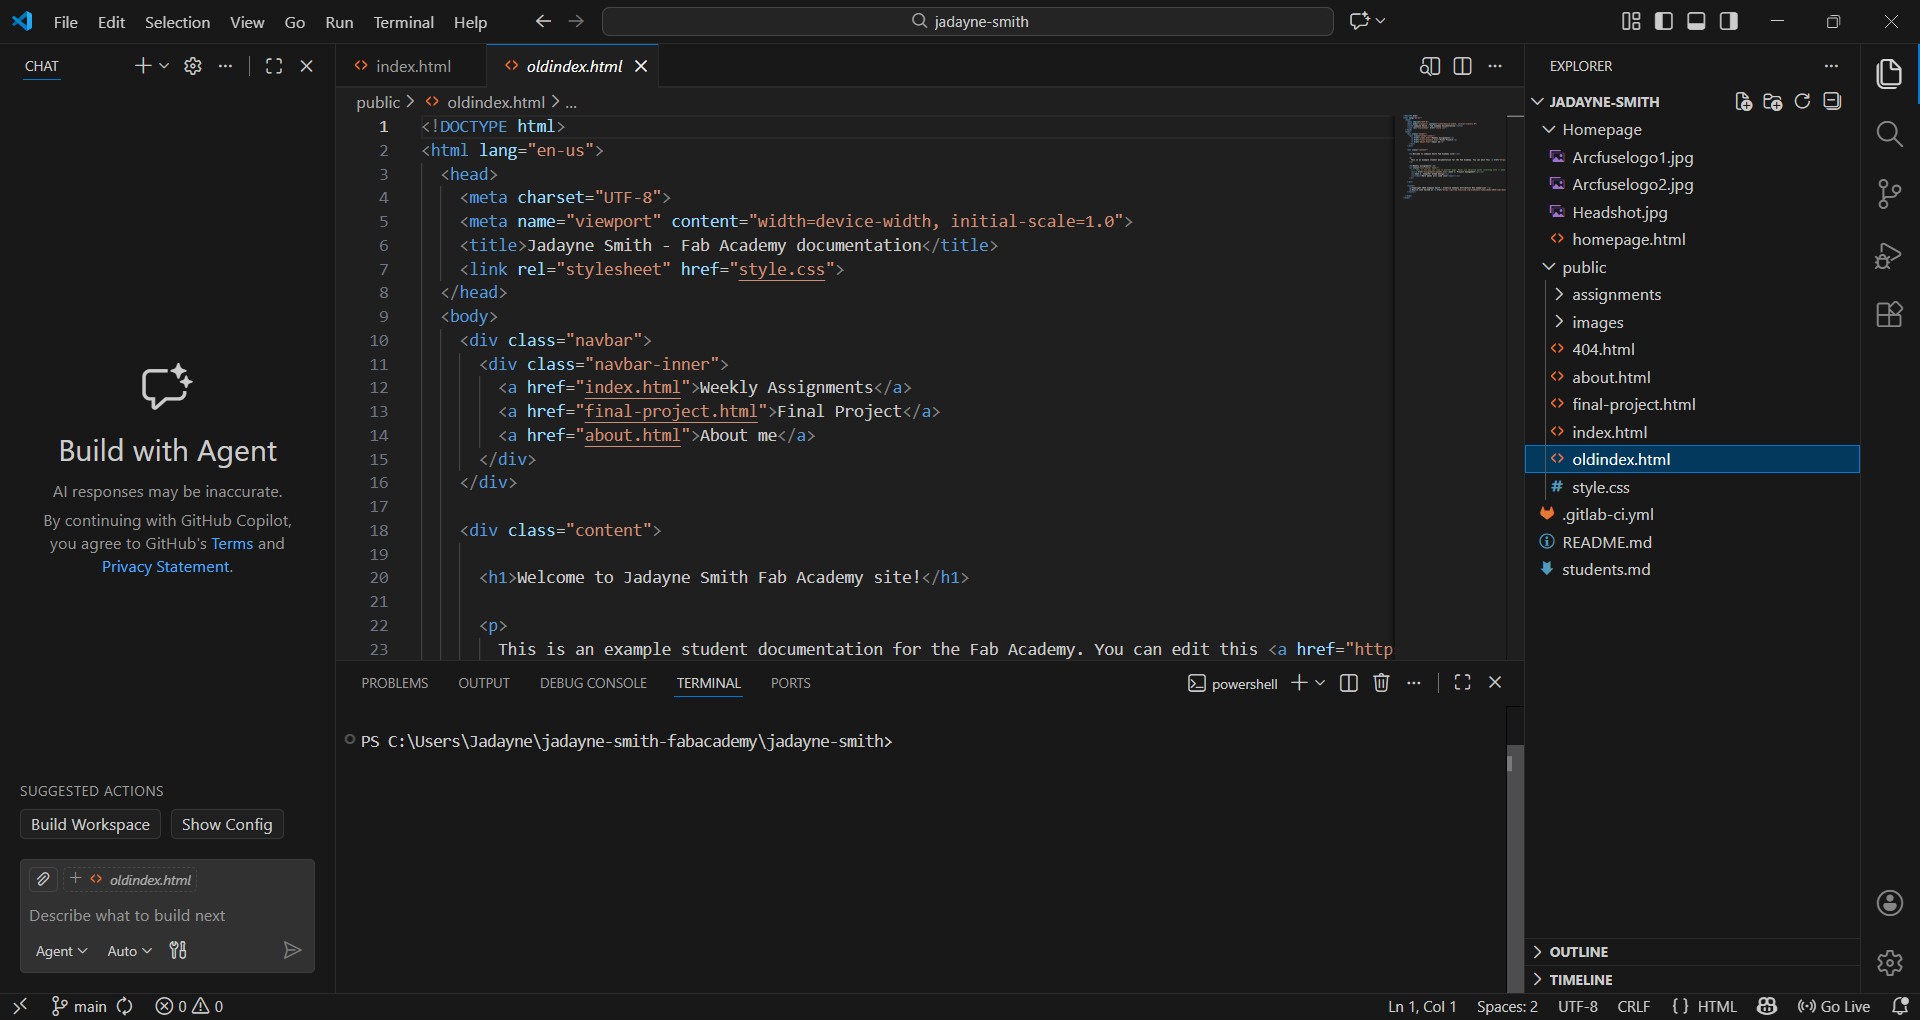
My Homepage wasn't showing when I would push to my repository. I had to look at possible solutions but found out from my instructor that the html folders all need to be under /public/ to work.
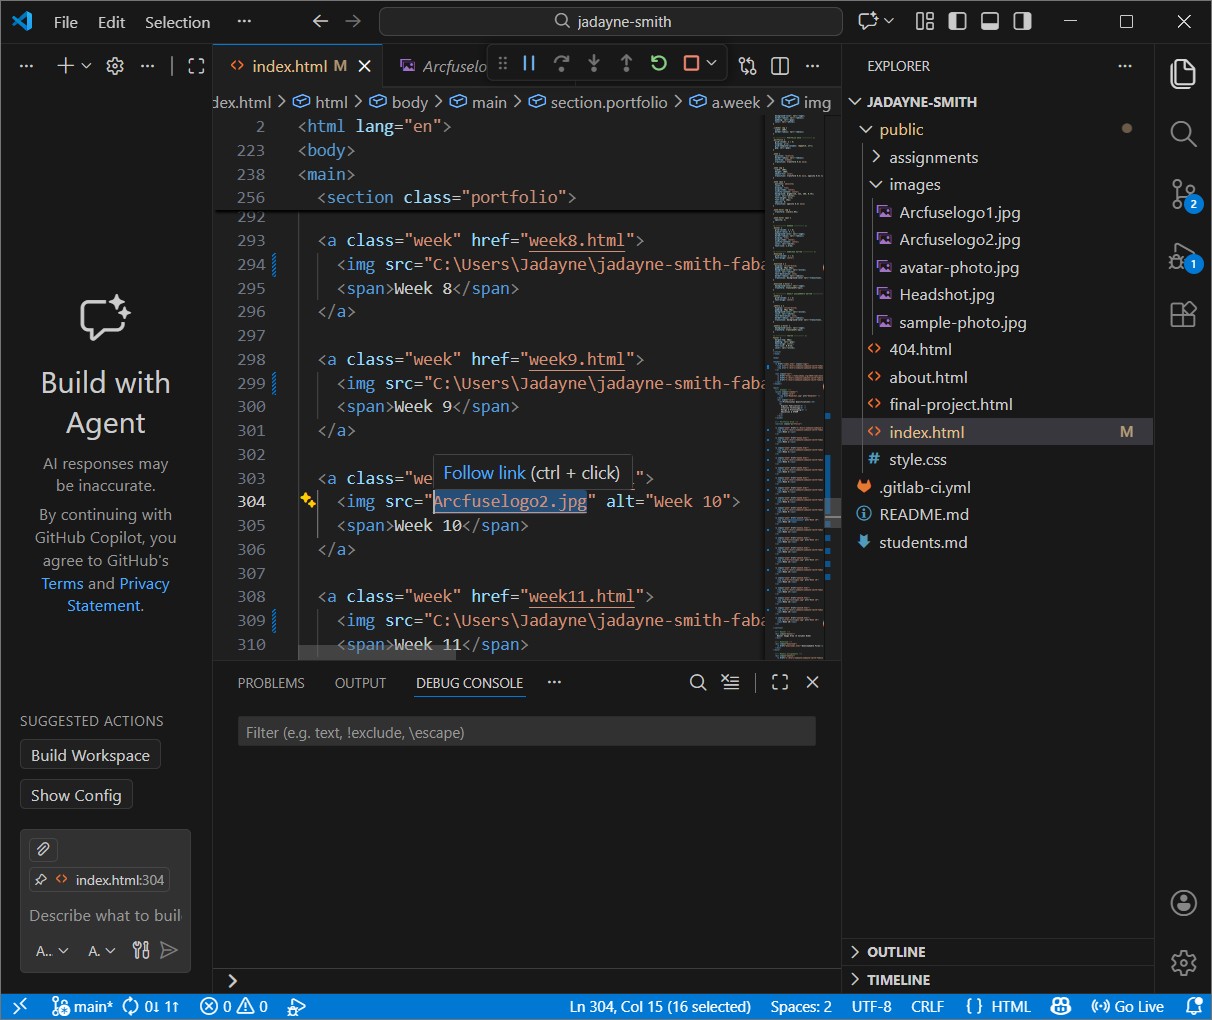
I tried copying the full image paths to the code because the images were not linking.
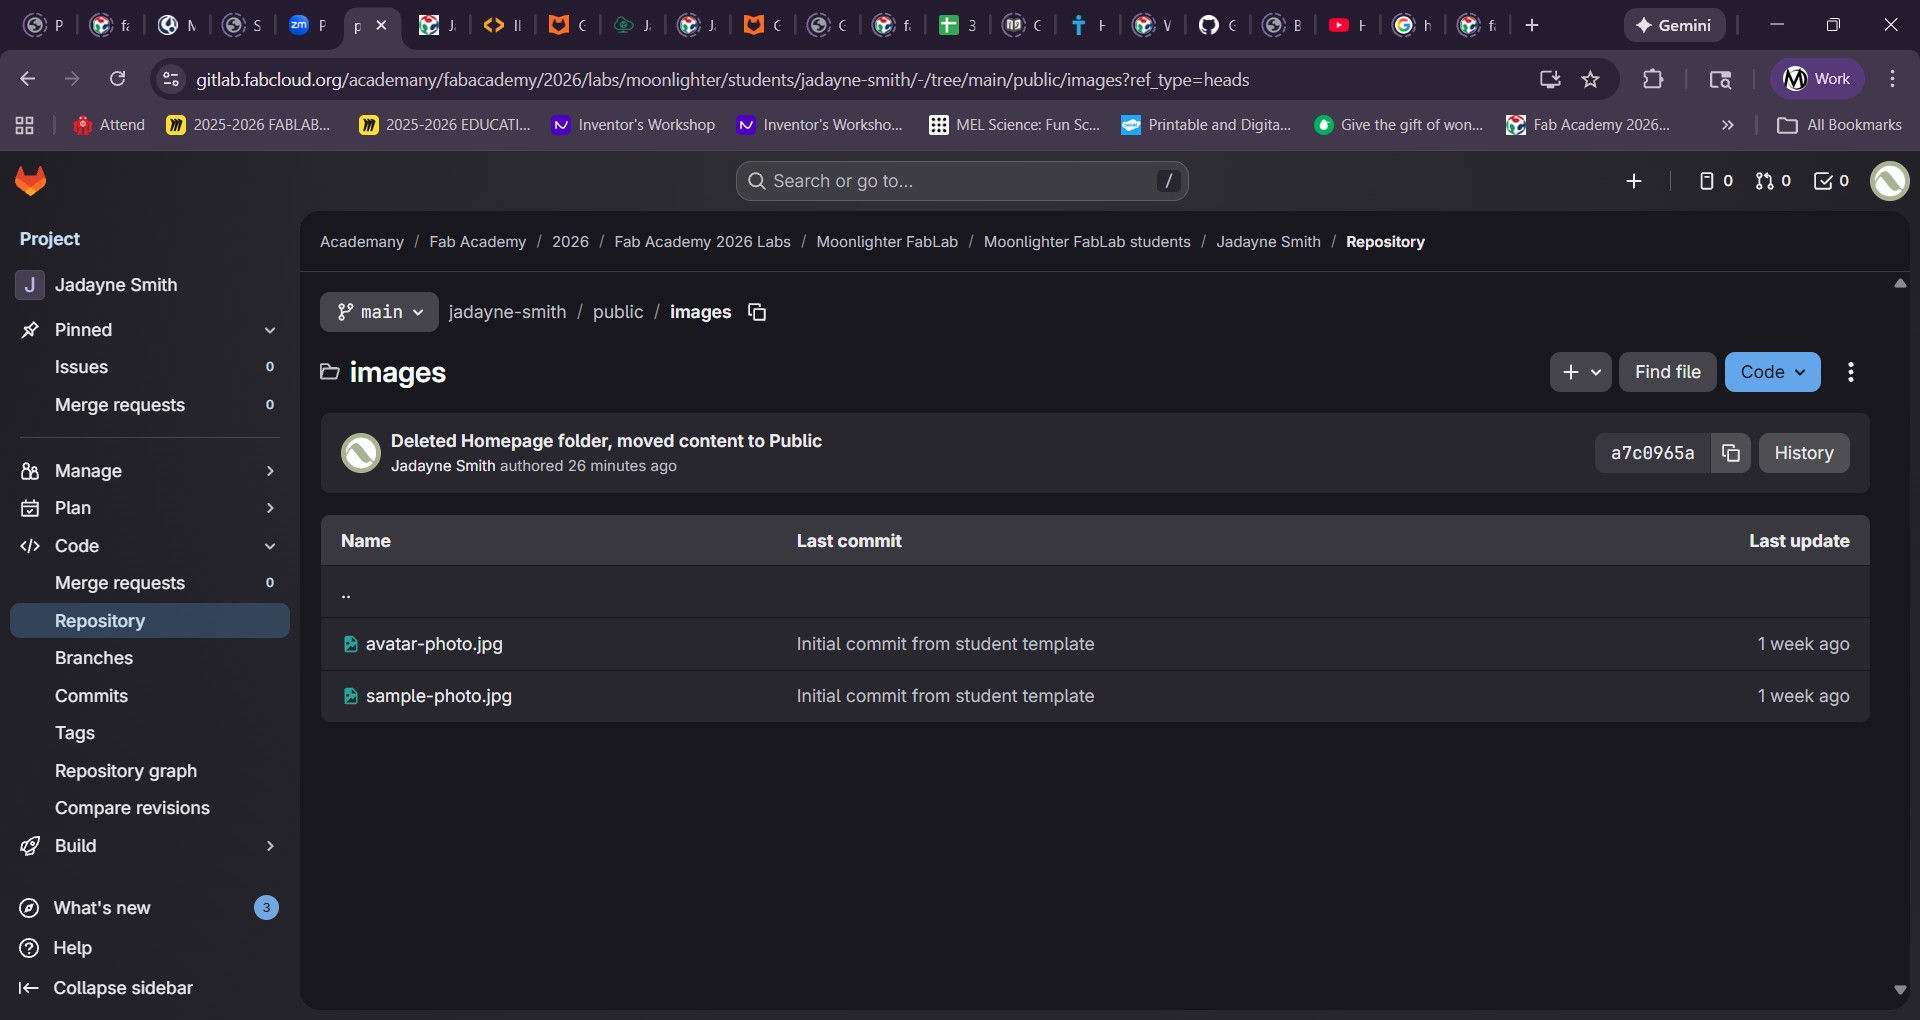
My images were not showing in the repository. I needed to understand the issue and correct way to type my links for html.
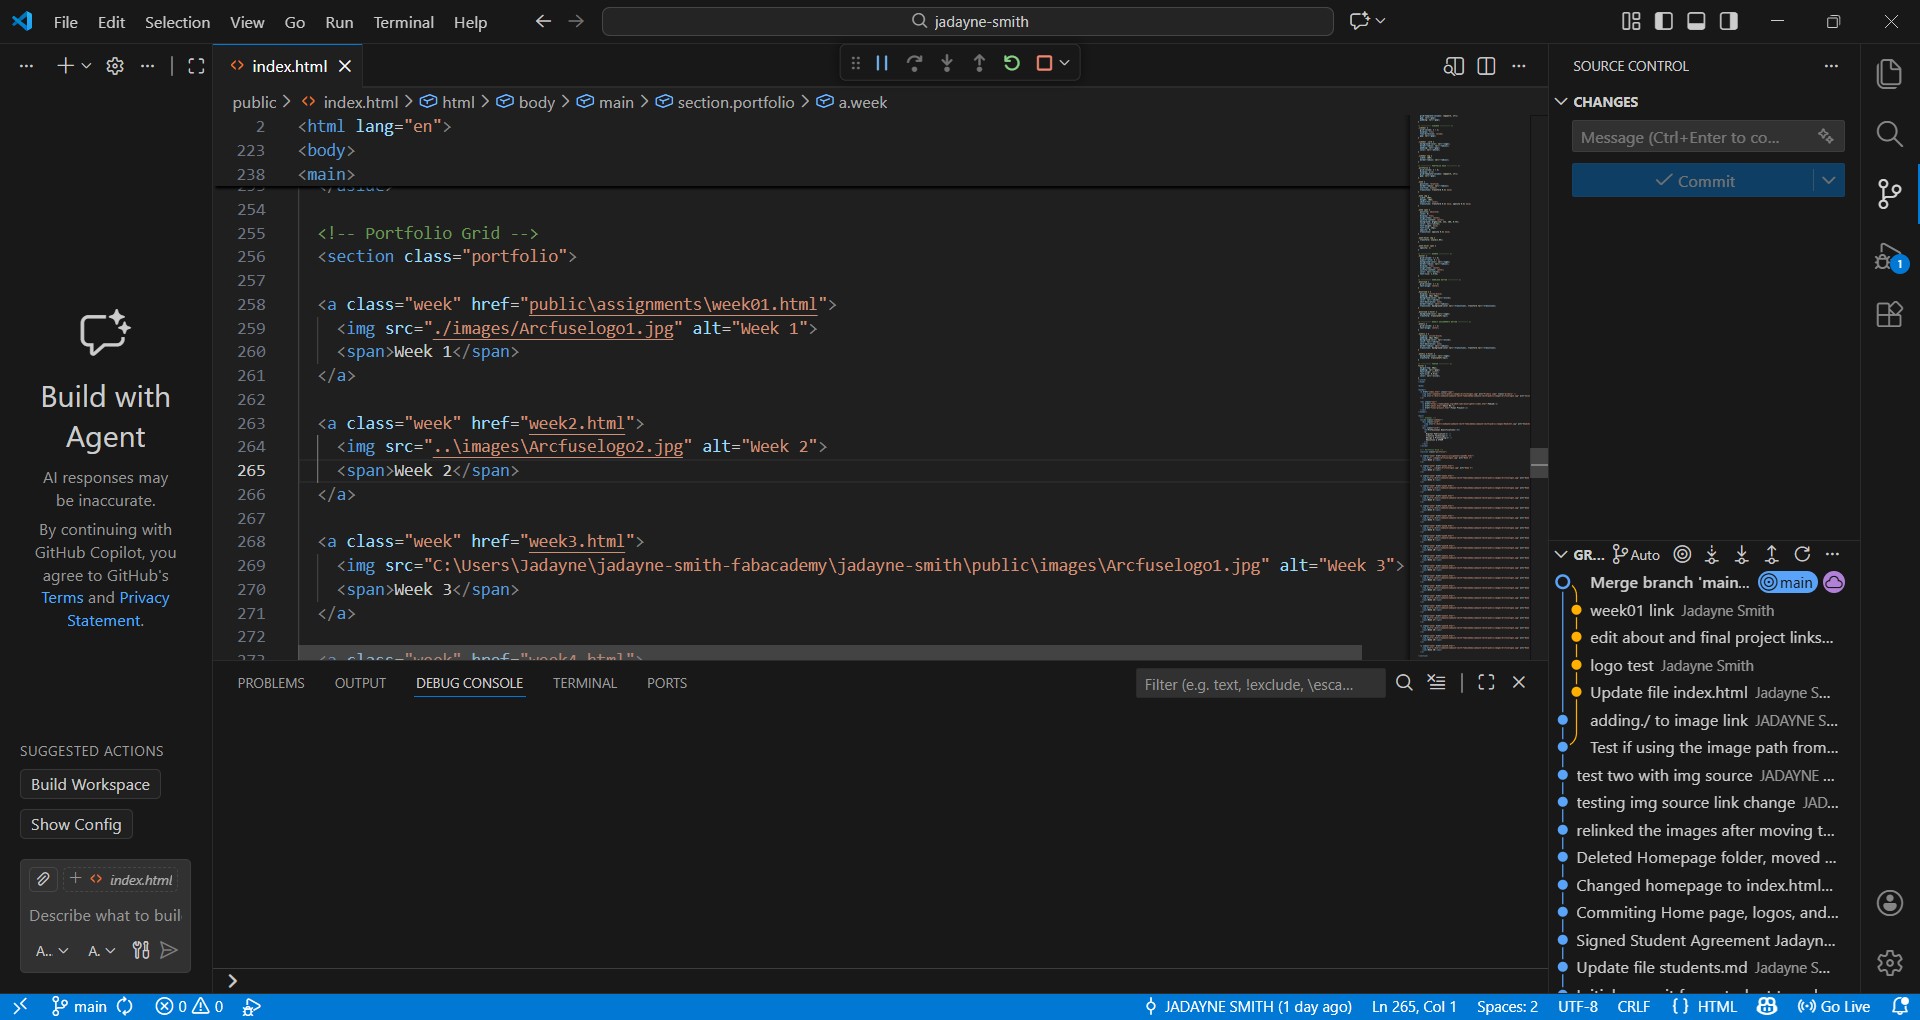
I figured out the linking issues for images and folders. I was typing them as absolute paths using "\" instead of "./" which is relative. Because I need the paths work in both the folders and in GitLab.