14. Molding and Casting
- Group assignment
- Review the safety data sheets for each of your molding and casting materials
- Make and compare test casts with each of them
- Compare printing vs milling molds
- Individual assignment
- Design a mold around the process you’ll be using, produce it with a smooth surface finish that does not show the production process toolpath, and use it to cast parts.
Group Assignment
Results can be found on the group assignment page of our lab.
Individual Assignment
Design
After the hectic Machine Week, I wanted to make something much simpler. I decided to make a Puffle fridge magnet, based on the pet companions from the now-defunct Disney Club Penguin virtual world.


This was a simple design that could be machined from a single block of machinable wax. The Puffle's body is a simple rounded shape, while the mouth is a recessed feature and the eyes are protruding features that can be machined with smaller tools.
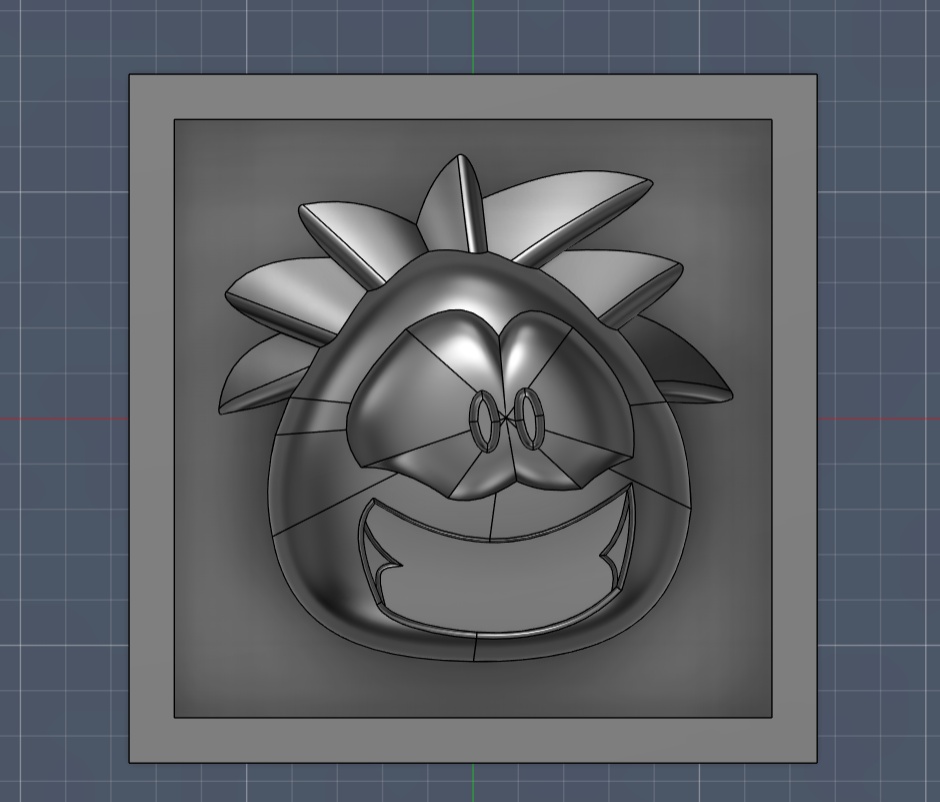
The design was placed withing a box, this imitates the actual wax block we have to work with, Gcode and tool path is generate within the wall of the box.
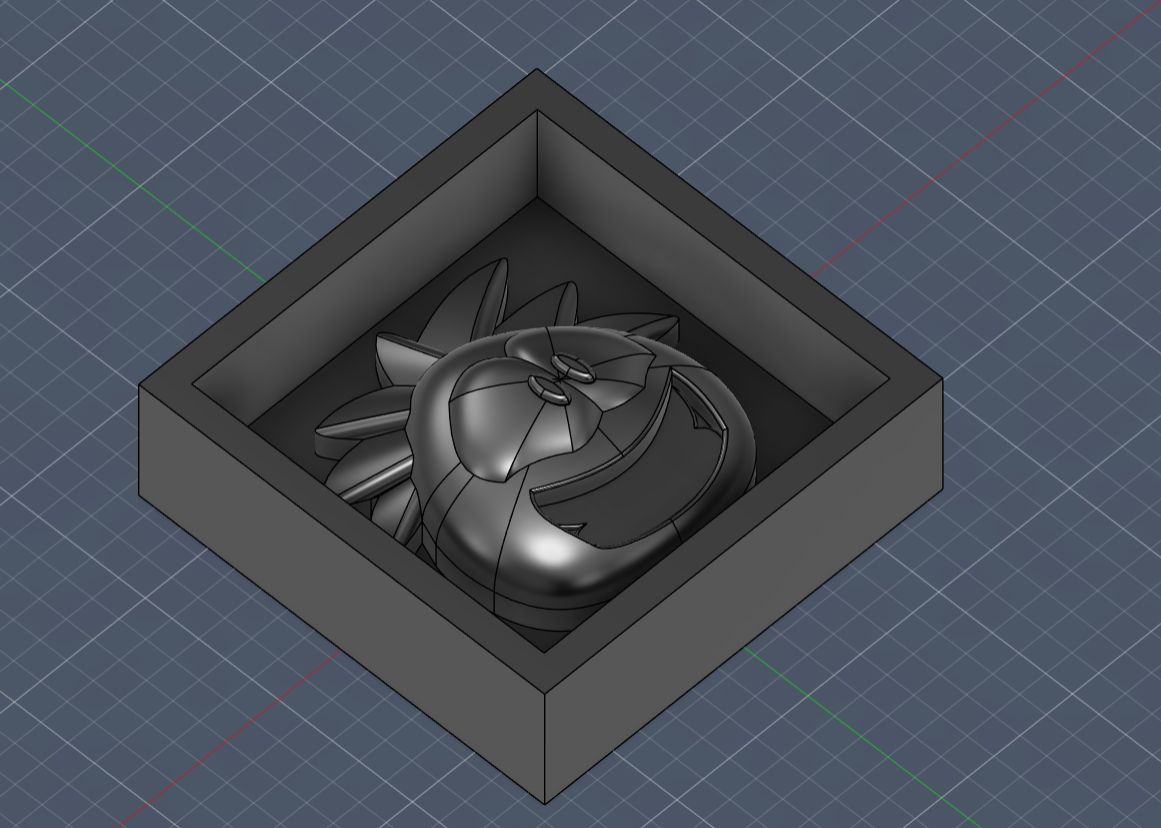
Generating the CAM
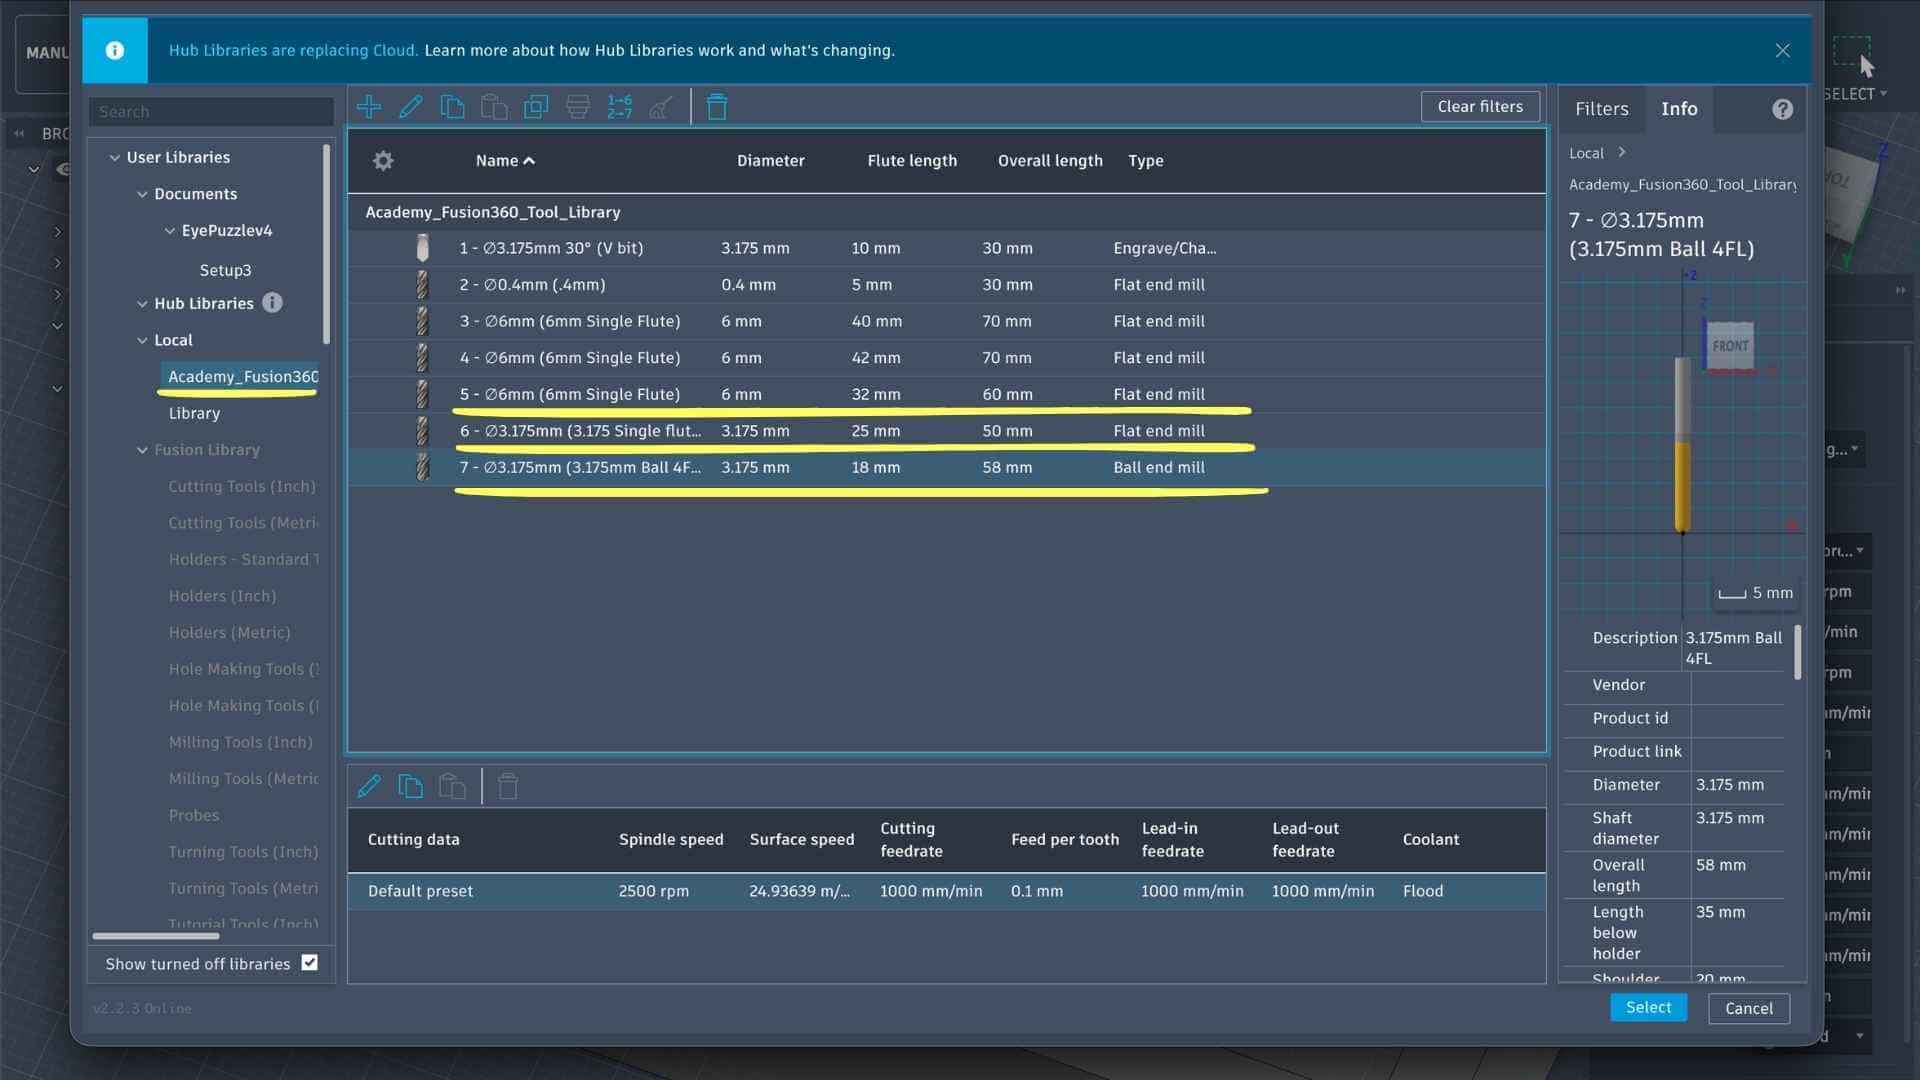
The first step was importing the Fab Lab tool library into Autodesk Fusion 360. This ensures that every machining operation uses tools that are physically available in the lab, avoiding any mismatch between the CAM setup and the actual fabrication process.
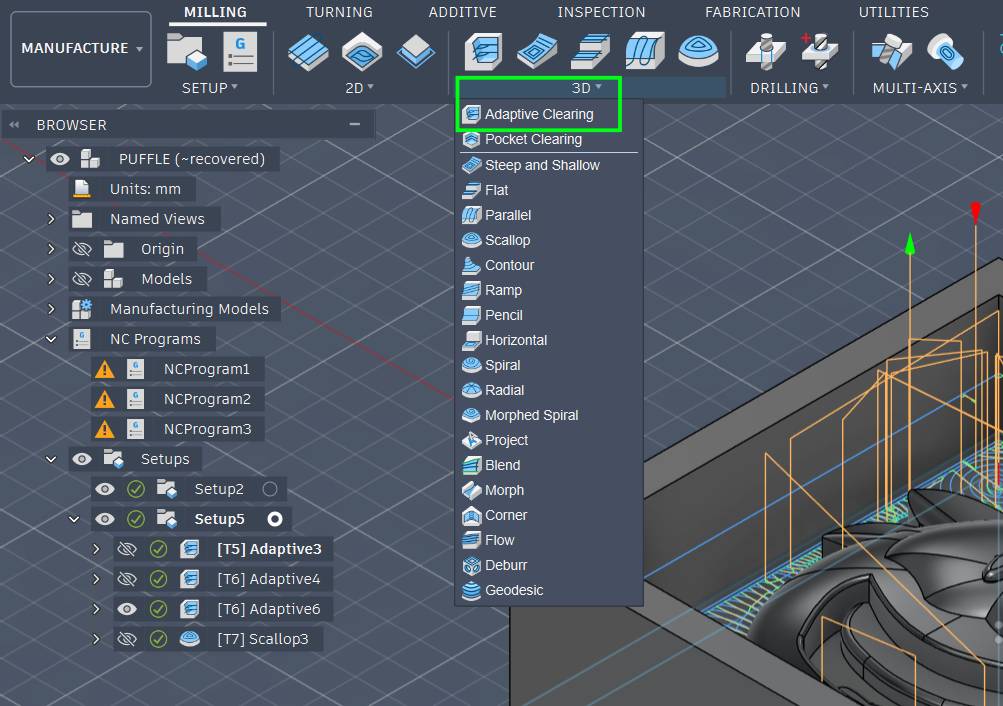
First Adaptive Clearing Operation
For the initial roughing pass I decided to use the 3D Adaptive Clearing toolpath. This is one of the most efficient methods for removing large amounts of material from the wax block while maintaining a consistent cutter load.
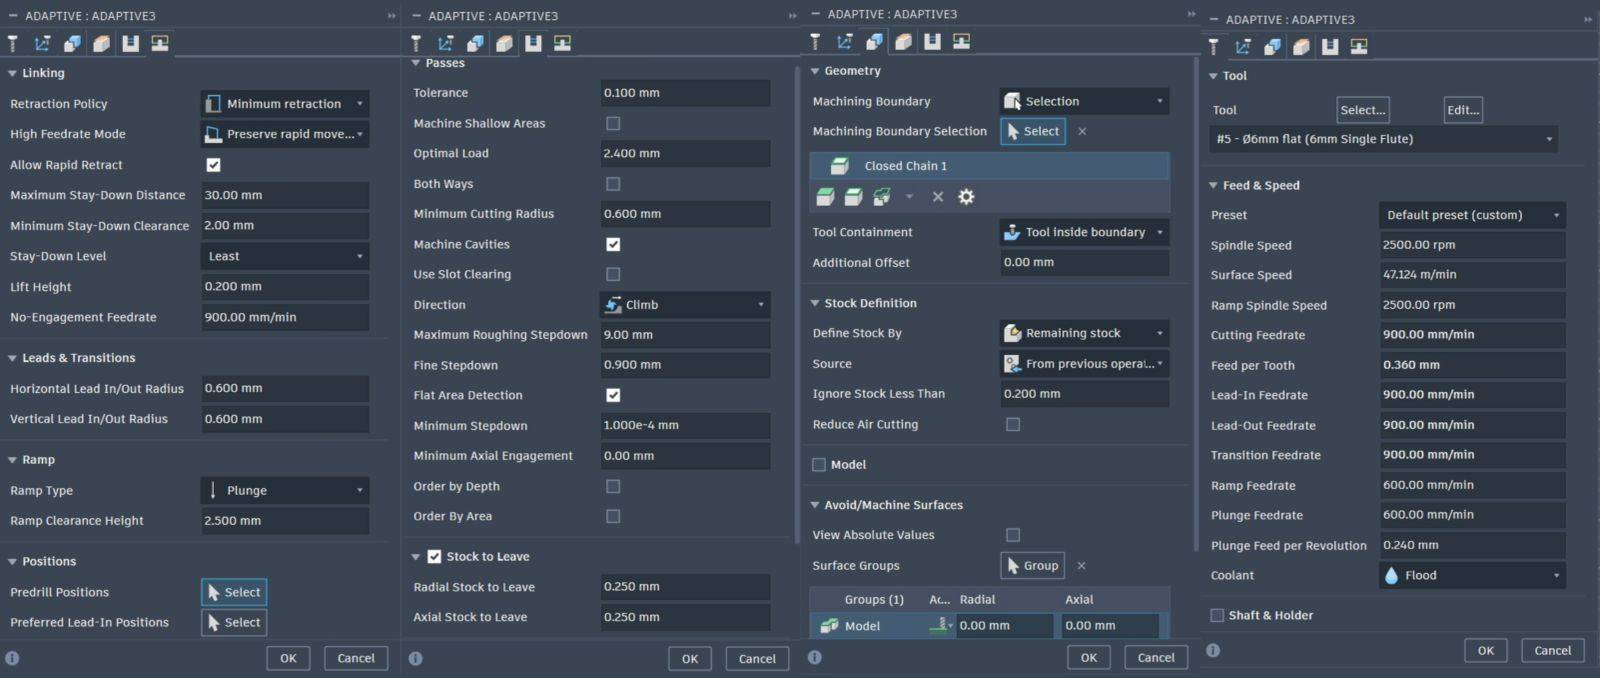
For this operation we planned to use a 6 mm flat end mill. This removes the majority of the wax before switching to smaller tools that can produce a more accurate finish.
These are the settings used for the first adaptive clearing operation.
Below is the simulation of the generated toolpath.
Second Adaptive Clearing Operation
The second machining operation used a 3.175 mm flat end mill. This also used an Adaptive Clearing toolpath, but with a smaller cutter to remove the remaining material at a much finer scale before moving on to the finishing operation.
These are the settings used.
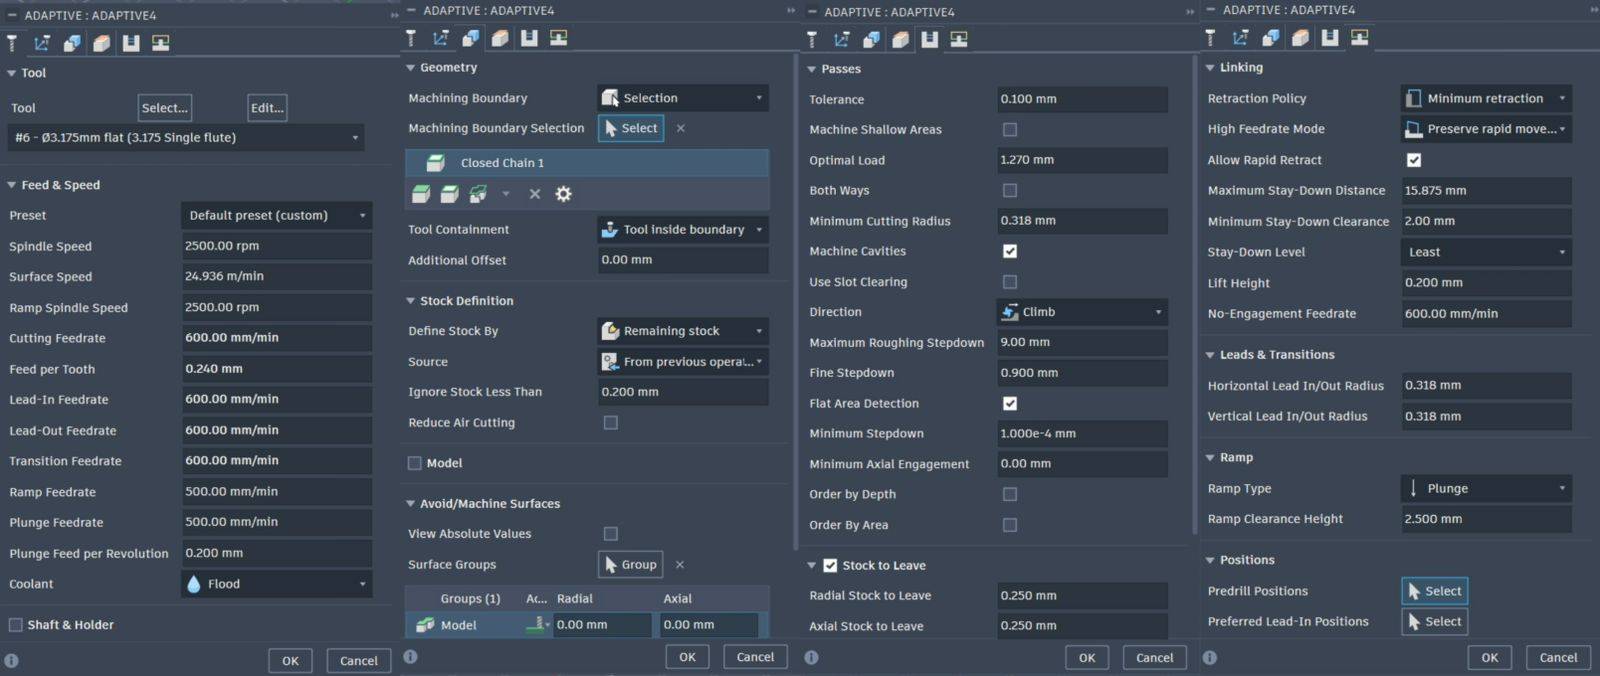
There were actually two toolpaths generated for this tool. One was responsible for machining the actual sculpt itself, while the second cleared the surrounding material around the model.
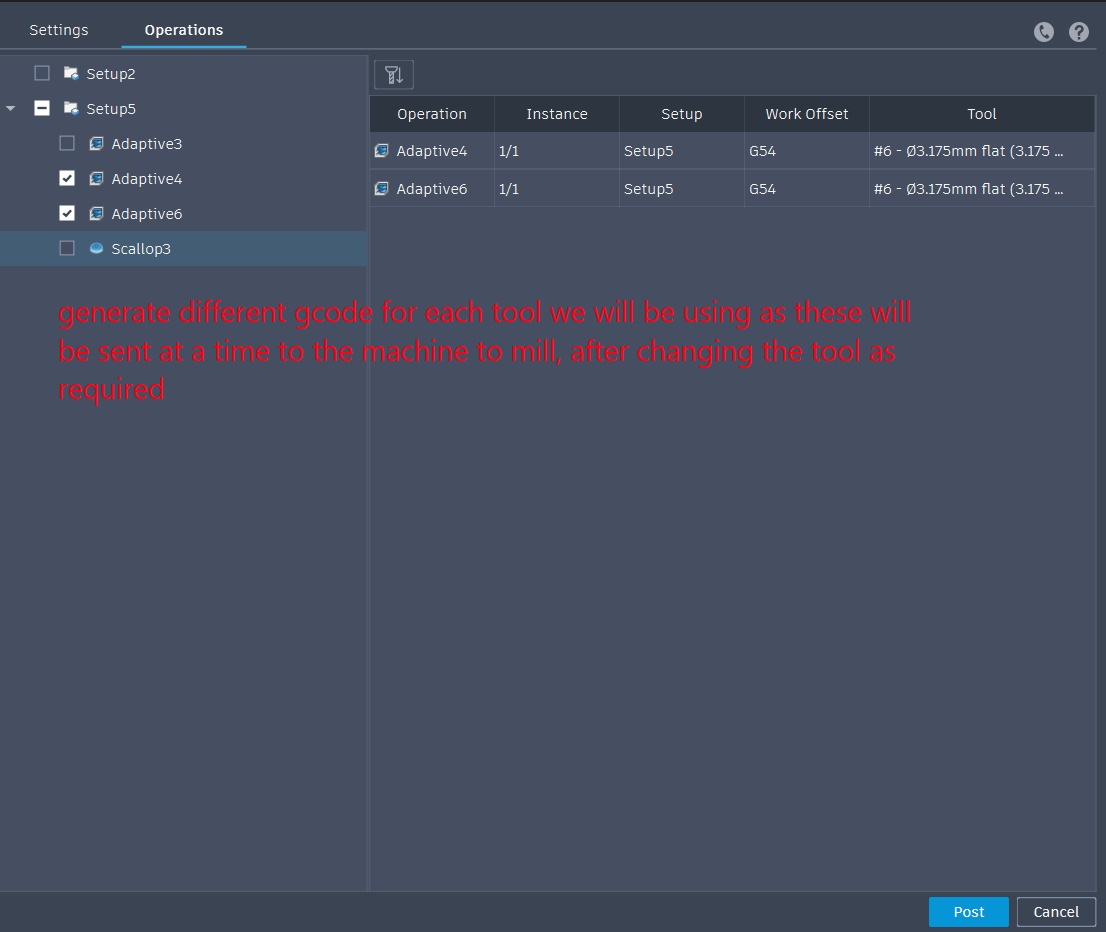
Since both operations use the same tool, these two toolpaths can simply be combined during G-code generation and machined together without requiring another tool change.
The machining sequence was as follows:
- First pass (Operation 2): removes the bulk of the leftover material from the previous 6 mm operation.
- Second pass (Operation 3): refines the geometry further and reduces cusp height before finishing.
This staged reduction provides several advantages:
- Minimizes sudden tool load spikes.
- Improves machining accuracy around complex curved regions.
- Produces a much more uniform surface for the final finishing pass.
Below is the simulation of this toolpath.
Scallop Finishing Operation
Finally, I switched to a Ø3.175 mm ball end mill for the finishing operation.
Unlike a flat end mill, the ball end mill contacts the material at a single point, allowing it to machine smooth curved surfaces much more effectively. This makes it ideal for organic geometries such as the rounded features of the Puffle.
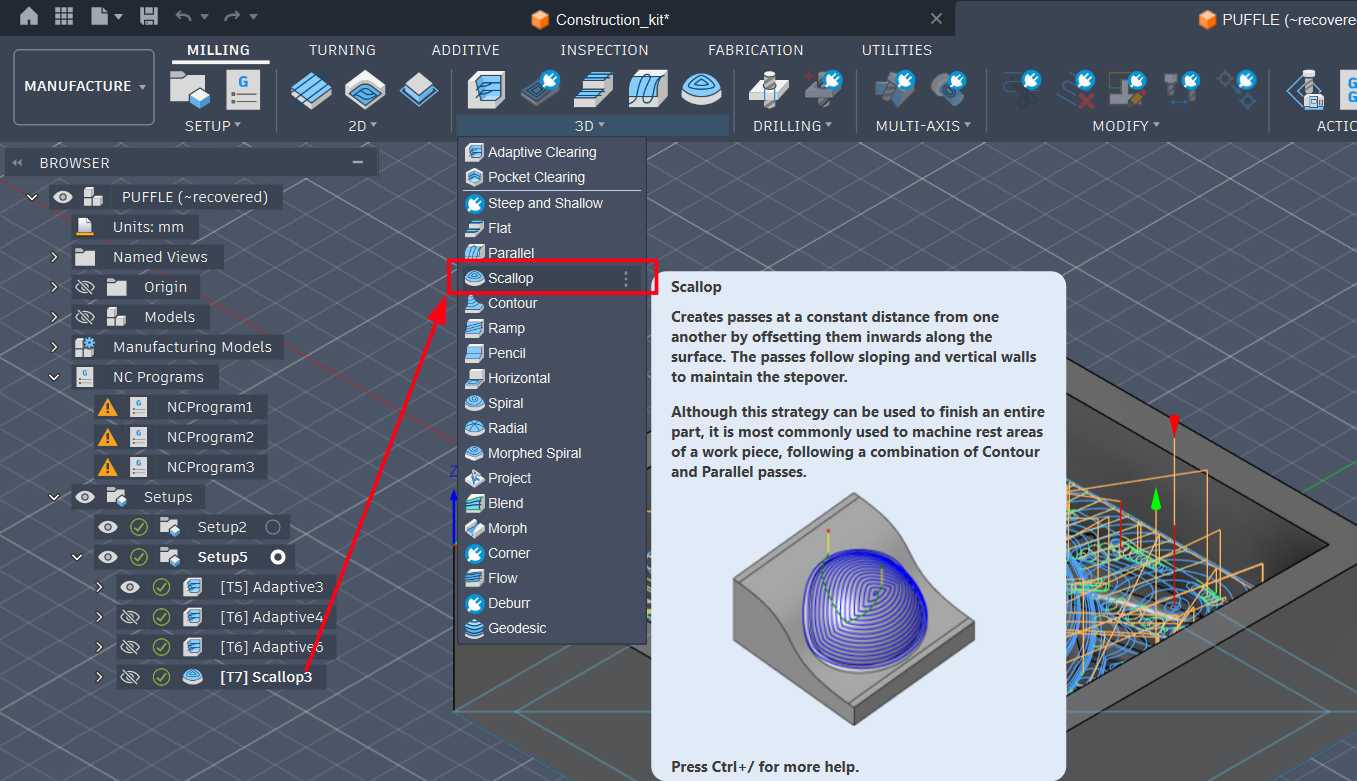
The finishing strategy used was the Scallop strategy in Fusion 360's CAM workspace.
Scallop is a 3D finishing operation that maintains a constant 3D stepover across complex surfaces. This produces a much more consistent surface finish while controlling cusp height over both steep walls and flatter regions.
This was especially useful for machining the steep curves around the Puffle's head.
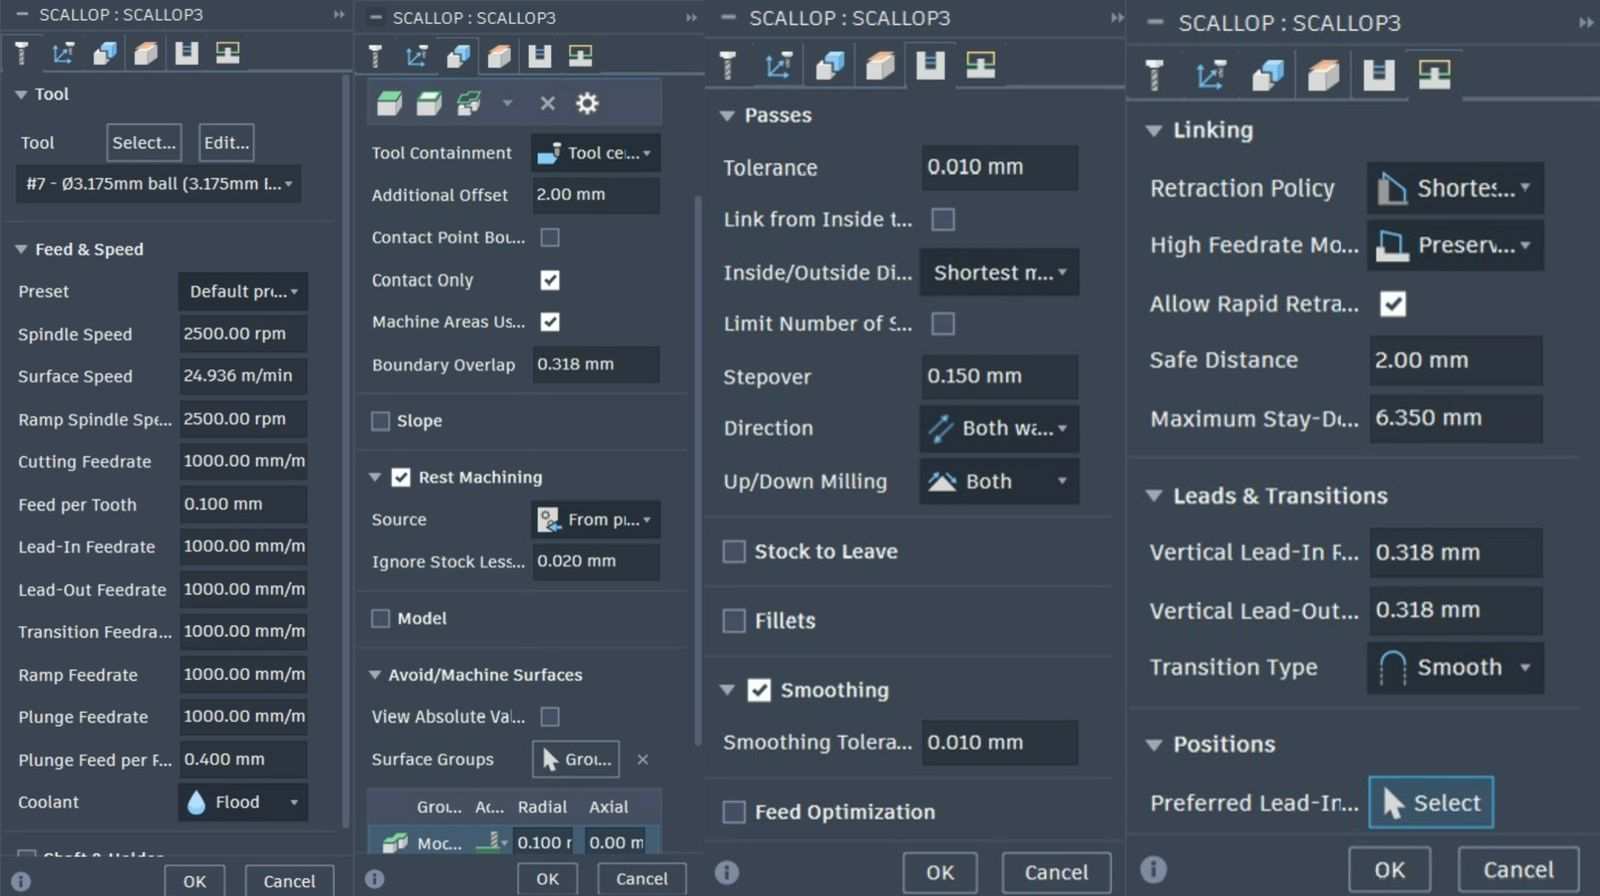
These are the settings used for the scallop operation.
Below is the simulation of the finishing toolpath.
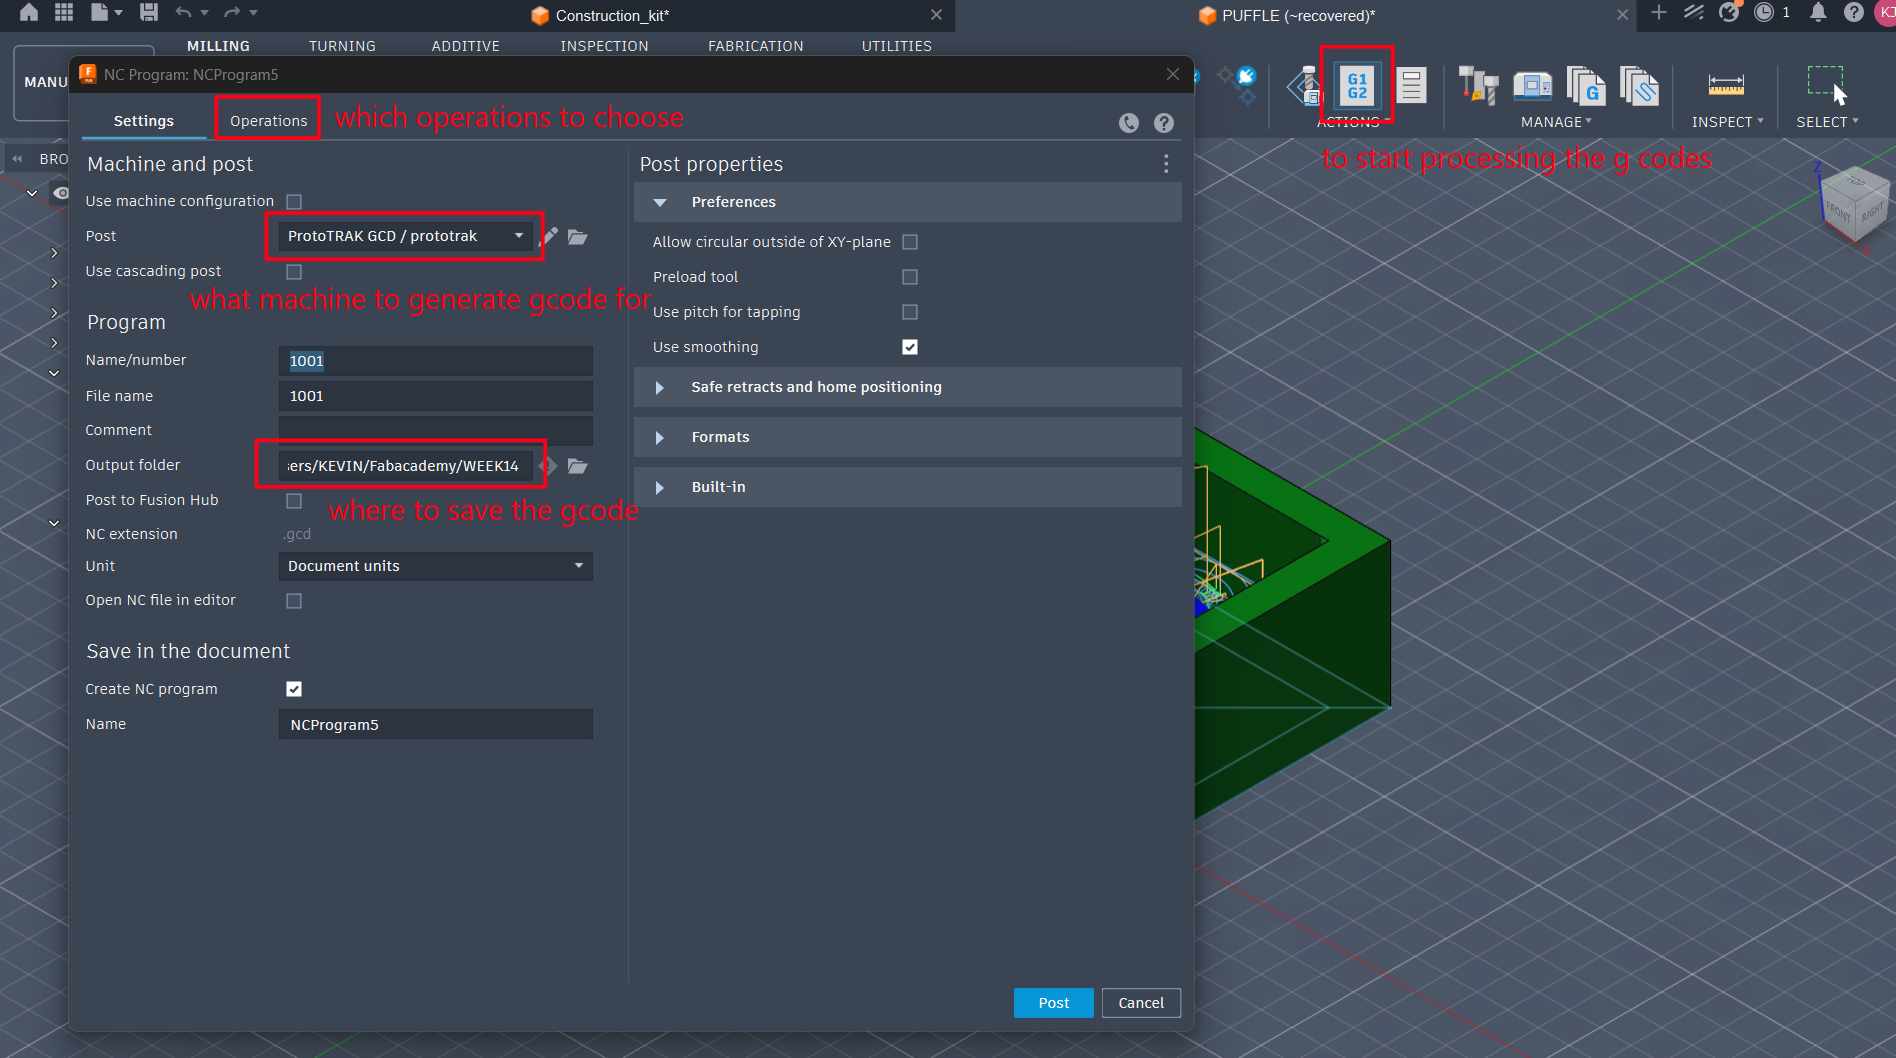
Exporting the G-code
Once all machining operations had been completed, the corresponding G-code files were generated.
For each operation, the appropriate machine and post processor were selected before exporting the G-code. Each tool was exported separately so that tool changes could be performed between machining operations.
CNC Milling
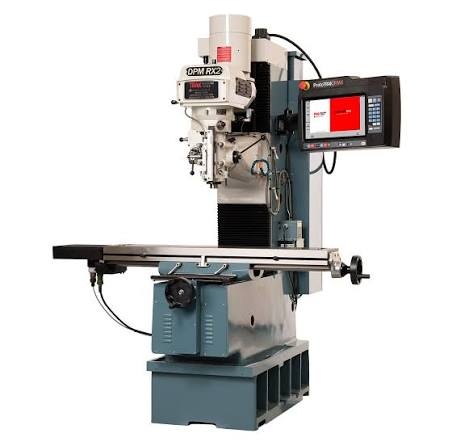
The machine used for milling was the ProtoTRAK DPM RX2, a three-axis CNC milling machine commonly used for precision subtractive manufacturing.
This machine combines the ergonomics of a manual milling machine with CNC control, making it well suited for accurately machining softer materials such as machinable wax.
Preparing the Milling Machine
Pre-checks
Before starting the machining process, a few basic checks were carried out to ensure the machine was safe and ready for operation.
- Checked the lubricant level.
- Checked the coolant level.
- Checked the air pressure supply.
- Ensured the machine and surrounding workspace were clean and free from obstructions.
Machine Start-up
The ProtoTRAK DPM RX2 milling machine was powered on and initialized before any machining operations were carried out.
- Turned on the main power switches.
- Waited for the control interface to fully load.
- Pressed the RESET button until the indicator light turned on.
Once reset, the servo motors become active, allowing controlled movement of all machine axes.
Fixturing the Workpiece
The machinable wax block was securely clamped inside the machine vice before beginning the machining process.
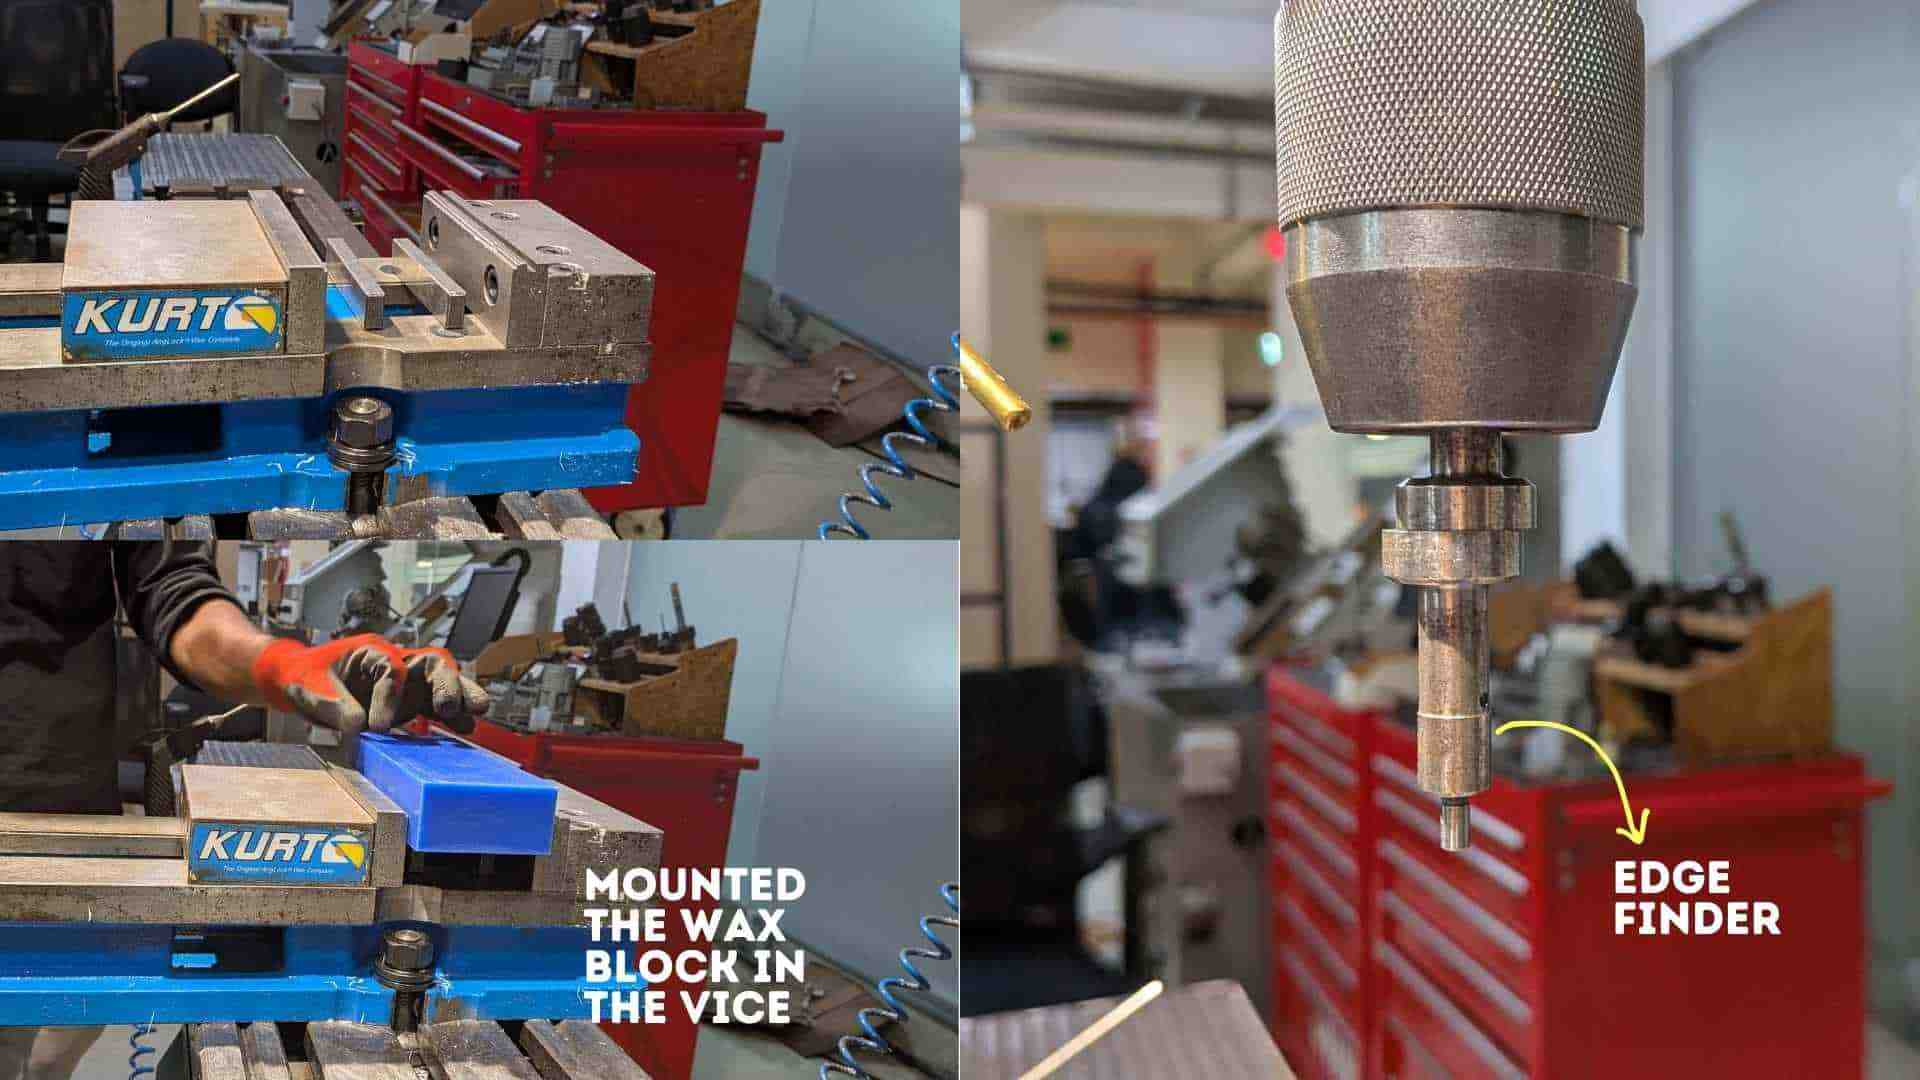
Proper fixturing is important to prevent movement during machining, ensuring dimensional accuracy and avoiding tool damage.
Setting the X and Y Axes
To establish the X and Y work offsets, an edge finder was used.
An edge finder works by having its lower section rotate with a small offset. As the tool is slowly brought towards the workpiece edge, the lower section eventually snaps back into perfect alignment with the upper body. When this happens, the centre of the edge finder is positioned exactly one tool radius away from the edge of the material.
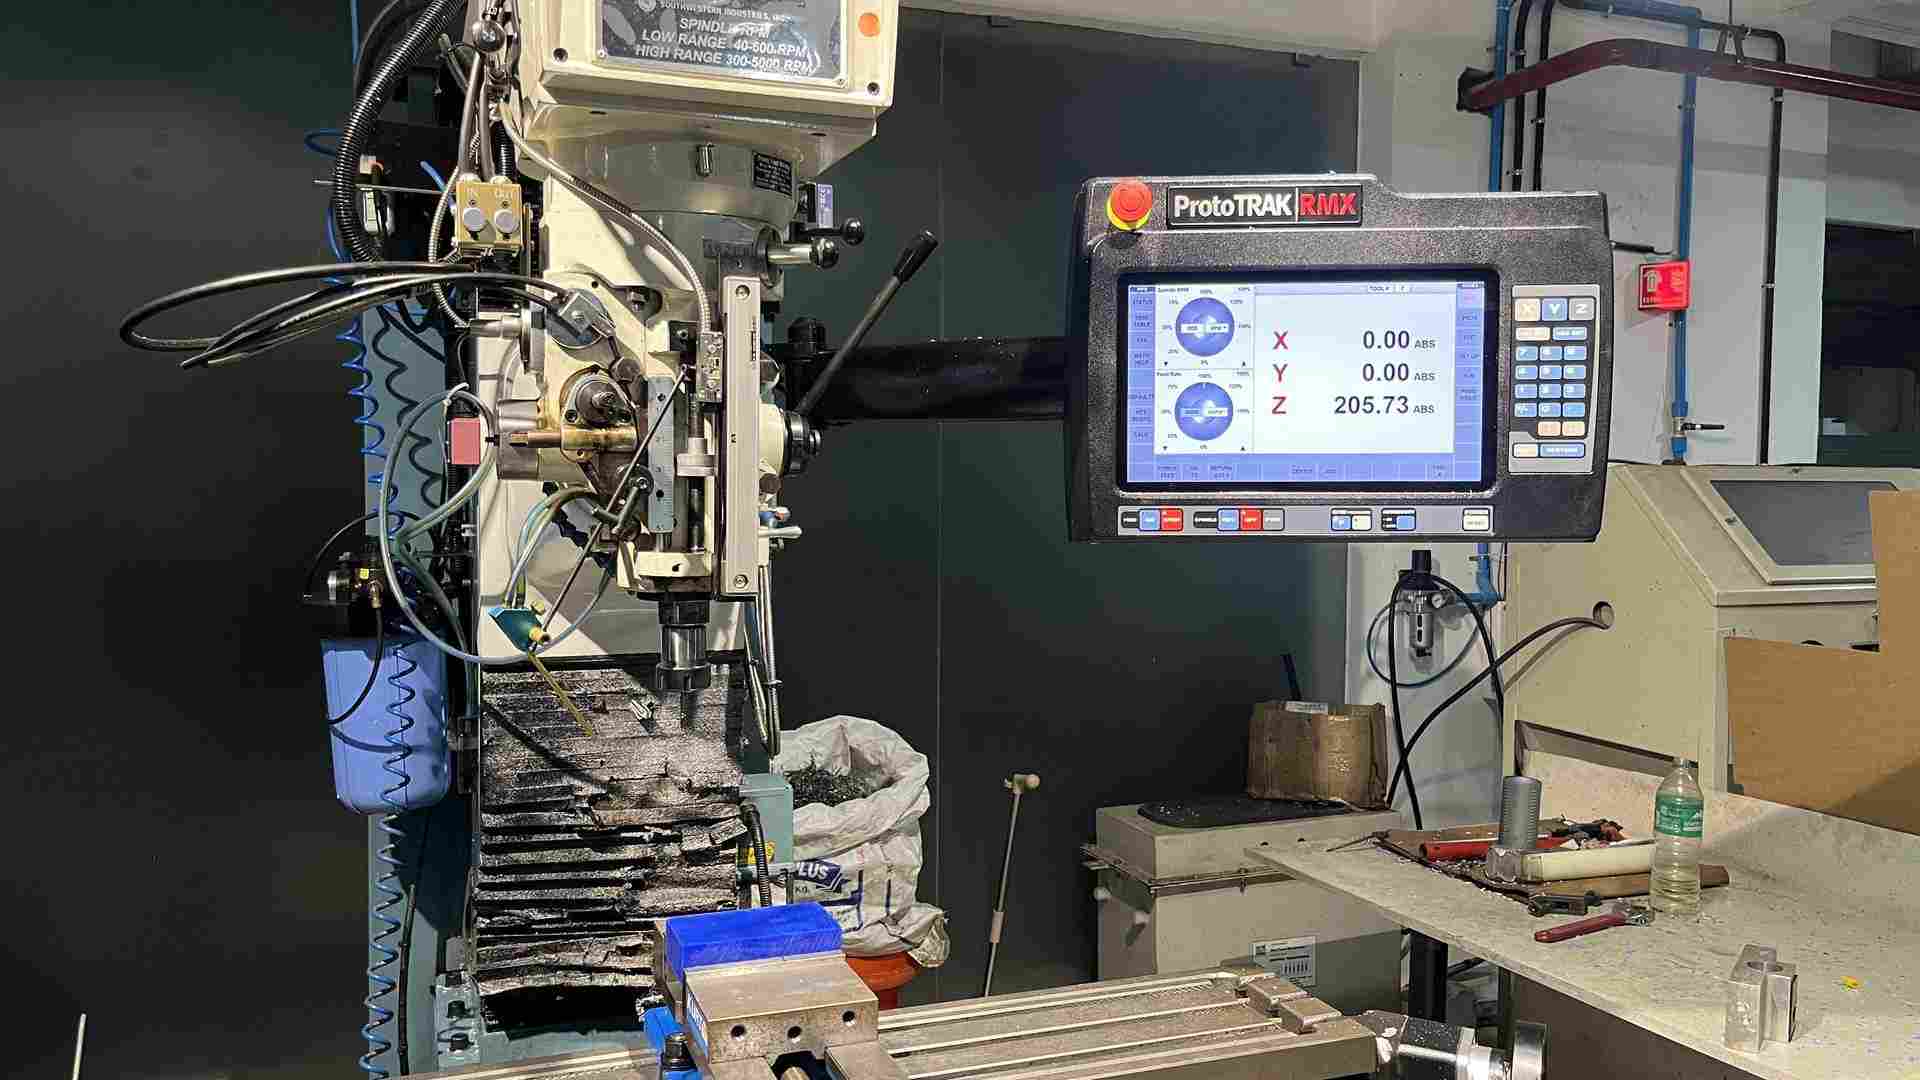
Rather than setting the machine coordinates directly to zero, the X and Y axes were both set to -2 mm.
The edge finder has a physical diameter, so setting the coordinate directly to zero would not account for its radius. The -2 mm offset compensates for the edge finder's radius, allowing the true workpiece edge to be referenced correctly.
After applying the offset, the X and Y work coordinates were established.
Installing the First Tool
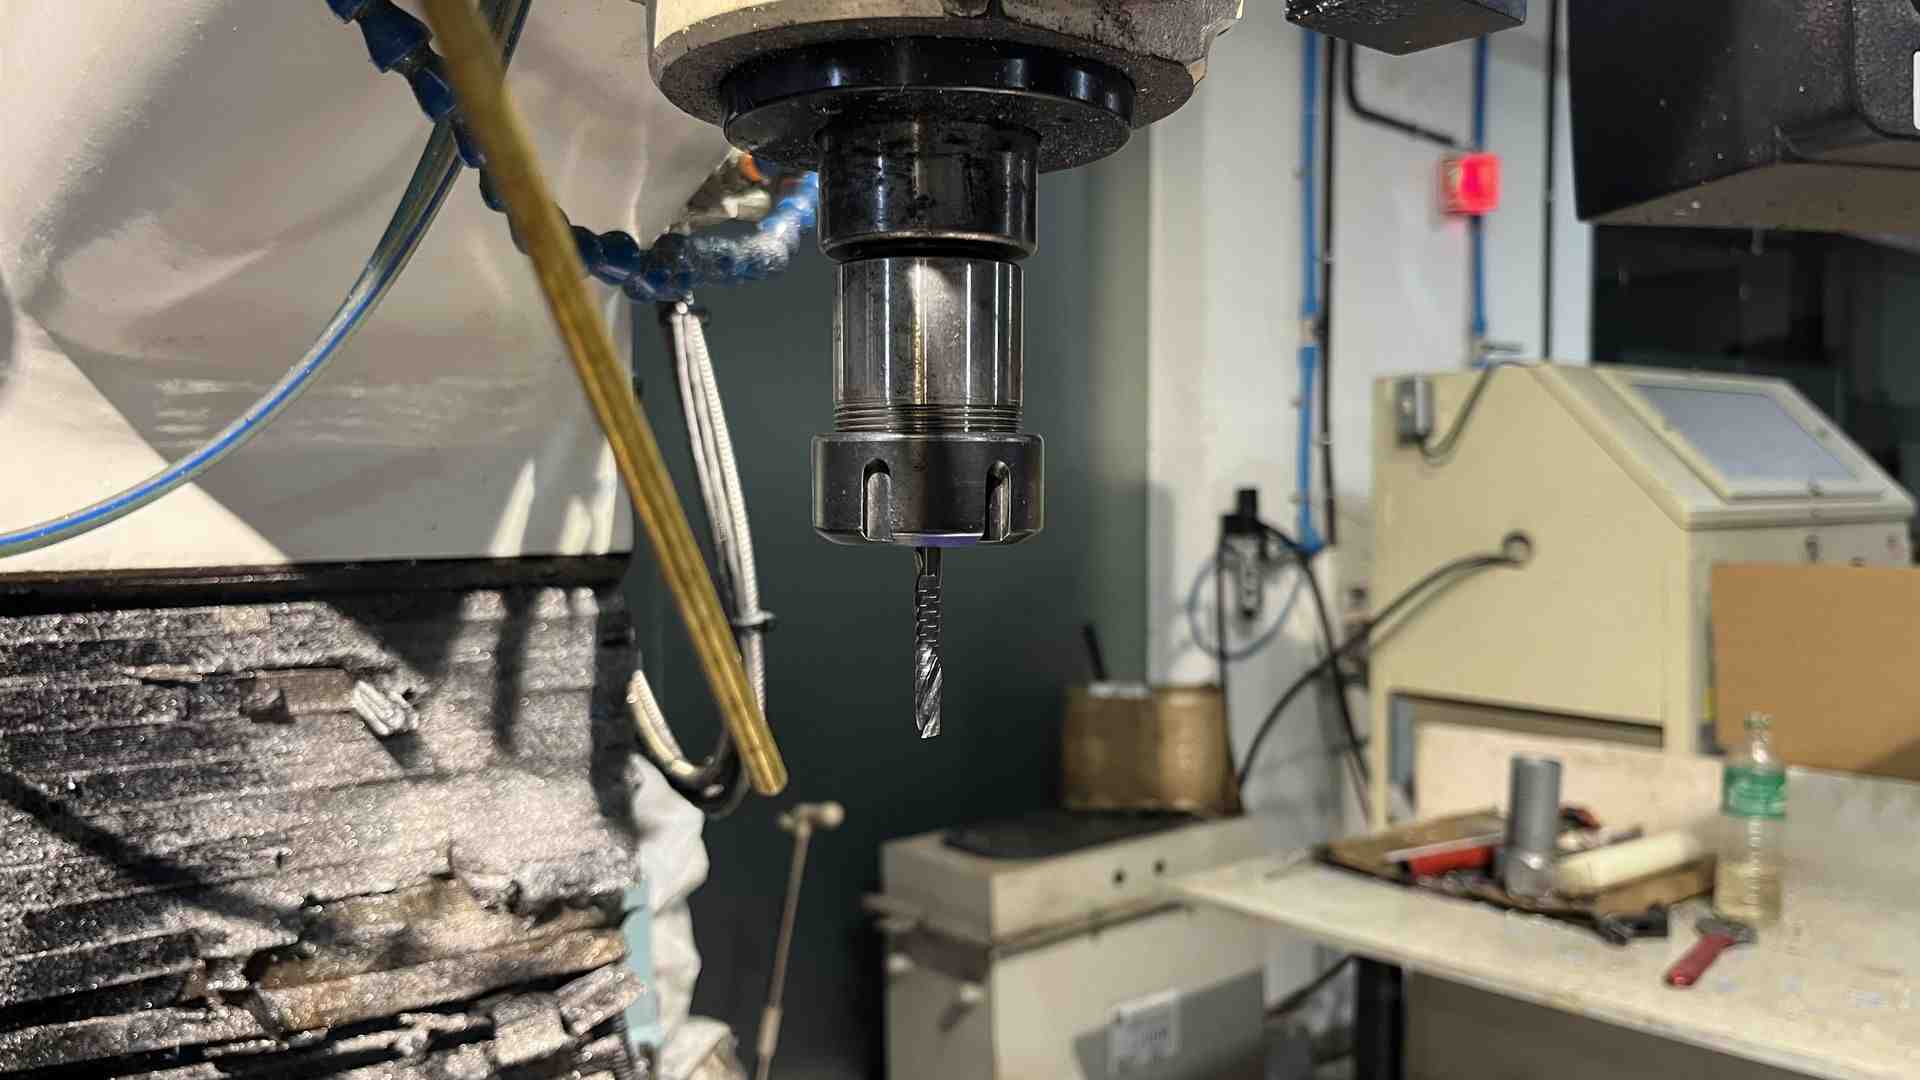
With the work coordinates established, the 6 mm single-flute flat end mill was installed to begin the first Adaptive Clearing operation.
Zeroing the Z Axis
The Z axis was zeroed from the top surface of the machinable wax block.
A Z offset was then applied to establish the correct machining reference.
Every time the cutting tool is changed, the Z axis must be re-zeroed because each tool has a different overall length. Even if the workpiece remains fixed in exactly the same position, the machine must know the precise tip position of the newly installed cutter.
Milling Process
Once the work offsets and tooling had been prepared, the machining operations were performed in sequence.
- Loaded the first G-code file for the 6 mm flat end mill.
- Tracked the generated toolpath on the machine display before cutting to visually verify the programmed movement. This serves as an important safety check before machining begins.
- Started the first machining operation.
- After completion, changed to the 3.175 mm flat end mill, re-zeroed the Z axis, and ran the second Adaptive Clearing toolpath.
- Finally changed to the 3.175 mm ball end mill, re-zeroed the Z axis once again, and executed the Scallop finishing operation.
Each successive operation removed less material than the previous one, gradually refining the geometry until the final smooth surface was produced.
Making the Silicone Mold
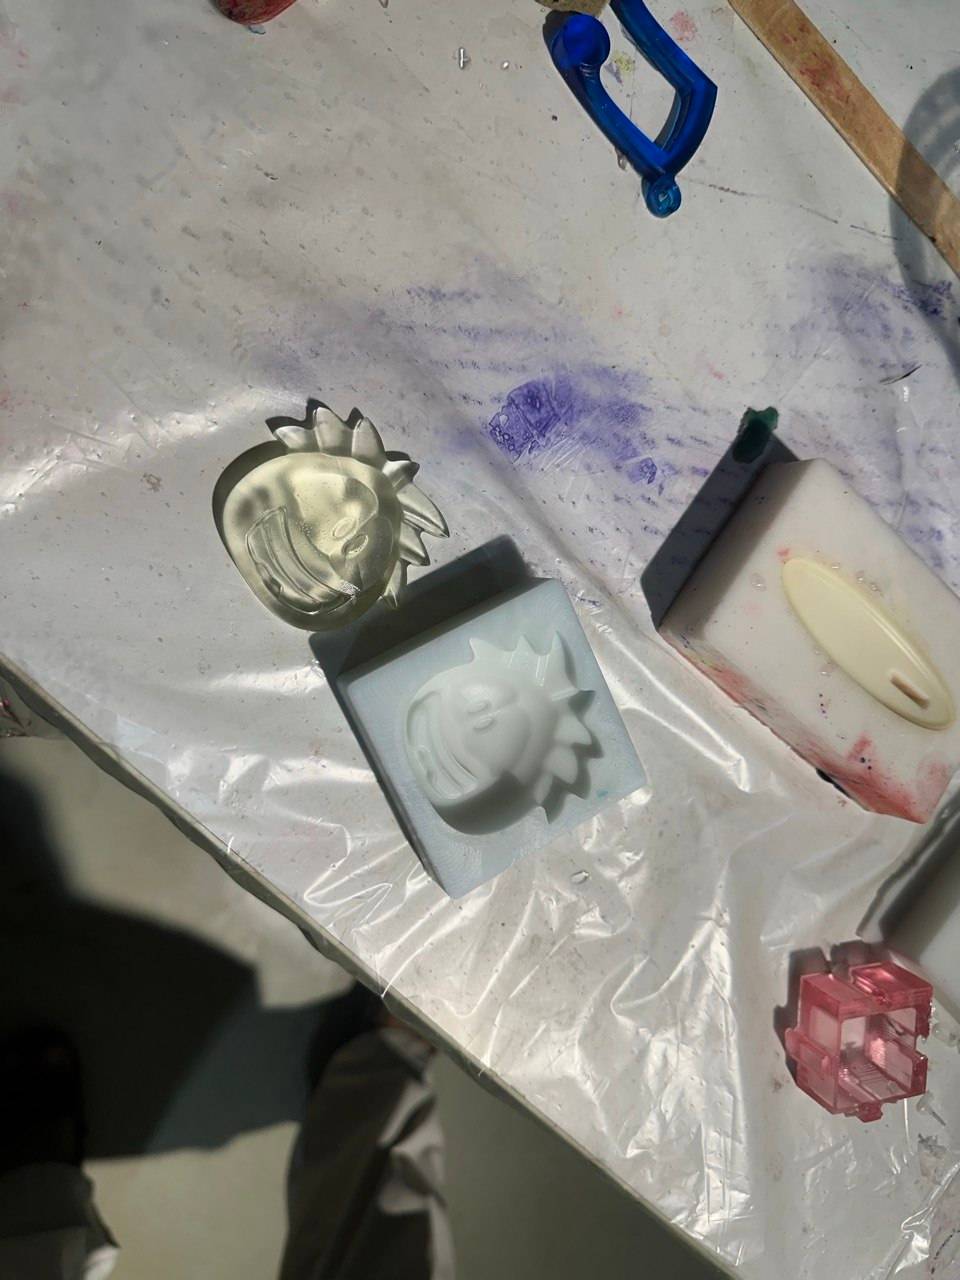
Once the wax positive had been successfully machined, it was ready to be used as the master for producing a silicone mould.
The first step was determining how much silicone would actually be required.
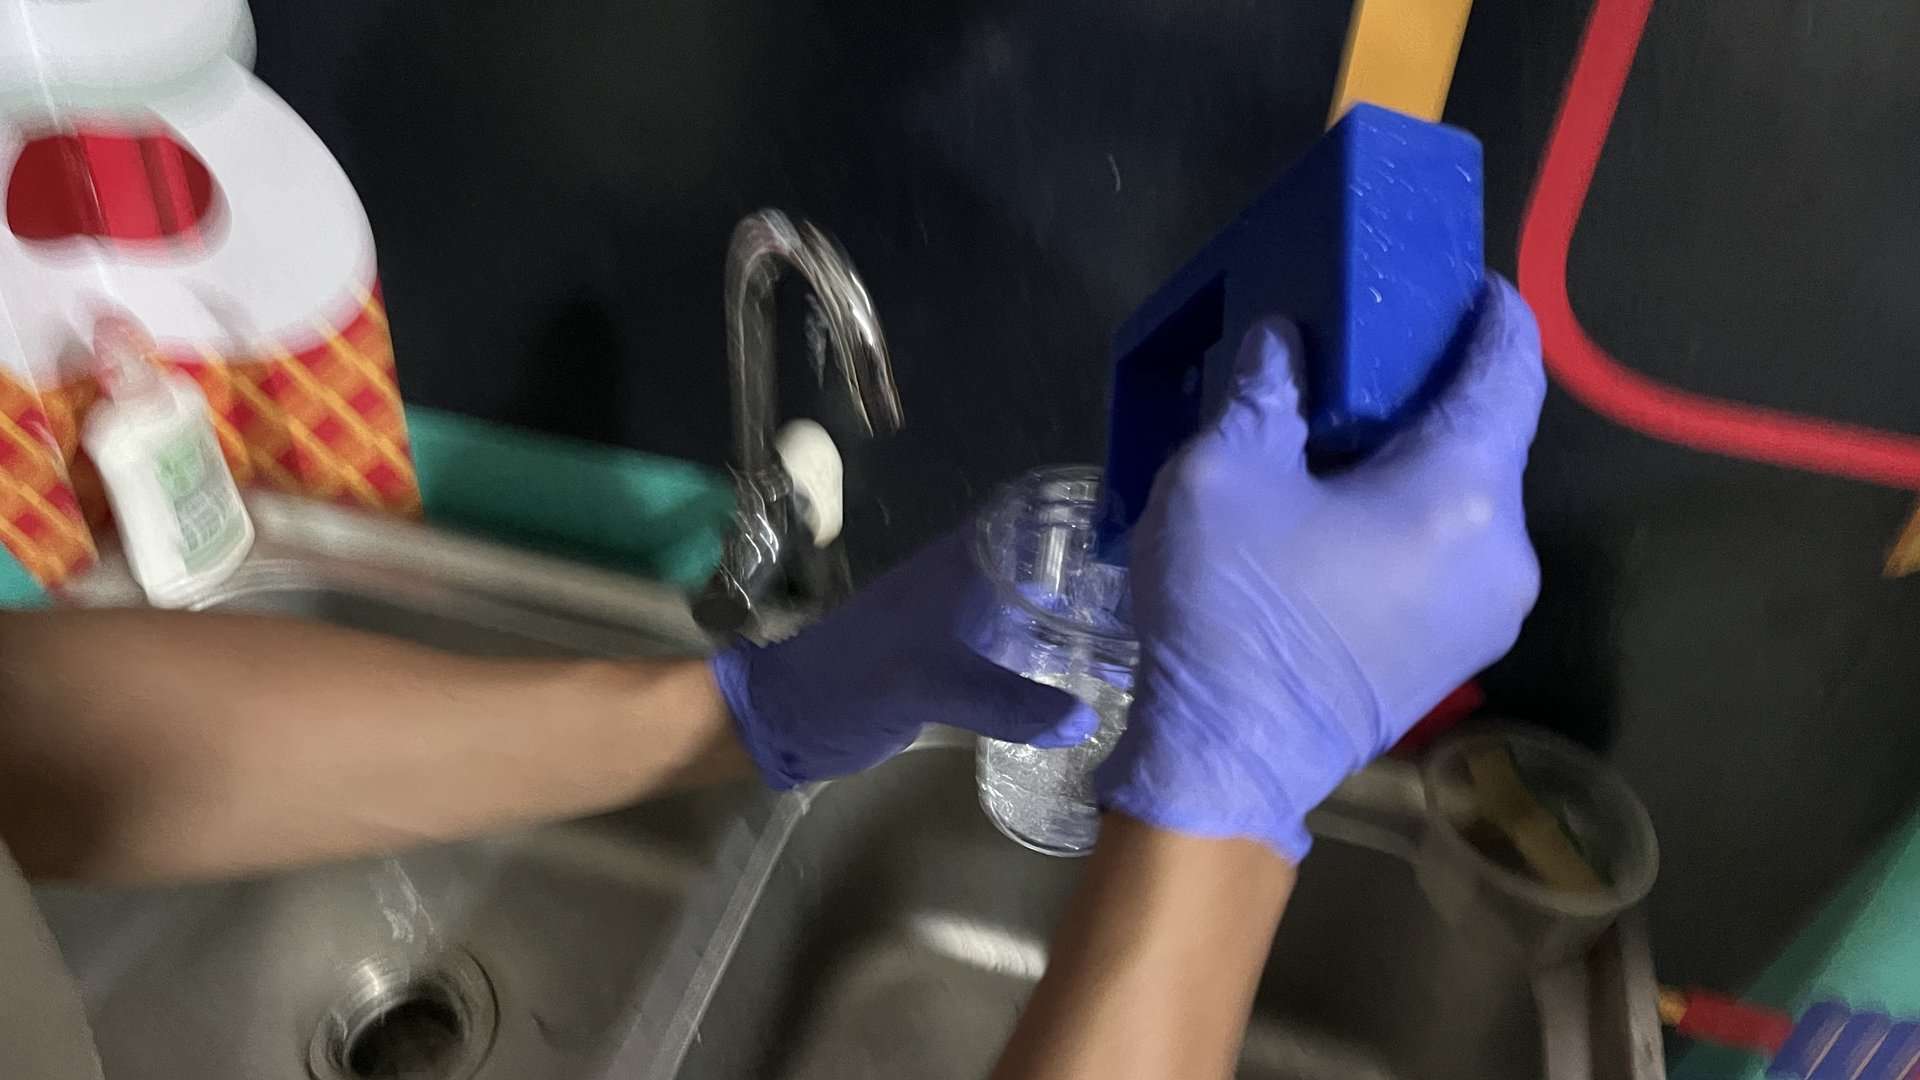
Rather than estimating the volume, the mould cavity was filled completely with water. The water level was then marked on a mixing cup, providing a direct reference for the amount of silicone needed.
This helps reduce material waste while ensuring enough silicone is prepared to completely fill the mould.
Finding the required volume using water is shown below.
The measured water level was then marked on the mixing container to serve as a reference for the silicone volume.
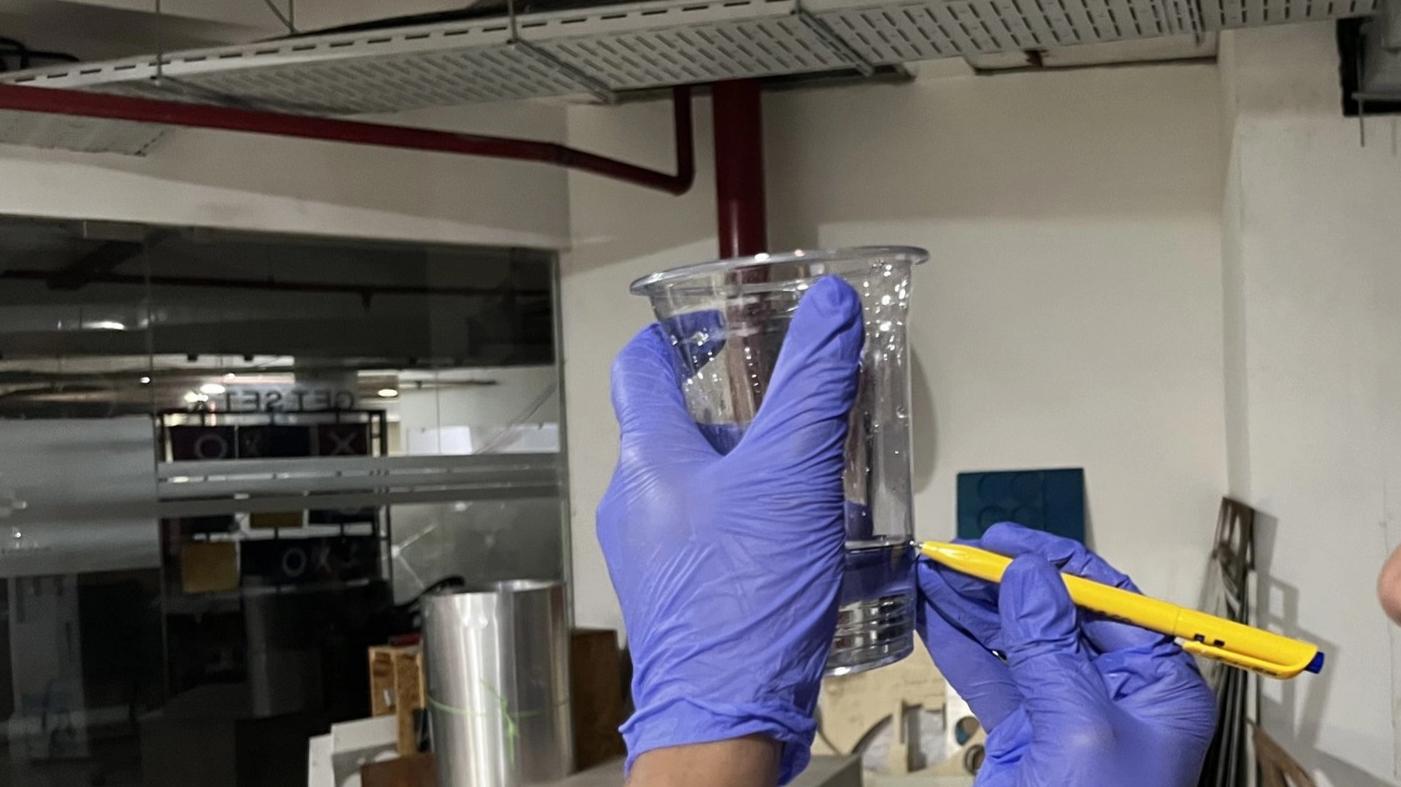
This was the amount of silicone required to produce the mould.
The silicone could now be prepared and poured.
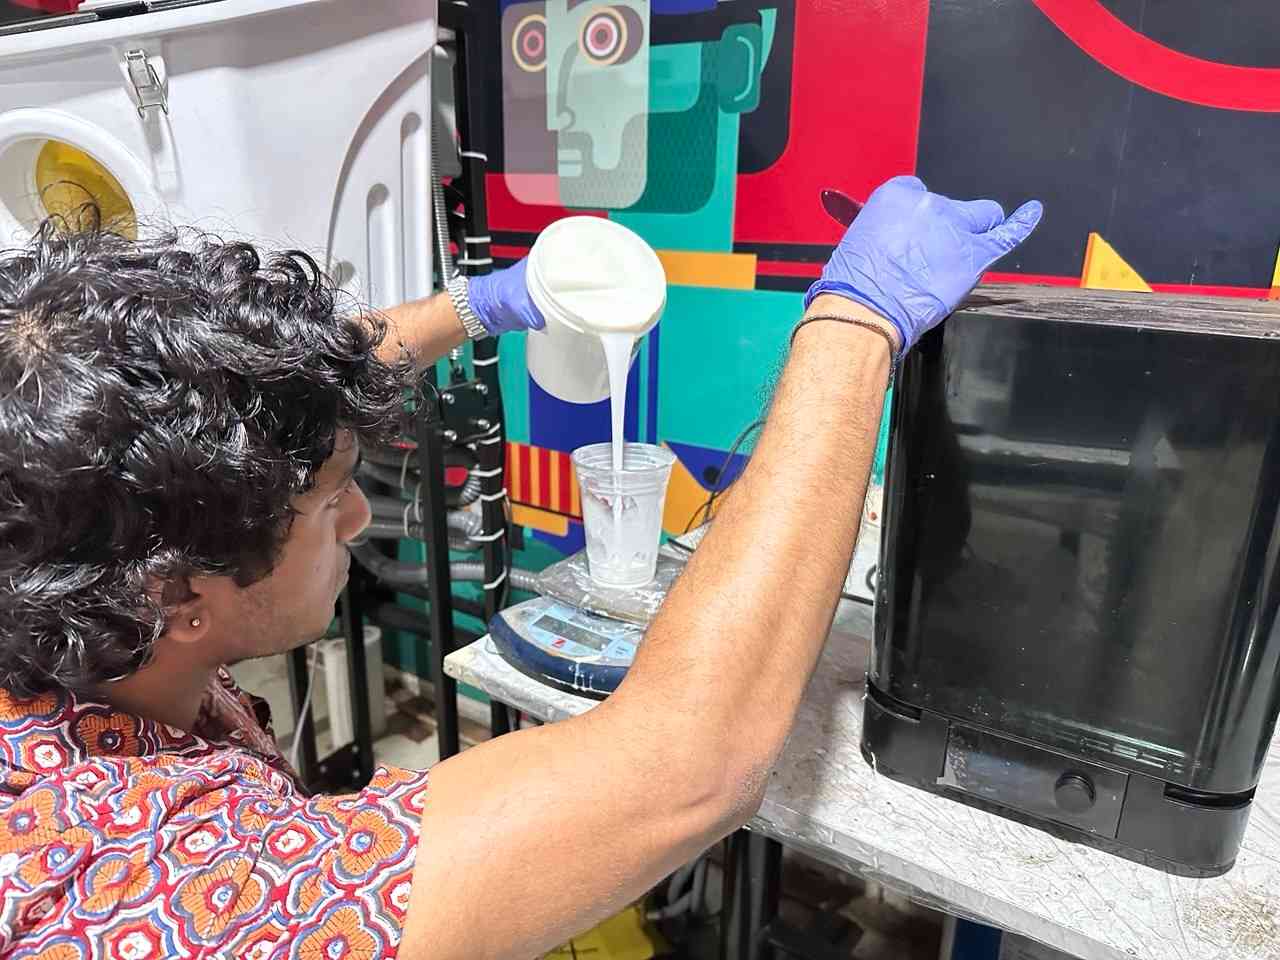
Materials Used
- Aditya Silicone Rubber RTV 2121 — a two-part room-temperature vulcanizing (RTV) silicone rubber used for mould making.
- Aditya Curing Agent — the catalyst that initiates the curing process and allows the silicone to solidify.
The curing agent was then added according to the manufacturer's recommended mixing ratio.
The recommended amount is 25–30 ml of curing agent per 1 kg of silicone rubber.
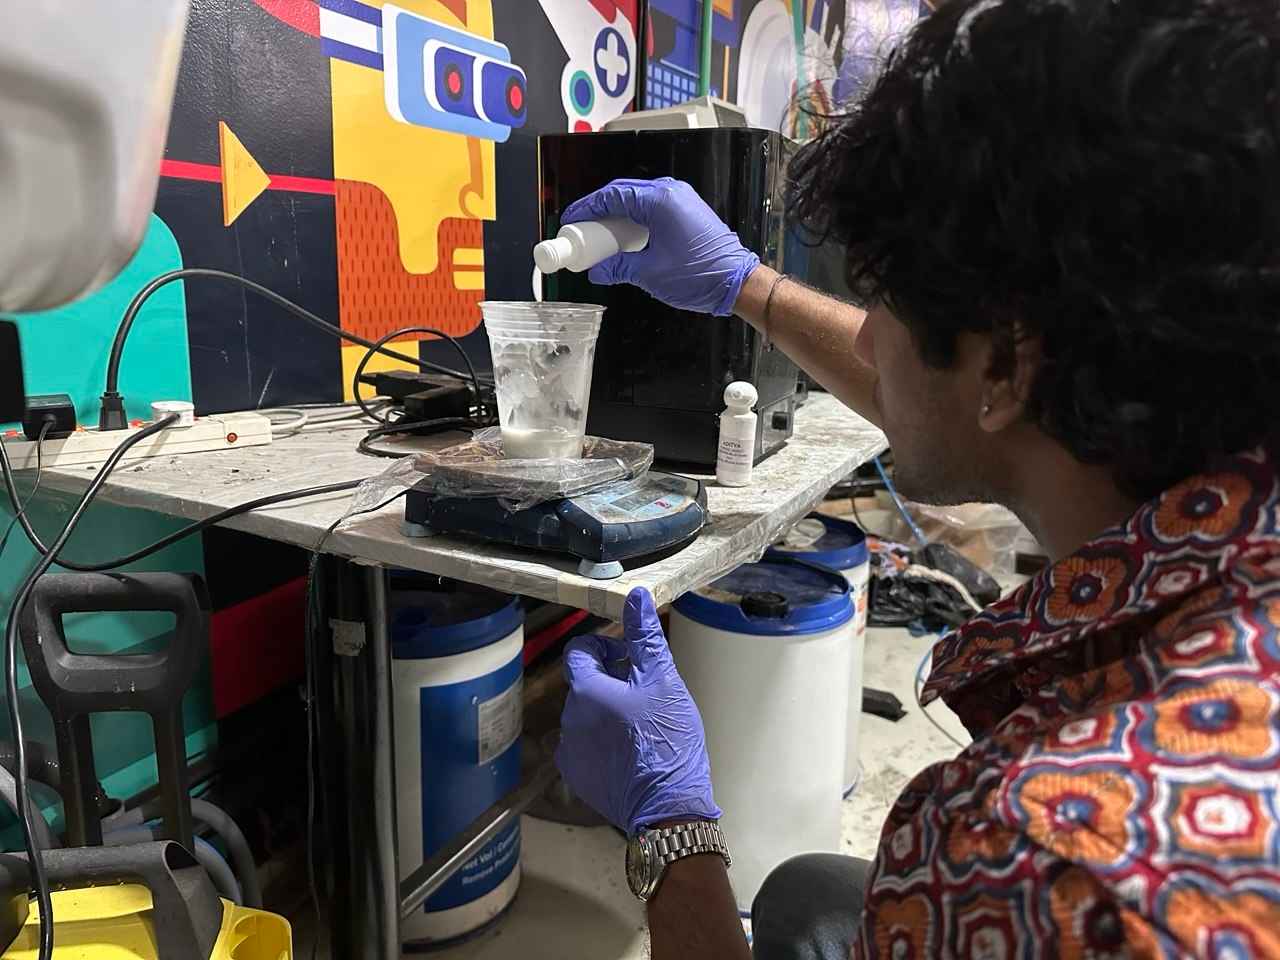
For approximately 72 g of silicone, at least 1.8 g of curing agent was required, so curing agent was gradually added until the weighing scale indicated roughly 74 g.
The curing agent was then poured into the measured silicone.
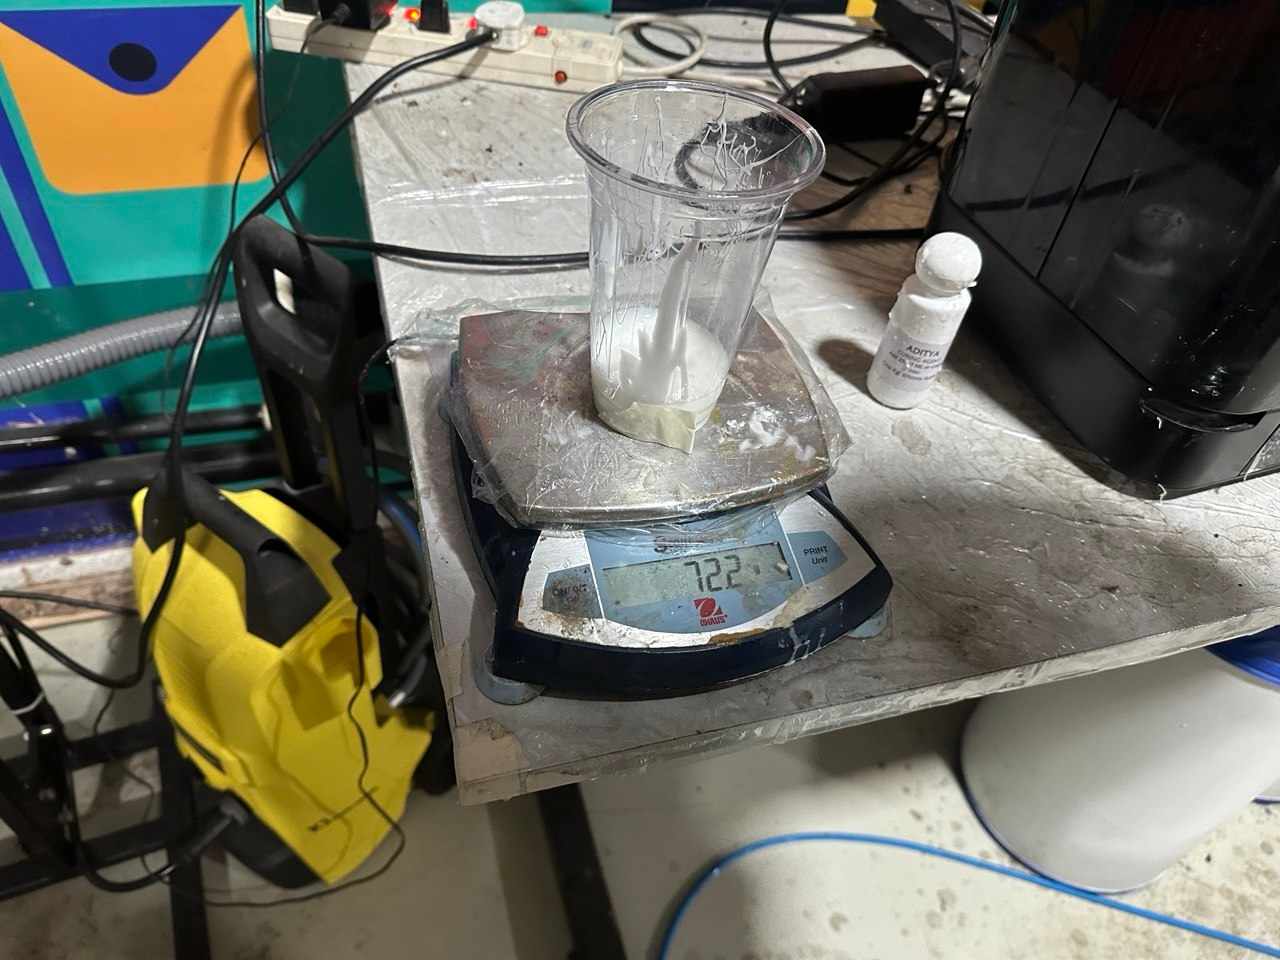
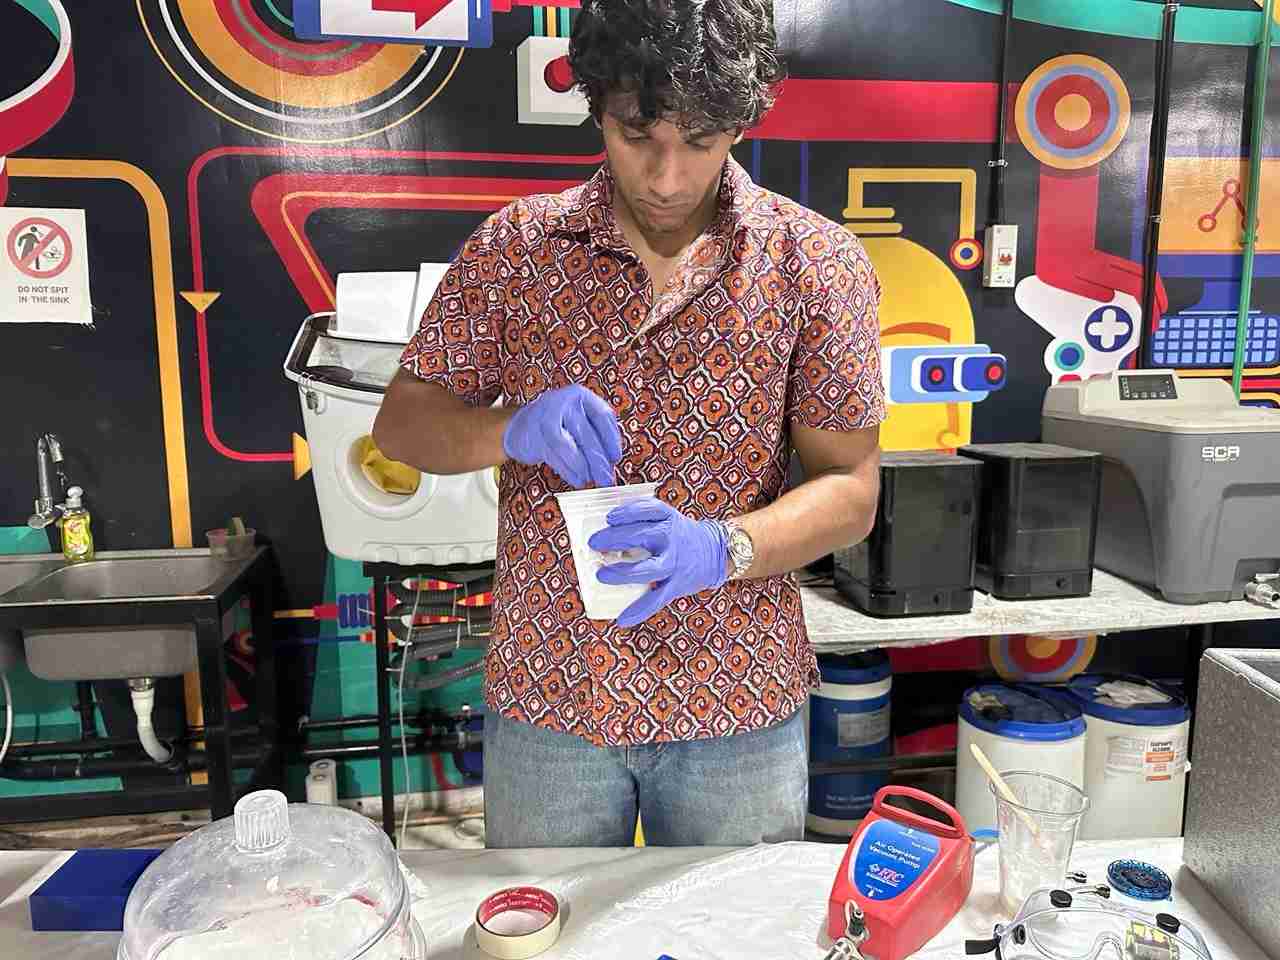
The silicone and curing agent were then mixed thoroughly to ensure an even distribution of the catalyst throughout the entire mixture. Proper mixing is important to ensure the silicone cures uniformly.
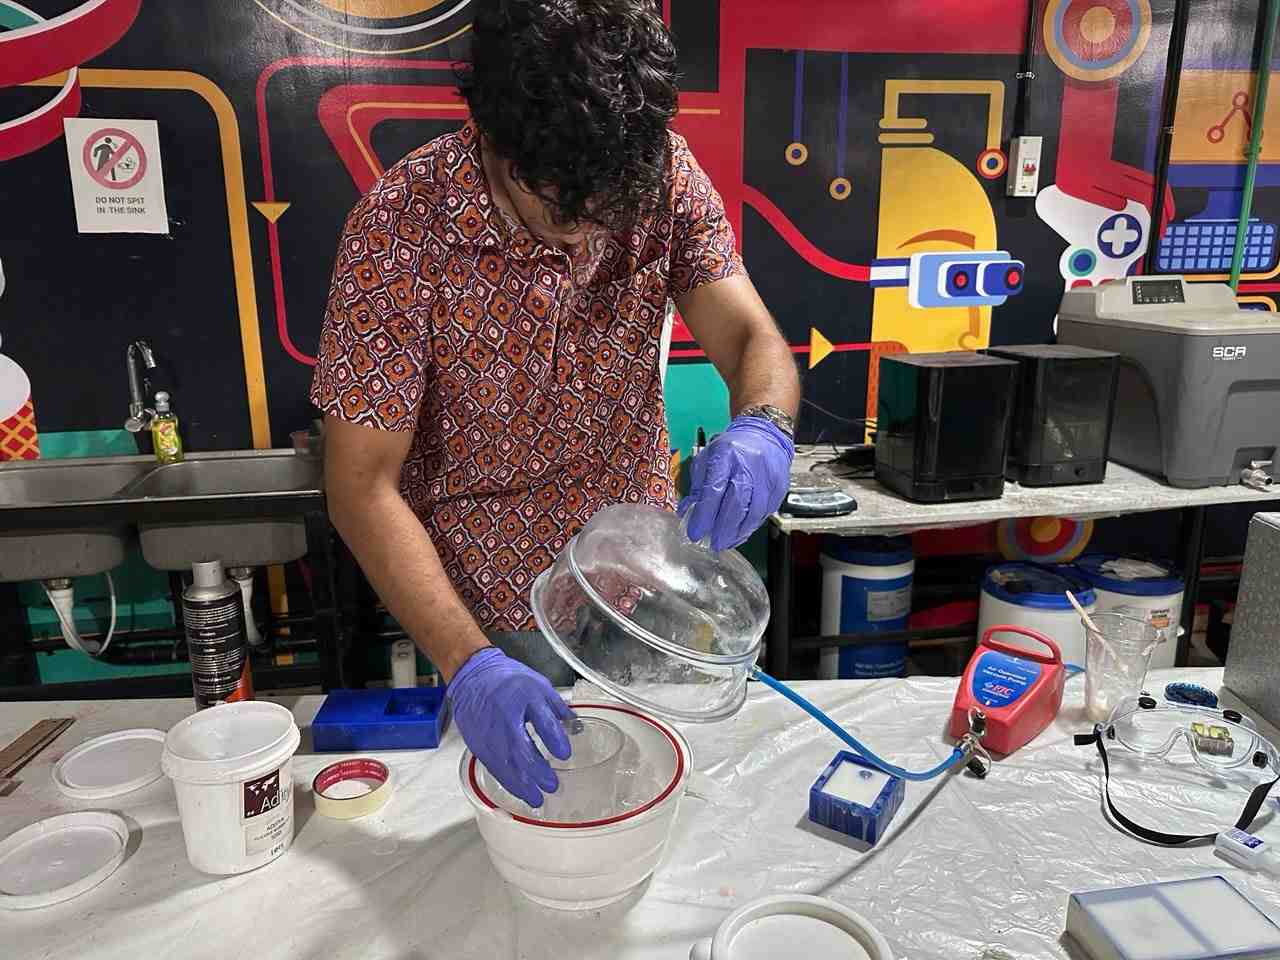
After mixing, the silicone was placed inside a vacuum chamber to remove any trapped air bubbles. The mixture was left in the chamber until it expanded and collapsed back down, allowing most of the trapped air to escape.
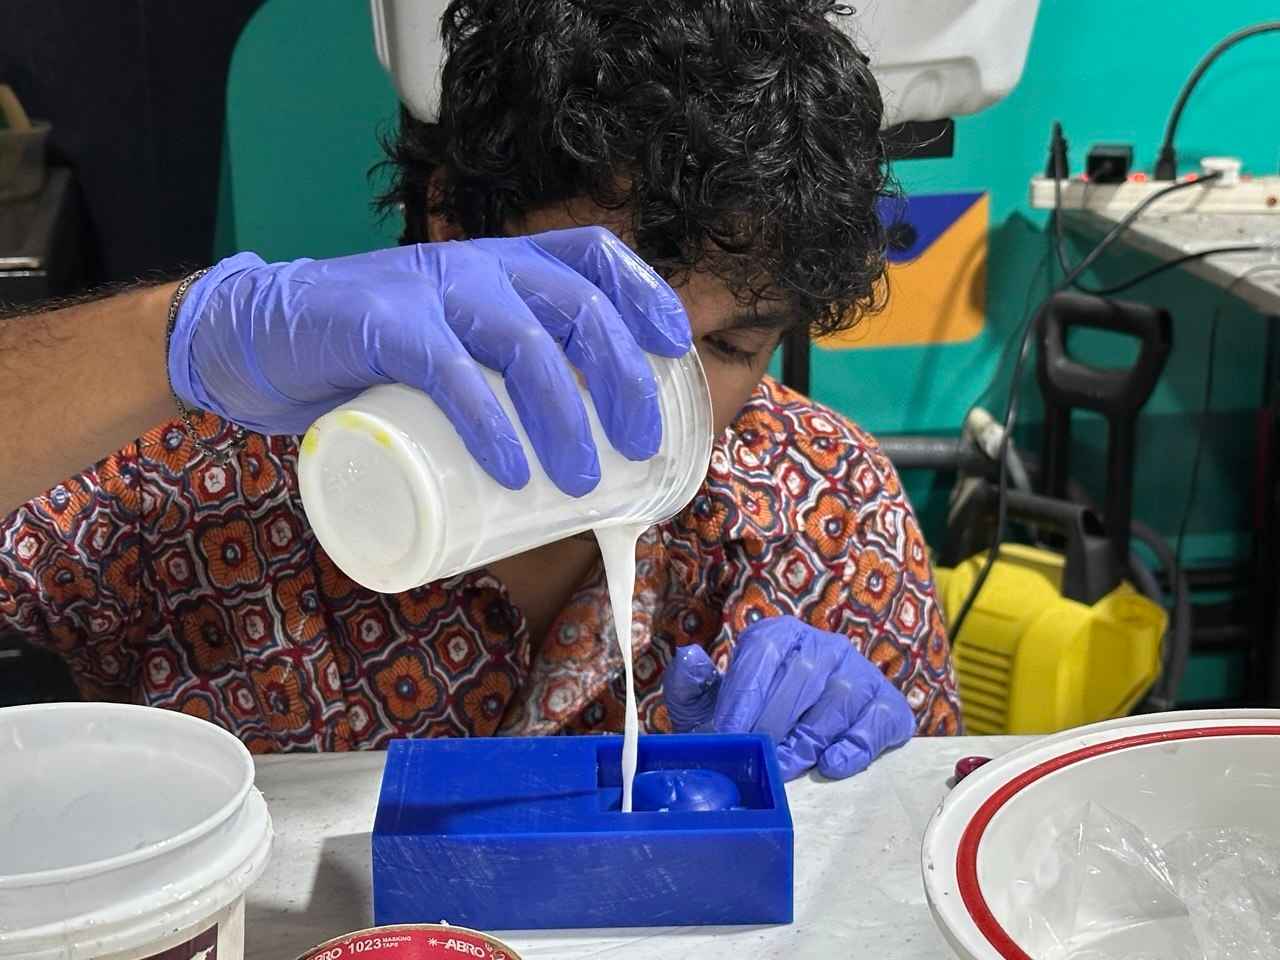
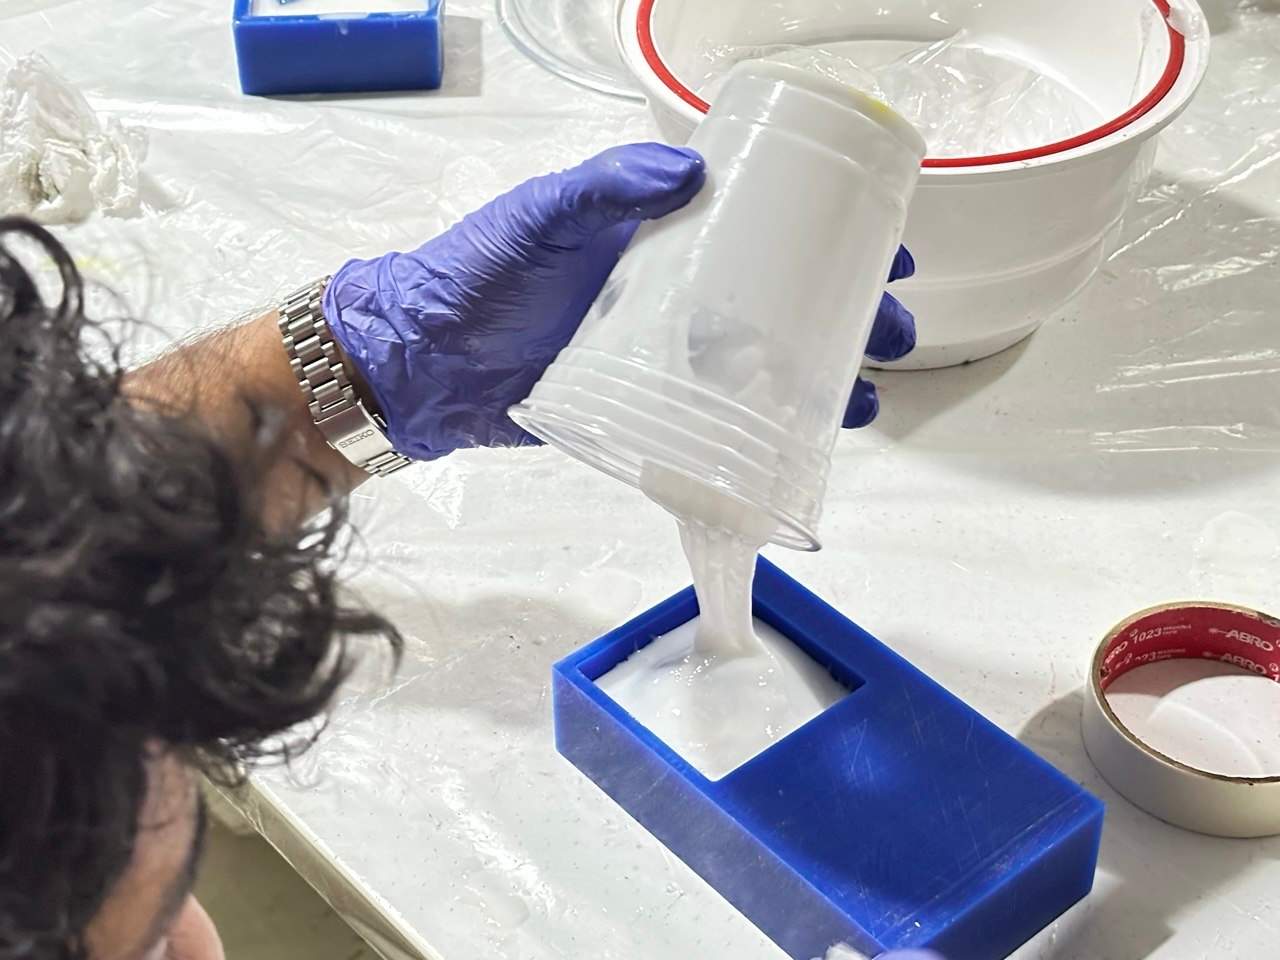
Once degassed, the mixed silicone was poured slowly into the wax mould cavity. The pour was started from one corner, allowing the silicone to flow naturally across the mould. This technique helps minimise trapped air bubbles.
After pouring, the mould was gently tapped against the floor several times. The vibration encourages any remaining bubbles to rise to the surface and escape.
Any remaining surface bubbles gradually released over time while the silicone settled.
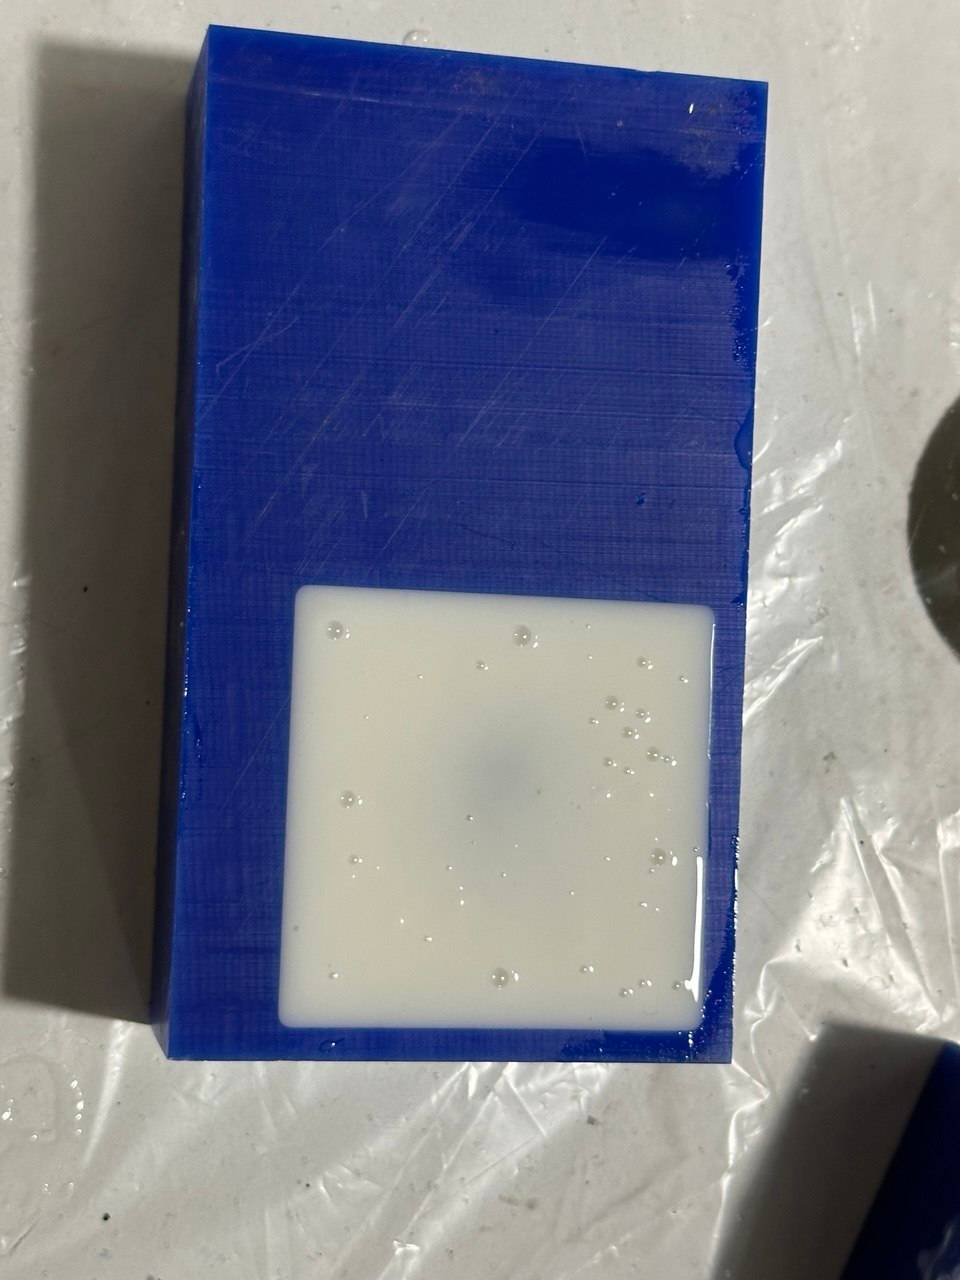
The mould was then left to cure at room temperature for approximately 12 to 14 hours. RTV silicone requires this amount of time to fully vulcanize and solidify.
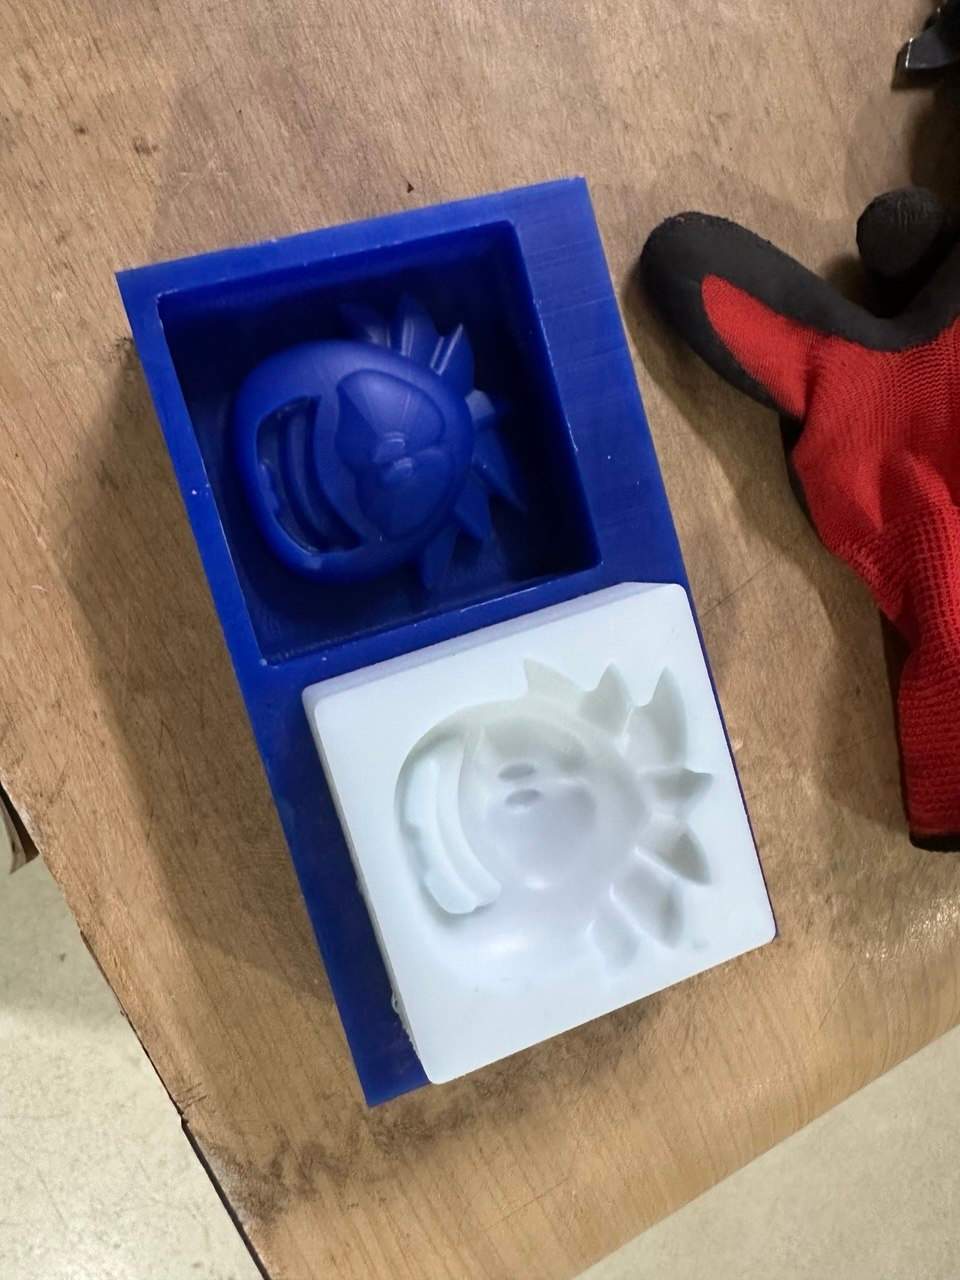
After curing, the silicone mould was carefully removed from the wax positive.
Casting the Epoxy Resin
With the silicone mould complete, the next step was casting the final Puffle using epoxy resin.
Epoxy resin is a two-part casting material consisting of Part A (Resin) and Part B (Hardener). When mixed in the correct ratio, the two components chemically react and cure into a rigid solid.
To avoid wasting resin, I followed the same approach that was used for the silicone mould. The silicone mould cavity was filled with water first to determine the exact volume of epoxy required.
The required epoxy volume was marked using the water-filled silicone mould.
The epoxy resin was then poured into the mixing cup until it reached the marked level.
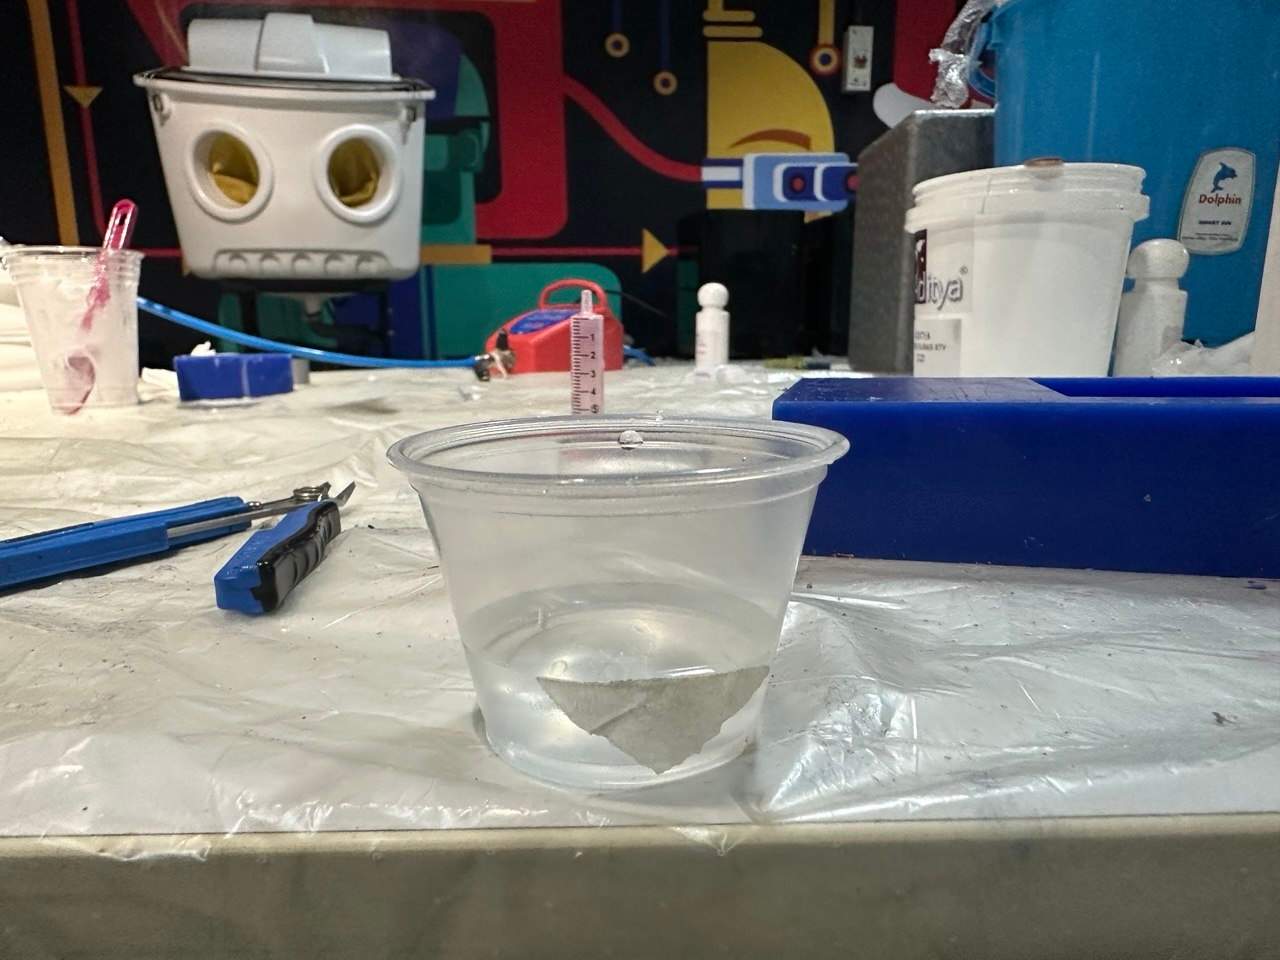
This was the amount of resin required to cast the Puffle.
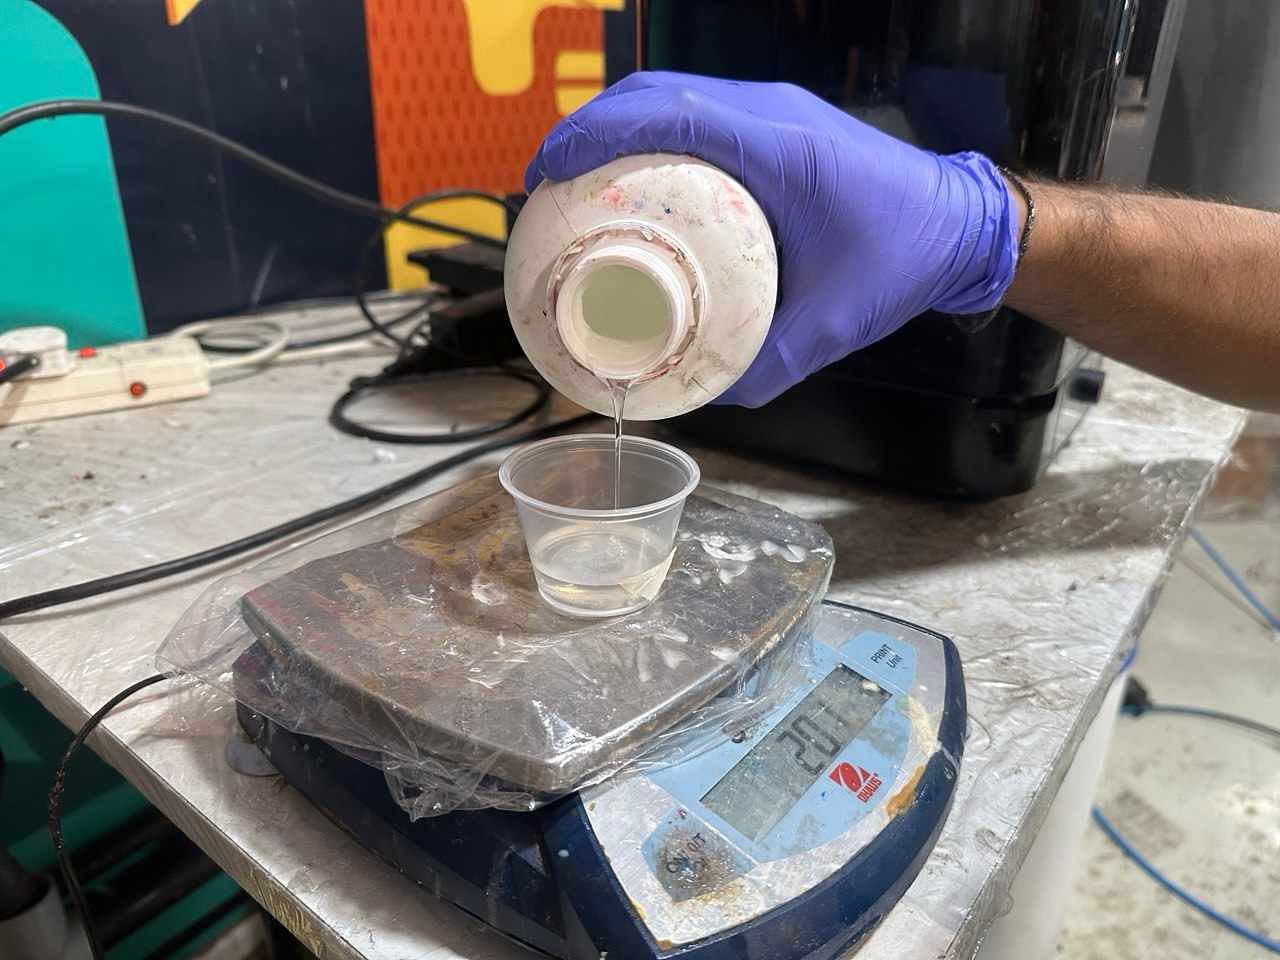
Mixing the Epoxy
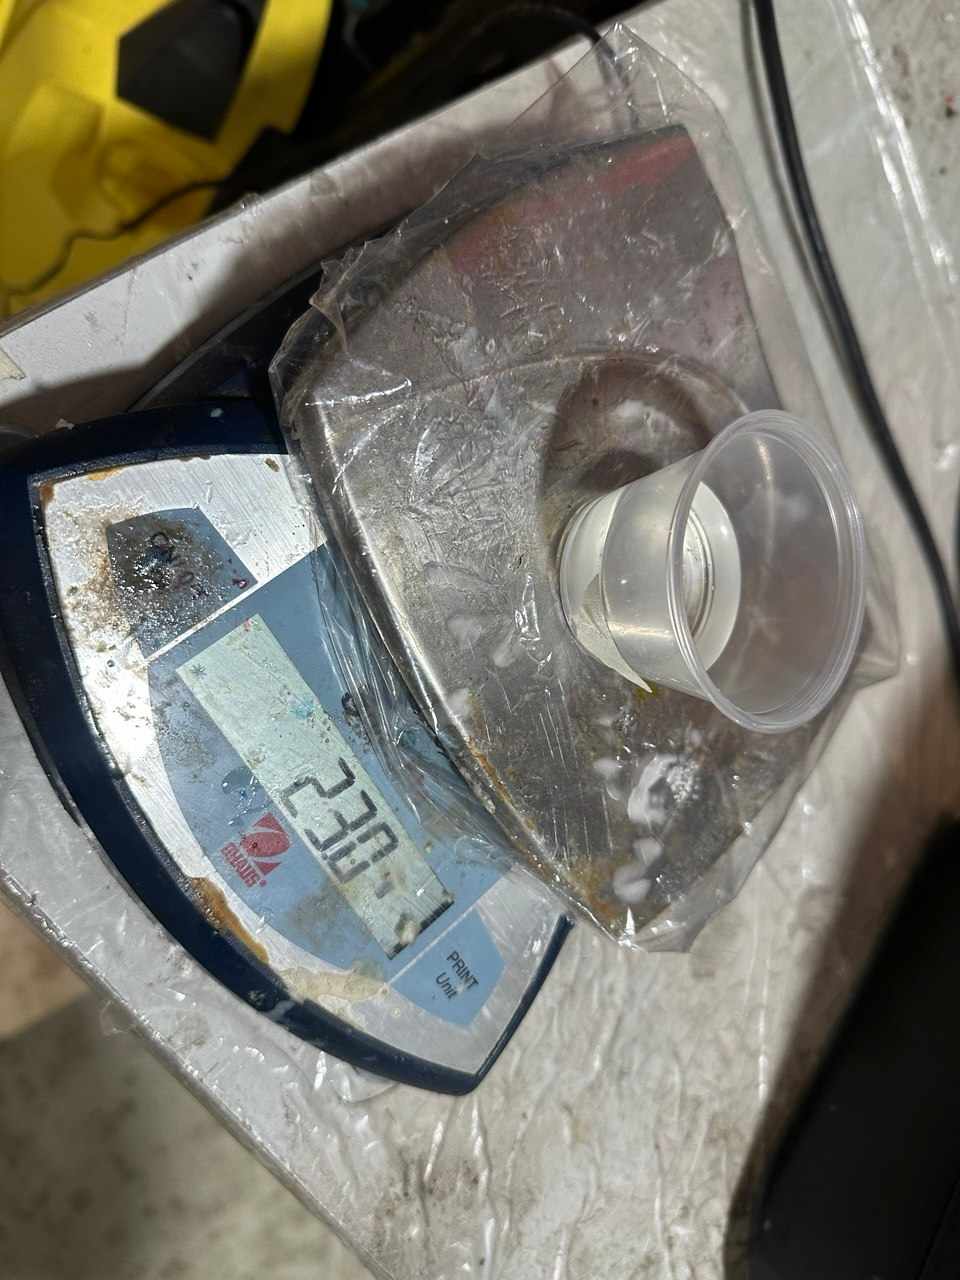
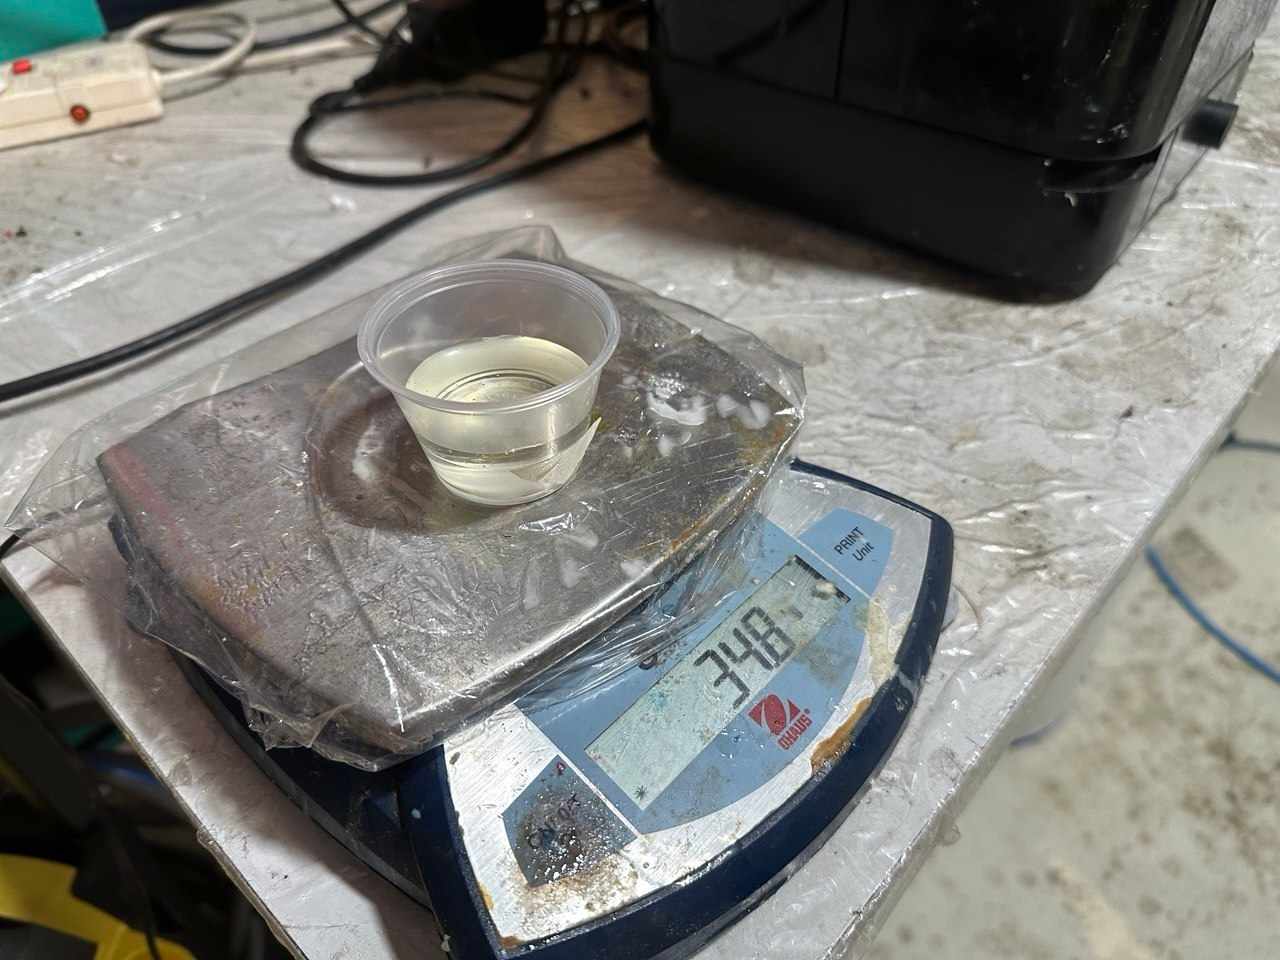
The epoxy system used a mixing ratio of 2:1 (Part A resin to Part B hardener). Therefore, half the amount of hardener was added relative to the resin.
This is the measured mass after adding Part B hardener.
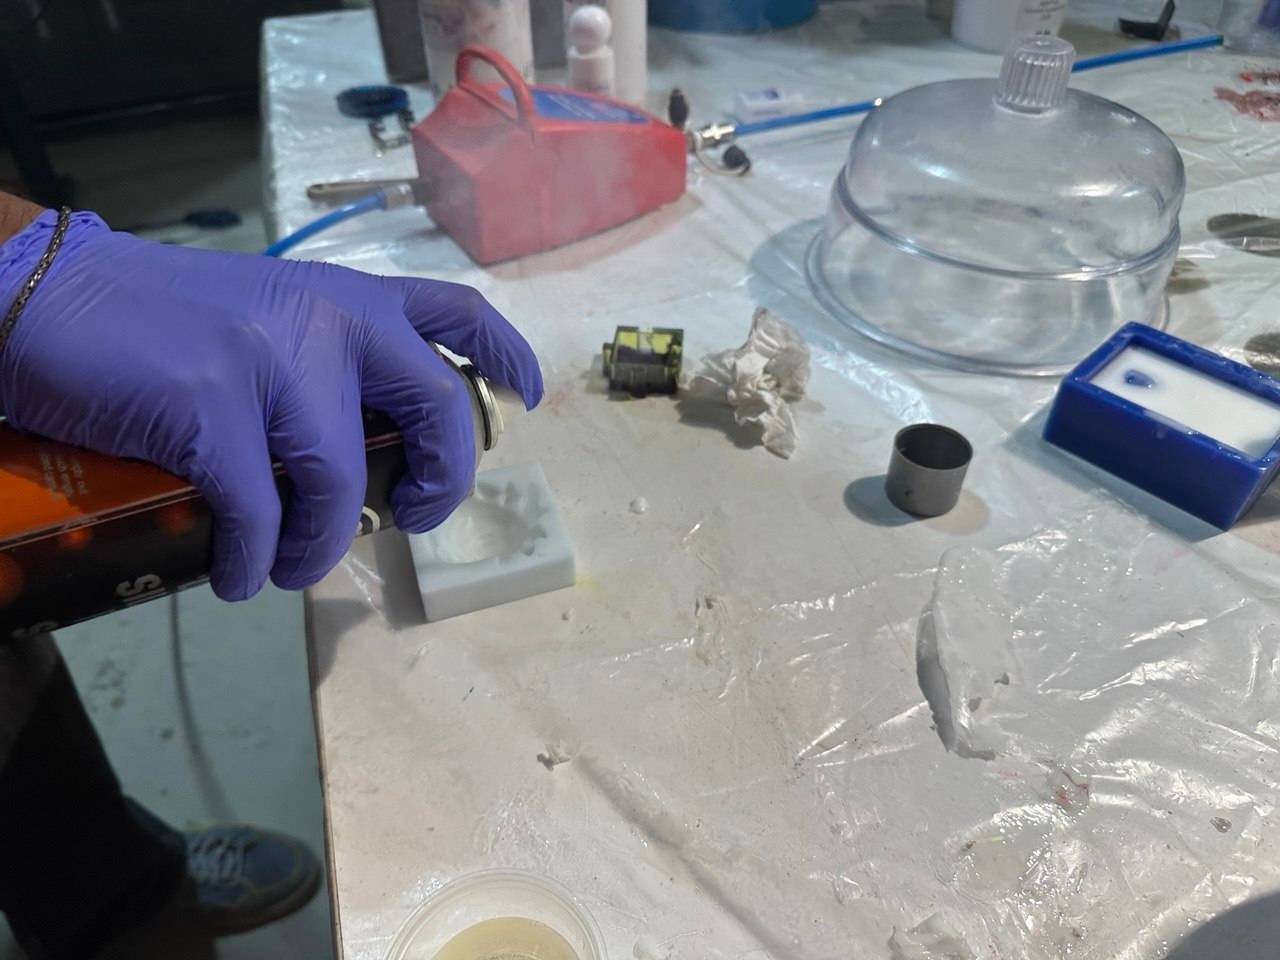
Preparing the Silicone Mould
Before pouring the epoxy, the silicone mould was sprayed with a silicone release agent. Although cured epoxy generally releases well from silicone moulds, the release spray helps make demoulding easier while also protecting the mould surface.
Pouring the Epoxy
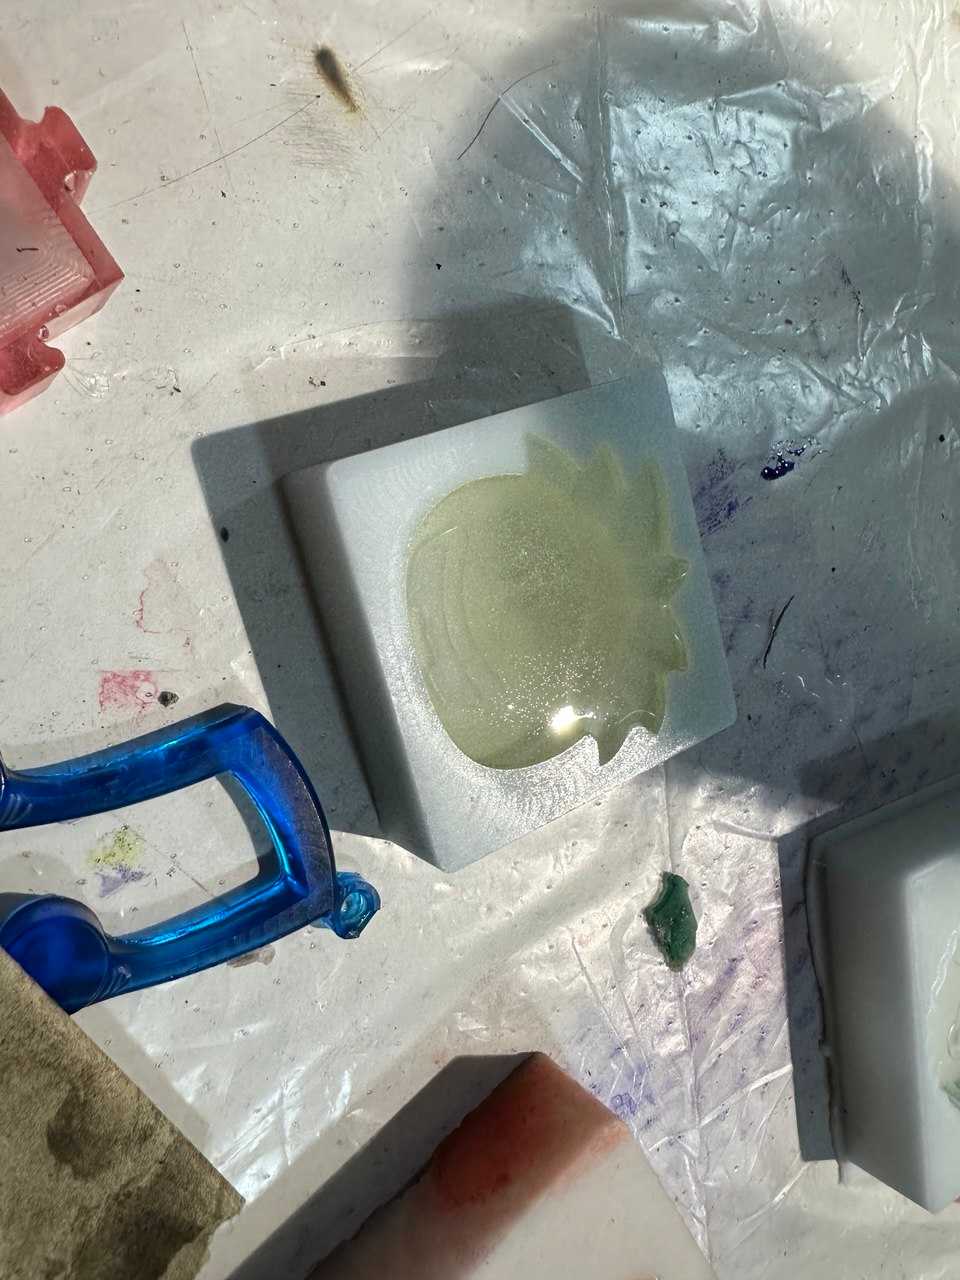
The mixed epoxy resin was poured slowly into the silicone mould to minimise the formation of air bubbles during casting.
The casting was then left undisturbed to cure for approximately one day, allowing the epoxy to fully harden.
Final Result
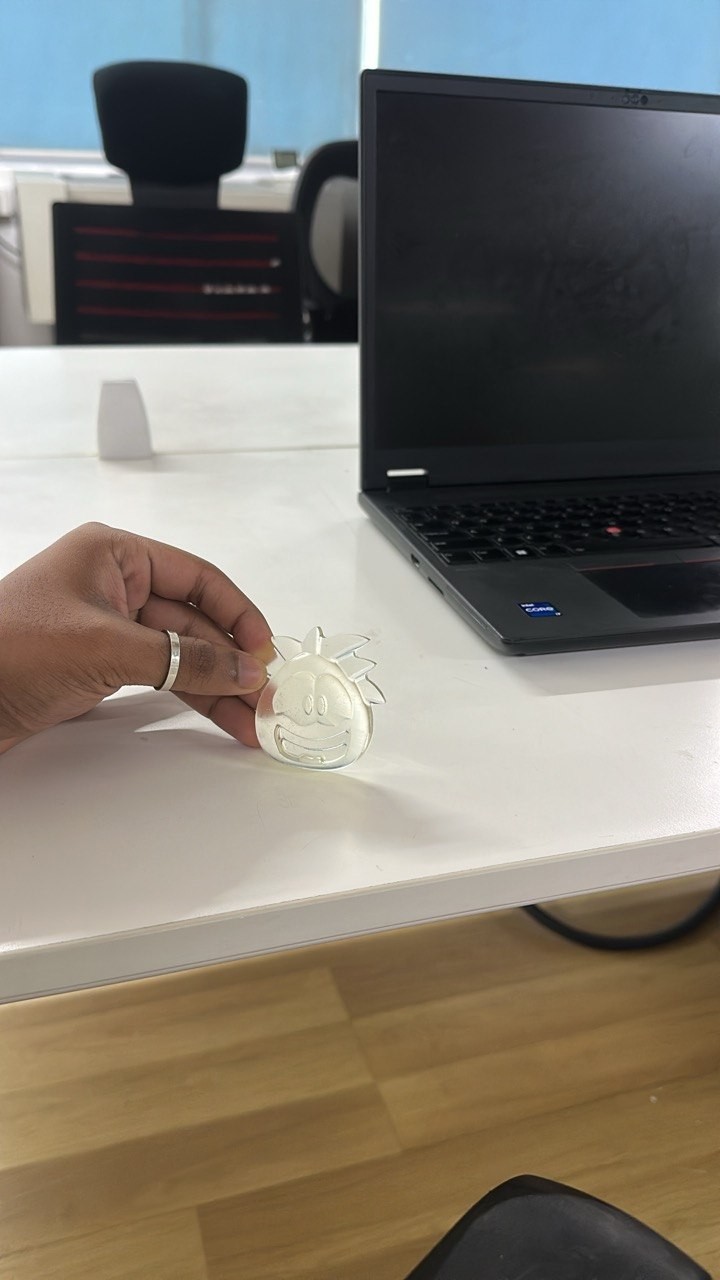
After the epoxy had completely cured, the casting was removed from the silicone mould.
Done! The Puffle turned out looking really cute.