Week 13 - Molding and Casting
Group Assignment
Review the Safety Data Sheets (SDS) for Molding and Casting Materials
As part of this week’s group assignment, we reviewed the safety considerations for the molding and casting materials used in the lab. This included understanding handling precautions, curing behavior, storage requirements, and safe disposal practices.
Safety Precautions for Molding and Casting
Refer to the safety data sheet (SDS) when available for specific safety measures. Since a detailed document was not available, the following general safety practices were followed while working with molding and casting materials:
- Wear gloves when handling silicone, resin, or other chemicals to avoid skin contact. If contact occurs, wash immediately with soap and water.
- Use leftover mixtures responsibly by pouring them into dummy molds and allowing them to fully cure. Once cured, silicone becomes inert and safe to handle.
- Work in a dedicated chemical handling area to contain spills and waste in one controlled location within the lab.
- Segregate chemical waste properly for disposal by the relevant waste management team.
- Avoid eating or drinking near the molding and casting workbench to prevent contamination.
- Store chemicals properly in a cool, dry place away from direct sunlight.
Materials Used This Week
The following molding and casting materials were used:
- Silicone Rubber (for mold making)
- Casting Resin
- Mold Release Agent
- Pigments / Additives (if used)
Each material was checked for:
- Mixing and handling precautions
- Personal protective equipment (PPE) requirements
- Ventilation needs
- Storage recommendations
- Waste disposal methods
- Emergency first-aid measures
Aditya Silicone Rubber RTV – 1010
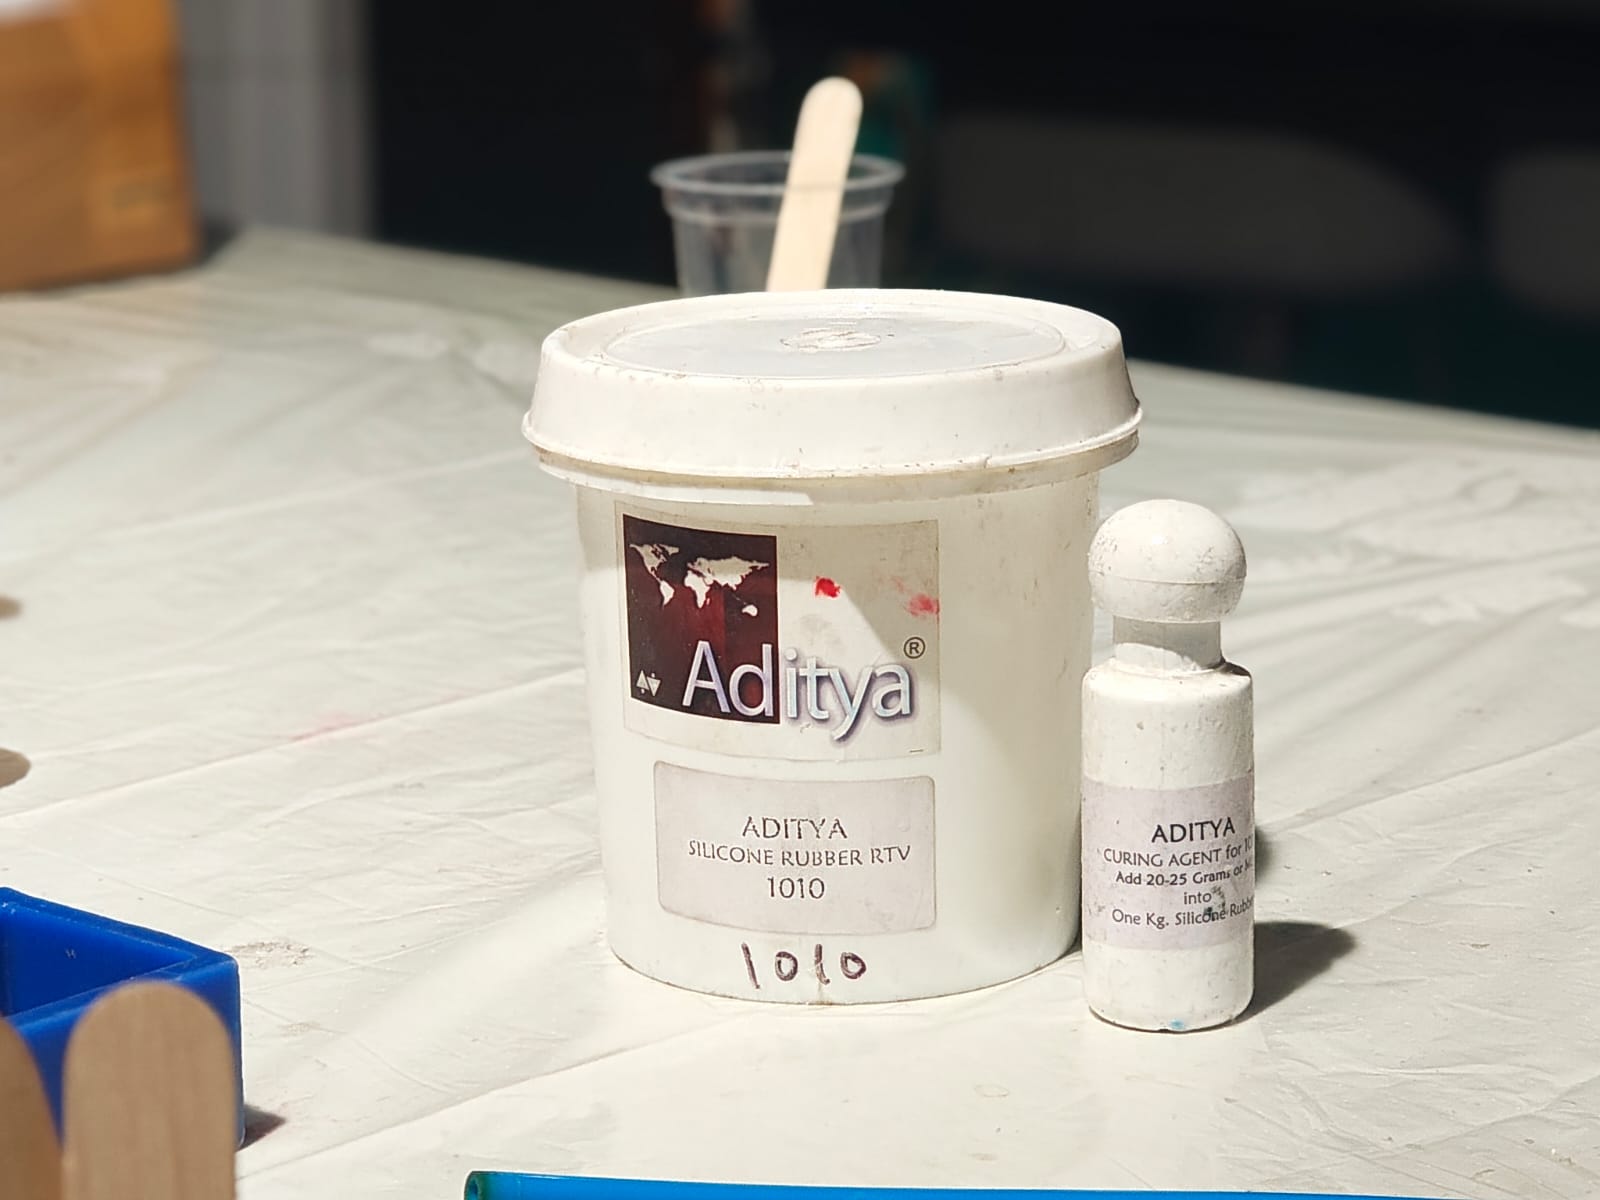
Datasheet: Aditya Silicone Rubber RTV – 1010
- Hardness (Shore A, after cure): 10
- Viscosity: 10,000
- Curing Agent / Hardener Ratio: 2.5–3%
- Working Time: 8–10 minutes (approx.)
- Curing Time: 12–24 hours
- Colour: Milky
Aditya Ultra Clear Cast Epoxy – 37
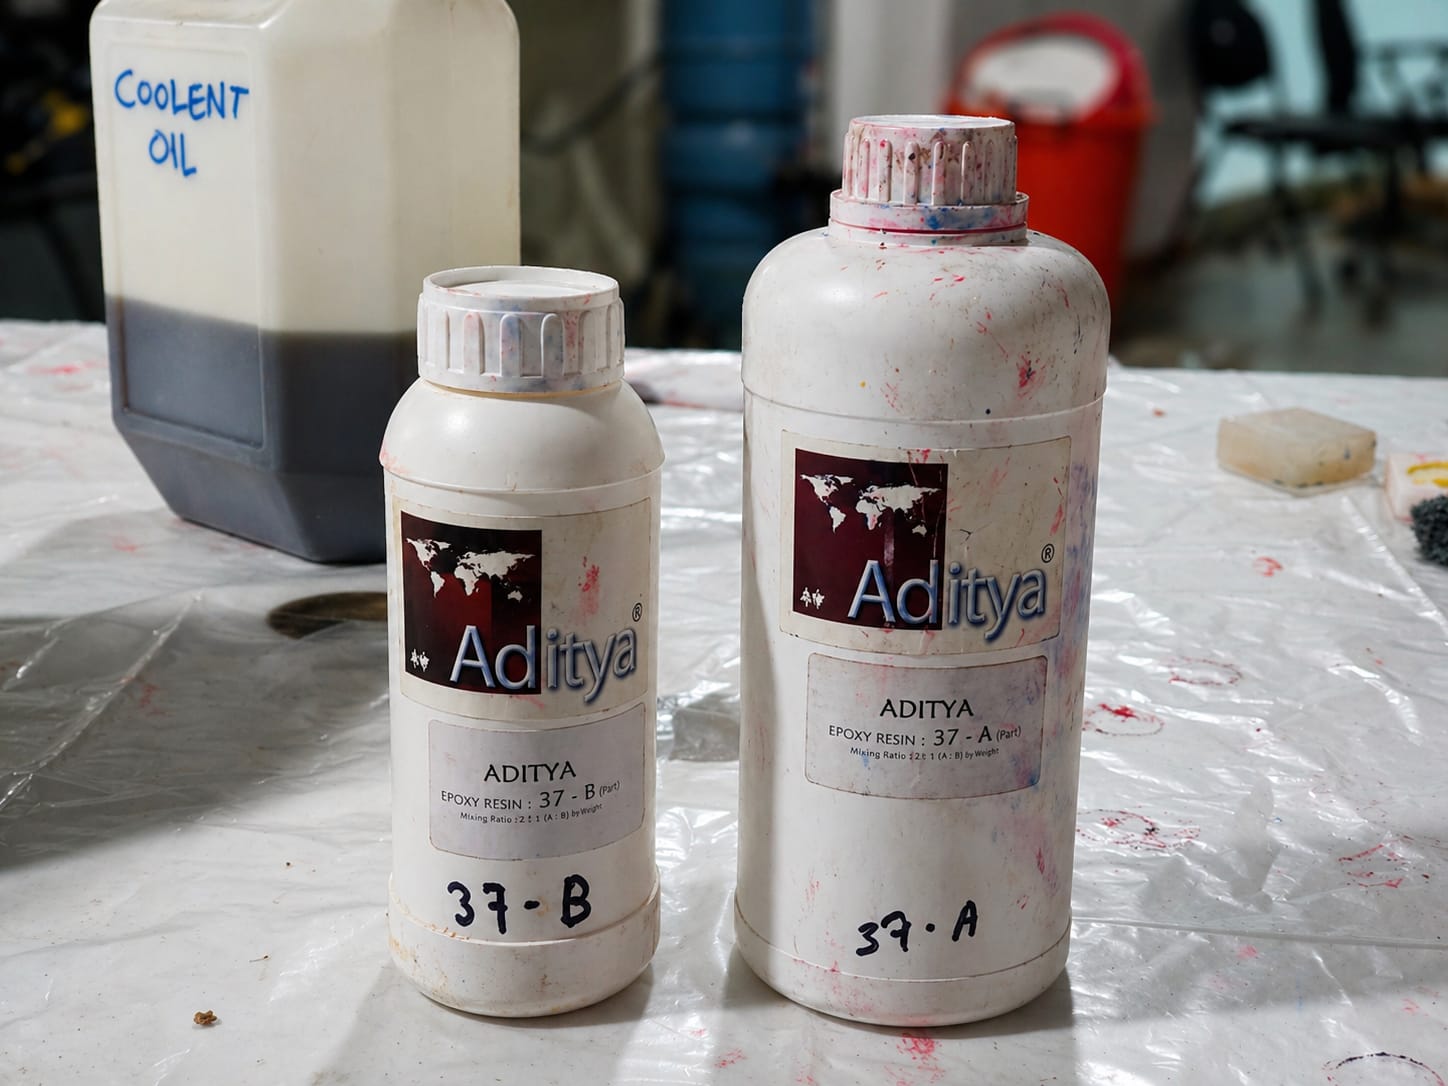
- Transparent and clear
- Low viscosity, allowing it to flow into every corner of the mould
- No grinding or sanding required after casting
- Easy mixing ratio: Part A 100 : Part B 50
- Non-yellowing after cure
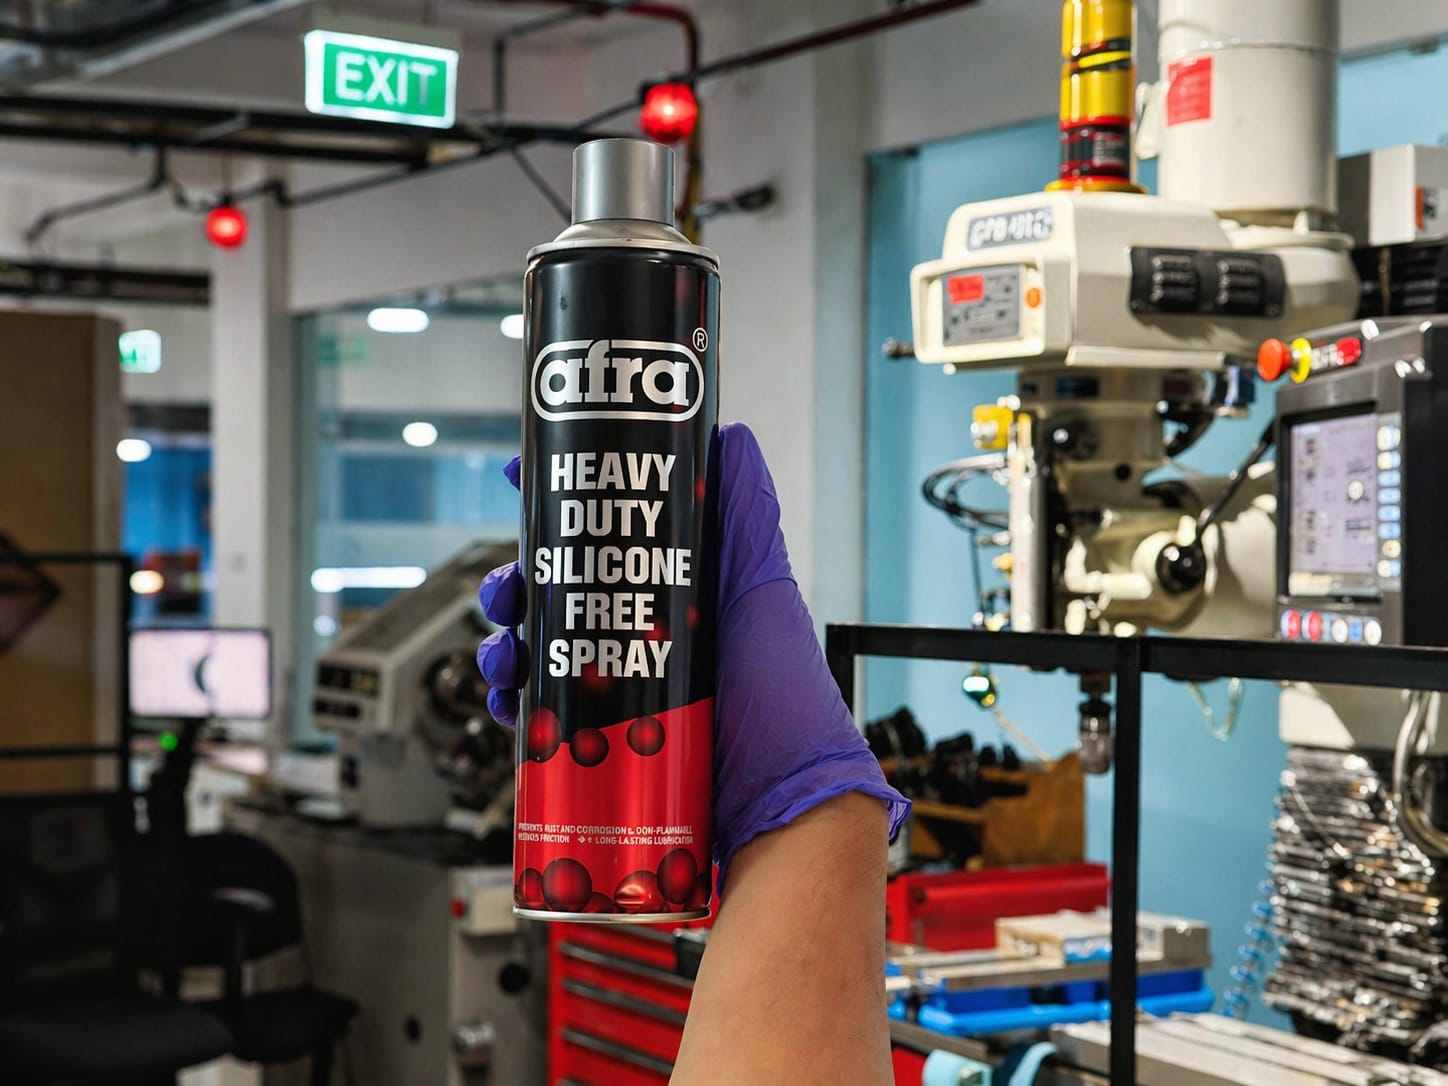
This is a general purpose mould releasing agent. It can be sprayed on plastic and resin items. Apply two coatings with a gap of 5 minutes for better results. It comes in a 300 ml spray bottle.
PU ( Polyurethane ) Rubber – PU40
- Hardness (Shore A, after cure): 40
- Mixing Ratio: Part A 100 : Part B 100
- Curing Time: 12 to 24 hours
- Colour: Yellowish
Making and Comparing Test Casts
A dedicated molding and casting workbench was used to make cleaning easier and to manage spills and waste effectively.
Process
Measure the Required Volume
The amount of material needed to fill the two molds was first estimated using water. The water was poured into a cup, and the liquid level was marked using masking tape.
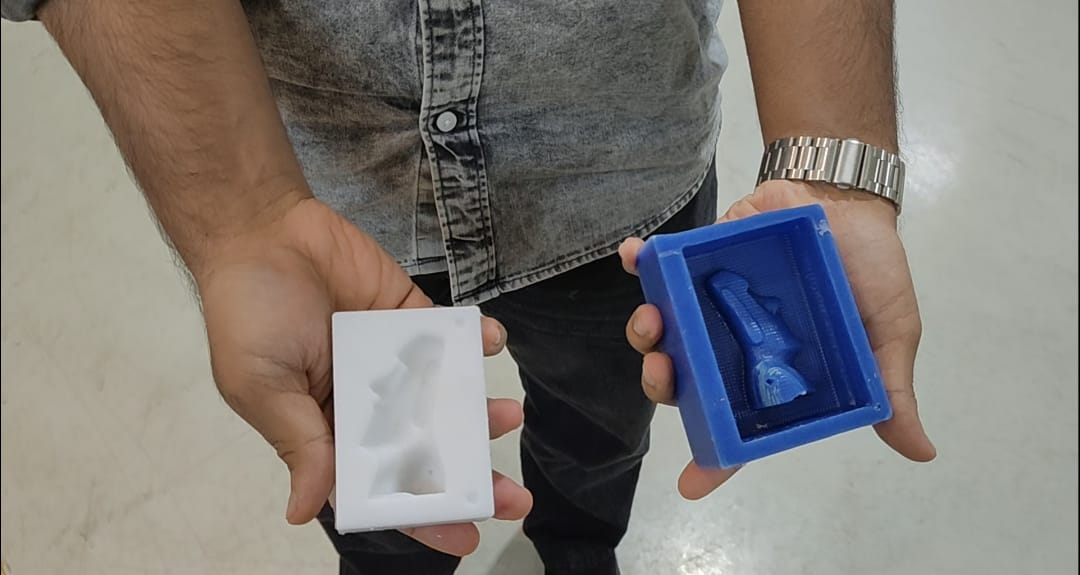
Prepare the Mold and Mixing Cup
Both the cup and the mold were dried using an air blow gun to remove any moisture.
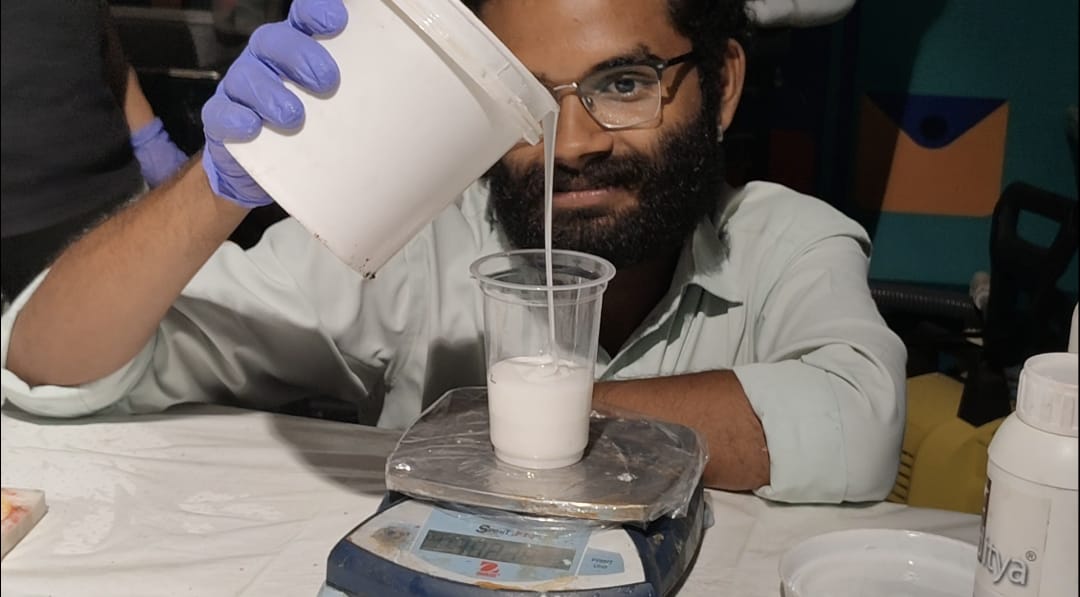
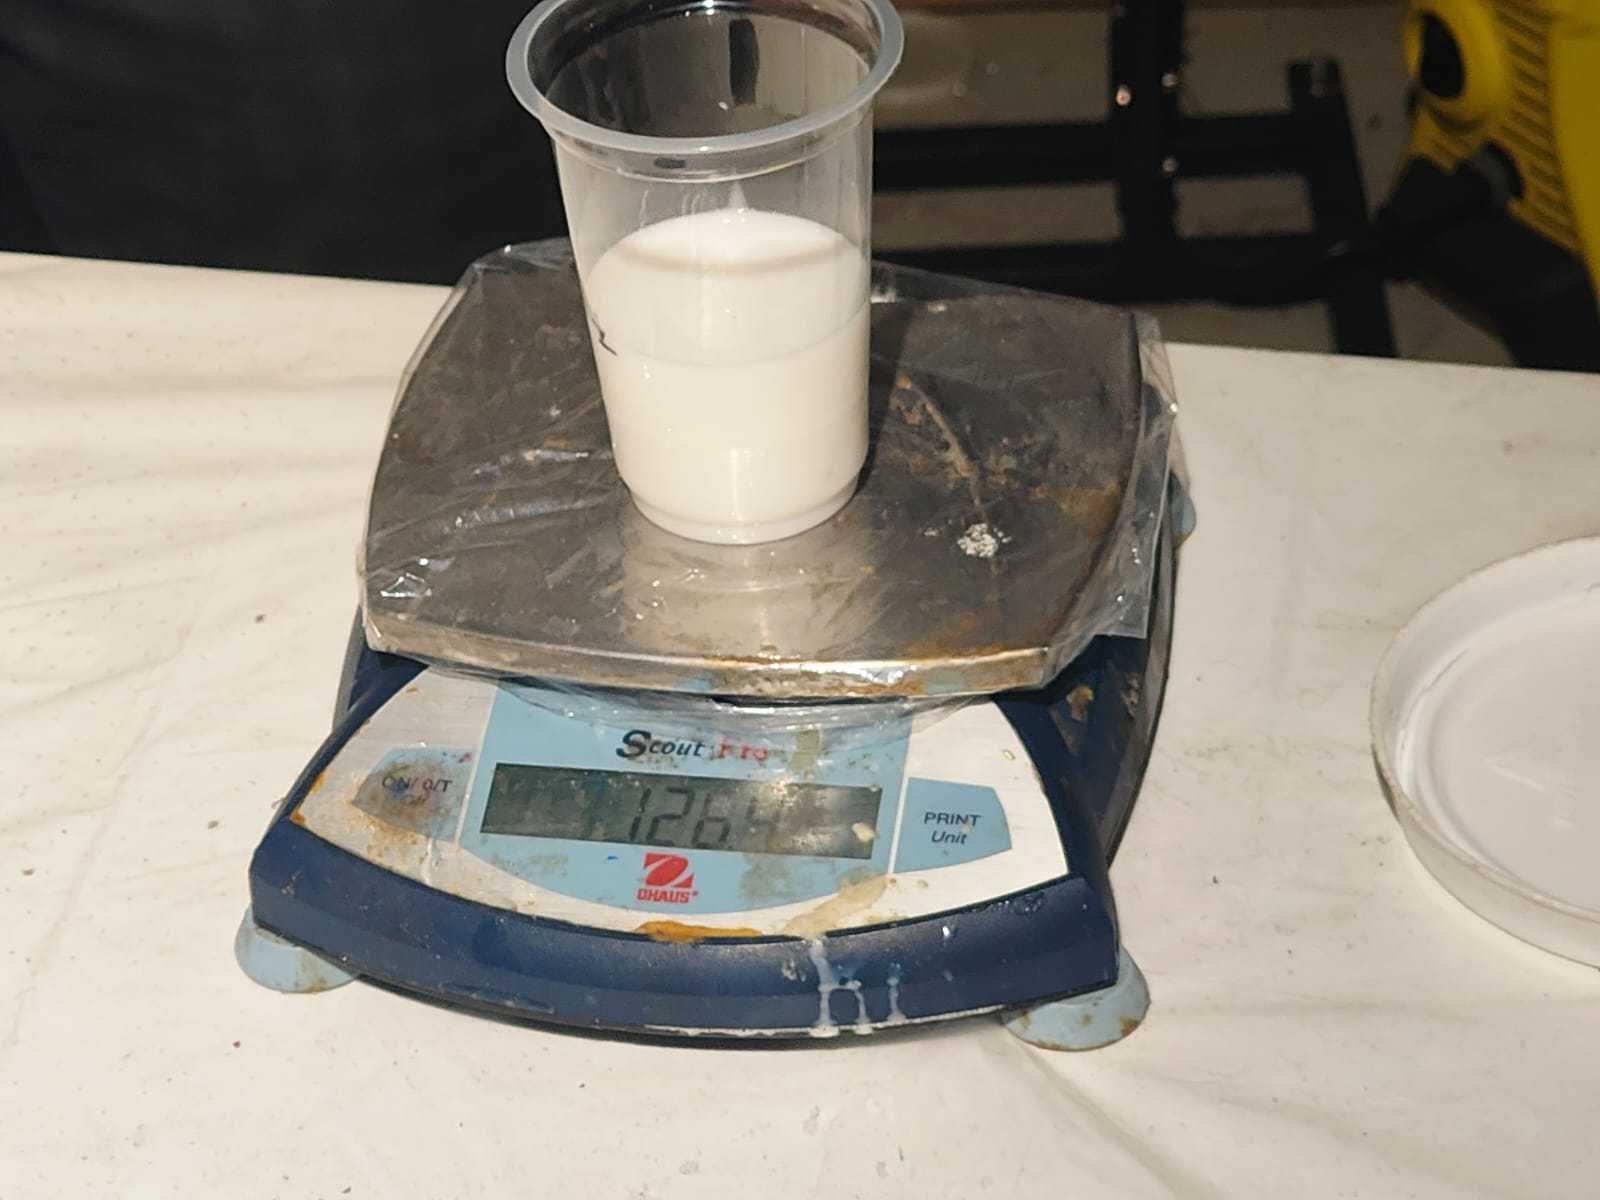
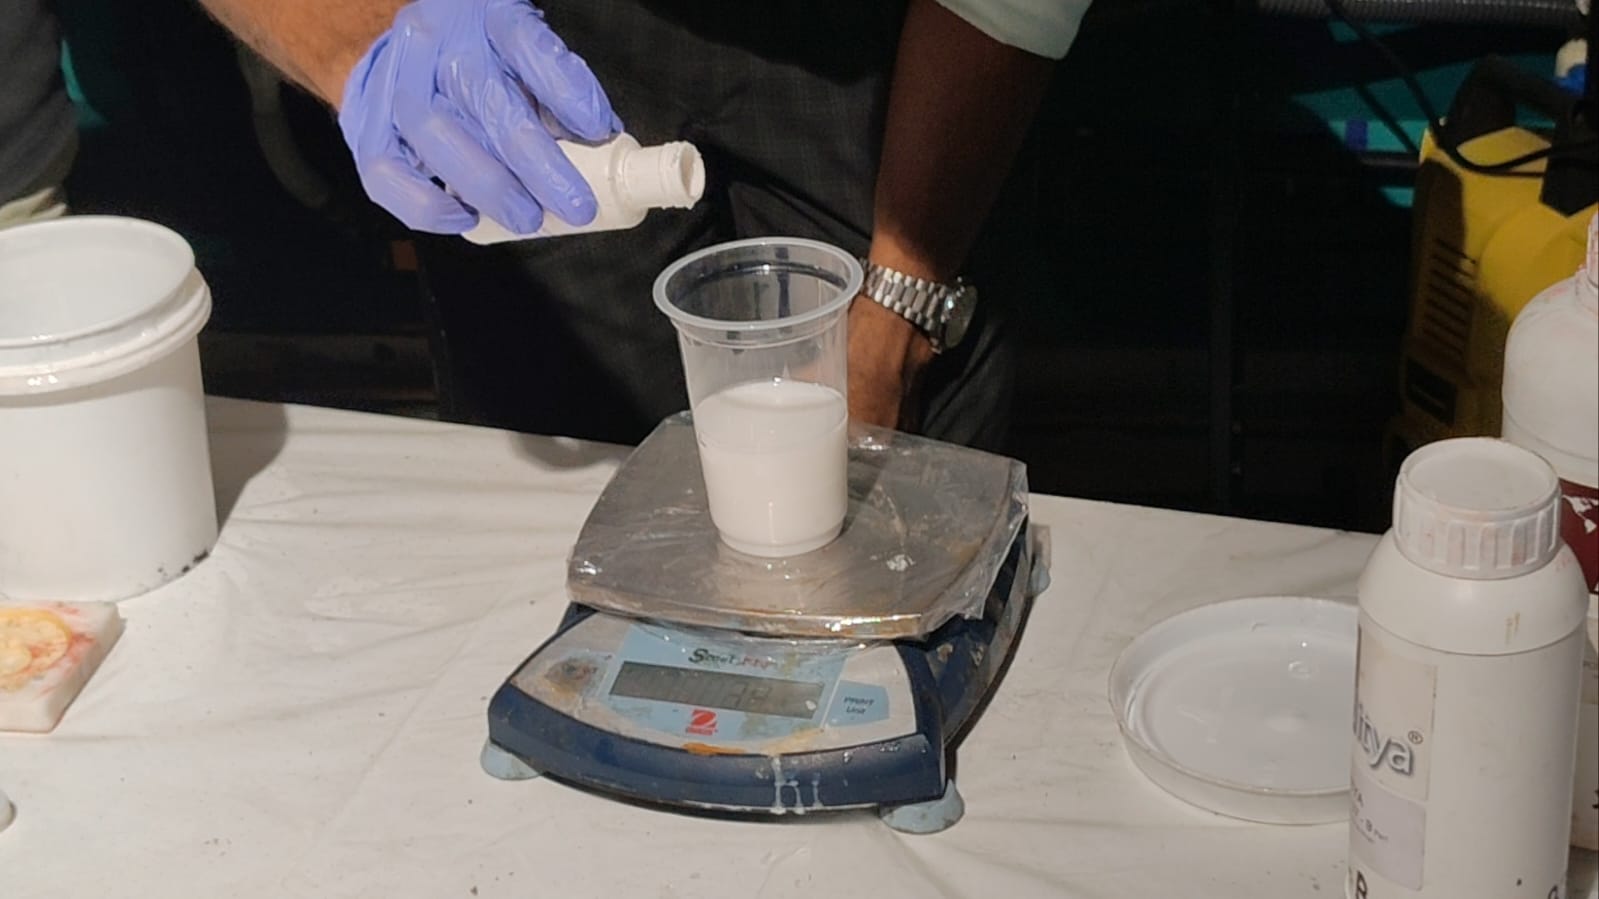
Measure Silicone Quantity
The empty cup was placed on a weighing scale and tared to zero. Silicone was then poured into the cup up to the previously marked level, and the required weight of silicone was recorded.
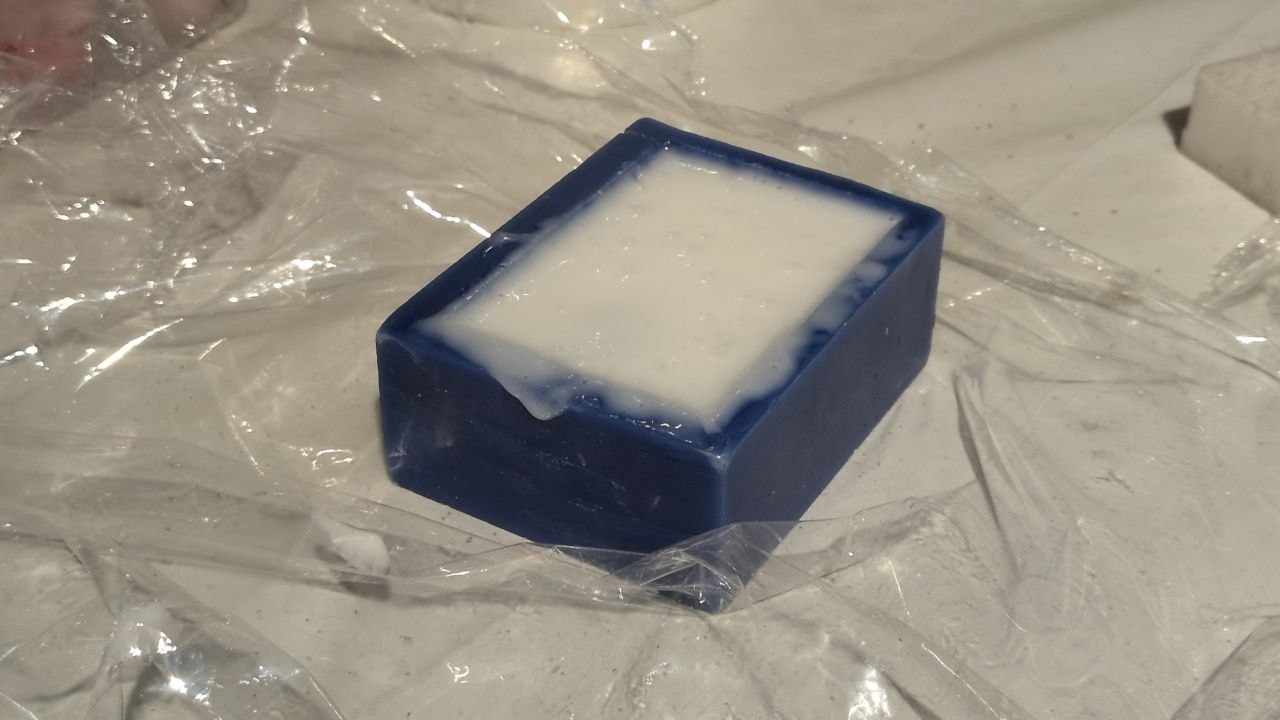
Test Casting and Comparison
Using the measured quantity, test casts were made and compared based on material behavior, curing quality, and final cast results.
Now we mix thoroughly. Care must be taken to mix thourougly but slowly in a front-and-back motion instead of a circular vortex motion to avoid adding air bubbles
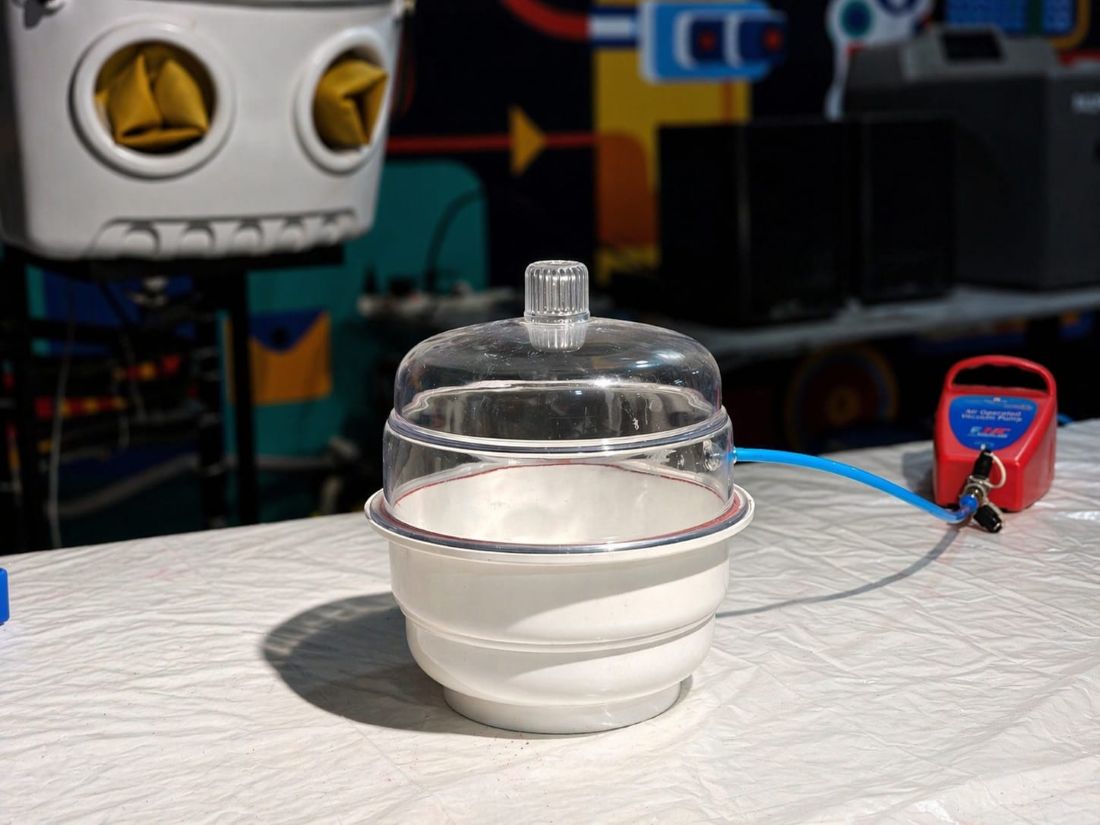
We also use a vaccum pump to remove as many air bubbles from the mixture as possible
Once done, we pour the mixture into the mold slowly, let it drip in thin threads to avoid air from getting trapped in between while pouring. Additionally, I tap the mold several times once pouring is done to ensure that air is not trapped inside