WEEK 14
Moulding and Casting
How the week started
Moulding and casting sounded fun, but the machine part meant learning another new machine. I knew I had to design fast.
How the week ended
I chose resin, and I felt it was a good decision. Otherwise, finishing this documentation would have been hectic. Well, here I am editing it a day after the week ended.
Week 14’s Assignment
Group assignment:
- Review the safety data sheets for each of your molding and casting materials, then make and compare test casts with each of them.
- Compare mold making processes.
Individual assignment:
- Design a mold around the process you will be using, produce it with a smooth surface finish that does not show the production process toolpath, and use it to cast parts.
- Extra credit: use more than two mold parts.
- Extra credit: make your own materials.
Individual Assignment
This week I designed a paper plane in Fusion - pattern. I resin printed the pattern and 3D printed the mould casing -flask. I placed the pattern inside the flask and poured silicone into it to get the mould. After it was cured, I poured resin into the -mould cavity.
Introduction
Moulding and casting are familiar terms. Yet the key difference between these words is something I had to search about it. From that I understood that casting is something we have all done at some point in our lives.

If I am making ice cream, the mixture that I pour is the casting material, and the container I pour it into is the mould.

For Malayalis, it is like adding the puttu mix into the puttu kutti or puttu maker.
In these cases, I can choose any mould I want. For the assignment I designed the frame and flask. After pouring the silicone into it I got the mould
Types of moulding and casting processes
Injection moulding:
The plastic pellets are first added into a hopper feeder. From there, they pass through a heated barrel where they are melted. An injection ram then pushes this molten plastic into the mould at high pressure. This ensures that the material fills every part of the mould cavity accurately, resulting in a precise final form.
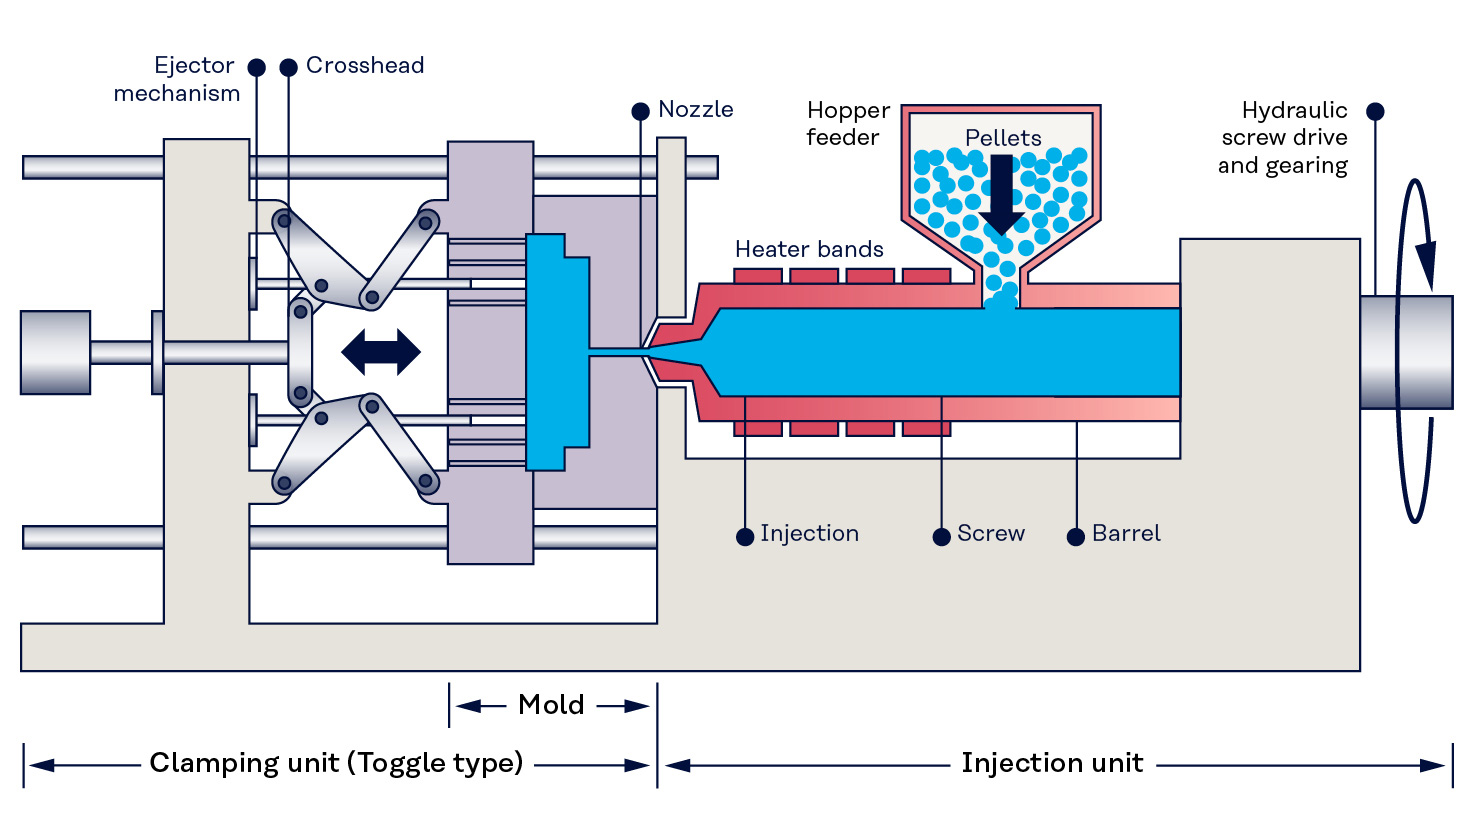
source: Kuraray Injection Molding
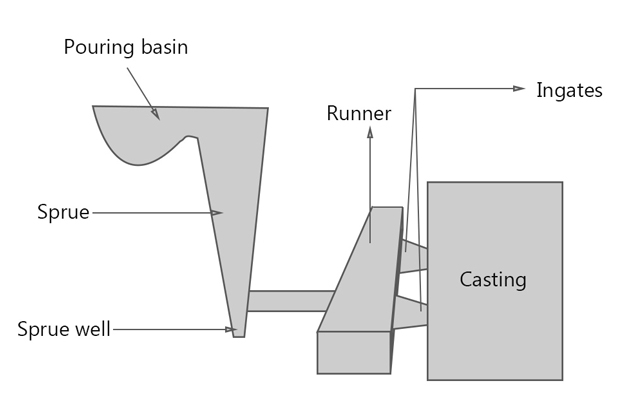
Gating system:
The gating system defines how the molten material enters the mould. In high pressure systems, the entry point where the molten material is first poured is called the pouring basin. From there, the material flows through the sprue, moves into the runners, and finally passes through the ingates to enter the mould cavity.
This is important to understand while designing moulds. In a two part mould, runners are required to guide the flow of material. For silicone moulds, these runners act as channels through which the resin is poured.
source: Gating System
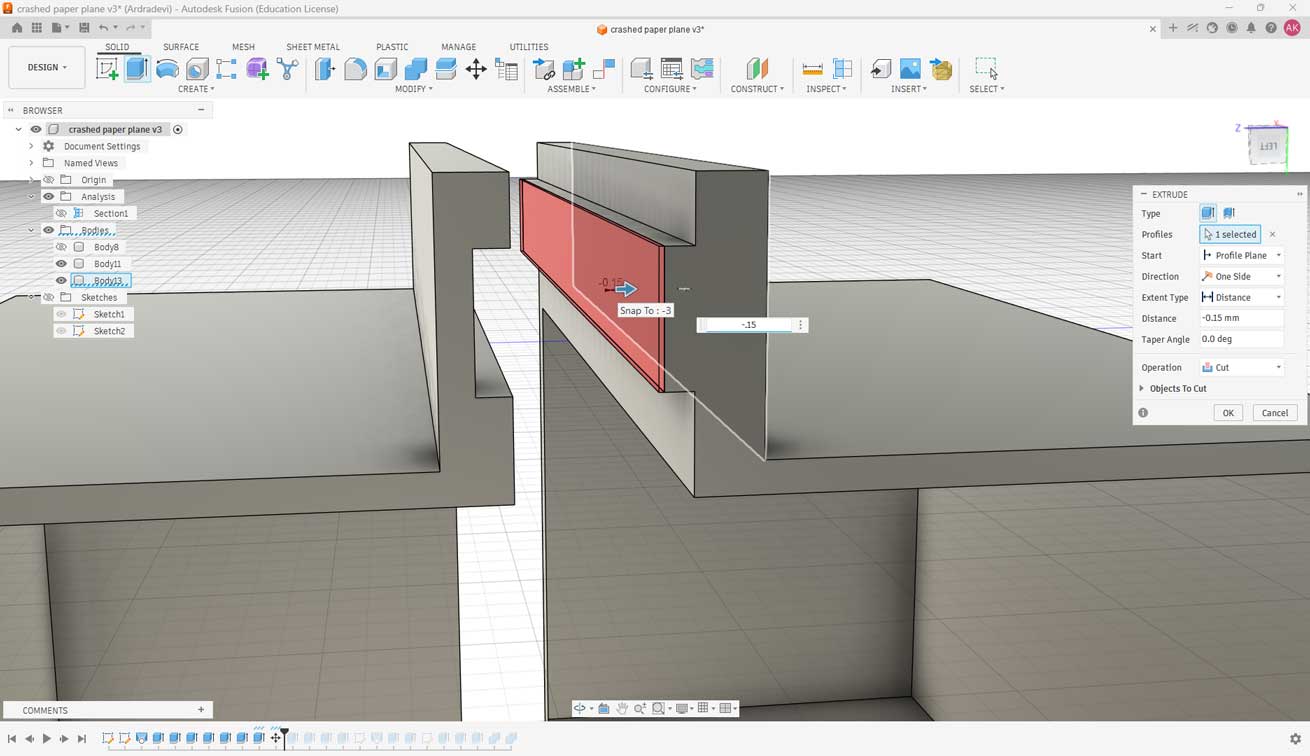
In my case, I am designing a one part mould. Instead of adding a separate runner system, I am using the base of the model itself as the opening for pouring the material.
The red color in the diagram shows the flow of the molten material. When the material is injected under pressure, the air inside the mould cavity needs to escape. For this purpose, vents are provided in the mould design.
To speed up the cooling process, water channels are often built into the mould. Water flows through these channels, helping the mould cool faster and improving production efficiency.

source: Runners, Gates, and Vents Overview
Rotational moulding:
Rotational moulding, also known as rotomoulding, is a process mainly used to create hollow plastic objects. In this method, the polymer material is added inside a closed mould. The mould is then rotated continuously while being heated, allowing the molten material to coat the inner surface evenly. After the heating stage, the mould is cooled, and the final object is removed from the mould cavity.
This process is economical for short production runs and is commonly used for manufacturing hollow products such as tanks, containers, and playground equipment.

source: BPF Rotational Moulding
Overmolding:
Overmolding is a manufacturing process in which one material is moulded over another material to create a single part with multiple layers or properties. This process is commonly used to improve grip, durability, appearance, or flexibility in products.
Overmolding Process Video Reference
References:
Here, I am required to design the object or shape I want. I have designed a 3D model of a crashing paper plane. I will resin print a master so that I can create a flexible silicone mould from it. I will then pour resin into the silicone mould.
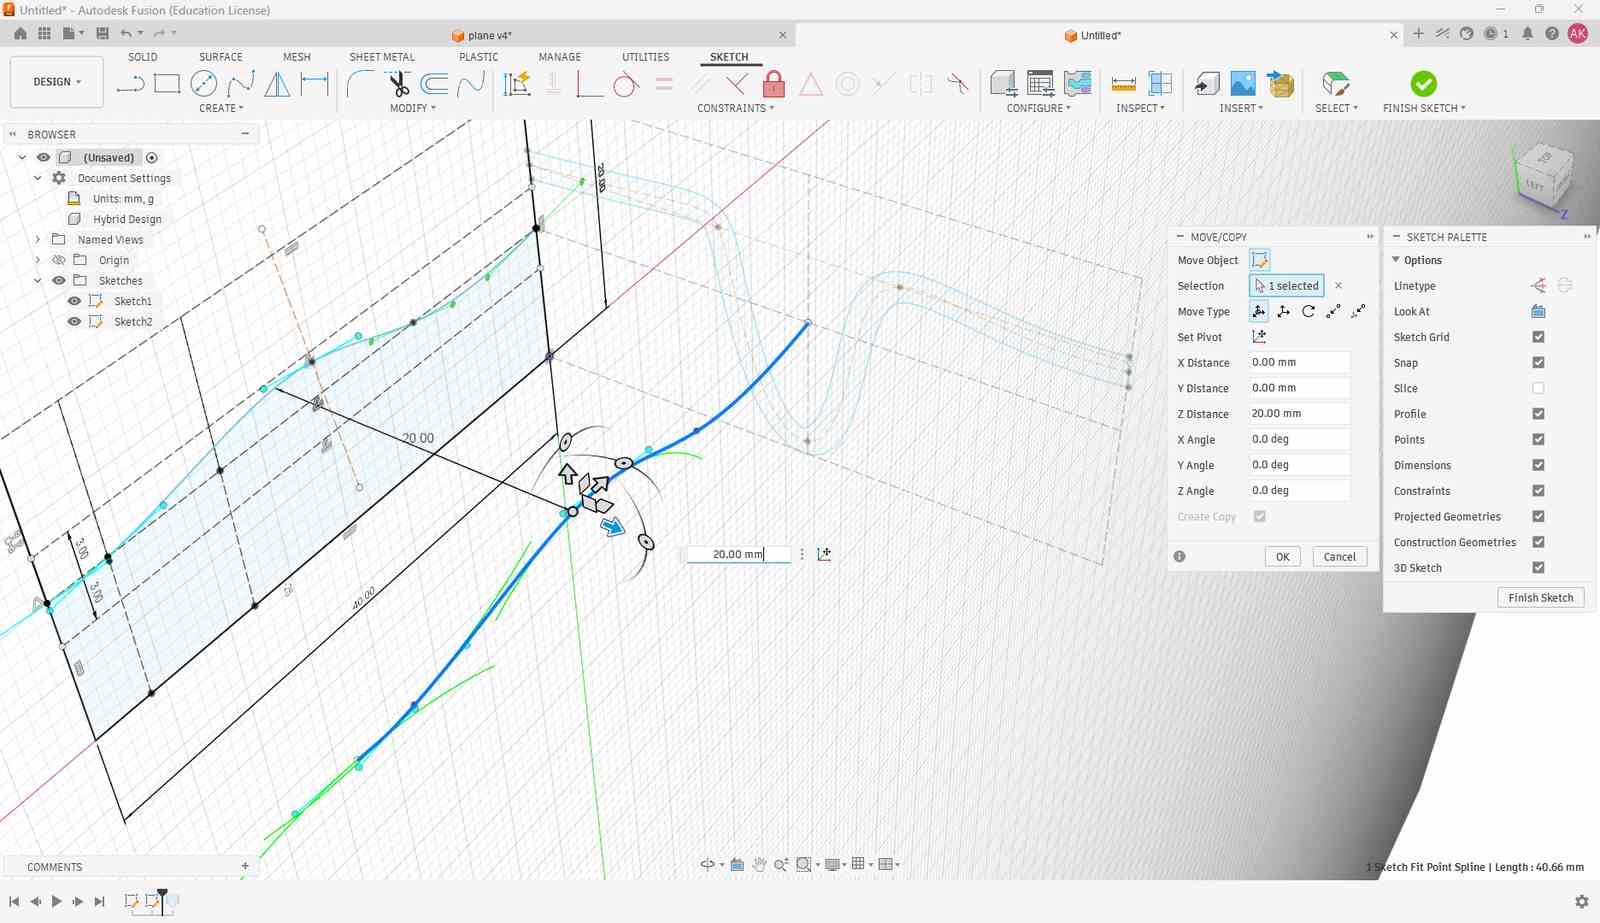
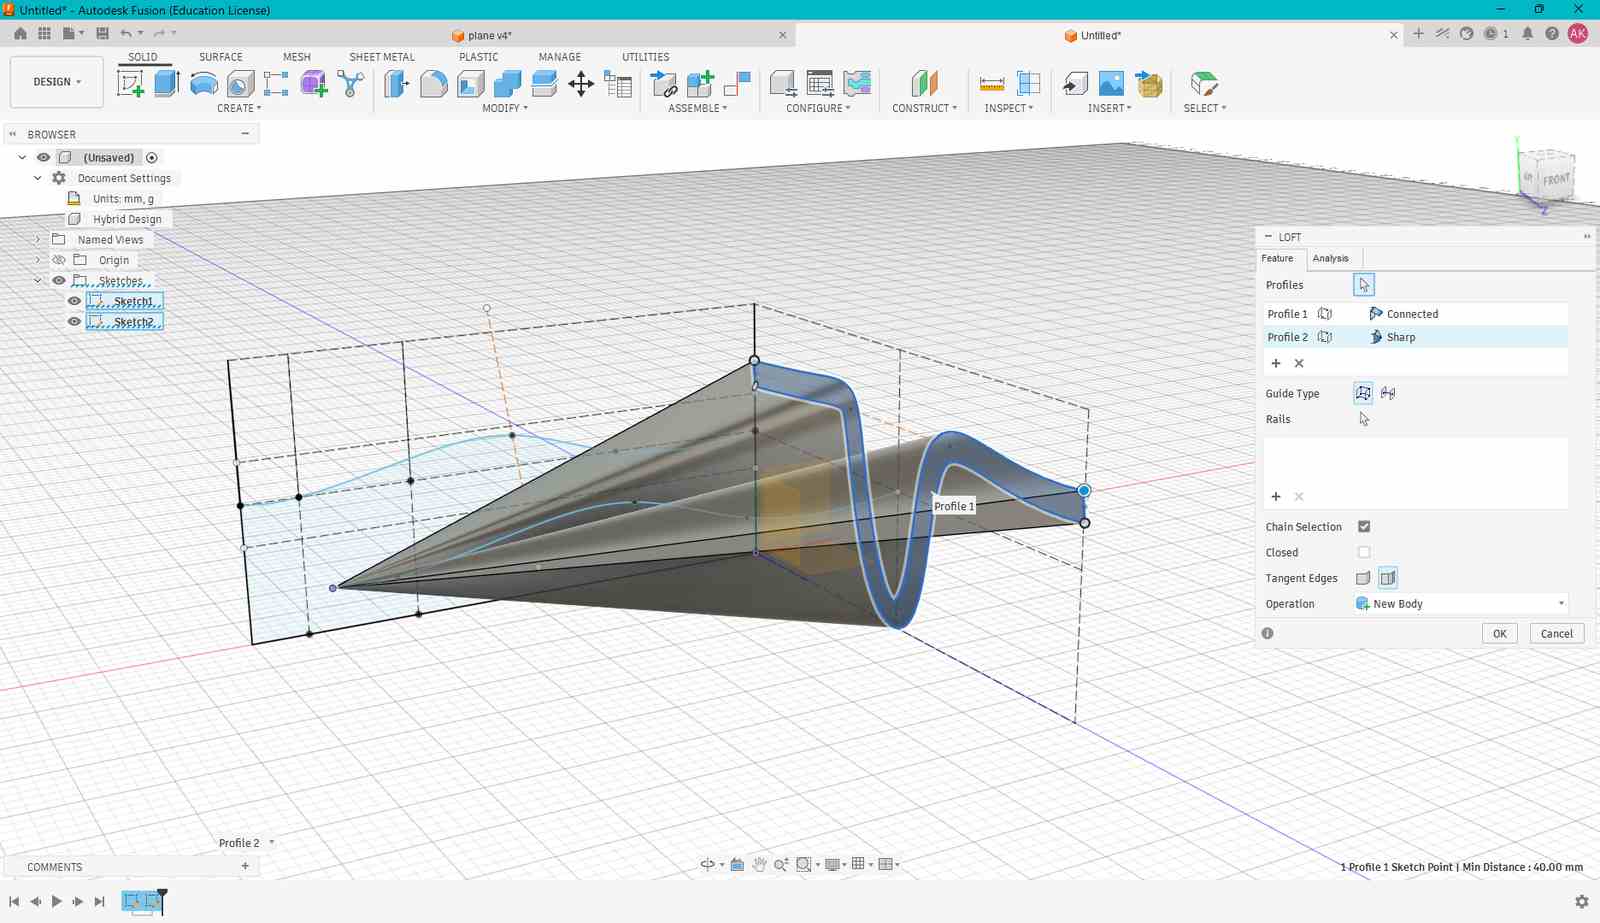
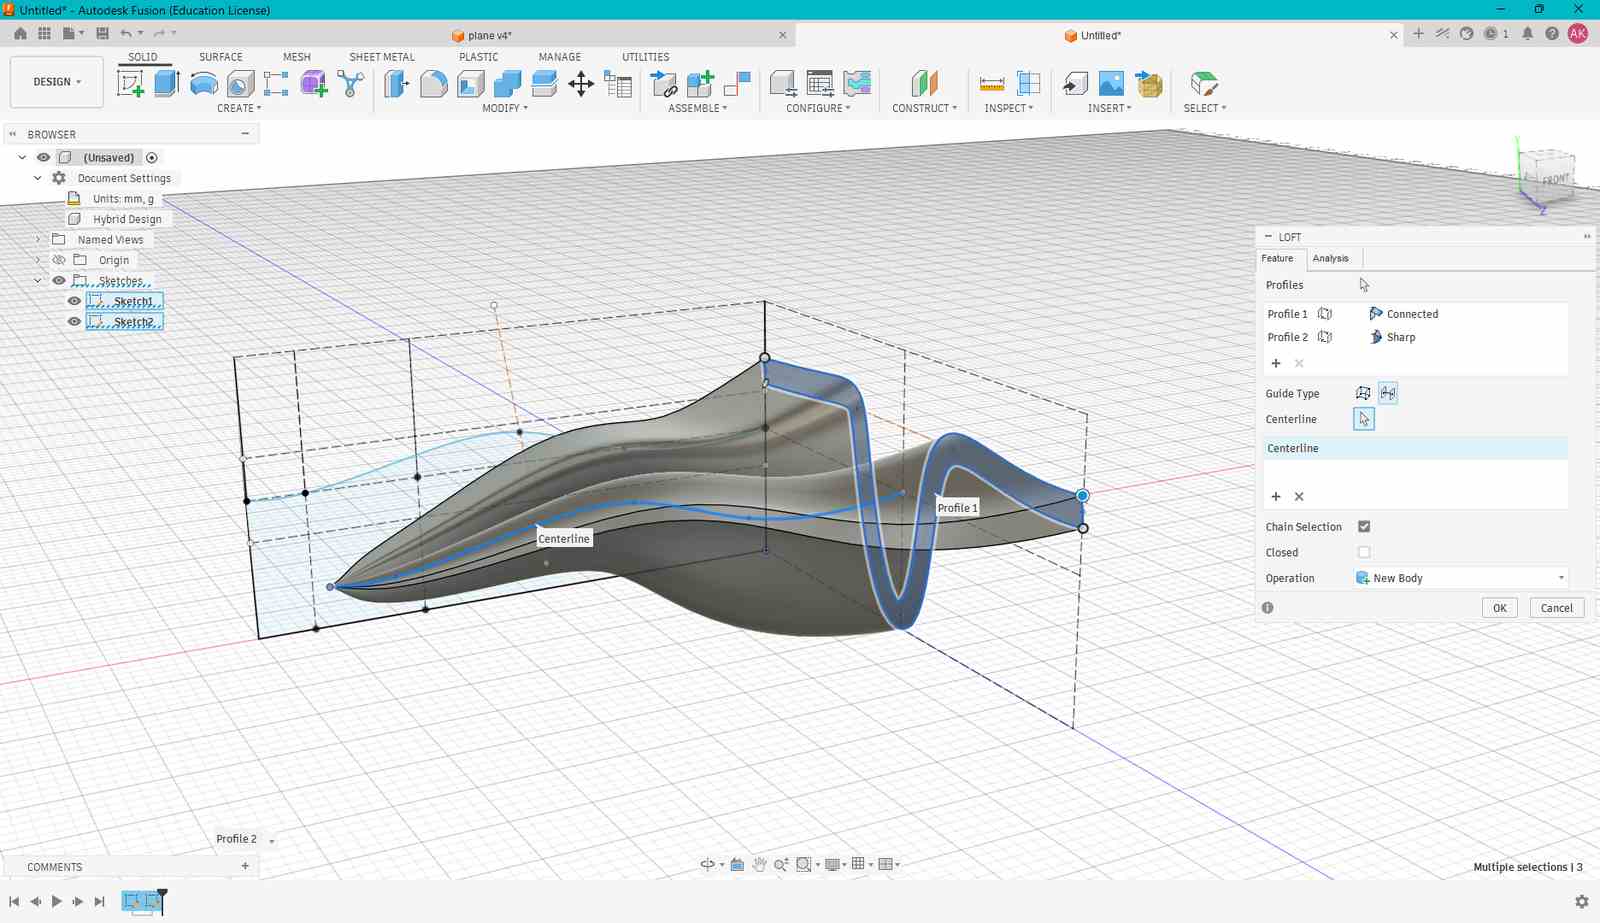
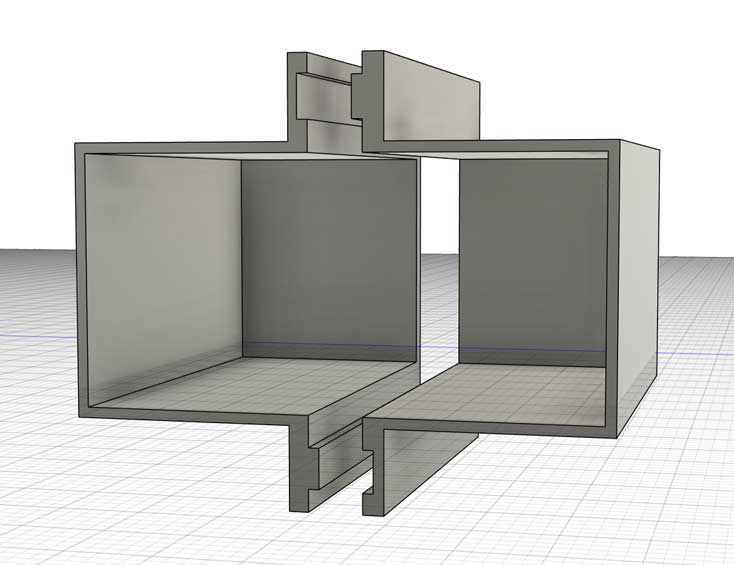
PATTERN - Fusion
I designed a paper plane, it was straight. The instructor said it was too simple. So what is not a straight plane? "A crashed paper plane."
Dimensions 40x40x15mm
Resin Print - CAD - CHITUBOX
I used the ELEGOO Saturn 4 Ultra printer to print the pattern. CHITUBOX was used for the CAM process.
.jpg)
.jpg)
.jpg)
.jpg)
.jpg)
.jpg)
ELEGOO Saturn 4 Ultra - An LCD (mSLA) 3D Printer
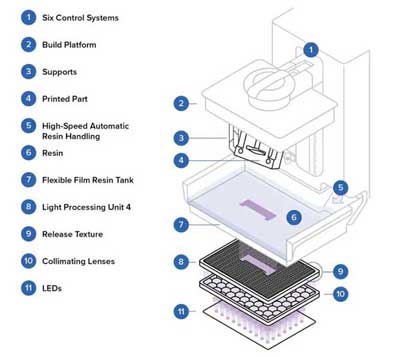
Image source: What is an MSLA 3D Printer?
ELEGOO Saturn 4 Ultra is an LCD (mSLA) 3D printer. It prints in liquid resin layer by layer. mSLA stands for Masked Stereolithography Apparatus. There is an LCD screen below the vat which masks the UV light and allows light to pass only through specific areas. The resin solidifies where the light passes through. The build plate moves a few millimeters up and down as the model is formed layer by layer.
The printer has smart levelling and requires the liquid resin to be around 30°C to ensure smooth printing.
Know more about or buy the printerResin Print - ELEGOO Saturn 4 Ultra
.jpg)
.jpg)
.jpg)
.jpg)
.jpg)
.jpg)
.jpg)
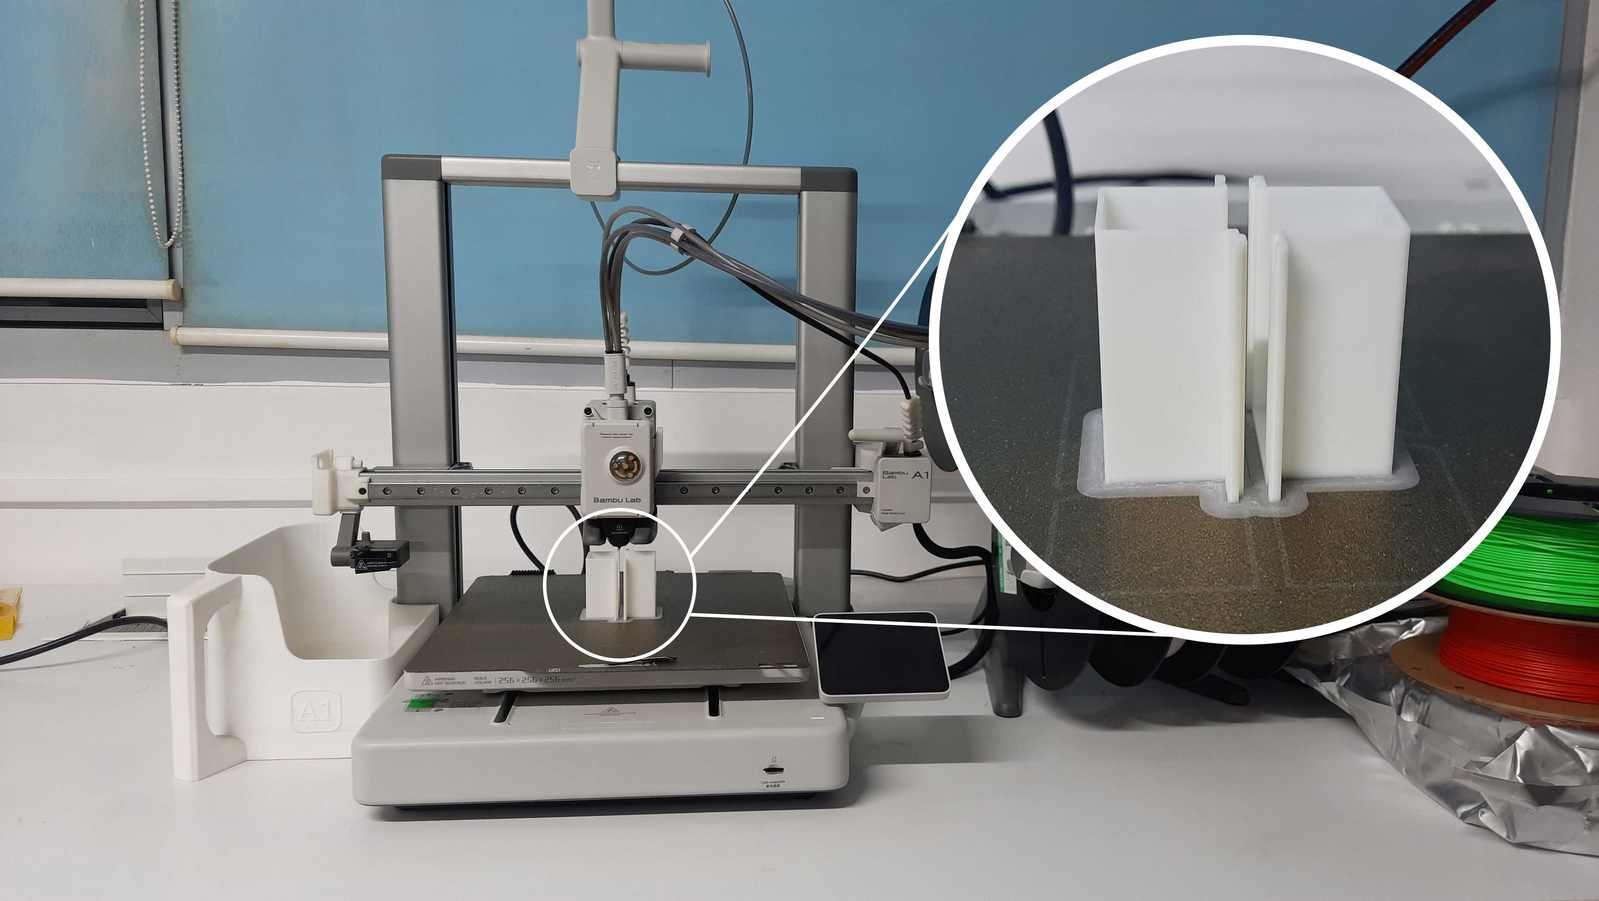
3D Printed - A1 Bambu
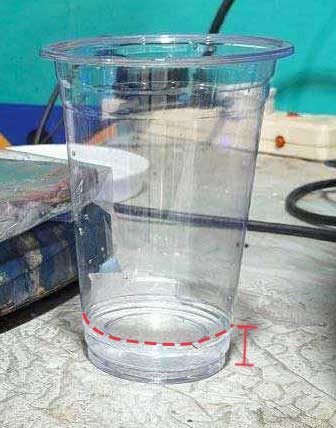
I did the flask in Fusion with reference to the paper plane model. I offset the flask slightly bigger than the model. Well, I would say I should have gone slightly bigger with more clearance towards the sides.
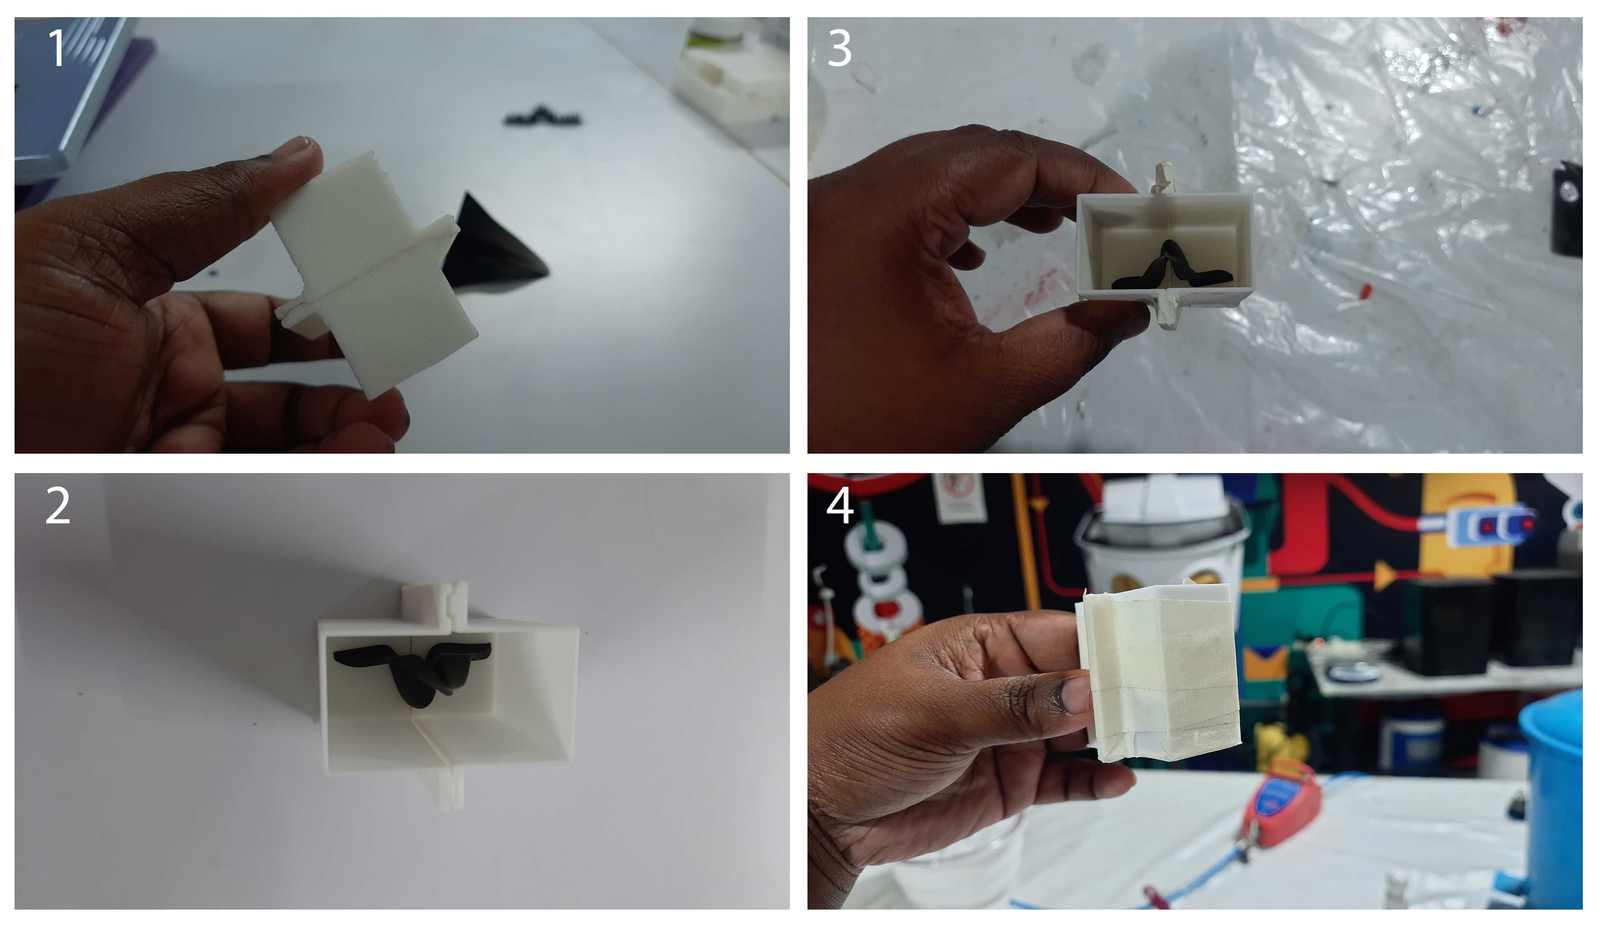
- The brim is cut off.
- The pattern is placed inside to check the fit.
- The pattern is stuck to the flask using super glue.
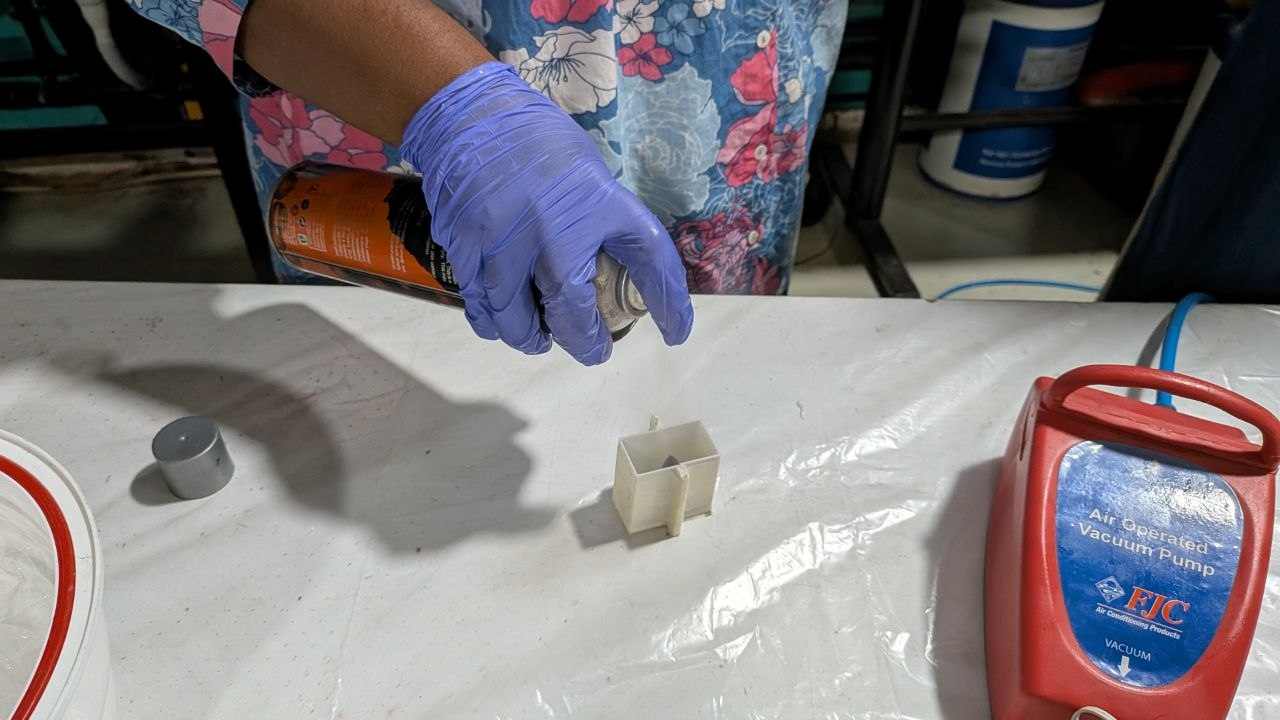
- The flask is secured using painter's tape so that no leakage occurs.
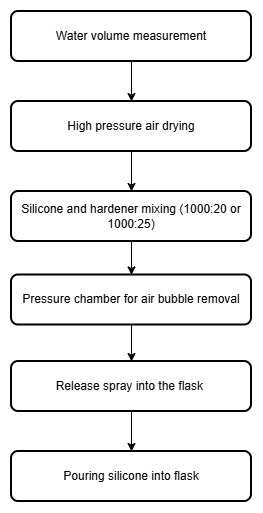
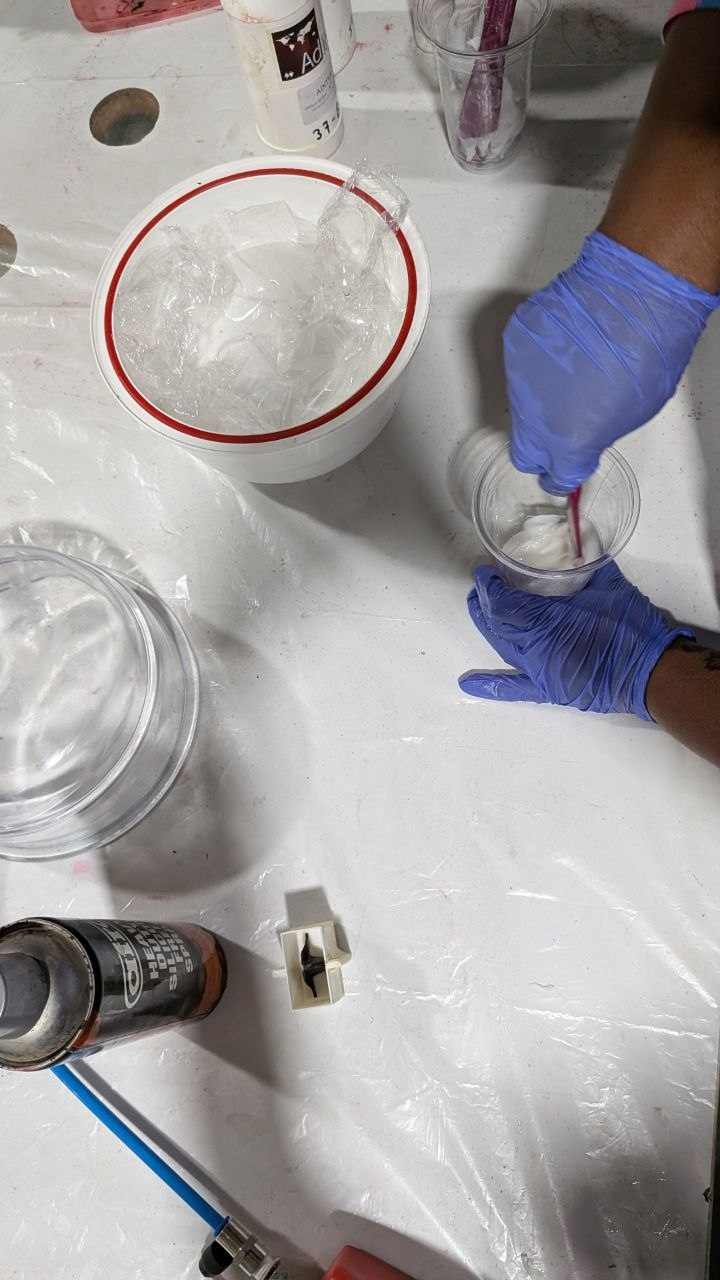
Mould Making - Using Silicone Rubber
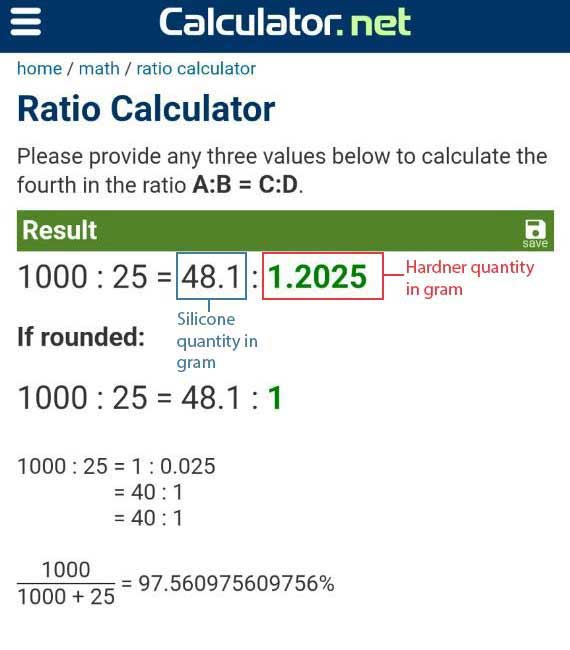
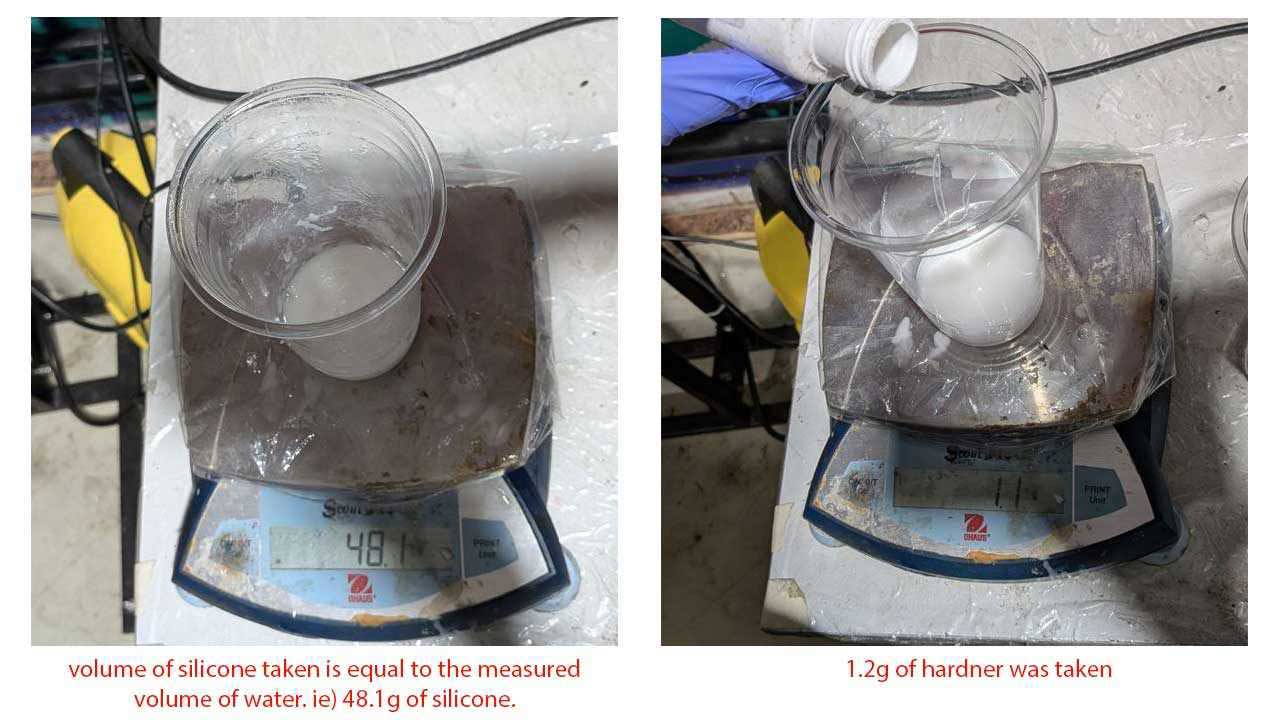
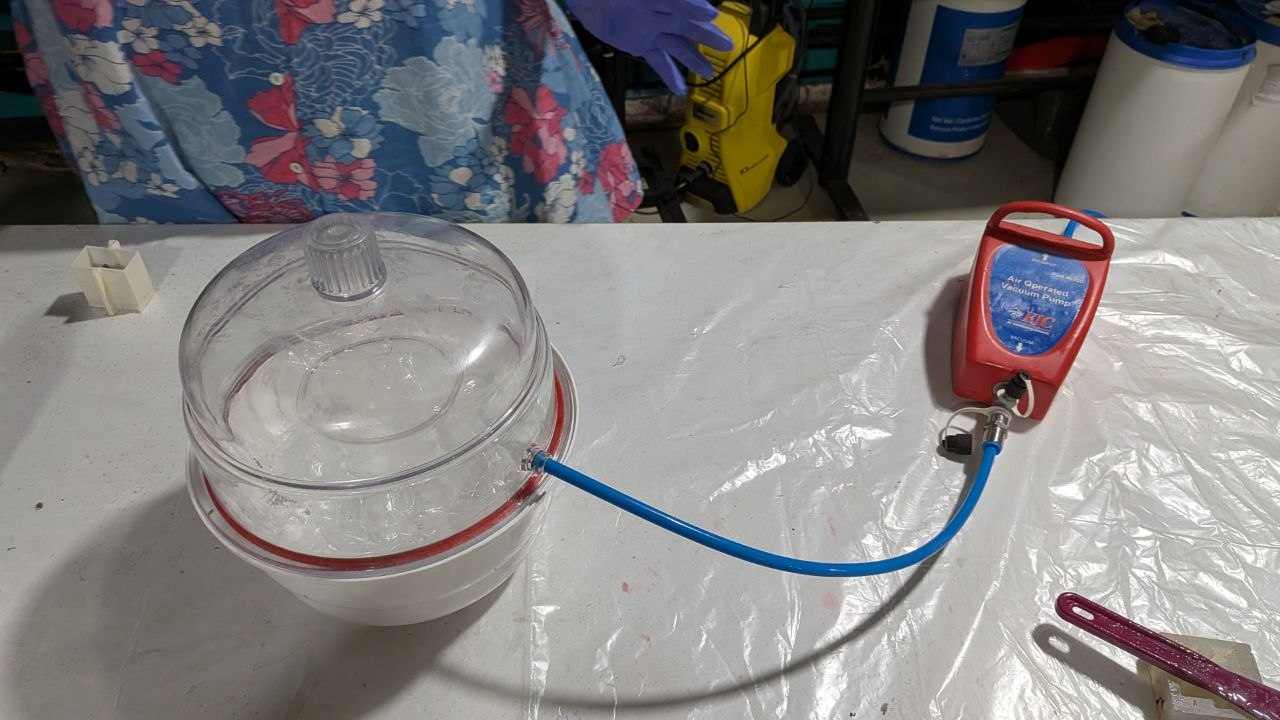
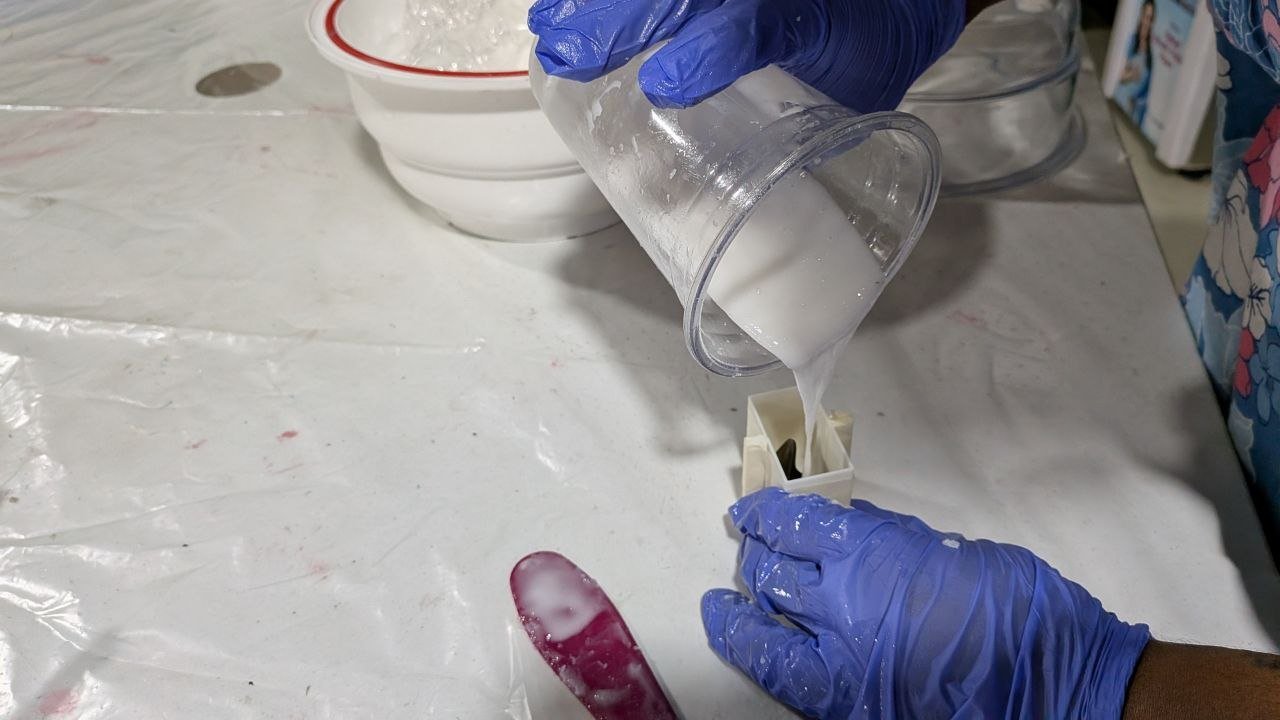
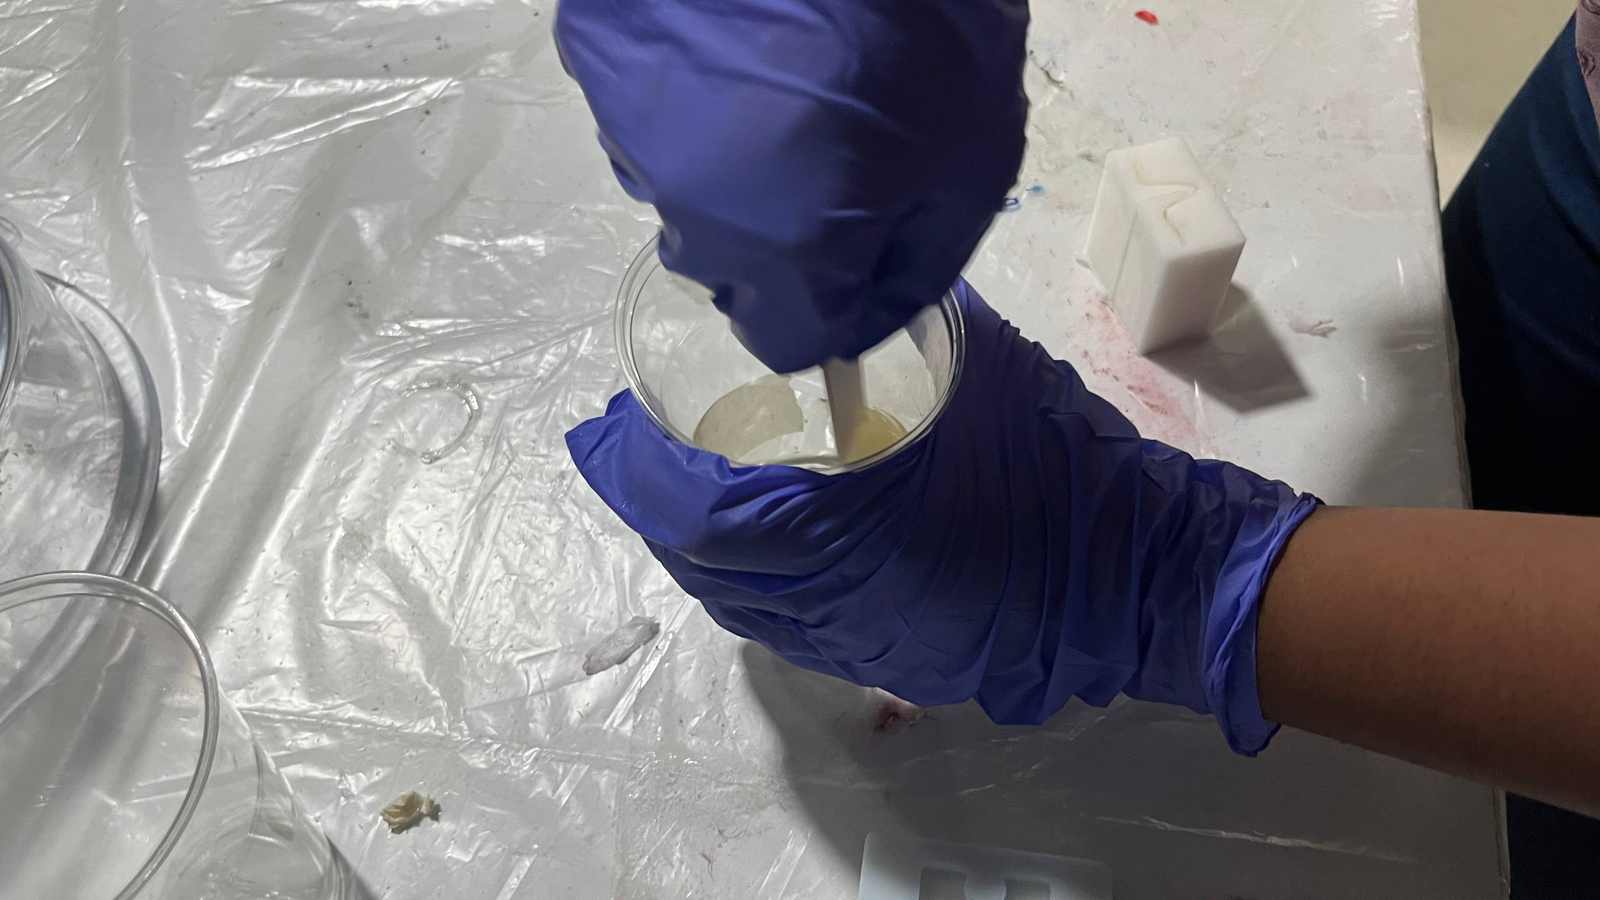
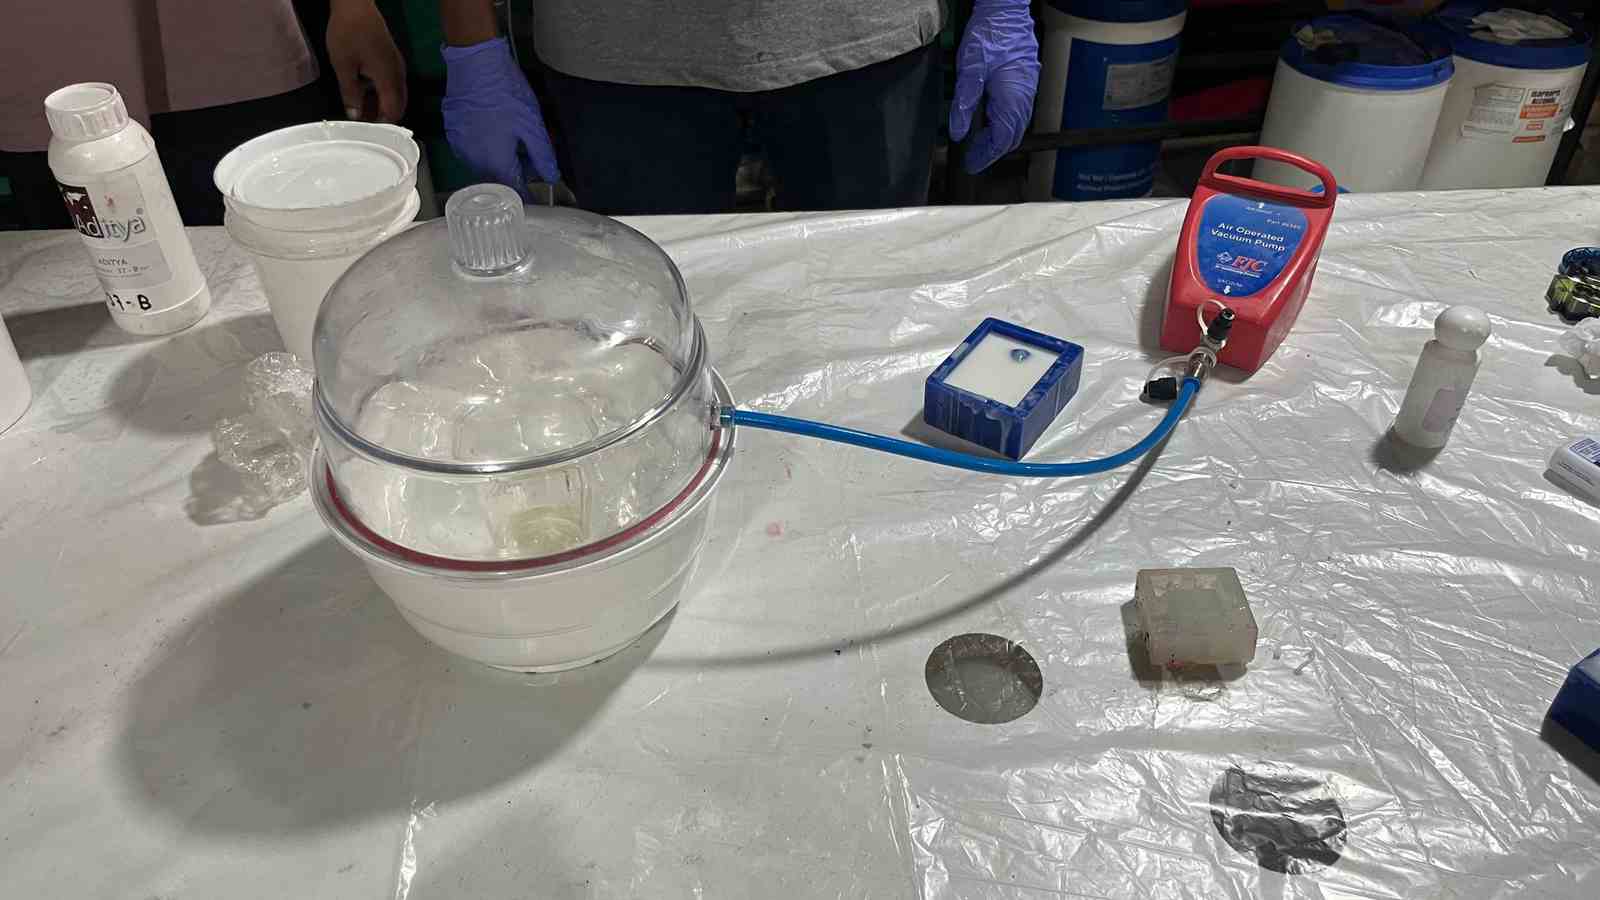
Casting silicone is ratio and time sensitive. I had taken the hardener in a 1000:25 ratio. By the time I took it out of the vacuum chamber, it had begun to thicken. From the next person onwards, we tried 1000:22 and 1000:20 ratios. The lower ratio gave a better time interval to pour the resin without trapping air bubbles.
The silicone will begin to set if the pouring is delayed.
The total curing time for resin is 17 to 18 hours.

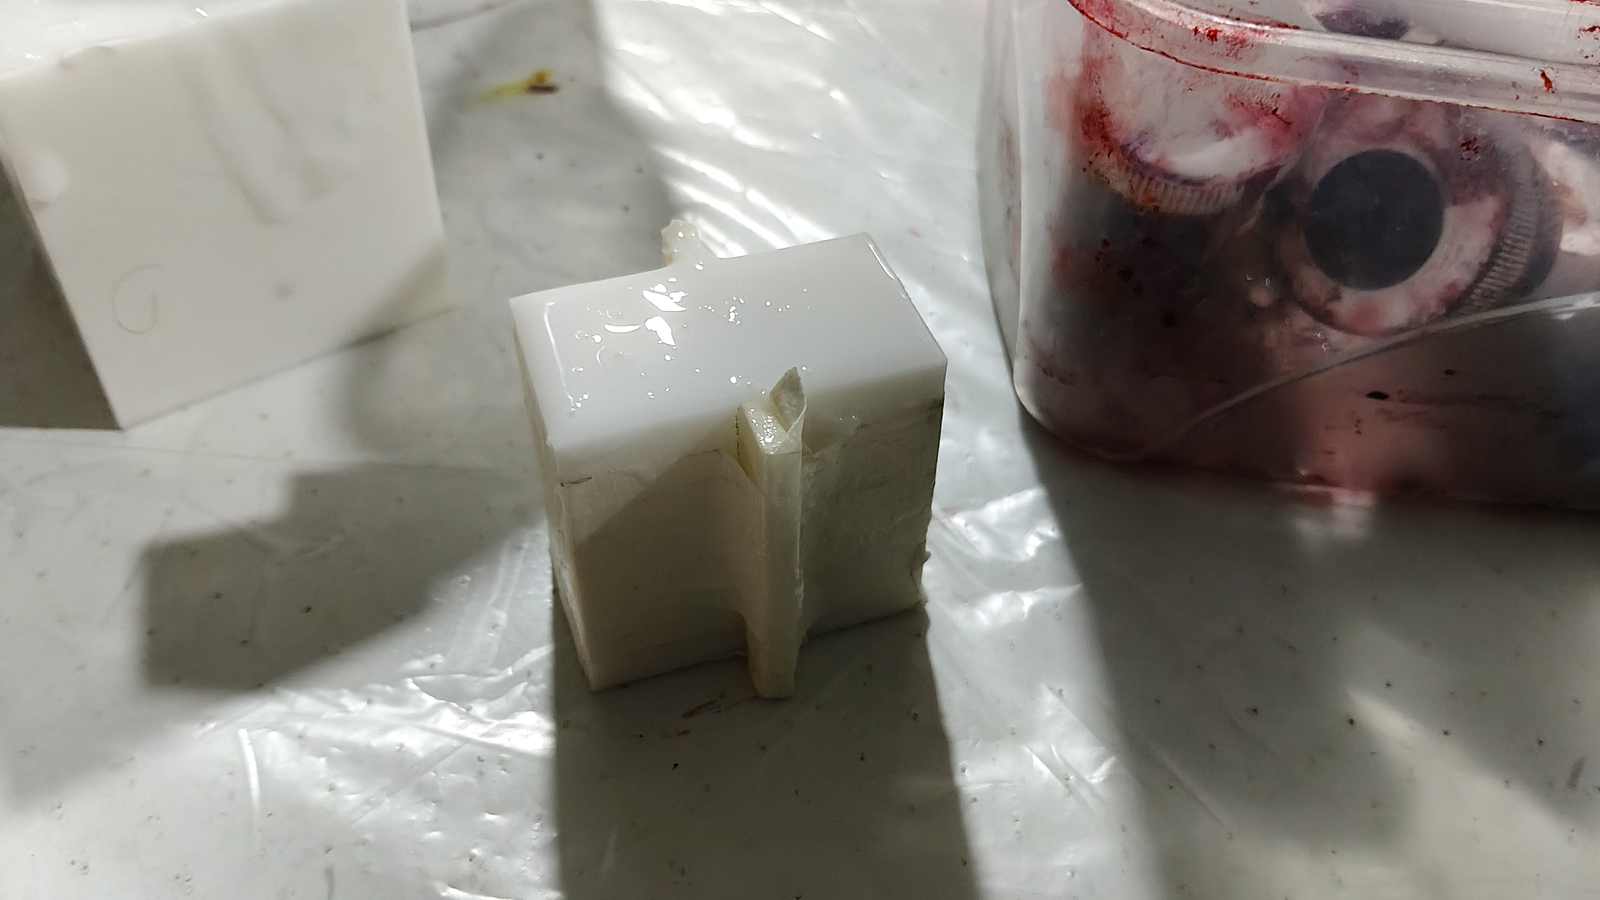
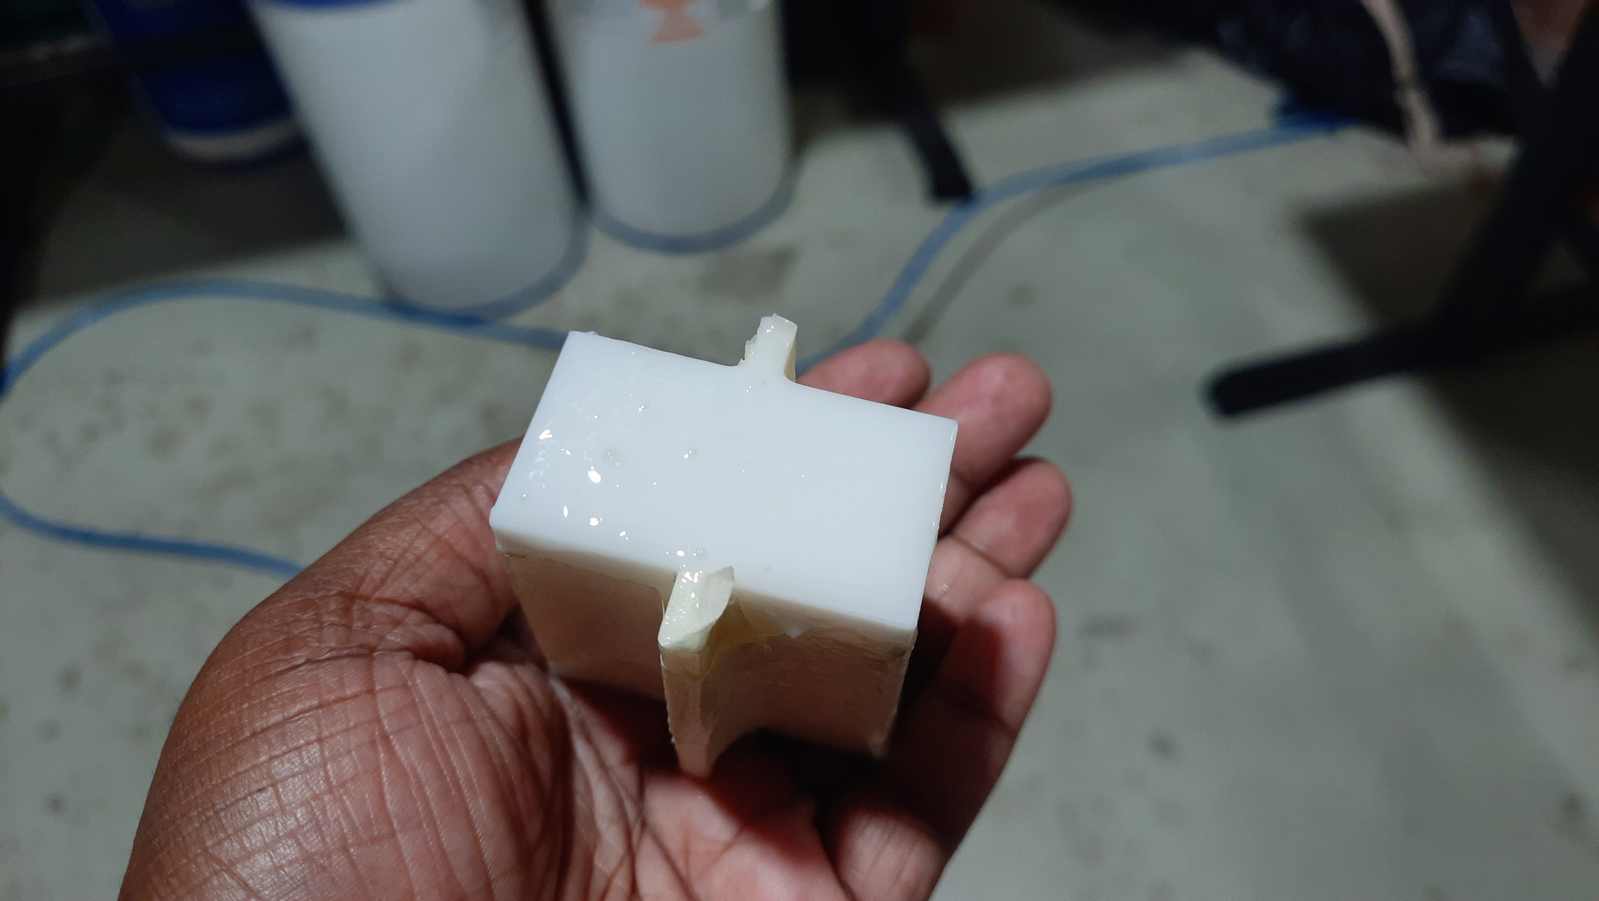
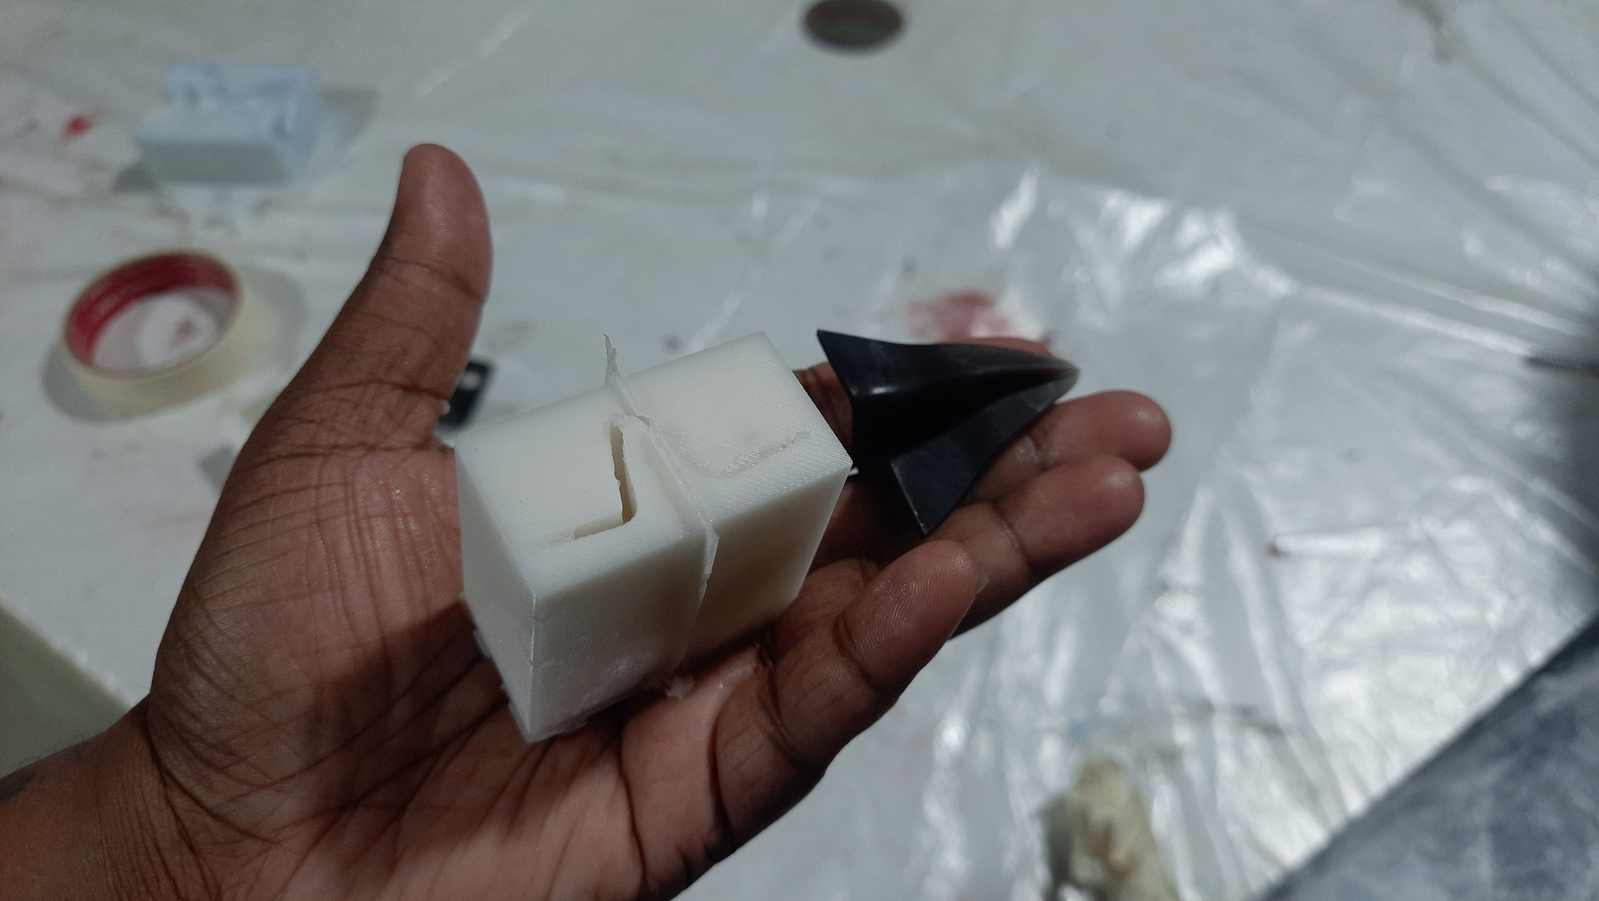
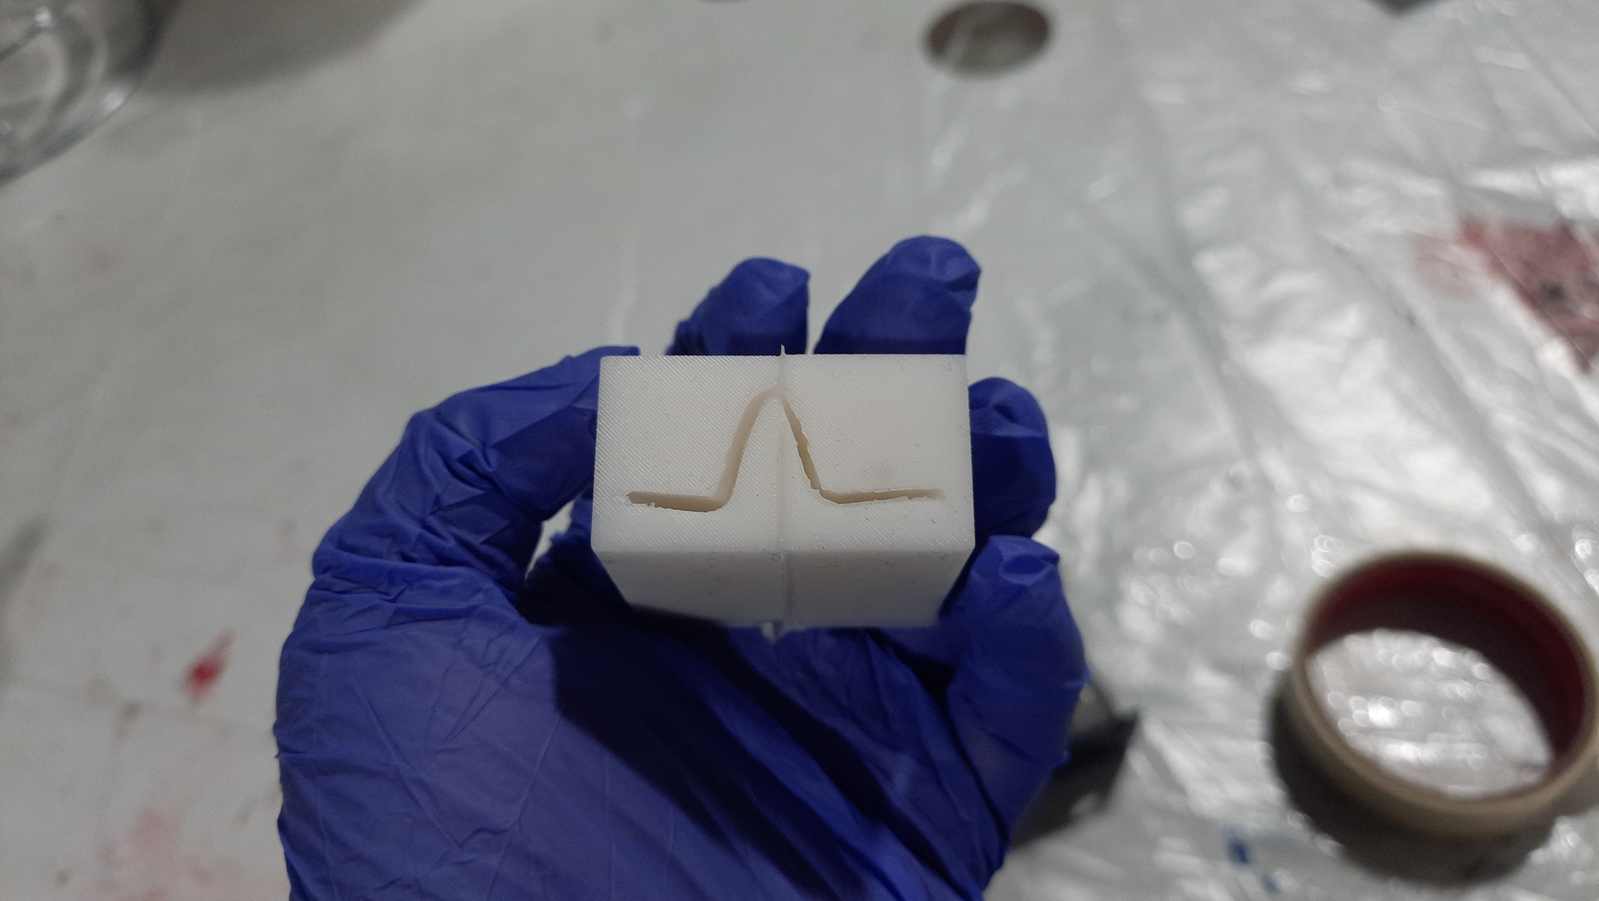
Post Processing - Silicone Mould
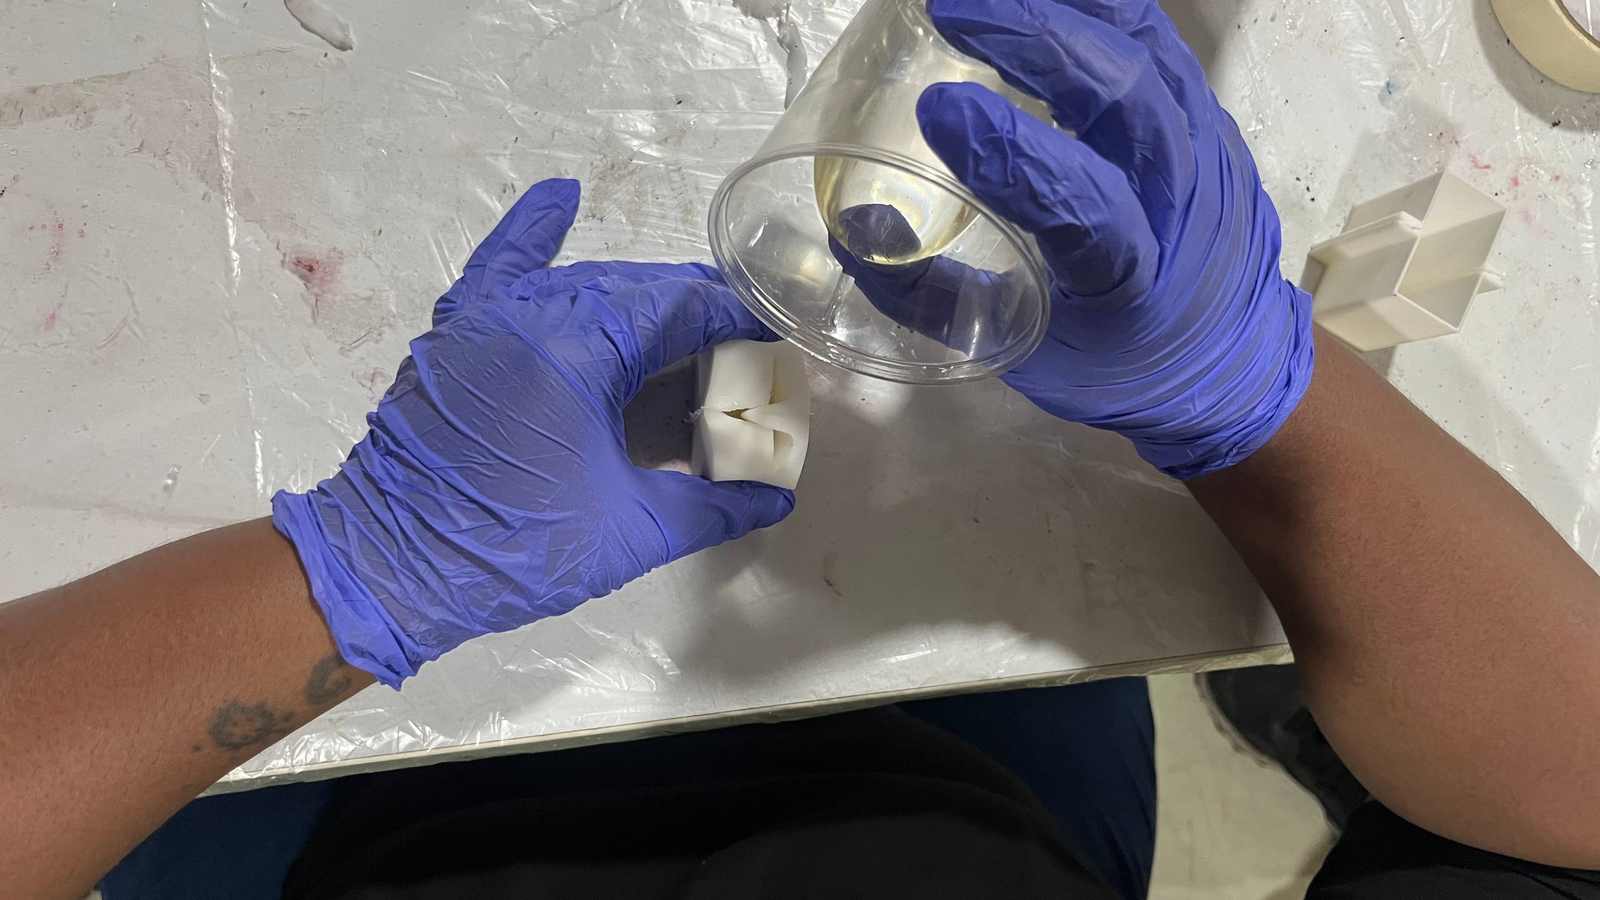
The silicone mould was removed the next day around 11 AM. I cut the painter's tape and took apart the flask.
Casting - Resin
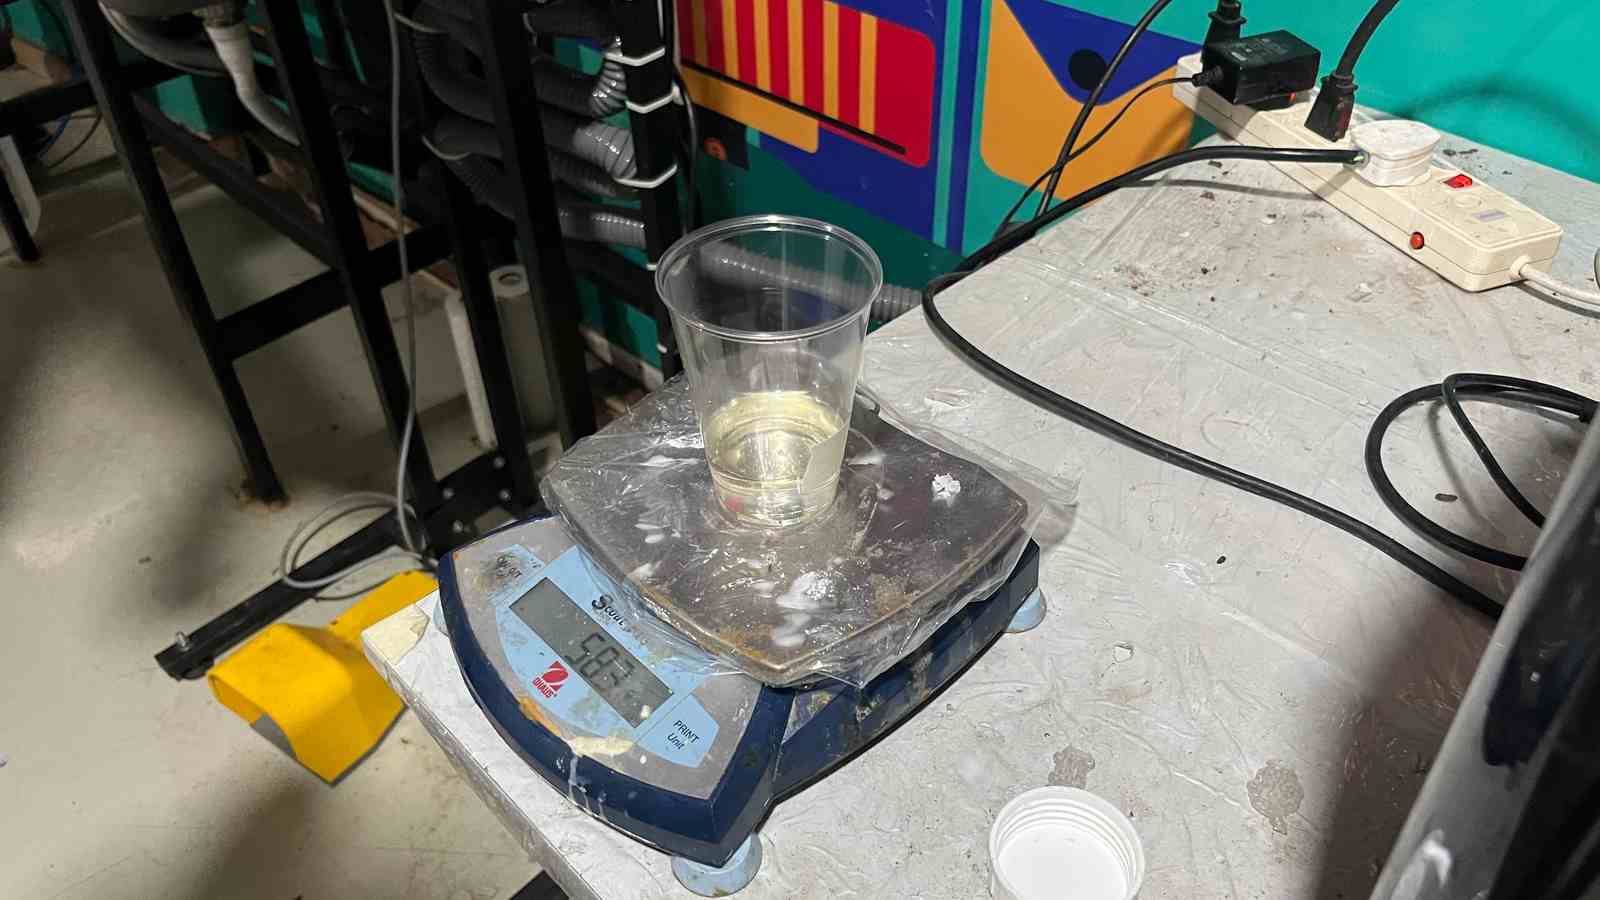
Aditya Ultra Clear Cast Epoxy – 37 – 1 Kg
Epoxy used is transparent clear resin. The mixing ratio is Easy Part A 100 parts : Part B 50 parts. The curing time taken is 24hours. It does not need grinding and sanding after curing. It does not turn yellow over time.

The complete curing time for resin is 24 hours. In 4 hours it begins to set. This window can be used when pouring different colors or adding another element between the resin layers. I poured the resin at 1 PM on April 28th and was able to take the resin out of the mould around 1 PM on April 29th, the next day.
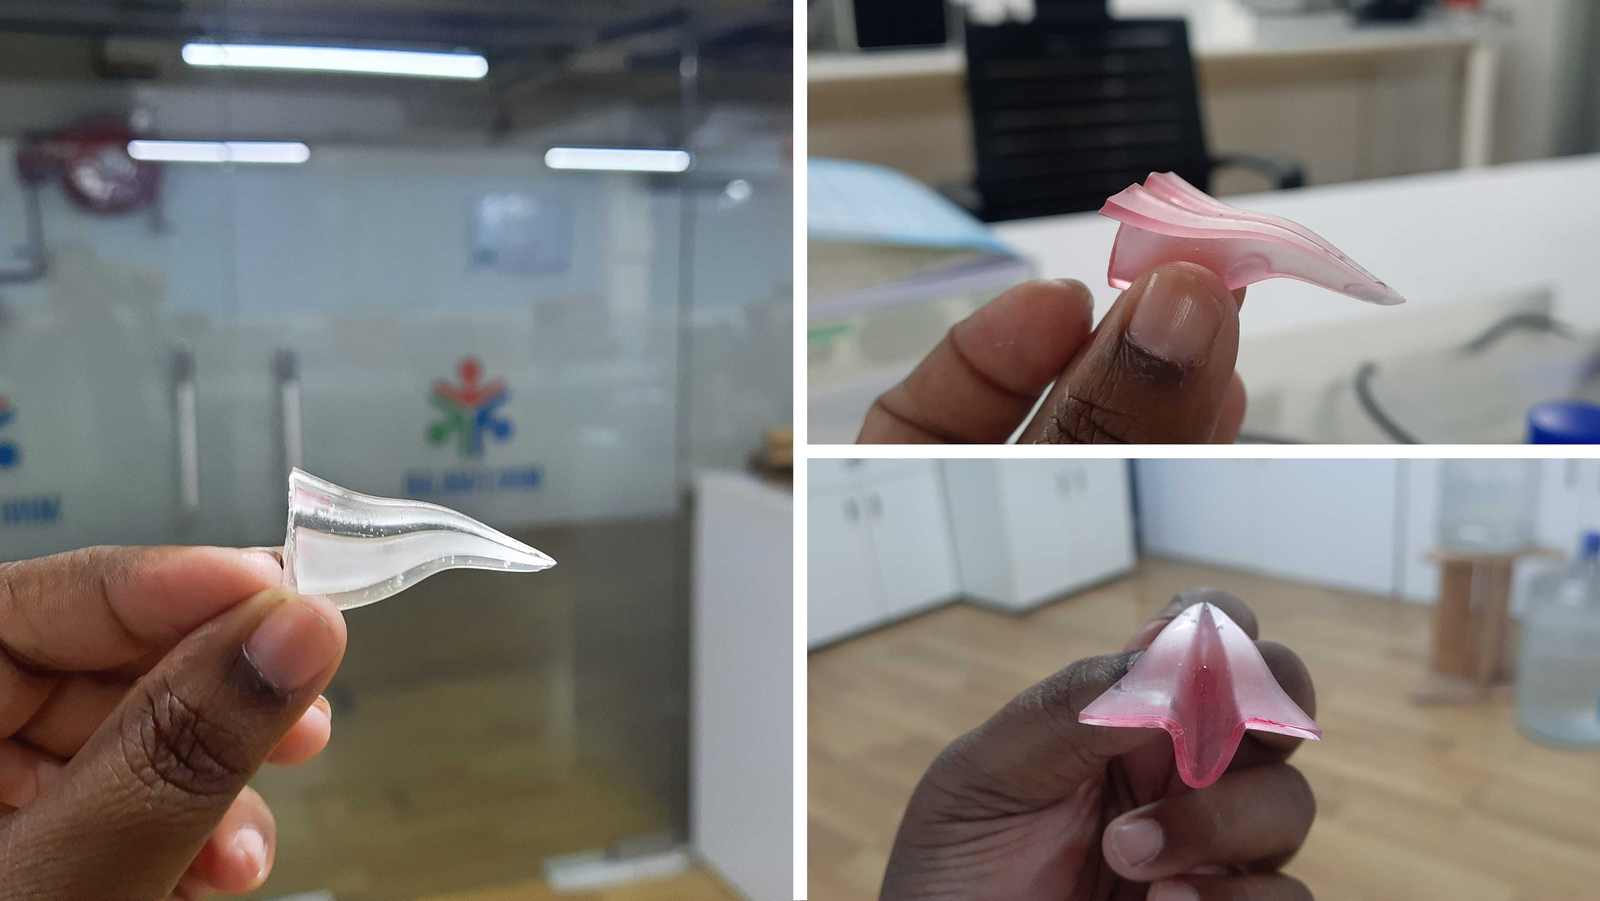
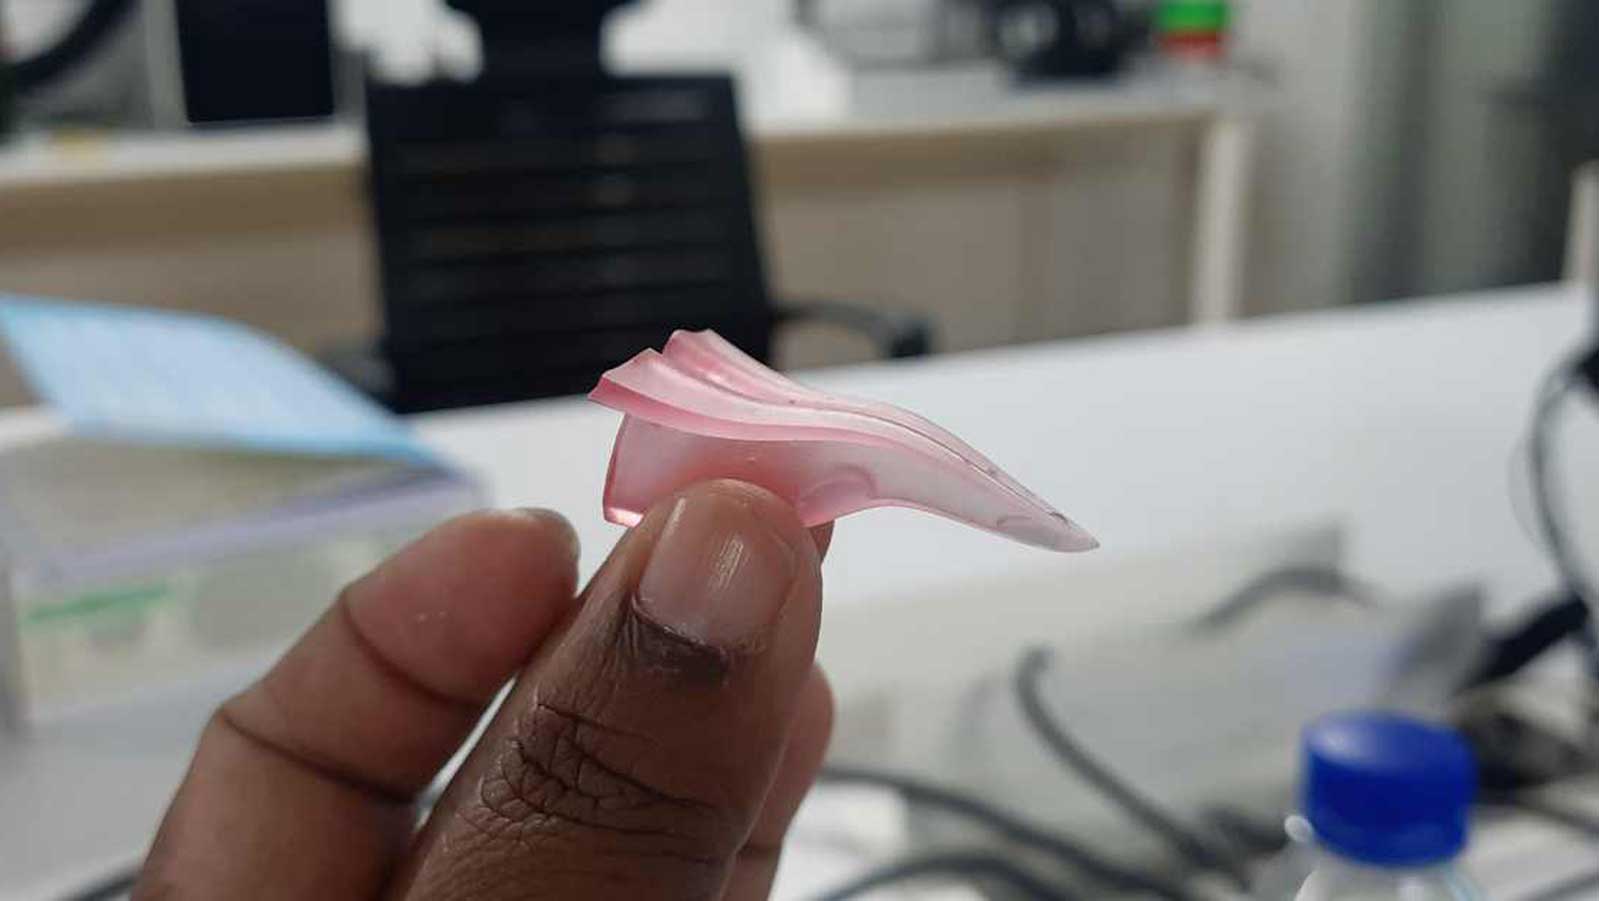
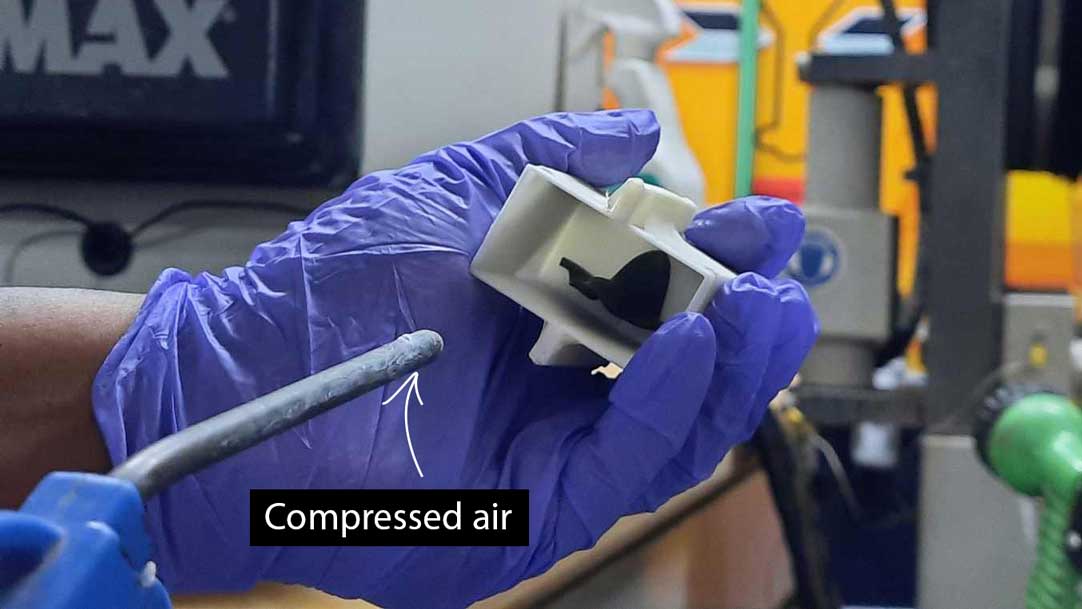
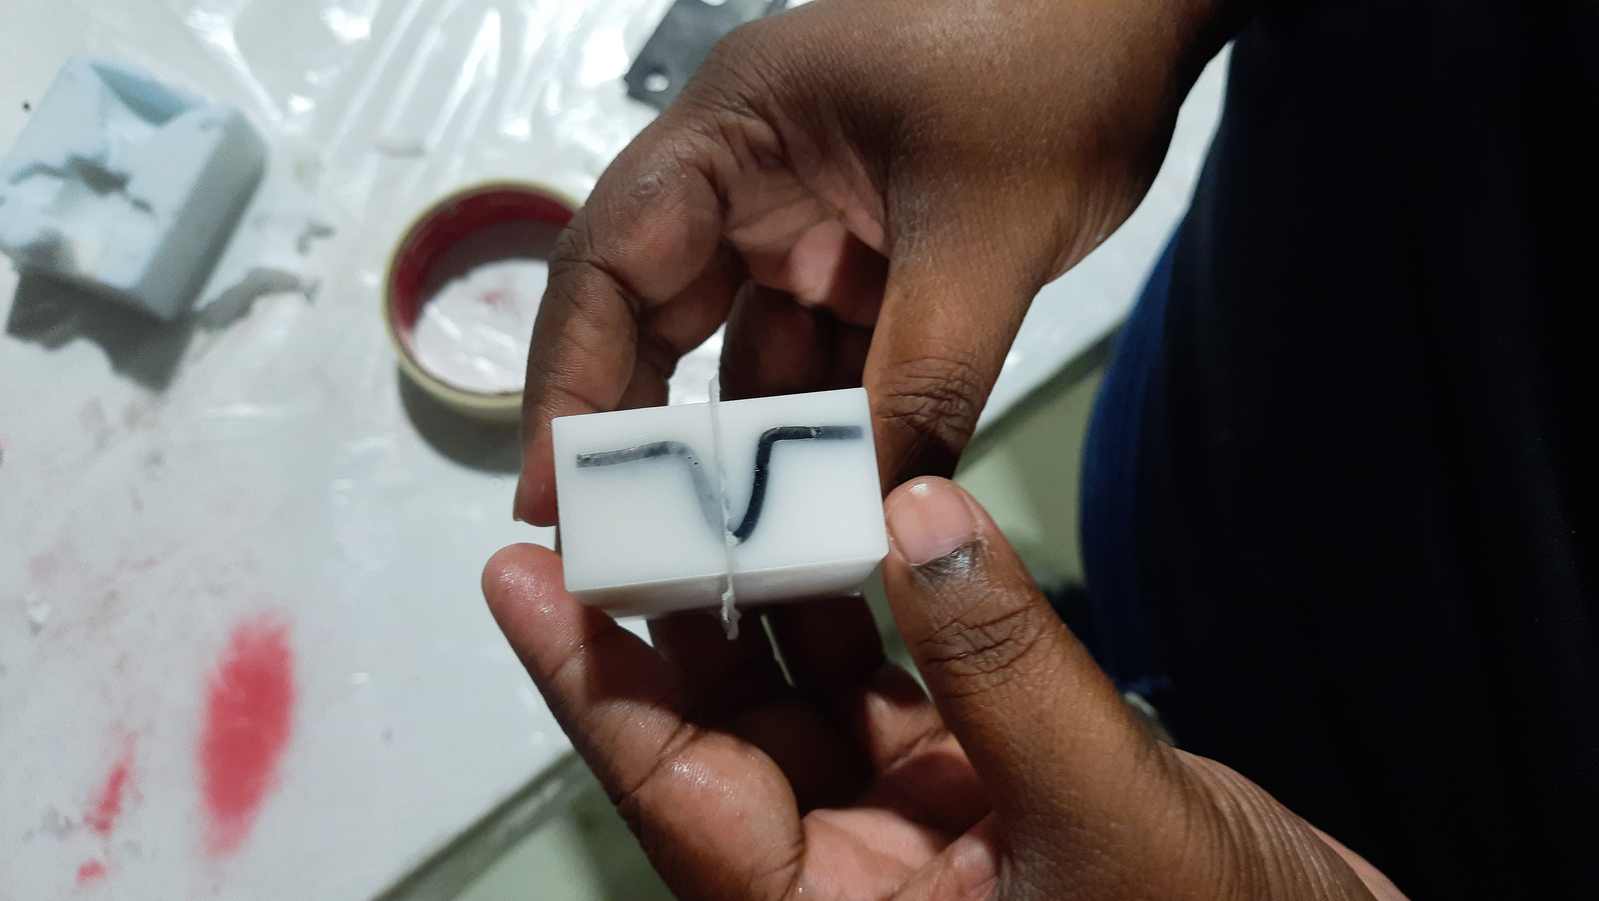
Hero Shot
I have to accept that trying to remove the resin from the mould was a Hercules task. I used compressed air blown into the mould to release the resin cast. From this, I understood that I should have designed a bigger flask so that the mould edges would not have been too thin.