Principles and practices, project management
This week I worked on defining my idea for the final project and started to getting used to the documentation process.
Week 01’s assignment
• Worked through a Git tutorial to understand version control basics
• Created student website
• Developed initial ideas and sketches for final project
Final project ideation phase
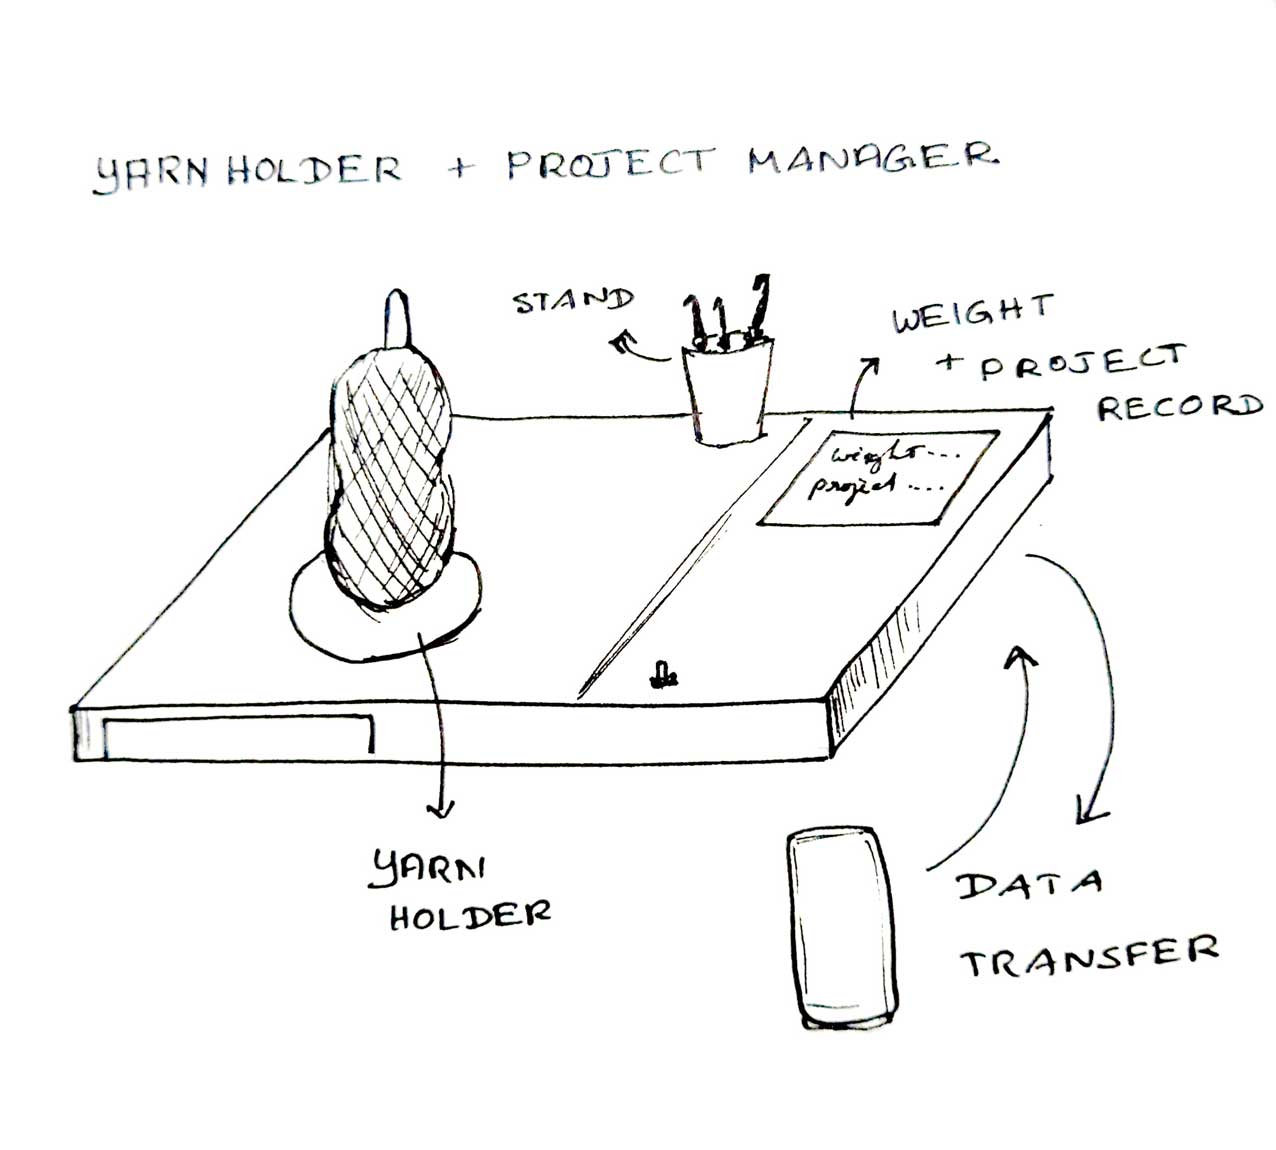
1. Yarn Manager
The Yarn Manager is a product designed for crocheters to accurately measure and record yarn usage during a project. It calculates the weight of yarn used and logs the data project-wise, allowing the user to track the total yarn consumption throughout the entire project.
The recorded data can be transferred to a mobile phone, helping crocheters monitor yarn usage across different colors and projects, manage leftovers efficiently, and maintain a clear record of material consumption.
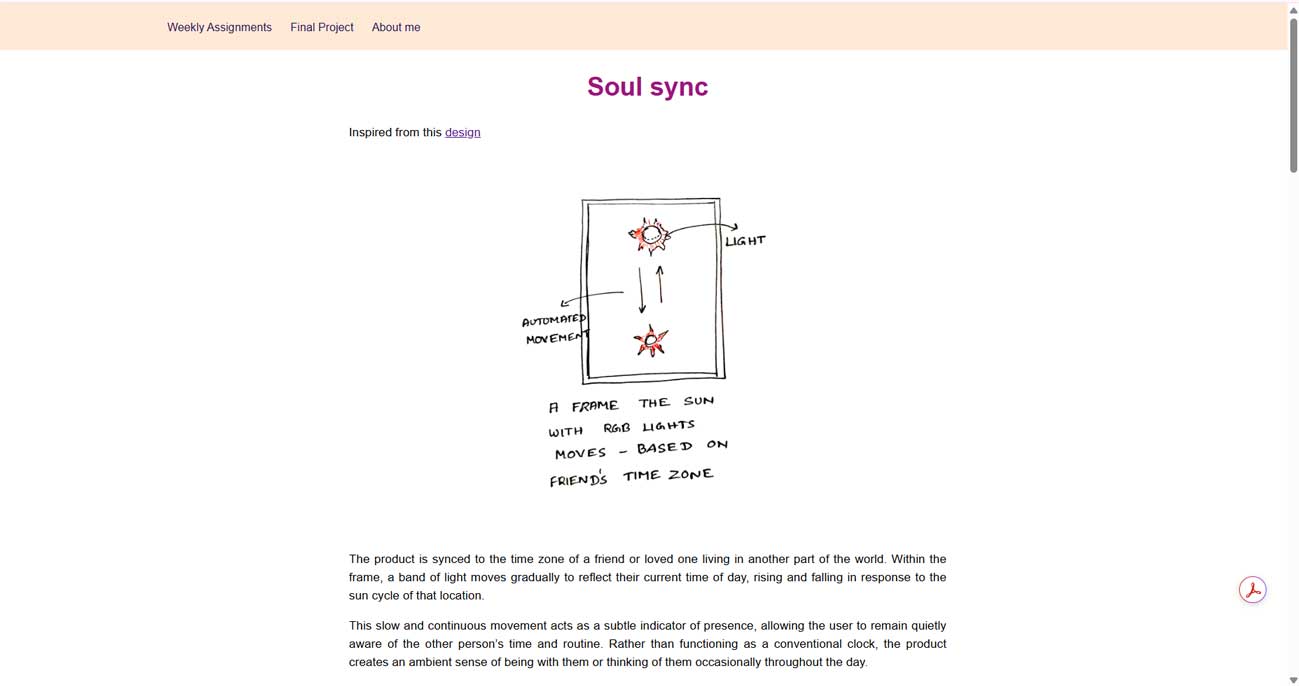
2. Soul sync
The product is synced to the time zone of a friend or loved one living in another part of the world. Within the frame, a band of light moves gradually to reflect their current time of day, rising and falling in response to the sun cycle of that location.
This slow and continuous movement acts as a subtle indicator of presence, allowing the user to remain quietly aware of the other person’s time and routine. Rather than functioning as a conventional clock, the product creates an ambient sense of being with them or thinking of them occasionally throughout the day.
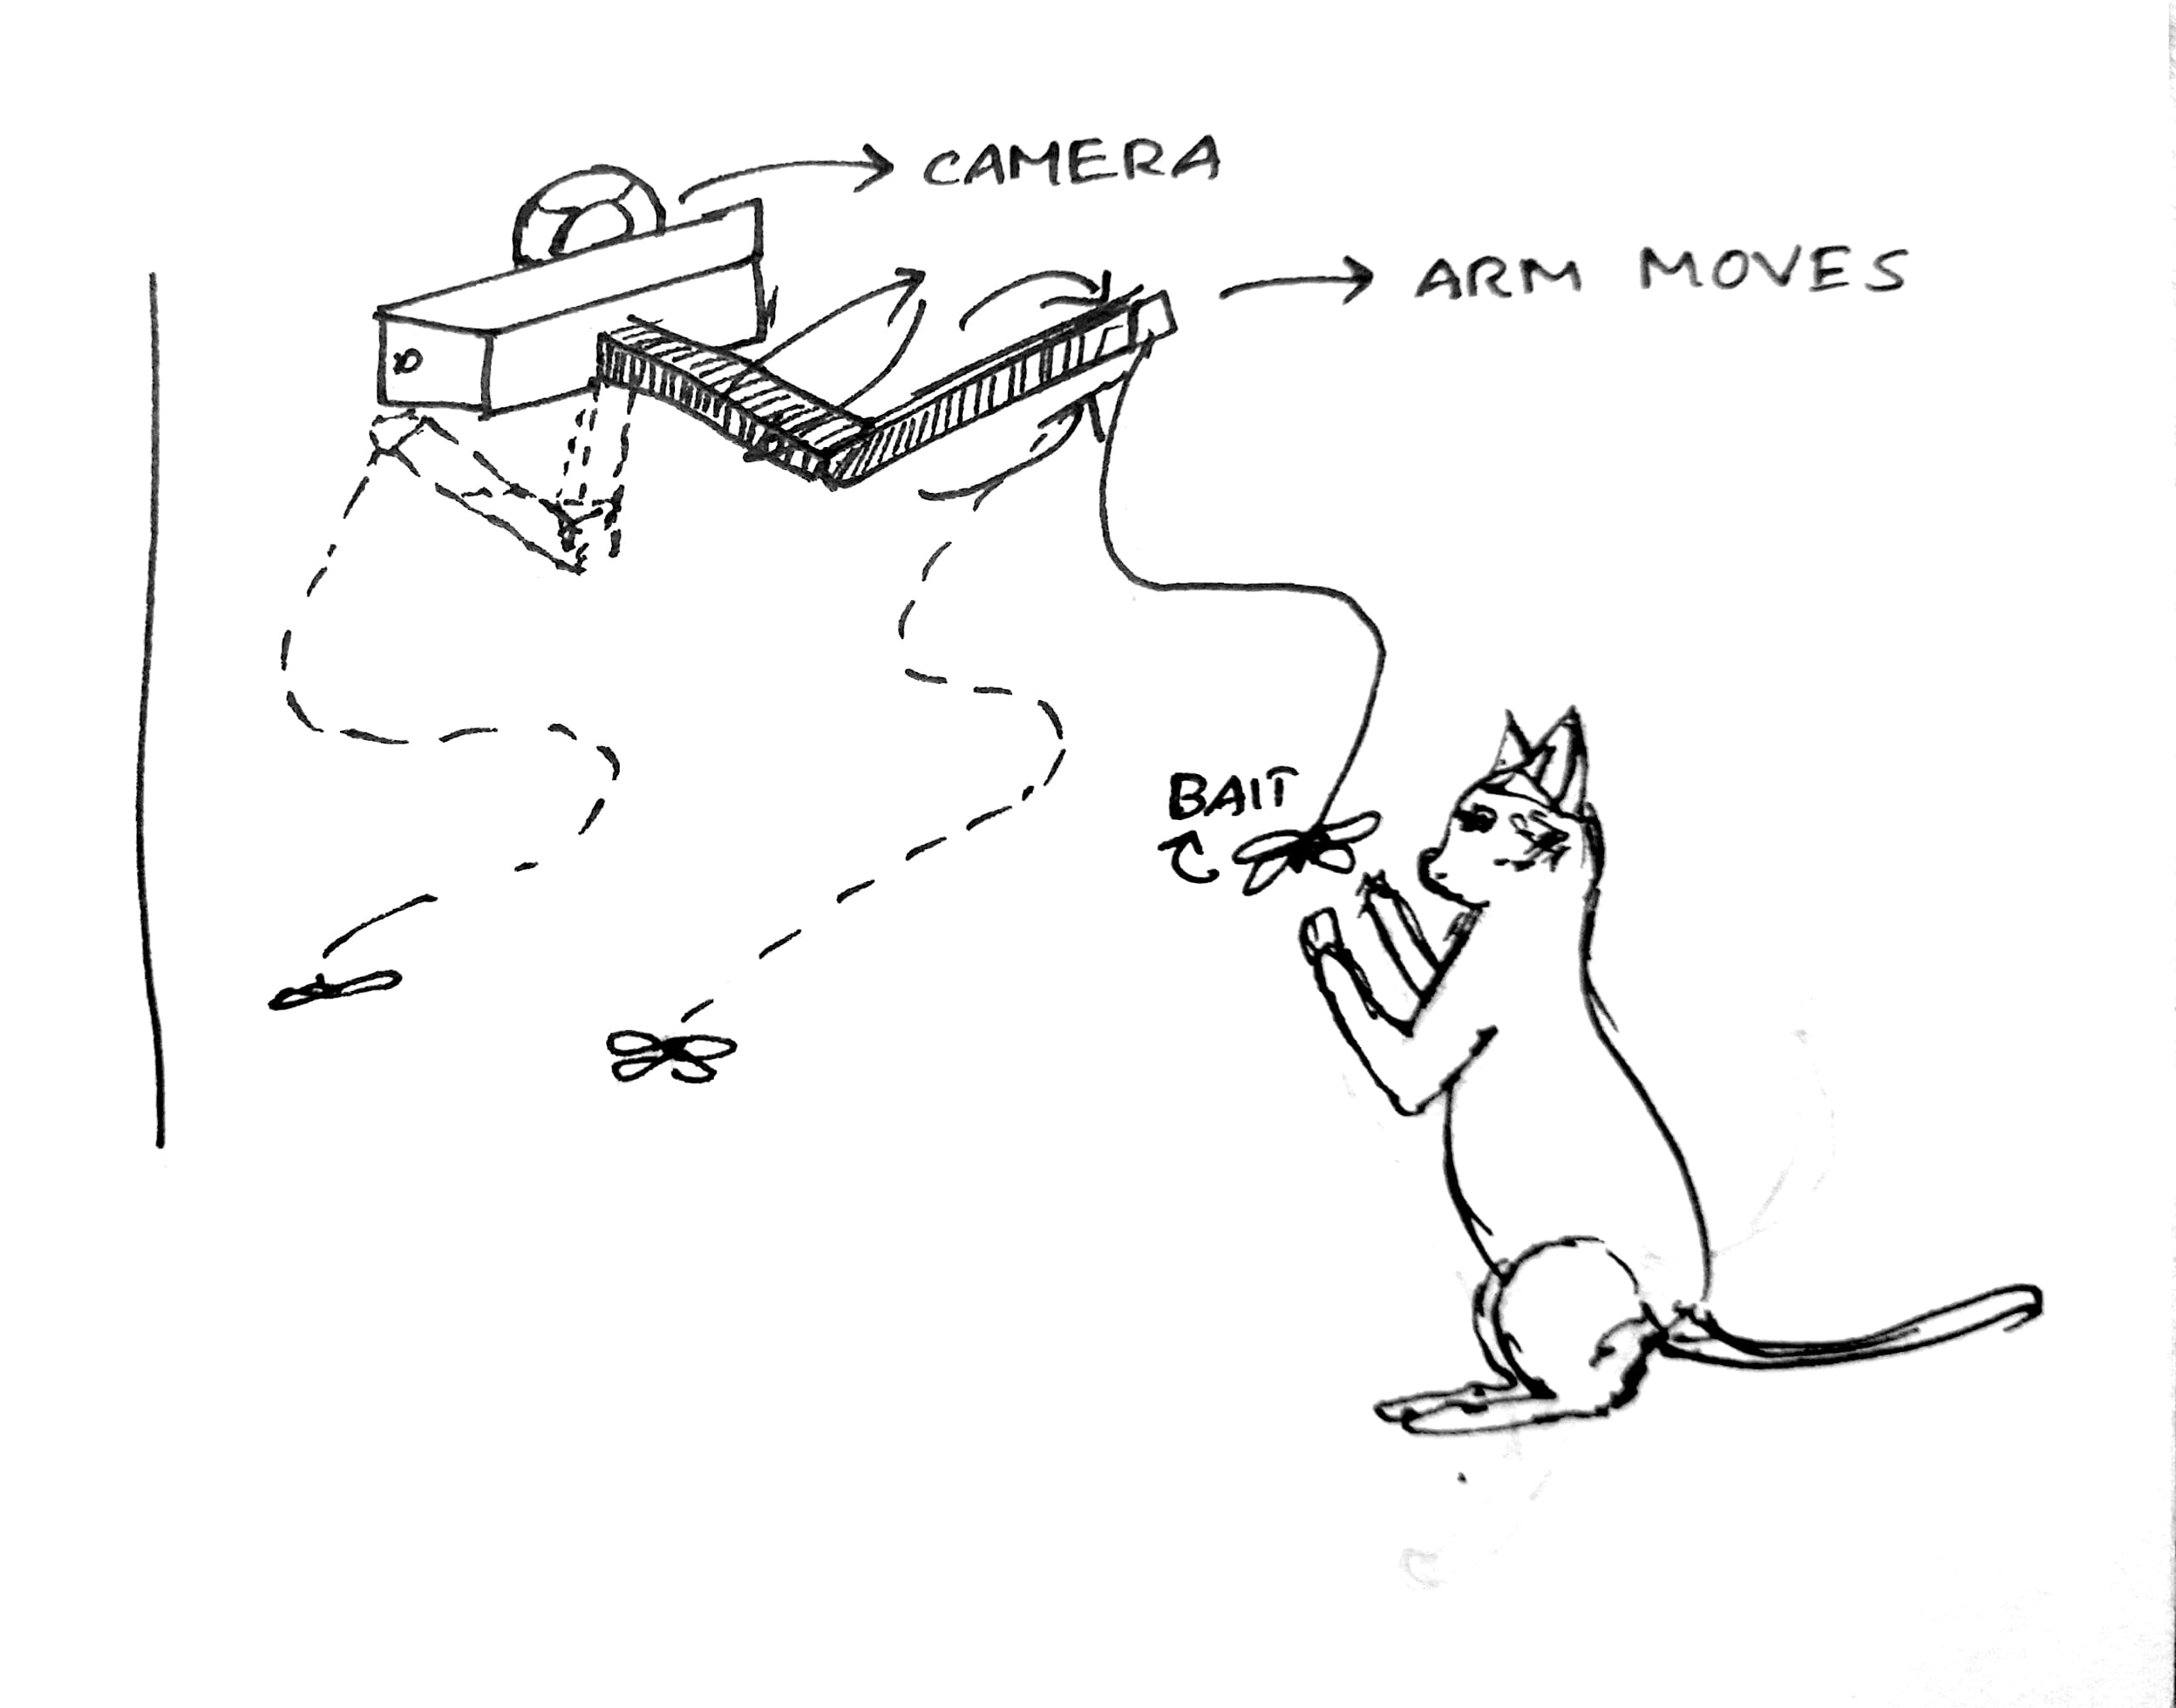
3. Paw Link
This product is a phone-controlled robotic arm designed to help people interact with their pets while being away from home. The arm holds a flexible stick and twine attachment, similar to a cat play rod, allowing users to move and engage their pets remotely in a familiar way.
A camera mounted on the device enables live viewing of the pet’s activity, helping users observe movement, behaviour, and responses during play. Intended for people living away from home or abroad, the product offers a simple way to maintain interaction with pets and reduce the sense of distance caused by physical separation.
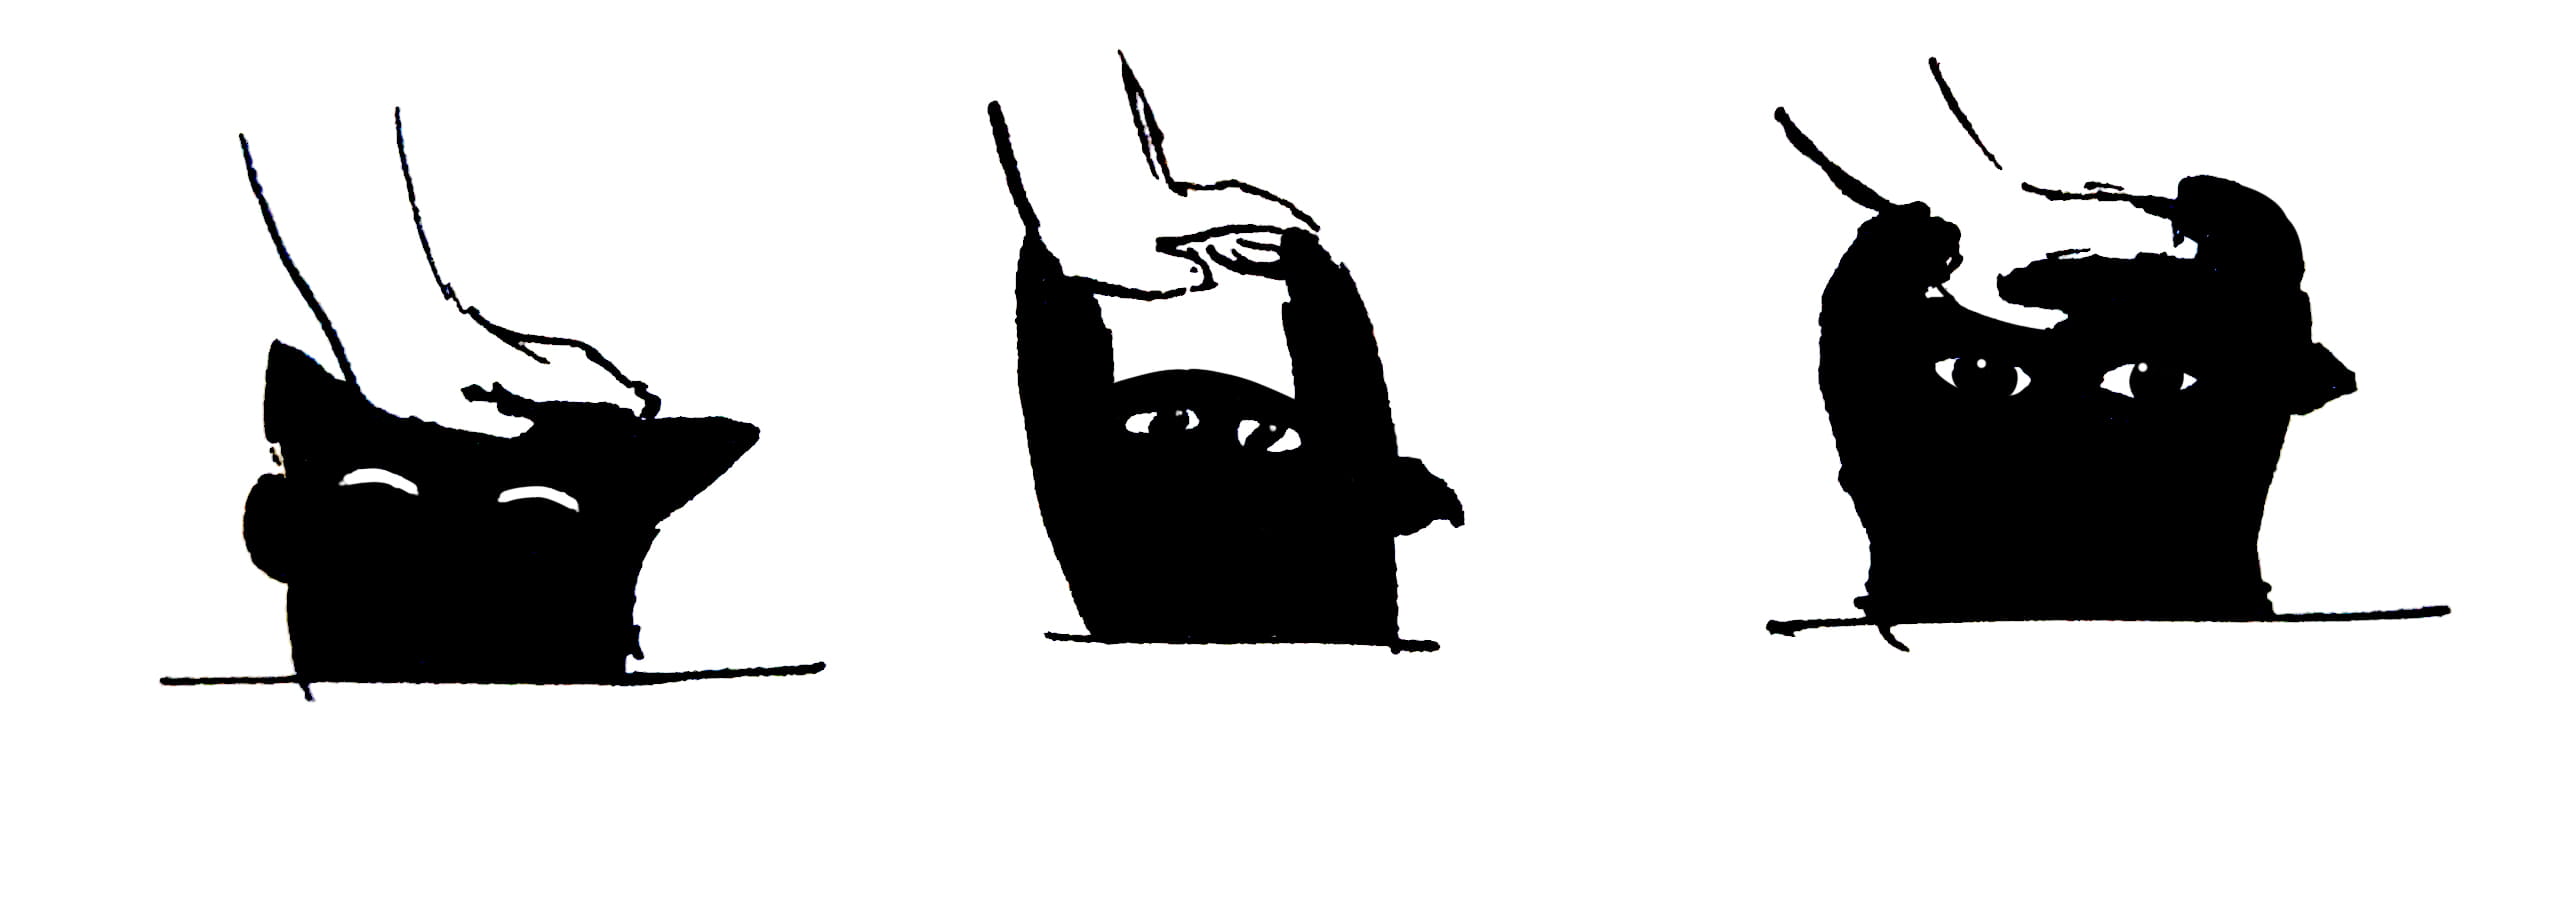
4. Caretion
This product is a remote-controlled petting device designed to allow people to comfort their pets from a distance. A robotic arm performs a gentle to-and-fro petting motion, simulating the familiar act of stroking an animal. The movement can be controlled and adjusted through a mobile interface, allowing users to interact with their pets in real time.
Intended for people living away from home, the product offers a simple and reassuring way to maintain physical-like interaction with pets, helping reduce feelings of separation for both the user and the animal.
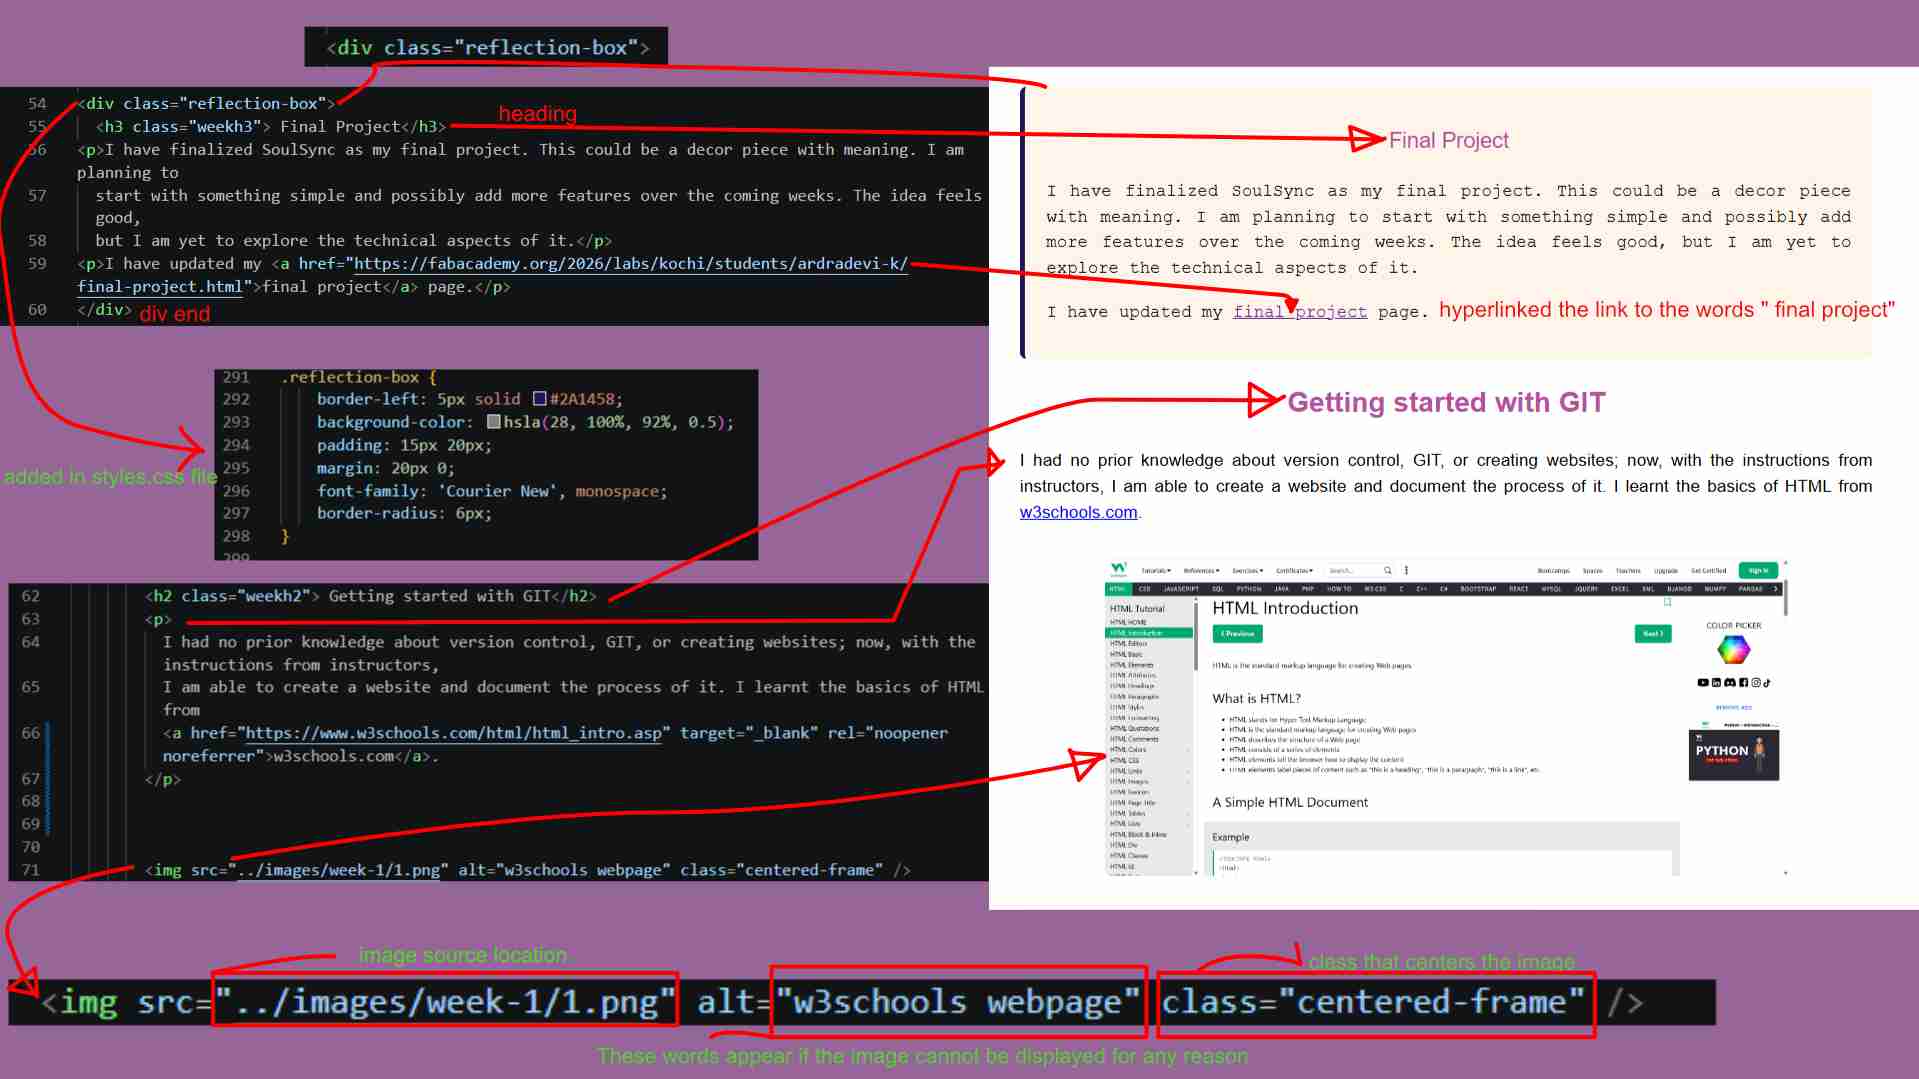
Final Project
I have finalized SoulSync as my final project. This could be a decor piece with meaning. I am planning to
start with something simple and possibly add more features over the coming weeks. The idea feels good,
but I am yet to explore the technical aspects of it.
I have updated my final project page.
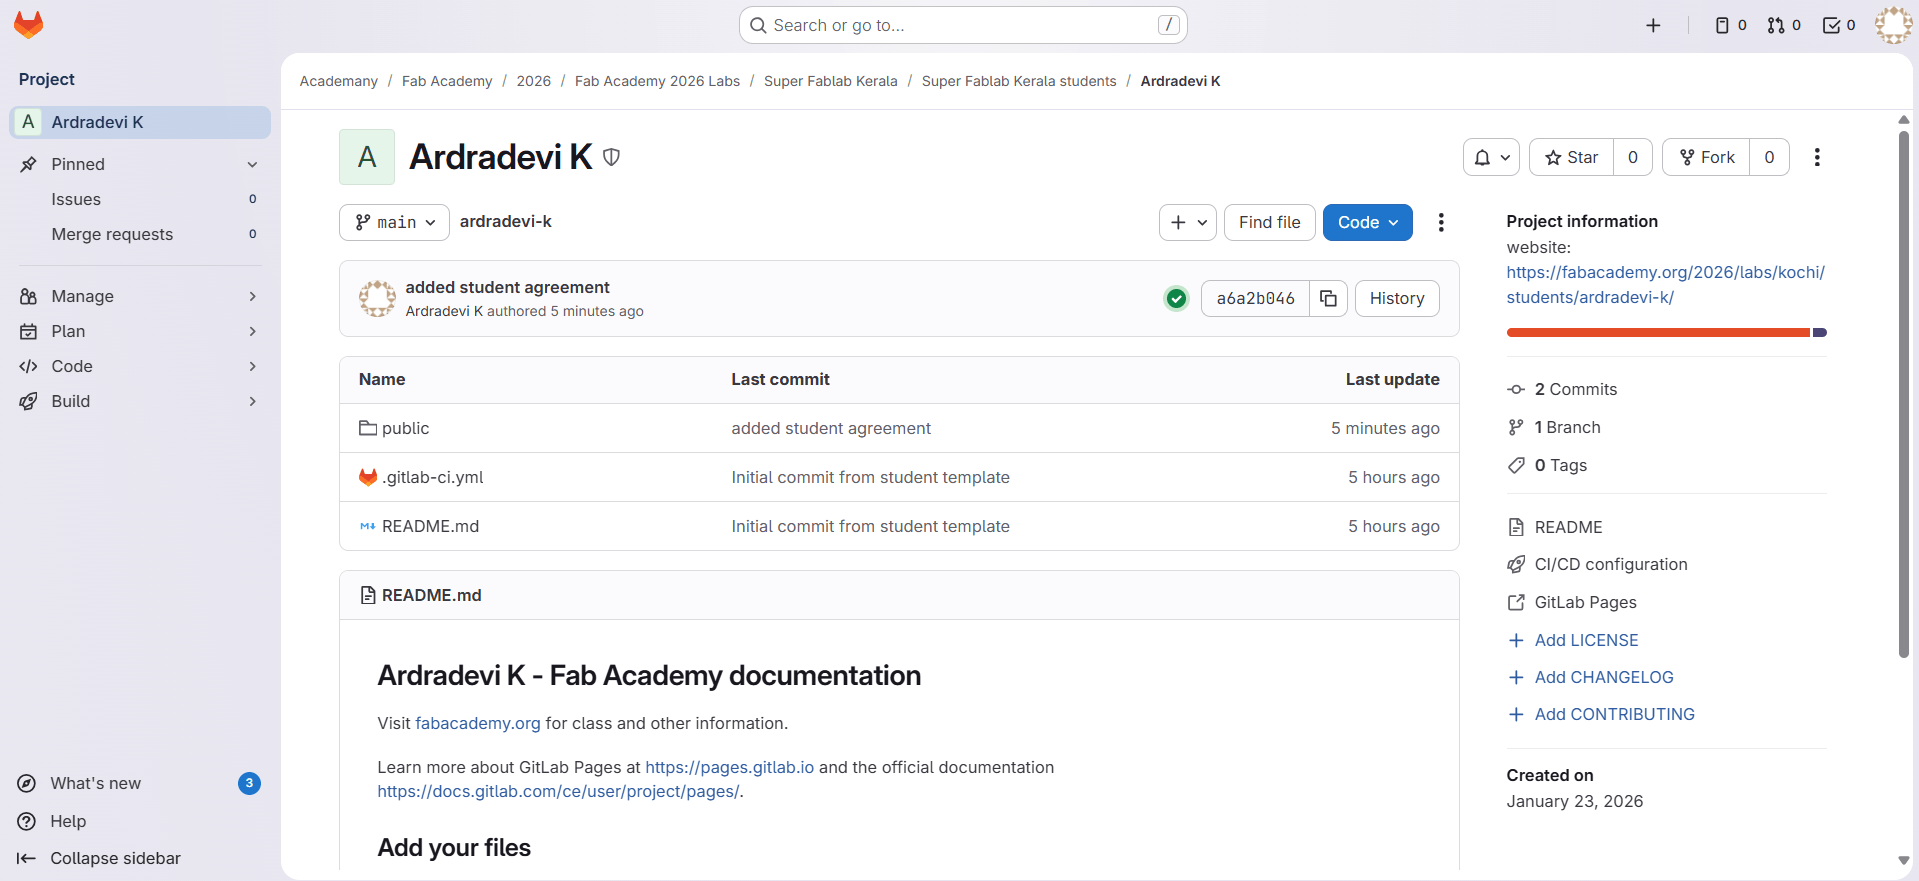
Setting up the git version control
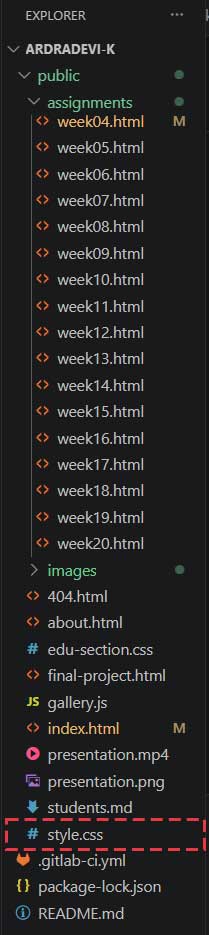
I received the login details from Fablabs. I used them to log into GitLab, downloaded the files from the repository, and then made basic changes to customise it with my name. A basic website format was given. The code was edited to add contents.
Git installation
To start working with Git, I first installed Git on my system from the official Git website. After installation, I opened the terminal (Git Bash on Windows) and checked whether Git was installed correctly.
SSH key generation
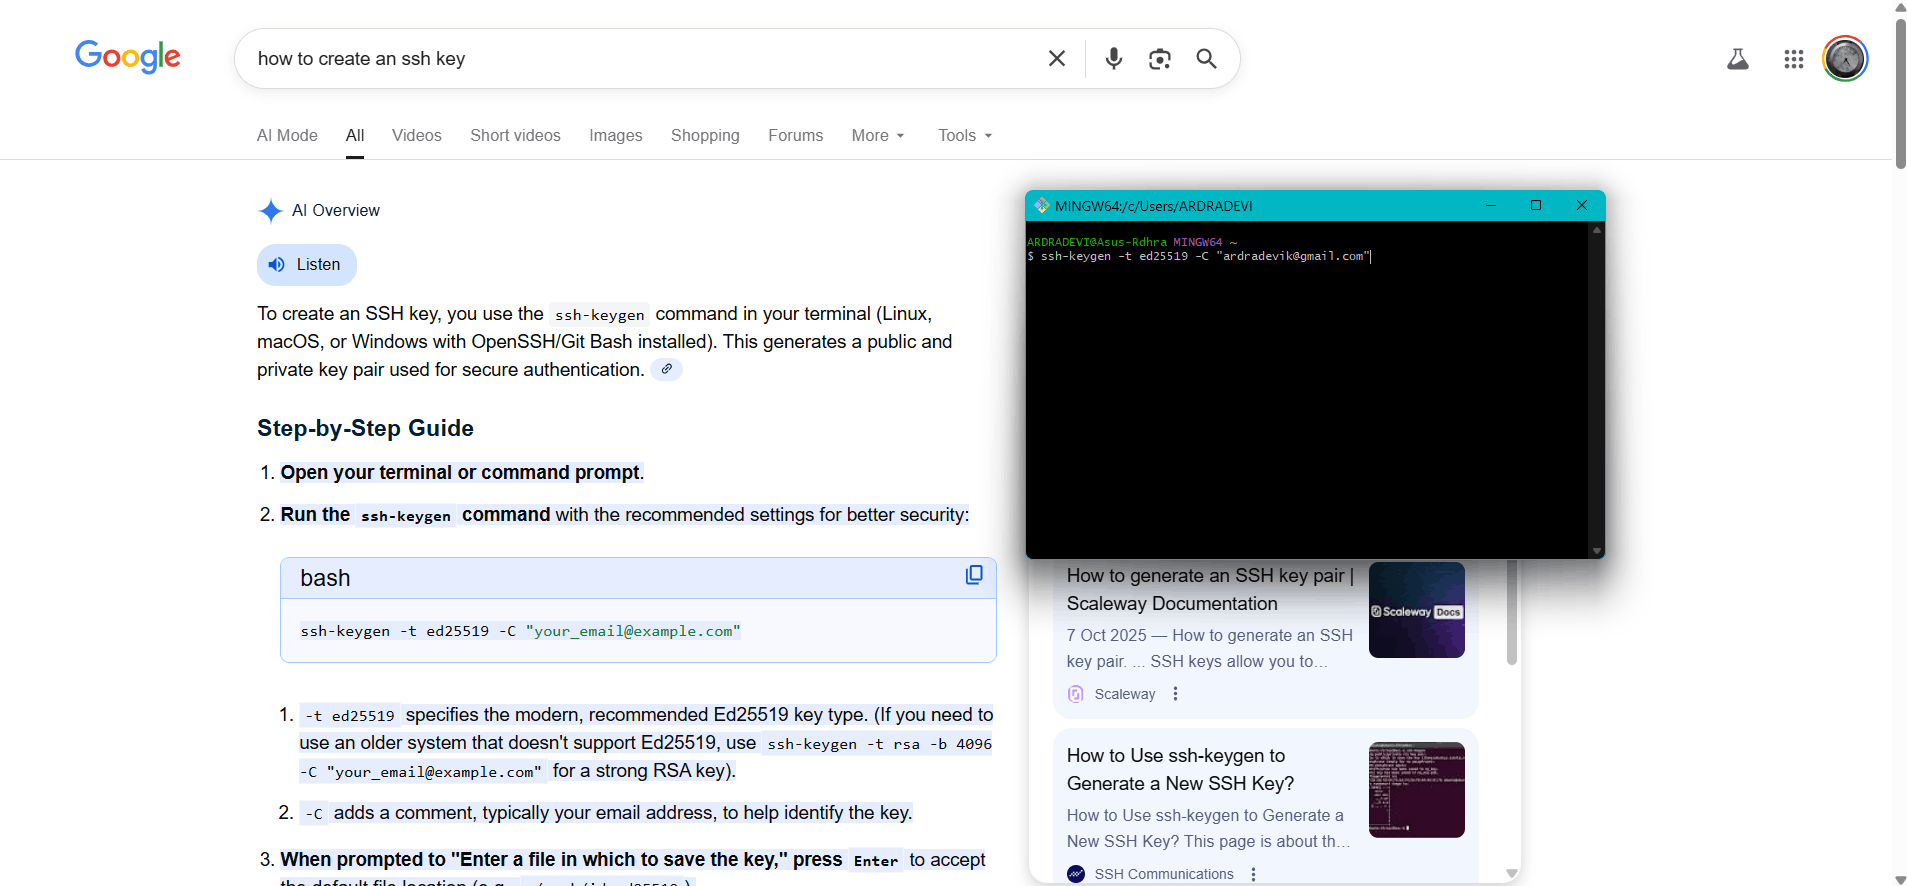
I generated an SSH key using the terminal. I chose the default file location.
.png)
.png)
Adding the key to the git lab account
.png)
Once the key was generated, I started the SSH agent and added the newly created SSH key to it. I then copied the public SSH key and added it to my Git account under the SSH Keys section in the settings. To make sure everything was set up correctly, I tested the SSH connection.
Cloning the repository
I cloned the repository to my local system using the SSH link provided in the repository.
          git --version
          git config --global user.name "my name"
          git config --global user.email "my@email.com"
          ssh-keygen -t ed25519 -C "my@email.com"
          eval "$(ssh-agent -s)"
          ssh-add ~/.ssh/id_ed25519
          cat ~/.ssh/id_ed25519.pub
          git clone git@gitlab.com:username/repository-name.git
To make sure everything was set up correctly, I tested the SSH connection. Once it was successful, I cloned the repository to my local system using the SSH link provided. From there, I continued working locally using Visual Studio Code. I made the required changes to my files, checked the repository status, staged the files, committed the changes with a message, and finally pushed the updates back to the remote repository.
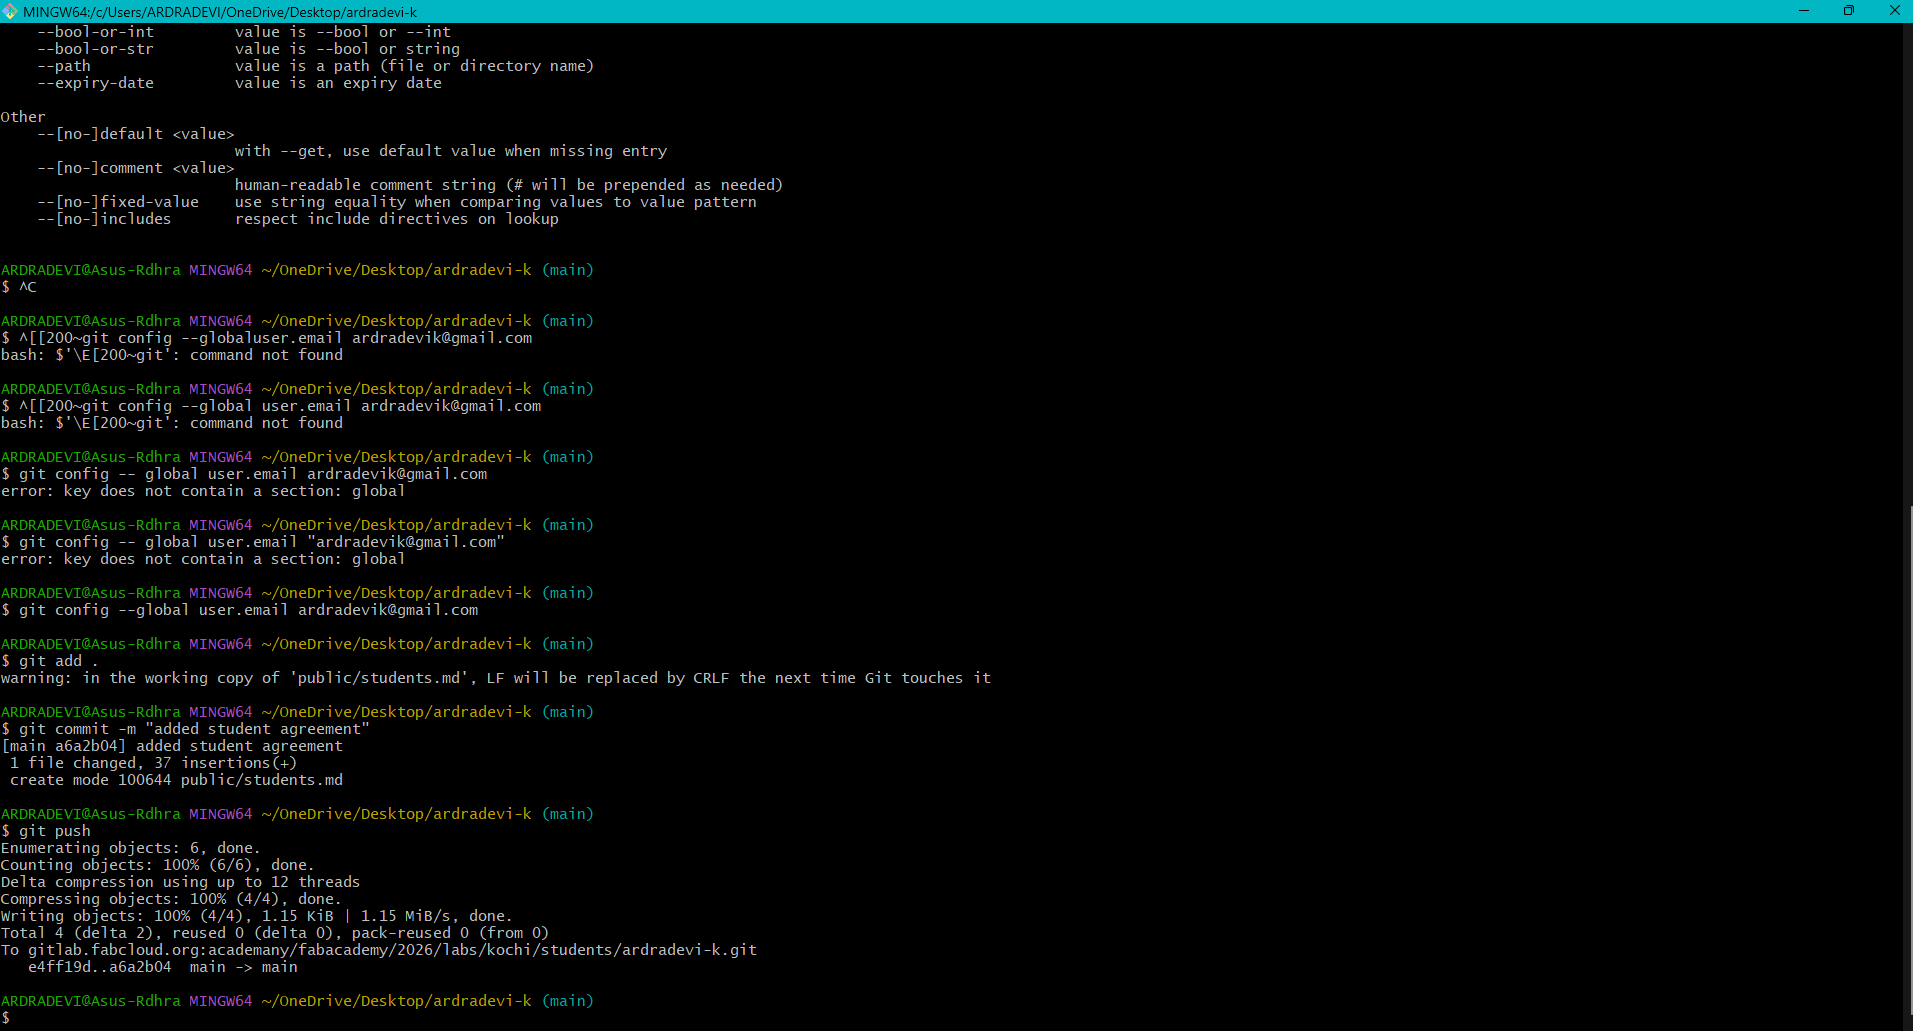
Git add, commit and push
The instructions were followed using the VS Code terminal to add, commit, and push changes to the Git repository.
          git add .
          git commit -m"added student agreement"
          git push
git add . - this adds all the connet to be uploaded
git commit - This command colelctively saves the changes made in the the current version with a name tag
git push - this command publishes the content.
Adding students agreement file
VScode

editing student agreement
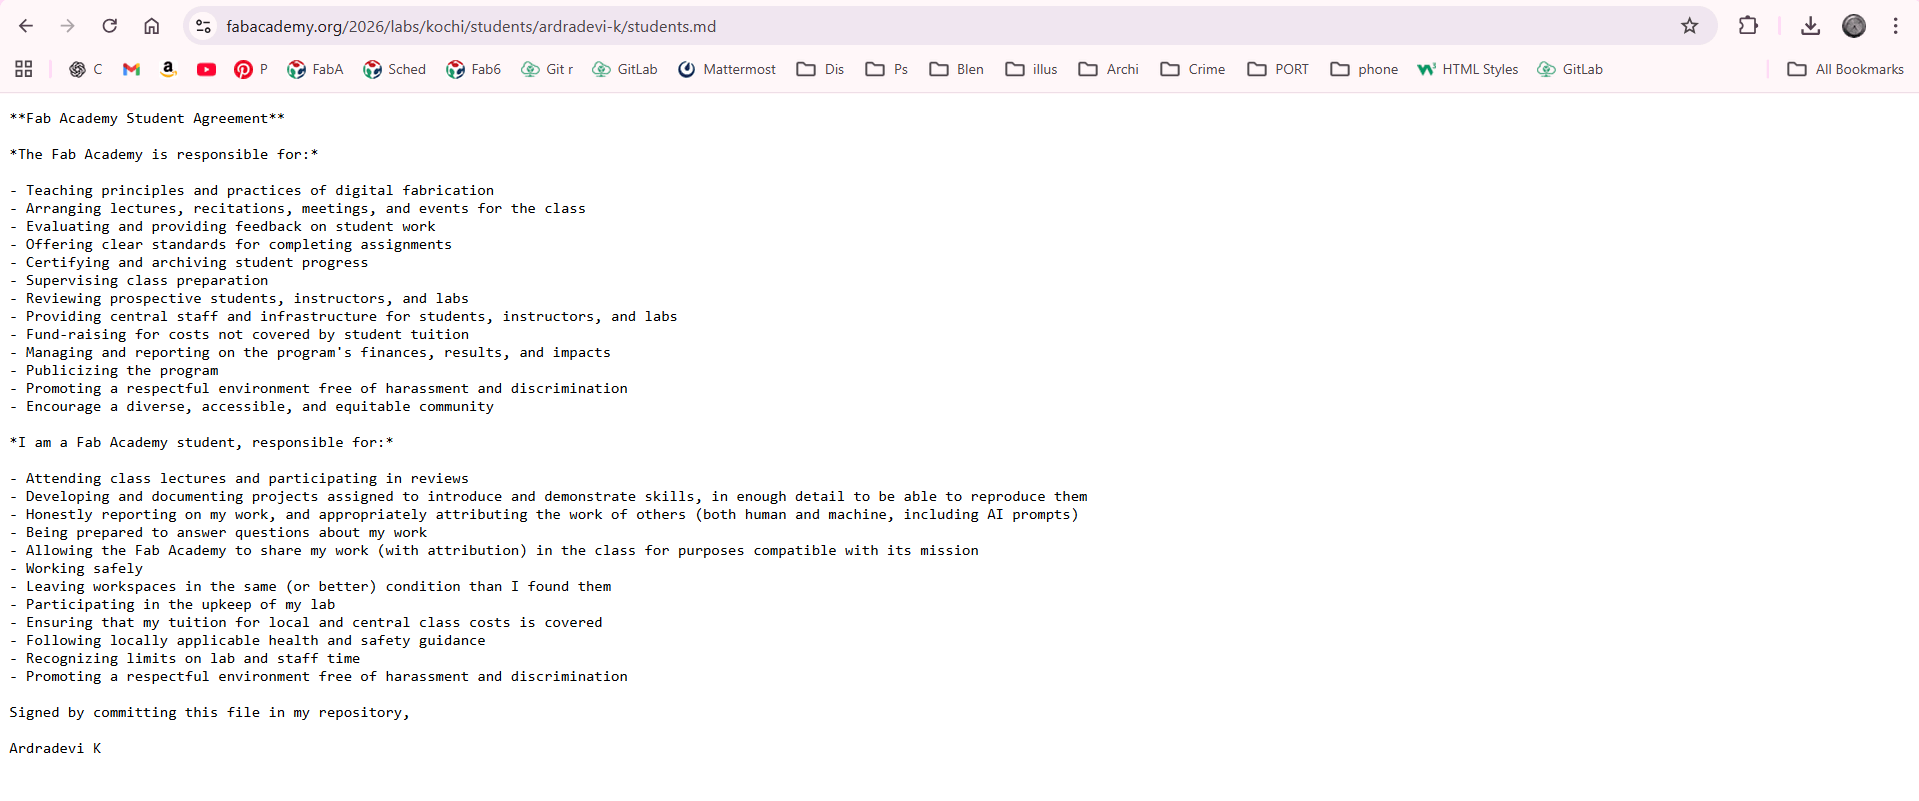
Edited student agreement in website.
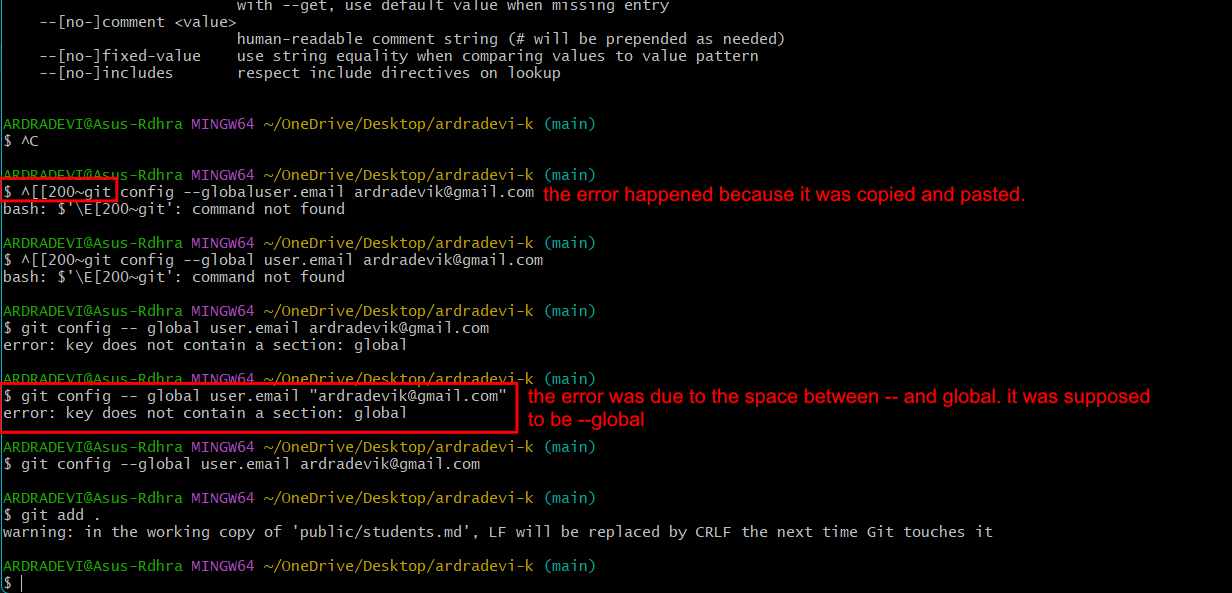
The errors I faced what what was causing it.
git command push
git lab
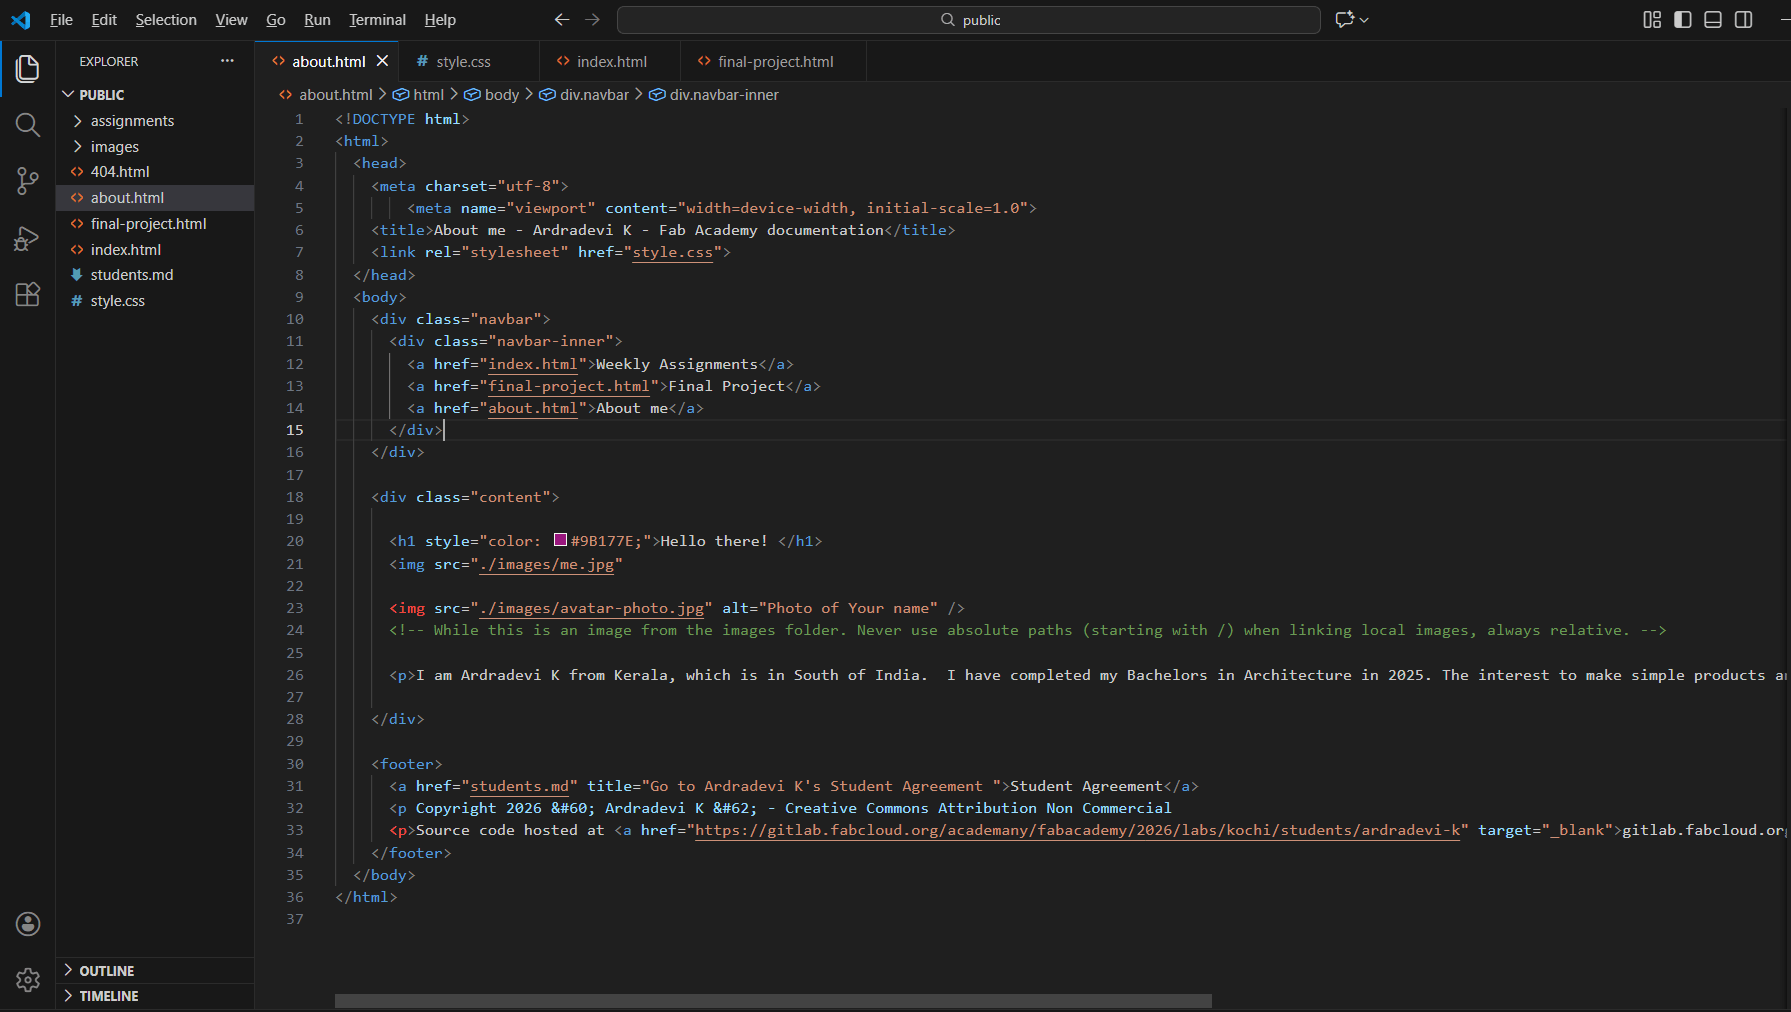
In the student agreement file, I added my name to using VS Code. The next step was to showcase this file on my webpage. Below is the code I used to include it to my 'about me' page.
          <footer>
            <a href="students.md" title="Go to Ardradevi K's Student Agreement">Student Agreement</a>
            <p>Copyright © 2026 < Ardradevi K > – Creative Commons Attribution Non-Commercial</p>
            <p>
              Source code hosted at
              <a href="https://gitlab.fabcloud.org/academany/fabacademy/2026/labs/kochi/students/ardradevi-k" target="_blank" rel="noopener noreferrer">
                gitlab.fabcloud.org
              </a>
            </p>
          </footer>
Writng this towards the end of the course, incase someone comes across this documentation
What is a Git Repository?
A Git repository is like a space to save different versions of a file. For example, when I am learning to draw, I would have a beginner stage and then a stage where I am getting better. The versions in Git are similar. Different stages of the work can be saved as versions and retrieved in those stages when needed.
Imagine a Container
Imagine you have a large container with slots and items inside. The slots are the folders you create, and the items are what you add inside, such as files and images.
Each time you add more items into the container, it is similar to the git add . command. The . is important because it means you are adding everything.
If you label this container, it becomes easier to identify the files at that stage. If I label it as "Week 5: Images Added", I know that if something happens in the future, I can come back to this container and the files from Week 5 will be safe.
The Steps
Let us say I have a main folder with my name. That is the path from where I am pushing the files. Whatever is inside that folder, including subfolders, files, and images, will be added to a specific version.
The next step is commit. With a commit, we can label what has been done so that we can retrieve that state or stage later if needed. Each commit acts like a label, making it easy to recognize a particular stage of the files.
At this point, everything is only saved in the repository and has not been updated to the website. To publish it, the git push command has to be used.
When I use the command git push , it means I am publishing the files so they become available online. Until that stage, all files and changes exist only on my computer or in my folder, which is called the local repository. These refer to the same thing.
Website development
I had no prior knowledge about creating websites; now, with the instructions from instructors,
I am able to create a website and document the process of it. I learnt the basics of HTML from
w3schools.com

What is html? Well, it is a coding language to create websites.
We use tags here to denote what it is.
Tags have names, there is a start tag and a close tag, the
content lies between these tags.
Eg <tag name> The content is placed here. </tag name>
<tag name> open tag.
</tag name> - close tag / means it closes that tag or let’s say it is
like full stop.
<p> This tag used when one writes a paragraph or
sentence. </p>
We use the below tags for different types/sizes of headings
<h1> </h1>
<h2> </h2>
<h3> </h3>
<div> </div> to create a separation between the
tags.
These are few of the tags that one would be using regularly.
style- this is used within the tags to add a specification for height,
font, alignment etc
class – when a particular style is repeated many types, the style can be
collectively placed under a class which is added to .css file and linked to the
html within the head.
<link rel="stylesheet" href="../style.css">
How I designed the page, which tags did what.
Setting up my fab academy site
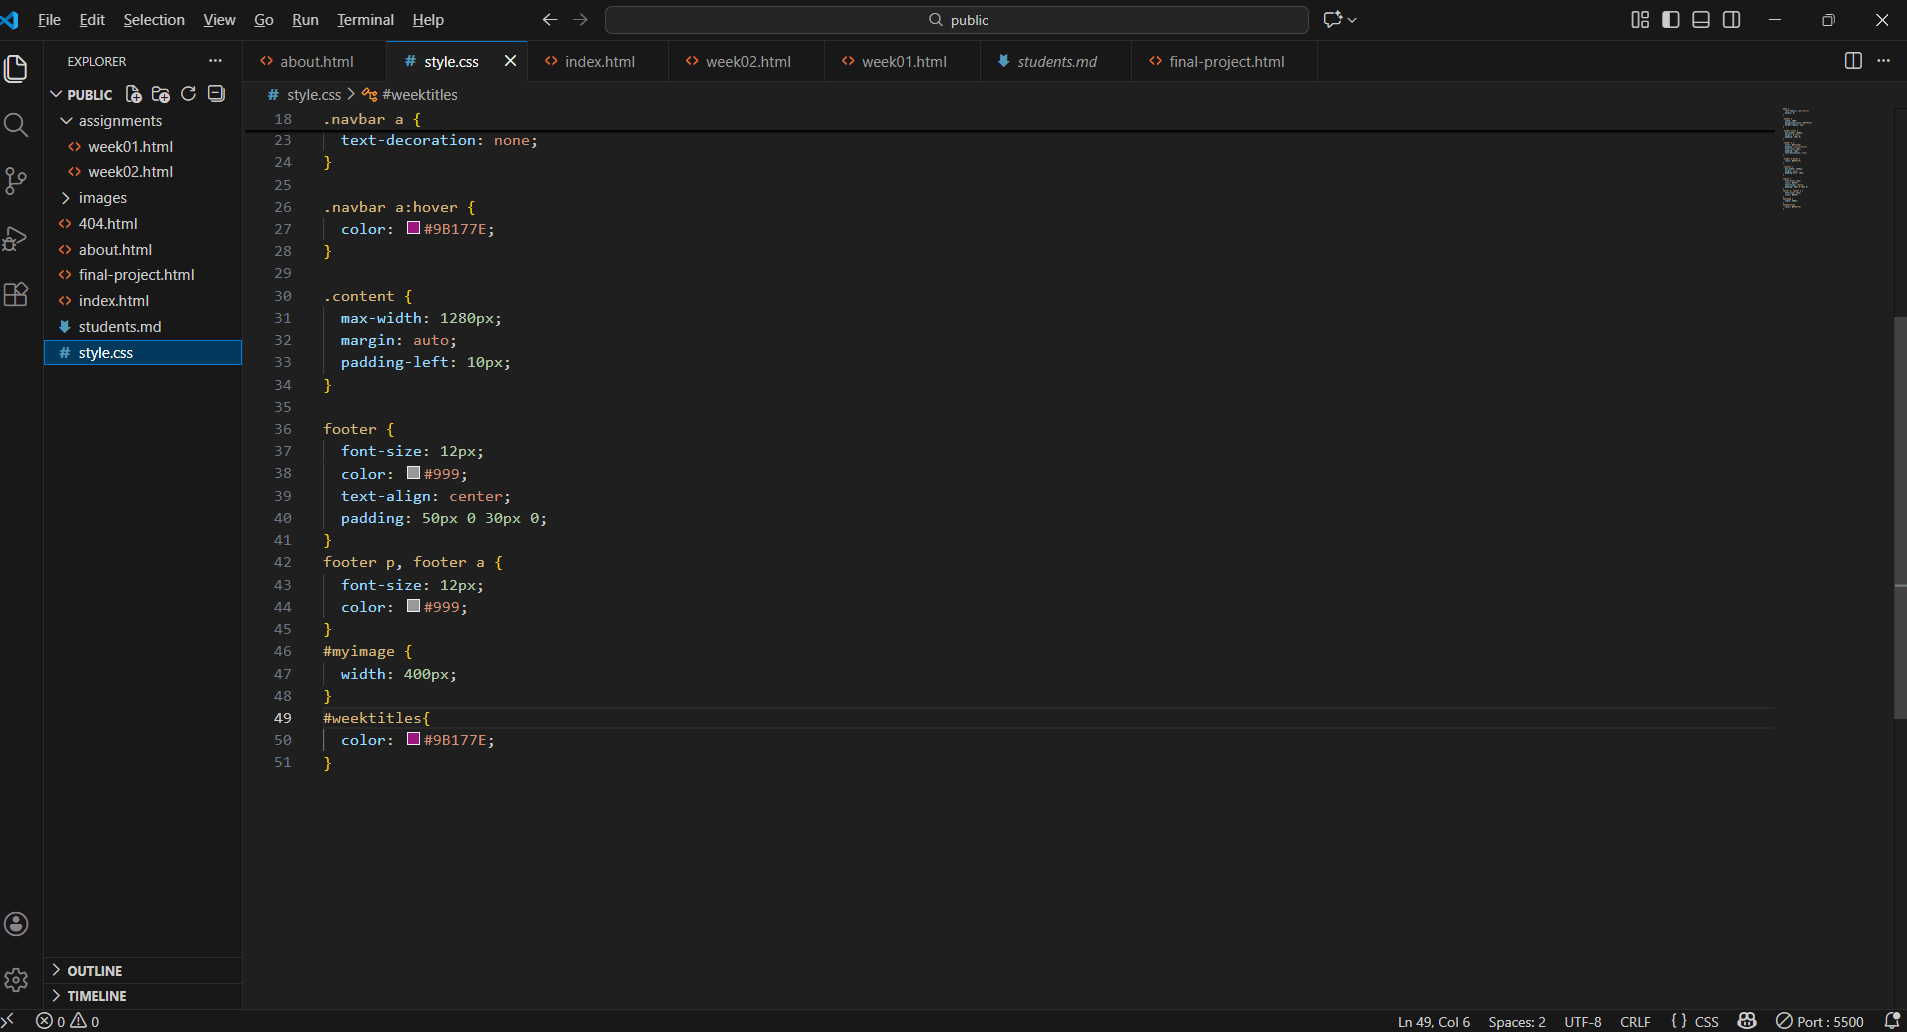
Further into the website design process, I chose a colour palette from the Color Hunt website.

I wanted to change the font colours of the headings and subheadings. For this, I used CSS styles.
A file with .css extenstion was created and named styles. The newly created classes were added into this. This file is linked to the html page.
<link rel="stylesheet" href="../style.css">
To apply the changes effectively, I created id's and classes with names that were easy for me to understand. This approach made the styling process clearer and will help me update or modify the website more easily in the future. Below are the style changes I used.
          #weektitles{
            color: #9B177E;
          }
          #weekh2 {
            color: hsl(313, 74%, 35%,.75);
          }
          #weekh3{
            color: hsl(313, 74%, 35%,.60);
          }
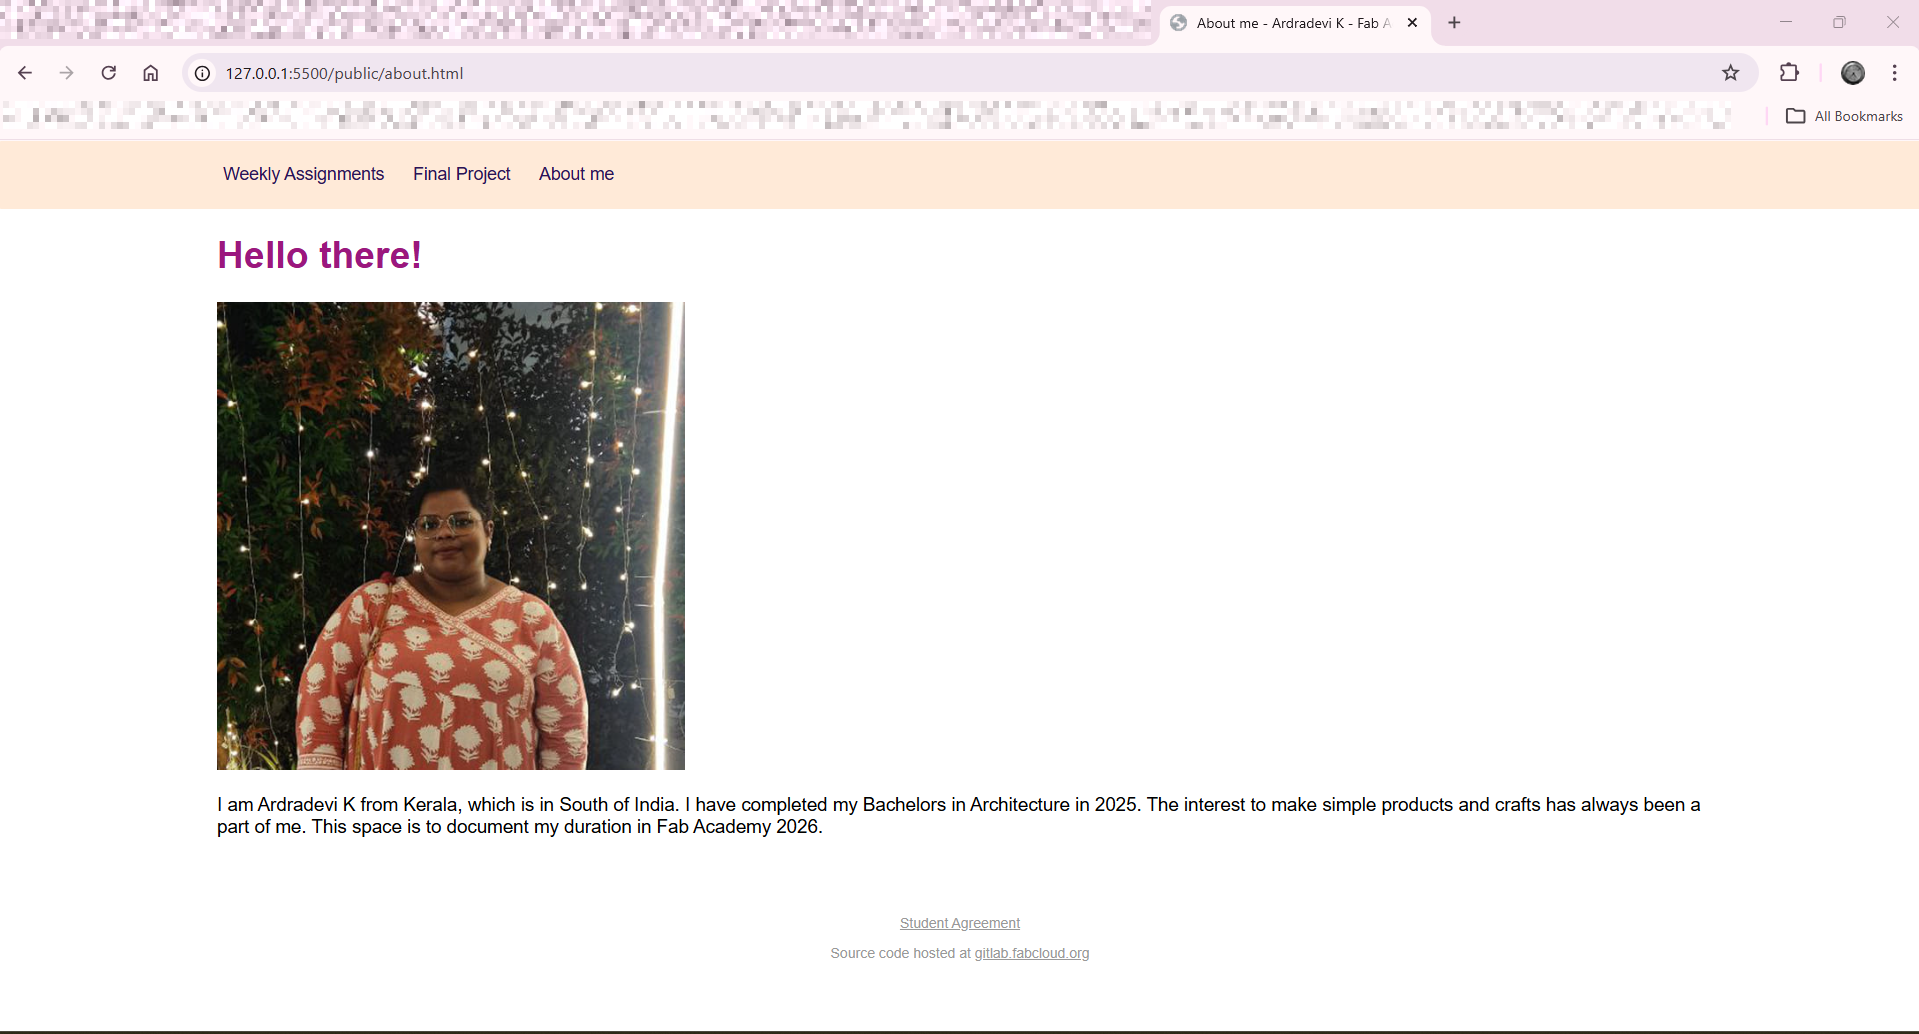
Initial outlook of the "About me" page
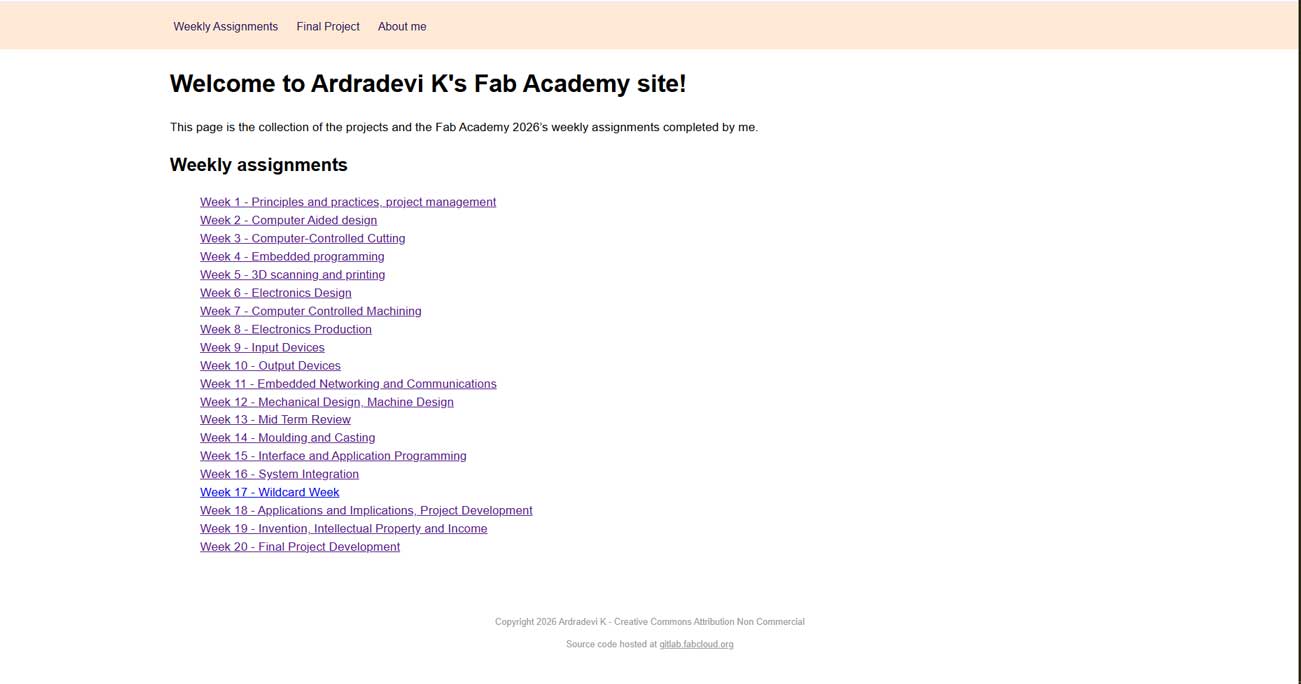
Outlook of the "Home" page
Outlook of the "Final project" page
AI was used in the following weeks, I created a .reflection-box class using ChatGPT
Refer AI promts and usage
promt-1 : font-family: 'Courier New', monospace;
can you add this font to
<p>
At the beginning of this week, I found myself trying to understand the concepts being taught and the expectations of the assignment.
After two days of exploration and valuable guidance from our instructor, I was able to gain clarity and develop the work presented below.
</p>
promt-2 : add this inside a box to make it like a note
Conclusion
This part was added later. The commands entered in the VS Code terminal are very important. Even an extra space or a missing space between words or letters can alter the command. Read the follow up messages after entering the command. I have mentioned where I faced this issue.
Understanding VS Code, HTML, and Git repositories took a lot of time. For a period, I simply followed the basic three commands, and that was all.
Image size and video size also matter. The images have to be compressed. I learnt many of these things by making mistakes, and some concepts became much clearer only later.

.png)