Group assignment
This week focuses on moulding and casting, where the goal is to understand how to replicate objects using moulds and different materials.The group work mainly involves:
Studying safety data sheets (SDS) for all materials used
Making test casts with different materials (like resin, plaster, etc.)
Comparing how each material behaves (curing time, finish, strength, ease of use)
Evaluating different mould-making processes and their effectiveness
Click here for Group Assignment
Individual Assignment
Molding and Casting
Molding is the process of shaping a material into a desired form using a mold. The material is usually soft or liquid during the process and hardens into shape. Common materials include plastics, resins, metals, and silicones. At its core, molding involves creating a negative cavity of an object, which can then be used to produce multiple identical copies.Applications:
Automotive components
Electronics enclosures
Medical devices
Consumer products
Silicone Molding
Silicone molding is widely used for flexible and detailed parts. It is especially useful for prototyping and low-volume production.
Individual Assignment:
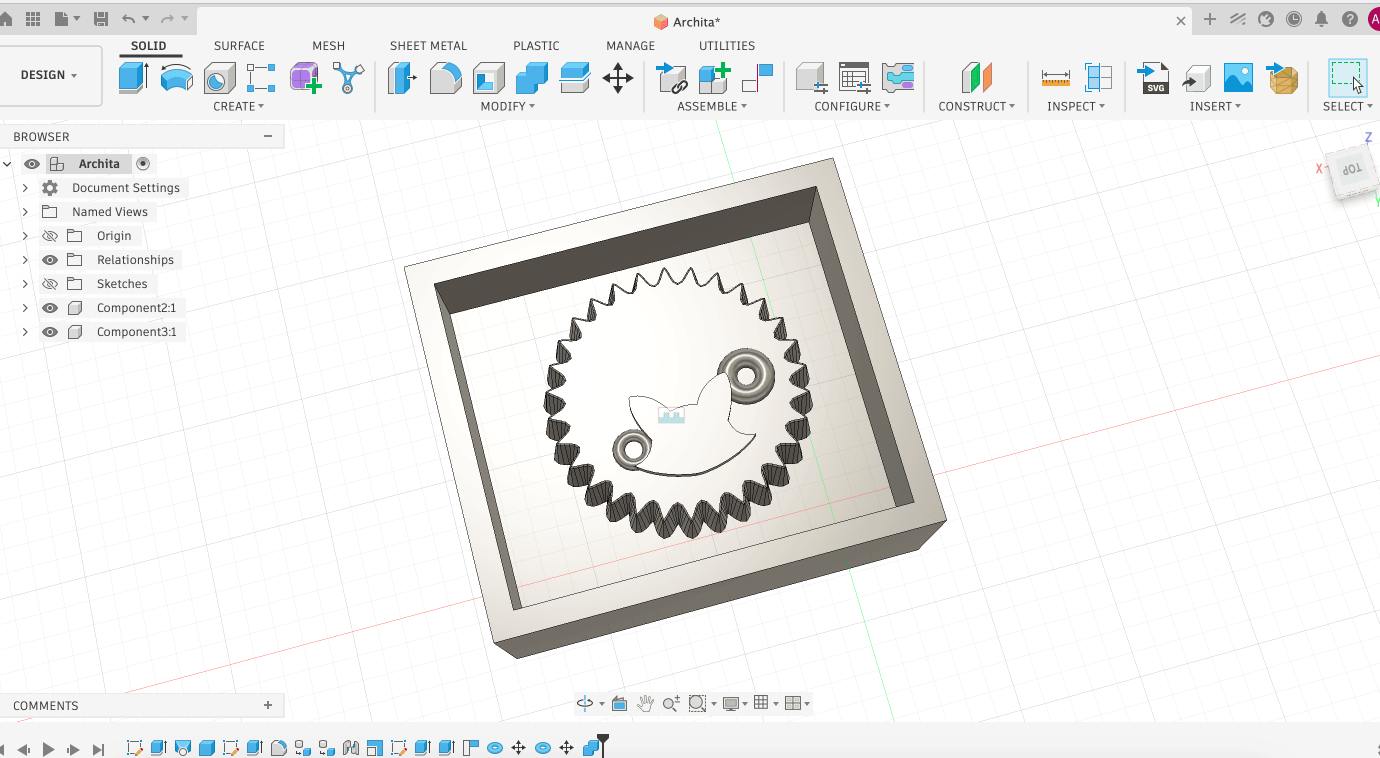
For the individual assignment, I designed a mold for a soda cap. The following is the model of the soda cap that I designed in Fusion 360:
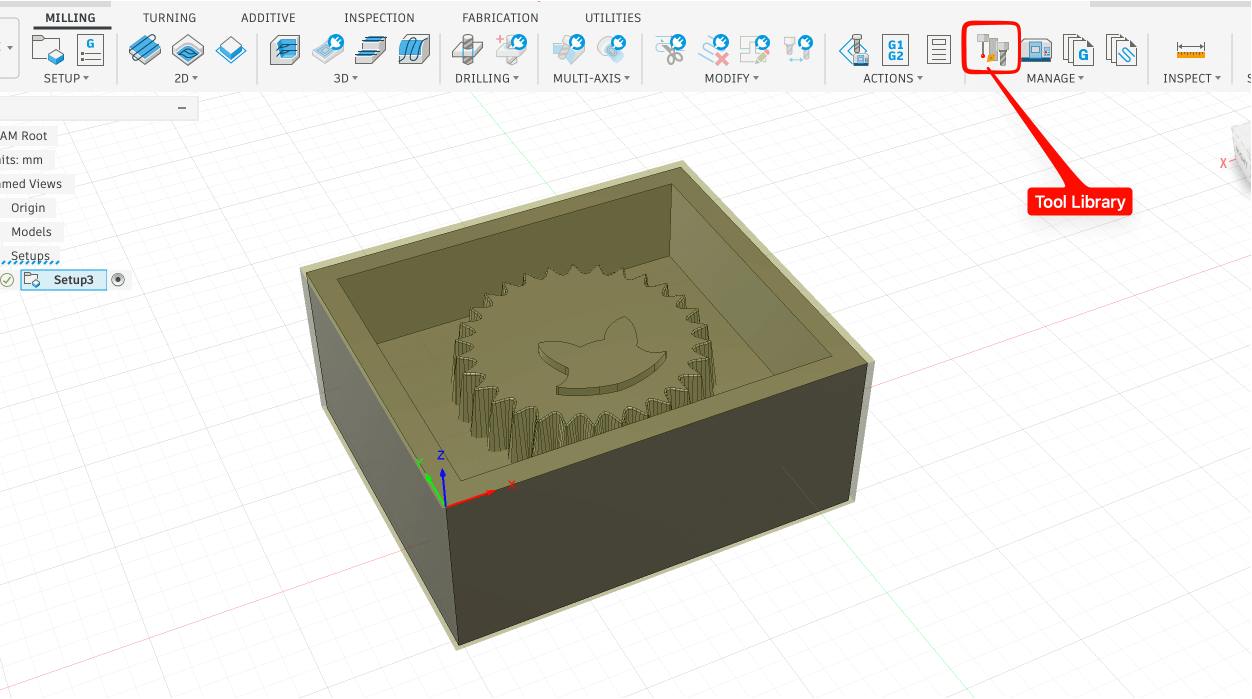
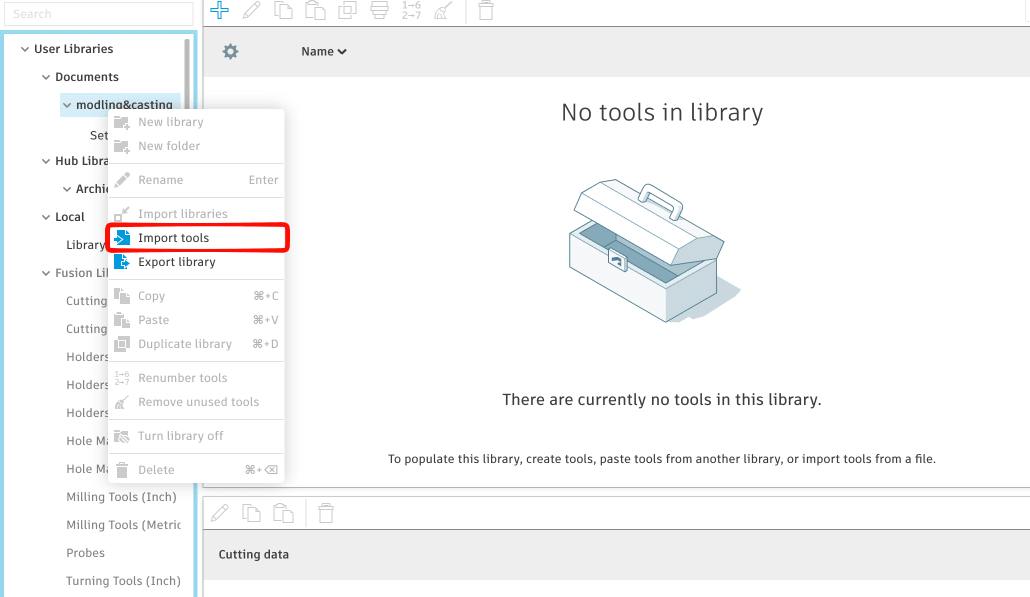
 I imported the tools library used in our lab and set up the machine for the CNC milling process:
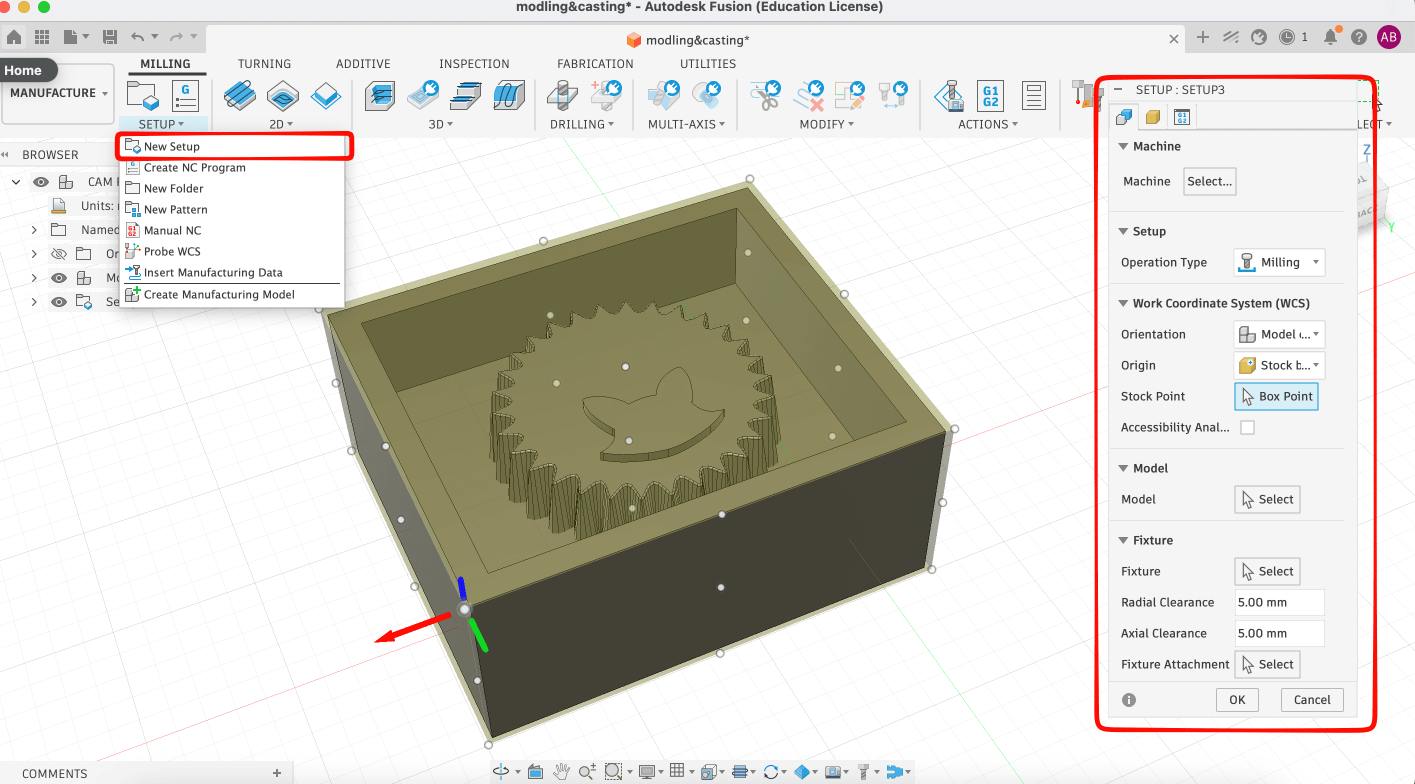
 Setting up the toolbit axises:
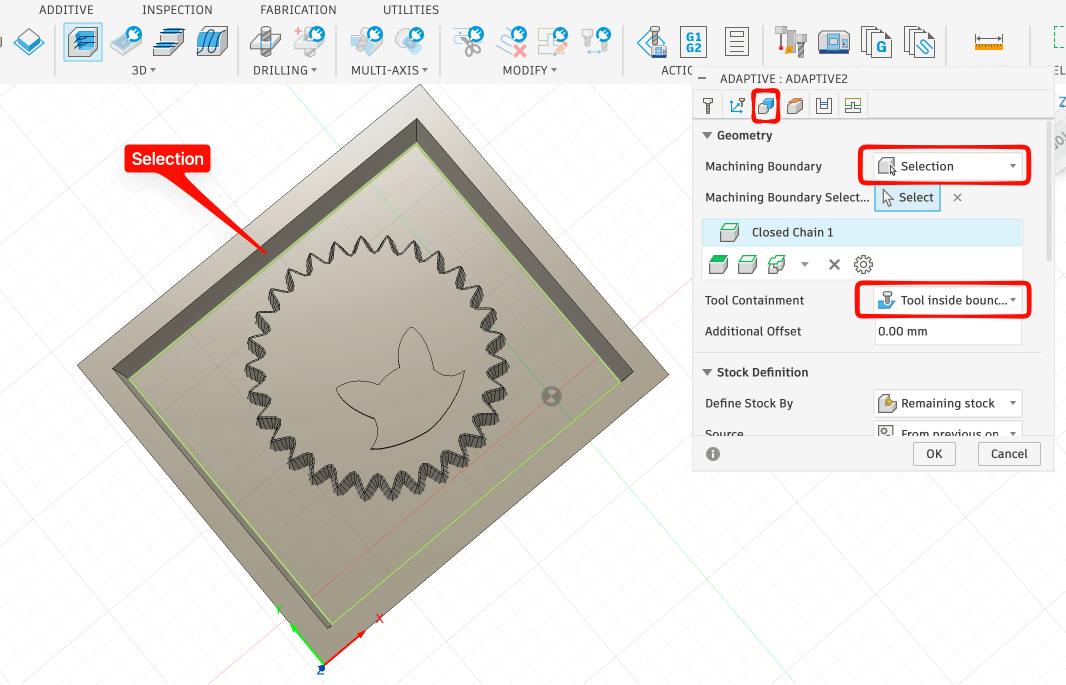
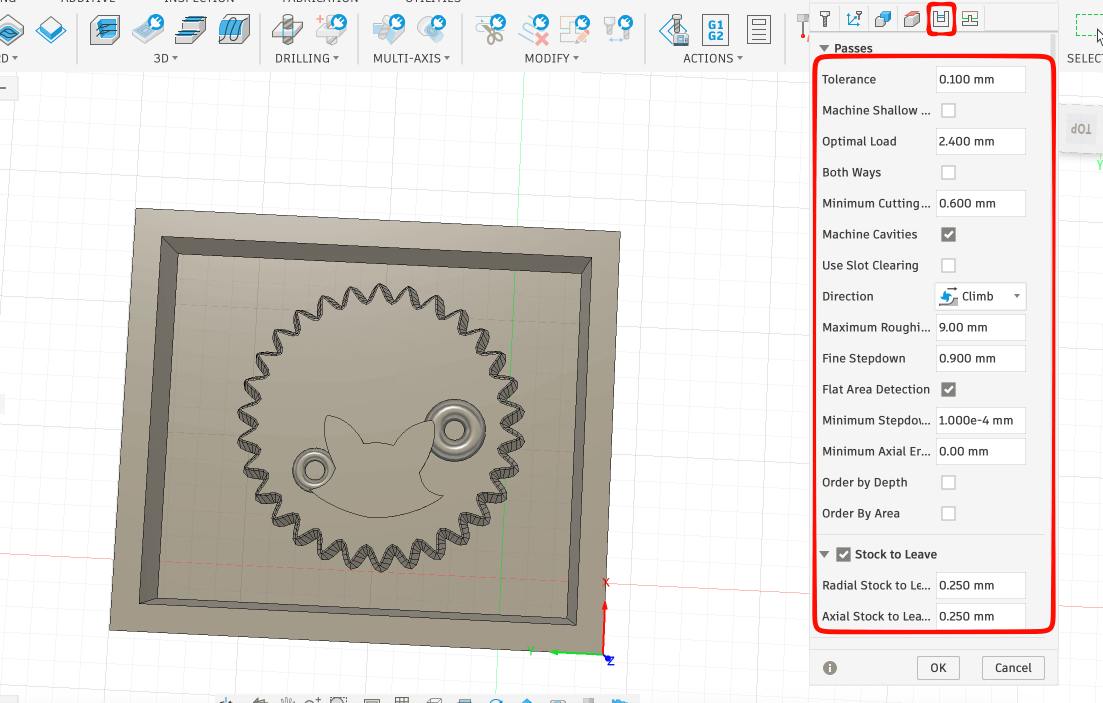
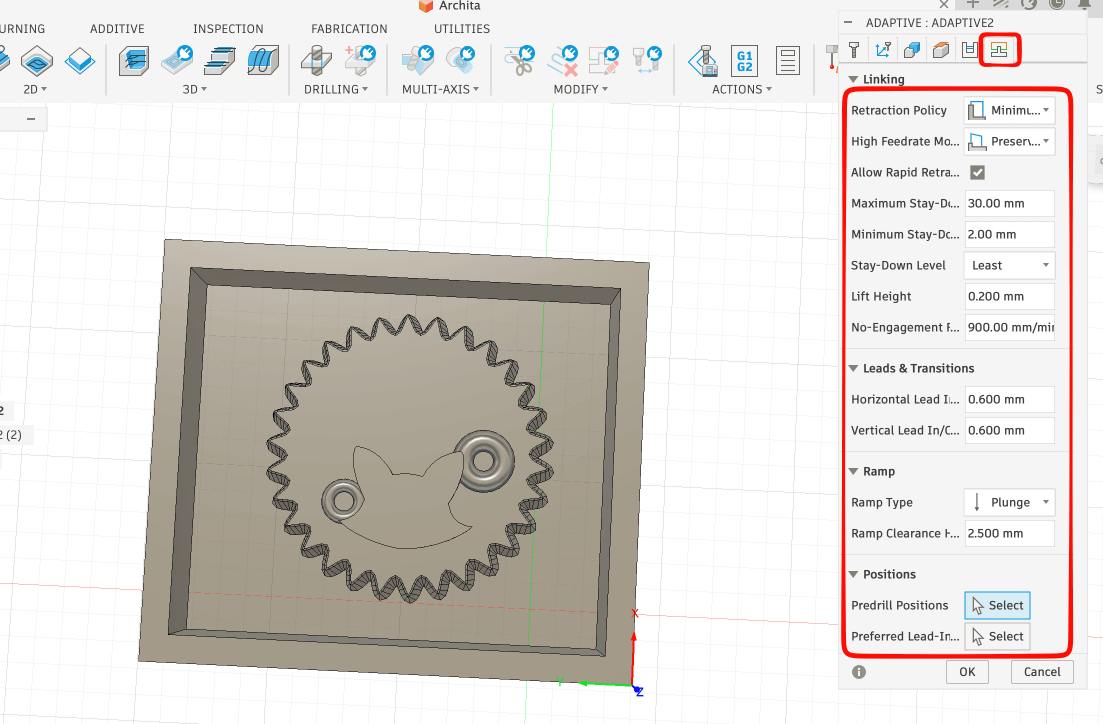
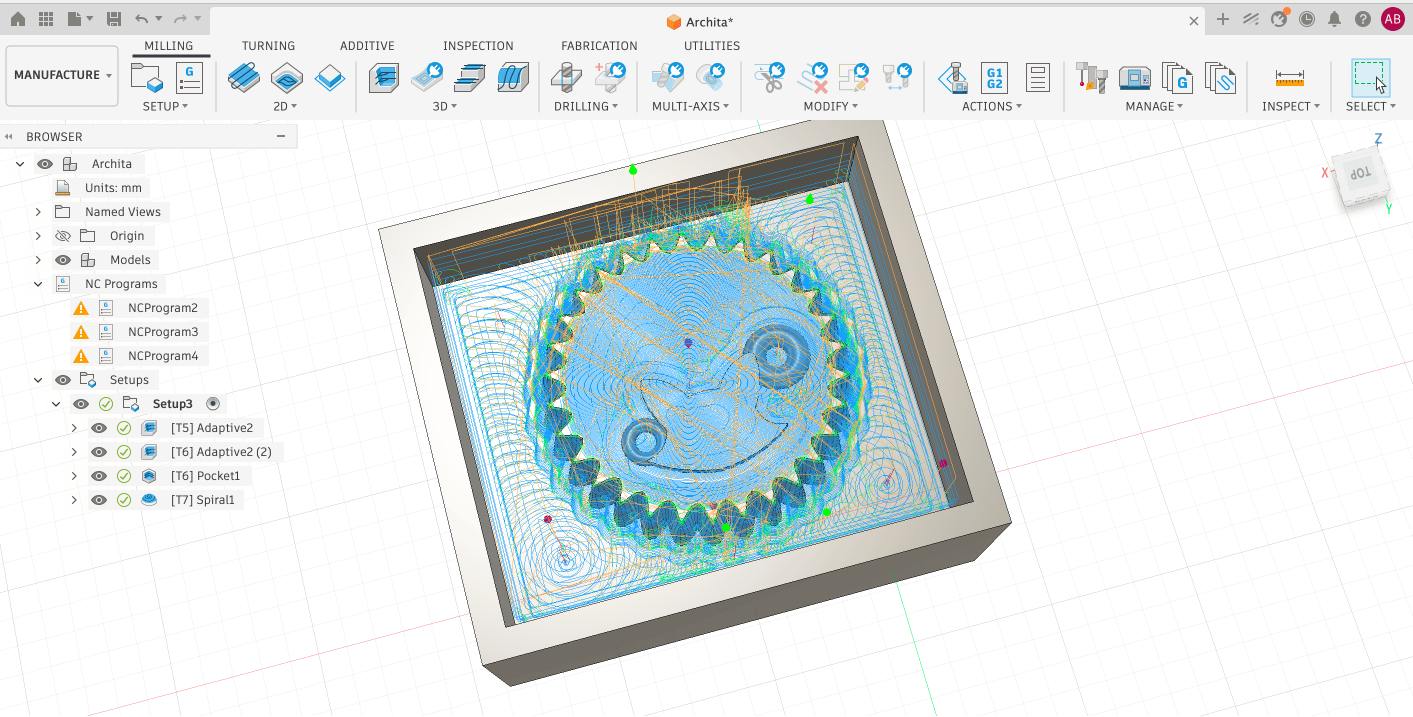
CAM
Next was to CAM the model. i have used 3 toolpaths and 3 different bits for the process. The first toolpath was adaptive clearing for the 6mm flat bit: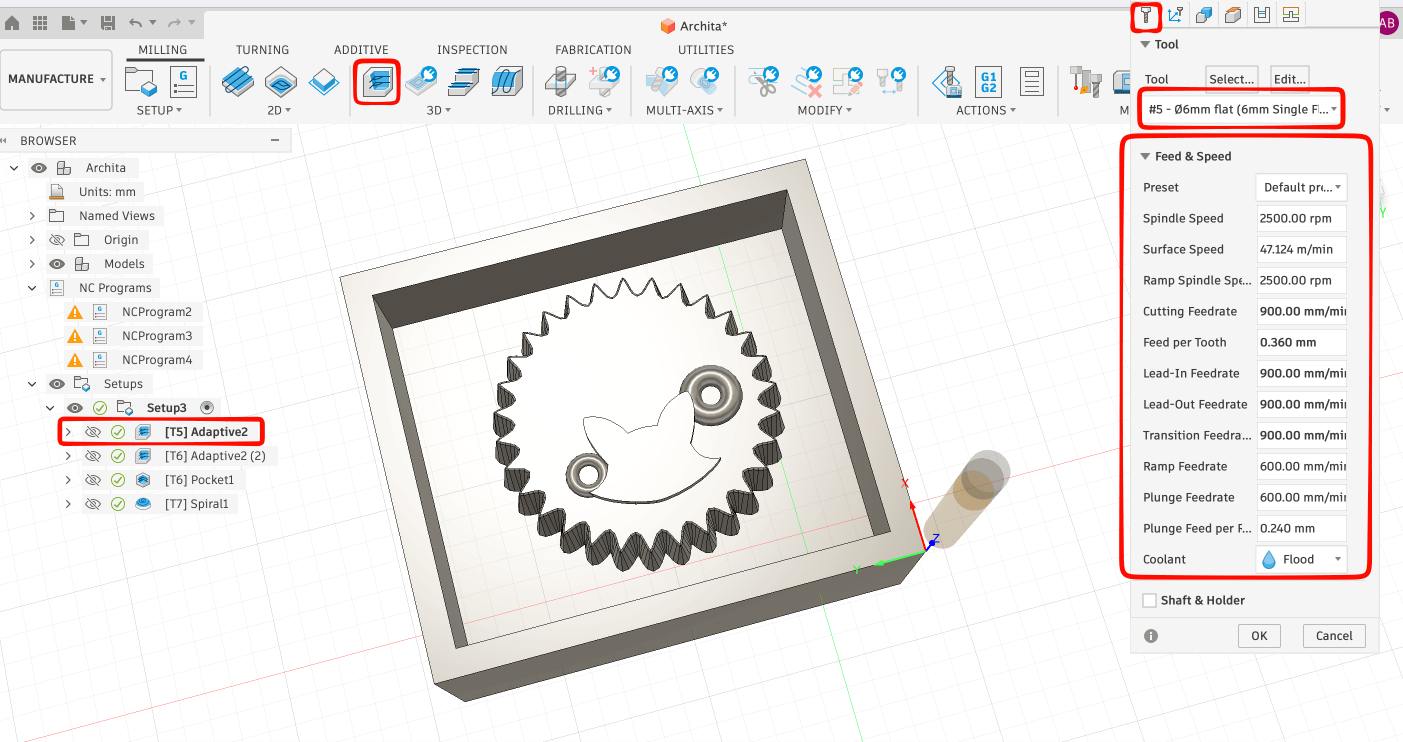
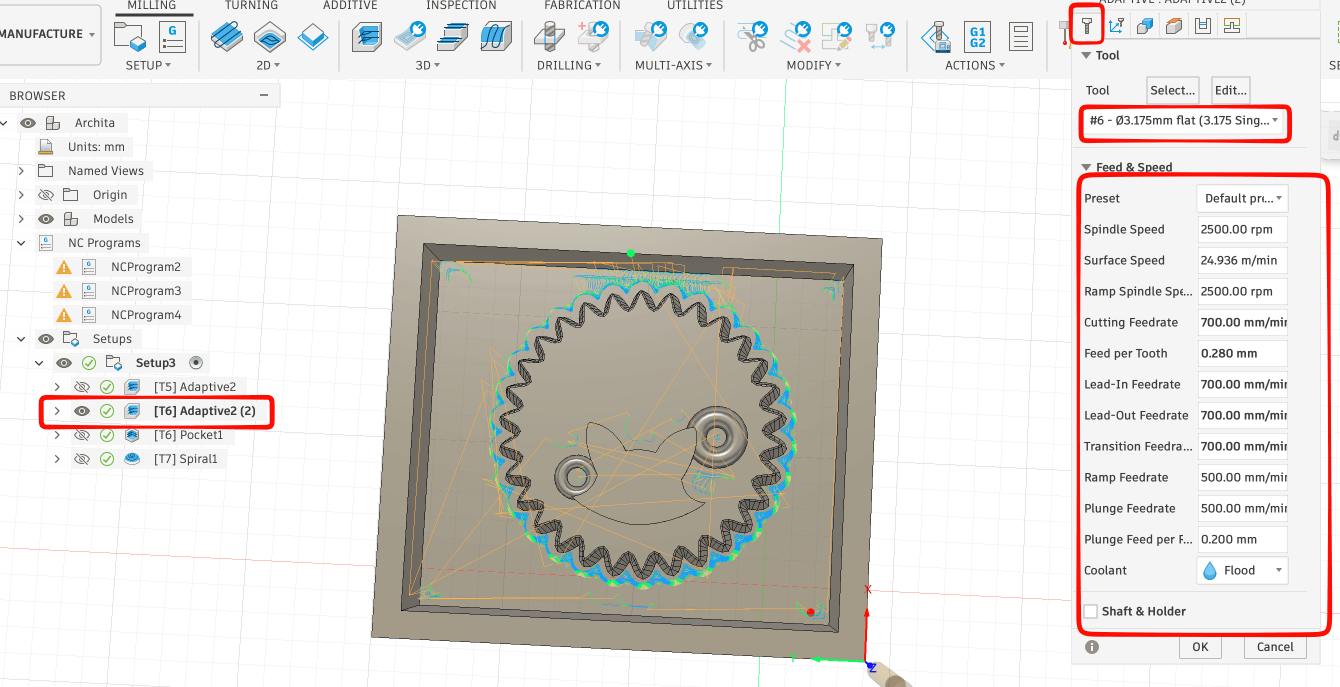
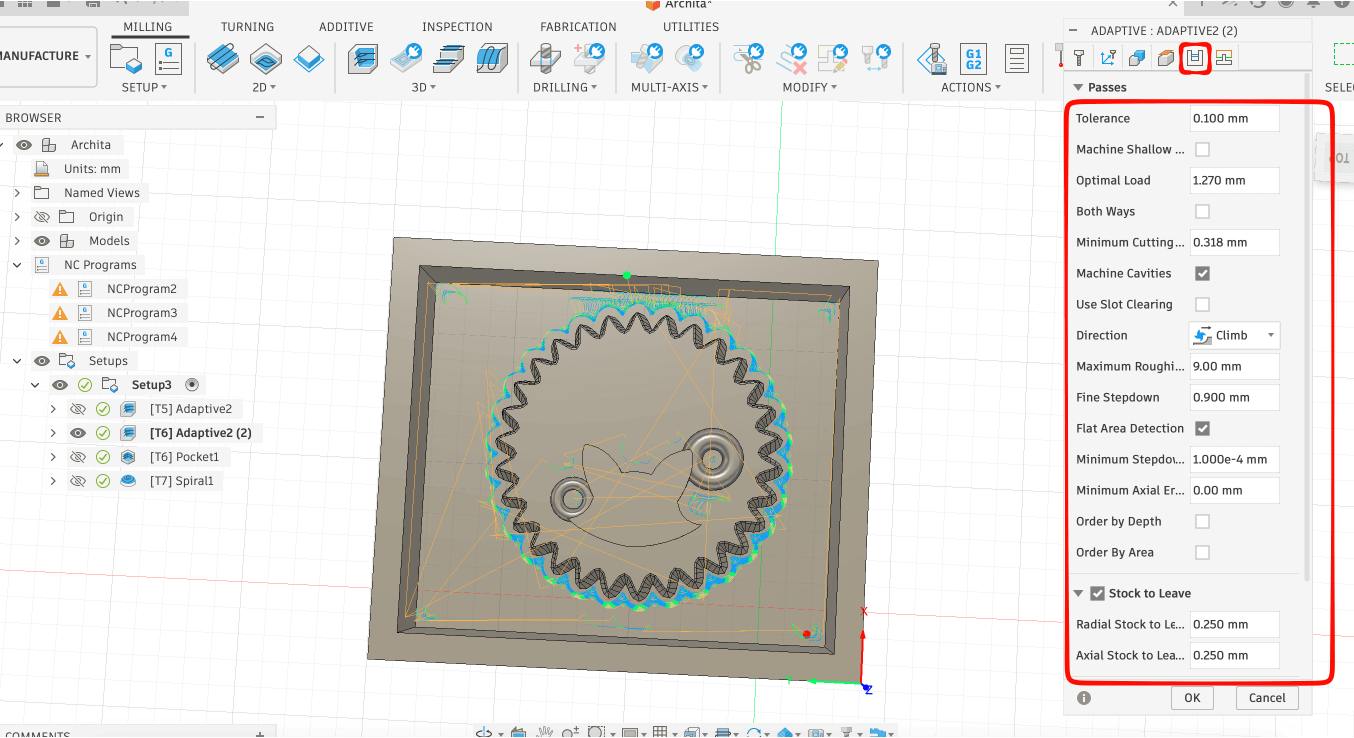
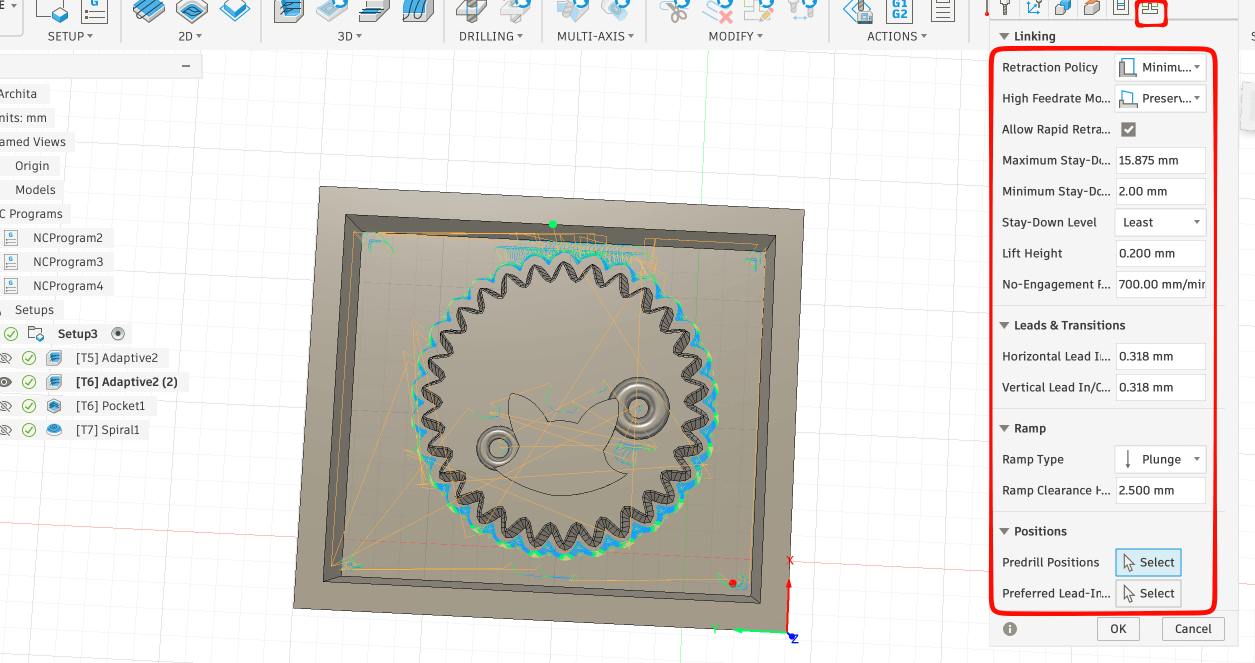
 Second adaptive toolpath for the 3.175 flat bit:
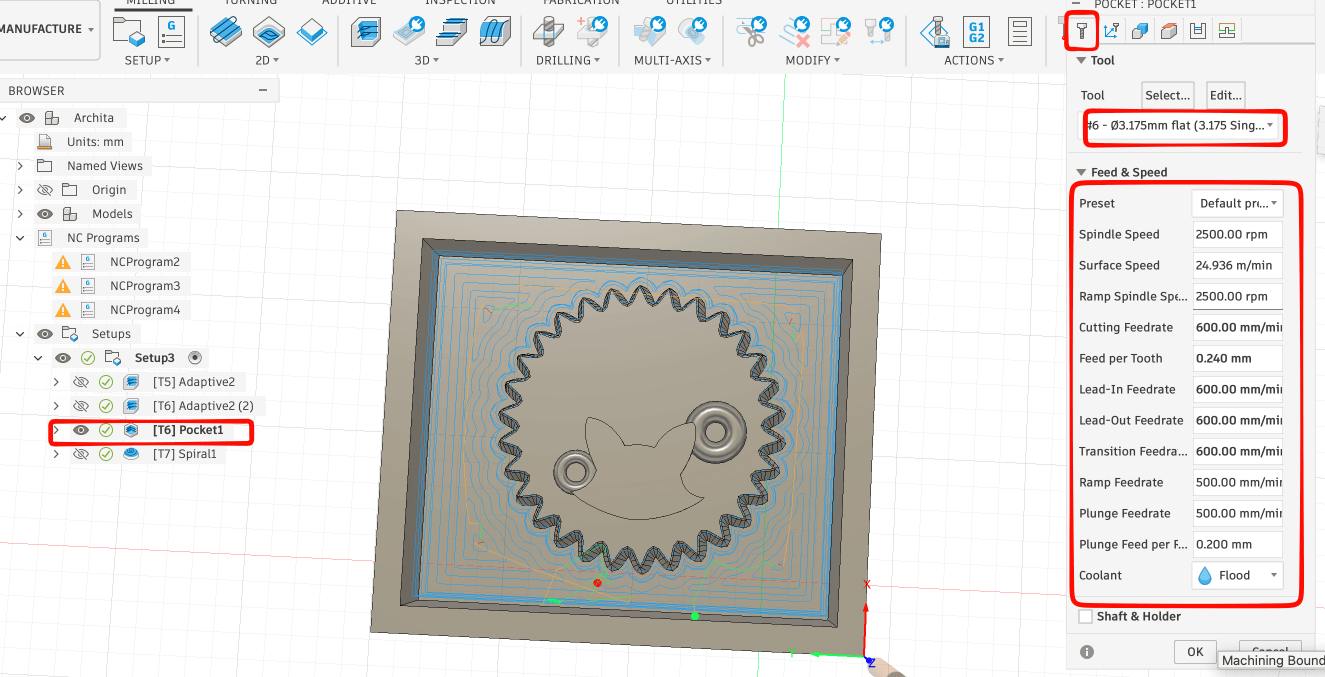
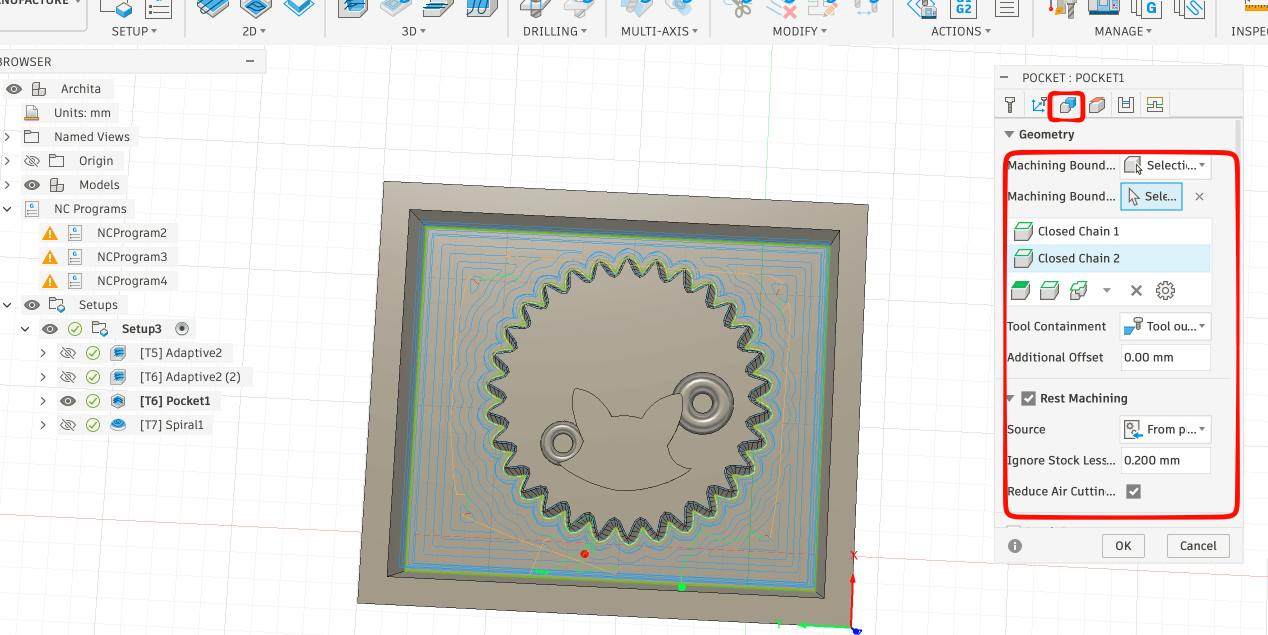
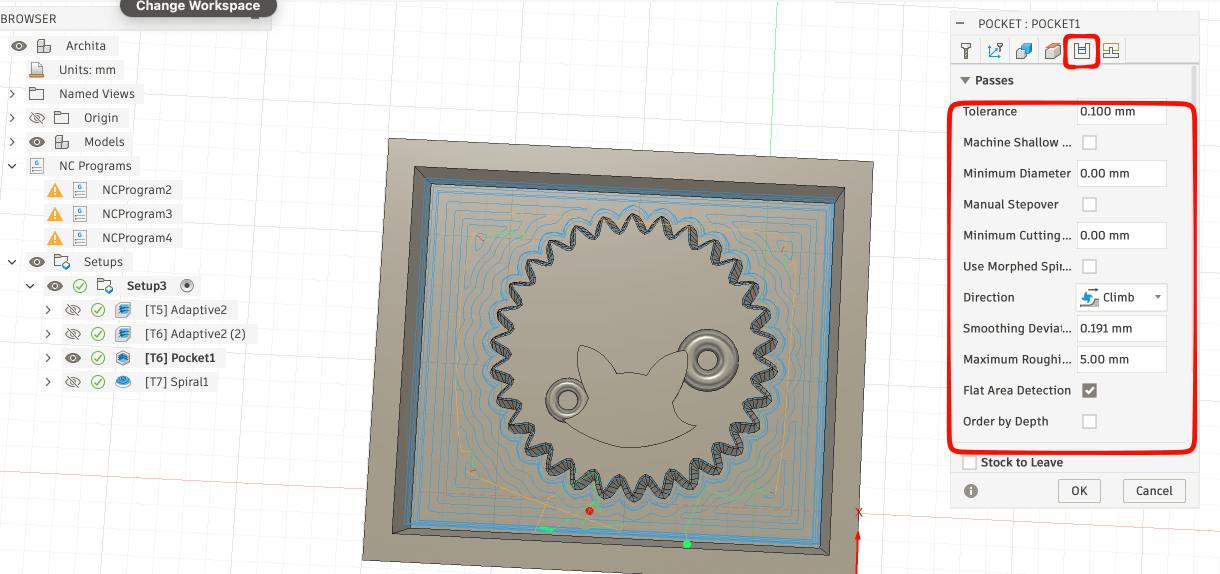
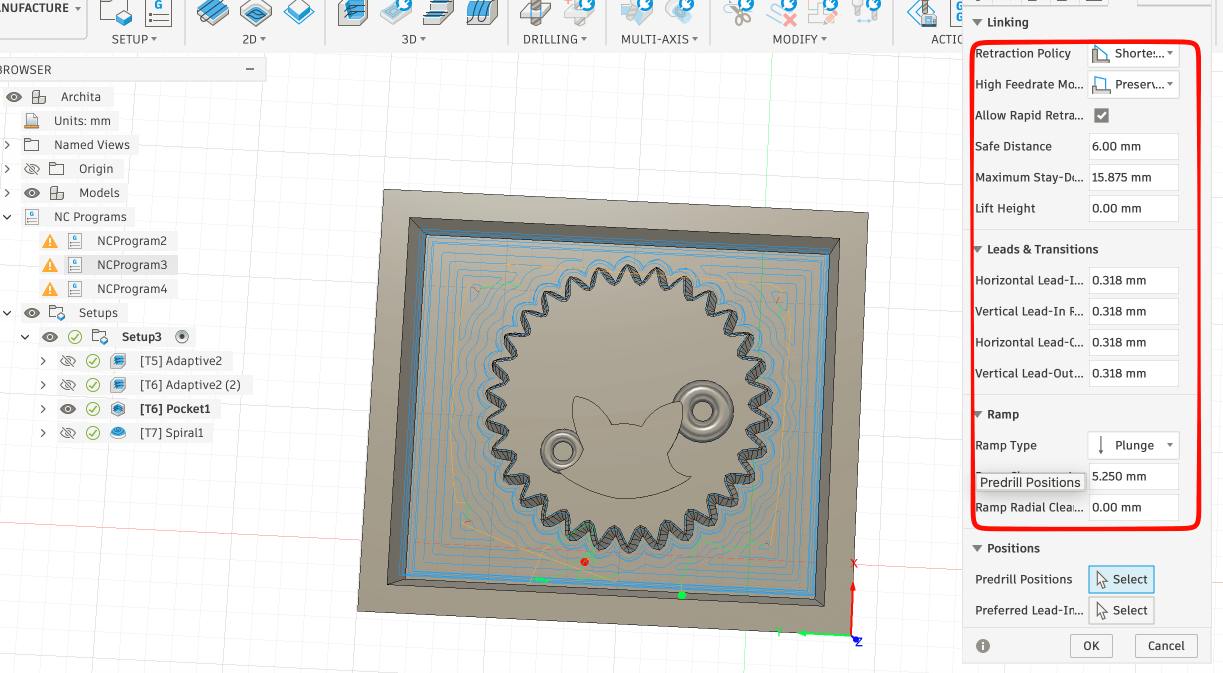
 Pocket Toolpath for the 3.175 flat bit:
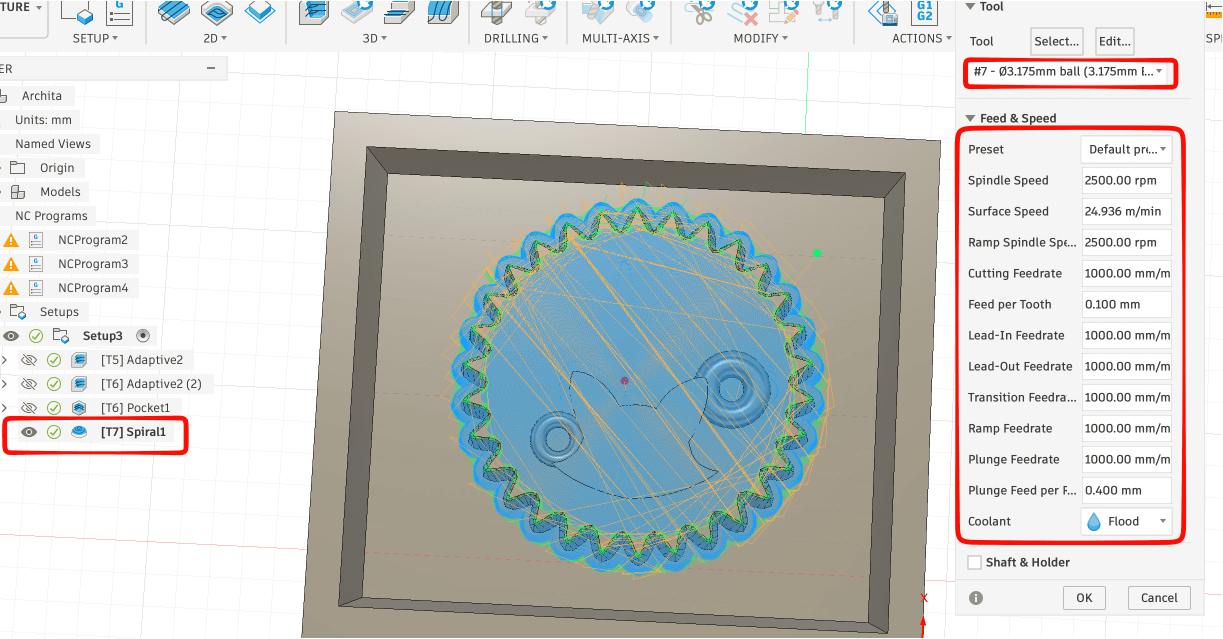
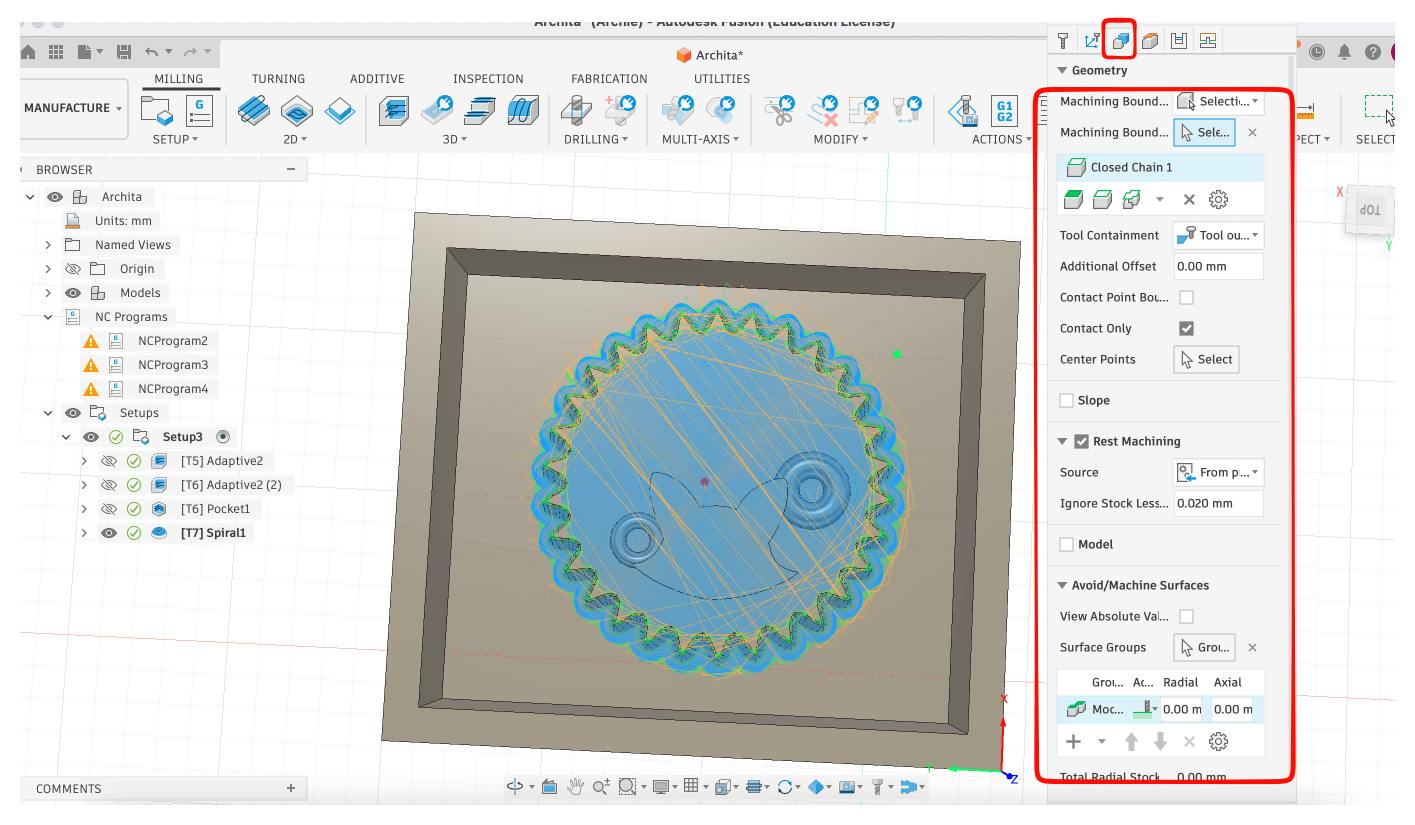
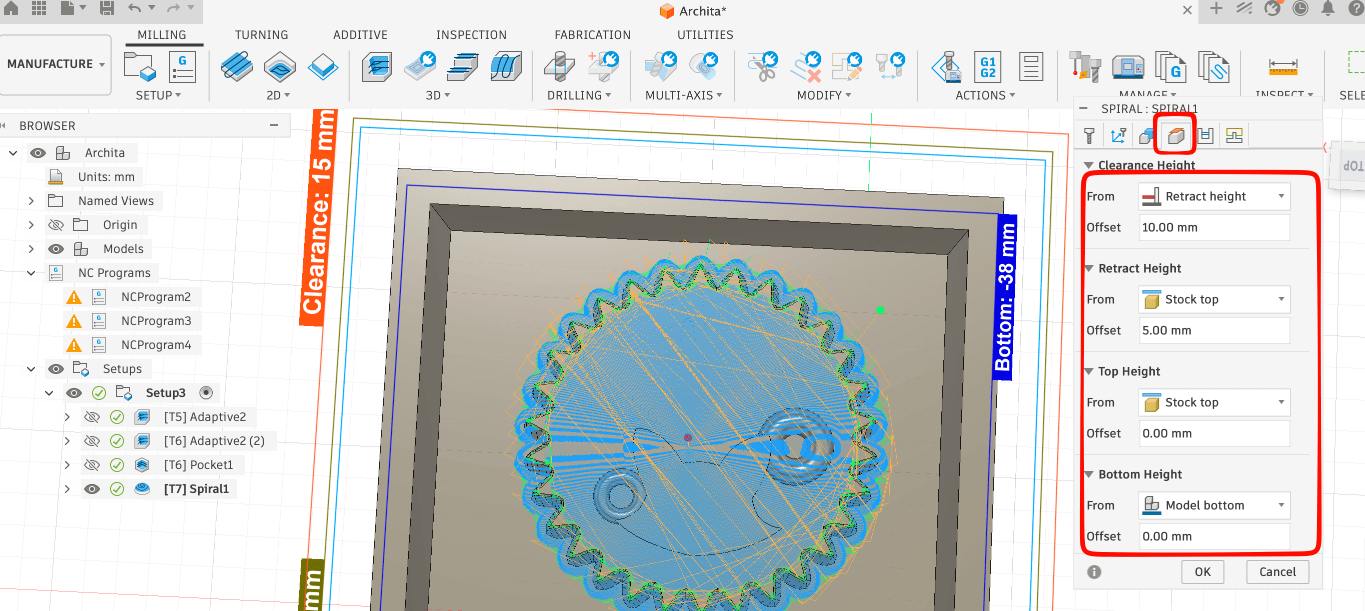
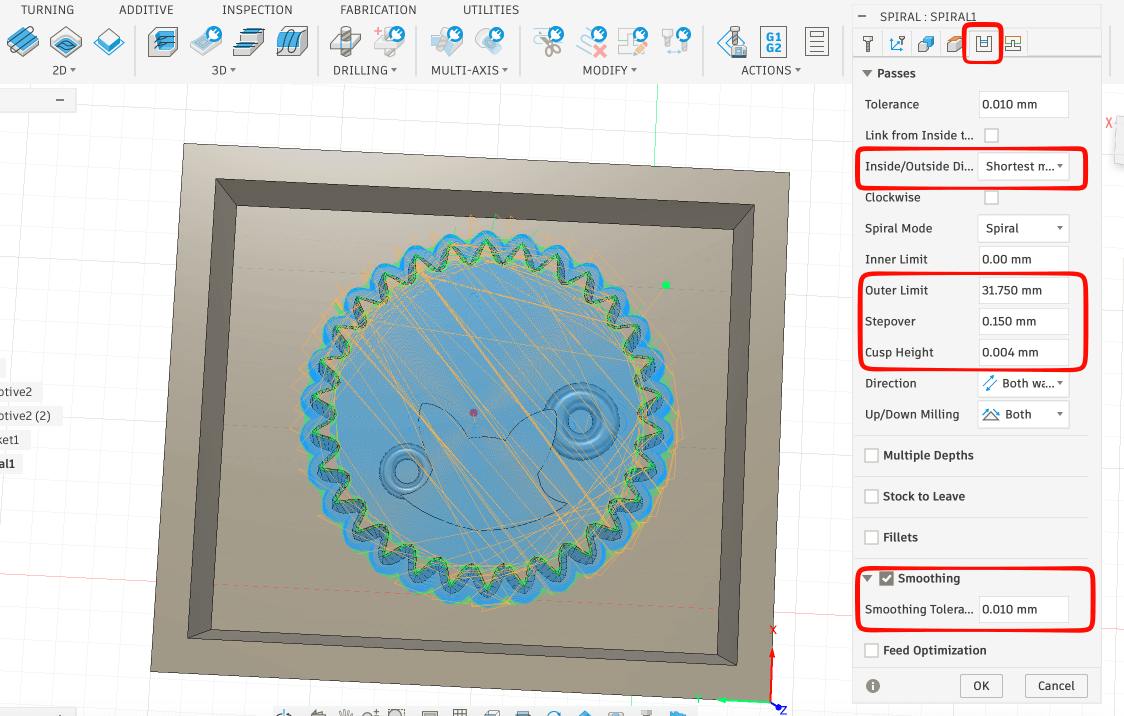
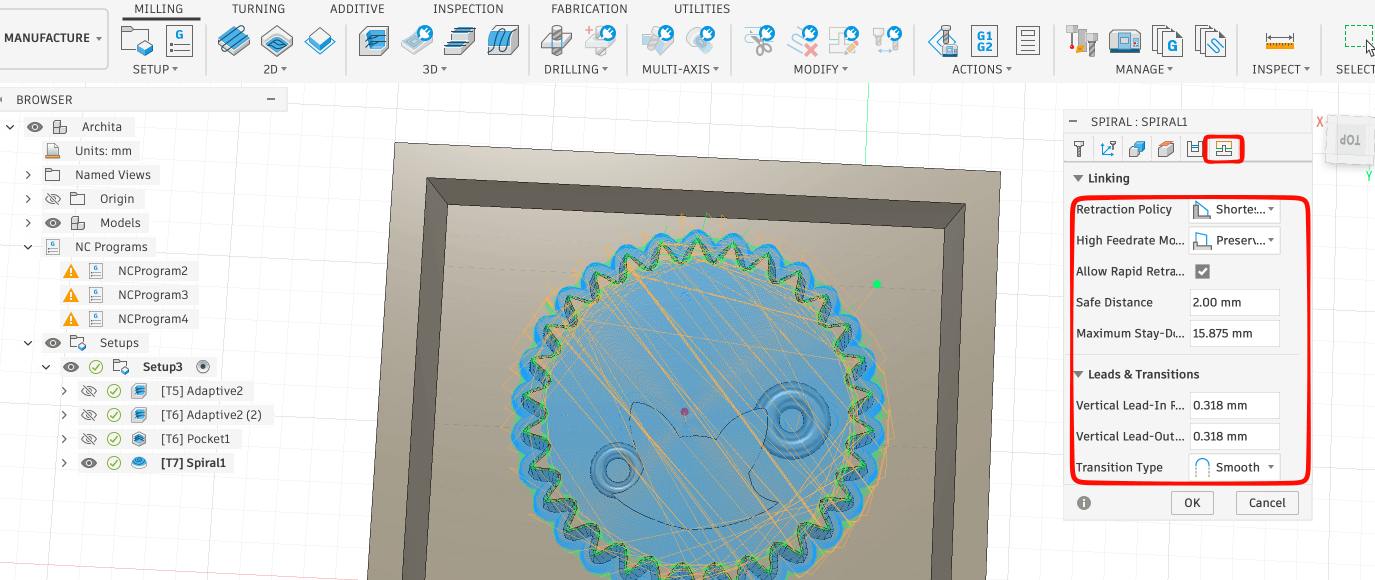
 Spiral Toolpath for the 3.175 ball bit:
 .
.
 Final toolpath:
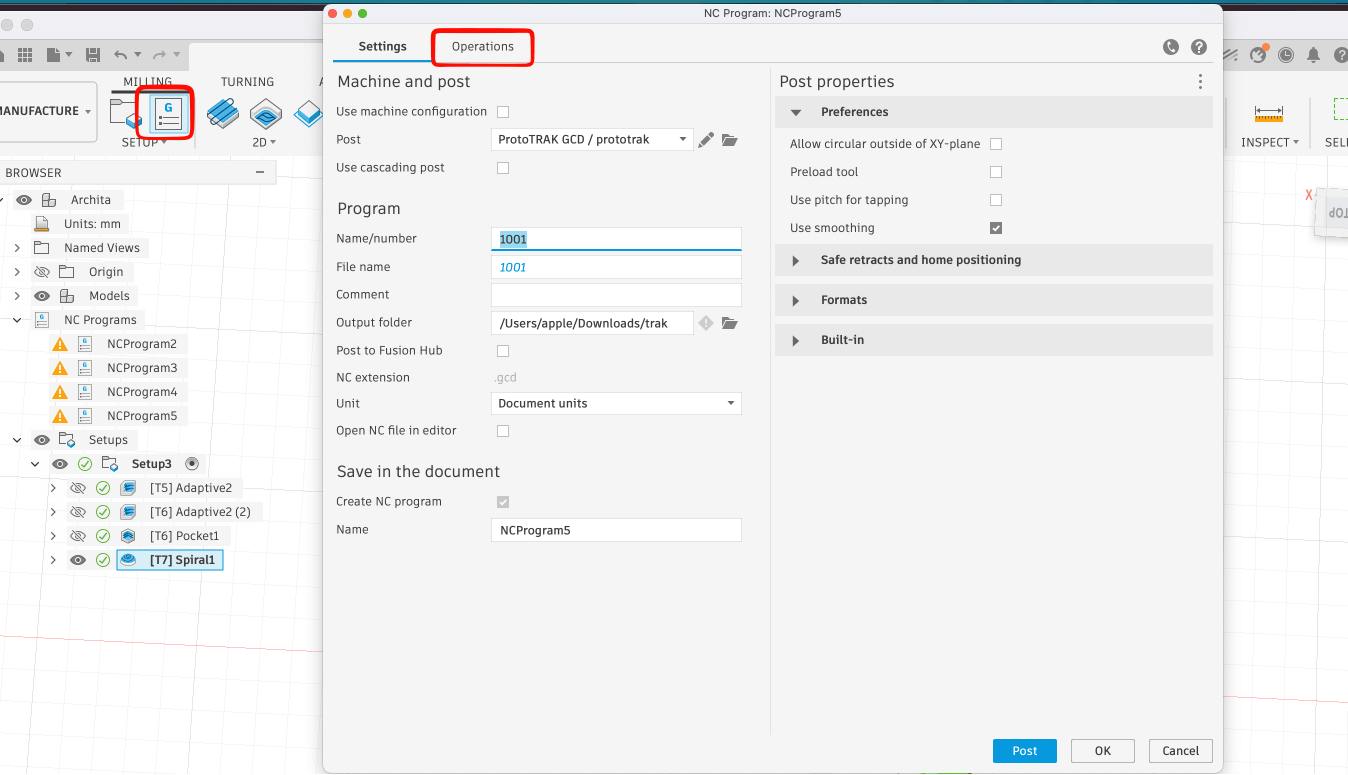
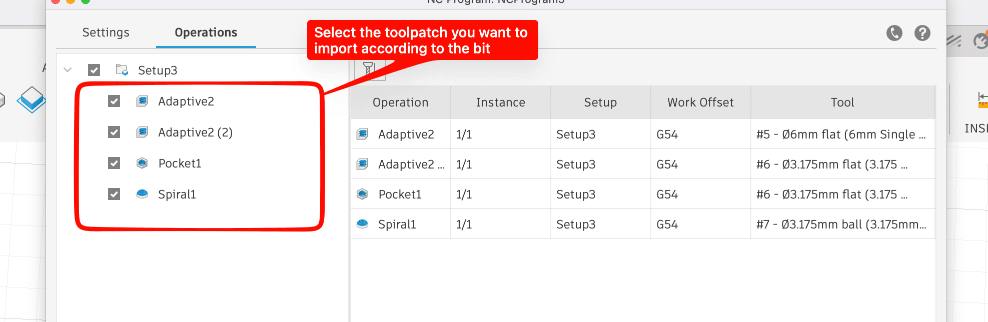
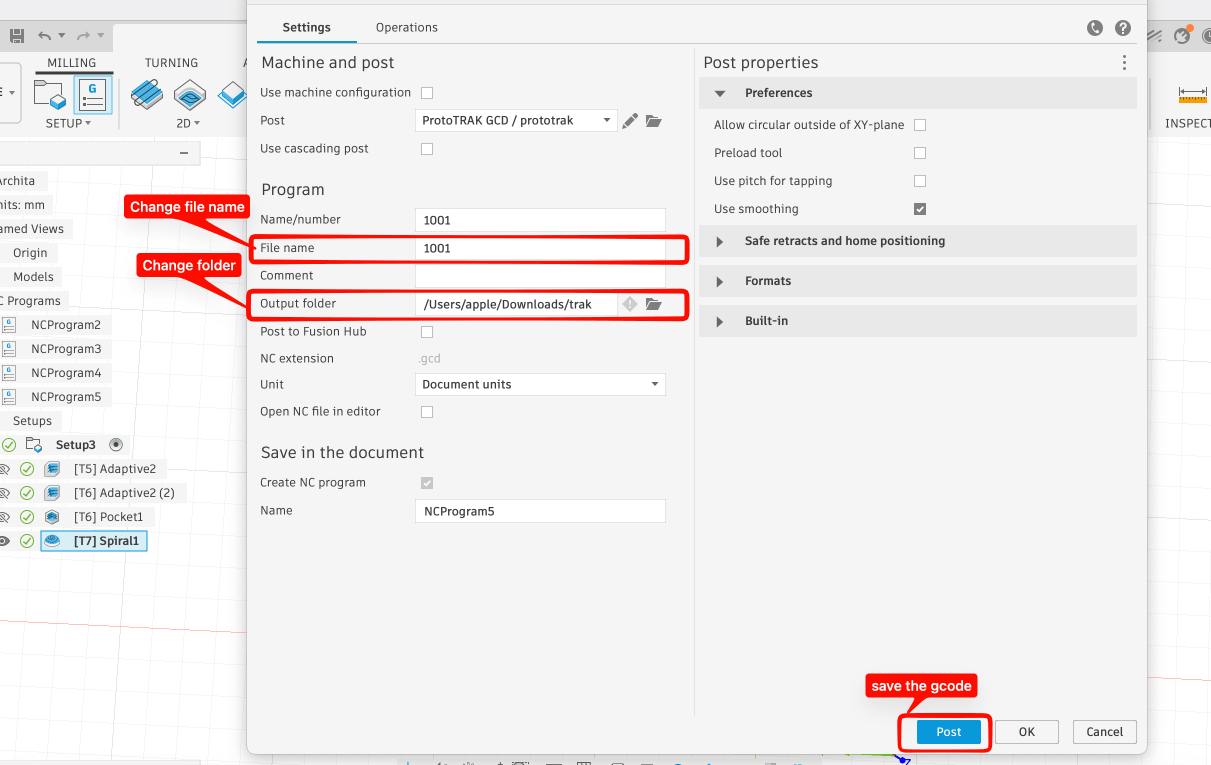
 To download the gcode for the toolpaths, follow the instructions in the images given below:
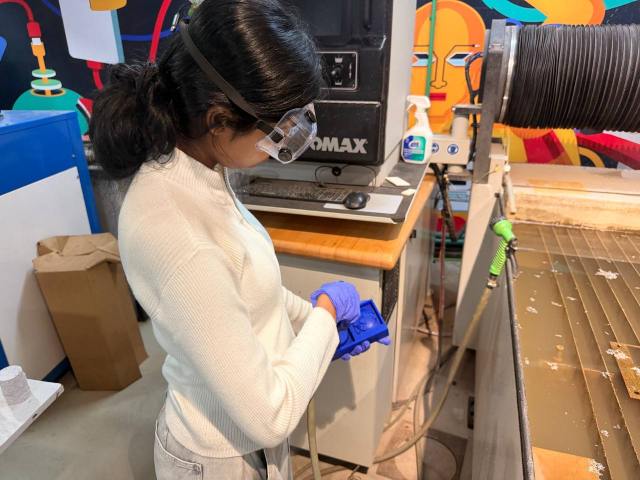
Machine Setup and Milling Process:


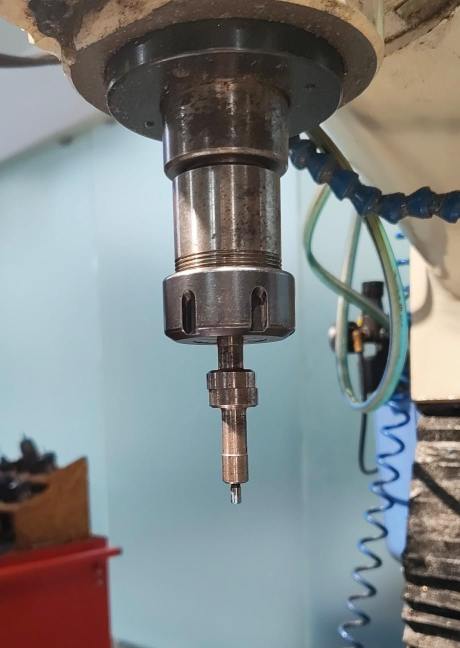 I first set up the machine for the milling process. Then, i used the end finder to set the x,y zeros of the machine.
 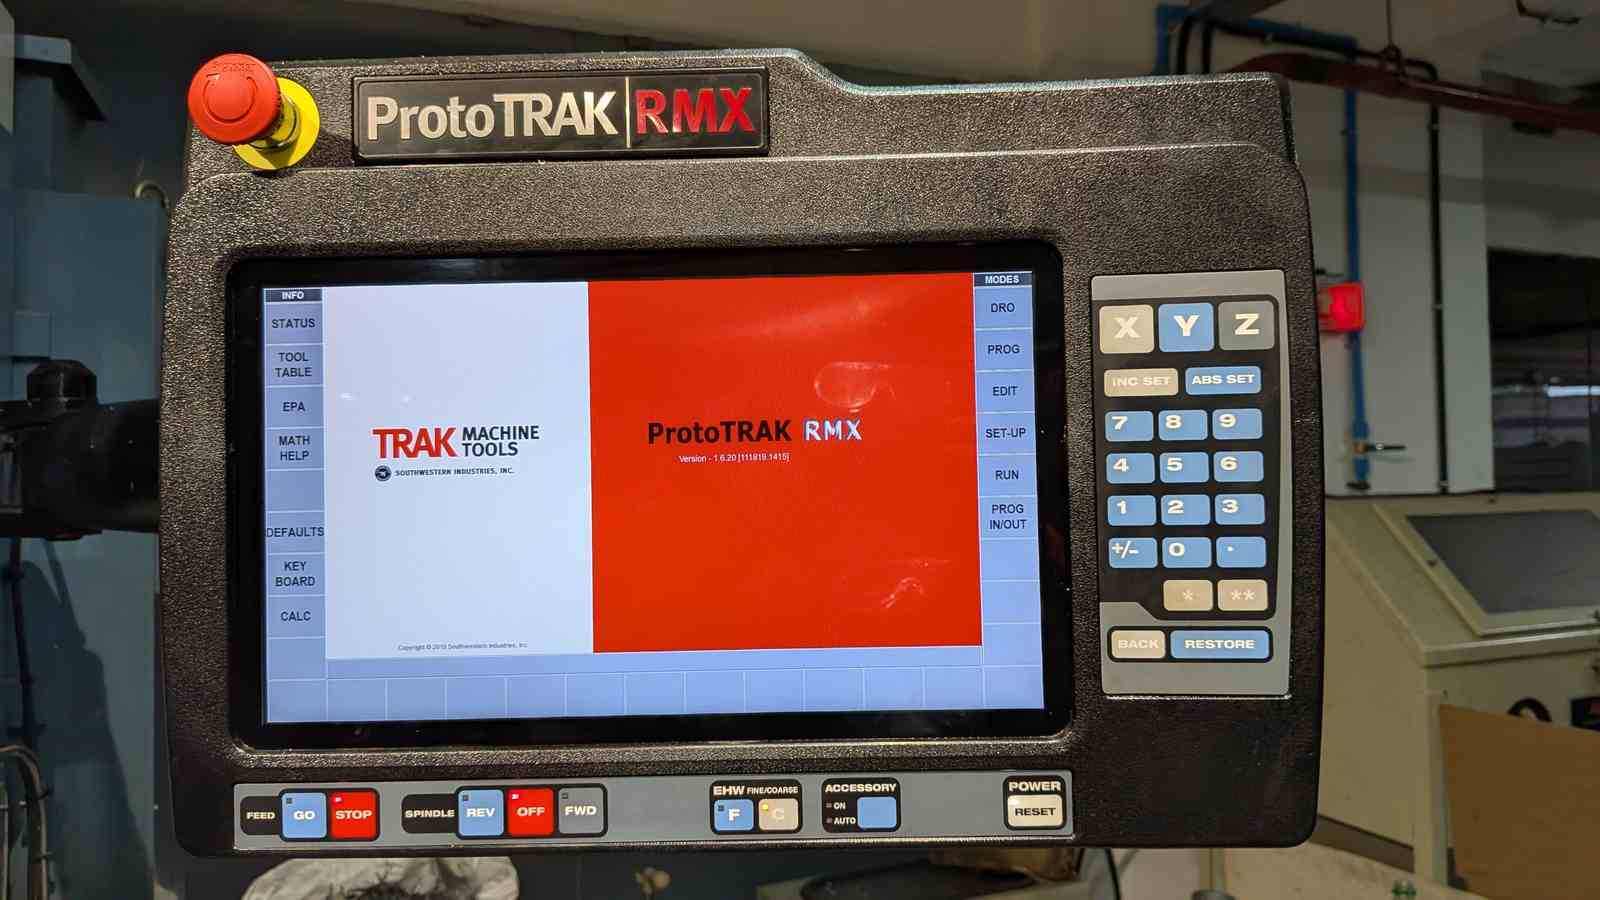 Then, I used the 6mm flat end mill to mill the wax block.
I switched to the 3.175 flat end mill for the second toolpath and the pocket toolpath. The following are the videos of the milling process:
and then the 3.175 ball end mill for the finishing process. The following are the videos of the milling process:
This is how the mold looked after the milling process:
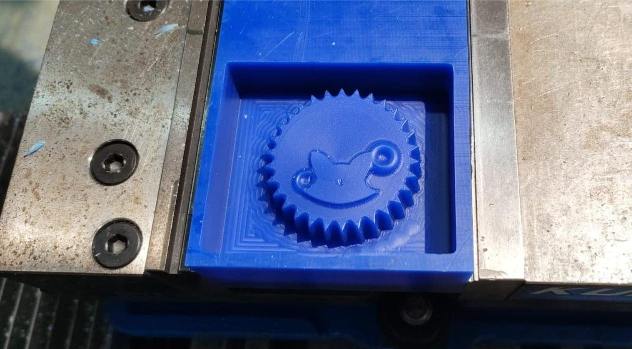 After i had completed the milling process, i washed the block:
 Then dried it using the air pump:
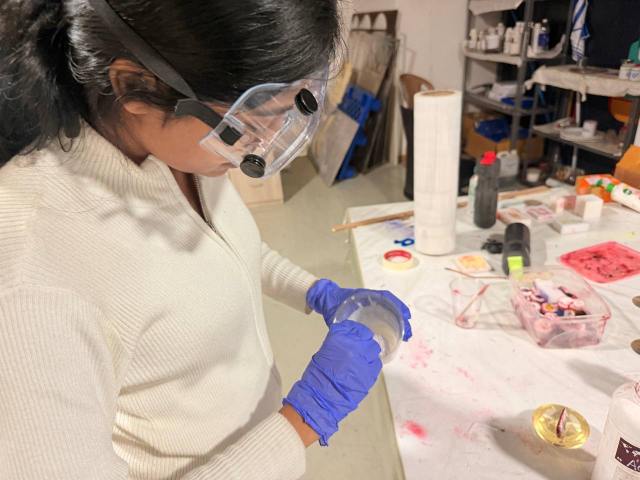
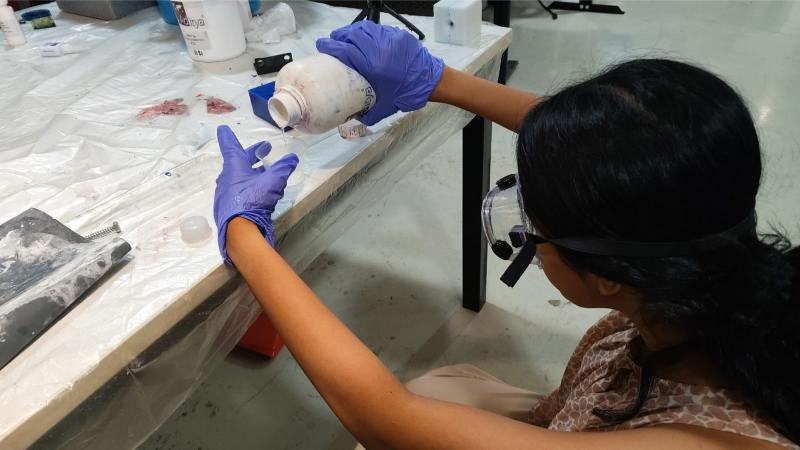
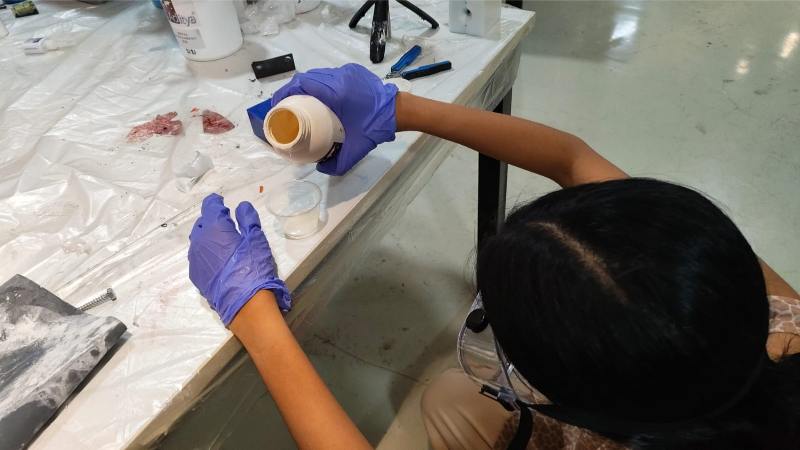
 Then i starter mixing the silicone and the catalyst, Two-part silicone, mixed at 25:1000 (hardener to silicone by mass). The bottle recommends anywhere from 20–25:
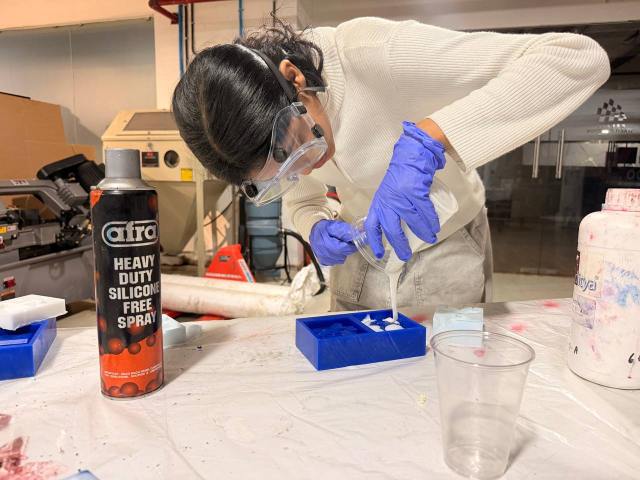
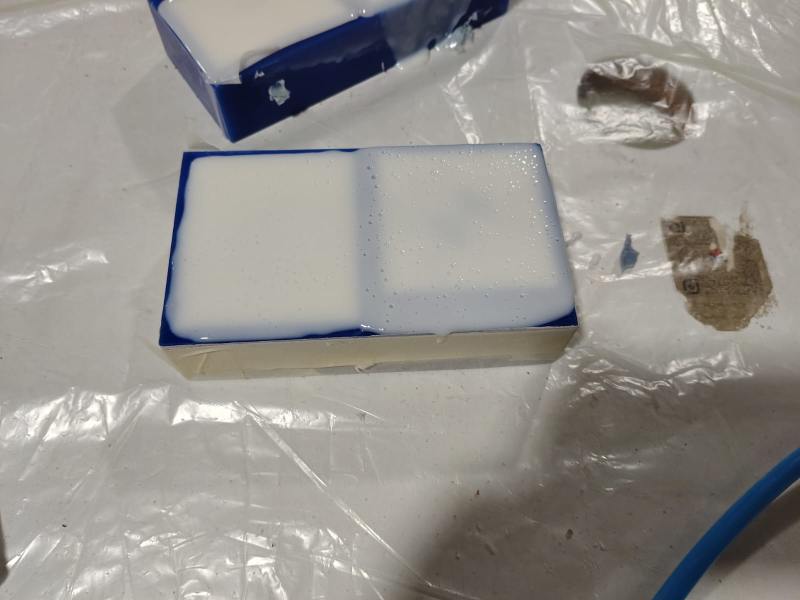
 Poured it into the wax block.
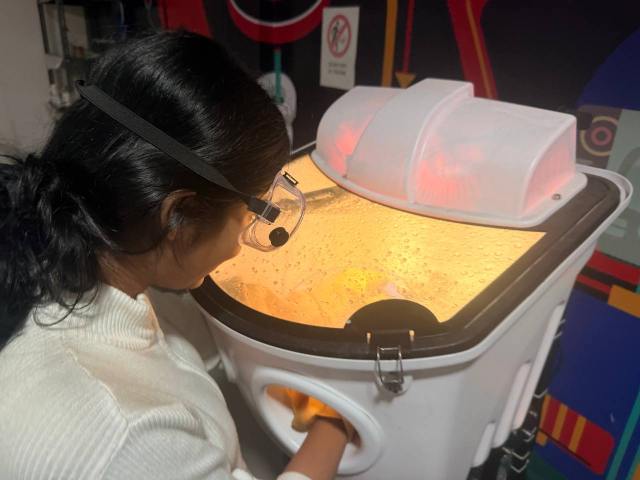
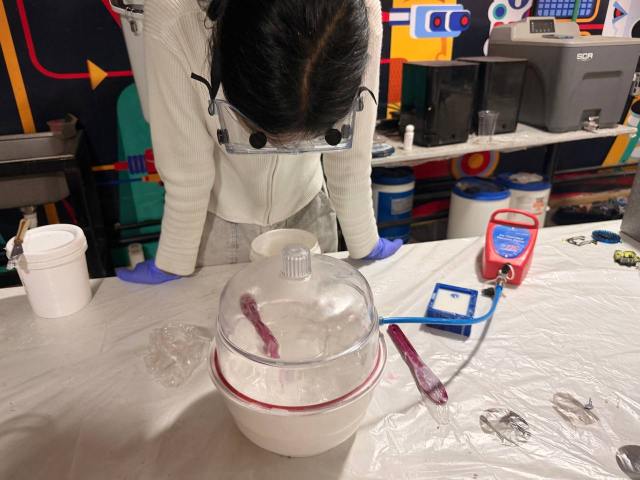
 Then i put the mold in the vacuum chamber to remove the air bubbles:
 This is how the mold looked after the vacuum process:
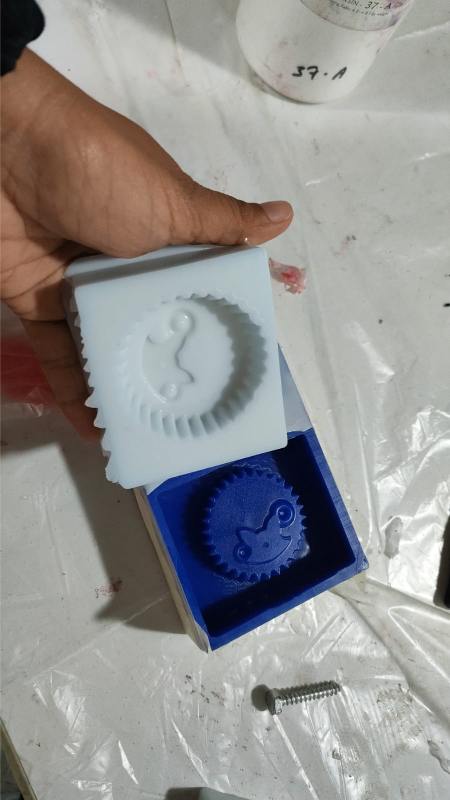
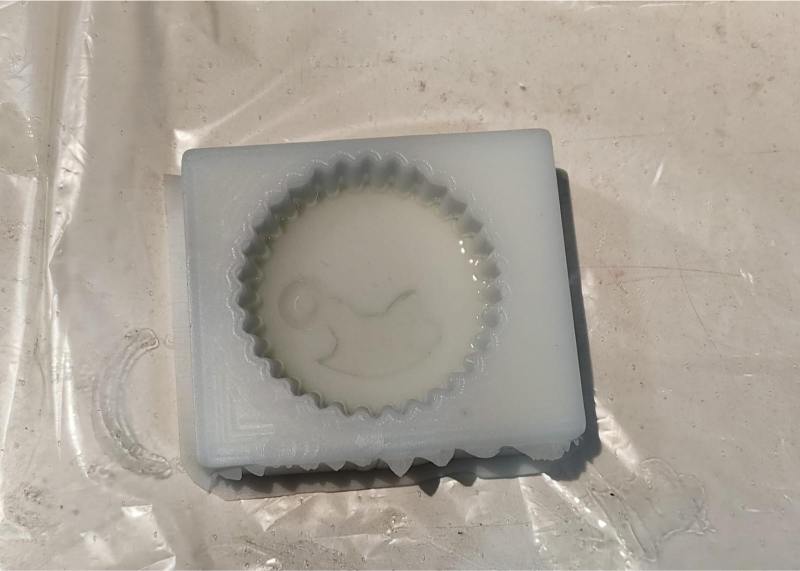
 After 10 hours, I demolded the silicone:
 Next i poured the resin into the mold , Part A and Part B of Aditya Ultra Clear Cast Epoxy – 37 in 2:1 ratio:
 This is how it looked after the first part of resin was poured:
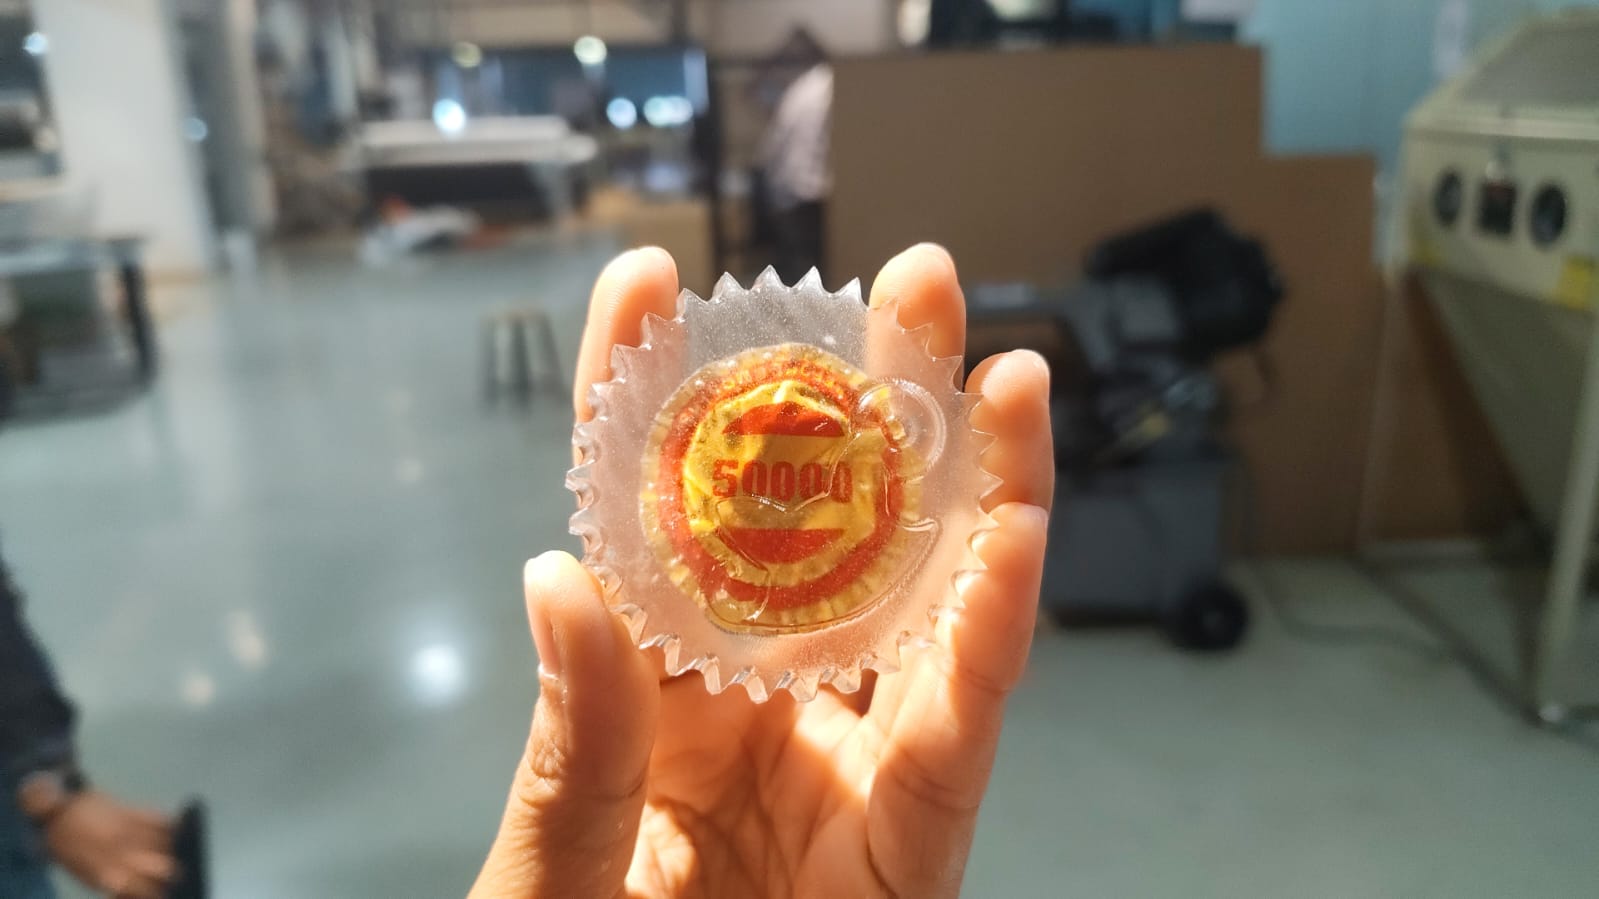
 After the second part of the resin was poured i kept a soda in it:
 Also i did not fill the entire mold with resin since i felt like it looked better half way.
This is how the final resin part looked after the second part of resin was poured and it was cured:
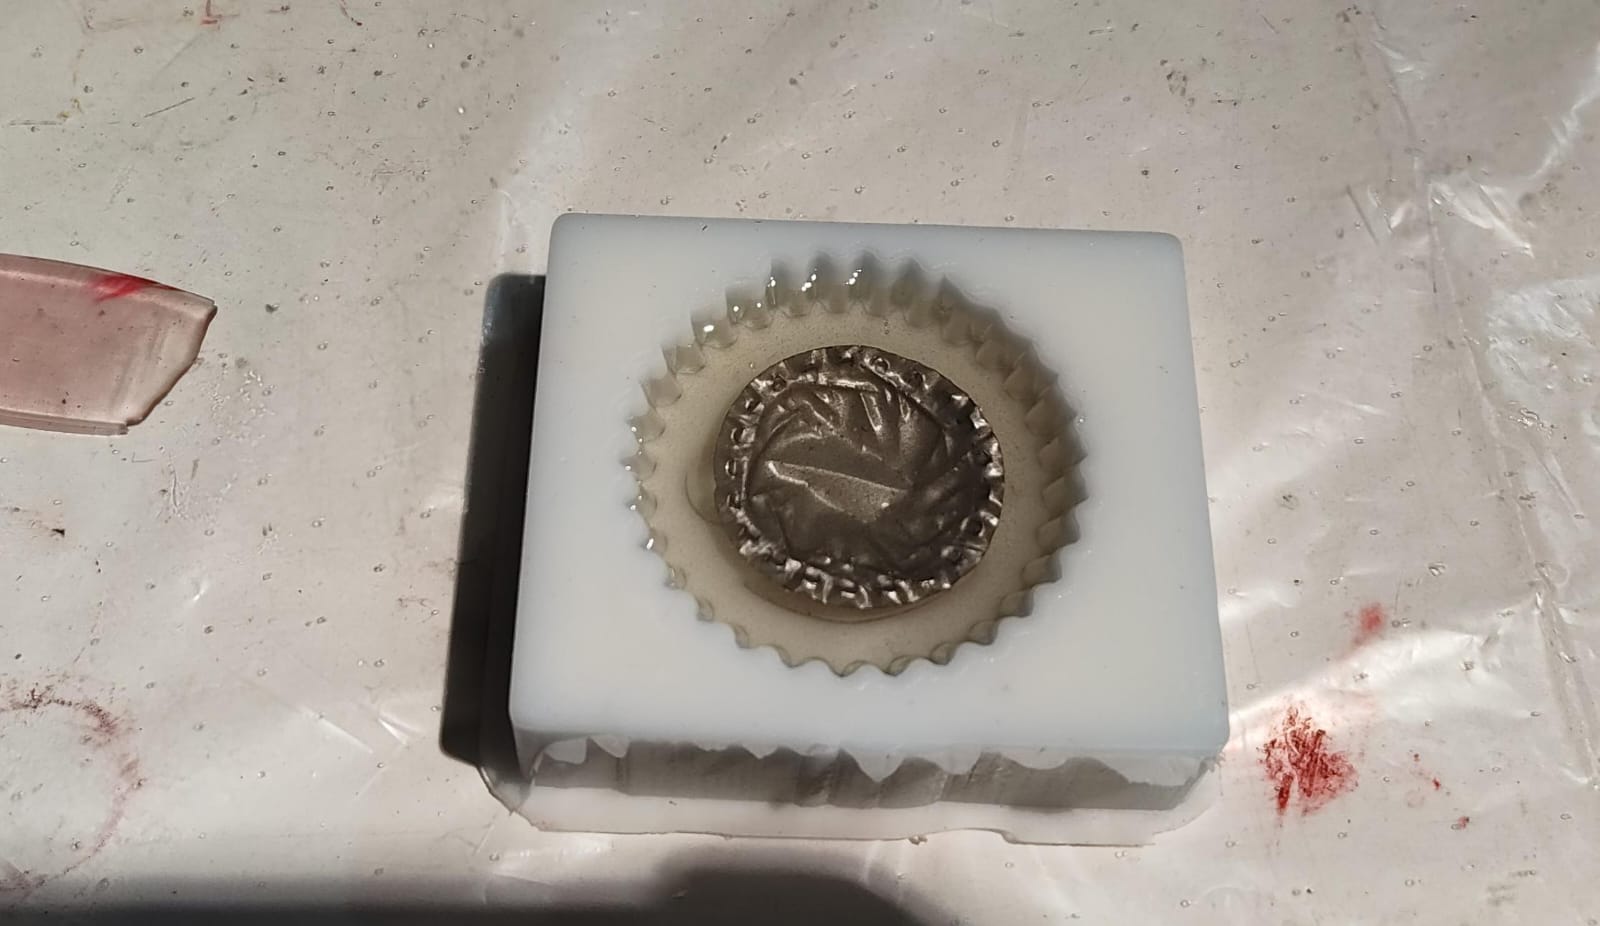
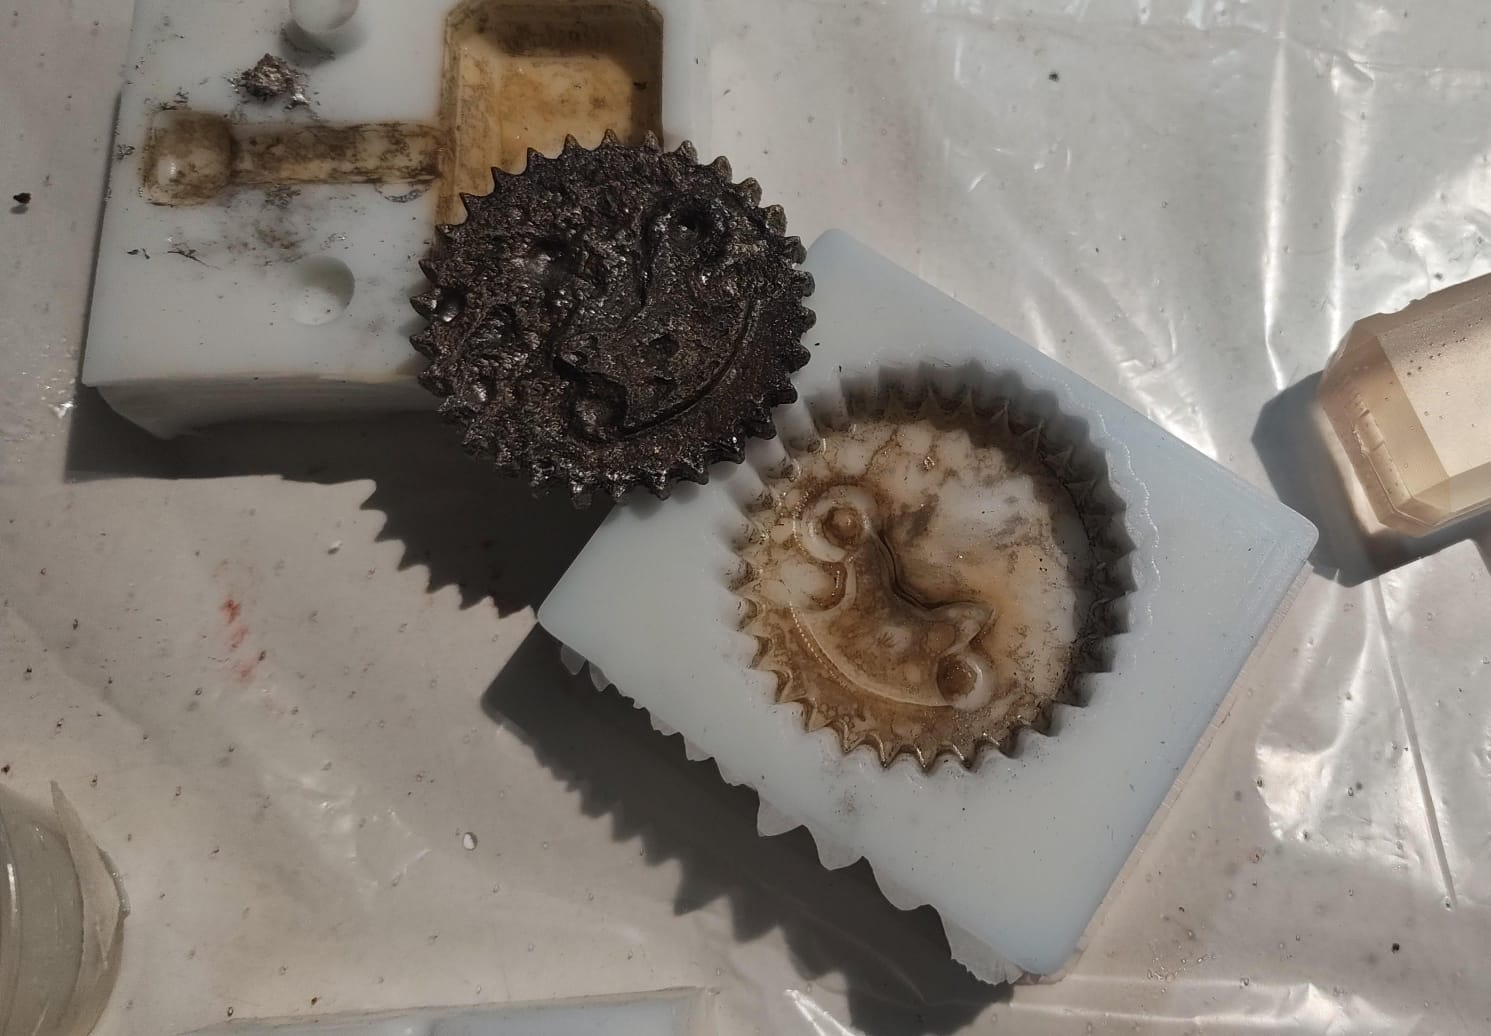
 . Then i tried to make a metal cast using the same mold, i melted the metal in a crucible and poured it into the mold:
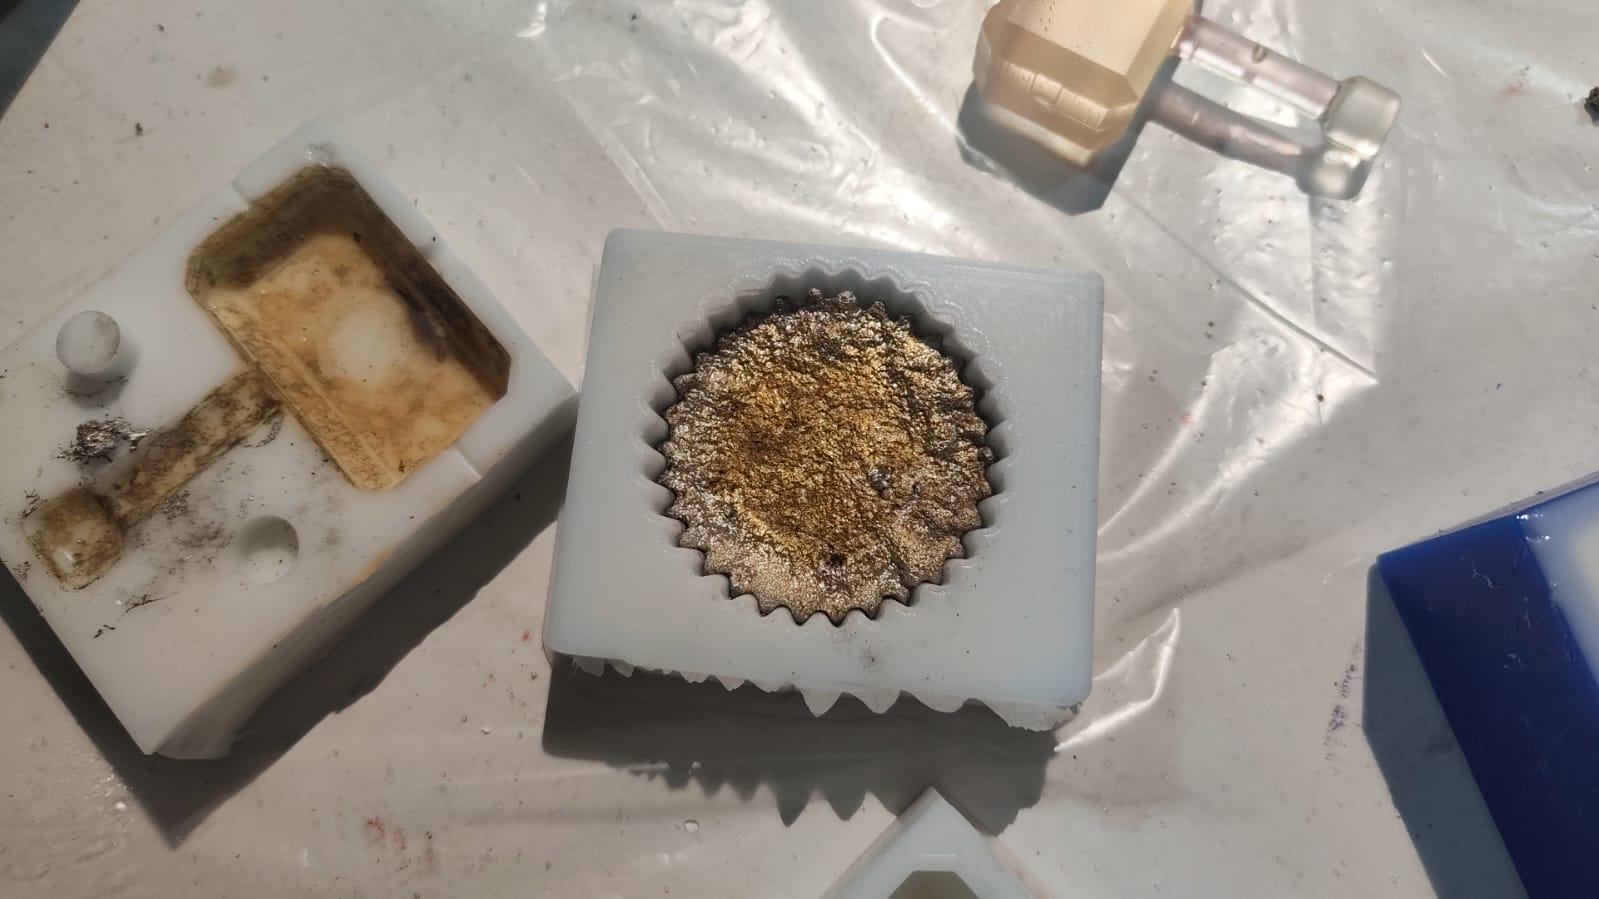 This is how the metal cast looked after it was demolded:
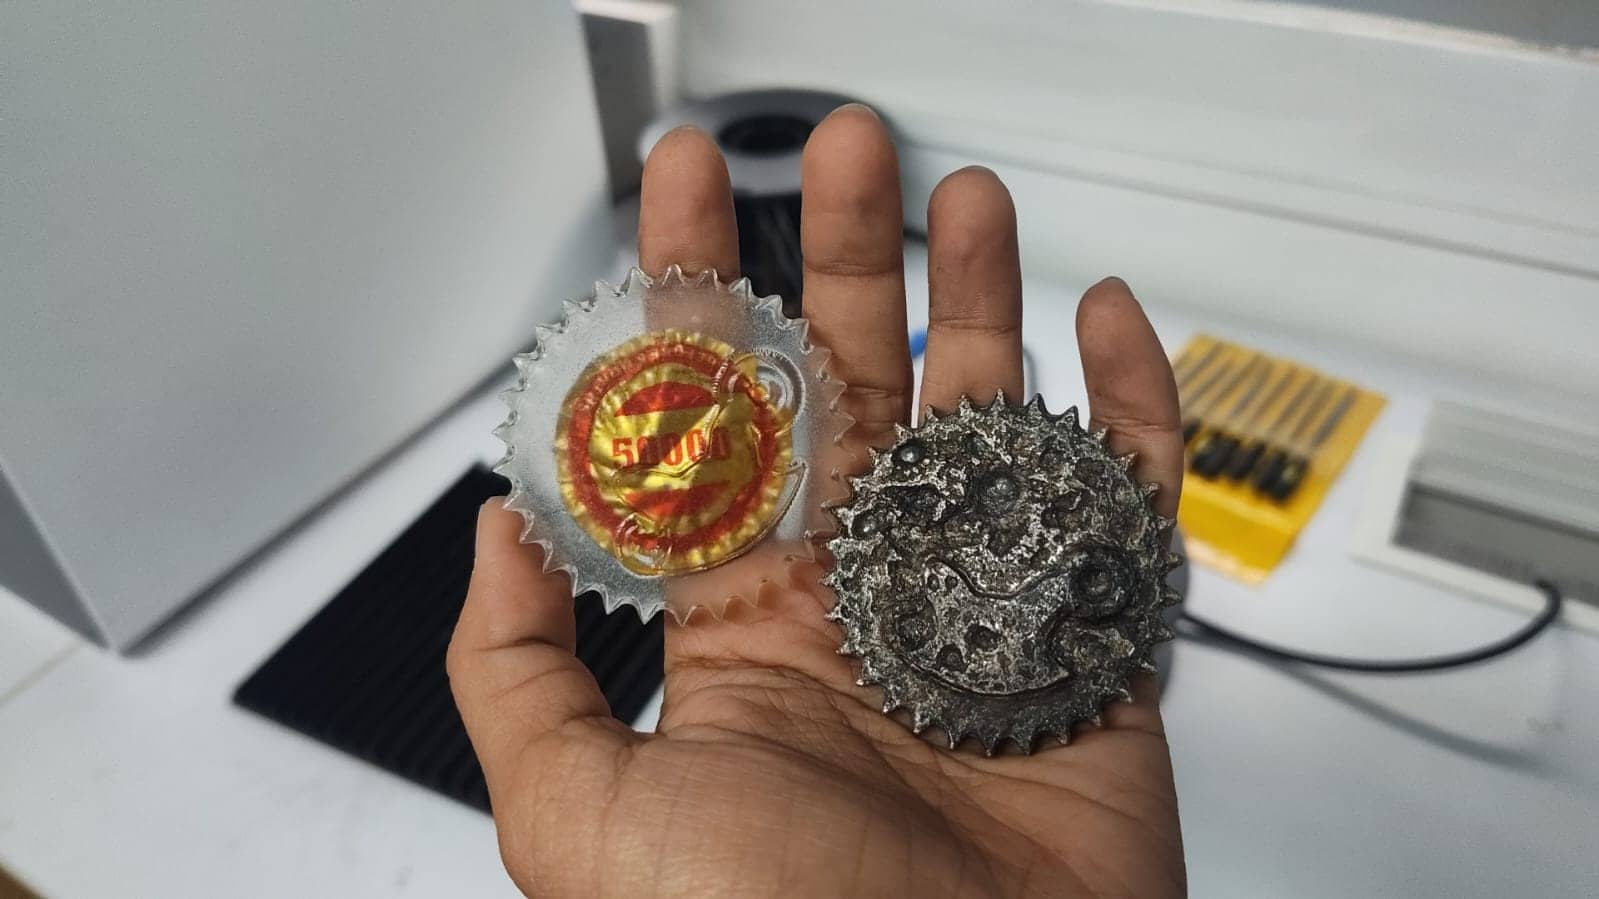
 Hero shot:
Final Files
fusion360file.f3d