
Week 16: Wildcard Week
Assignment
Heat Pressing
For this week's assignment, we decided to use the heat press machine in our lab to print designs onto t-shirts.
Here are the steps that were followed:
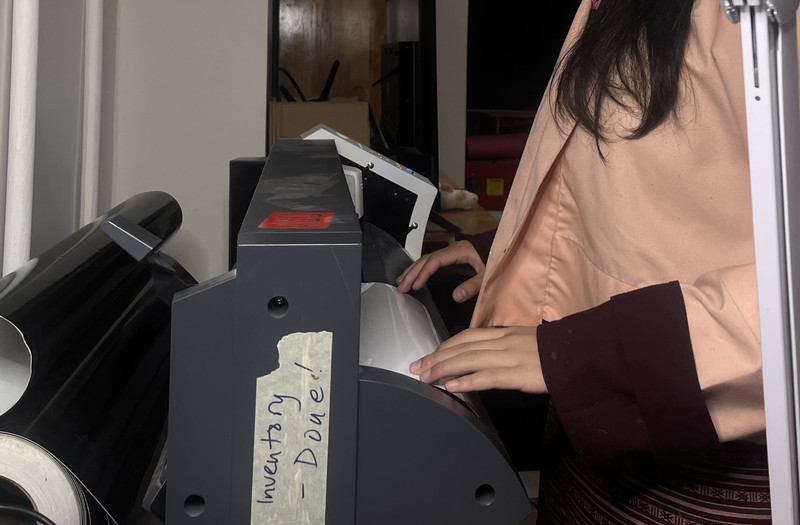
I began by loading the vinyl piece onto the machine. More information on vinyl cutting can be found on my Week 3 page 😉
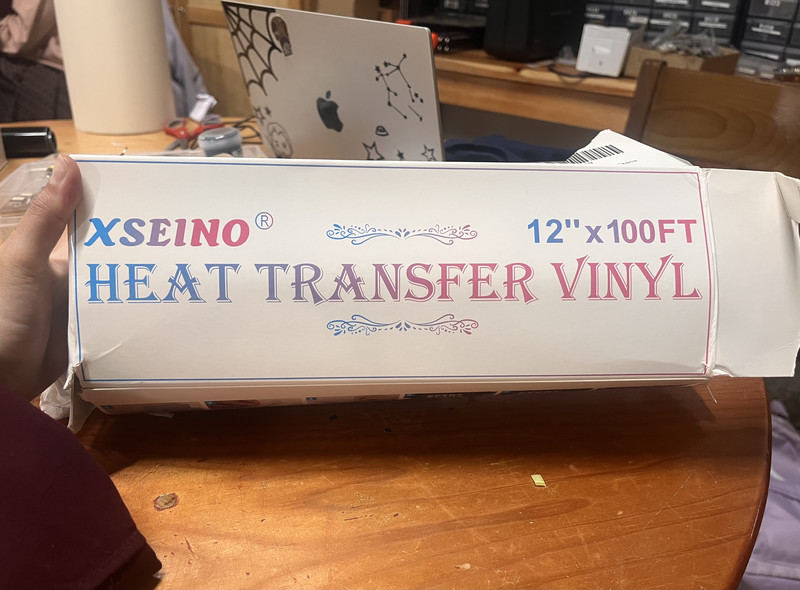
For this activity, we didn't use the normal vinyl that we used for stickers last time. Instead we used the Heat Transfer Vinyl from XSEINO.
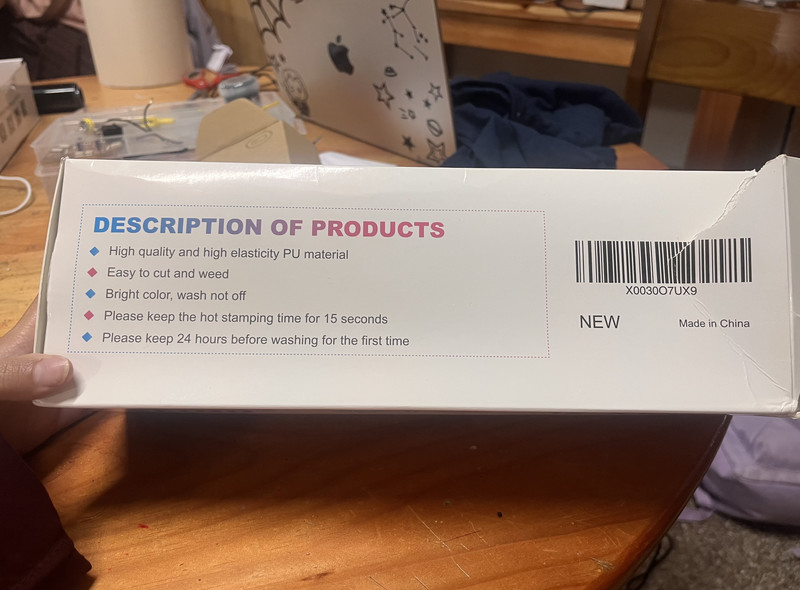
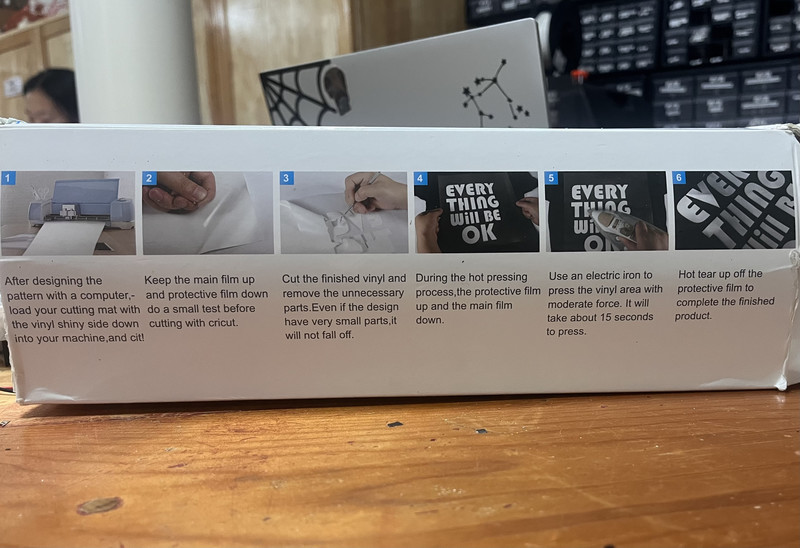
These are the instructions for the vinyl. 🤗
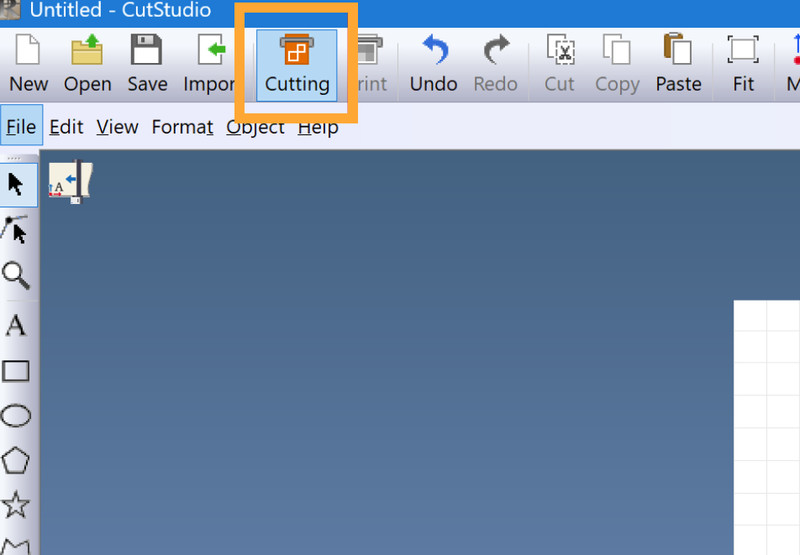
1. First I opened Cutstudio and imported my design.
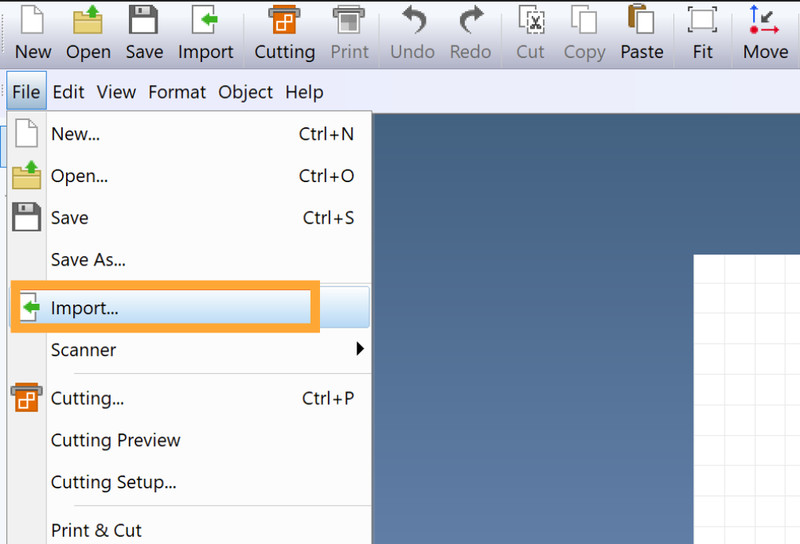
2. I then navigated to File and clicked on Cutting Setup.
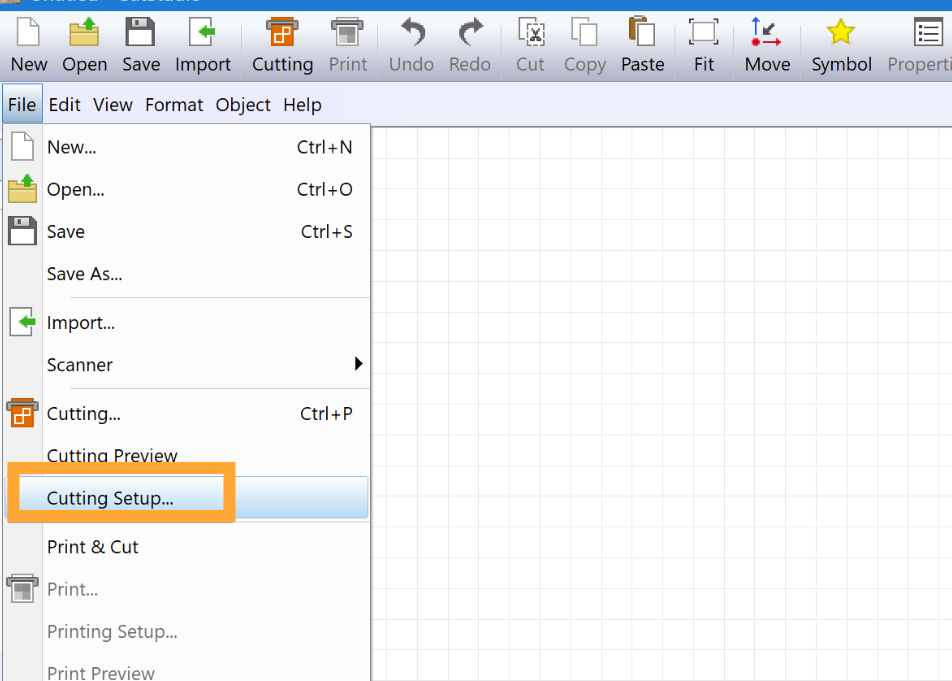
3. In cutting setup, I clicked on the Change option.
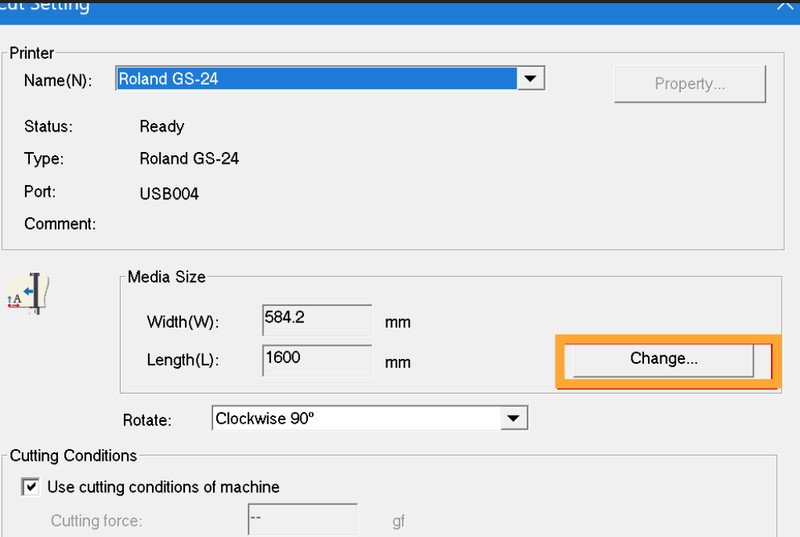
4. I got the dimensions of the vinyl piece from the machine and clicked on OK.
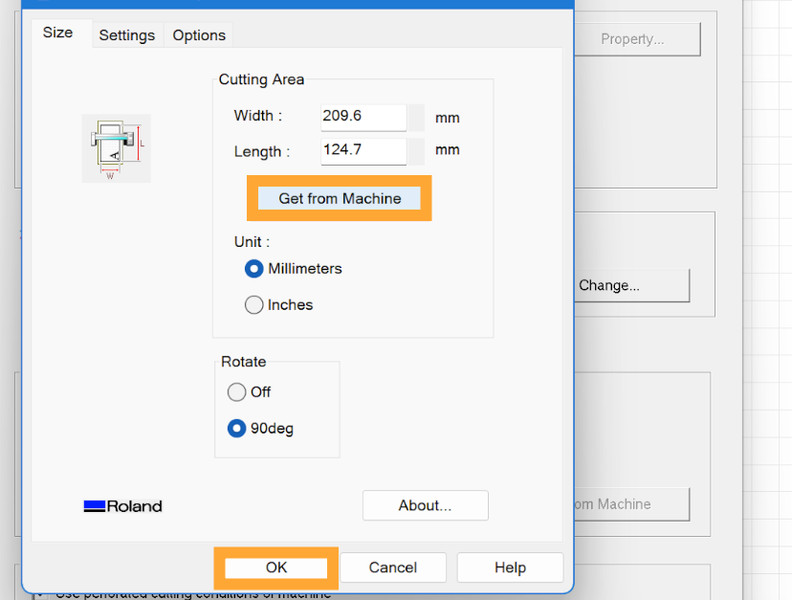
5. After that I clicked on Cutting and then clicked on OK.
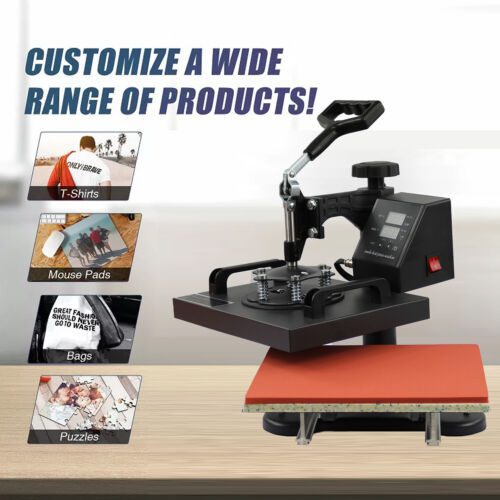
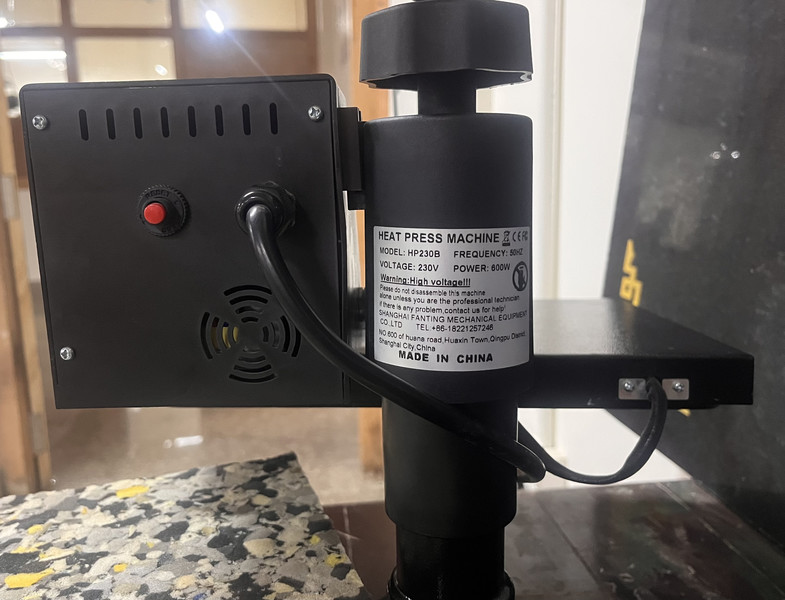
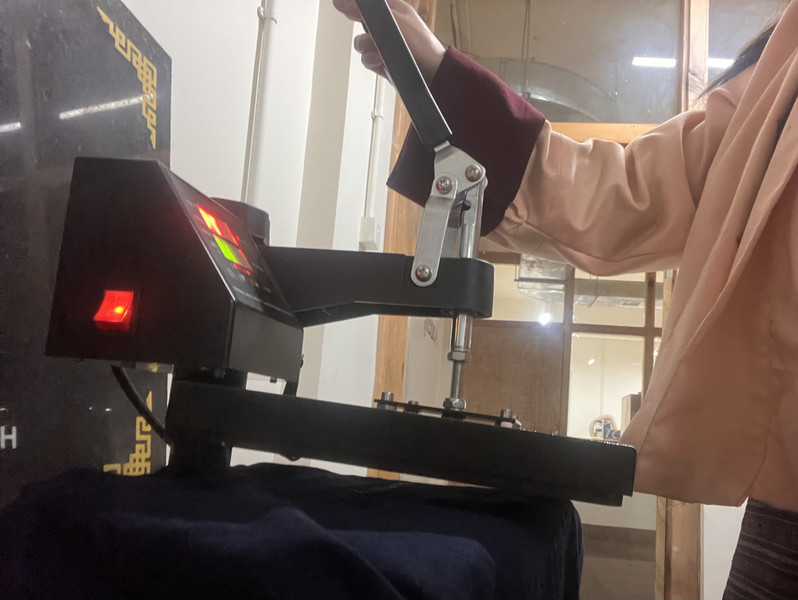
The heatpress machine we have in our lab is the UKPress Bluewave HP230B Swing Away Heat Press Machine.
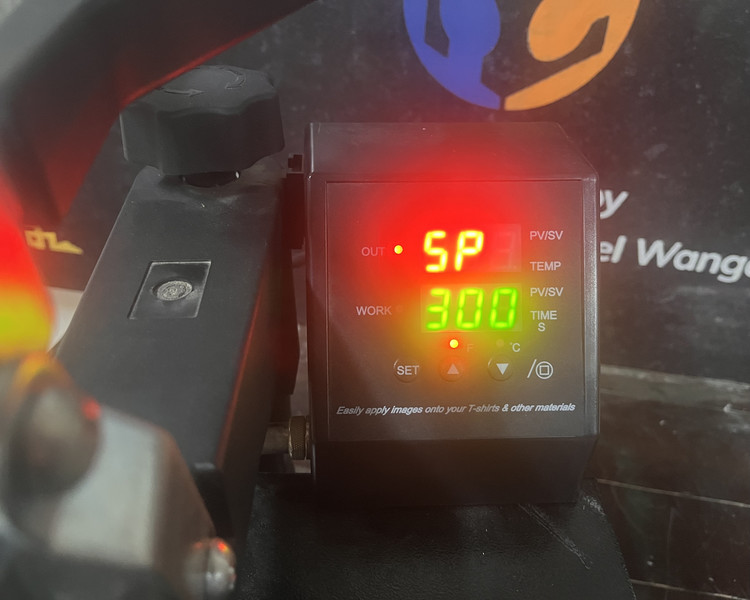
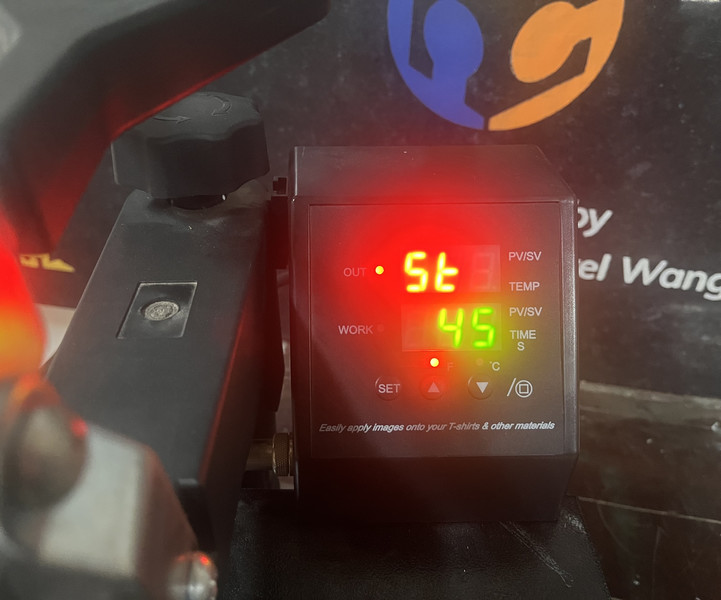
To find the right heat press settings, we first tested the design on one t-shirt. We checked how well the vinyl stuck to the fabric and how the design looked after pressing. After a few adjustments, we found that 300°F for 45 seconds gave the best results. 😄🤗
After setting the temperature to 300 degrees and the timer to 45 seconds. To set the temperature and time, I pressed the Set button to switch between the different settings. Then I used the up and down arrow buttons to adjust the values as needed.
After that, I heat-pressed the t-shirt.
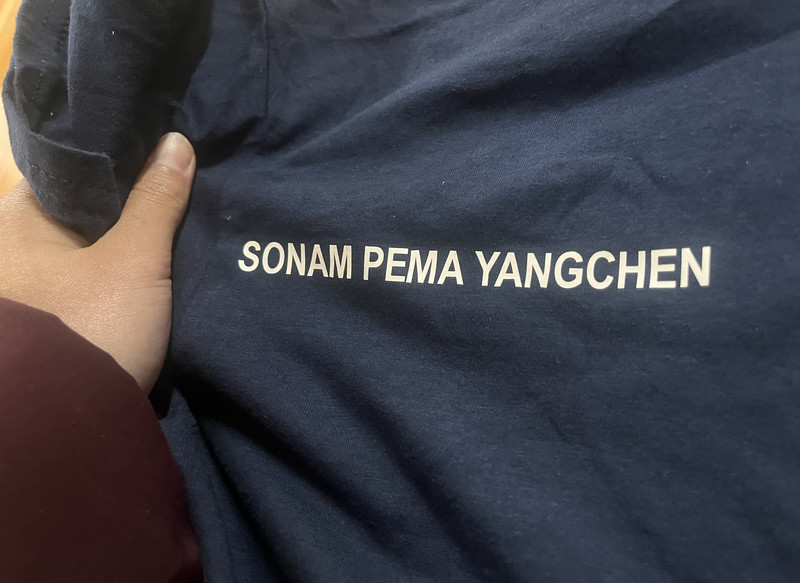
Here are the results!!! 🥳💃
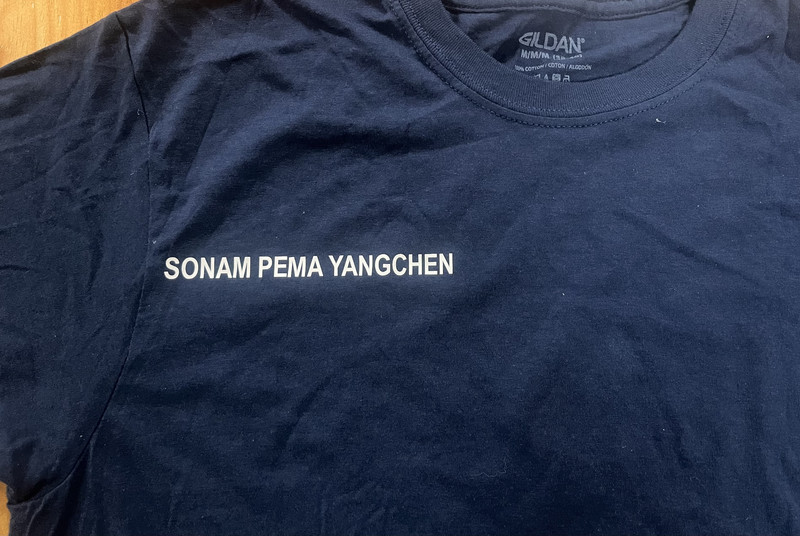
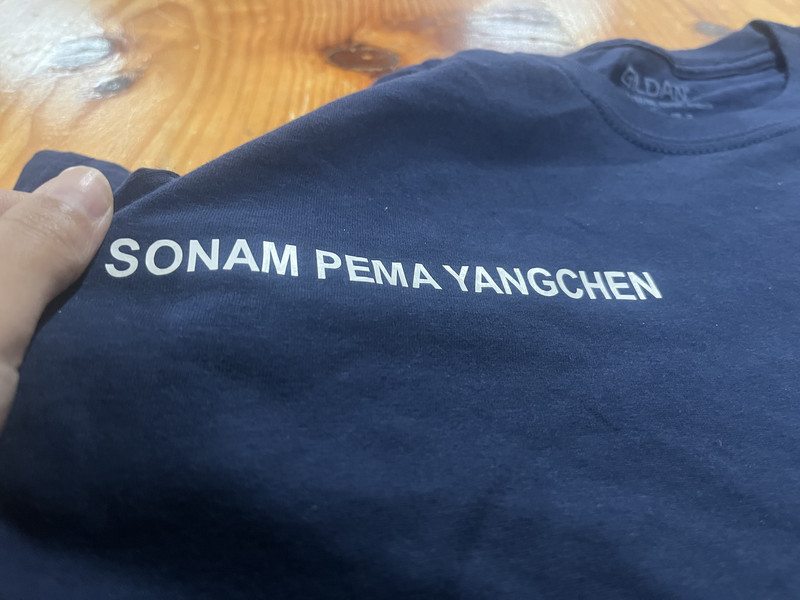
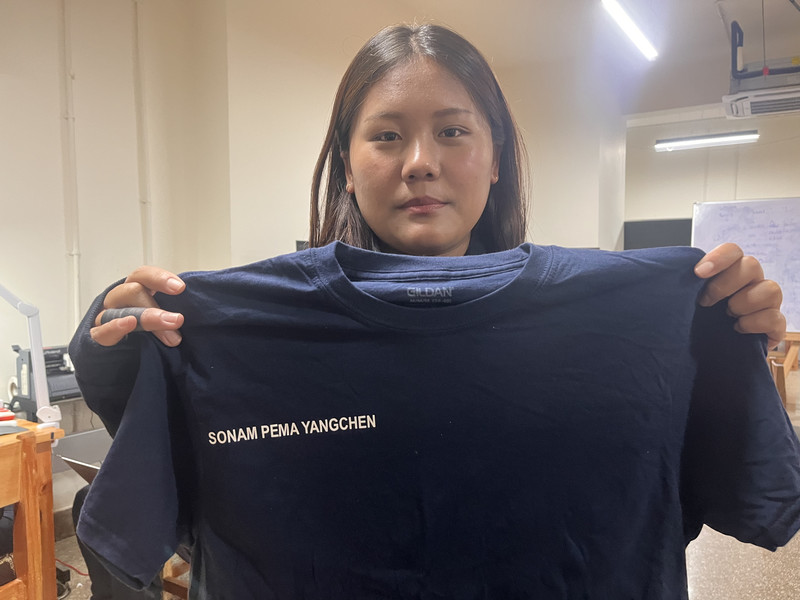
This week was a lot of fun. I was really shocked to see how good the print came out on the t-shirt. I will most definitely be trying this again with some of my own clothes in the future. 😁😄