Week 16: Wild Card Week.
Assignment
Design and produce something with a digital process (incorporating computer-aided design and manufacturing) not covered in another assignment, documenting the requirements that your assignment meets, and including everything necessary to reproduce it. Possibilities include (but are not limited to):
Heat Transfer Vinyl on a T-Shirt
For this week's wildcard assignment, I used a heat press machine and heat transfer vinyl (HTV) to print a design onto a t-shirt.
# heat transfer material imageUnlike the standard vinyl that we used previously for sticker cutting, this activity required a special type of material called Heat Transfer Vinyl (HTV) from XSEINO, which is specifically designed for fabric applications.
Preparing the Design:
The first step was to open CutStudio and import the design that I wanted to place on the t-shirt.
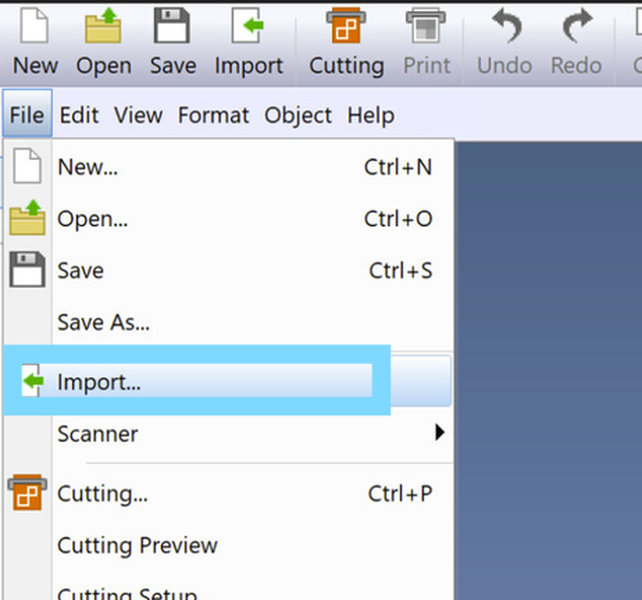
After importing the design:
- I selected File and opened Cutting Setup.
- Inside the setup window, I clicked Change.
- I entered the dimensions of the vinyl sheet that was loaded into the machine.
- Once the dimensions were confirmed, I clicked OK .
- Finally, I selected Cutting and started the cutting process.
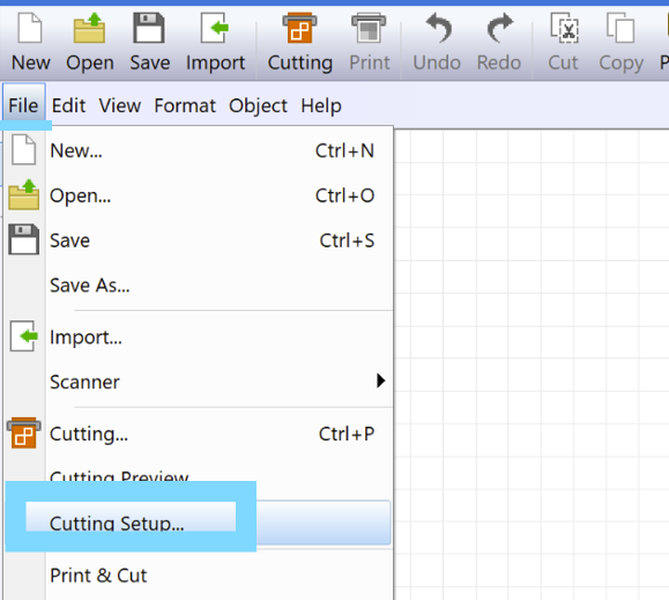
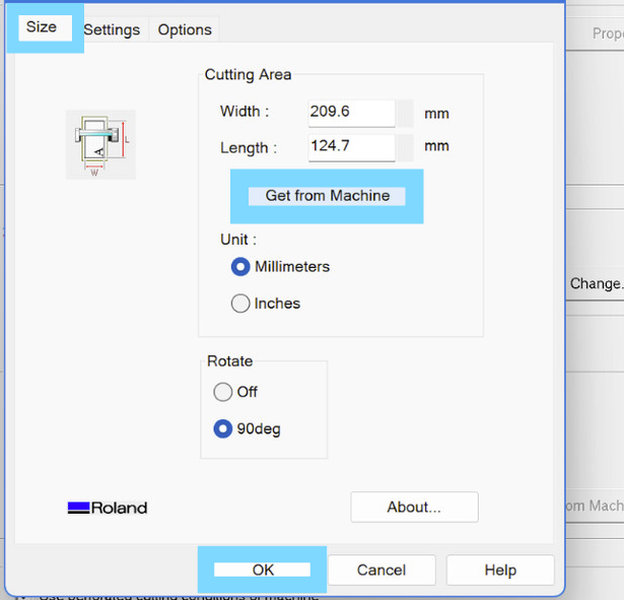
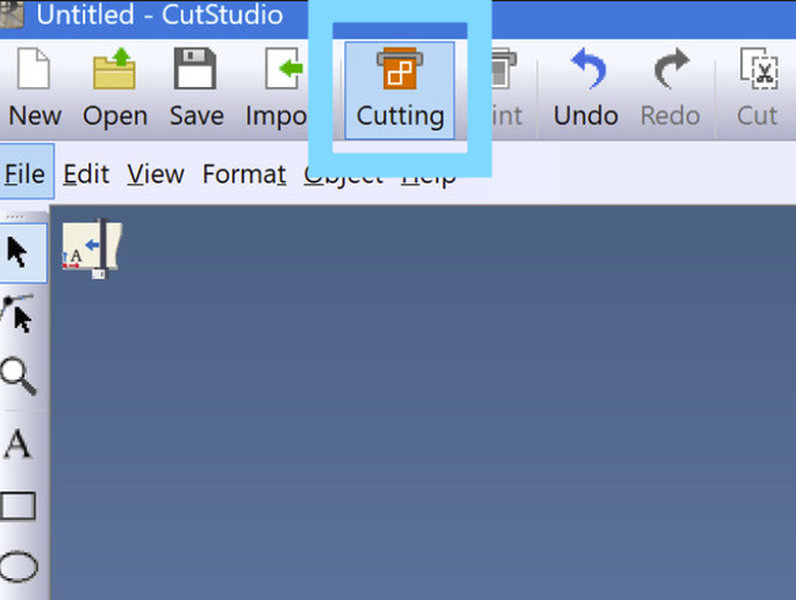
The design was then cut onto the heat transfer vinyl and prepared for pressing.
Setting Up the Heat Press:
The heat press machine available in our lab is the UKPress Bluewave HP230B Swing Away Heat Press Machine.
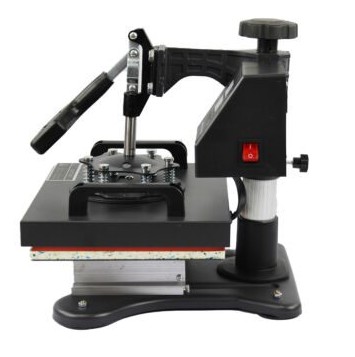
We first tested the design on one t-shirt to make sure the vinyl stuck well and the print looked good.
After experimenting with a few settings, we found that the best results were achieved using:
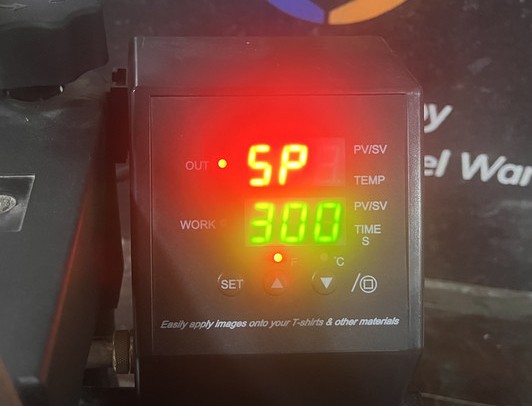
- Temperature: 149°C/300 F
- Time: 45 seconds
To set up the machine, I used the Set button to move between the temperature and time settings. Then, I adjusted the values using the arrow buttons until they matched the settings I needed.
Heat Pressing the Design
Once the machine reached the correct temperature, I carefully positioned the t-shirt and placed the vinyl design on top of it. The shirt was then pressed for 45 seconds using the heat press machine.
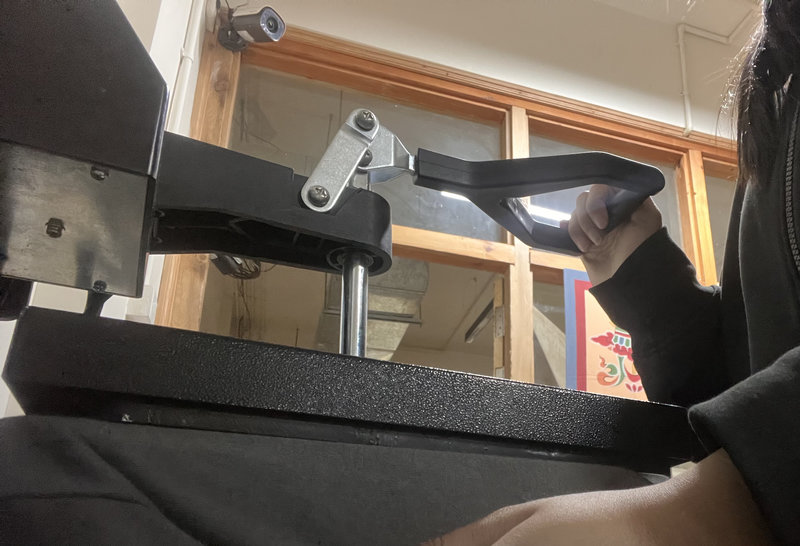
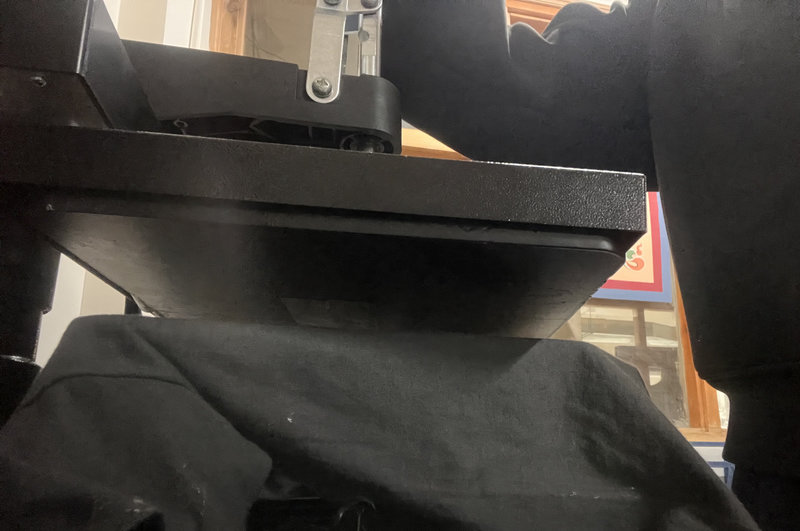
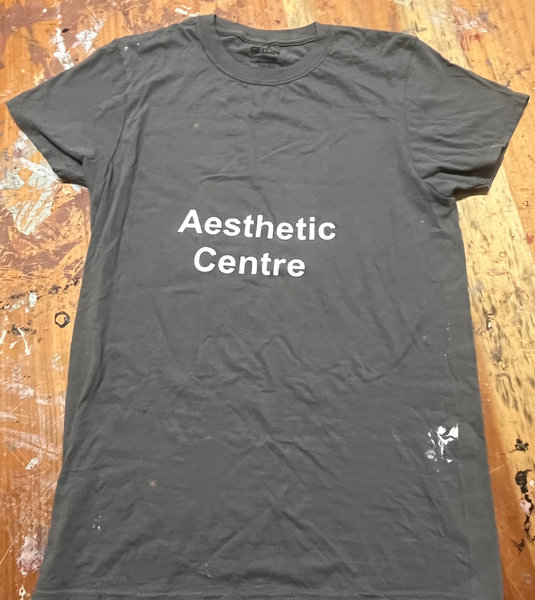
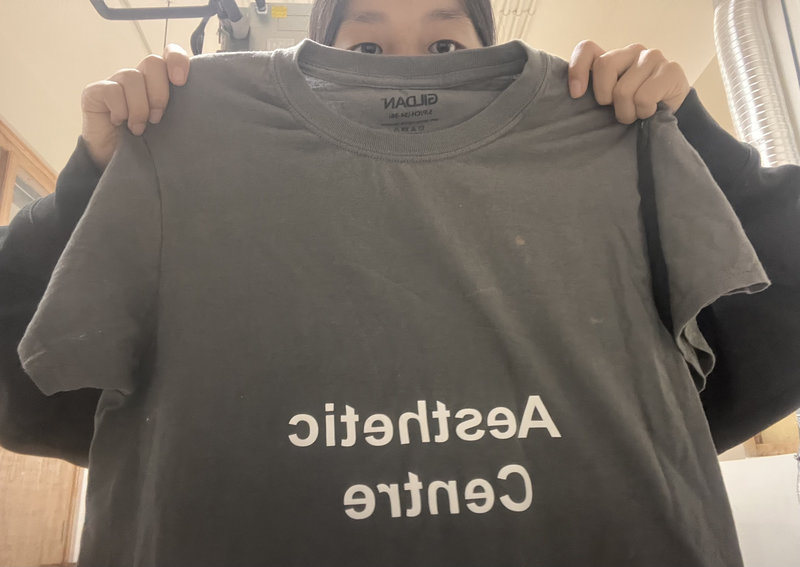
After the pressing process was completed, the design was successfully transferred onto the fabric, producing a clear looking print.
Reflection:
The process was really straight forward 😁 and it was really fun to make your own custom deisgned T-shirts so I really liked this week!😆