3D Printed Fu
Assignment goal
My goal for Week 5 was to design and 3D print a customized "Fu" character that I can later turn into a decoration of my“smart Fu” (final project).
The workflow includes 2D design, converting to 3D (STL), and printing on the Bambu Lab A1 mini in the lab.
Tools and materials
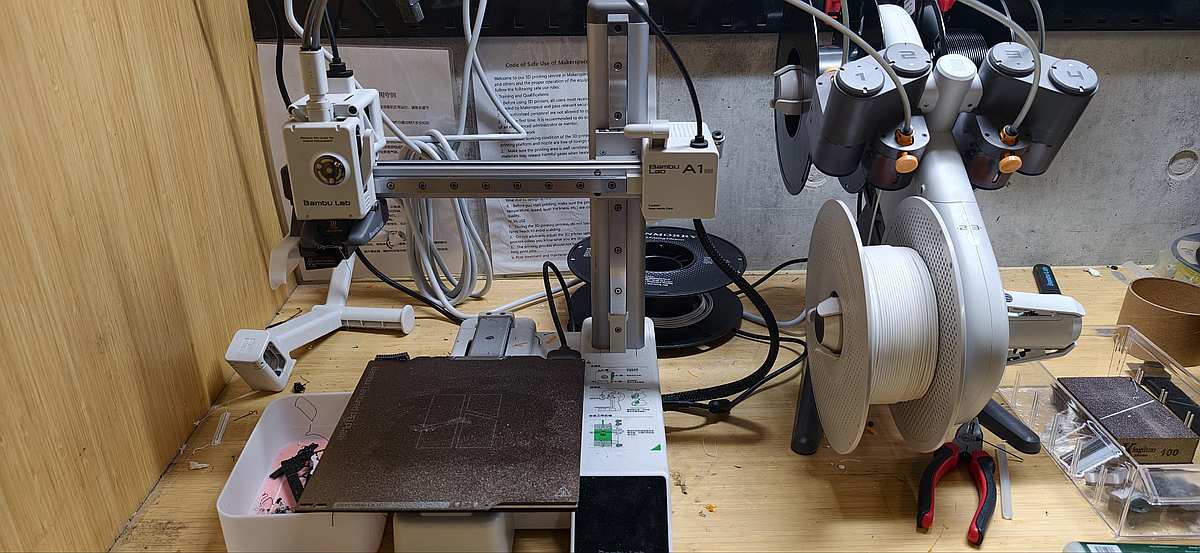
- 3D printer: Bambu Lab A1 mini with PLA filament.
- Software: Inkscape for tracing and vector editing. Onshape for parametric 3D modeling and extrusion. Sending files wirelessly to the printer. Online converter: ImageToStl, which converts 2D images (PNG/JPG) into STL mesh files.
Approach overview
To explore different workflows, I tried two methods to create the 3D Fu:
1.Using ImageToStl to directly convert an image of Fu into an STL and print a thin test piece.
2.Using Inkscape plus Onshape to build a more controlled, parametric 3D model from a vector outline.
Method 1: ImageToStl “quick Fu”
Design and conversion
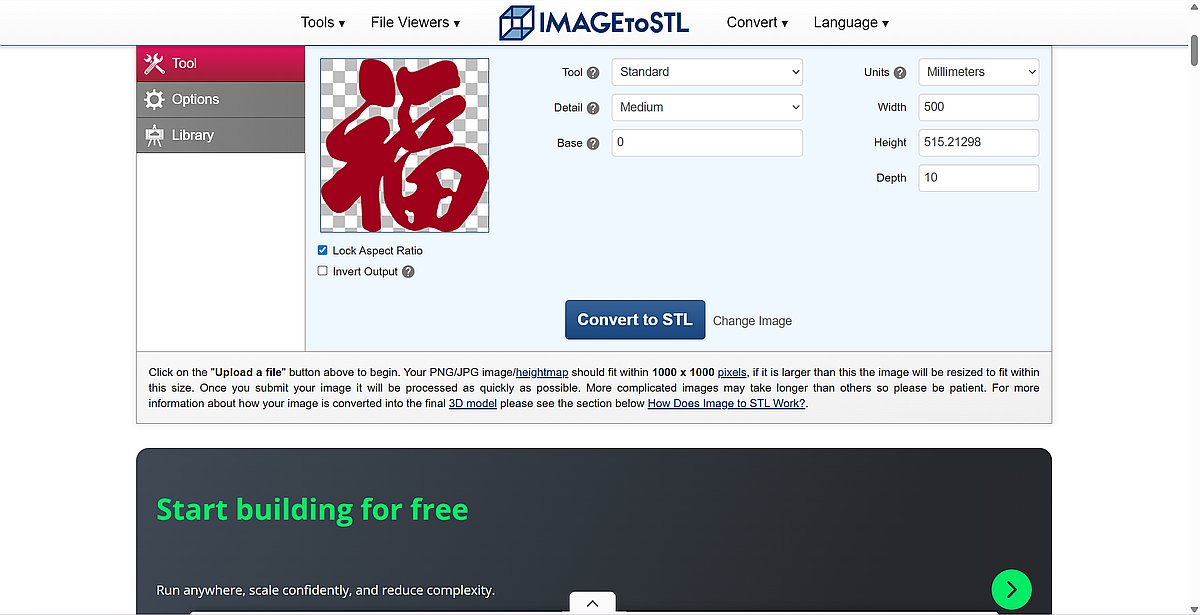
- I first searched on Google for a nice Fu character image with clear edges.
- I uploaded this 2D image to the ImageToStl online tool, which automatically converted it into a 3D mesh (STL) based on the contrast of the image.
- In the converter, I set the thickness to around 20 mm in the Z‑direction, but this first print was mainly for testing the printer’s working condition, so I treated it as a thin, flat relief.
Slicing and printing on Bambu A1 mini
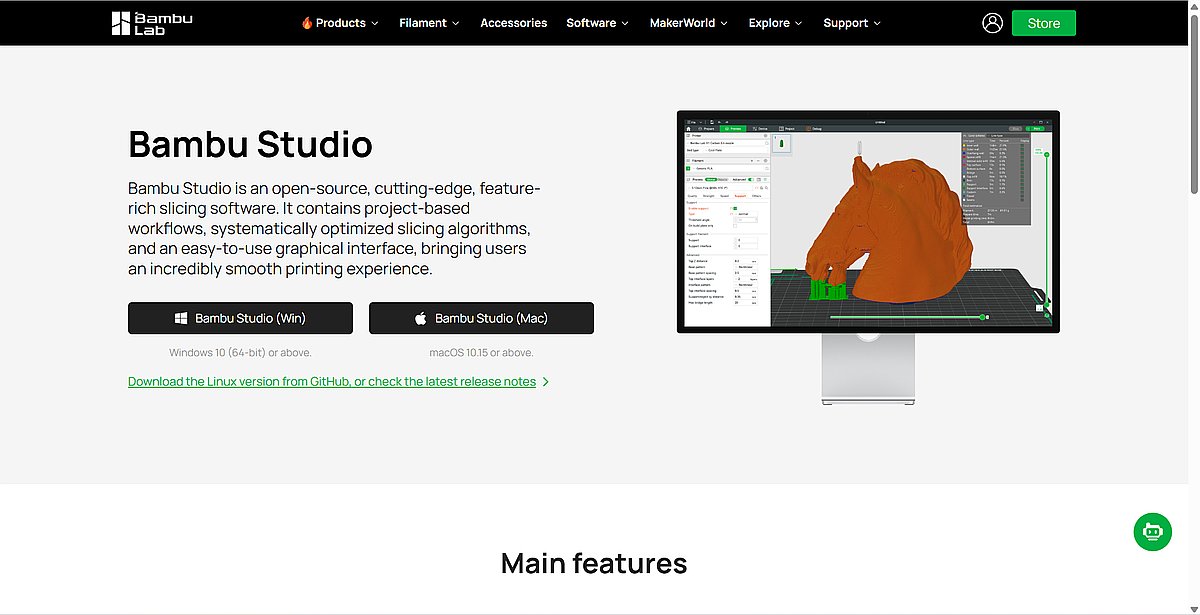
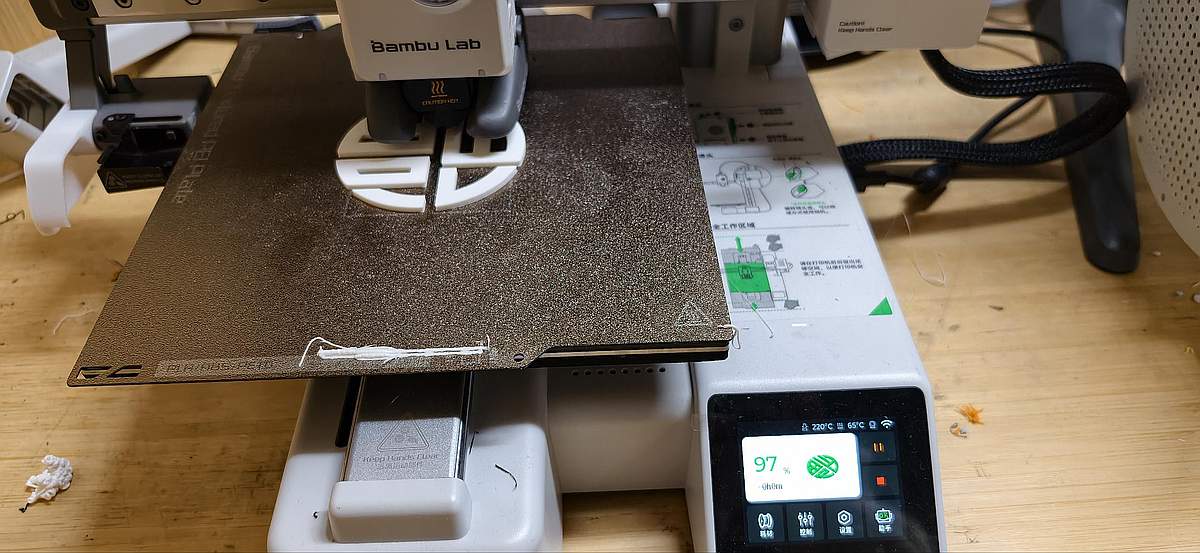
- I opened Bambu Studio. registered an account, and uploaded the STL file.
- The initial scale was too large for the build volume, so I used the scale function inside Bambu Studio to resize it to fit within the A1 mini’s 180 x 180 x 180 mm build volume.
- I kept the model relatively thin and used basic PLA print settings (no advanced supports or multi‑color features) because this was a functional test to see how the machine behaves.
- I connected my laptop to the printer over Wi‑Fi by entering the printer’s IP and pairing code, and then sent the sliced file wirelessly. This workflow is very beginner‑friendly and similar to what other FabAcademy students have done with networked Bambu printers.
Result and reflections
- The print came out clean, and the details of the Fu strokes were readable, even with a simple conversion.
- I realized that if I use red filament and add a circular frame around the character, I could easily turn this design into a festive “window paper‑cut” style decoration, which fits the traditional look but is produced with digital fabrication.
- This quick workflow is efficient for testing text or symbols, but the geometry is not parametric and is harder to edit precisely later.
Method 2: Inkscape + Onshape “designed Fu”

2D vector preparation in Inkscape
- For the second approach, I wanted more control, so I started again from a 福 design that I liked.
- I imported the image into Inkscape and used “Trace Bitmap” to generate a clean vector outline of the character.
- After cleaning up the paths and simplifying nodes, I exported the vector (for example as SVG/DXF) so it could be used inside a CAD tool like Onshape.
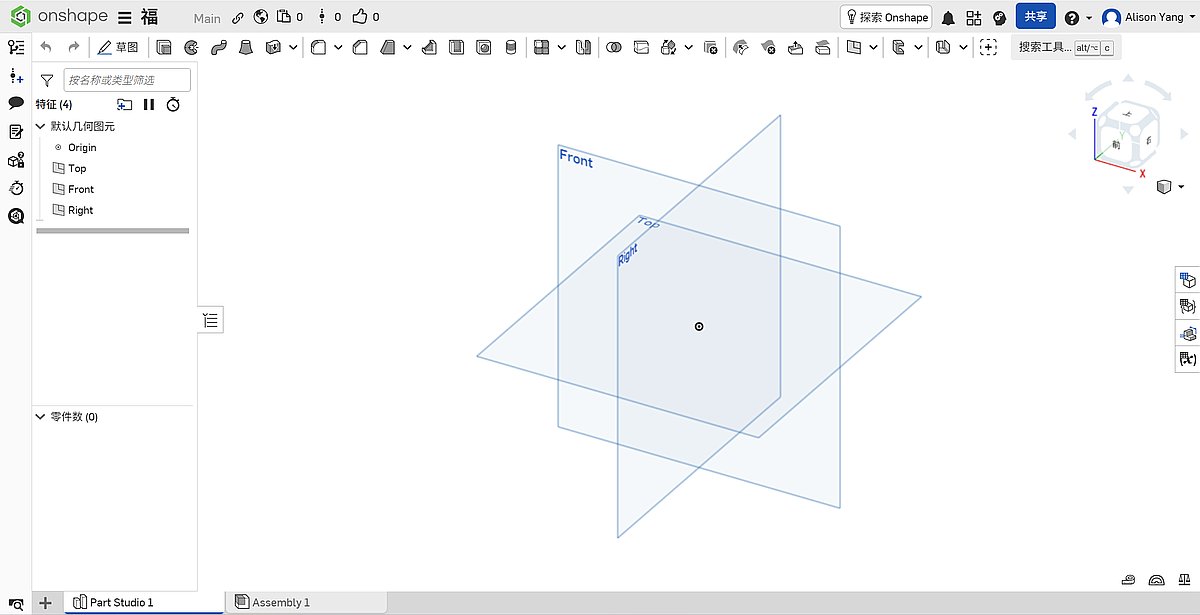
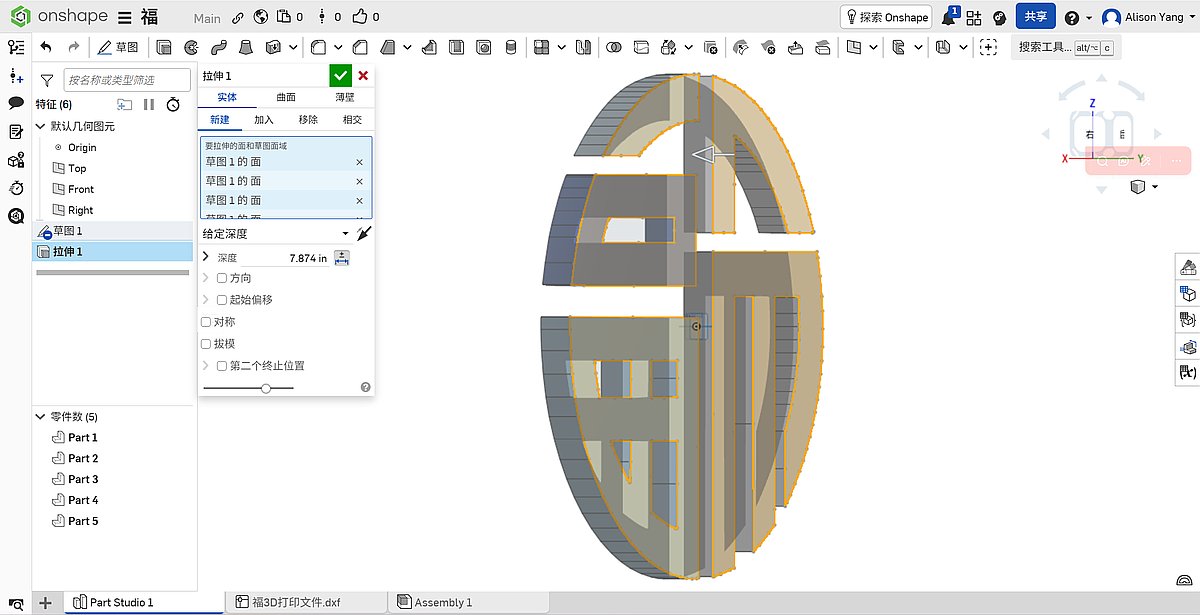
3D modeling in Onshape
- In Onshape, I created a new part studio and imported the vector outline onto a sketch plane, similar to how other students imported 2D sketches before extruding signs and hinges.
- I positioned and scaled the Fu, then used “Extrude” to give it thickness and turn it into a solid 3D part.
- My idea for a “smart Fu” is to eventually add layers, cavities, or mounting features for electronics, so a parametric model in Onshape makes later modification easier (for example, adjusting thickness or adding a back plate).
Issue: missing base layer / support
- In this second design, I did not include a continuous base layer behind the strokes of the character.
- As a result, the individual strokes of the Fu were not structurally connected enough; without a solid first layer or backing, some parts did not bond well and lacked support, making it unsuitable as a single rigid piece.
Lessons learned for redesign For the next iteration, I plan to:
- Add a circular or square backing plate behind the Fu to tie all strokes together.
- Design the complex parts that could insert around the square, and using red or red combine orange or yellow color.
Printer and process notes
- The Bambu Lab A1 mini used in our space has a build volume of 180 x 180 x 180 mm, a 0.4 mm stainless‑steel nozzle, and supports PLA, PETG, TPU, PVA, and other common materials.
- It works with the AMS Lite system for multi‑color and multi‑material printing, but for this week I only tested single‑color PLA.
- The printer connects over Wi‑Fi, and Bambu Studio serves as both slicer and job manager; this integrated workflow makes it very approachable for beginners, including me.
Next steps toward a “smart Fu”
- Refine the Onshape model with a proper base layer and structural supports for all strokes.
- Explore using AMS Lite for multi‑color printing, for example red for the main character and gold or contrasting color for an outer ring, similar in spirit to how other students used multi‑color tools in Bambu Studio to enhance legibility.
- Reserve internal space or mounting points so that later I can embed sensors, LEDs, or other electronics to truly turn it into an interactive “smart Fu.”
3D Scanning
I experimented with two different methods for 3D scanning.
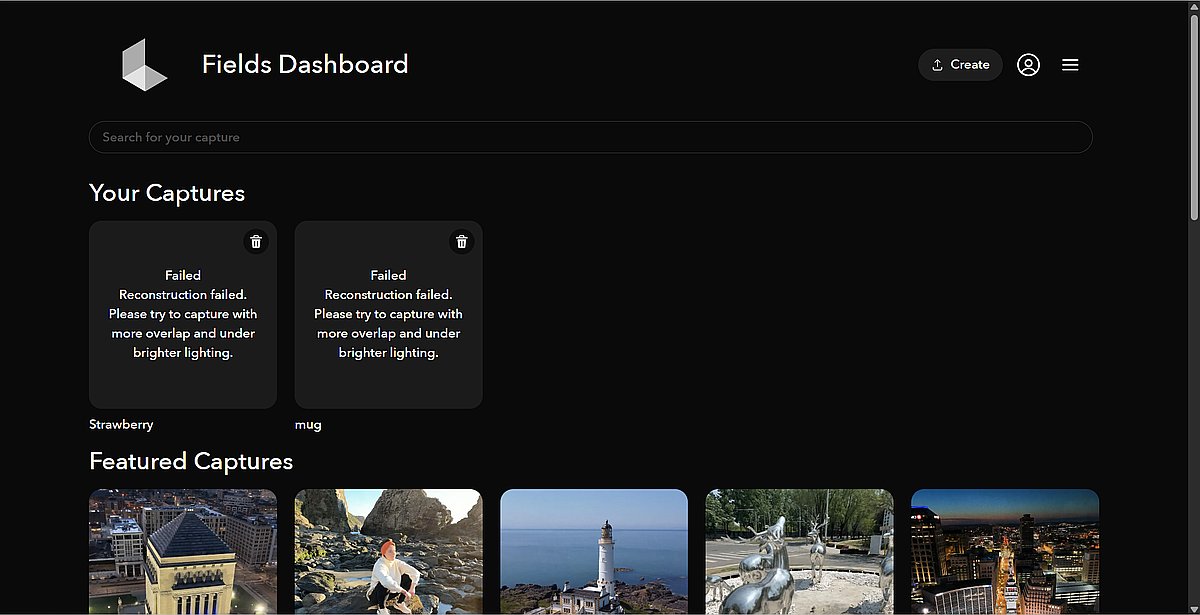
1. Polycam
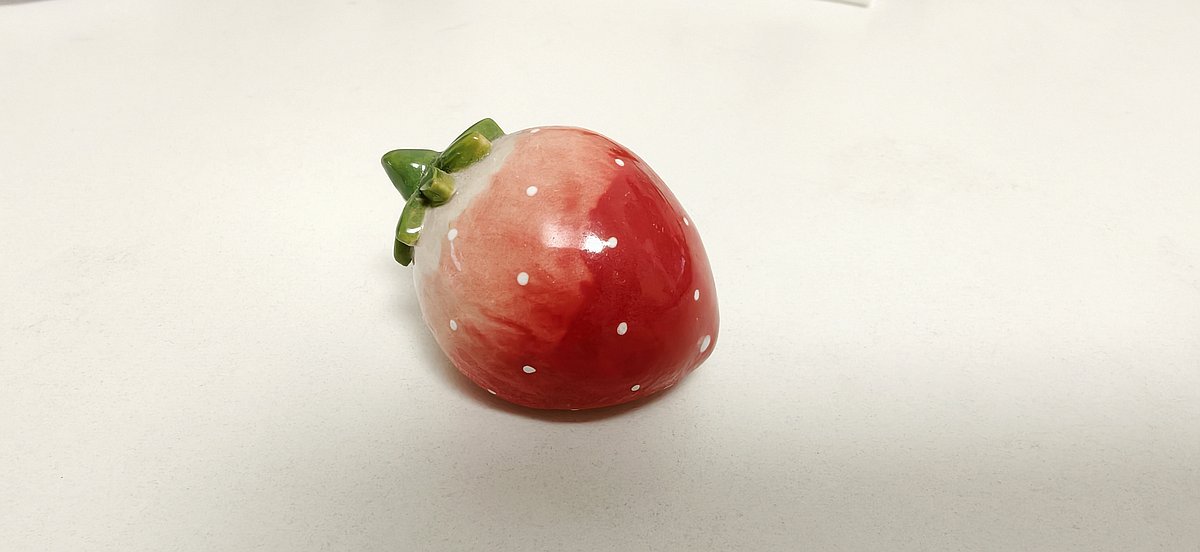
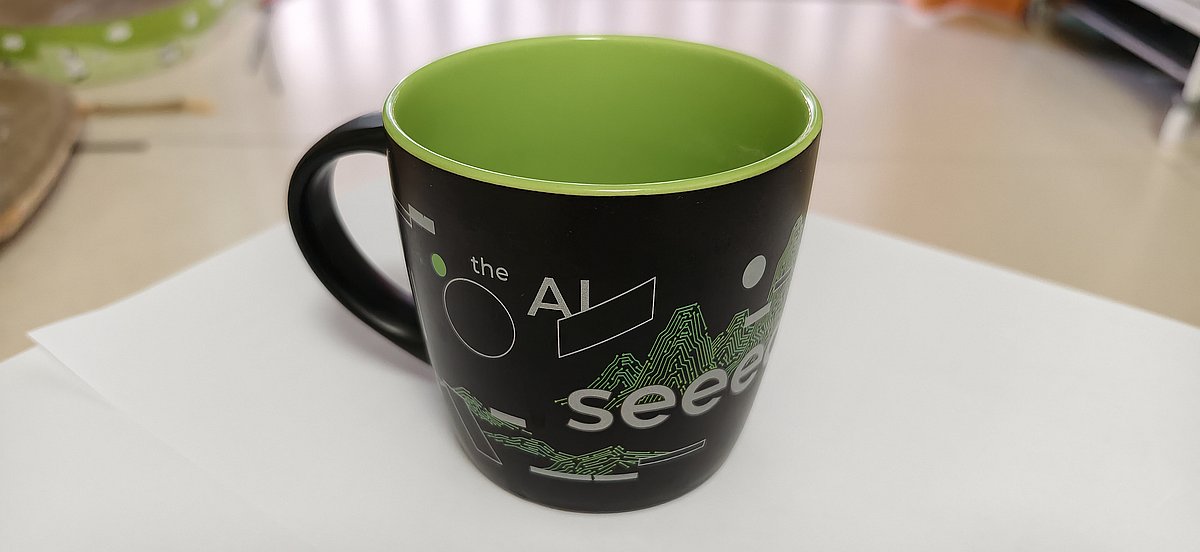
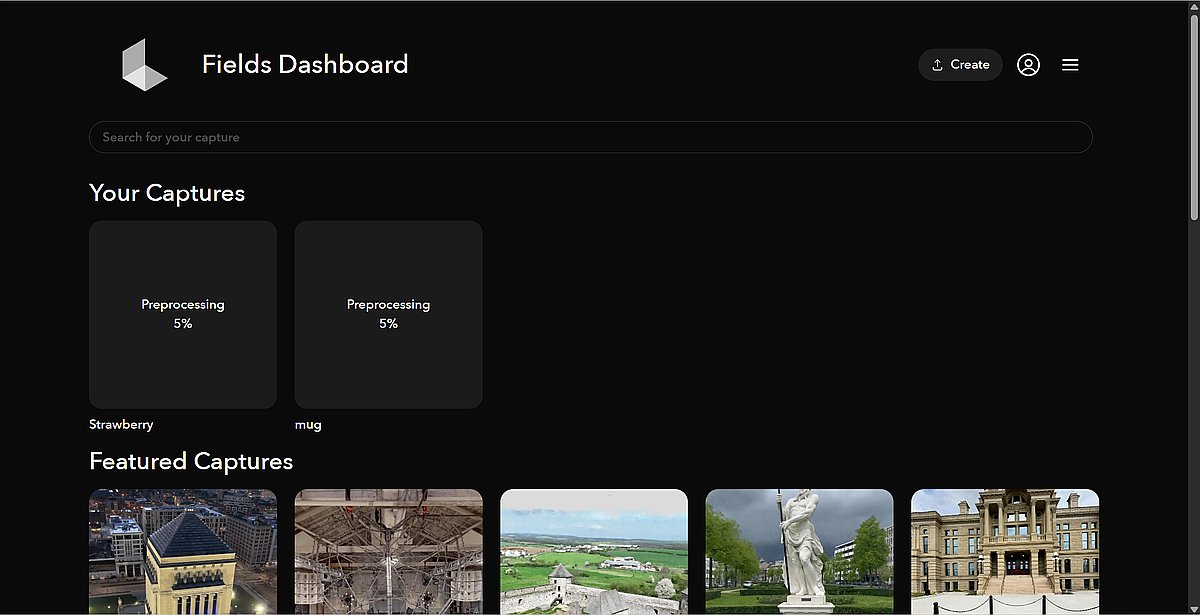
I started with Polycam, which offers 10 scans in its free version. I used my small strawberry porcelain ornament and a Seeed mug as test objects and tried scanning them four times.
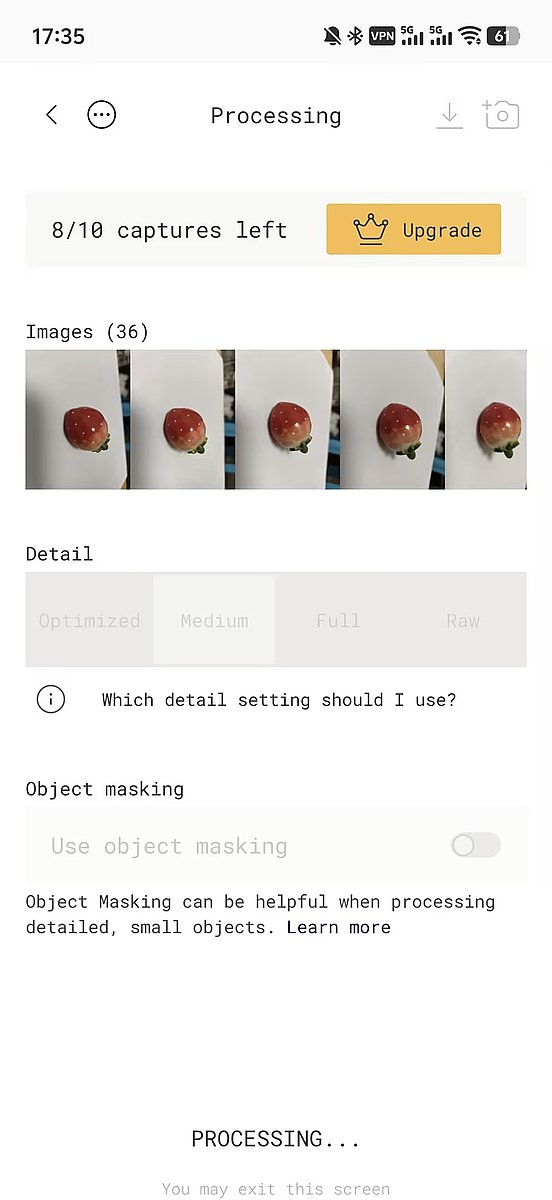
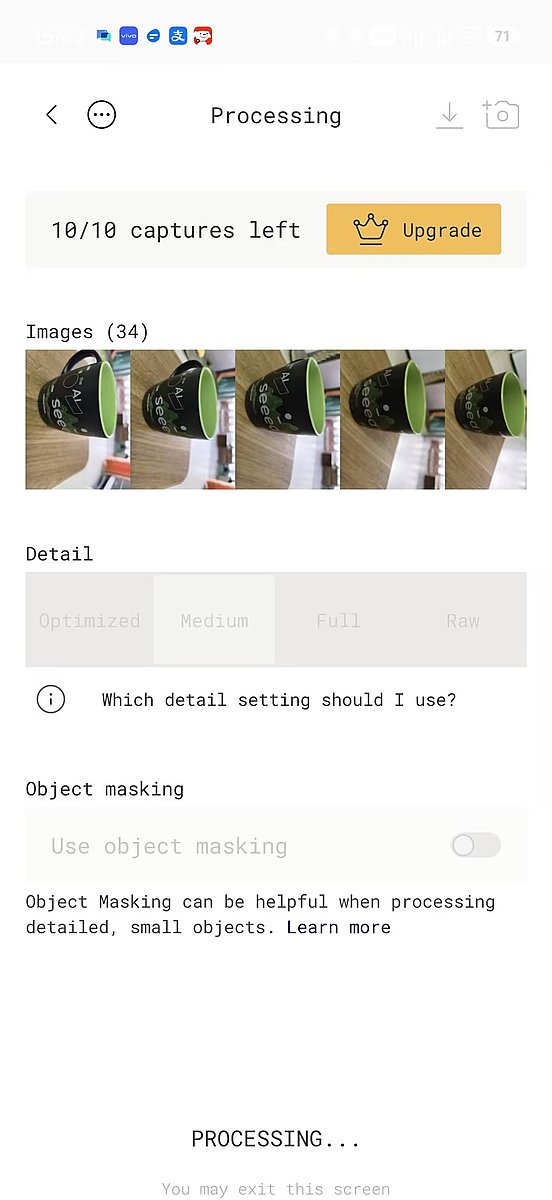
To get a successful scan, the photos need to cover the object from all directions; if some angles are missing, the scan will fail. In my successful attempt, I took nearly 60 photos around the object—about 30 photos were not enough. Polycam is a mobile 3D scanning app that uses photogrammetry to reconstruct detailed 3D models from multiple overlapping photos, making it a convenient starting point for beginners.
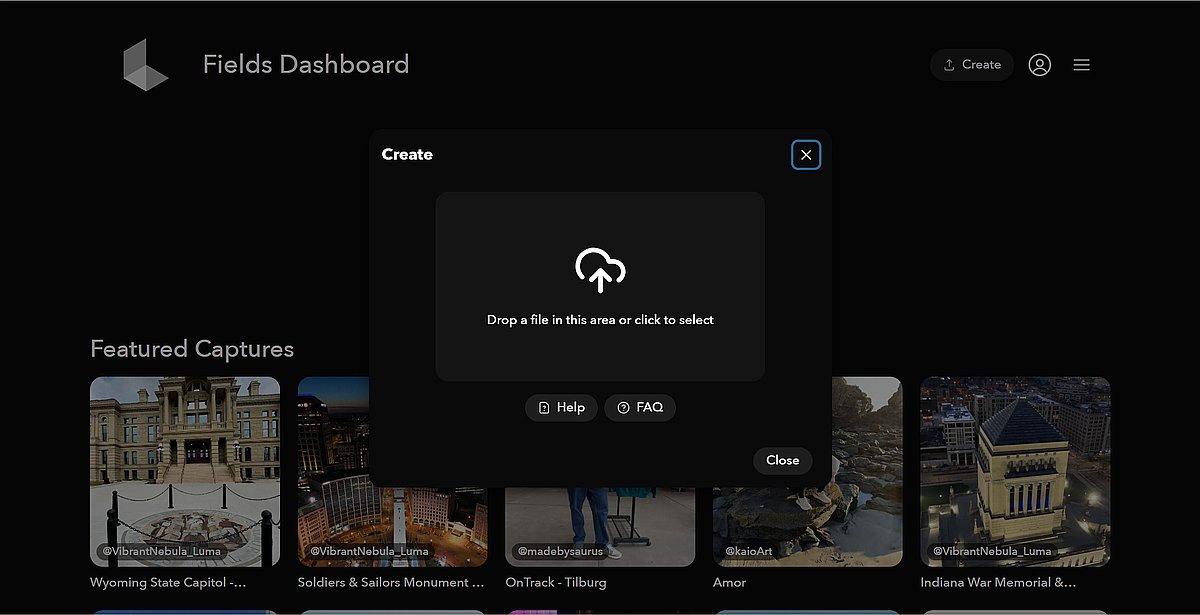
2. Luma AI
My second attempt was with Luma AI. I tried both clear photos and a video as input, but the upload stayed at 5% for about two hours and then failed. I am not sure what caused the error and plan to try again later. Luma AI is a company that provides AI‑powered 3D scanning and 3D content creation solutions, using advanced techniques to automate and enhance the photogrammetry process.