Week 01: Project Management & Principles and Practices
Week 01 Reflection
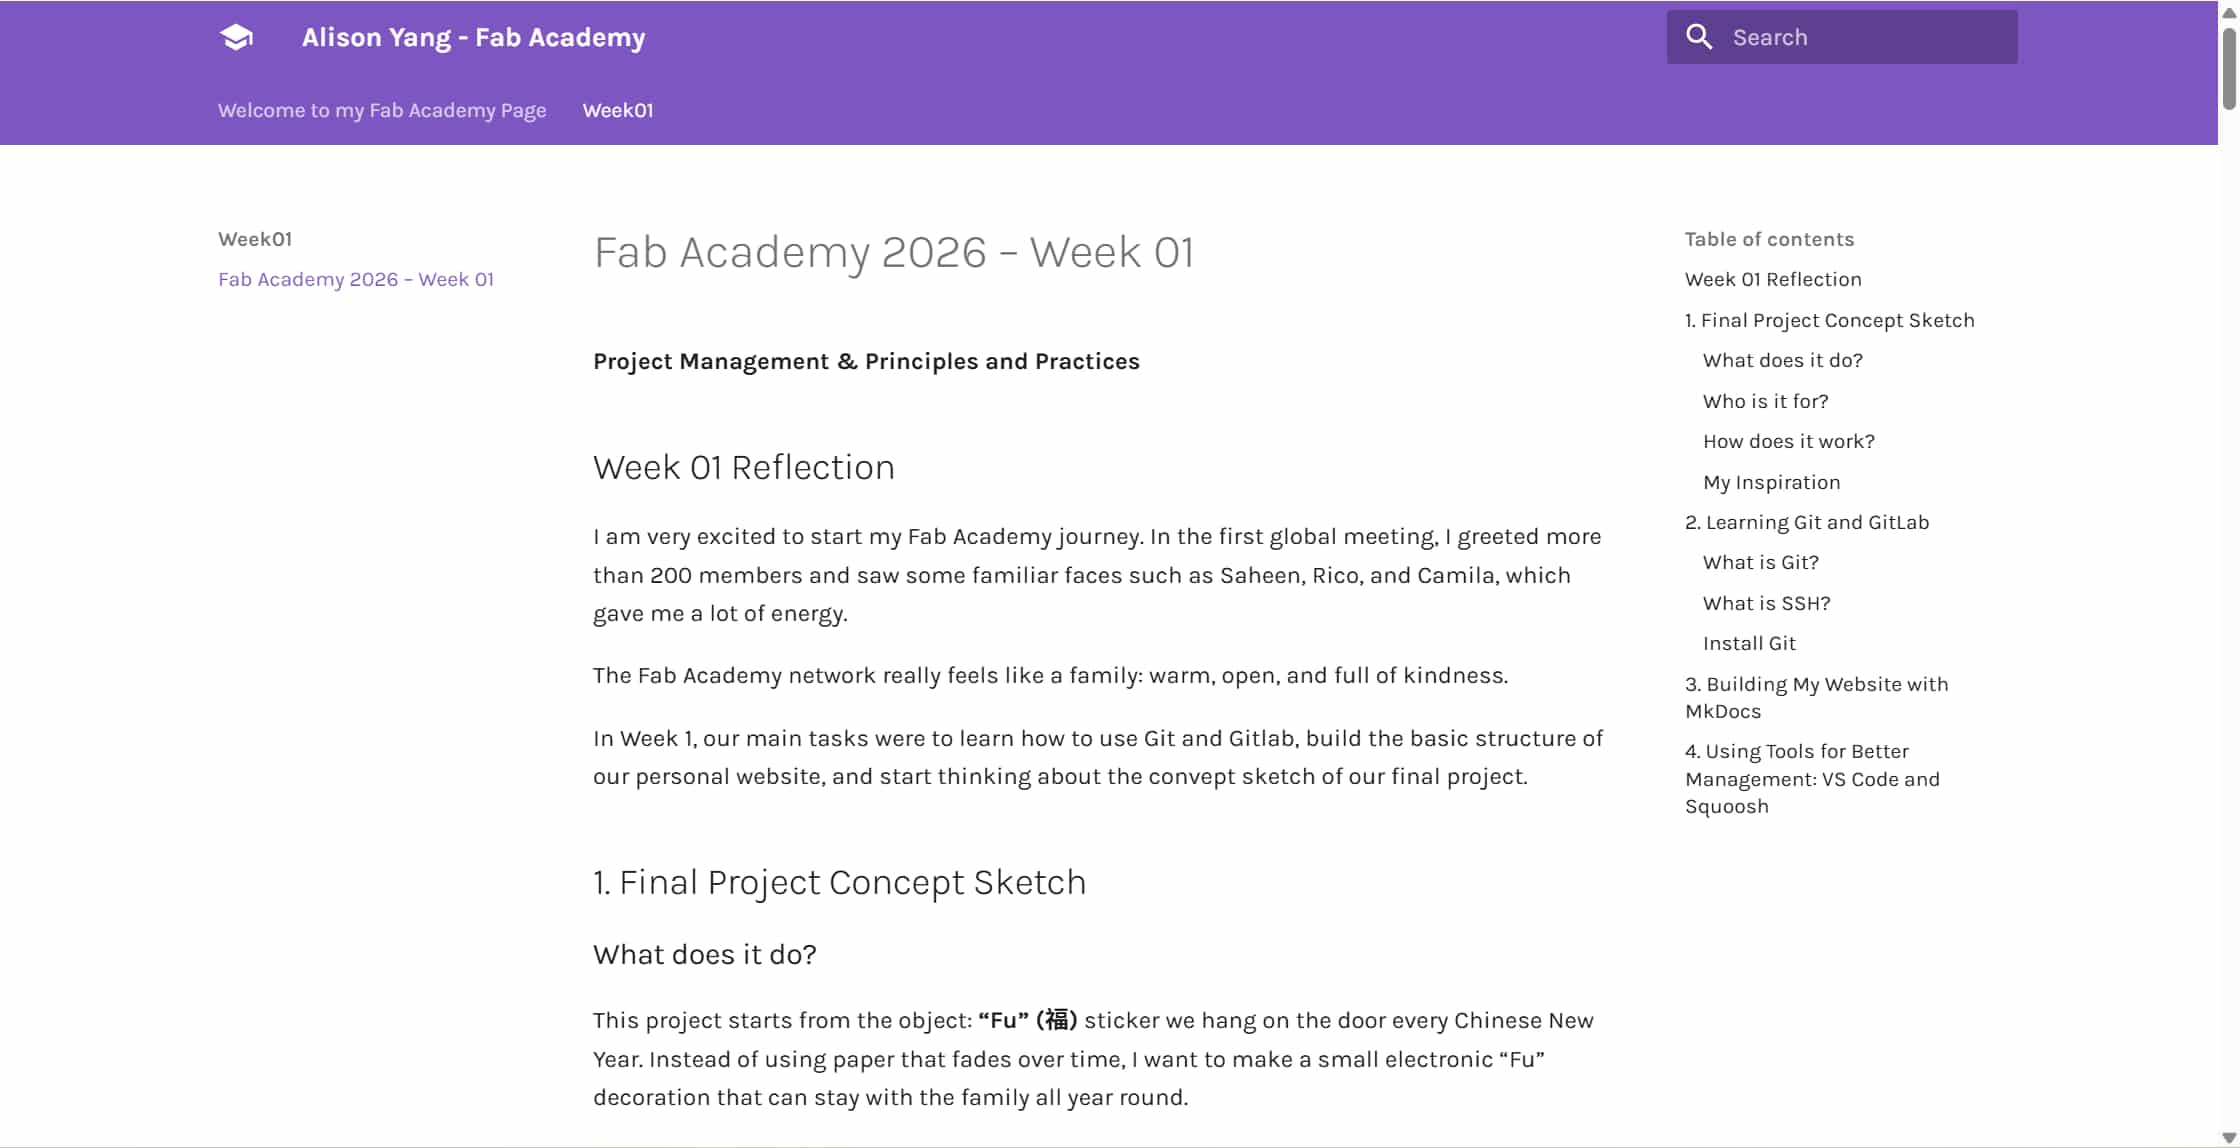
I am very excited to start my Fab Academy journey. In the first global meeting, I saw more than 200 participants and even noticed some familiar faces such as Saheen, Rico, and Camila. That gave me a lot of energy and made the Fab Academy community feel warm, open, and welcoming.
This week focused on learning how to use Git and GitLab, building the structure of my personal documentation website, and starting to think about my final project idea. For me, this was a challenging but meaningful beginning because I come from a less technical background, so many of these tools were completely new.
Assignment Overview
In Week 01, I worked on the following tasks:
- Learn the basics of Git and GitLab
- Build my personal website for Fab Academy documentation
- Upload and organize documentation files
- Sign and upload the student agreement
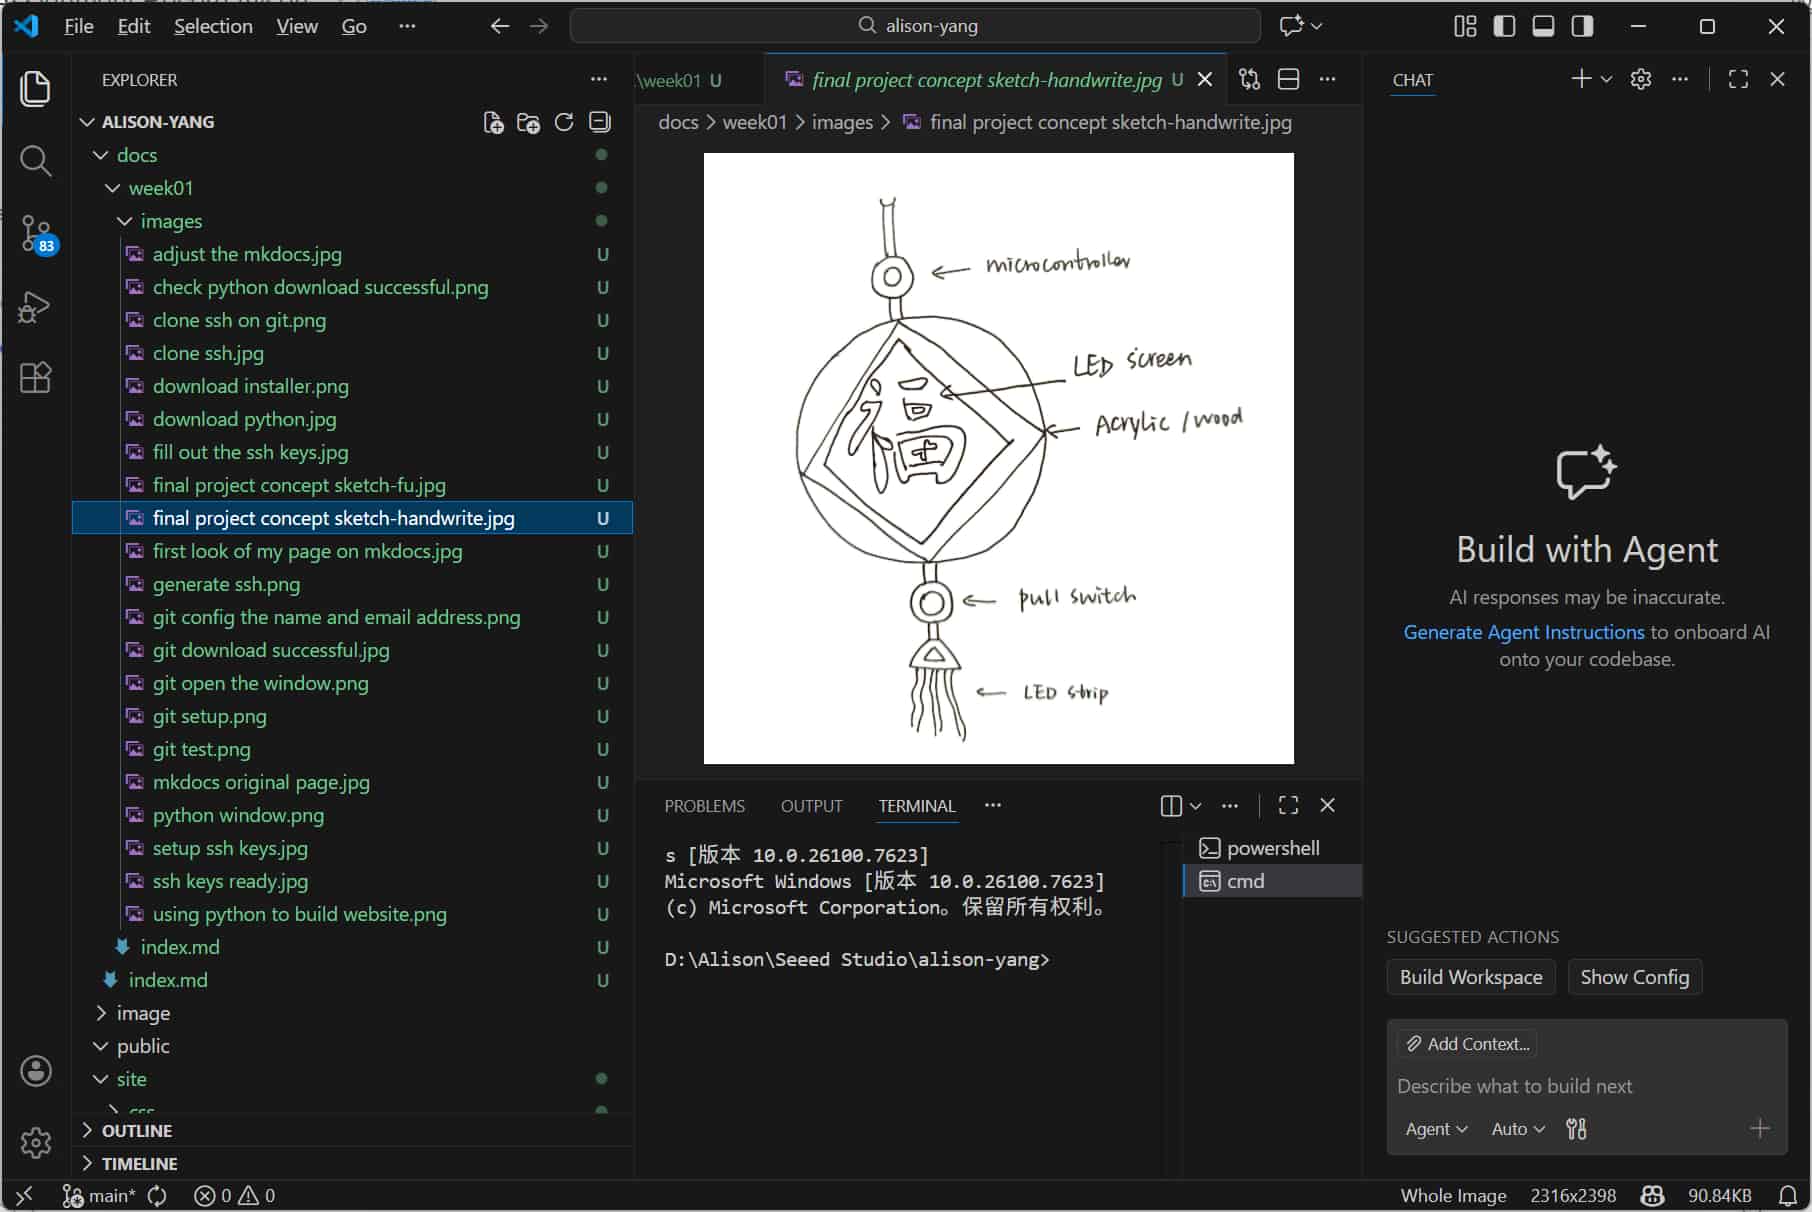
- Start sketching the concept for my final project
You can also see my final project concept here: Final Project
Before this week, I had never seriously used Git or GitLab. Only know about Github, I also had very limited experience with Markdown and website-building tools.
I tried to understand why each step was needed. That helped me feel less afraid of tools that were unfamiliar at first.
1. Learning Git and GitLab
What is Git?
This was my first time working with Git and GitLab. Before starting, I searched for background information using Perplexity and other online references.
Git is a tool that helps people track changes to files (usually code). It allows users to safely edit files, return to earlier versions, and collaborate without overwriting each other's work.
I understand Git as a combination of "track changes" and a "time machine" for a project folder.
What is SSH?
SSH (Secure Shell) is a secure way to connect my computer to a remote server. It uses encryption and key-based authentication to make sure only authorized users can access and modify files on GitLab.
I followed the tutorial shared by Fab Academy alumni Camila
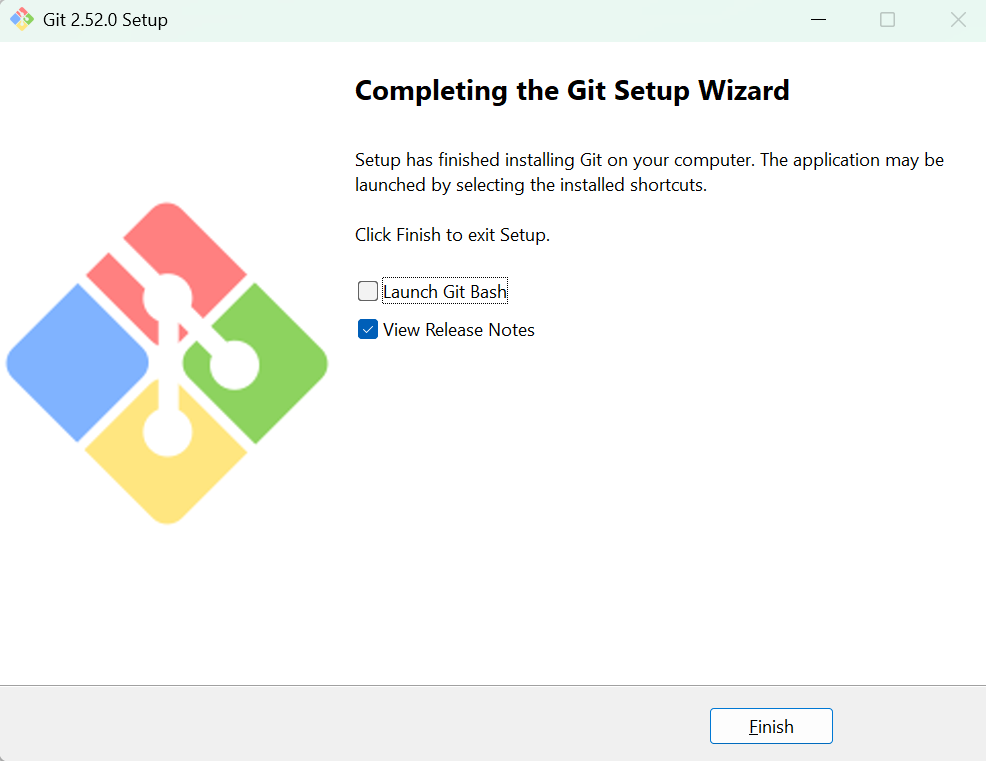
Install Git
After installing Git, I verified the installation using:
Setting my name and email
To configure Git, I set my user name and email using the following commands:
git config --global user.name "Alison Yang"
git config --global user.email alison.yang@seeed.cc
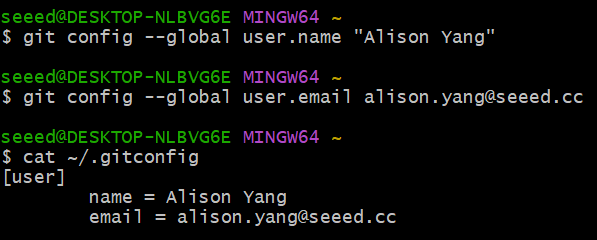
After that, I used the command below to confirm that the information was saved correctly:
cat ~/.gitconfig
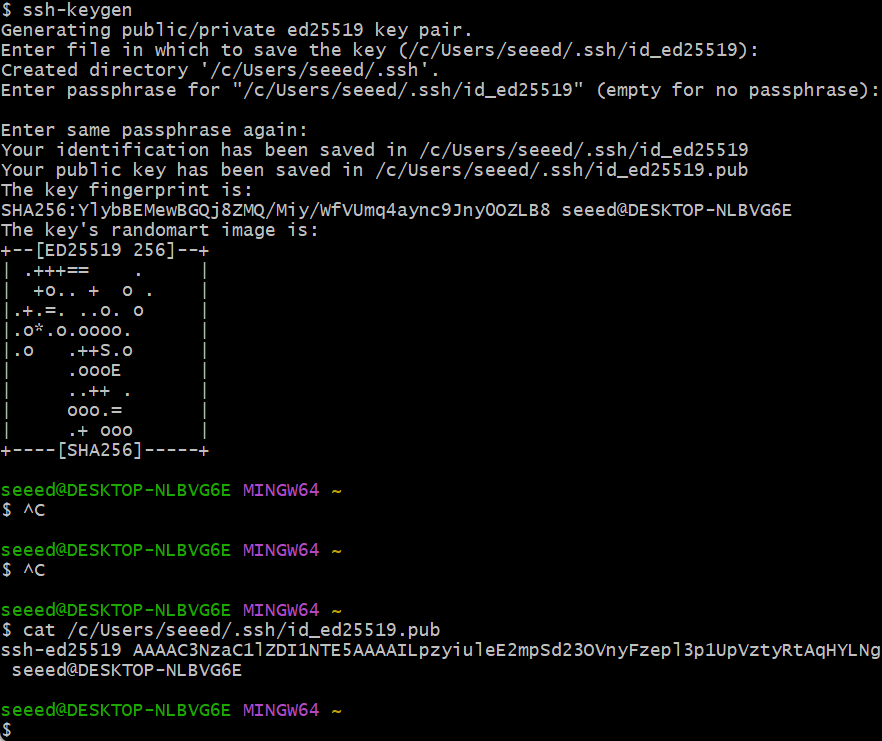
Setting up the SSH key
The SSH key works like a personal key that proves I have permission to modify data on GitLab.
I created an SSH key using the ssh-keygen command and selected id_ed25519 as the key type. After generating the key, I copied the public key and pasted it into GitLab under Settings → SSH Keys. I adjusted the title and left the expiration date blank.
After setting up the SSH key, I cloned my repository, added a test file, committed it, and pushed it to GitLab to make sure everything worked correctly.
One important thing I learned is that it is better not to use Ctrl+C and Ctrl+V for terminal commands when possible. Typing commands manually or using the mouse helps avoid hidden formatting errors.
2. Building My Website
After finishing the Git and GitLab setup, I started building my personal Fab Academy website.
First attempt MkDocs
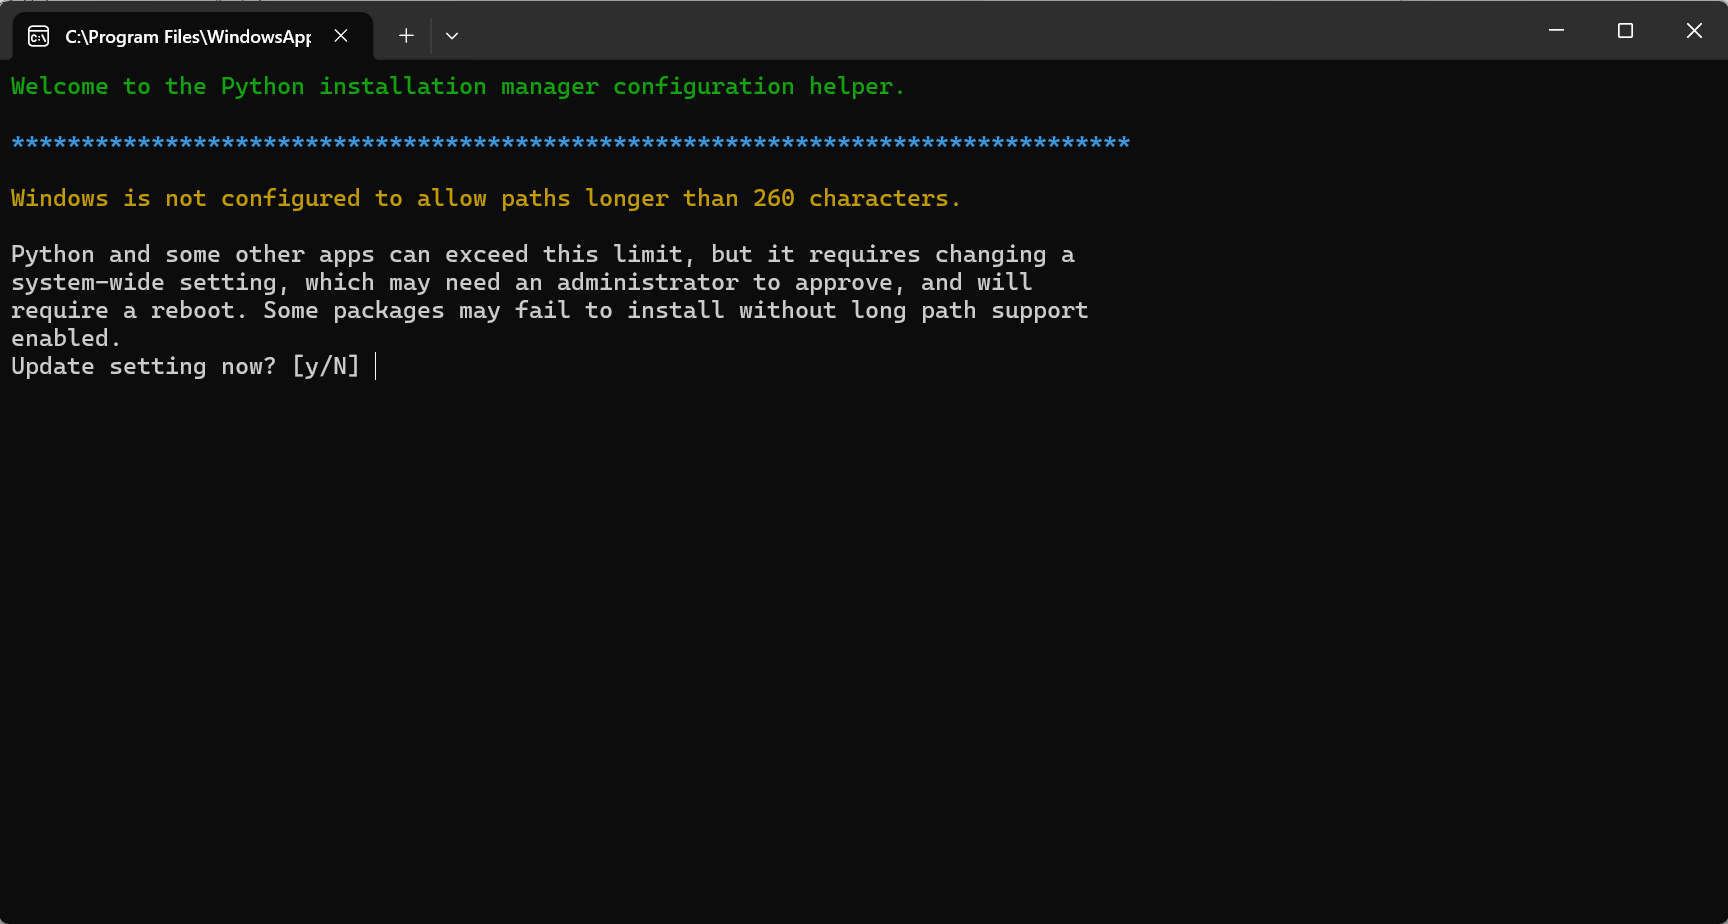
At first, I chose MkDocs because it is simple, clean, and commonly used for documentation websites. Since MkDocs depends on Python, I first needed to install Python.
Installing Python
Before using MkDocs, Python is required.
Python is a programming language used to tell computers what to do. In this case, Python helps run MkDocs and handle the behind-the-scenes part of the website. The visual layout that users see in the browser is still based on HTML, CSS, and JavaScript.
I installed Python and checked the installation using the command line.
After installing Python and MkDocs, I created my first website, previewed it locally in the browser, and edited the content files. Once I updated the information on my website, the basic structure of the site was completed.
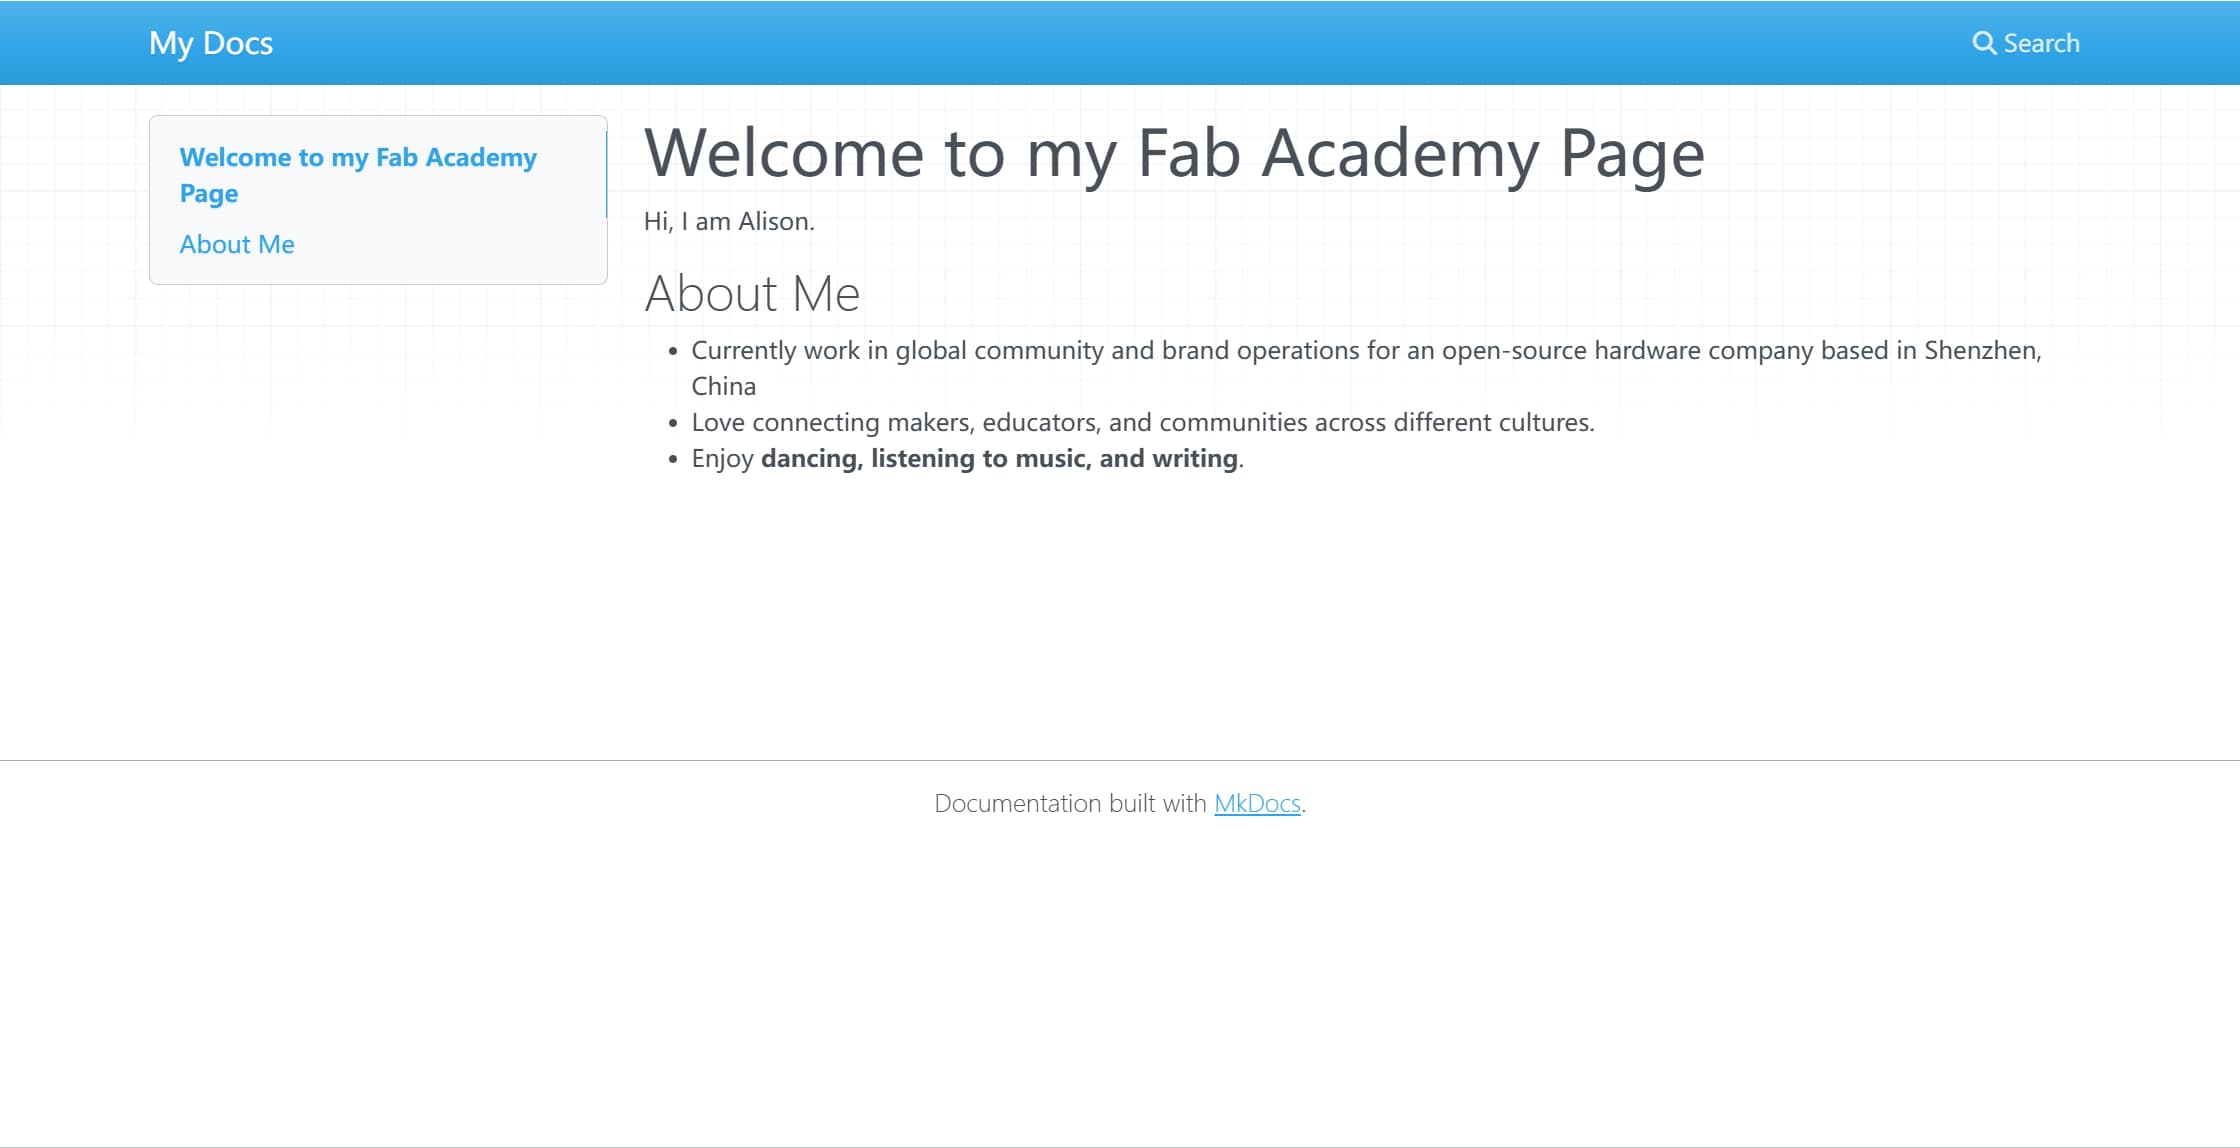
Problems with MkDocs
Although MkDocs worked at a basic level, I ran into several problems during setup. The navigation bar did not display properly, and even after I changed themes, the layout still looked rough and incomplete.
At this point, my instructor suggested that I try a different platform and use Cursor to help me with the setup.
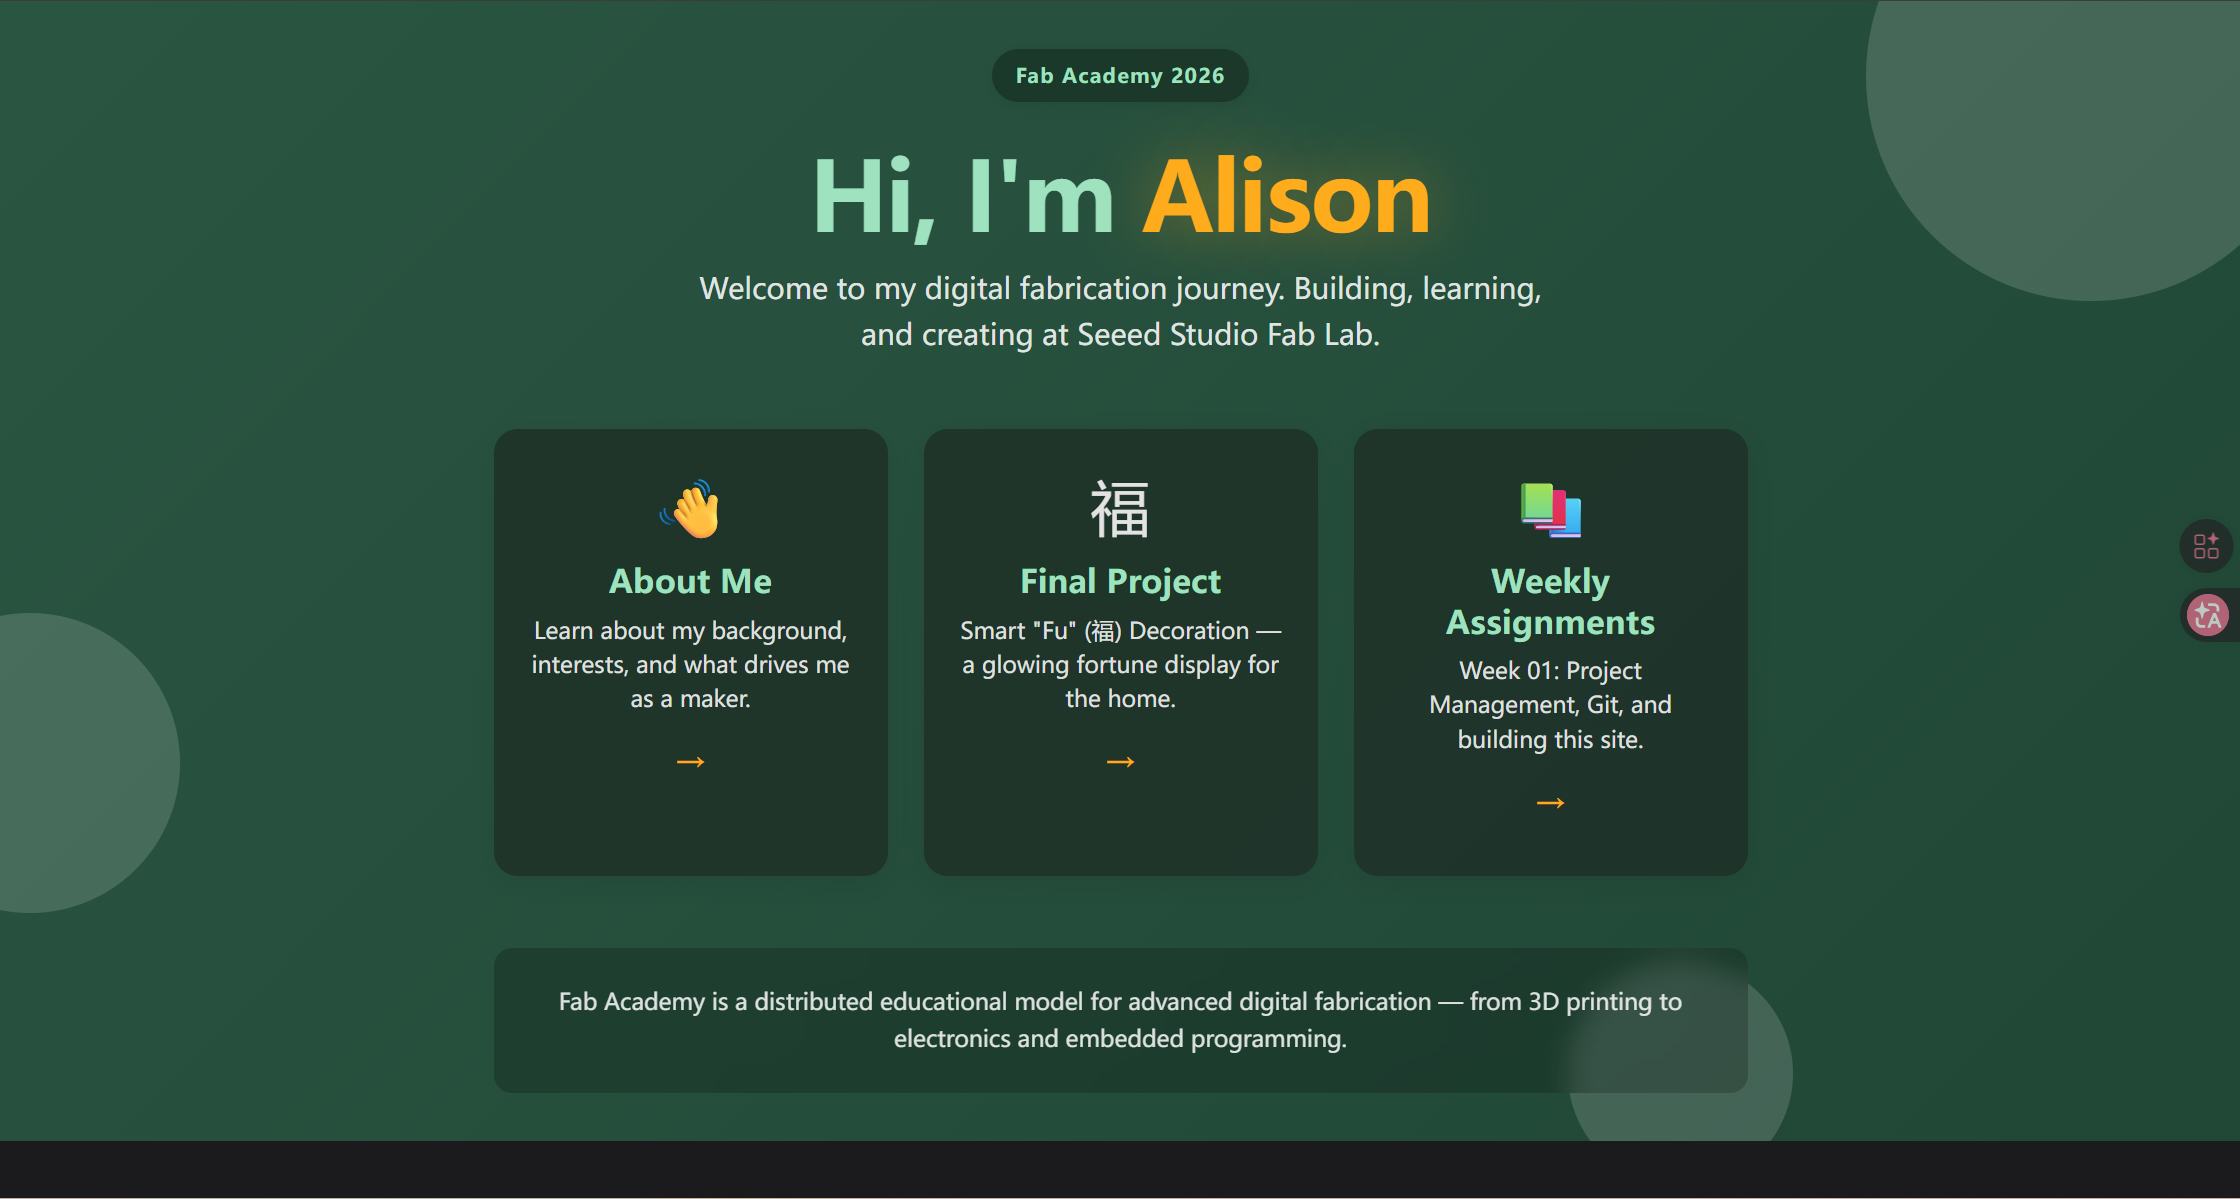
Switching to Docusaurus
Based on that advice, I moved from MkDocs to Docusaurus.
Docusaurus is also a documentation website tool, but compared with MkDocs, it offers a more modern interface and more flexible design options. Since Fab Academy documentation includes many images, sections, and weekly pages, Docusaurus felt like a better long-term choice for me.
I also started using Cursor, which was new to me. Cursor helped me understand the project structure, generate setup steps, and make changes more confidently. As a beginner, this made the process much less intimidating.
My first prompt to Cursor was: " I want to design a website using Docusaurus. Please help me set it up and initialize it using the files in my docs folder."
Later, I also used prompts to improve the layout and apply a cleaner structure based on my instructor Matthew’s reference files.
By following those steps, the website structure gradually became much clearer and more organized.
3. Tools That Helped Me
VS Code
To manage my files more efficiently, I used Visual Studio Code (VS Code).
VS Code is a free, open-source code editor developed by Microsoft. It supports multiple platforms and provides features such as syntax highlighting, smart code completion, and integrated Git tools. It is especially convenient for editing Markdown files and managing folders like docs and images.
After downloading VS Code, I opened my local project folders directly from my Windows computer. This made editing and managing .md files much easier compared to using basic text editors.
Image compression with Squoosh
I also used Squoosh to compress images before uploading them to my website.
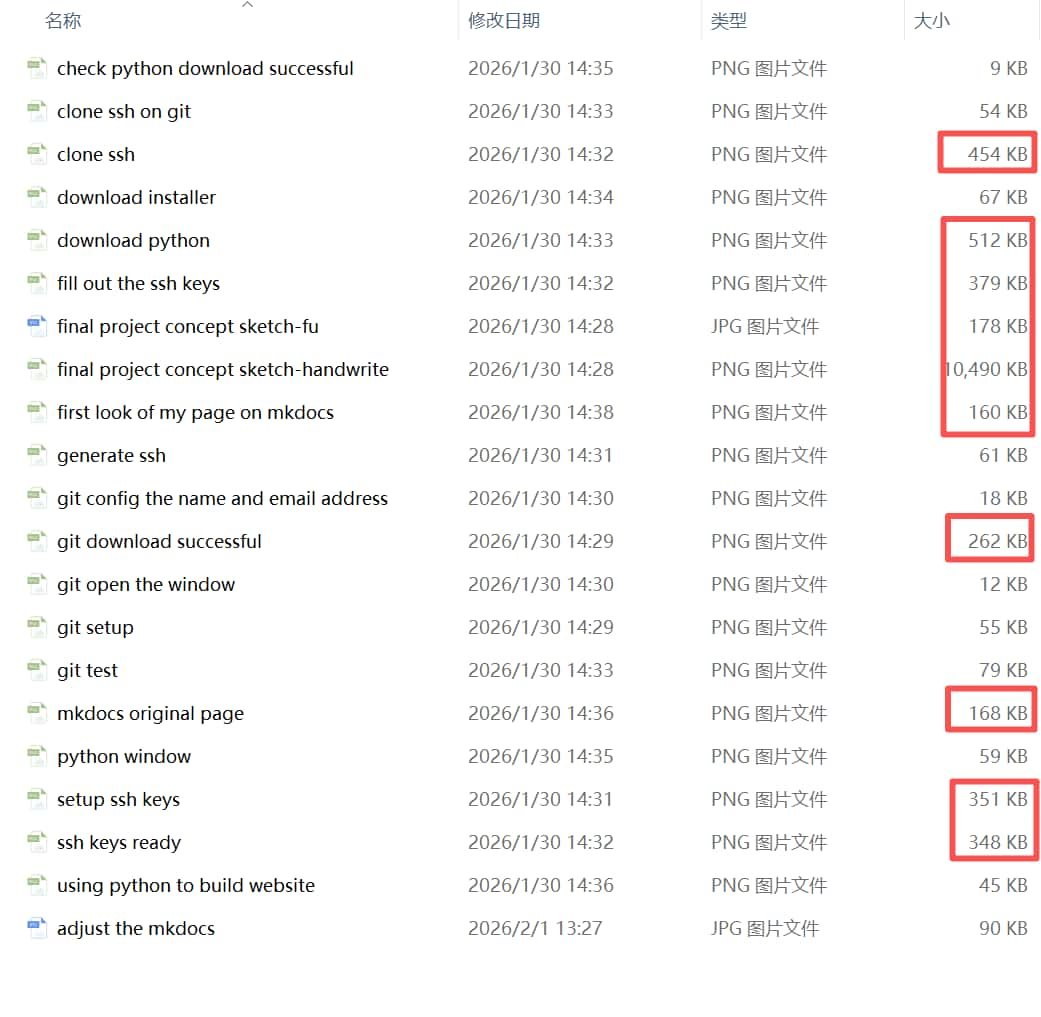
After compression, image sizes were reduced significantly, for example from 454 KB to 90 KB, and converted from PNG to JPEG format. This helped me understand that compressing images can greatly reduce disk space usage and bandwidth for uploads and downloads.
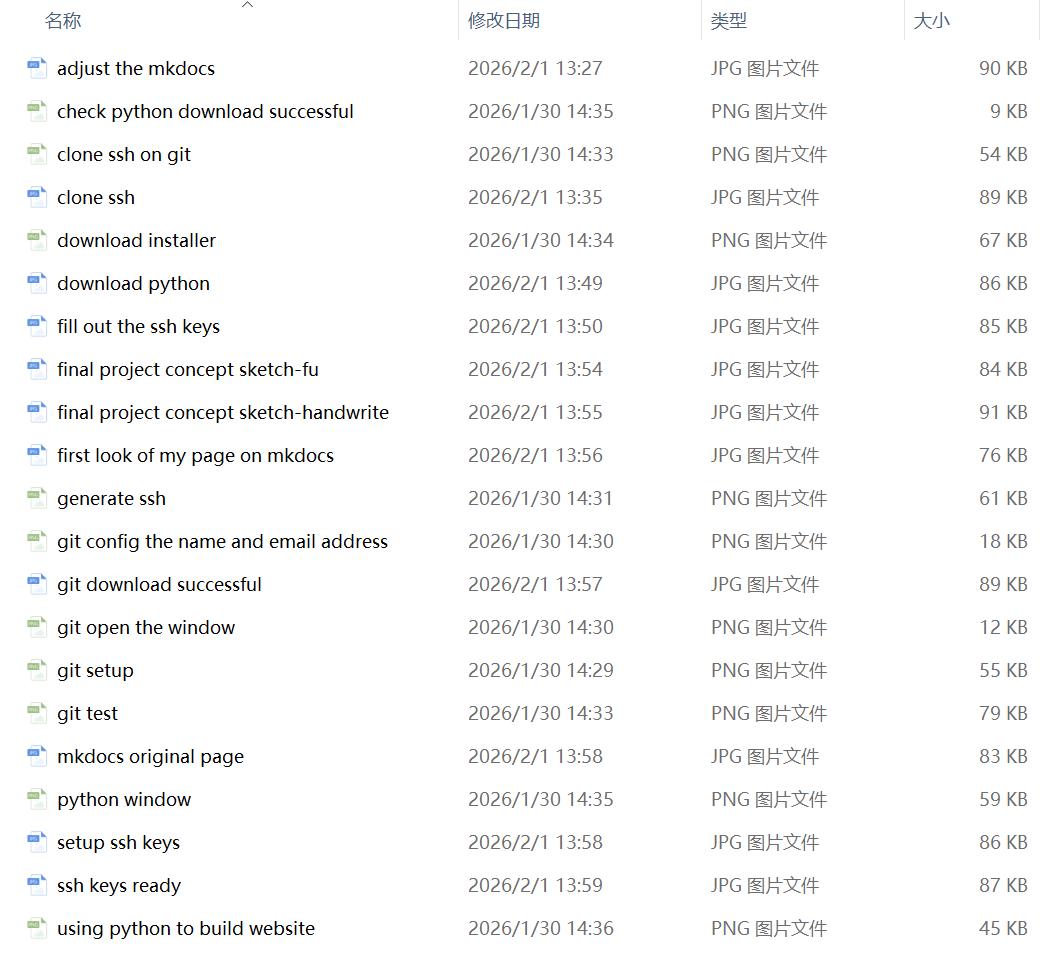
All images were successfully compressed and optimized.
Another useful feature I noticed is that VS Code automatically refreshes and updates file sizes and previews in the Explorer panel after reopening the folder, which makes file management more convenient.
4. What Went Wrong and How I Fixed It
Problem 1: My first website setup looked incomplete
I started with MkDocs, but I did not fully understand the structure at the beginning. As a result, the page looked basic, and the navigation bar did not display correctly.
Fix: After discussion with my instructor, I switched to Docusaurus, which gave me a clearer and more flexible structure.
Problem 2: I was unfamiliar with Git and SSH
At the beginning, Git and GitLab felt abstract and difficult to understand. Each step there will be a new challenge.
Fix: I followed plenty different alumni's tutorials step by step, tested each part carefully, and made sure I understood the purpose of each action before moving on.
Problem 3: My files and folders became messy
As I tried different website tools, the folder structure became confusing.
Fix: I reorganized the files, used Cursor to help clean the project structure, and moved toward a clearer documentation workflow.
5. What I Learned
This week taught me that website setup is not just about design. It also includes version control, file structure, publishing workflow, and media optimization.
My biggest learning points were:
- Git helps me save and track progress safely
- SSH is important for secure connection with GitLab
- Image compression matters for documentation websites
- Docusaurus is better suited to my current documentation needs than MkDocs
- AI tools like Cursor can be helpful, but I still need to understand each step myself
- As a beginner, I still have many things to learn, but this week gave me a much stronger foundation than I had before.
Never thought Week 01 was much challenging for me, cause instructors said it was the simplest course. But it helped me build the base I need for the rest of Fab Academy. I now have a working documentation website, a basic Git workflow, and a clearer idea of how to organize my weekly work. Cheers~