
Software & Tools
xTool Studio
Laser Cutting, Engraving, Machine Control
Desktop V1.6.6
xTool Studio


Fusion360
Parametric CAD, CAM, Simulation
Build 2606.1.22
Fusion Education
Adobe Illustrator
Vector Illustration, Layout, Typography
Version 30.1
Adobe Creative Cloud Subscription
Houdini
Procedural Modeling, Simulation, Rendering
Build 21.0.440
Houdini Apprentice

Gallery
Milled Handle Halves
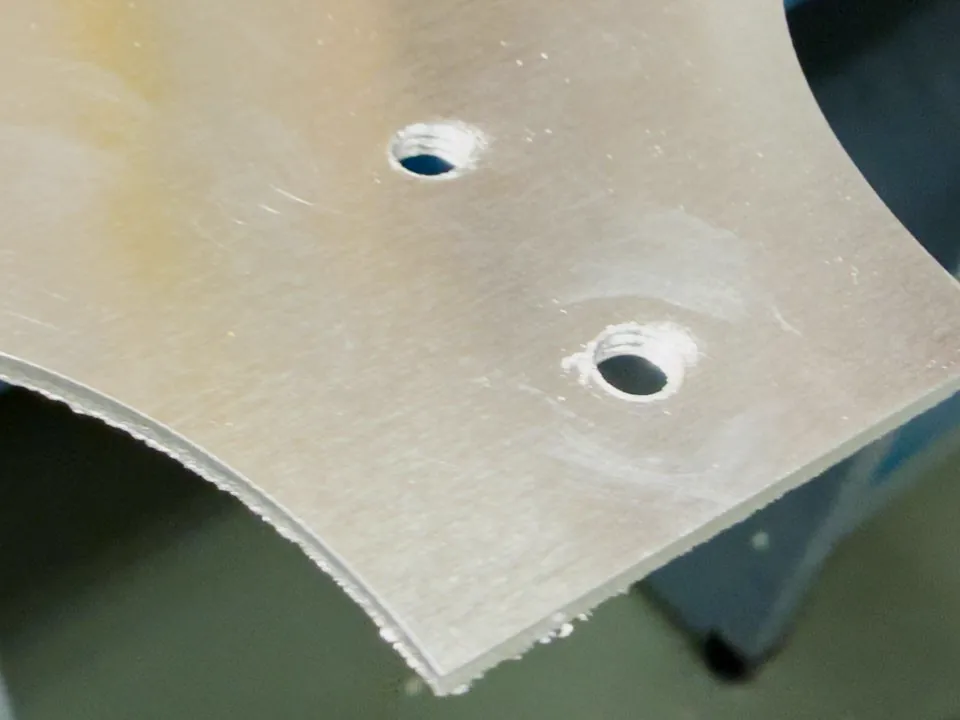
Laser-Cut Aluminum
Engraved Handle
Creating the File
For the file, I already had a rough idea in mind. I first evaluated the shape quickly in Houdini and then redrew it in Adobe Illustrator.
Then I remembered that Fusion360 does not really like my Houdini files when I want to use them for milling. So I rebuilt the design from scratch in Fusion360, and this time it worked much better than during the previous milling assignment. More details about my milling workflow are documented in the Machining Week.
For this week, however, the milling file was not the most important part. The more important file was the metal cutting file, and that is naturally only a 2D file. Still, I had to coordinate both files carefully, because the metal part and the wooden handle had to fit together and I did not want to miss any potential manufacturing constraints from either the router or the overall design.
The file for the cut was created exclusively in Adobe Illustrator and is basically quite simple. The important part was that the handle shape and the mounting holes matched the milled wooden handle. I then exported the file as an SVG.

The metal sheet was prepared as a flat SVG cutting file, while the handle was prepared as a Fusion360 model for CNC milling. Matching the mounting holes in both files was the most important design constraint.
xTool MetalFab
For the metal part, I used the xTool MetalFab Laser Welder and CNC Cutter.
The setup I used is the 1200W version of the xTool MetalFab. It is a high-power fiber-laser system that can be used for both welding and cutting. The laser source sits in the welder unit, while the CNC cutter moves and positions the cutting head in a controlled way.
For cutting, the focused beam heats and melts the metal along the toolpath, while assist gas or compressed air clears the molten material from the cut and helps protect the cut quality.

The CNC cutter has an internal working area of 610 mm x 610 mm, and it also supports passthrough handling for longer sheet material. According to xTool, the 1200W setup can cut common fabrication metals such as stainless steel, aluminum, brass, carbon steel, galvanized sheet, and titanium alloy.
With the CNC platform, xTool lists burr-free cutting up to 5 mm stainless steel, 4 mm aluminum, 3 mm brass, and 10 mm carbon steel or galvanized sheet, with thicker carbon steel possible but with dross.
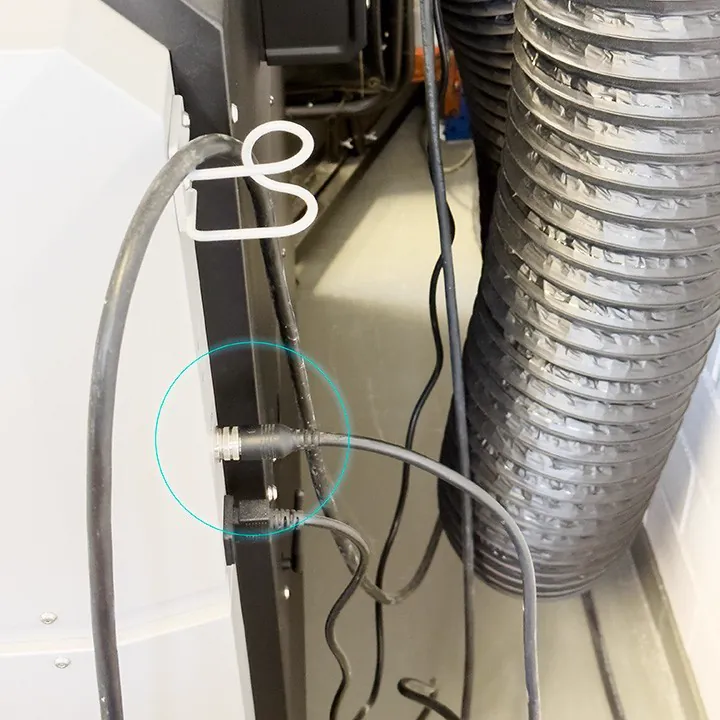
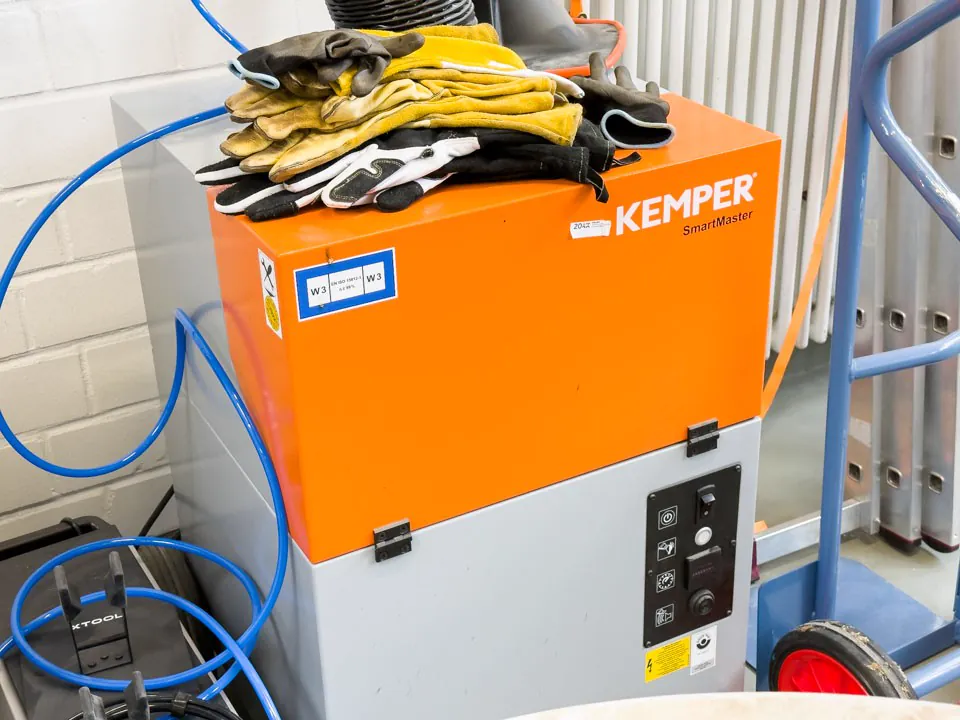
For this project I naturally used the CNC setting. To use the laser as a CNC station, the connection between the welder and the cutter has to be attached correctly. Like with any other laser cutter, the exhaust system must also be connected and switched on during operation.

This is a high-power metal laser, not a desktop craft laser. A machine introduction is required before using it, and the safety videos provided by xTool should be taken seriously. The laser welder also asks the user to confirm that the safety instructions have been read.
The laser cutter also needs compressed air. Ideally, the pressure should be around 180 psi. In our setup we only had about 130 psi available, but for this cut it still worked without problems.
With the machine prepared, I could move on to the cutting process. First, the laptop needs to be connected to the cutter via USB, and xTool Studio has to be opened. If everything is connected correctly, the software immediately recognizes the cutter. If it does not, the welder-to-cutter connection and the machine power state should be checked again.
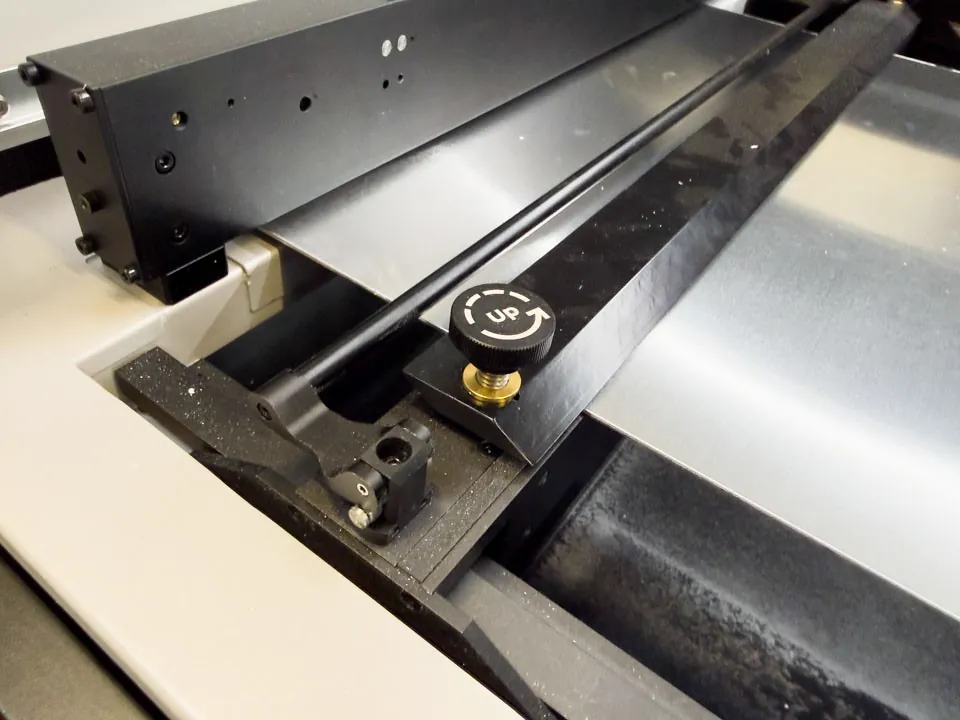
The aluminum sheet can be fixed with the integrated rails inside the machine. This is especially useful for thin sheet material, because it keeps the plate from shifting while the head is moving and while the assist air is blowing across the surface.
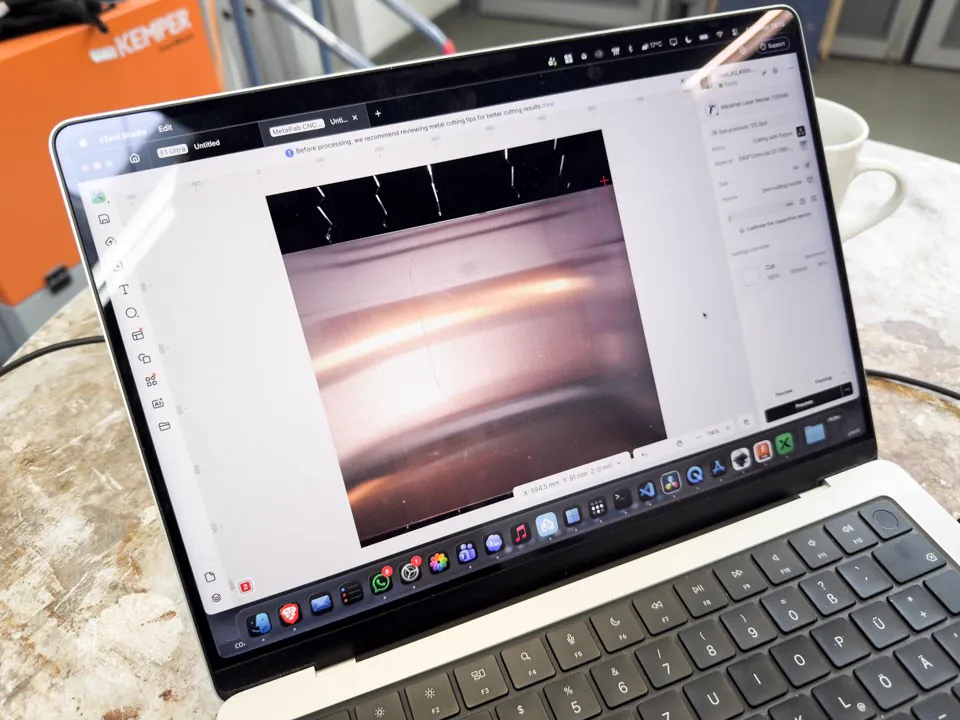
The cutter can then be selected in the software. I loaded the exported SVG file into xTool Studio and placed it where the aluminum sheet should be cut.
The xTool MetalFab supports camera-based placement, and the camera image can be refreshed with the photo button in the interface. For this placement step the lid should be open so the camera can update correctly.
When the object is positioned correctly, a framing run can be started from the bottom of the interface. The laser cutter then asks for confirmation by pressing the white illuminated button on the machine. If the position looks right, the next step is setting up the cut parameters.
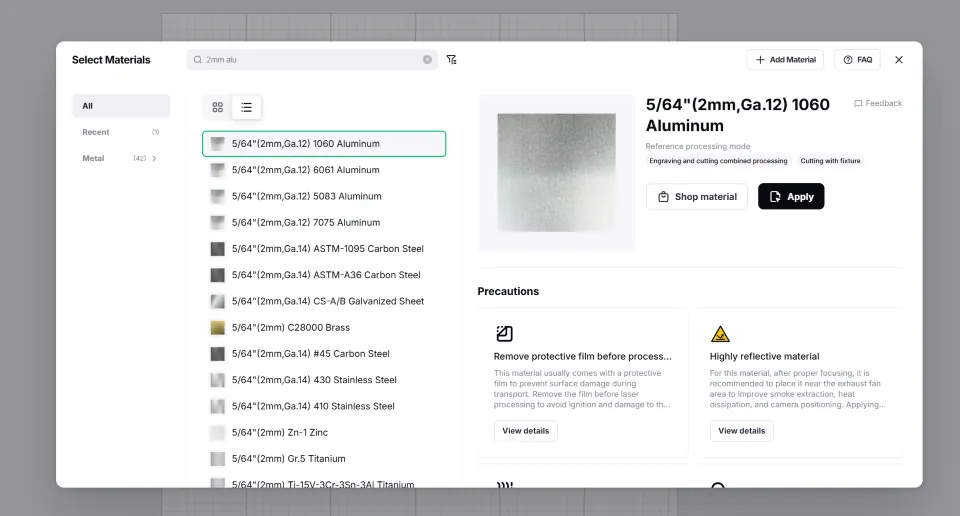
In my case I cut a 2 mm aluminum plate. Under the material settings, xTool Studio already offers a very large list of materials. There was also a preset for 2 mm aluminum: 5/64" (2mm, Ga.12) 1060 Aluminum.
From experience, the presets are usually a good starting point, but they are not always perfectly correct. A test cut is therefore always recommended. During the Machine Building Week we had problems with small holes, so I tested that next to a normal cut as well. I simply added two shapes directly inside xTool Studio and tried to cut them with exactly the same settings.
Before cutting, the capacitive sensor has to be calibrated for the material. This can be done by clicking the calibration button in the UI and then clicking on the screen where the material is located. The laser moves to that position, lowers the head until it touches the material, and uses that to calibrate the capacitive change that happens when the nozzle approaches the sheet. If the calibration succeeds, the UI confirms it.
Once everything is set up, the test cut can be started by clicking Process. In the next step, the software shows a preview of how the laser will process the file and, if necessary, asks for a nozzle change.
Because the laser can process different materials, functions, and thicknesses, it uses different nozzles depending on the job. In this case, the laser cutter asked for a 2 mm cutting nozzle, which can be screwed onto the head. The nozzle distance also has to be compensated with the small wheel next to the nozzle. The UI gives the required value, which was -6 in this case. To set it, the clamp is loosened, the wheel is turned to -6, and the clamp is fixed again.
On the xTool MetalFab, the material preset is only one part of the setup. The nozzle type, focus offset, air pressure, and capacitive sensor calibration all affect whether the metal is cut cleanly.
Now everything is really ready for the test cut. I confirmed the start in the software, pressed the white button on the machine, and the cut began.
Because the test cut went well in my case, I could move directly to the pizza peel. If the preset values had not worked, either the selected material would have been wrong or the settings would simply not have been quite right. By clicking the object in the UI, the cutting values can still be adjusted manually. Power, speed, and passes are usually the most useful values to change.
Since everything had already been set correctly beforehand, I only checked the parameters again and then started the final cut. Depending on the file, the settings can still change, so this check is worth doing every time. After confirming again with the white illuminated button, the machine started cutting.
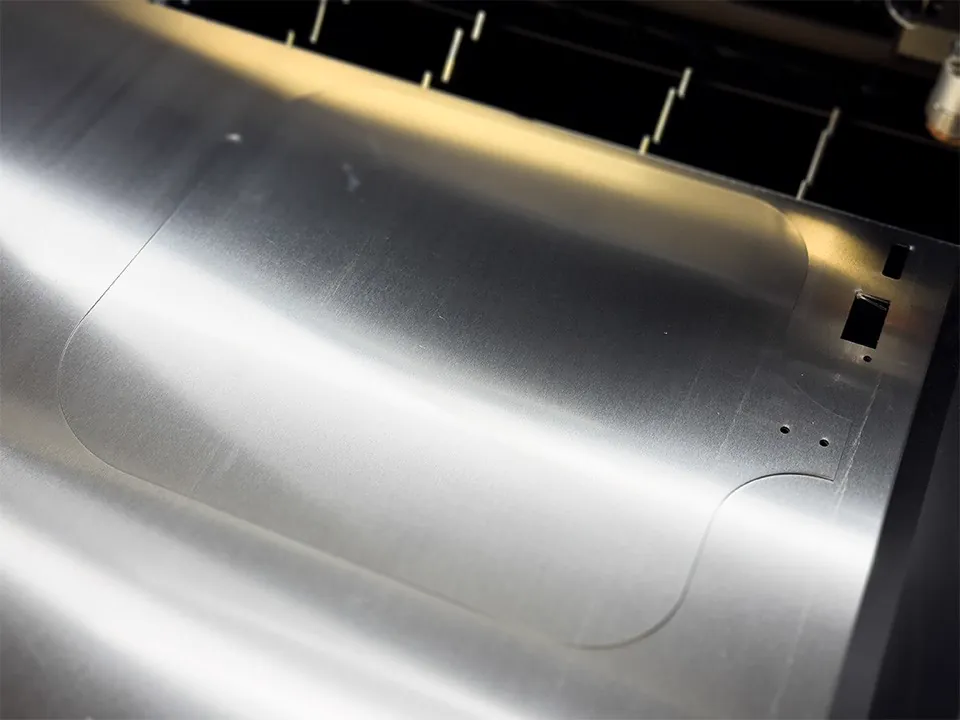
The cut itself was very fast and took only about one minute.
Metal Post-Processing
The cutting quality was very good and noticeably better than with our older metal laser cutter. Nevertheless, the result still had to be deburred slightly and the corners had to be sanded. Especially for a pizza peel, this step matters a lot.
Deburring with a deburring tool was quick and only had to be done once. Aluminum is fairly soft in this case, so the burrs came off easily. Filing the corners, however, was much more tedious. It is important not to clamp the object at a large angle, because otherwise the aluminum can bend.
After deburring, I also cut threads into the laser-cut mounting holes. This allowed the screws for the wooden handle to sit cleanly in the aluminum sheet and made the final assembly much more controlled.
This step also helped me check whether the hole positions from the Illustrator file and the milled handle still matched after cutting and post-processing.
Because the surface of the raw material was untreated, it was also essential to smooth the surface for the pizza peel. I started with 400 grit sandpaper, and then continued up to 2000 grit wet sanding paper with WD40. The sanding direction followed the direction in which the pizza would slide, so the peel would work better in use.
Finally, I cleaned the object several times with isopropanol until no residues were left.
Because the aluminum part touches food, sanding and cleaning were not only cosmetic. Any oil, dust, marker residue, or abrasive particles had to be removed thoroughly before assembly and use.
Milling the Handle
For the milling part, the same basic steps applied as in the Machining Week. More detail about the general milling workflow can be found there.
In short, I derived suitable NC jobs from the 3D file, milled the workpiece on our portal router, removed the tabs with a chisel, and added the roundovers with a trim router.
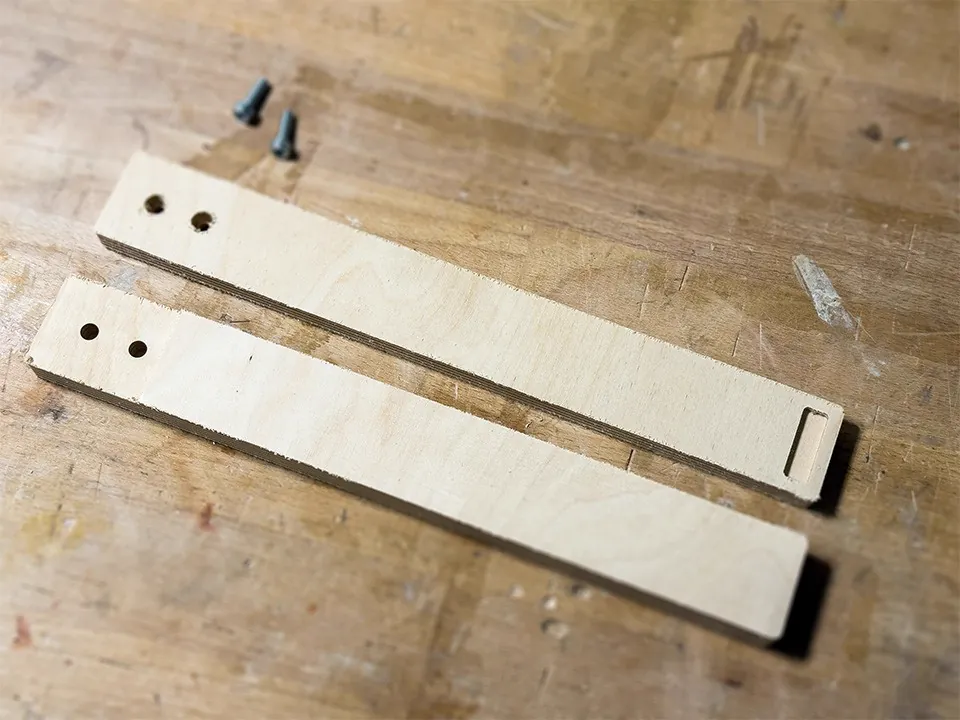
After that, the two milled handle halves were fitted with the previously planned threaded inserts and glued together. Once the glue had dried, the handle was sanded thoroughly. Finally, I oiled it three times and sanded between coats so it would be more resistant to light splashing water.
The threaded inserts were already part of the handle design, so the milled wood and the laser-cut aluminum could be assembled without forcing the parts into position later.
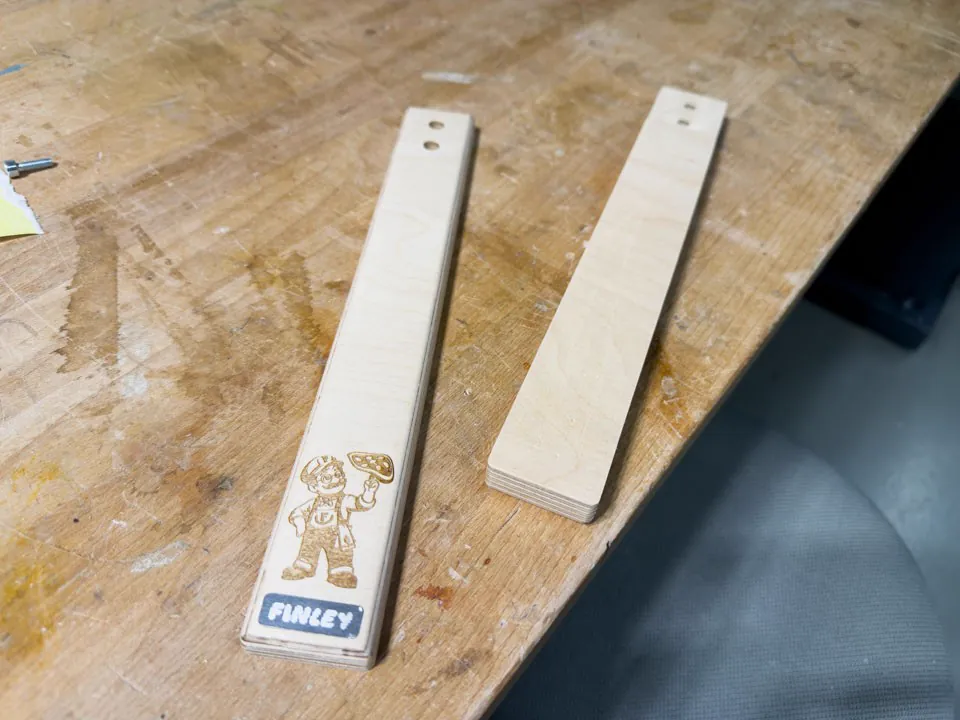
Engraving the Handle
The handle and the small name tag both still needed to be engraved. For this I used the xTool F1 Ultra.
The xTool F1 Ultra is a dual-laser galvo engraver with a 20W fiber laser and a 20W diode laser. The fiber laser is useful for metal engraving, while the blue diode laser is better suited for common materials such as wood, acrylic, leather, slate, glass, and ceramics. Instead of moving a heavy gantry over the workpiece, a galvo system deflects the laser beam with fast mirrors. That is why the machine can engrave very quickly and also project a much more detailed preview outline than a simple bounding box.
The machine is handled very similarly to the MetalFab from the software side, because both are controlled through xTool Studio. The laser is connected via USB or WiFi and can then be selected in the software.
For the engraving, I used presets from the material library as starting points and then played a little with passes and speed. The correct values differ strongly depending on the material, but because the laser is so fast, rapid testing works extremely well.
For the metal tag I used an Aluminum 2 mm preset. For the wooden handle I used a spruce multiplex preset. One important detail is that the focus should still be set manually, because otherwise it can be controlled by the preset.
Another nice detail is the preview mode. The laser does not only show the bounding box of the object, but can also display a detailed outline of the actual geometry because of the galvo mirror system. The two preview modes can be selected at the bottom of the preview panel.
For this project, the fiber laser was useful for the aluminum name tag, while the diode laser was the better starting point for the wooden handle engraving.
Assembly
With the steps above, I was finally able to assemble the pizza peel completely and without any errors on the first attempt.
My friend was very happy about the pizza peel and has already used it several times. The project was a lot of fun, but it did take longer than originally planned, and of course that happened right during the final project phase. Fingers crossed that I will soon be able to cut the parts for the Final Project as well.

