For wildcard week I wanted to try out the embroidery machine. The plan was to embroider a tote bag with a vector design I had already made back in week 03.
I also wanted to try thermoforming 3D printed parts to make a speaker grille.
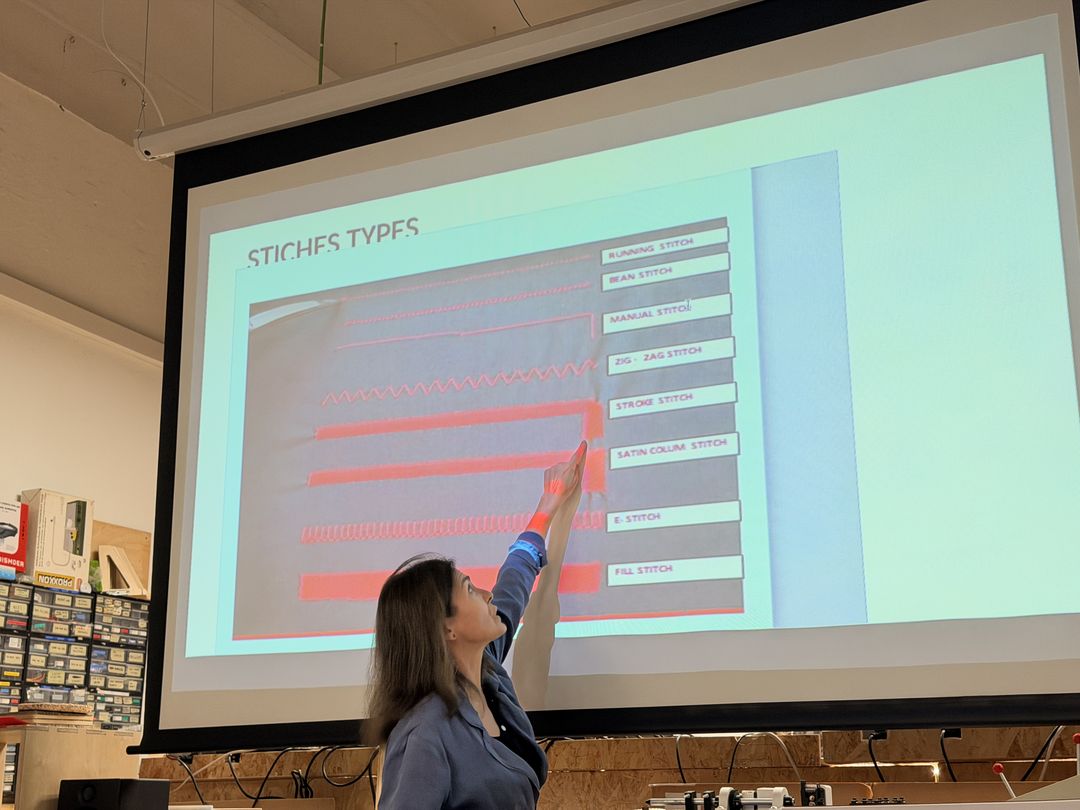
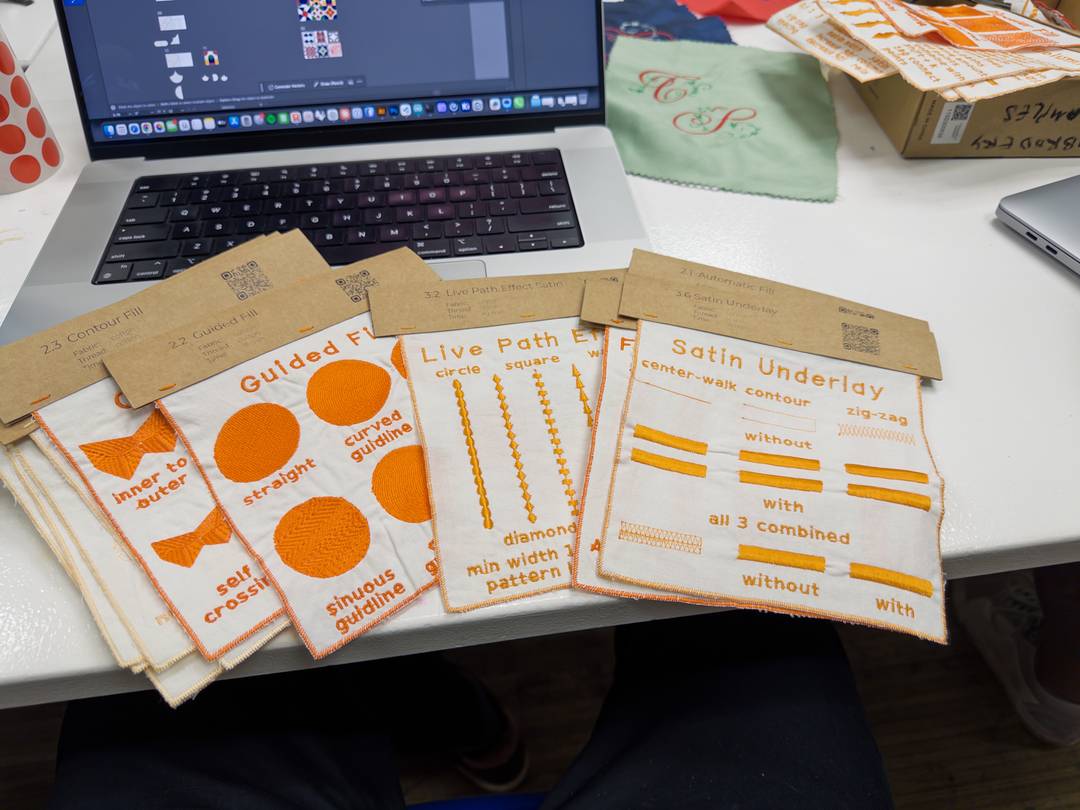
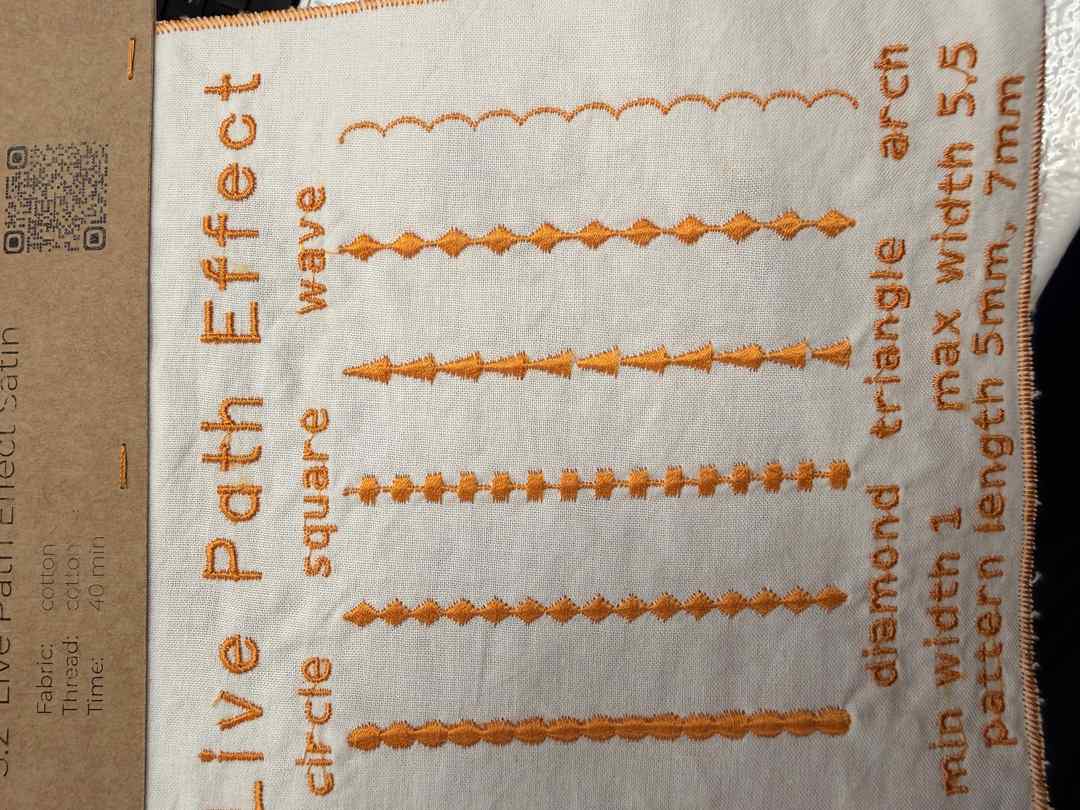
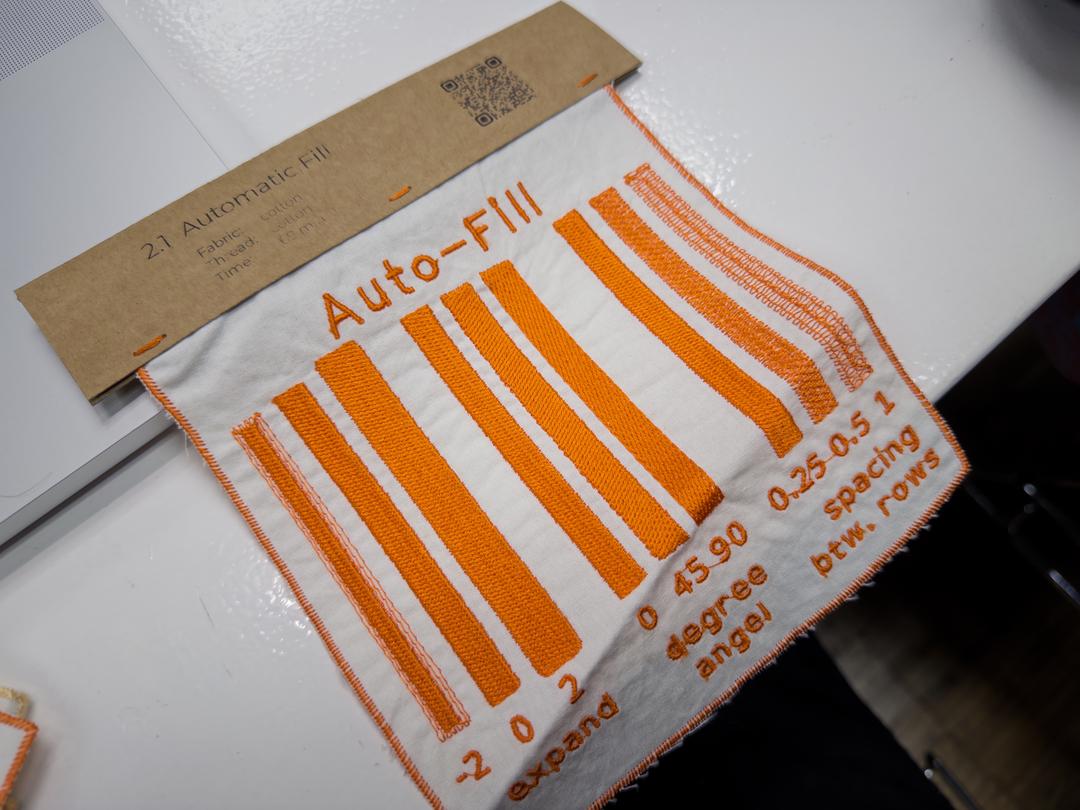
We started with a quick class on the machine (a Brother Innov-is NV870) and the different stitch types you can make: running, satin, and fill. I had a look at some sample swatches to get a feel for how each one actually looks once it's stitched out.
I prepped the design in Inkscape using the Ink/Stitch plugin. I started from my week 03 vector (.svg) and went through the shapes assigning a stitch type to each part: fills for the solid areas, satin for the outlines, and running stitches for the thin lines. I used Ink/Stitch's Params to tweak the values until each part looked right.
Before stitching anything, I used Ink/Stitch's realistic preview to simulate the whole design. This was really handy for catching problems early. I did this for both the flower design and my logo.

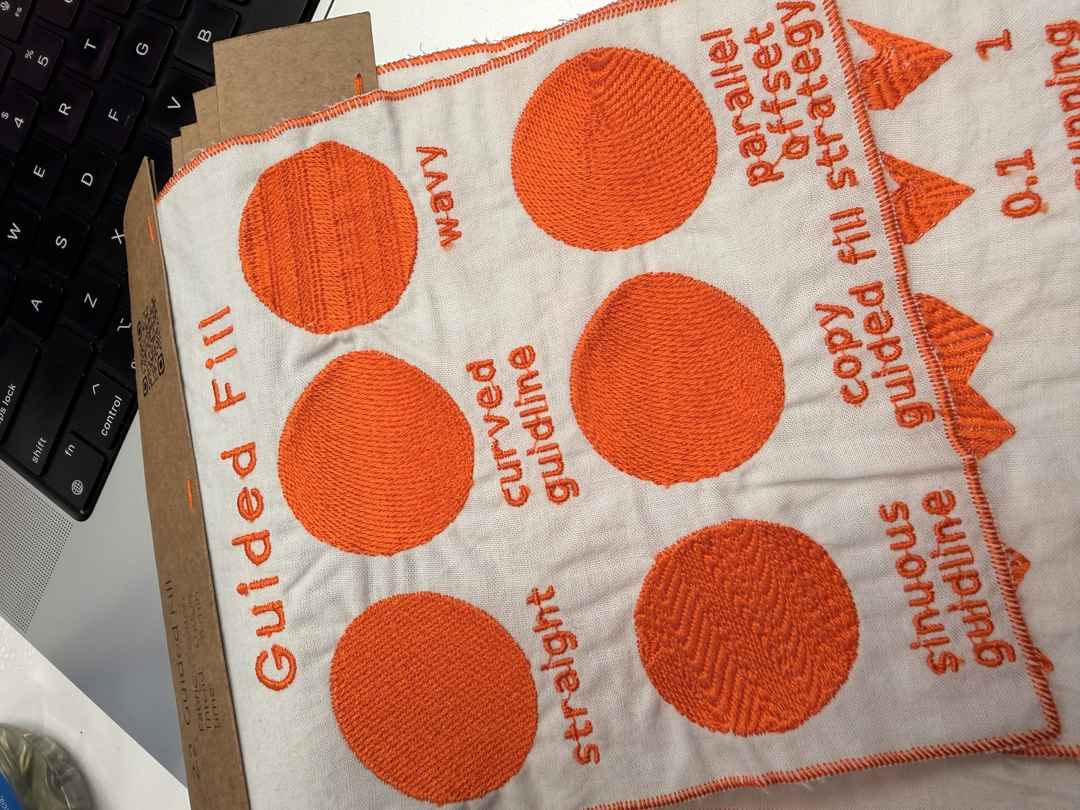
I also played around with the different fill stitches to see how they changed the look, like the regular auto fill versus a circular fill.
Once I was happy with everything, I saved a copy as a .pes file (that's the format our machine wants) and kept the original .svg so I could still edit it later.
I cut and prepped the tote bag fabric to work with.
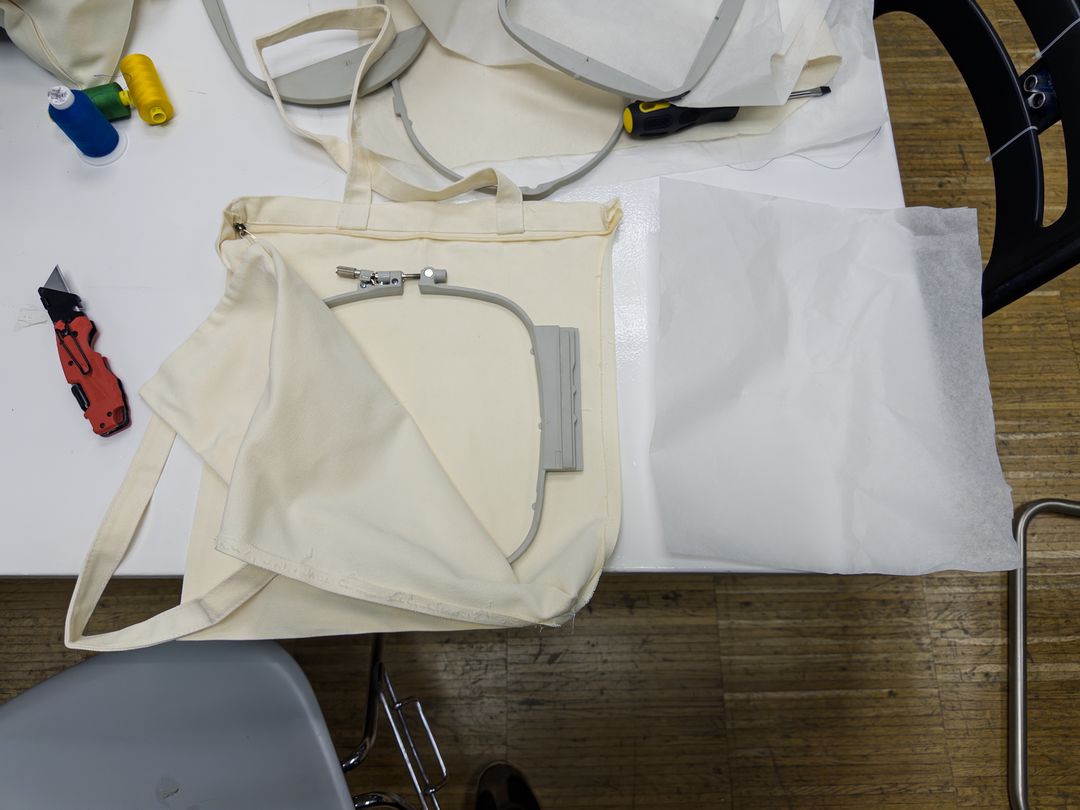
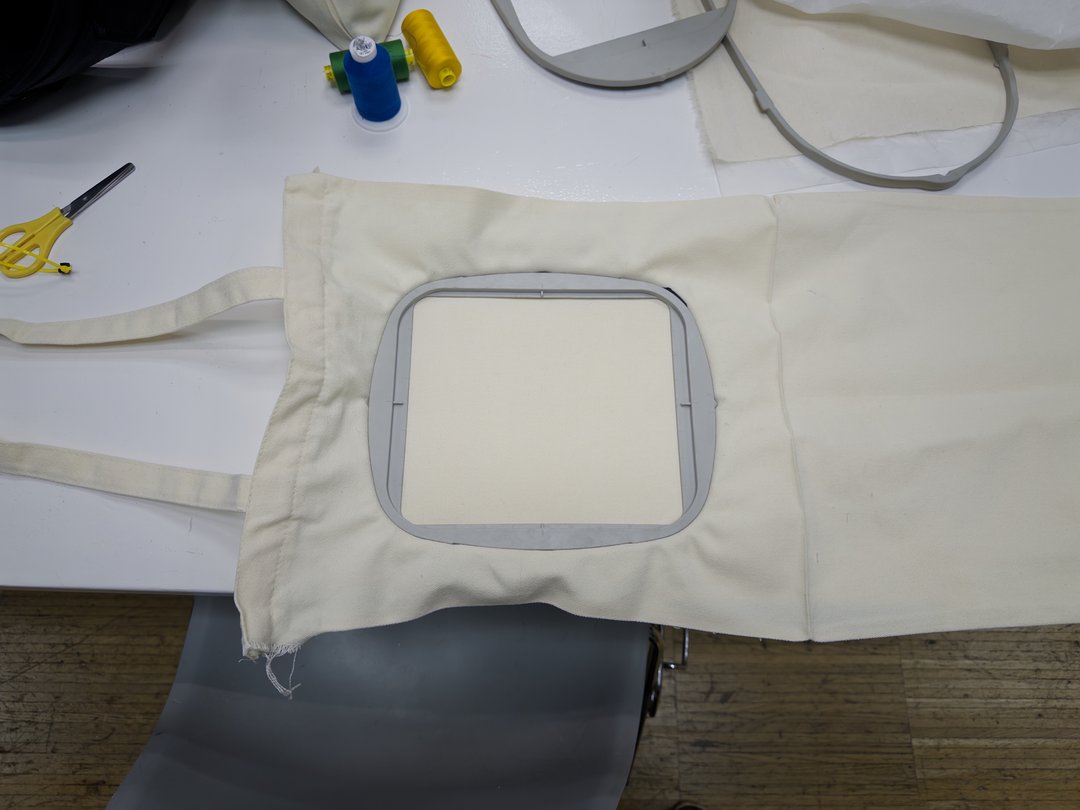
Then I hooped the fabric in the frame with a stabilizer behind it, stretching it out until there were no creases.
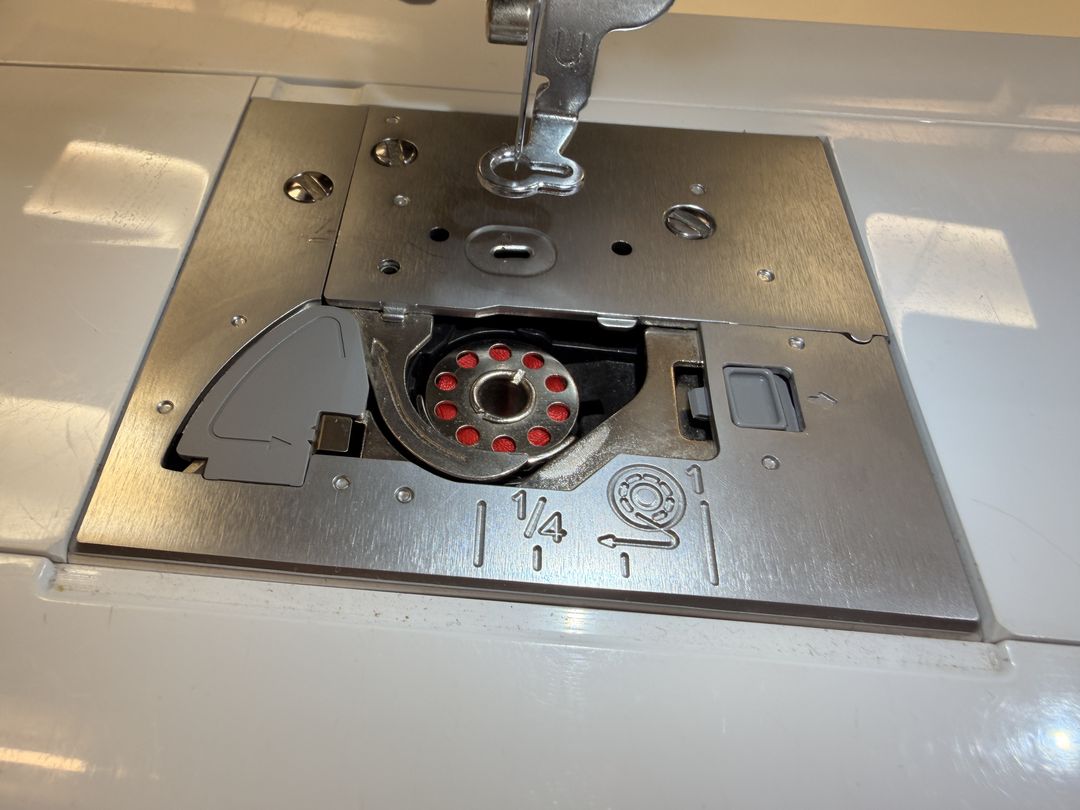
Next I wound the bobbin thread and dropped it into the bobbin case.
I loaded my .pes file onto the machine from a USB stick.
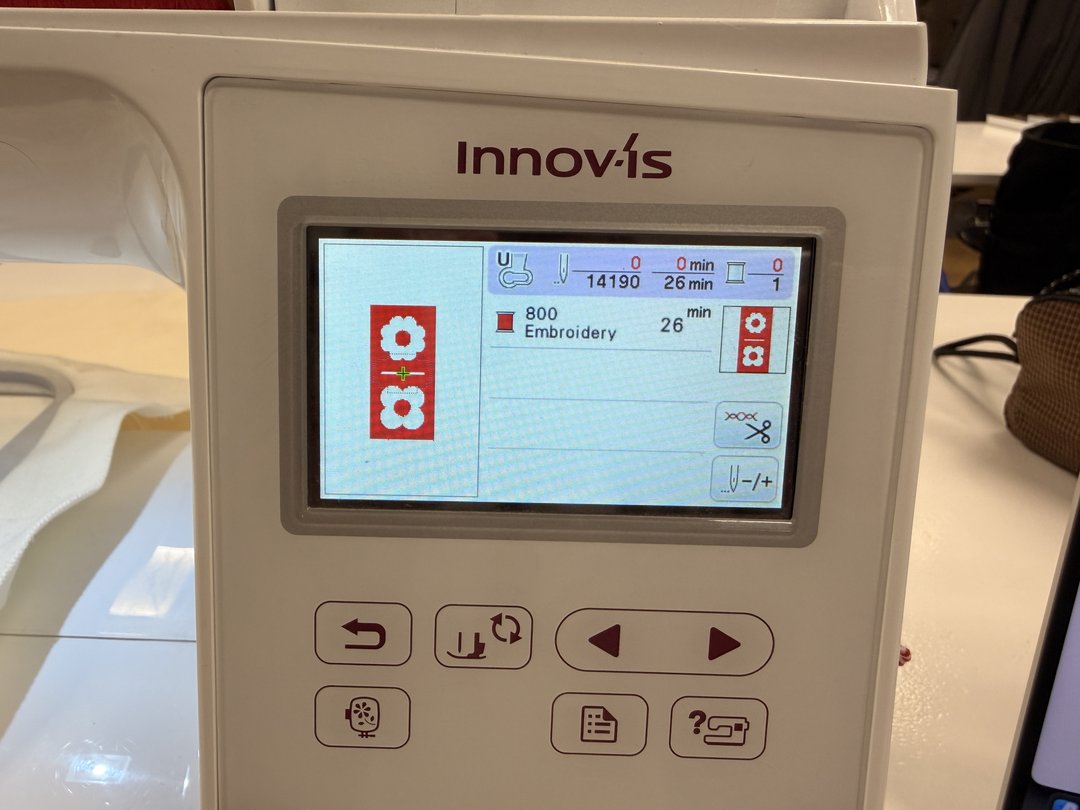
The machine showed me the file info, like the number of stitches, how many minutes it would take, and the number of colours.
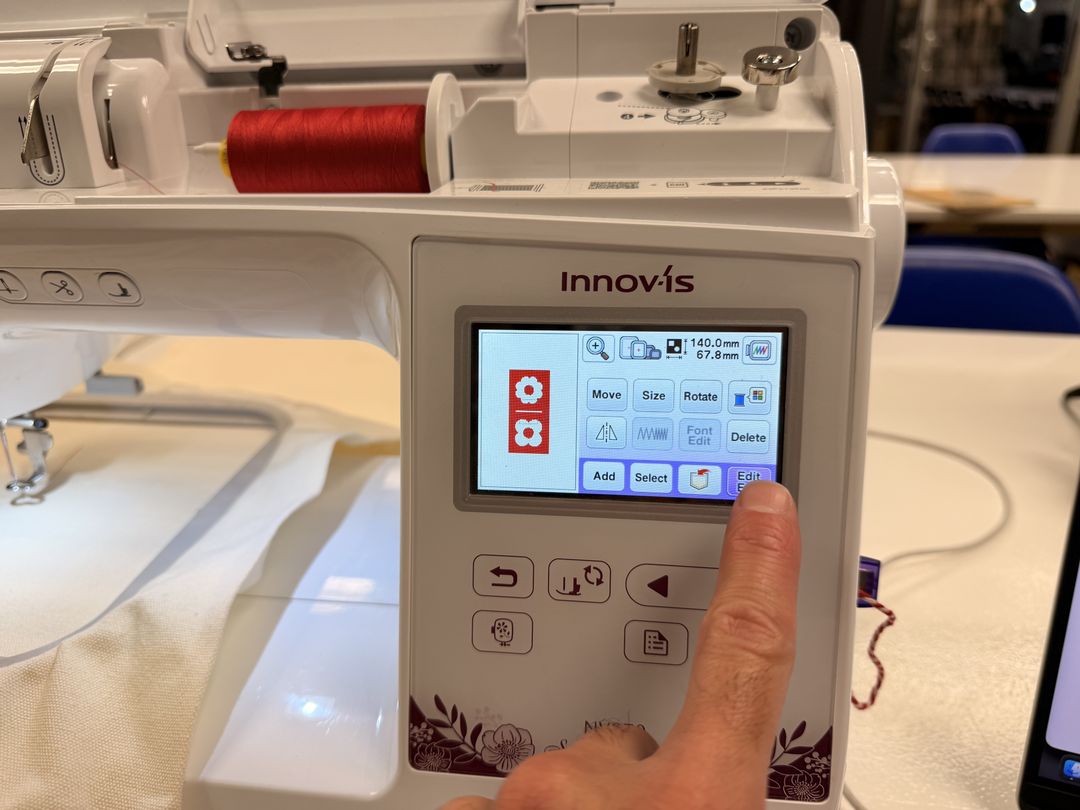
After inserting the frame, I positioned the design and checked the placement outline to make sure it would land where I wanted on the bag. Then it was ready to go.

I lowered the presser foot, pressed start, and let the machine do its thing. It's pretty satisfying to watch.
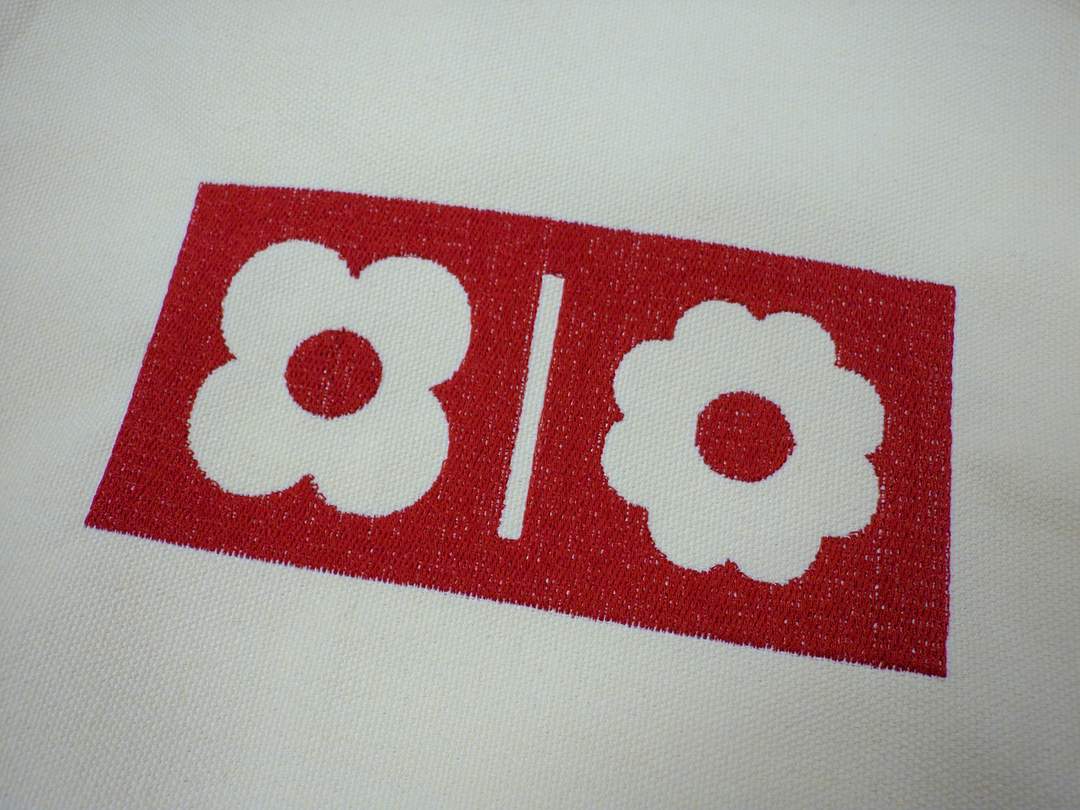
Here's a close-up once it finished stitching.
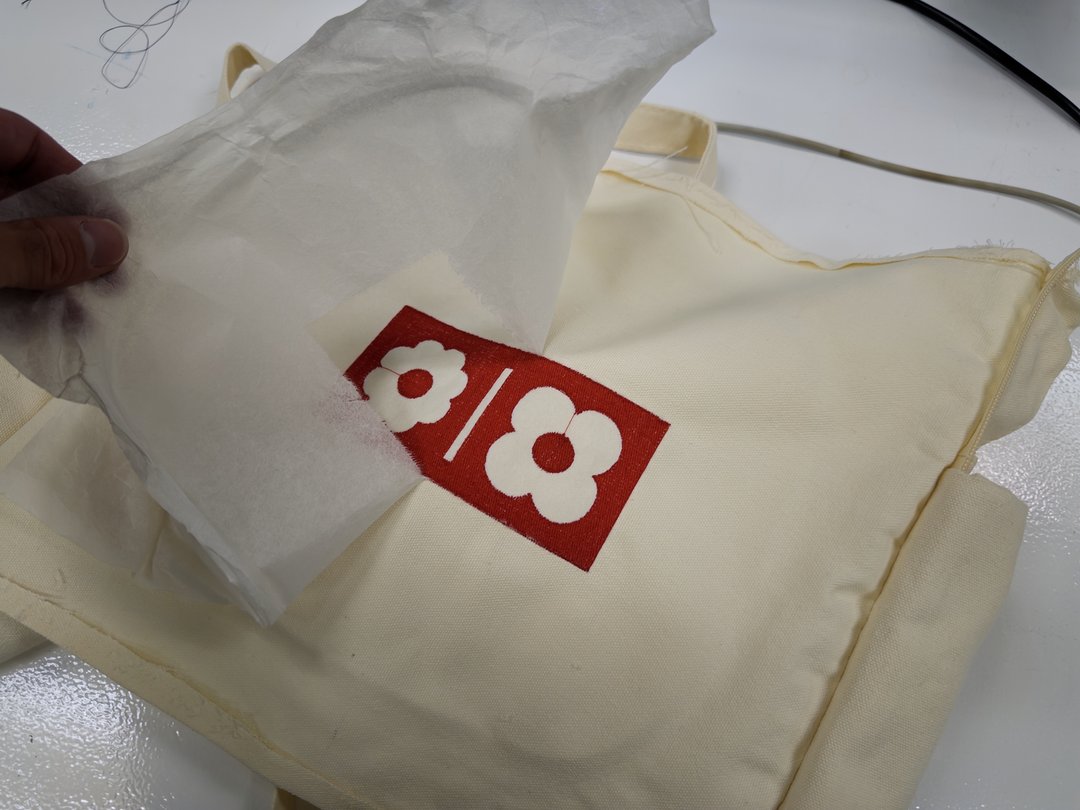
Last step was to take the fabric out of the frame and tear away the stabilizer backing.
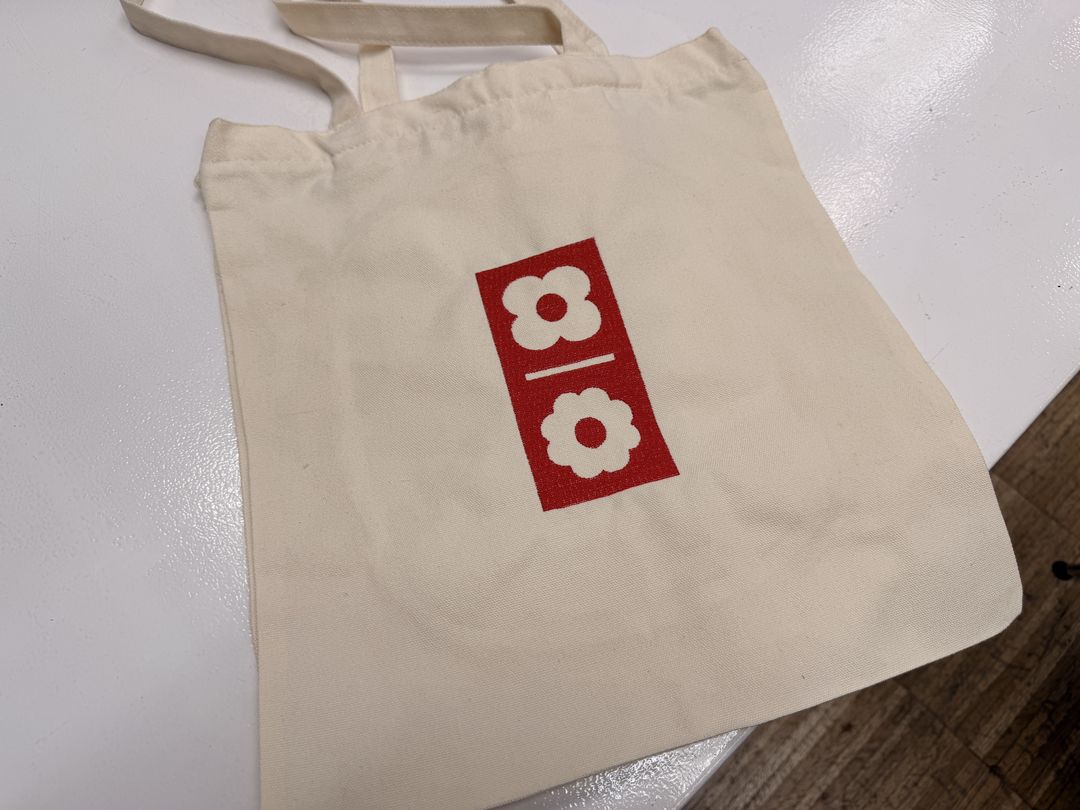
And here's the finished tote bag.
The other thing I explored this week was thermoforming. I wanted to make a speaker grille for my final project by thermoforming printed PLA parts.
I took inspiration from some YouTube videos in order to understand the process.
I started by designing the grille in Fusion.
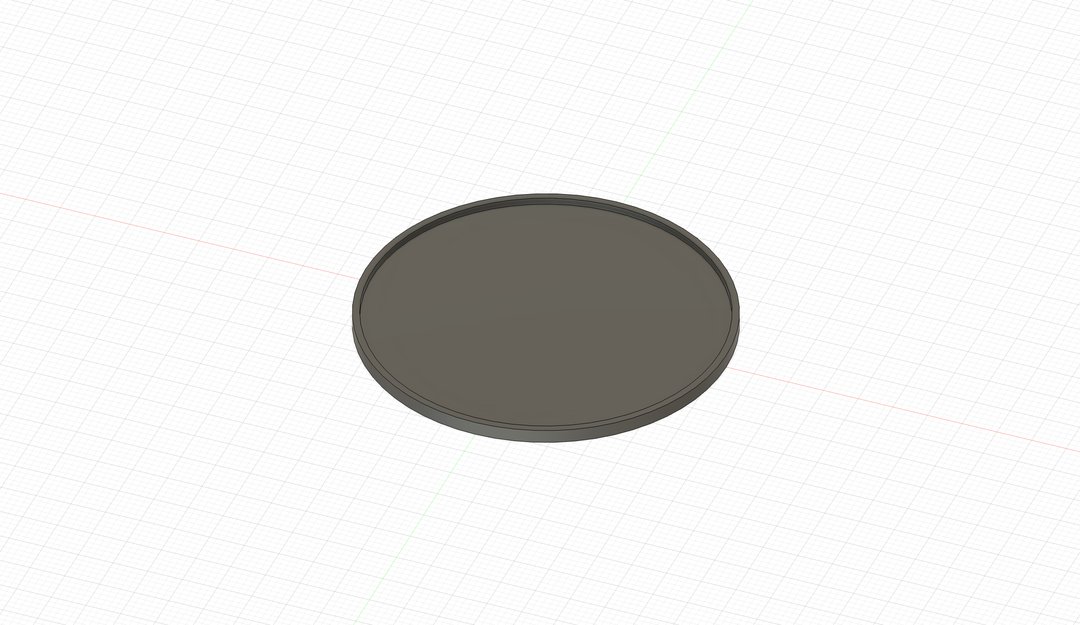
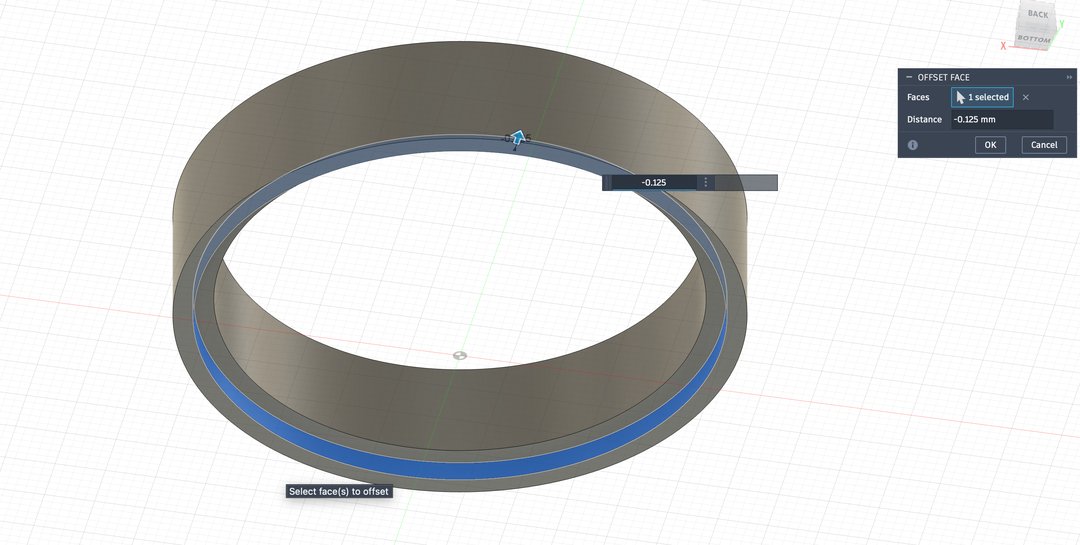
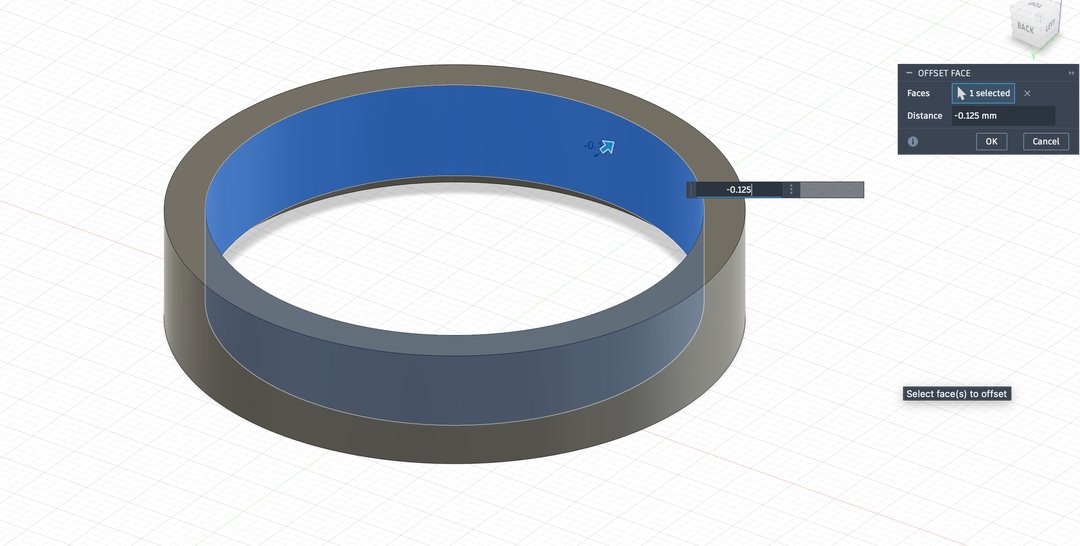
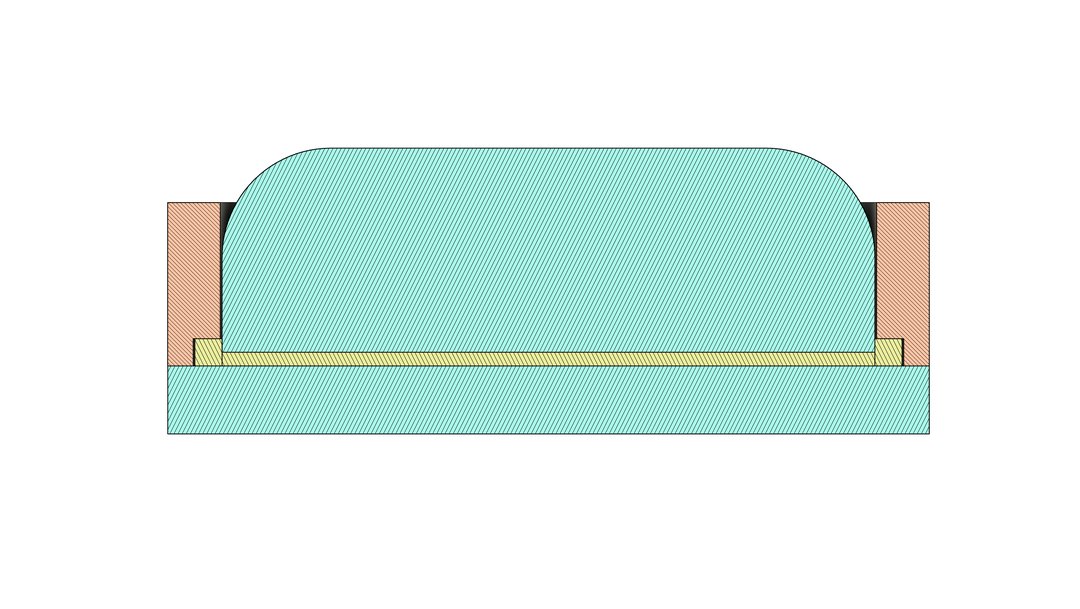
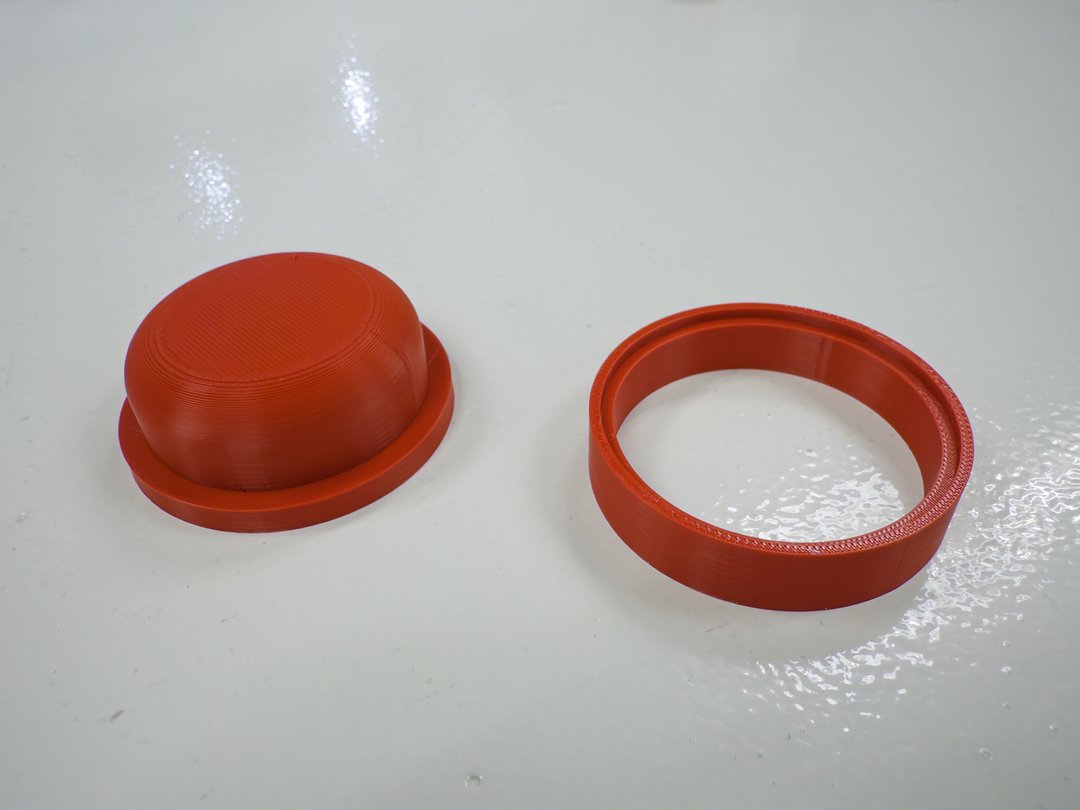
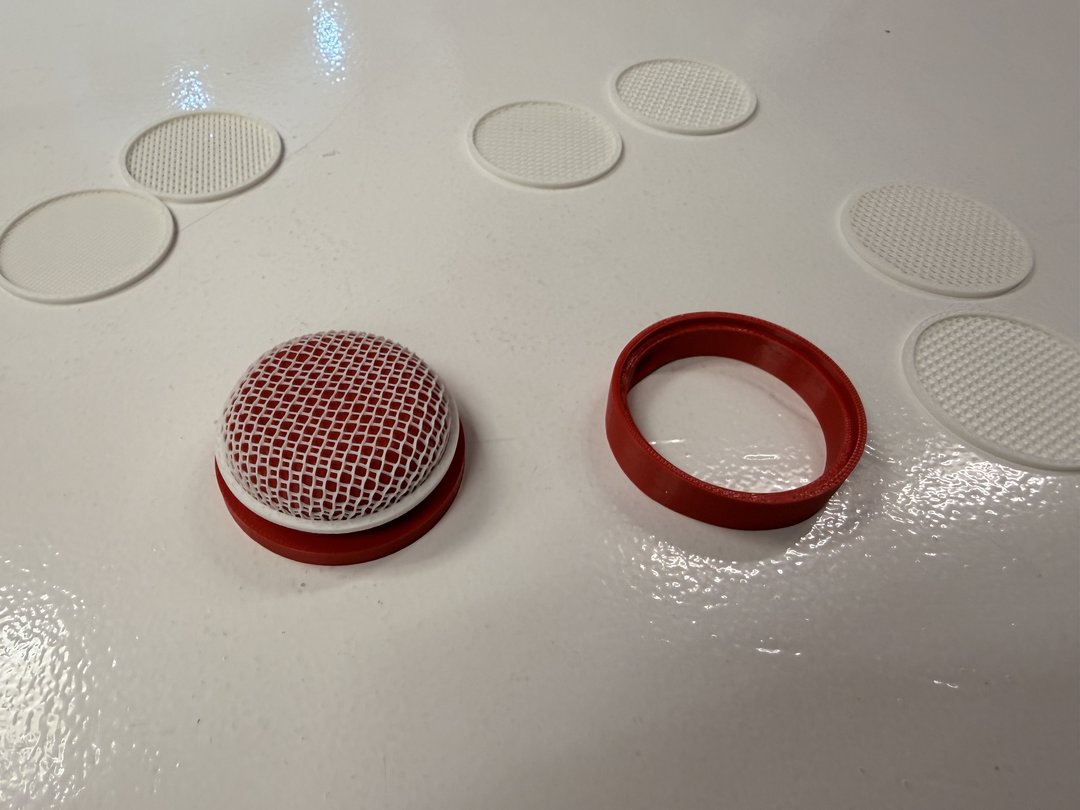
I also designed a mold to give the grille a nice curved shape, and spent some time setting the tolerances between the parts so they would fit together properly.
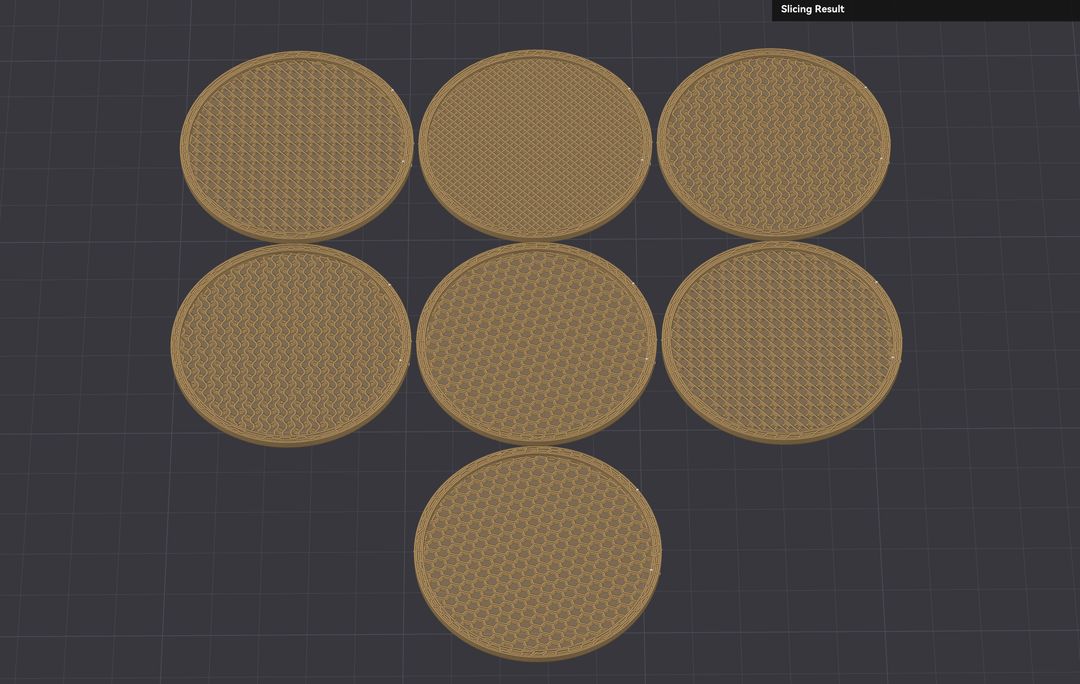
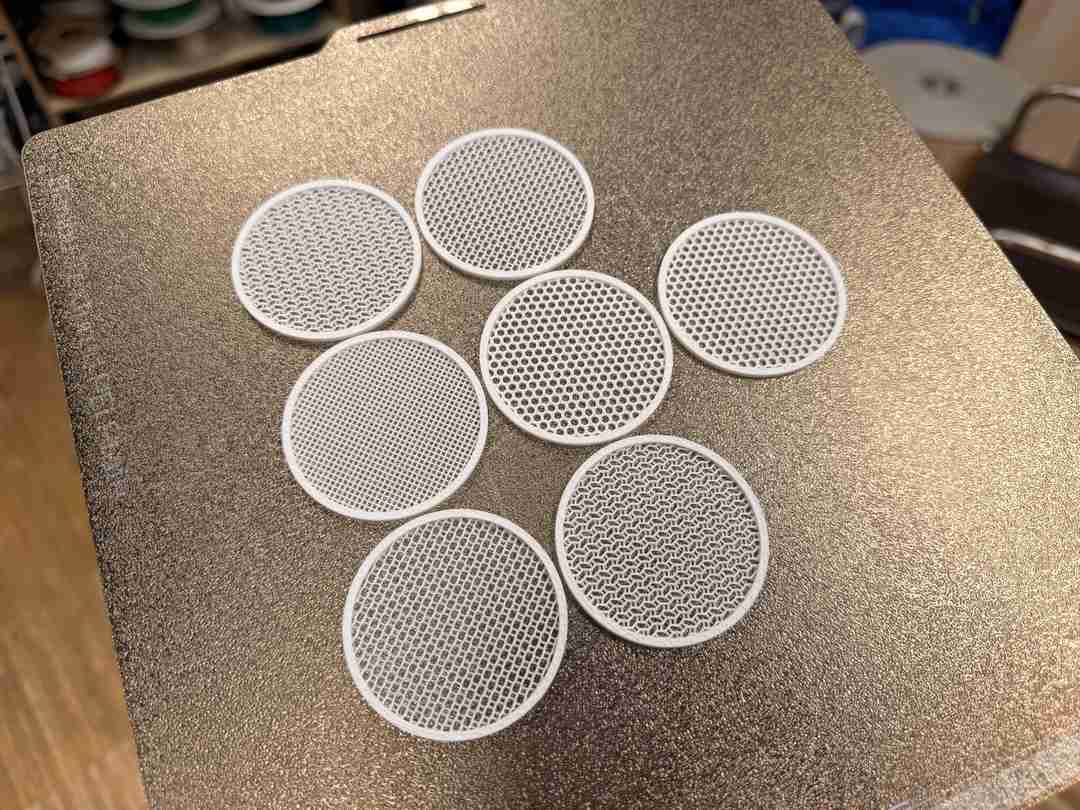
For the grilles themselves, I printed disks with 0 top and bottom layers so the infill would be exposed. I tried a variety of infill patterns to get different effects, all set to 30% infill for this test.
Then I heated a grille up to soften the PLA so it could take the curved shape of the mold.
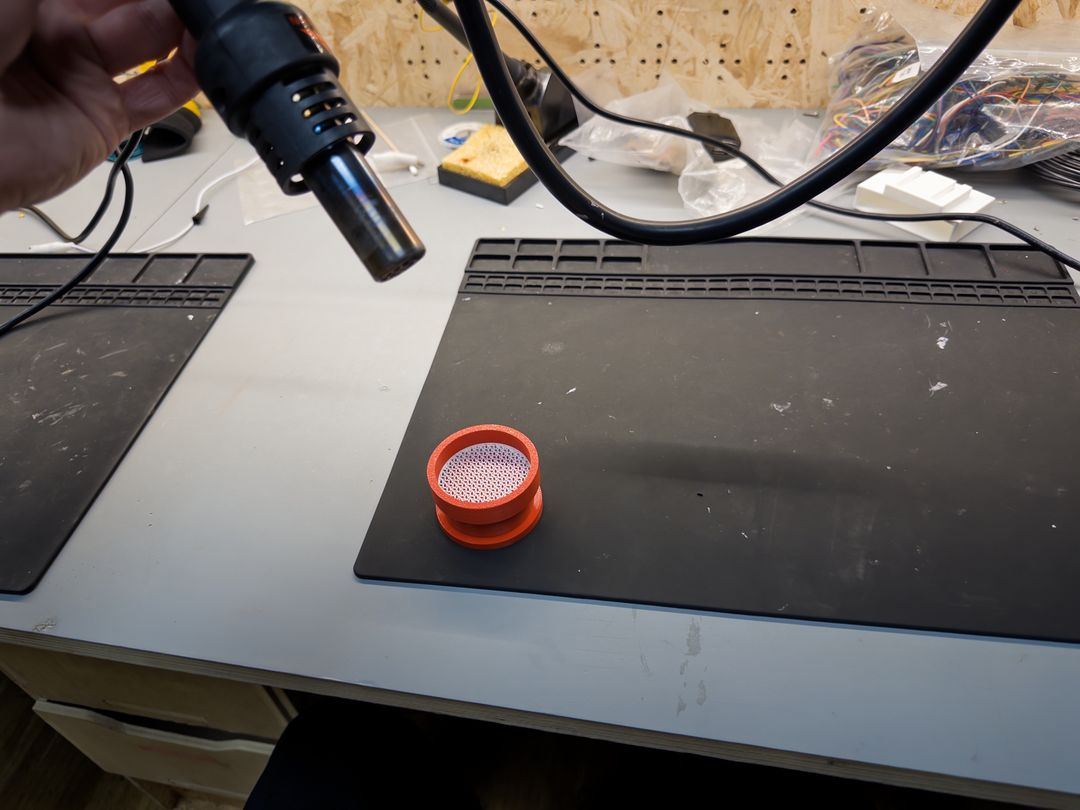
The PLA mold didn't hold up to the heat as well as I'd hoped and ended up melting a bit.
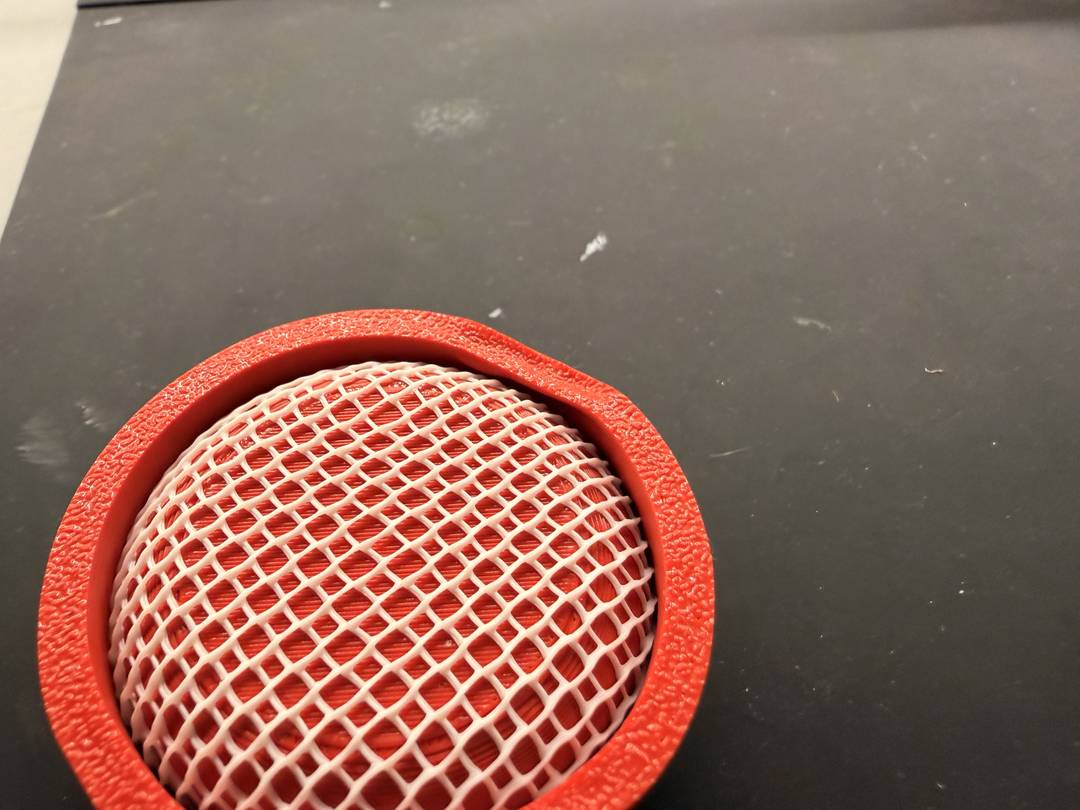
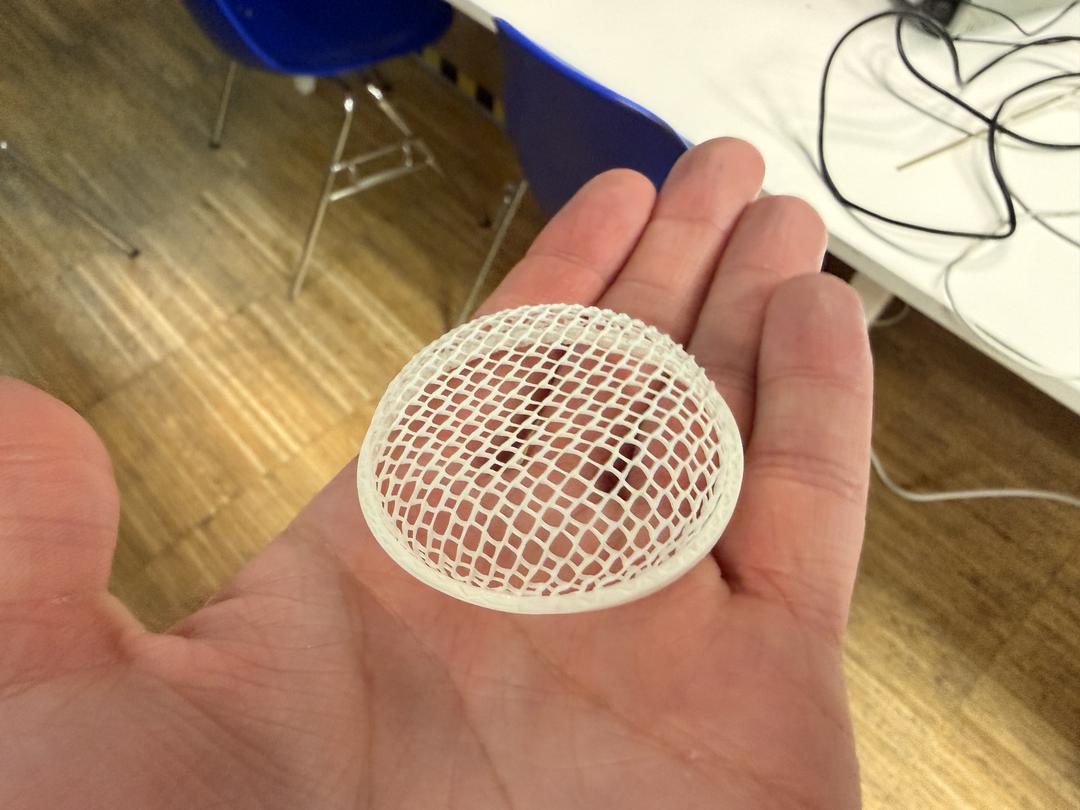
Here's how the grille turned out.