I originally wanted to try slip casting an enclosure for a product. The first problem to solve would have been figuring out how to slip cast holes into the enclosure (for ports, buttons, lights, silicone feet, etc.). From my research, this might work with wax, with mesas and wiping off slip when wet, or with drain plugs that are removed when the slip is wet. Could also use "fettling" by cutting out the holes during the leather stage, or by placing the holes at the top where I'm pouring the slip.
Some slip casting notes from research:
I came to the conclusion that I wouldn't have time for slip casting.
Decided to pursue casting in a two-part silicone mold instead.
Two-part silicone mold notes from research:
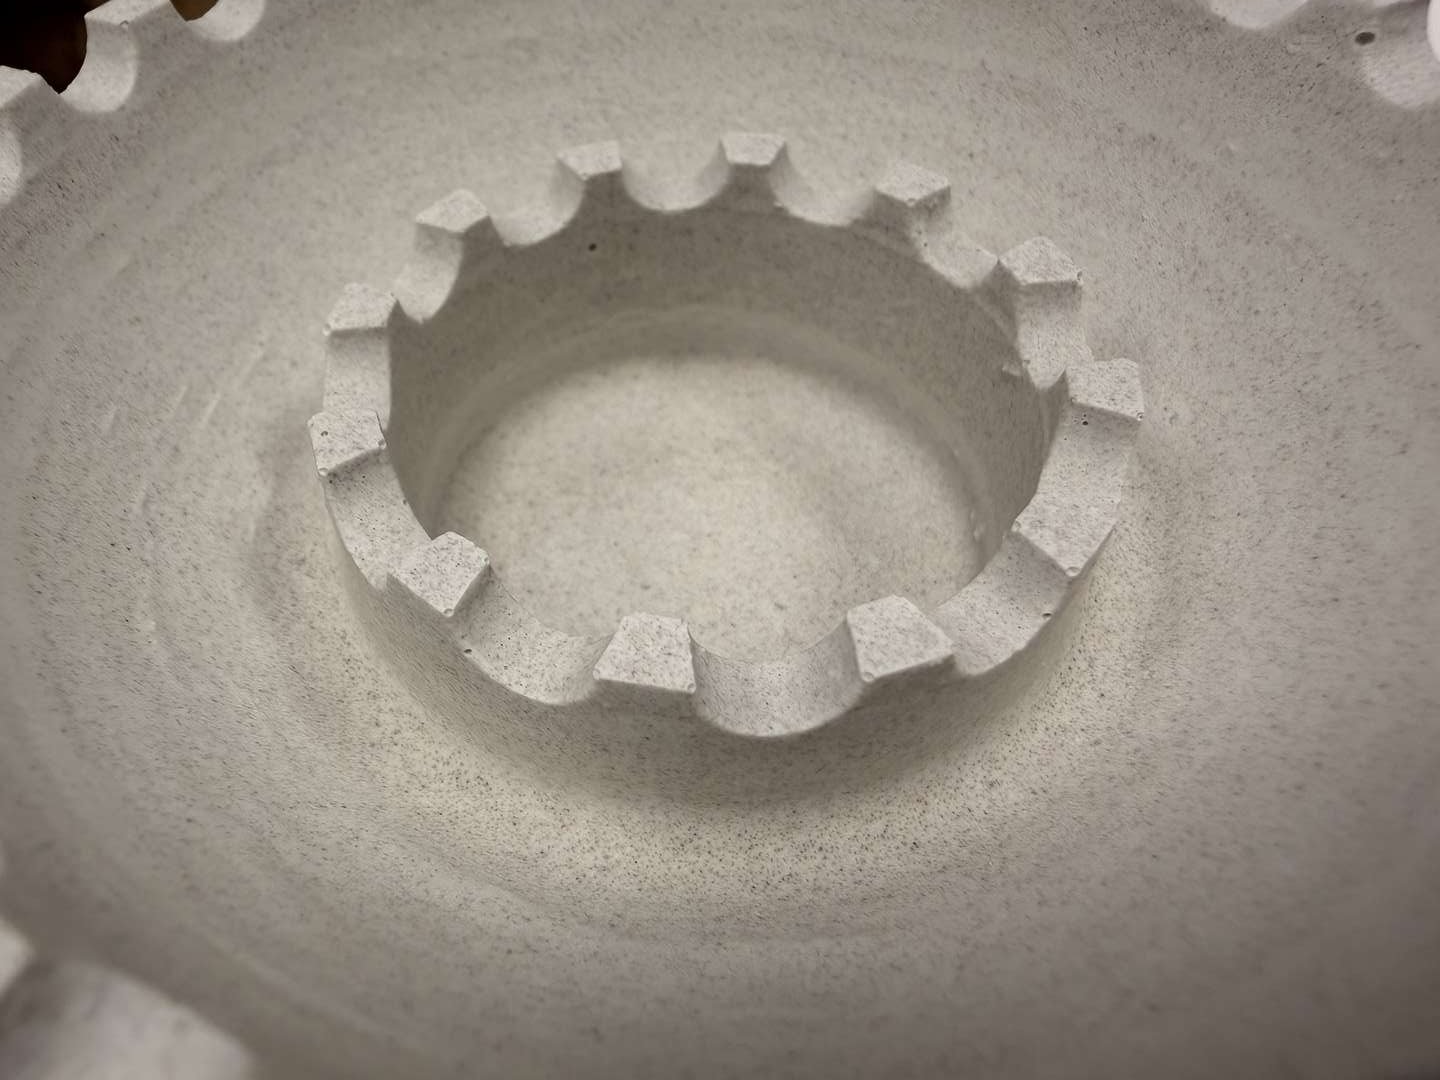
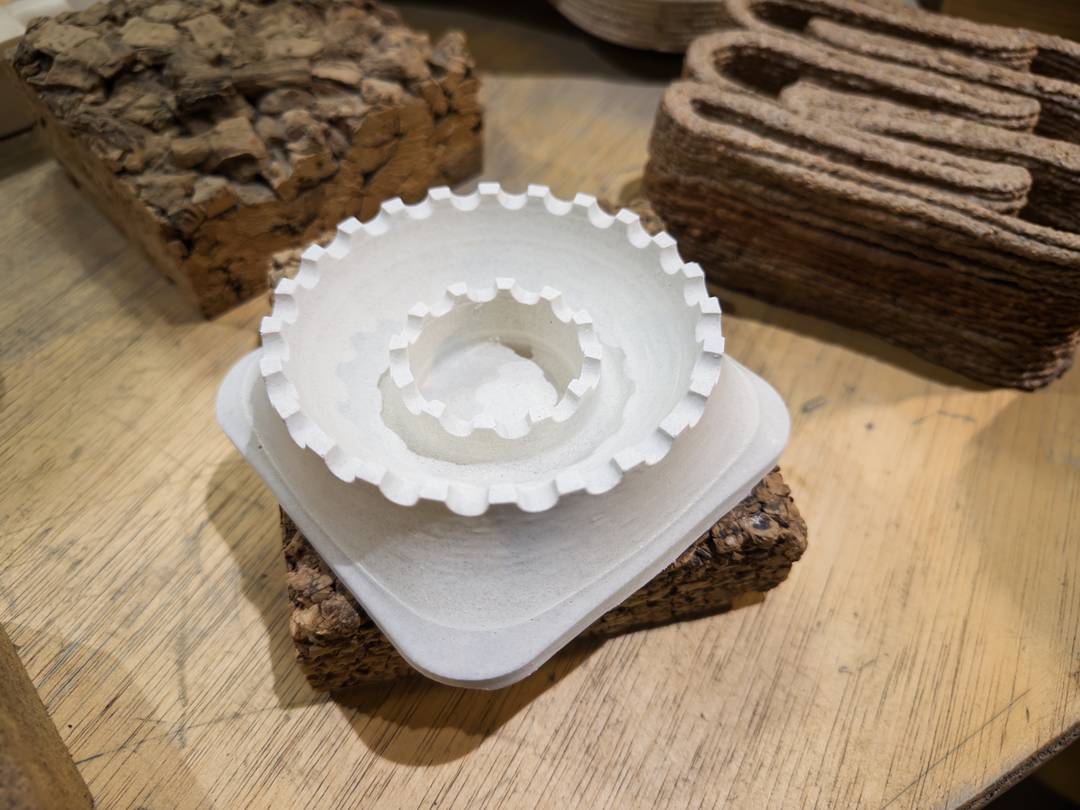
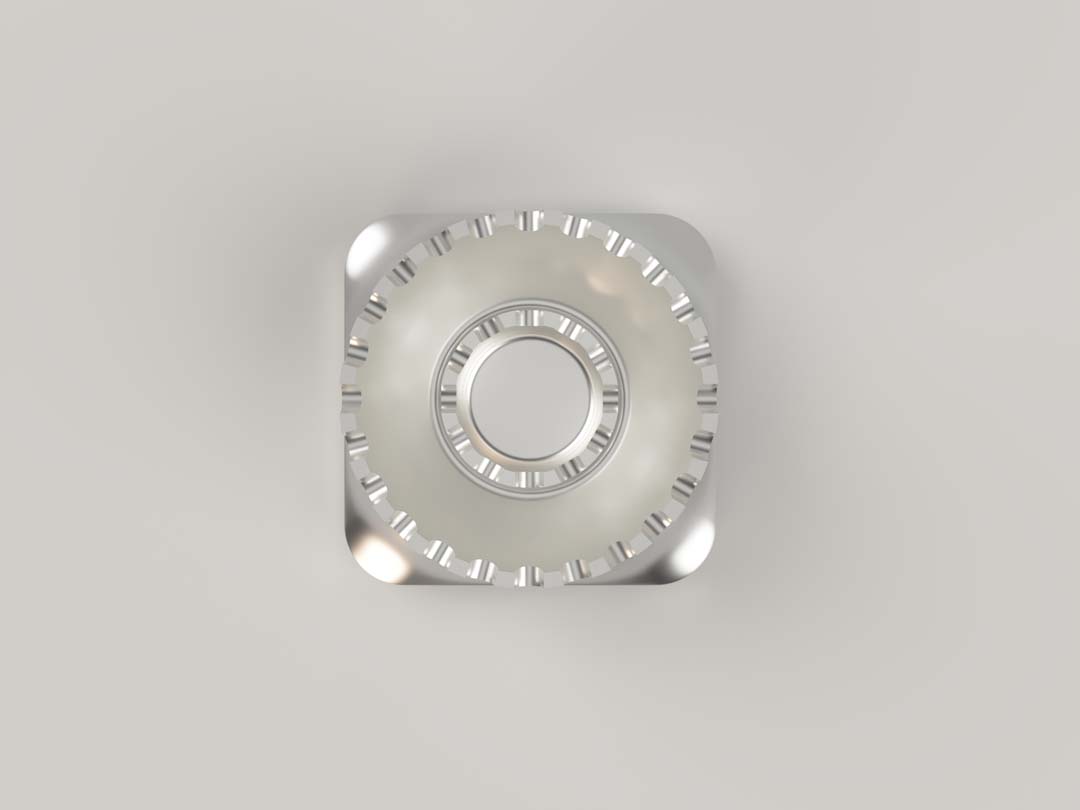
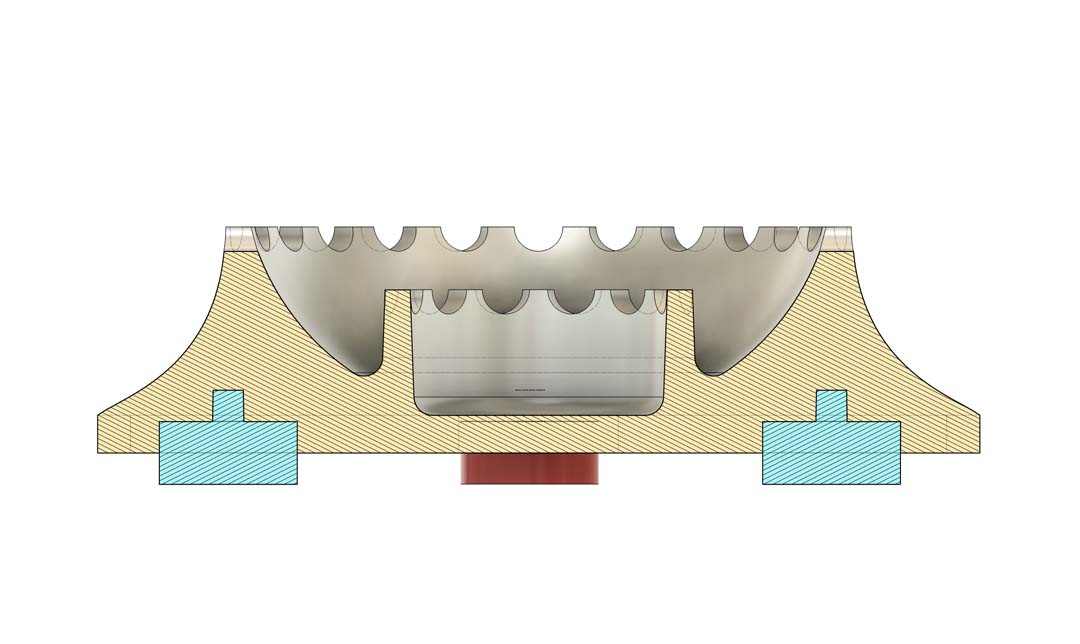
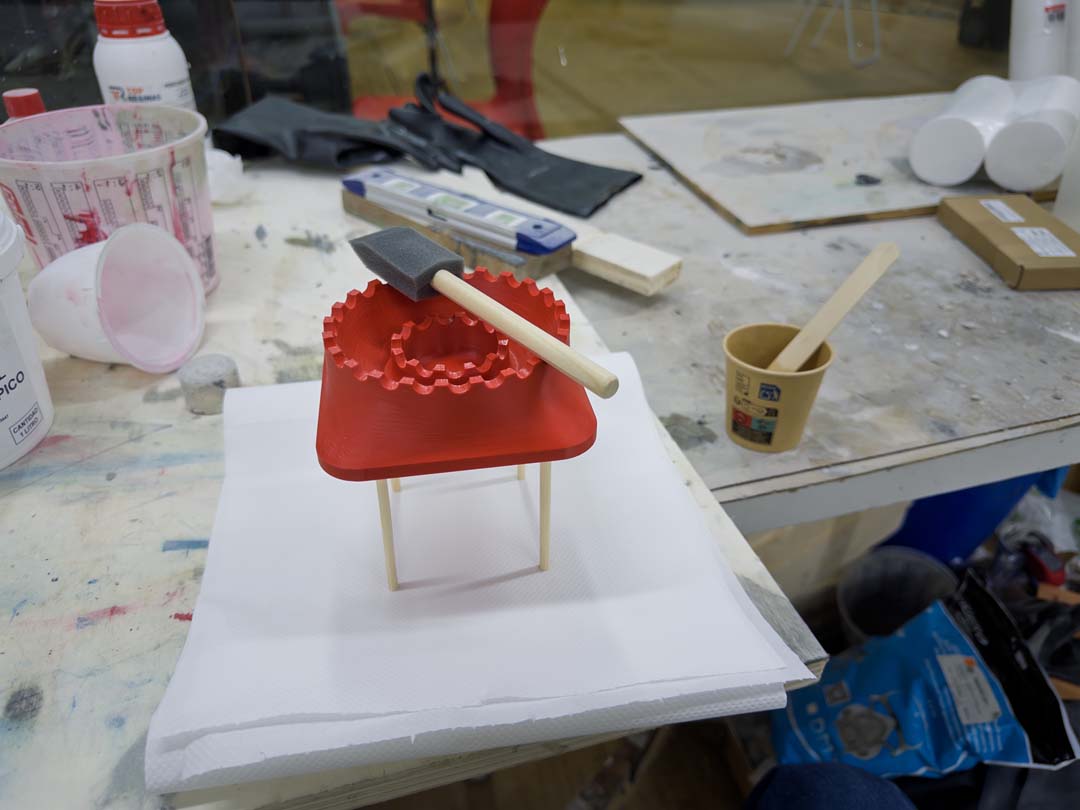
Candle holder / ashtray combo with silicone feet. I wanted this object to be multi-use. I also wanted to play with the light of a tealight in the center, using the bowl of the ashtray as a sort of reflector and the teeth as ways to cast interesting shadows.
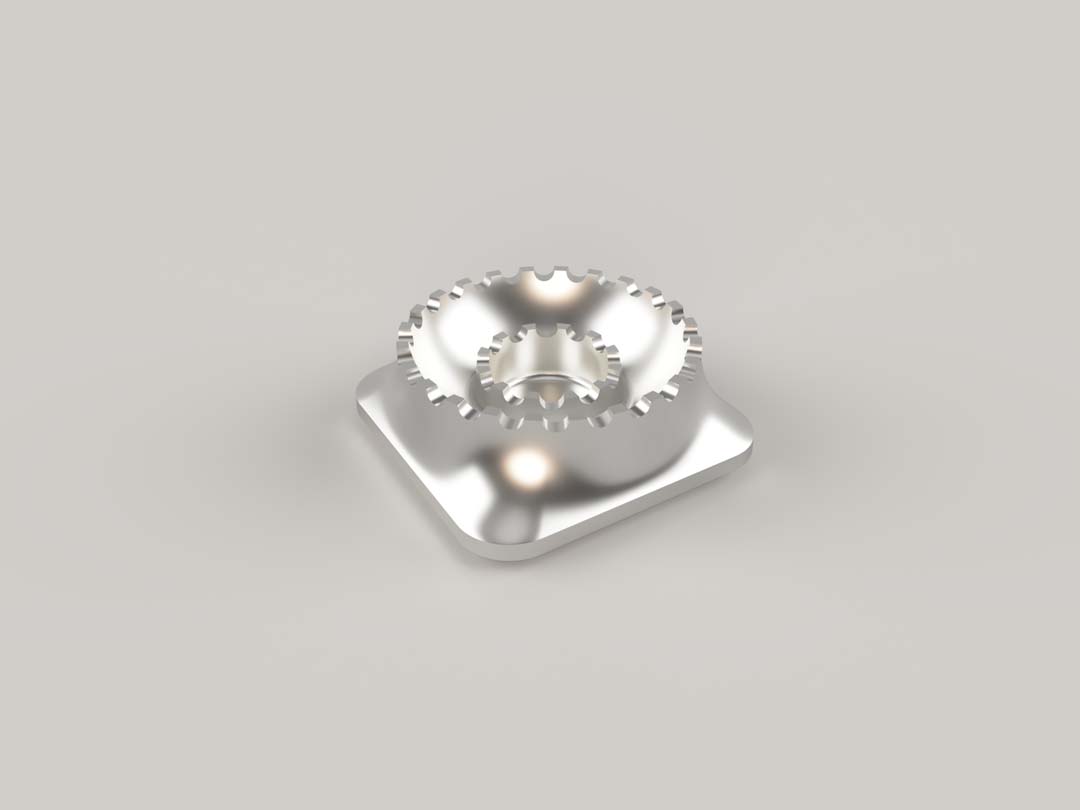
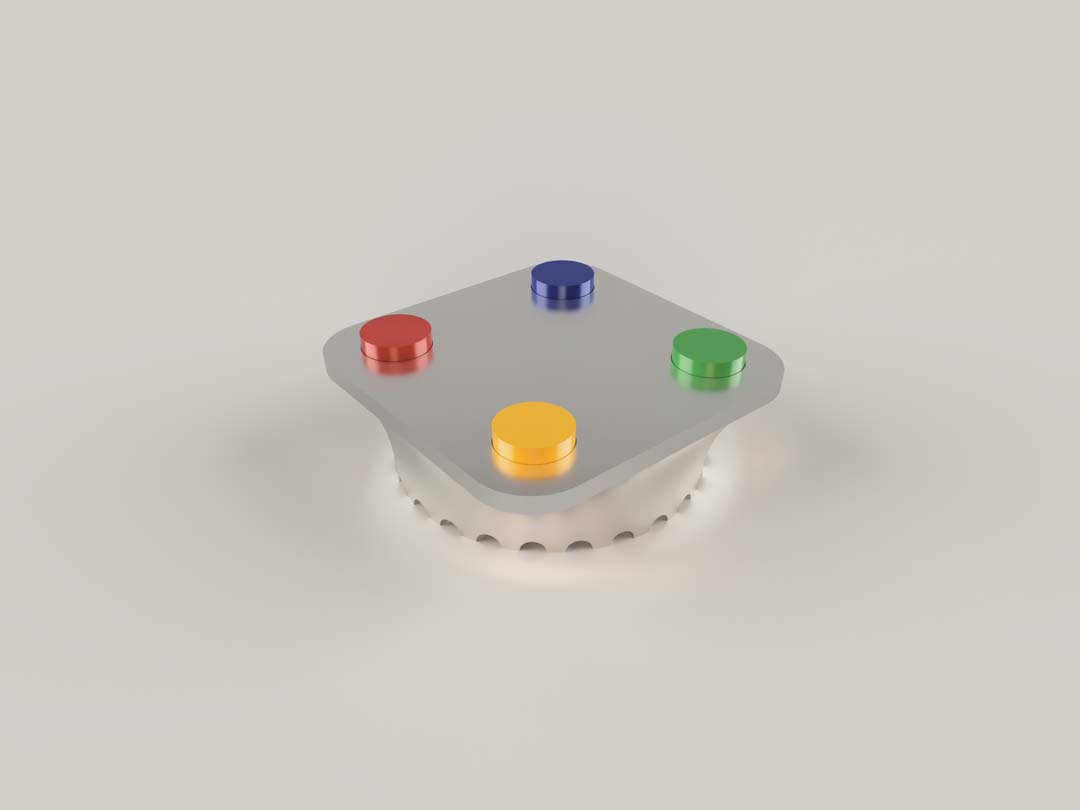
Created a design that would be easy to cast in a two-part mold. Made sure to design draft angles on all surfaces. Realized too late that there were two surfaces I forgot to add draft angles to.
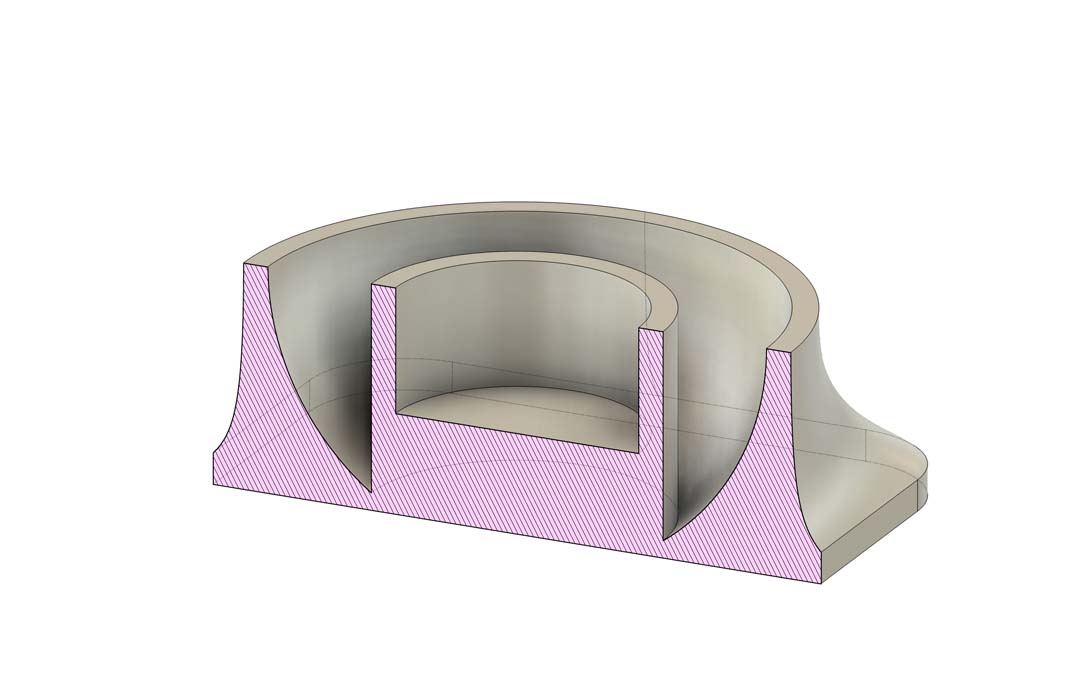
I redesigned the main (outer) cavity to be shallower. I also wanted the tealight candle portion to sit lower to create more interesting effects with the light reflection and shadows.
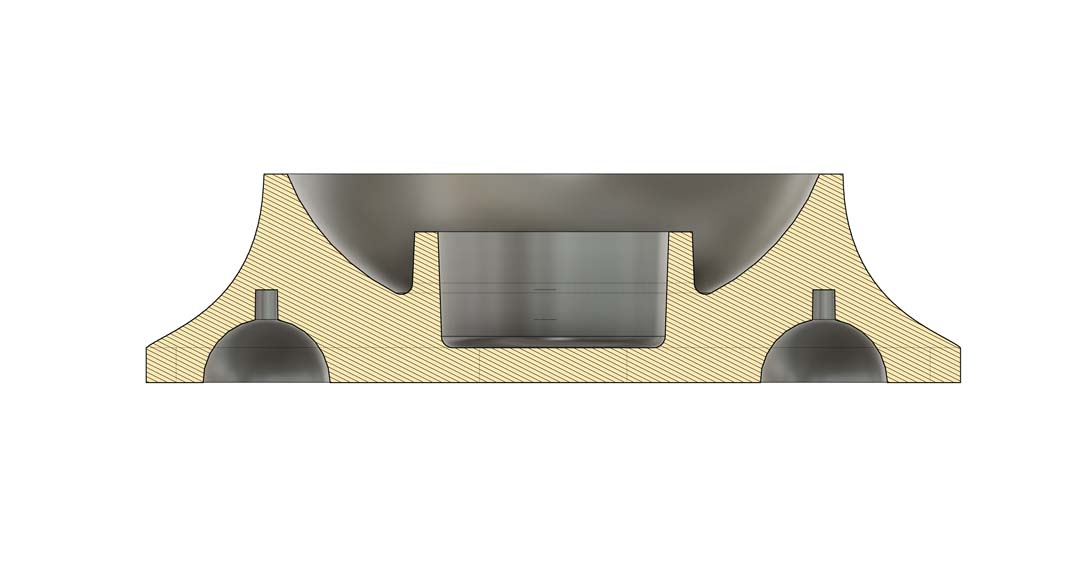
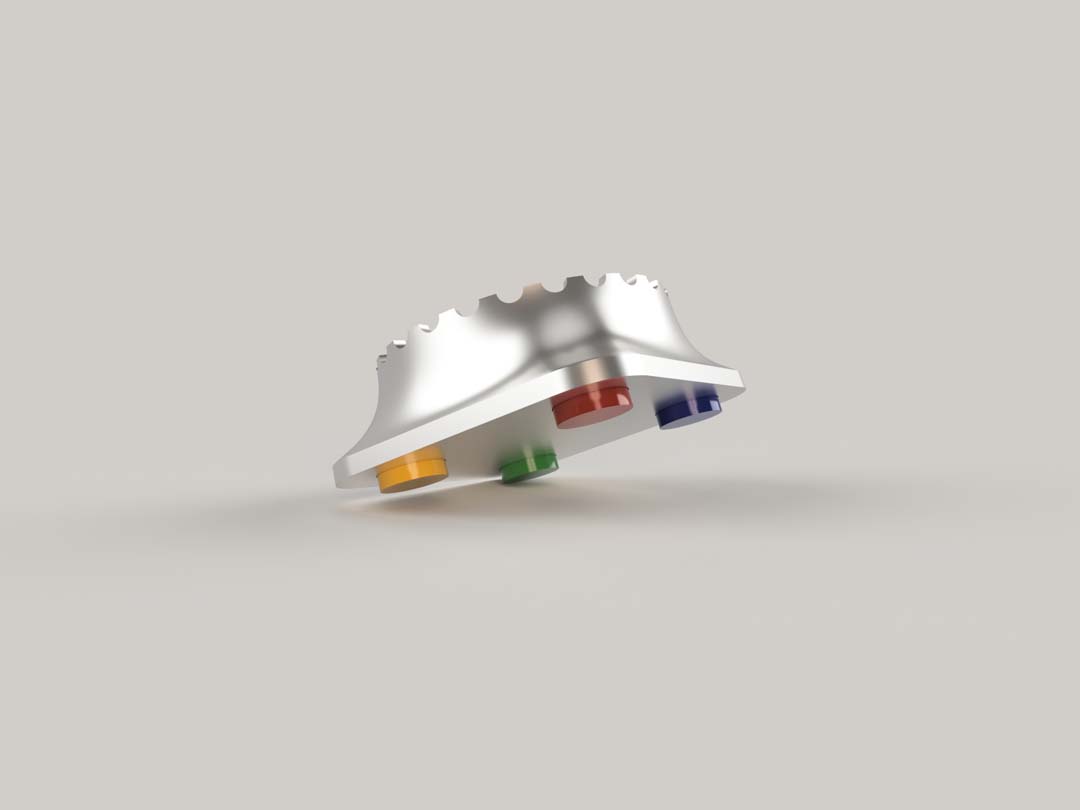
Ball shaped silicone feet would require a two-part mold, which is overkill for this part. I decided to redesign them as cylinders to use a one-part milled wax mold.
Initially I wanted to cast it out of pewter using Mold Max 60 or another heat resistant silicone. It was recommended to me that I start by casting with something that isn't metal, and due to the time constraint I wouldn't have time to also cast out of metal. Pewter was also hard to find locally and was very expensive.
I first considered using plaster, but the object wouldn't be functional as intended and would end up being purely decorative. That ruled out plaster for my design.
I then explored cement or cement-like options. I considered Portland cement and Portland cement mixed with sand. Due to the time constraints, I looked into fast-setting cement mixes, but the local options were limited and wouldn't give me the low viscosity needed to fill my two-part mold.
That led me to Jesmonite, a water-based acrylic resin that gives a stone/concrete-like finish, demolds in under 2 hours, and is much more controllable than bagged Portland cement for a tight timeline. Picked it up from FormX in Poble Nou (C/ Pujades 147), which is a Smooth-On distributor that also stocks Jesmonite and silicones. Resineco / Jesmonite Store in Montmeló is the more specialized option but was too far for my two-day window.
It addressed both of the issues that ruled out the others: it's water-based (so non-combustible, important for a candle holder), and it's specifically designed to be poured into molds rather than brushed or laminated. The stone finish also fits the aesthetic I wanted, and the under-2-hour demold time made it workable within the two days I had left.
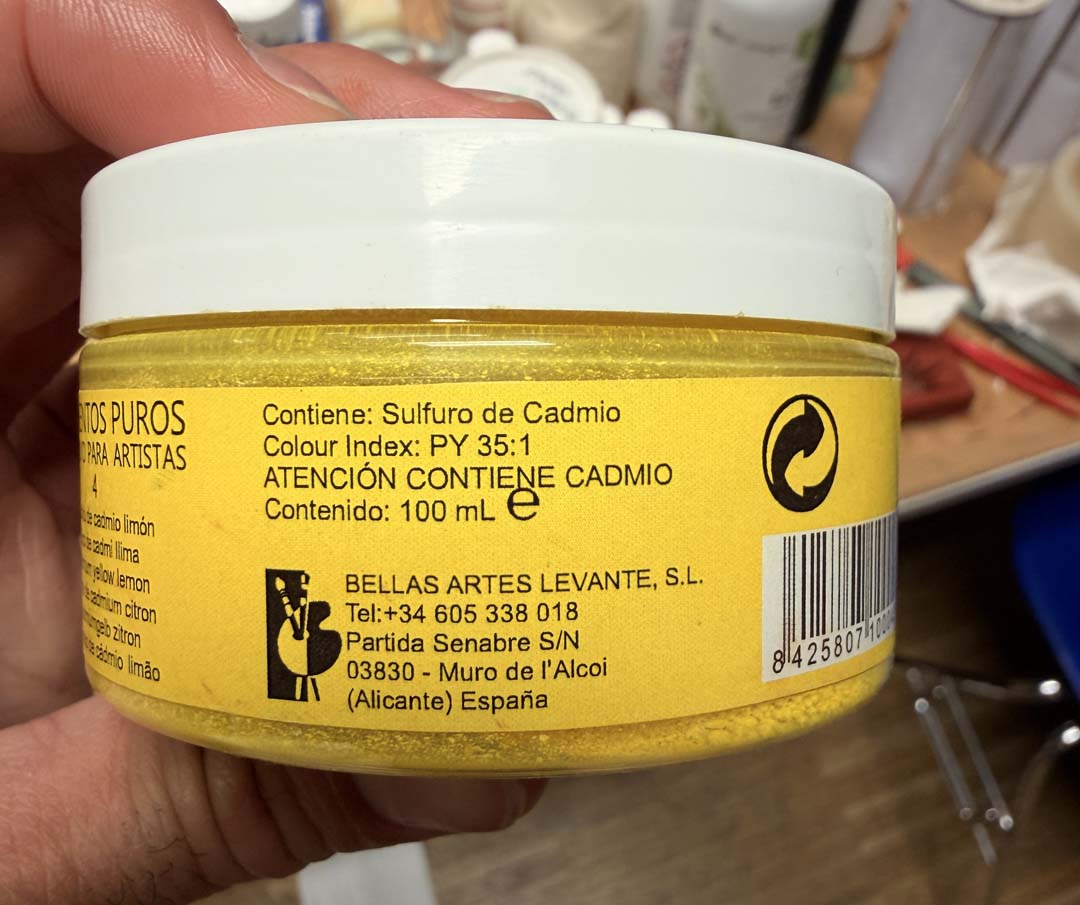
This week's group assignment was to review safety data sheets for our molding and casting materials and make test casts to compare them. I reviewed the SDS for Jesmonite AC84, Feroca EASYPLAT MOLD-40, and Smooth-On XTC-3D before using any of them.
Key safety notes from the data sheets:
Key things I took away from the group assignment:
To prepare the first print for creating a silicone mold, I went through a few steps:
Important technical specifications:
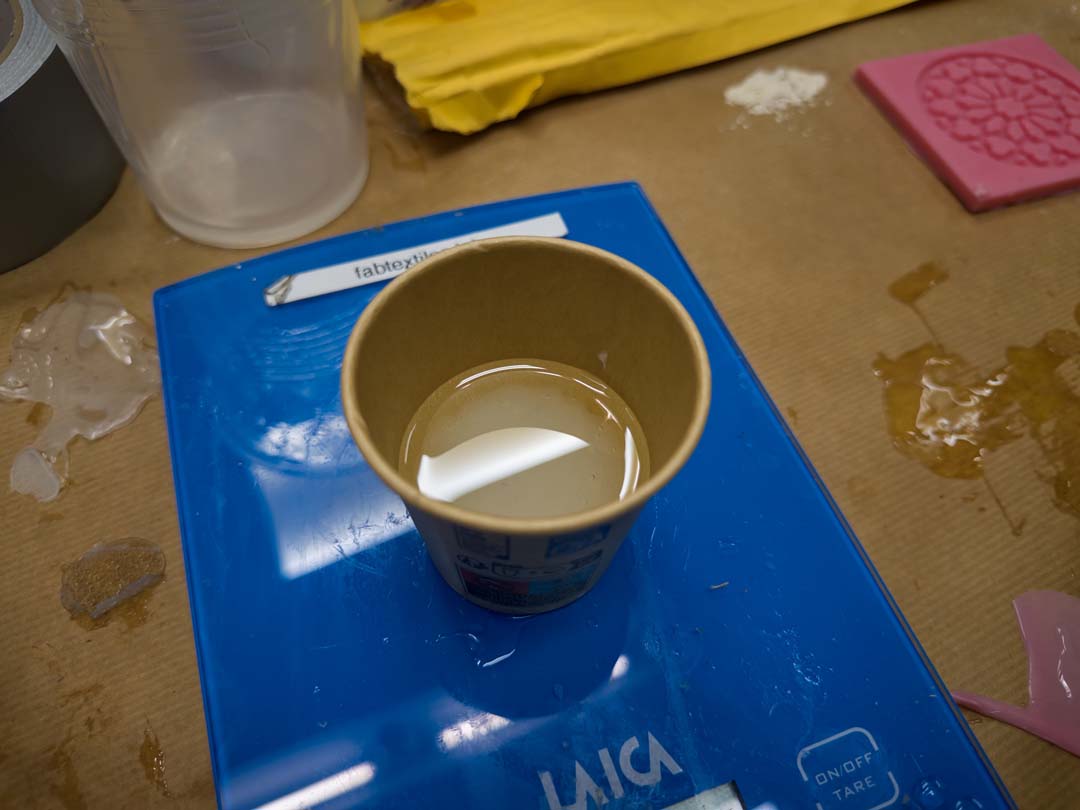

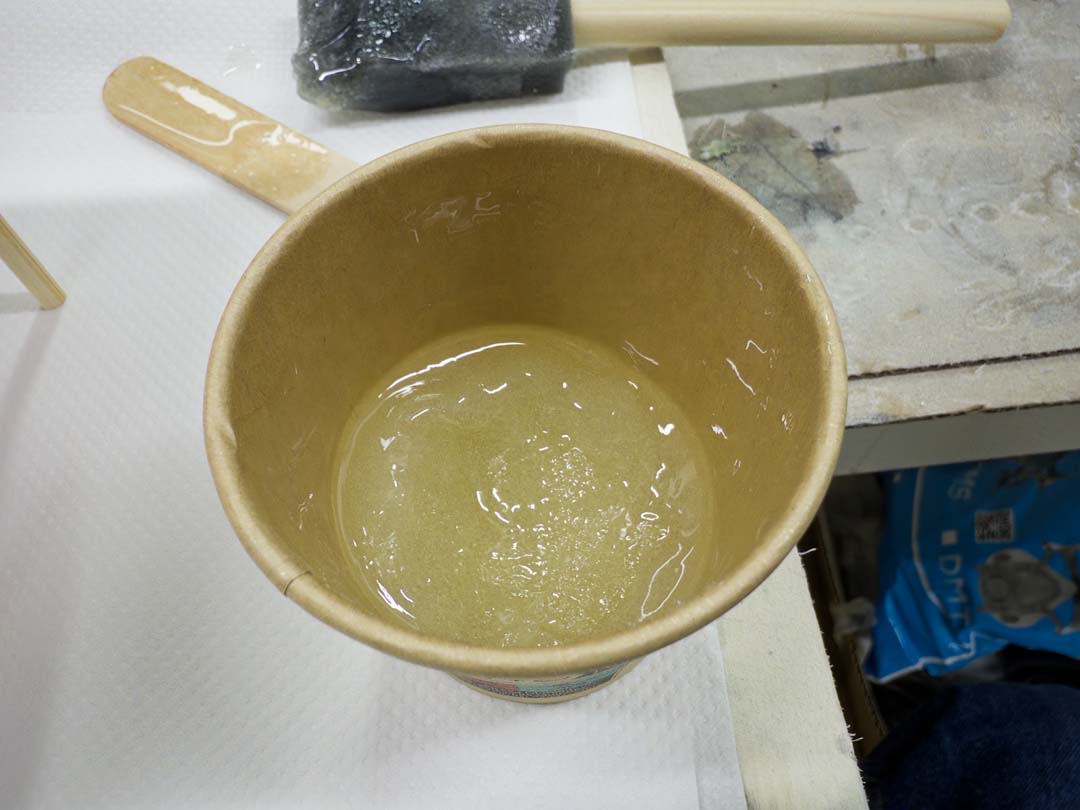
Ran into a serious problem with XTC-3D that ruined my print. The mix ratio was correct (100A:42B by weight), but the mix went exothermic in the cup and got super hot within a few minutes, hardening almost immediately and ruining the print underneath. The pot life is 10 min in mass vs. 15 min on a flat tray for a reason: leaving the mix concentrated in a cup lets the heat build up and trigger a runaway cure. Lesson learned, pour it onto a flat tray or palette right after mixing so the mass spreads thin, and work quickly.
Since I had to reprint the master model, I reworked the file to add draft angles to the two surfaces I had forgotten about.
First iteration had silicone feet on one half of the wax block and small domes to act as registration keys for the two-part silicone mold.
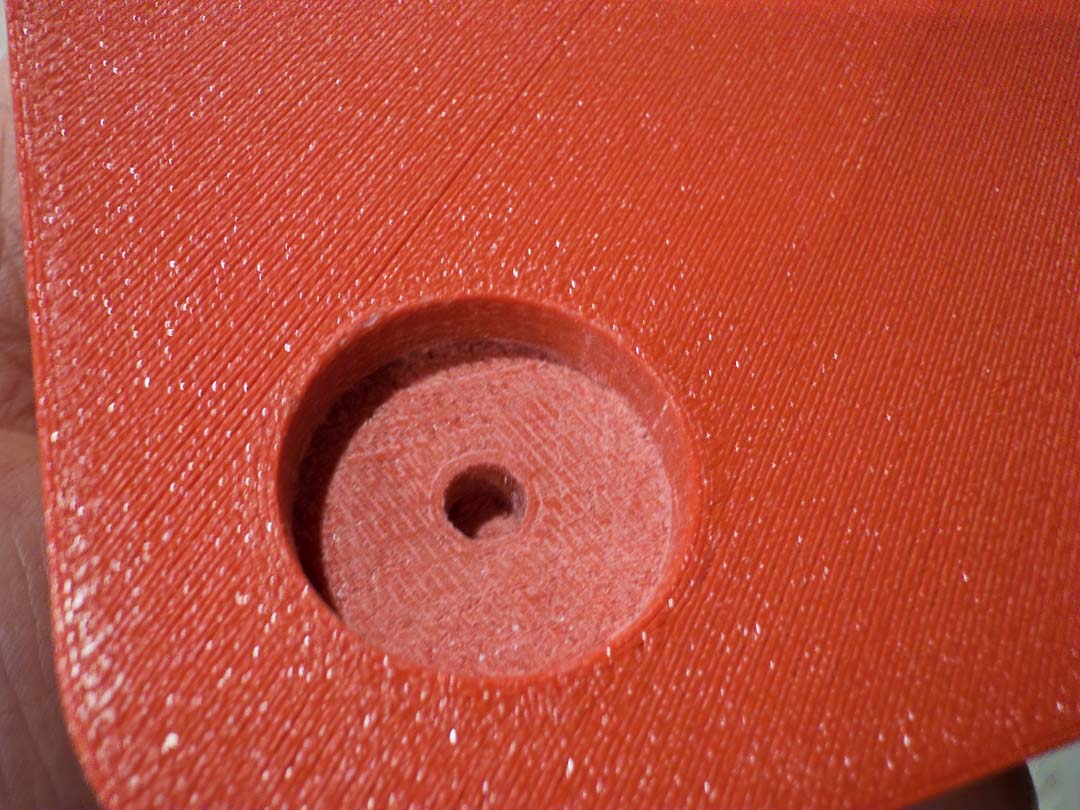
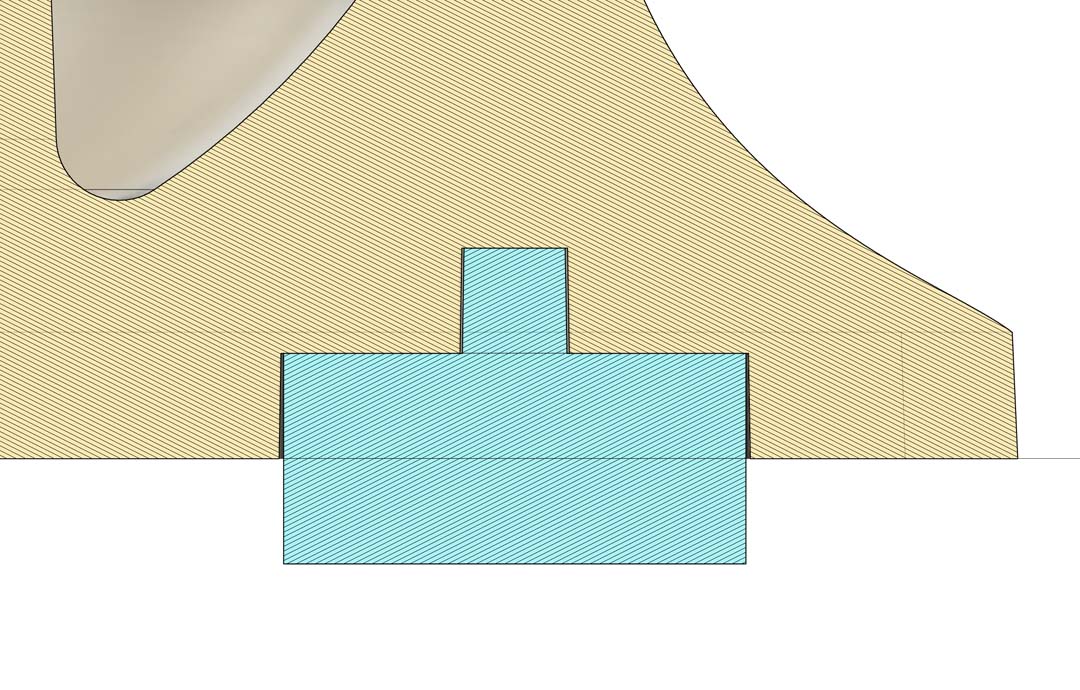
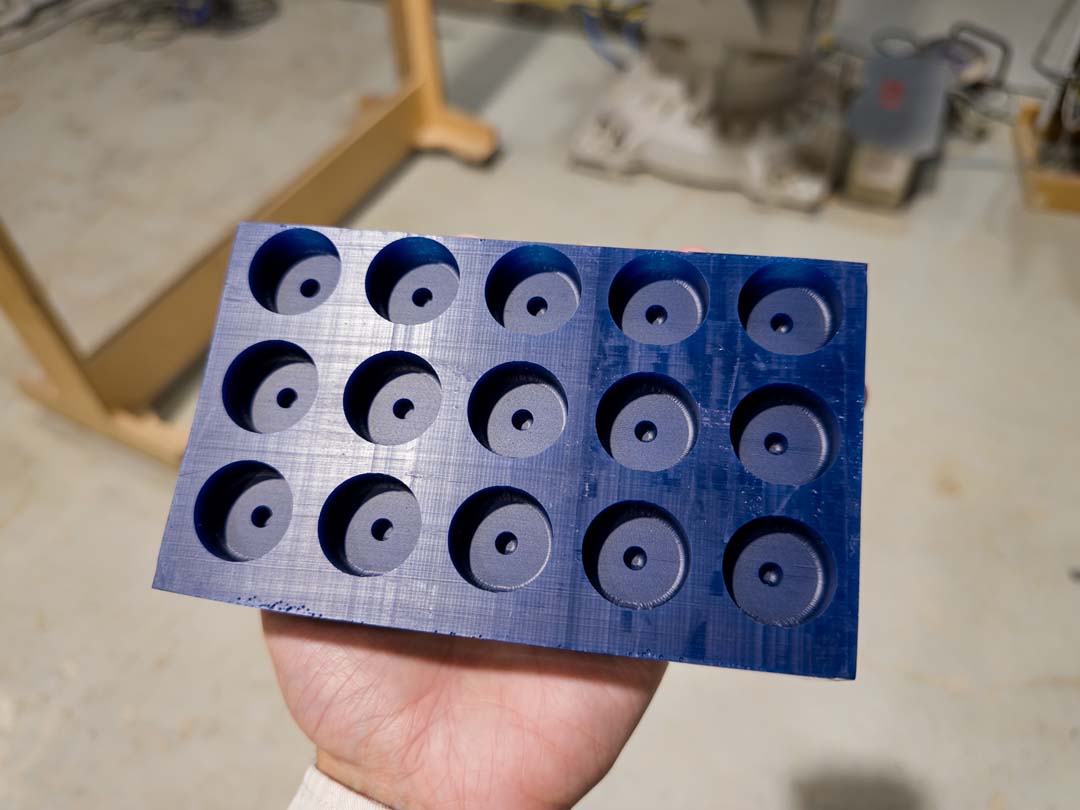
Modeled the wax block dimensions in Fusion 360 to match the actual wax block available in the lab (88 × 56 × 38mm). Created the silicone feet cavities as pockets in the block, using a 6mm diameter × 4mm deep cylinder for each foot with a 2mm pin stub at the center (to create the corresponding hole in the foot for press-fitting onto the base). Exported as STL.
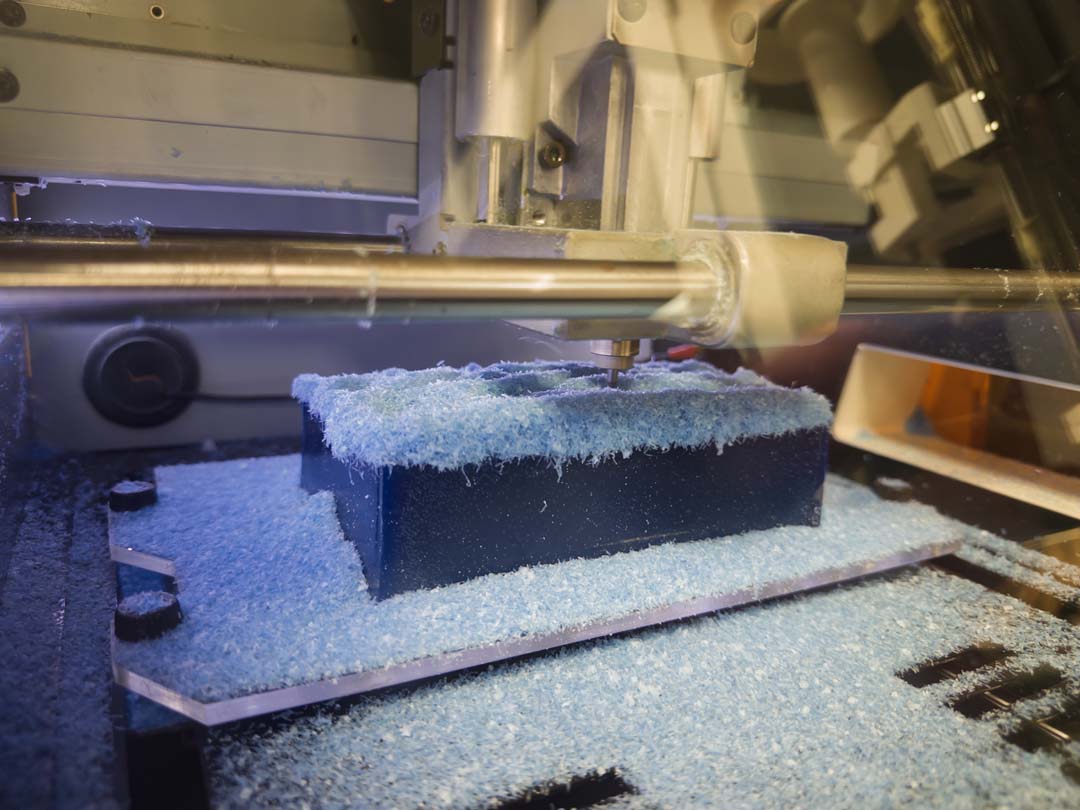
Imported the STL into Modela Player 4. Set material preset to Modeling Wax, all modeling form margins to 0, origin at bottom-left-upper corner of the block.
CAM parameters:
| Parameter | Surfacing | Roughing | Finishing |
|---|---|---|---|
| Tool | 1/8" square | 1/8" square | 1/8" ball-nose |
| XY Speed | 17.74 mm/s | 17.74 mm/s | 19.49 mm/s |
| Z Speed | 10 mm/s | 10 mm/s | 19.49 mm/s |
| Spindle | 7000 rpm | 7000 rpm | 7000 rpm |
| Cut-in Amount | 0.44 mm | 1.2 mm | 0.2 mm |
| Path Interval | 1.91 mm | 1.91 mm | 0.2 mm |
| Finish Margin | 0 mm | 0.44 mm | 0 mm |
Modela kept crashing when I tried to export the file with both the registration keys and the silicone feet. Eventually we figured out that if the model was split in two, Modela didn't crash. For some reason it didn't like the two geometries together.
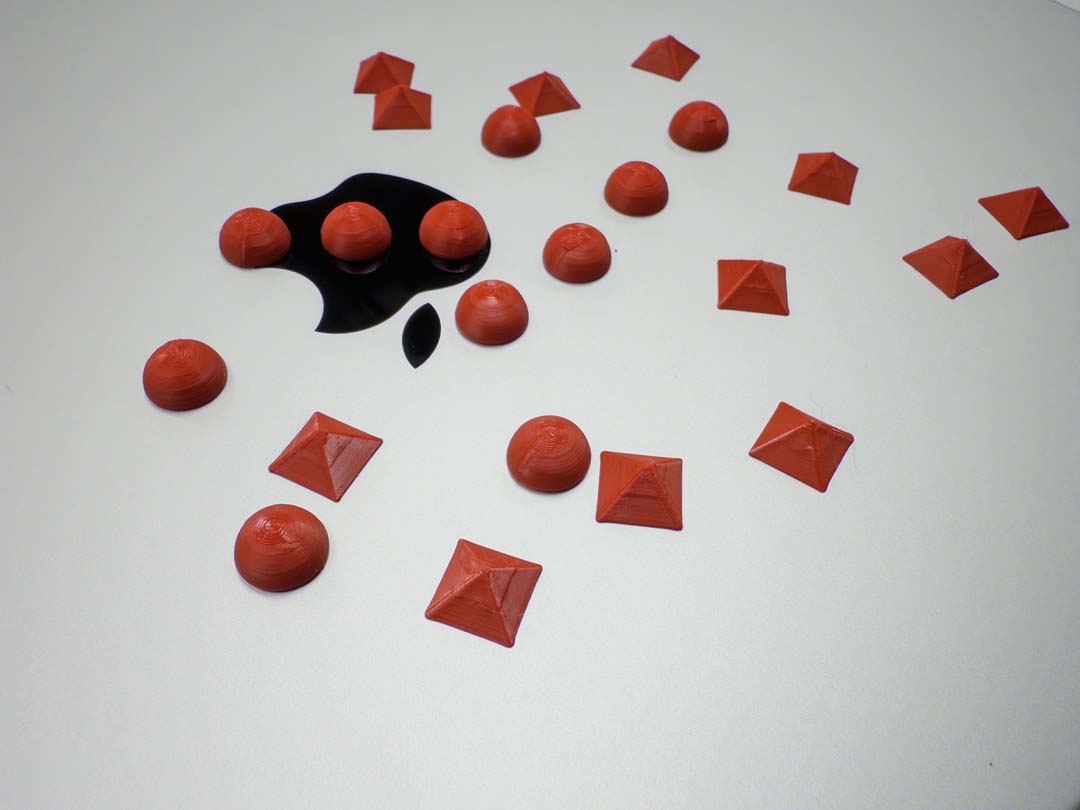
Ended up 3D printing the registration keys instead. Two types: pyramids and domes.
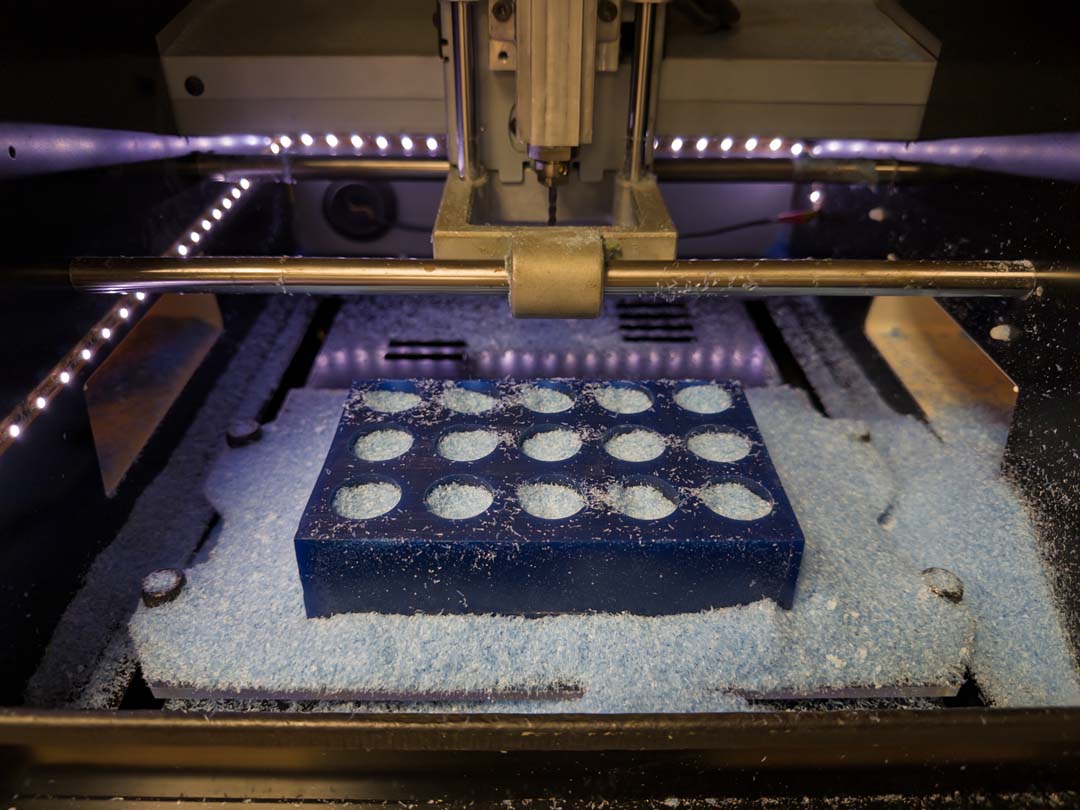
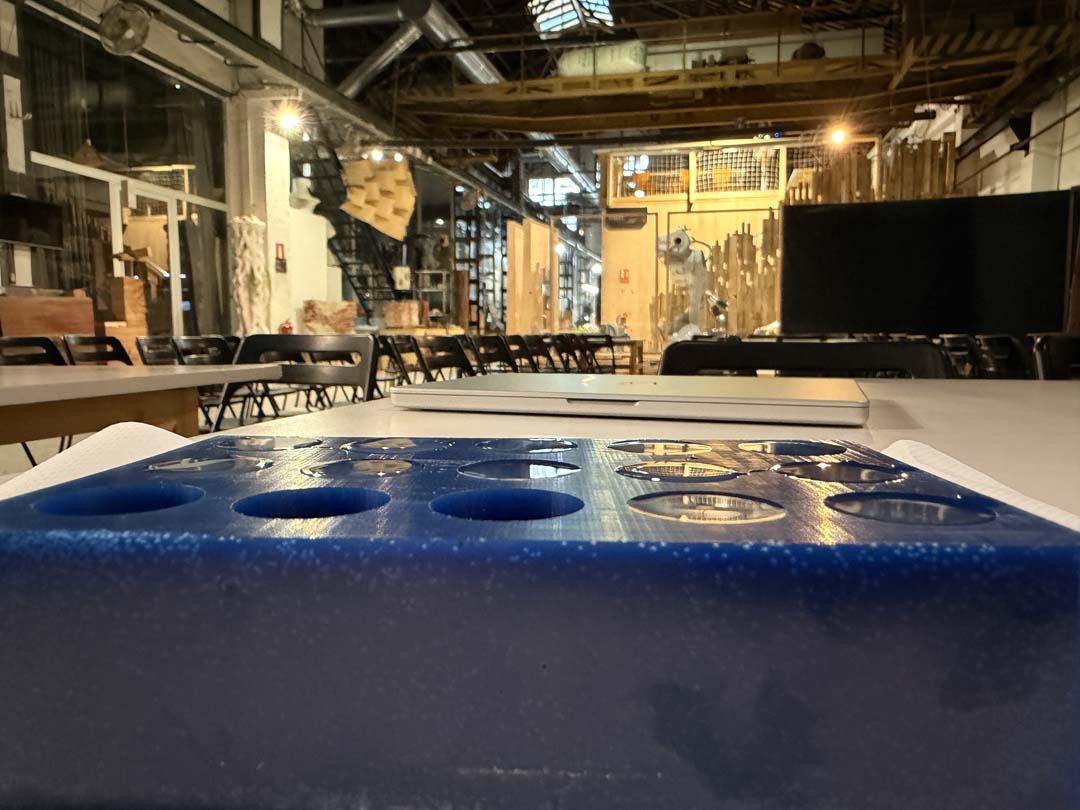
Remade the model file with only the silicone feet filling the whole block.
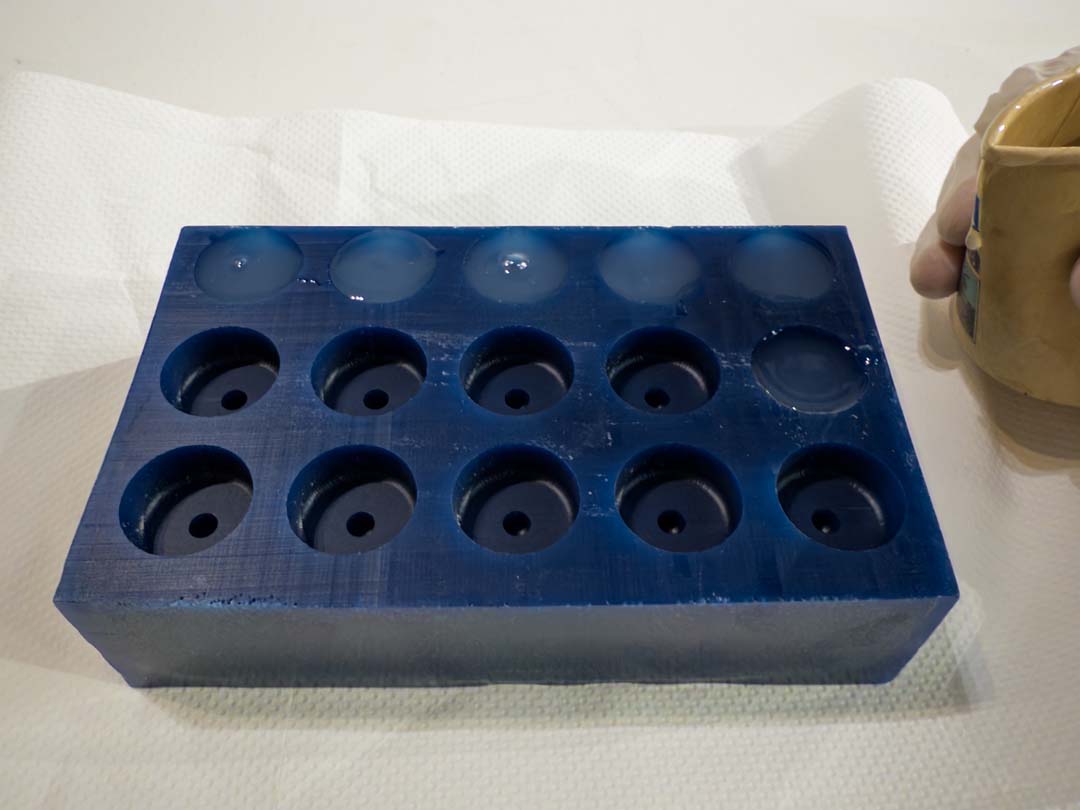
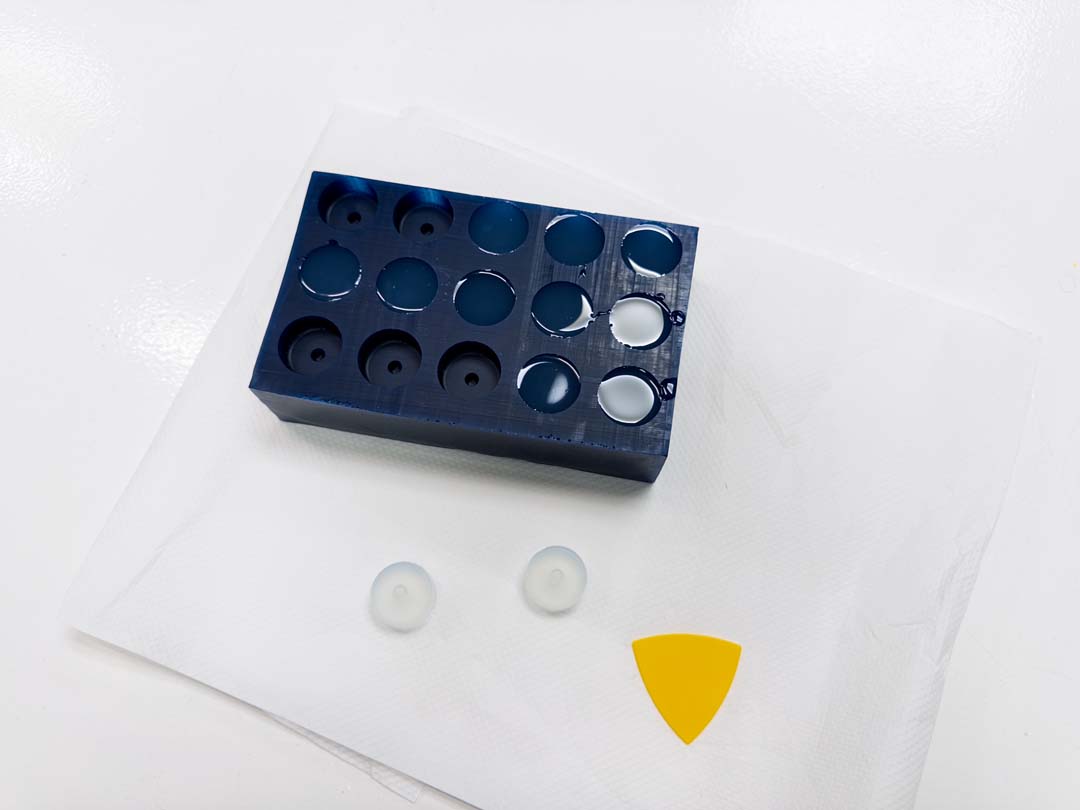
Didn't have compatible dyes for MOLD-40 on hand, so poured a first test run clear.
Type of silicone used: Feroca EASYPLAT MOLD-40.
Important technical specifications:
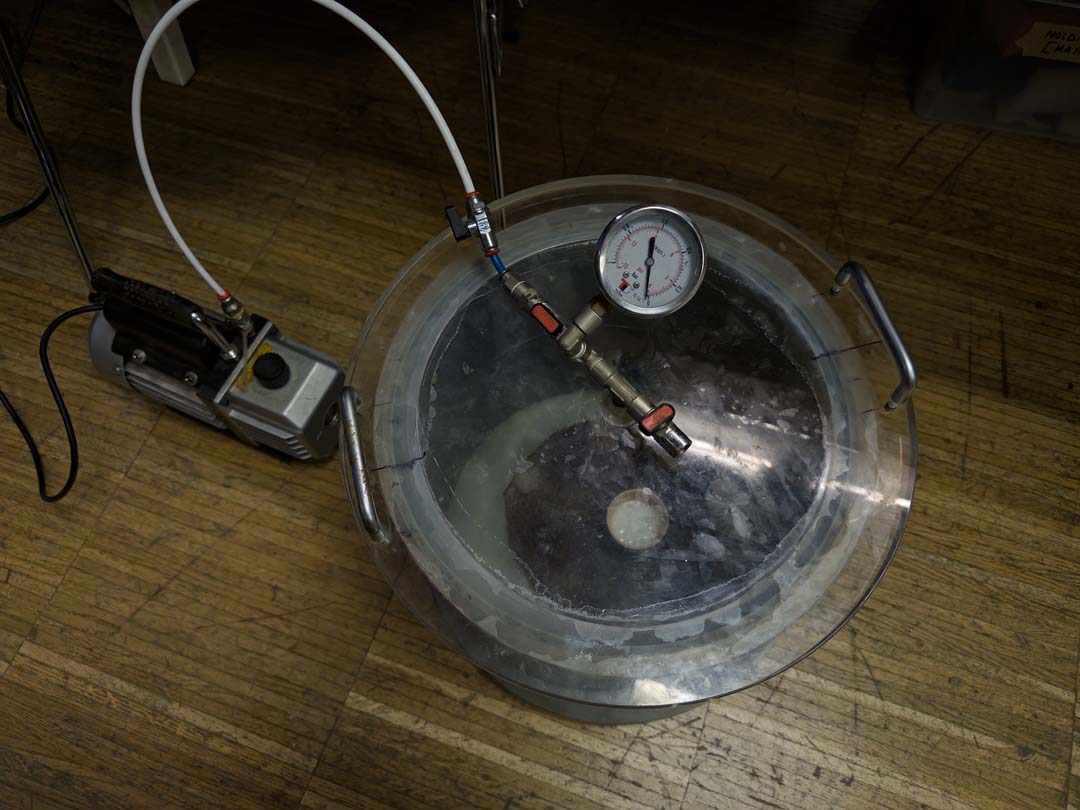
Amount used: 31g of each part. Mixed vigorously, then placed in the vacuum chamber to remove bubbles.

Noticed a problem area for bubble formation in the pin area at the bottom.
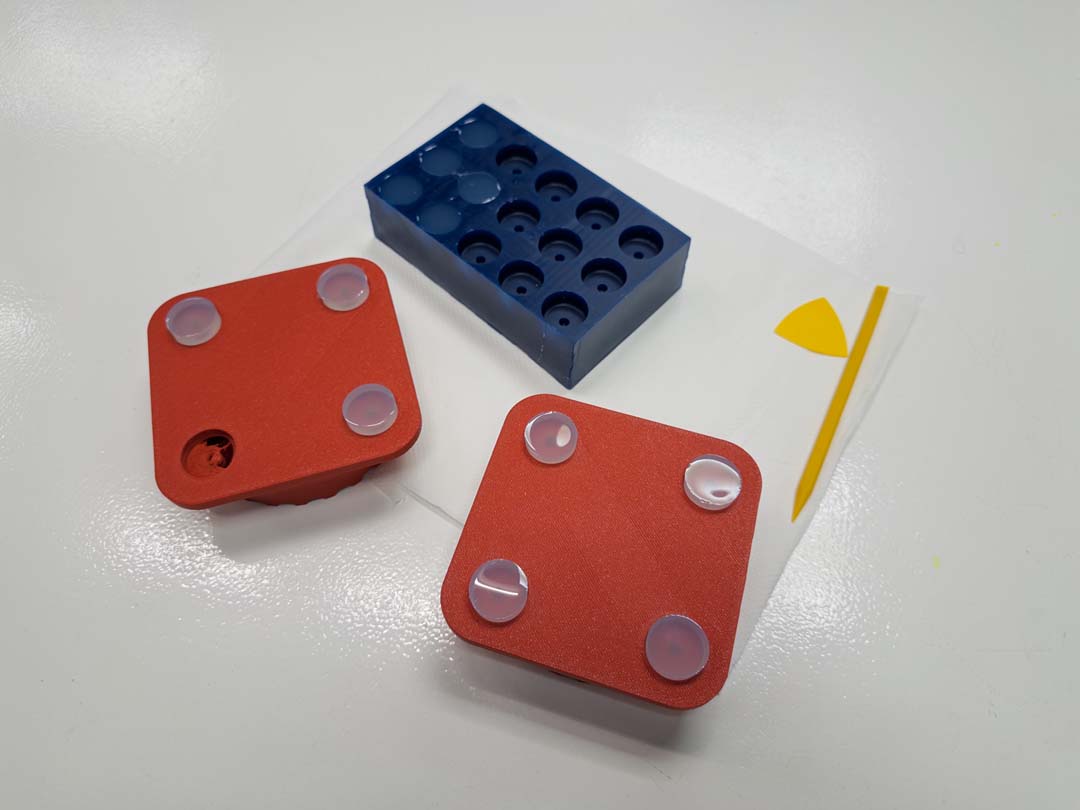
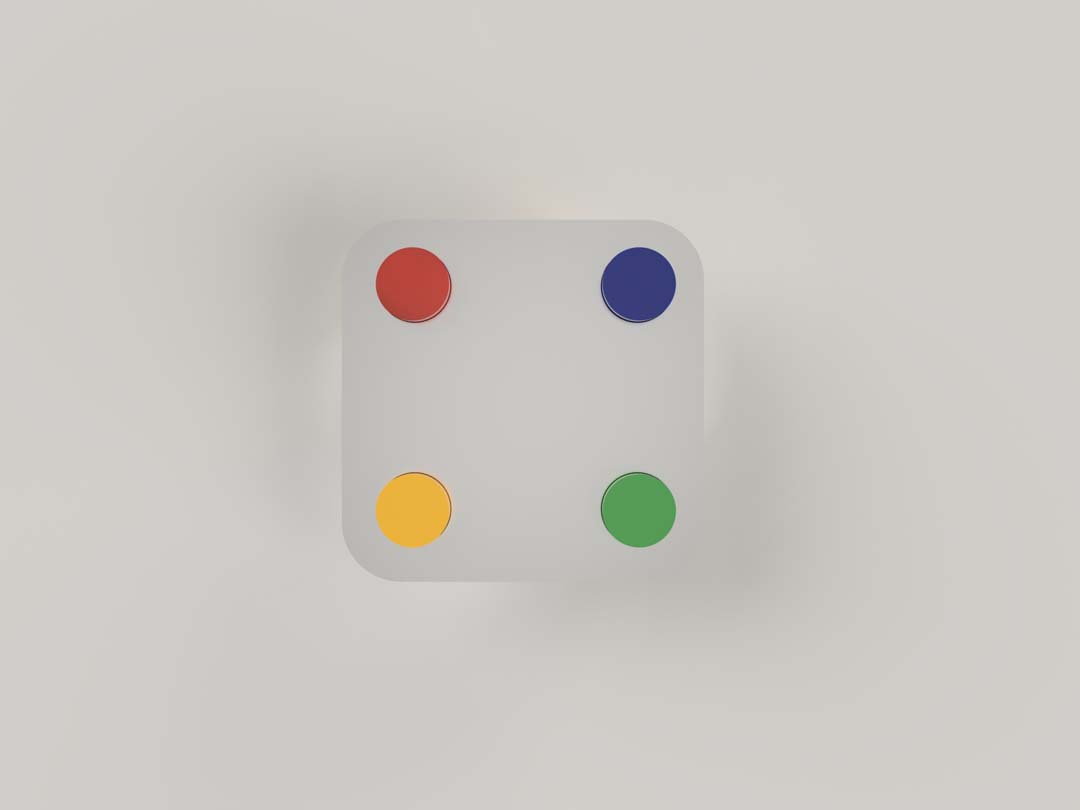
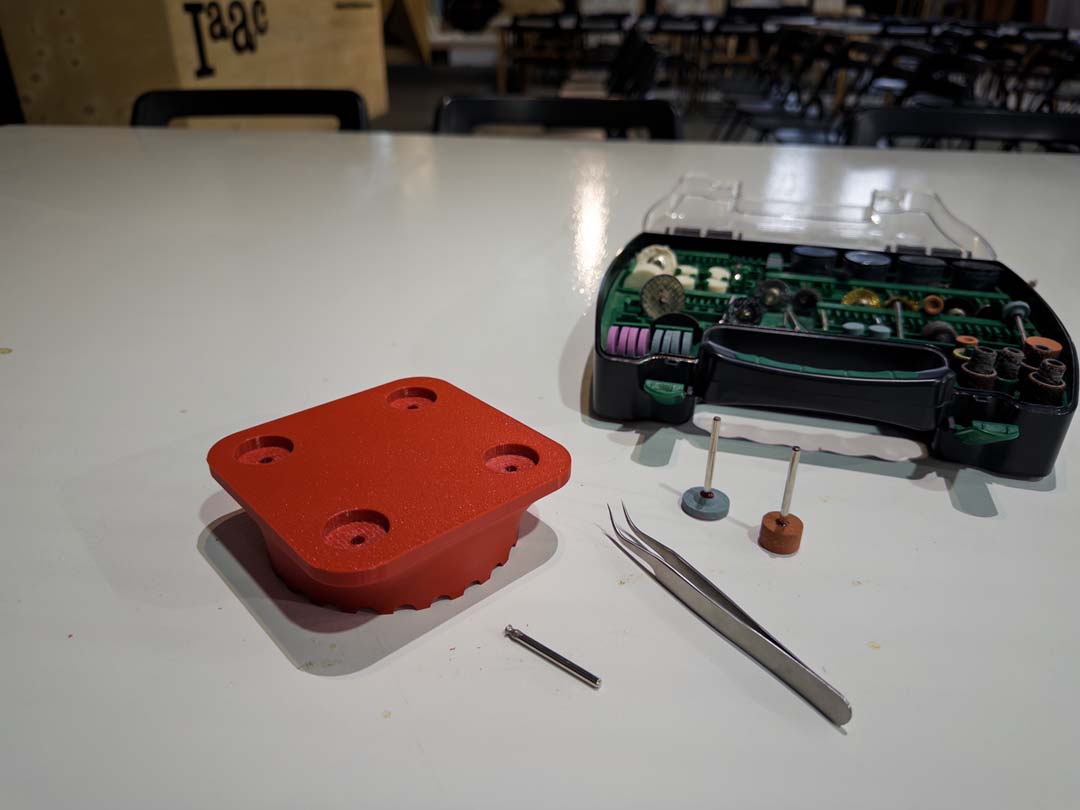
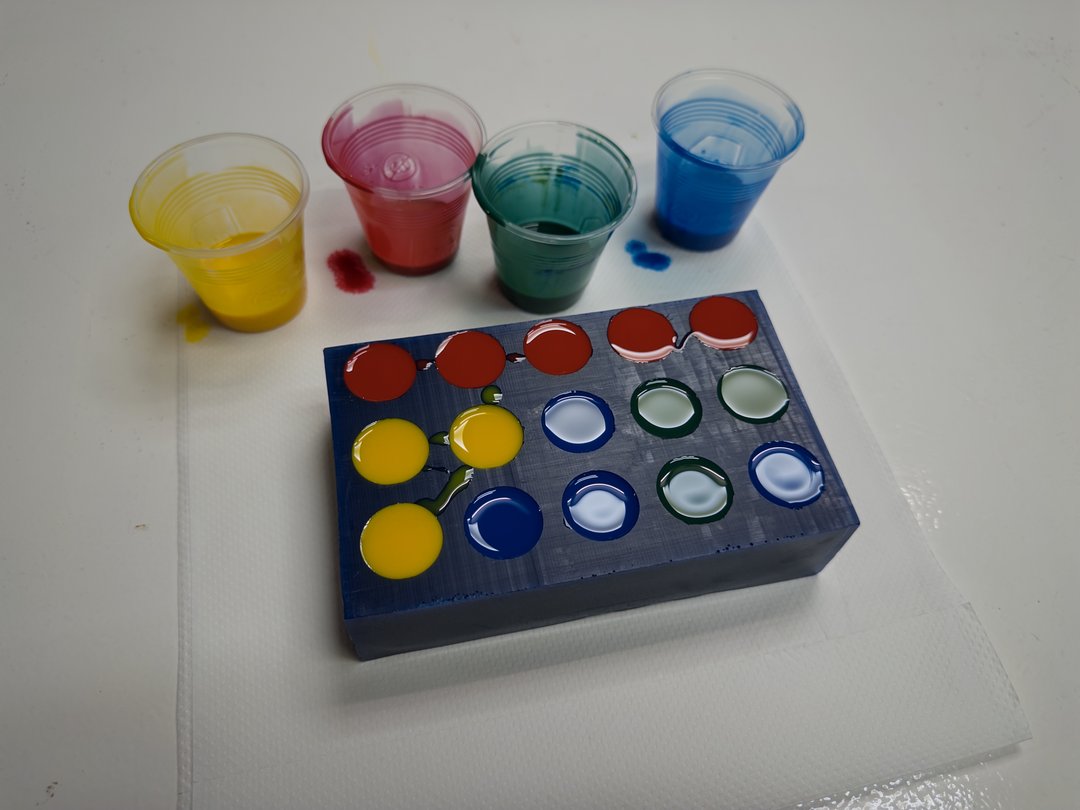
The feet are meant to match the four colours of my logo, so I also wanted to try coloured silicone. I bought silicone-specific dyes and tested them using EASYPLAT MOLD-30.
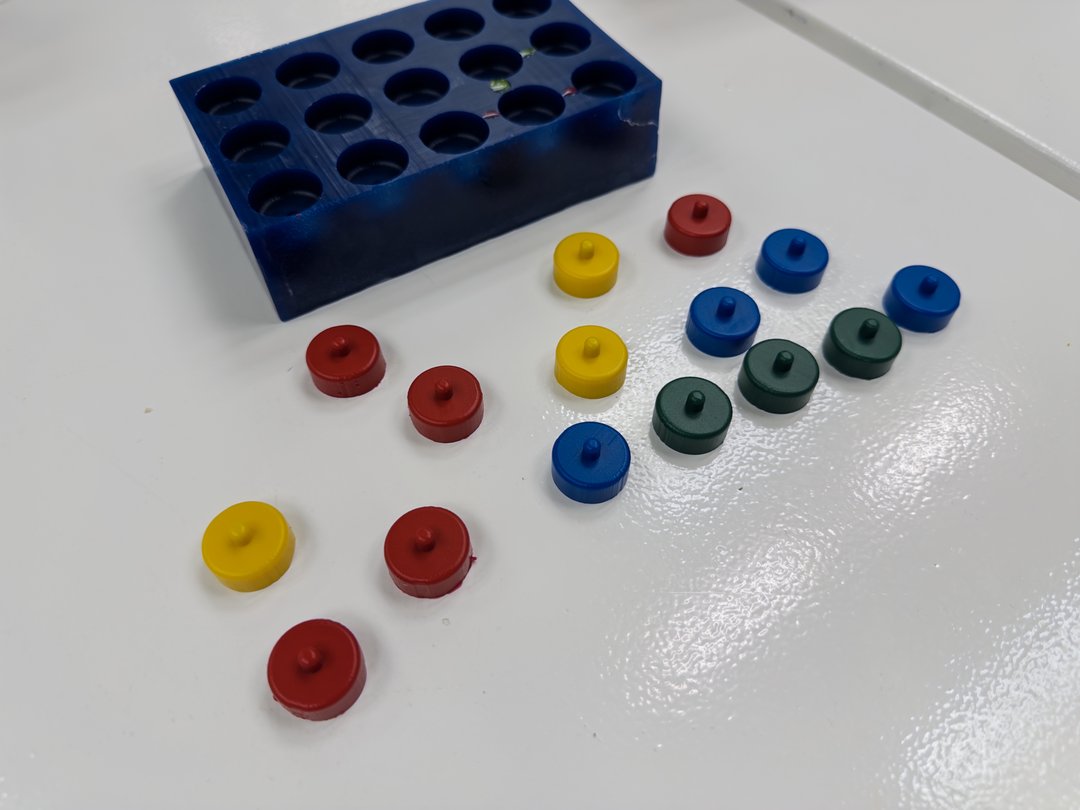
The colours came out okay but Shore 30 was way too soft for feet. The texture wasn't right compared to the clear MOLD-40 feet, so I stuck with MOLD-40 clear for the final version.
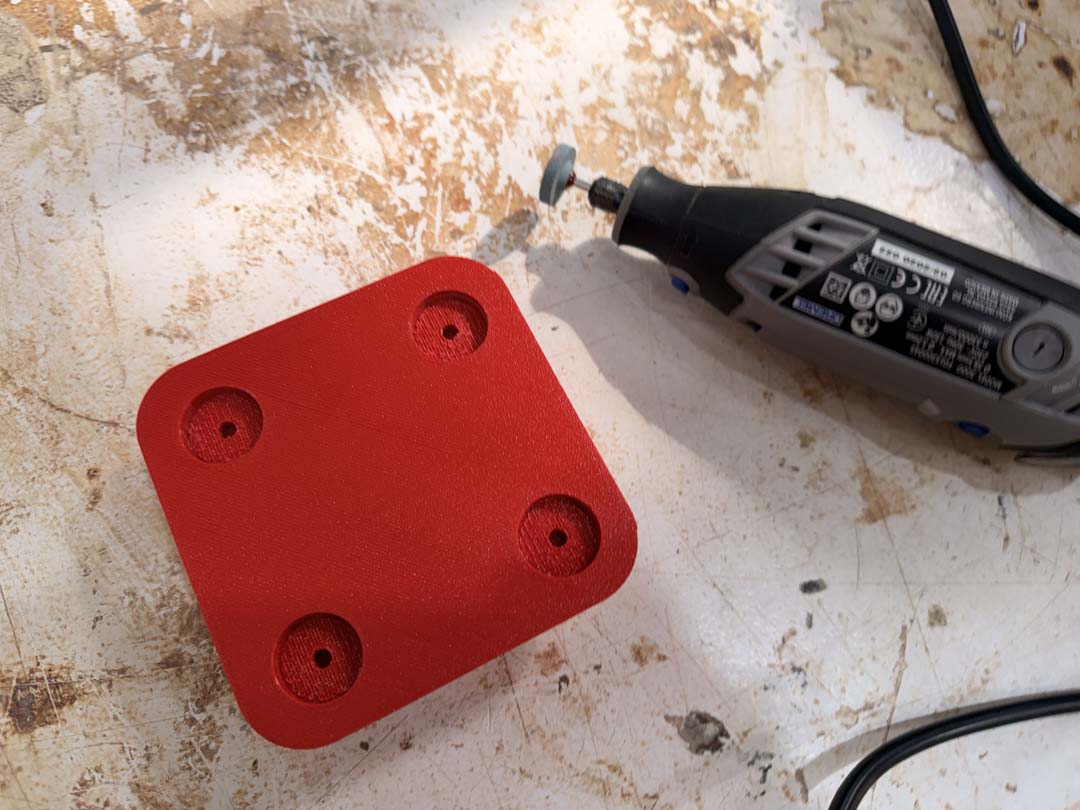
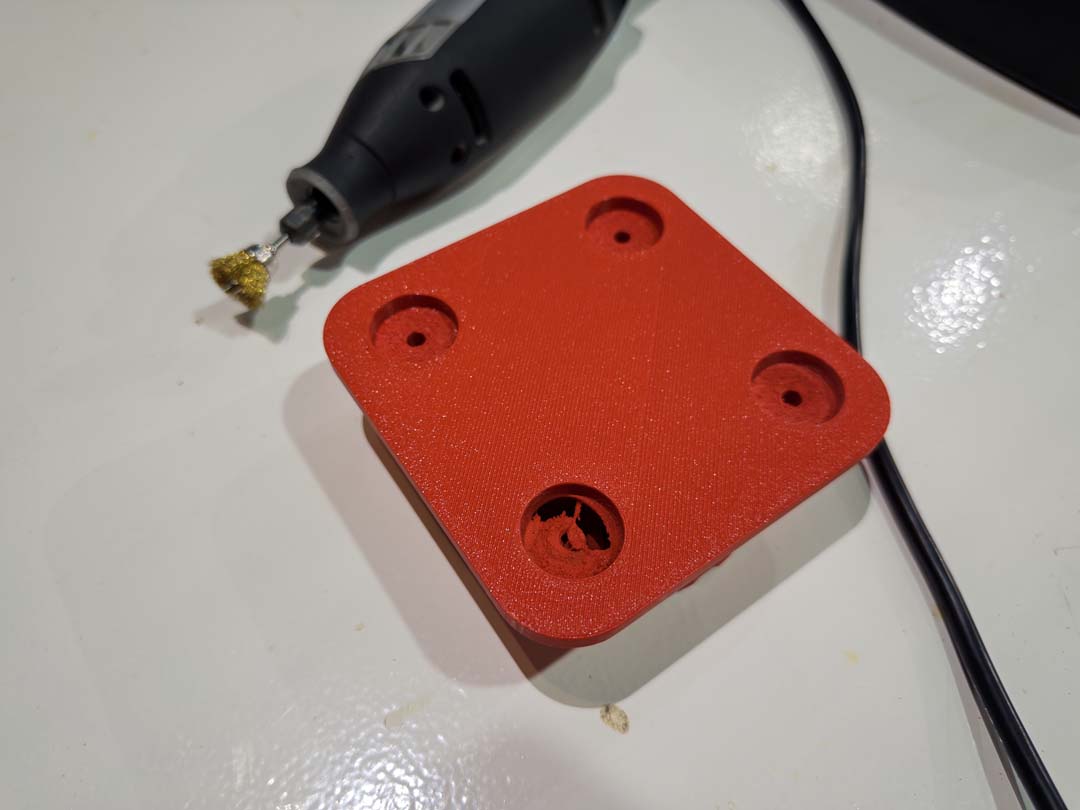
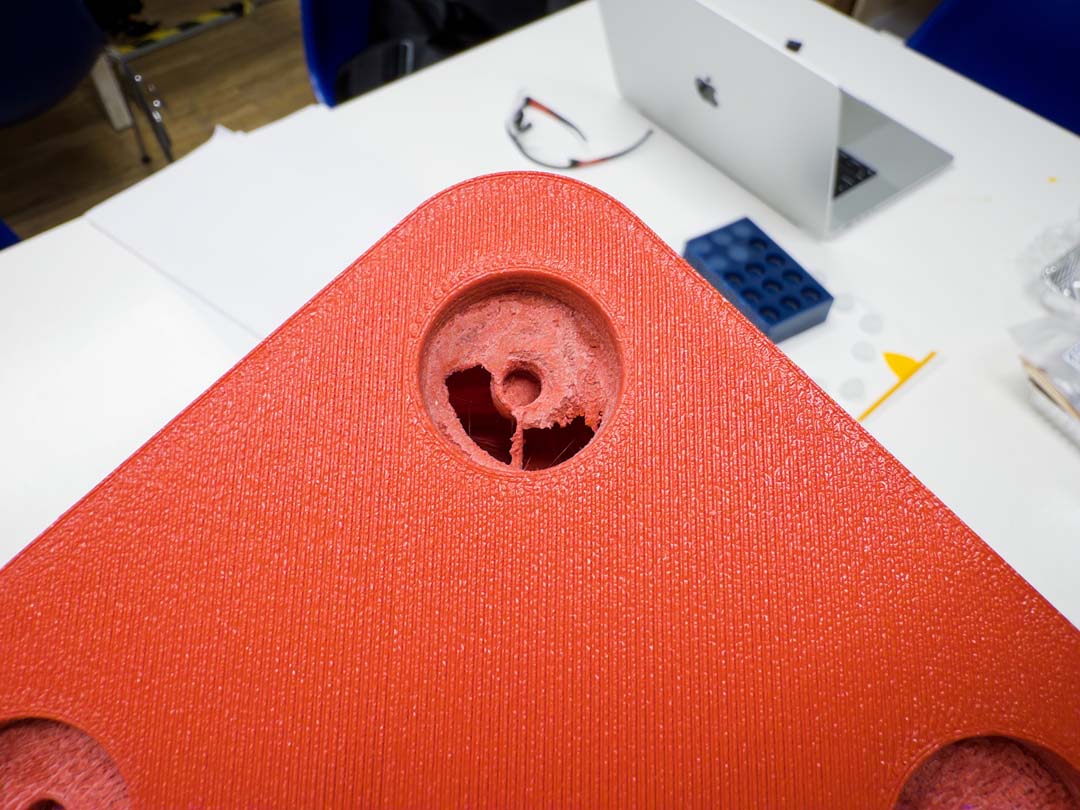
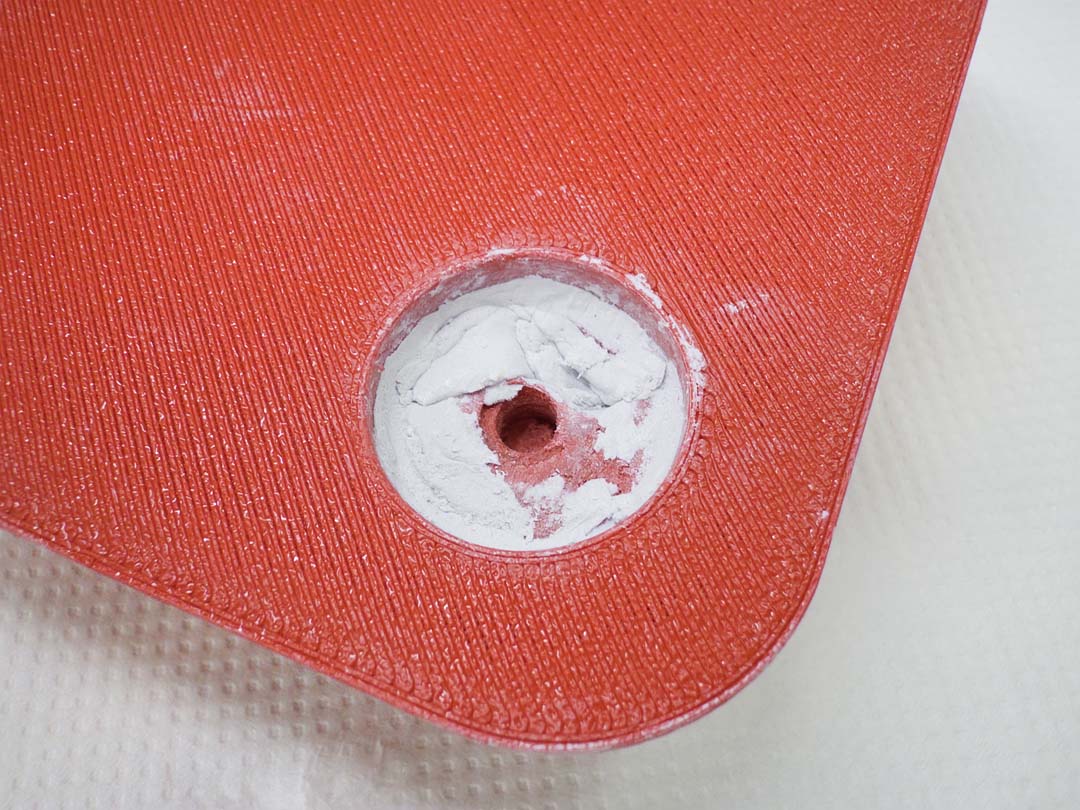
Accidentally melted a hole through the base using the Dremel wire brush to try to clean it more quickly.
Looked into options for filling the hole. Bondo (polyester body filler) was the ideal pick, fastest cure (5–15 min), very sandable, and a known-safe option with silicone mold making. Couldn't find Bondo locally, so I picked up a generic multi-use two-part epoxy putty instead.
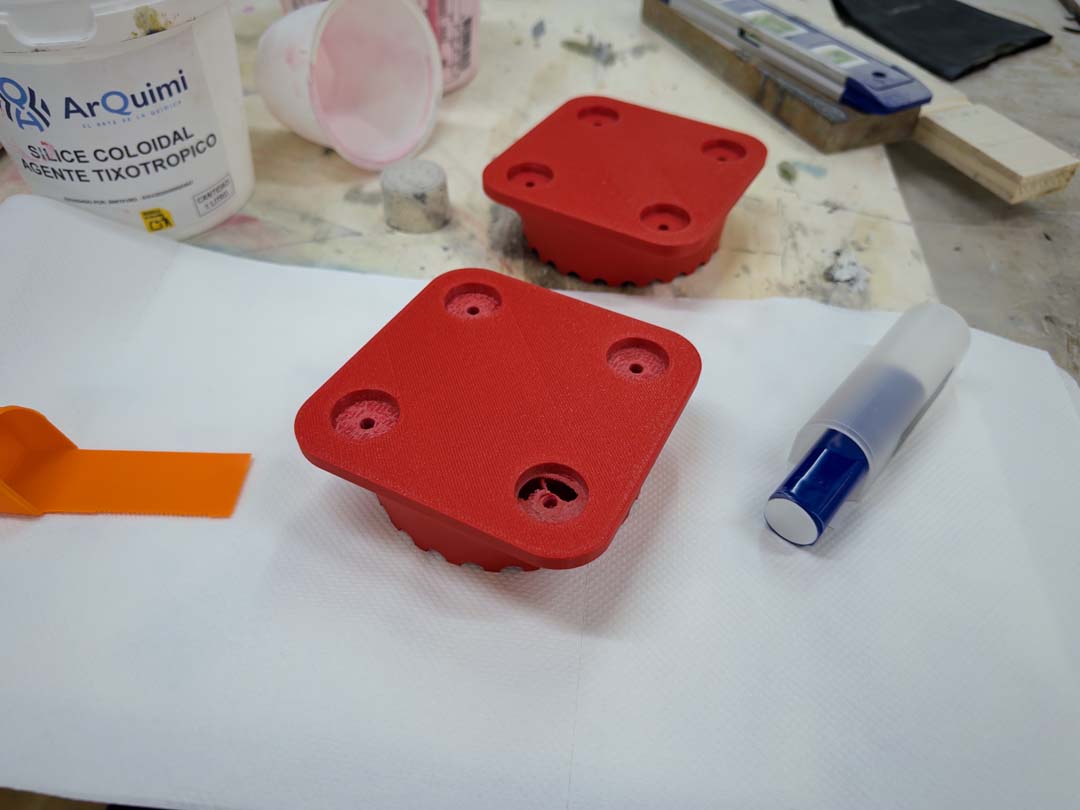
The result was not great. The curing time is only 3 minutes and it's very difficult to fill the spaces smoothly. It hardened before I could finish getting the result I wanted.
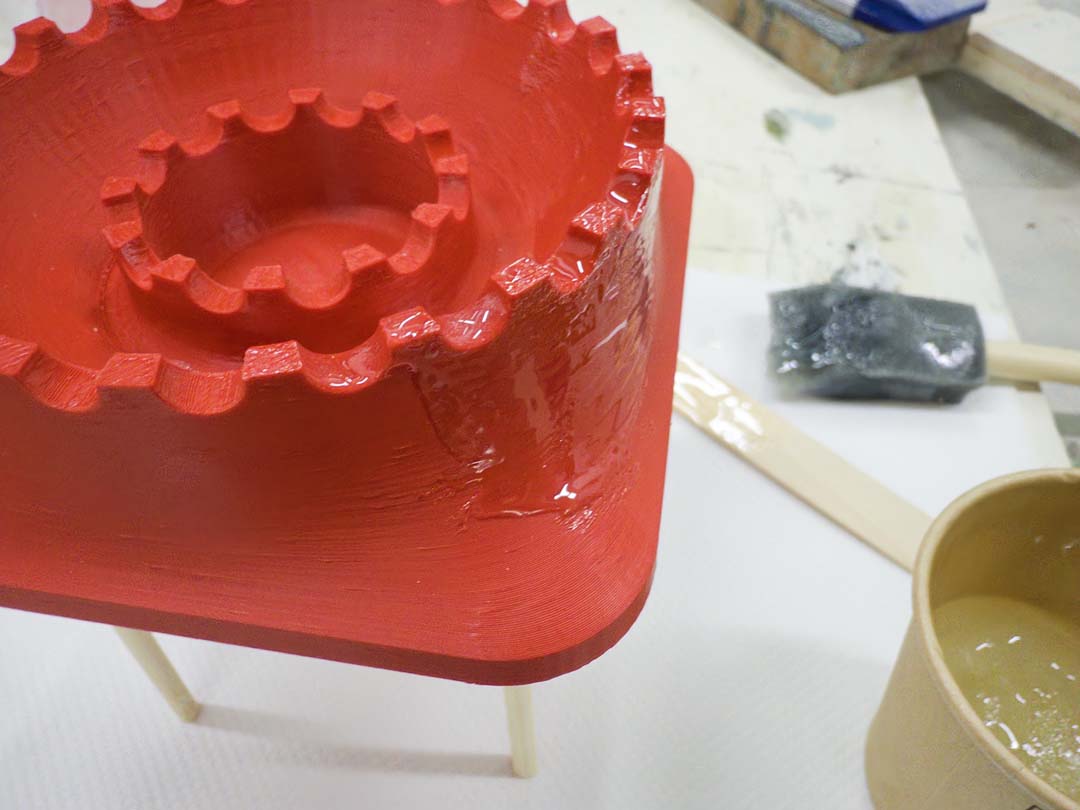
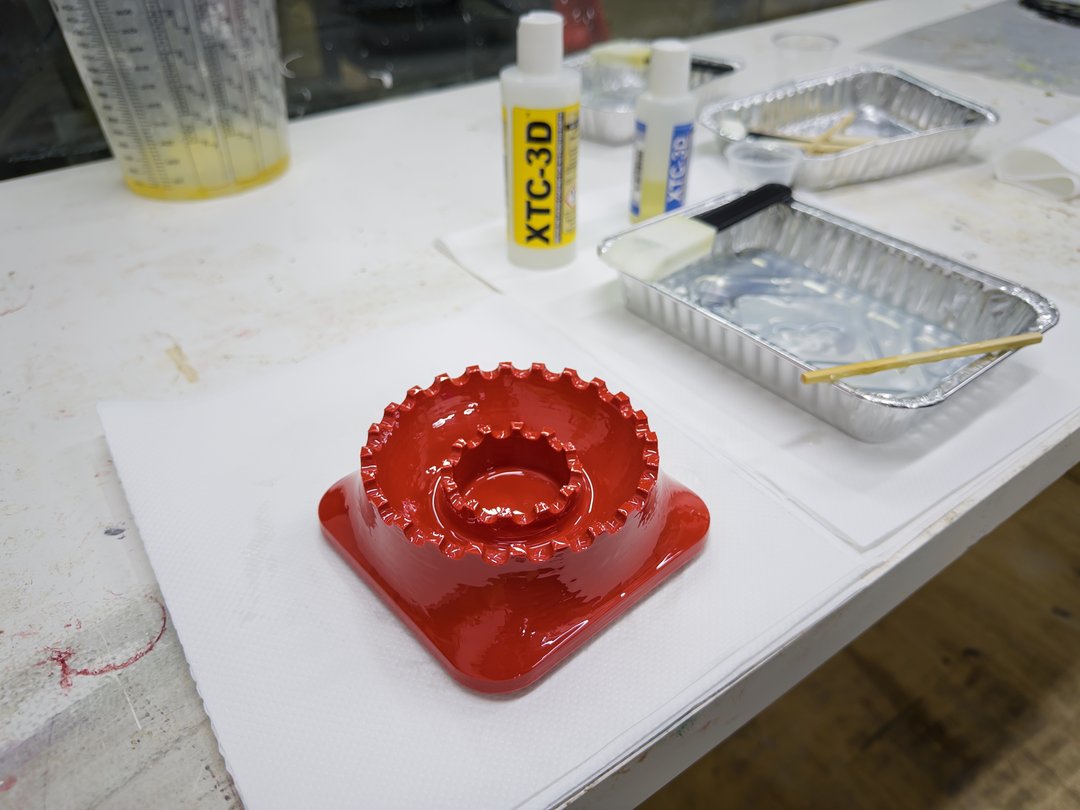
Printed a third time and applied XTC-3D correctly this time: poured the mixed epoxy onto a flat foil tray immediately after mixing, then brushed it on within the 20-minute working time. Let it cure fully before touching.
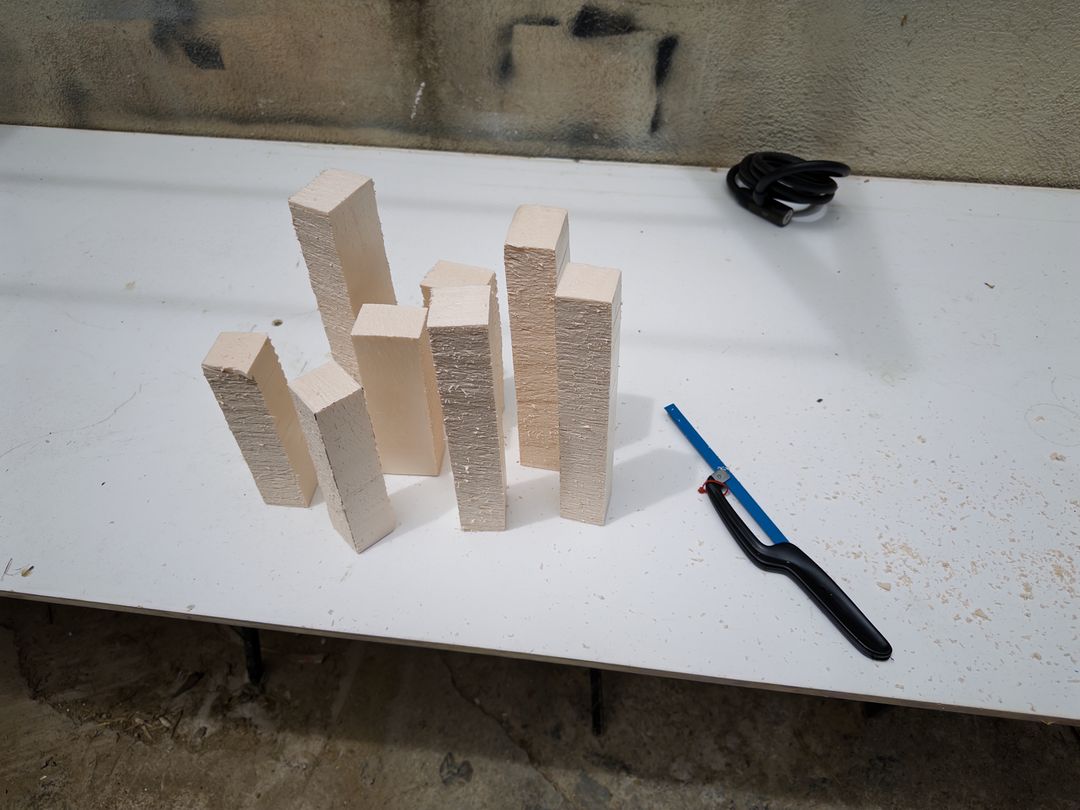
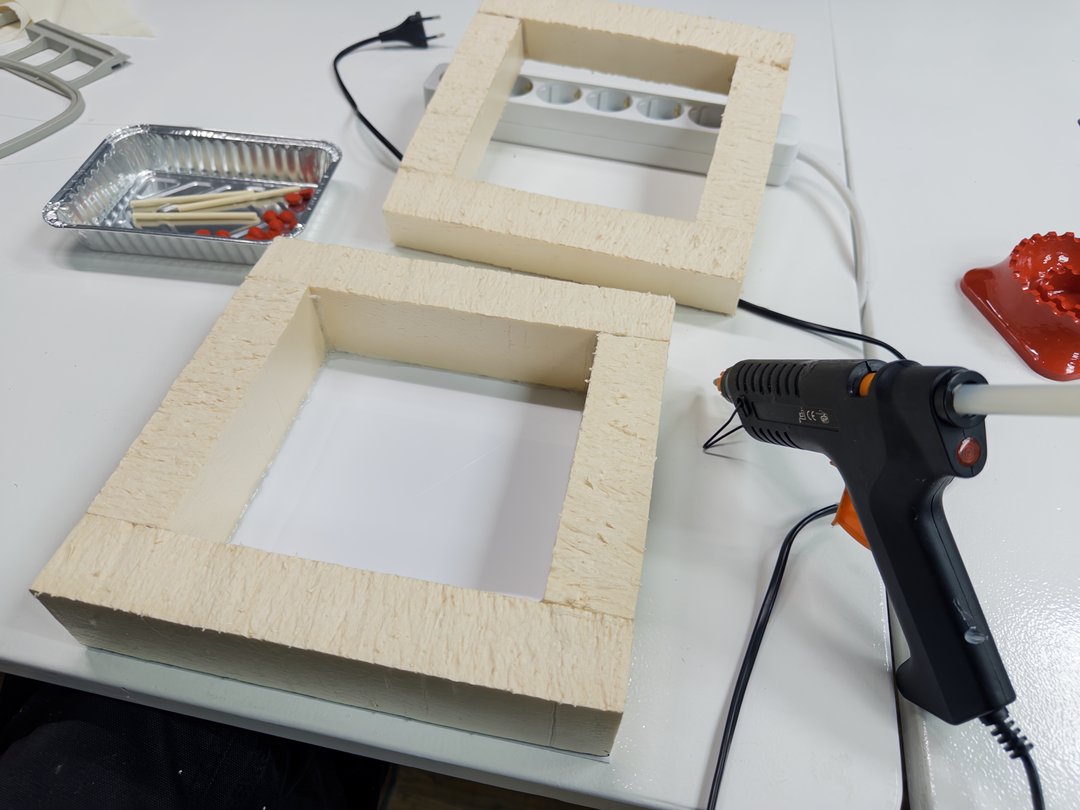
Rather than gluing wood together, I used foam insulation board cut into strips, which are faster to cut and easier to hot-glue into a frame. I cut two separate frame heights: the taller one for the first silicone half, and the shallower one to sit on top for the second pour.
The plan: pour the first half with the master sitting face-up, let it cure to the parting line, then flip the assembly, apply mold release, and pour the second half. Registration keys ensure the two halves lock together precisely.
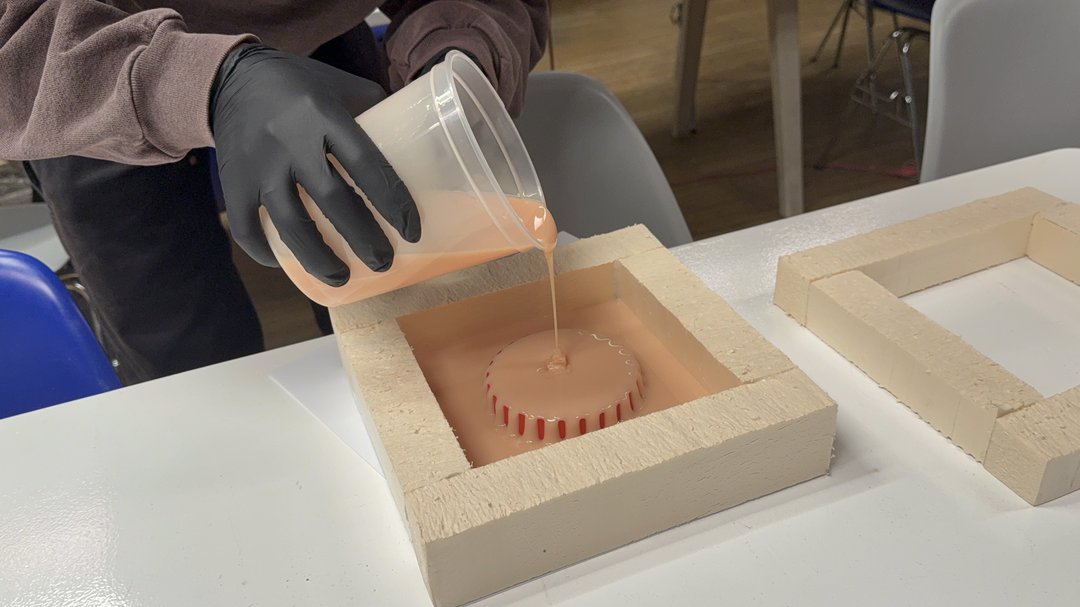
Set the master face-up on a styrene sheet inside the foam frame. Hot-glued 3D printed registration key pins directly around the perimeter. Silicone used: Mold 30 flesh coloured, a tin-cure silicone with a Shore A of 30.
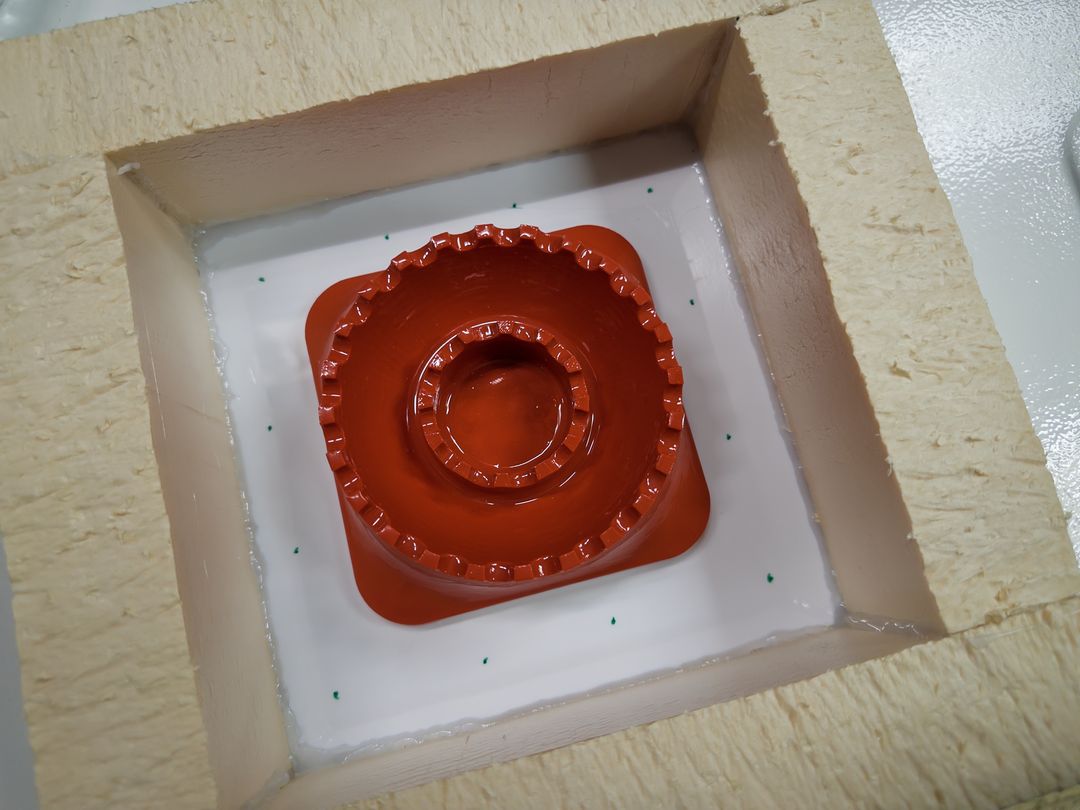
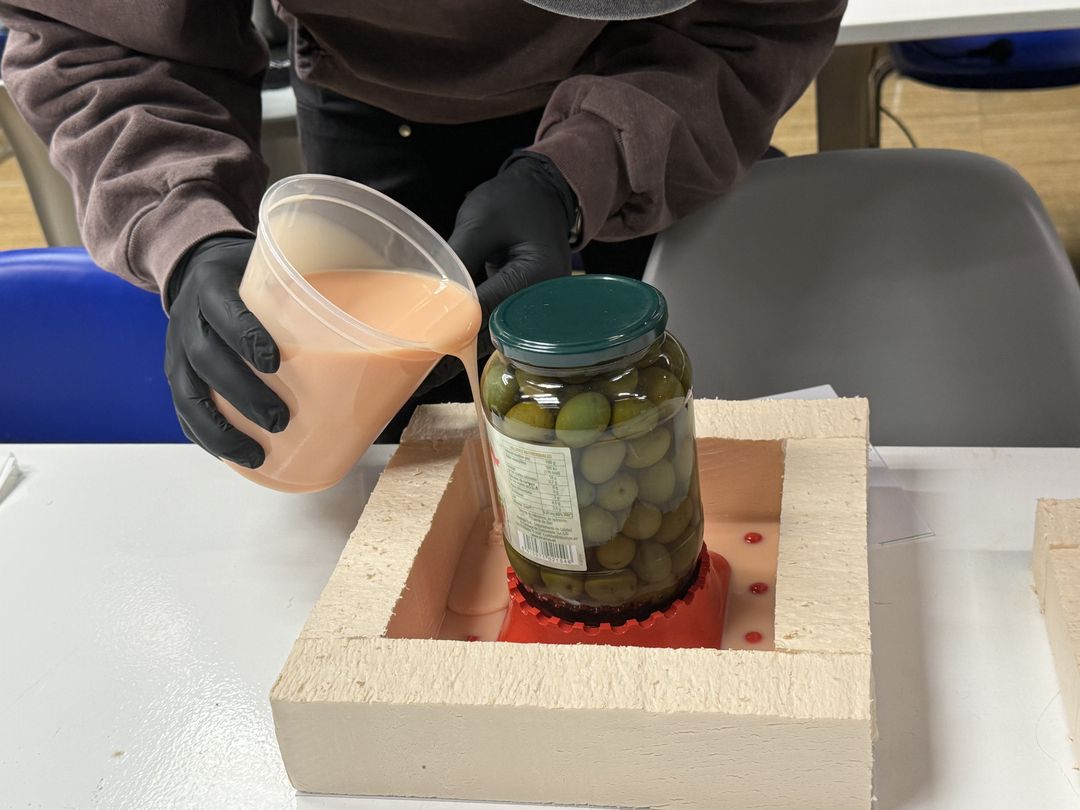
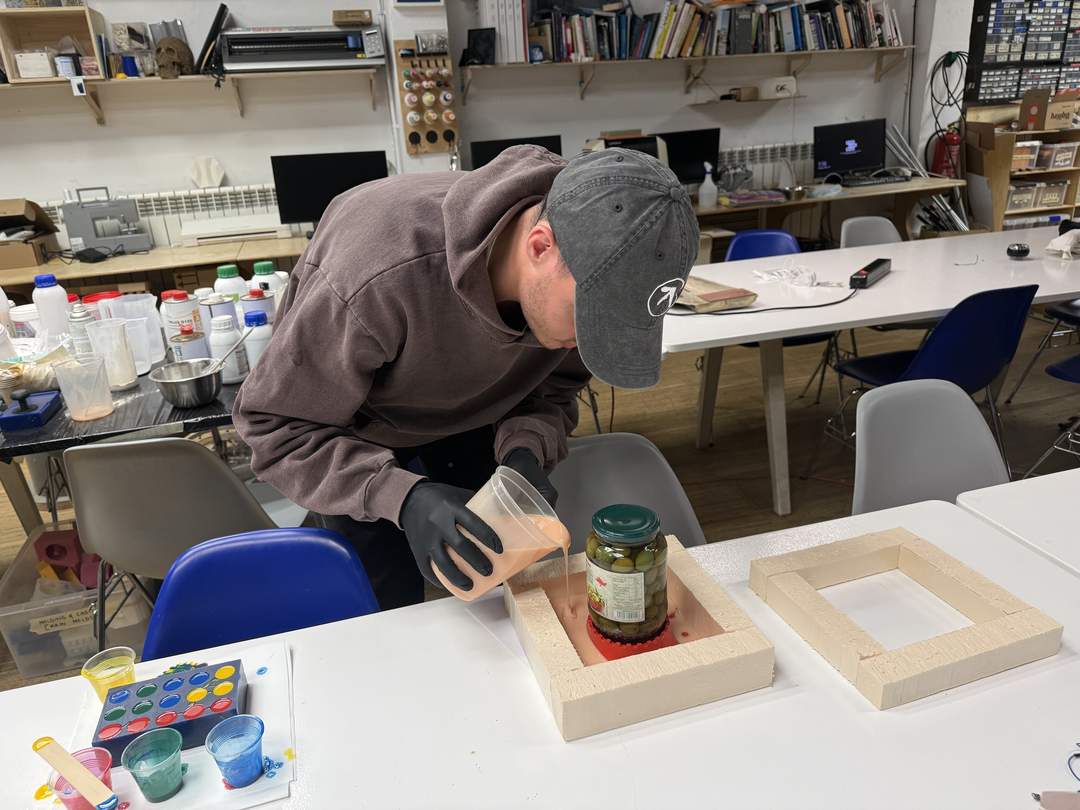
Did an initial small pour just over the registration feet and the very bottom of the master, then placed a jar of olives on top while it gelled. This locked the master in place before pouring the rest.
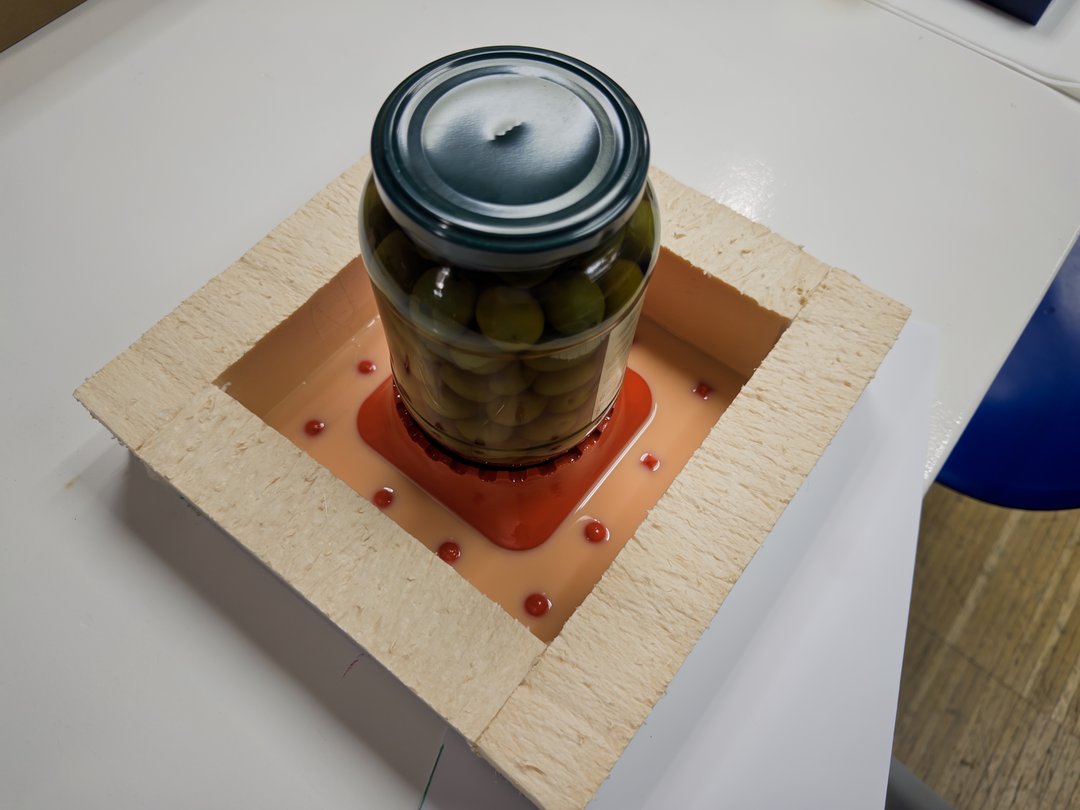
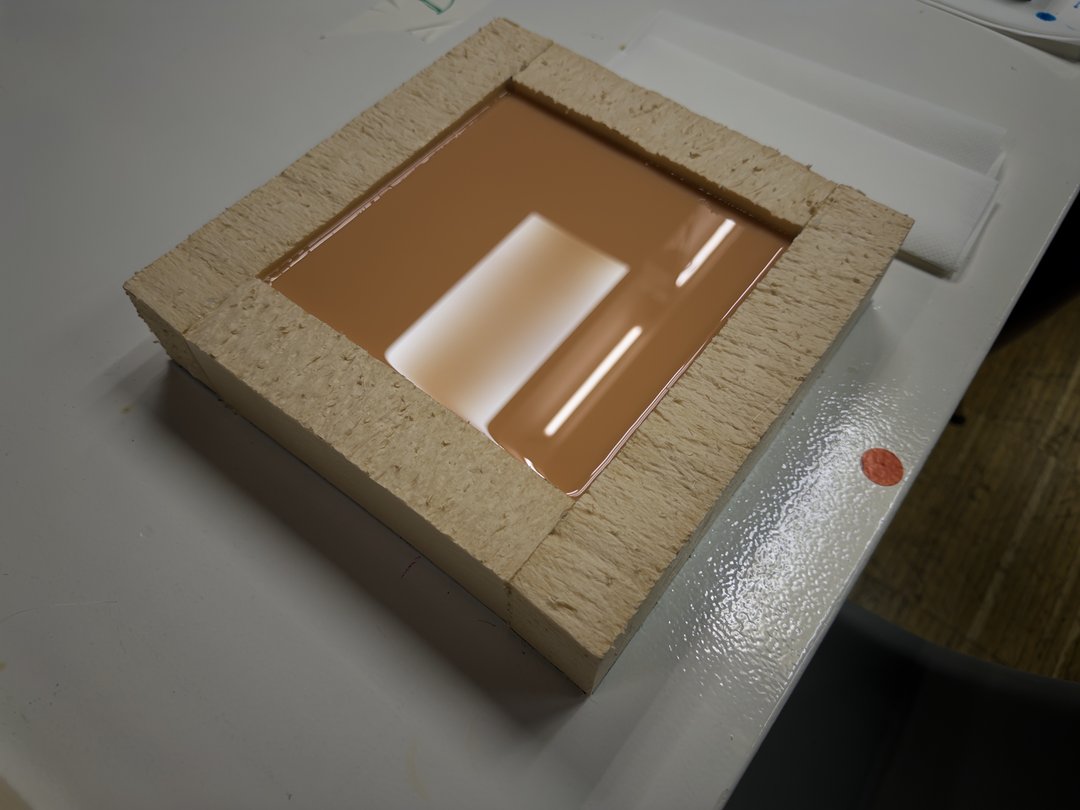
Once that layer had gelled, poured the rest of the silicone to fill the mold box completely.
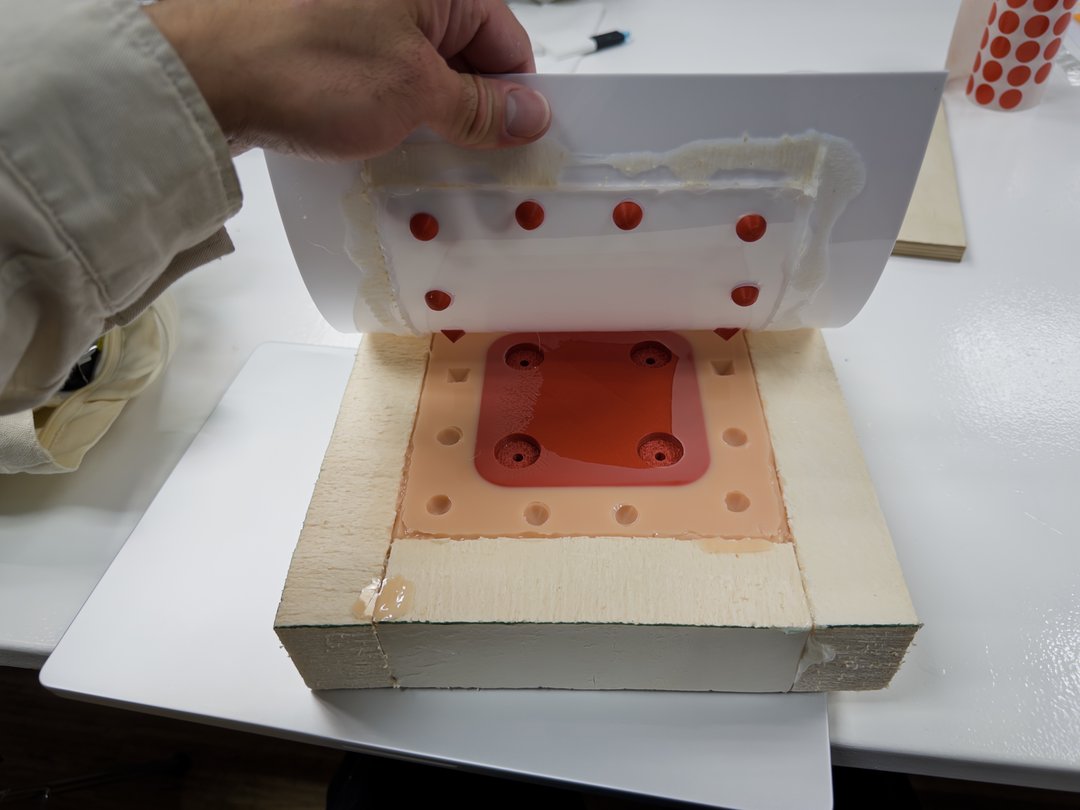
Once the first half cured, I peeled the styrene sheet off the bottom and flipped the assembly so the master was now face-down with its back exposed. Set the shallower foam frame on top to form the wall for the second pour.
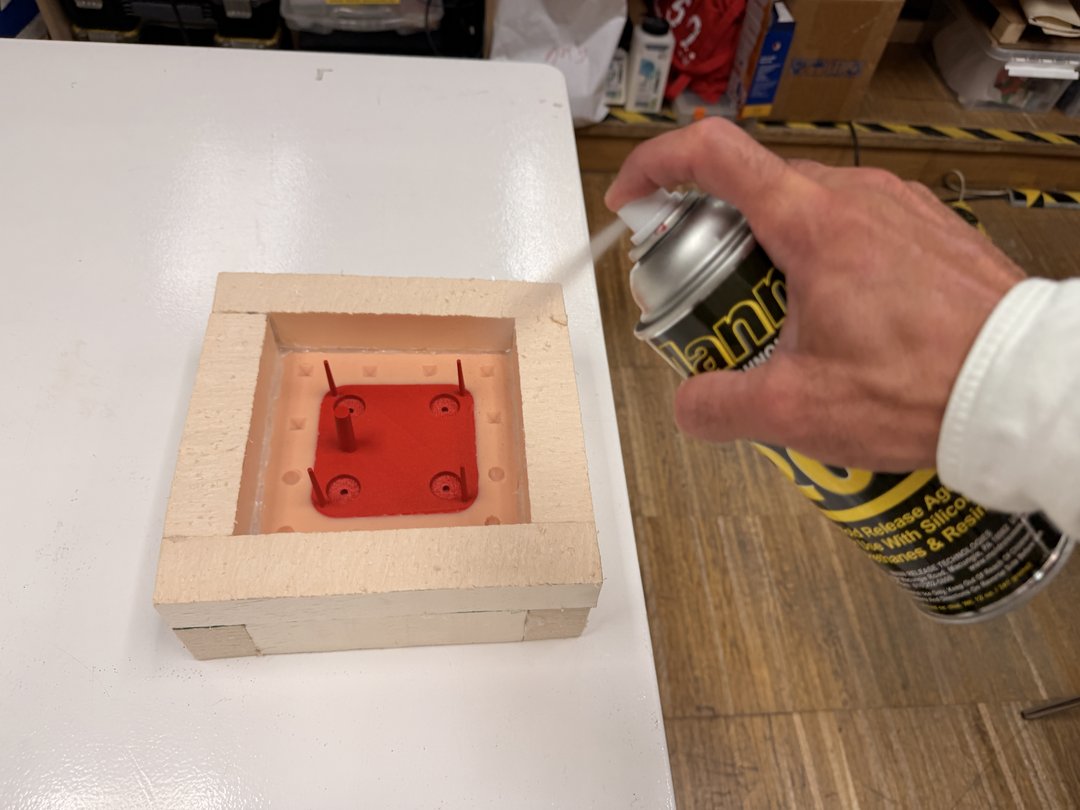
Applied mold release spray (Ease Release 200) liberally to the exposed silicone surface so the two halves wouldn't bond to each other.

Poured the second silicone half using the same mix and vacuum degassing process, then let it cure.
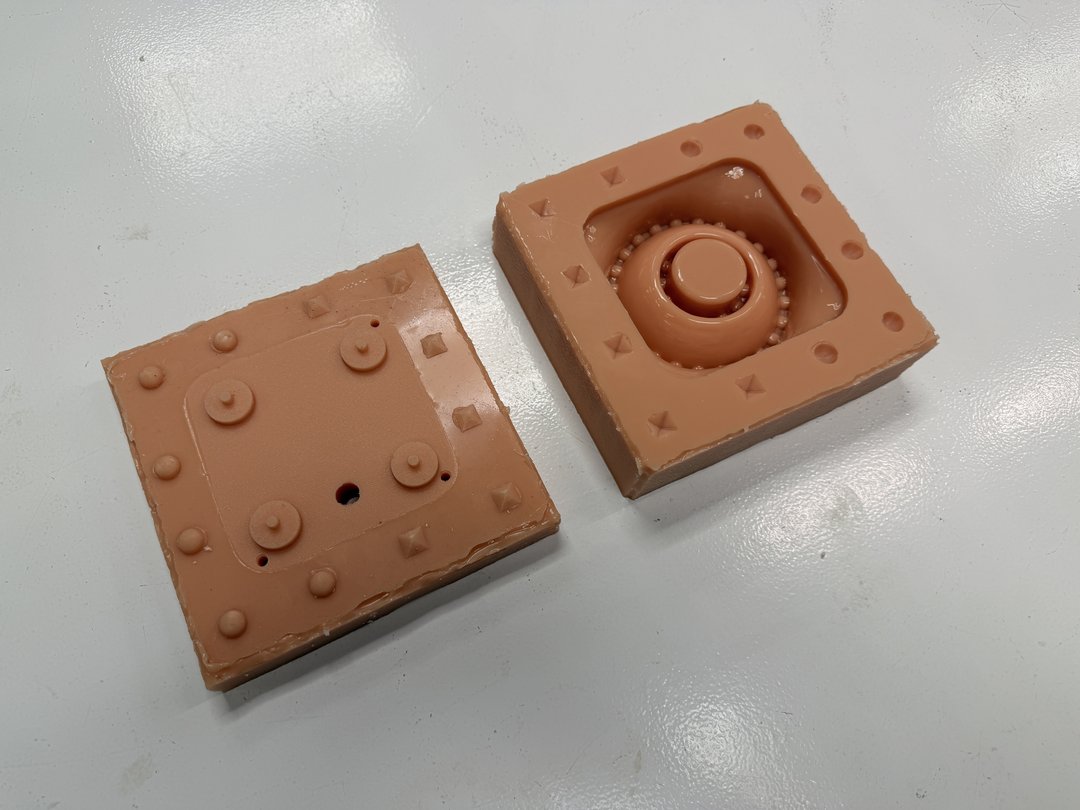
After the second half cured, removed the foam box and split the two halves apart. The mold release did its job: they separated cleanly without tearing.
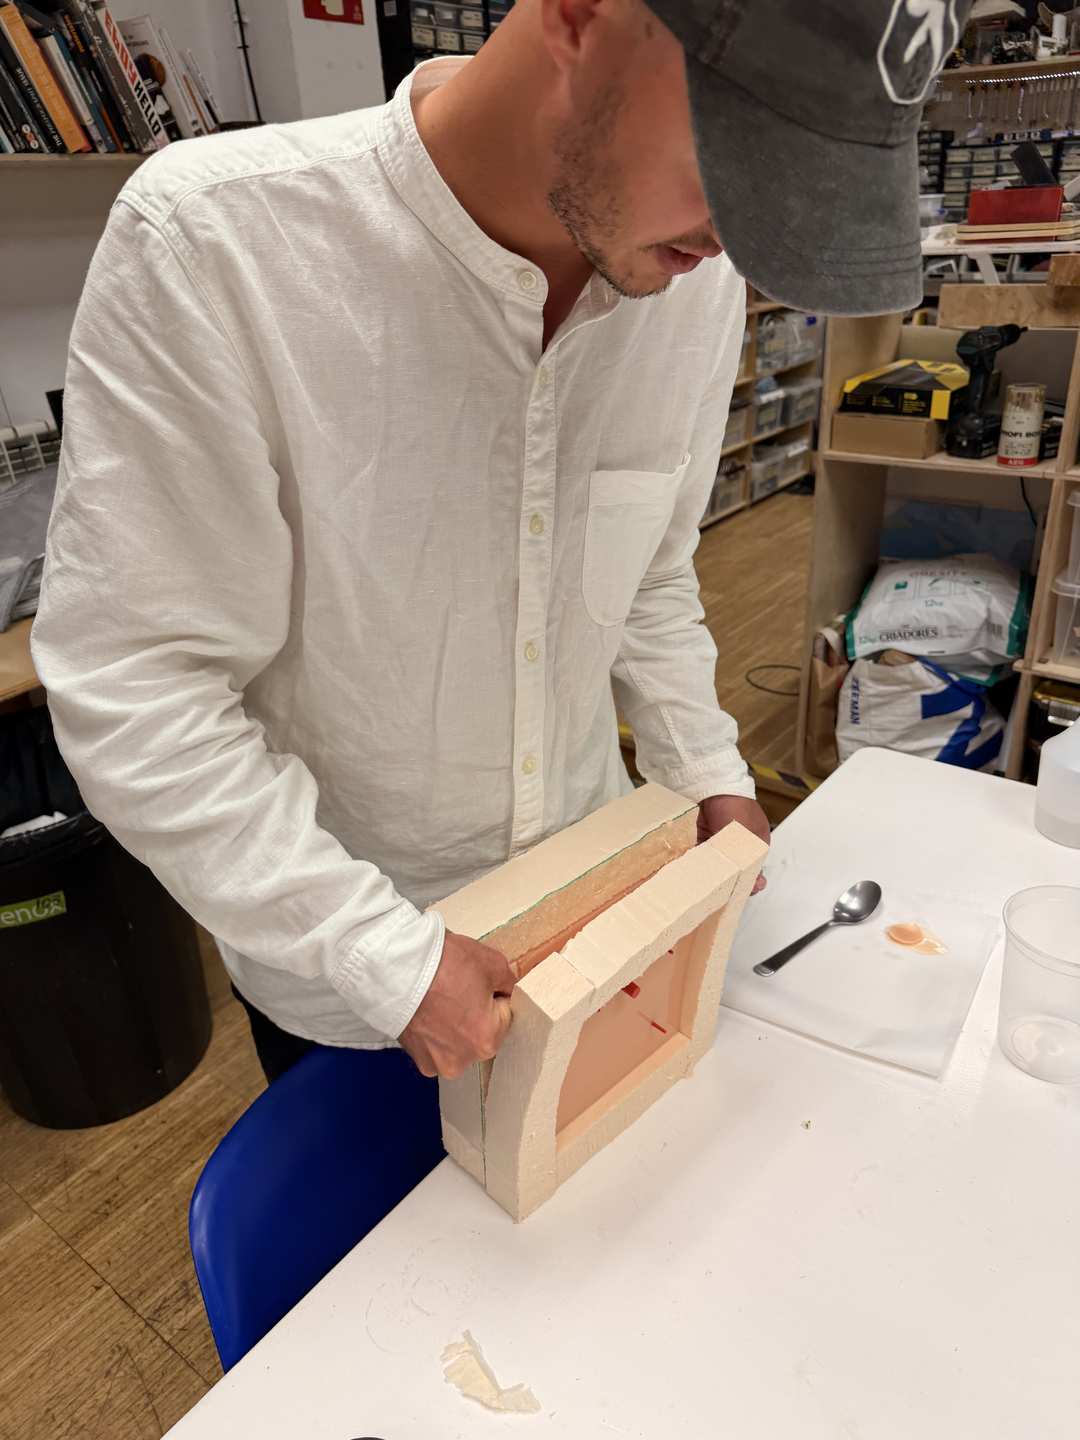
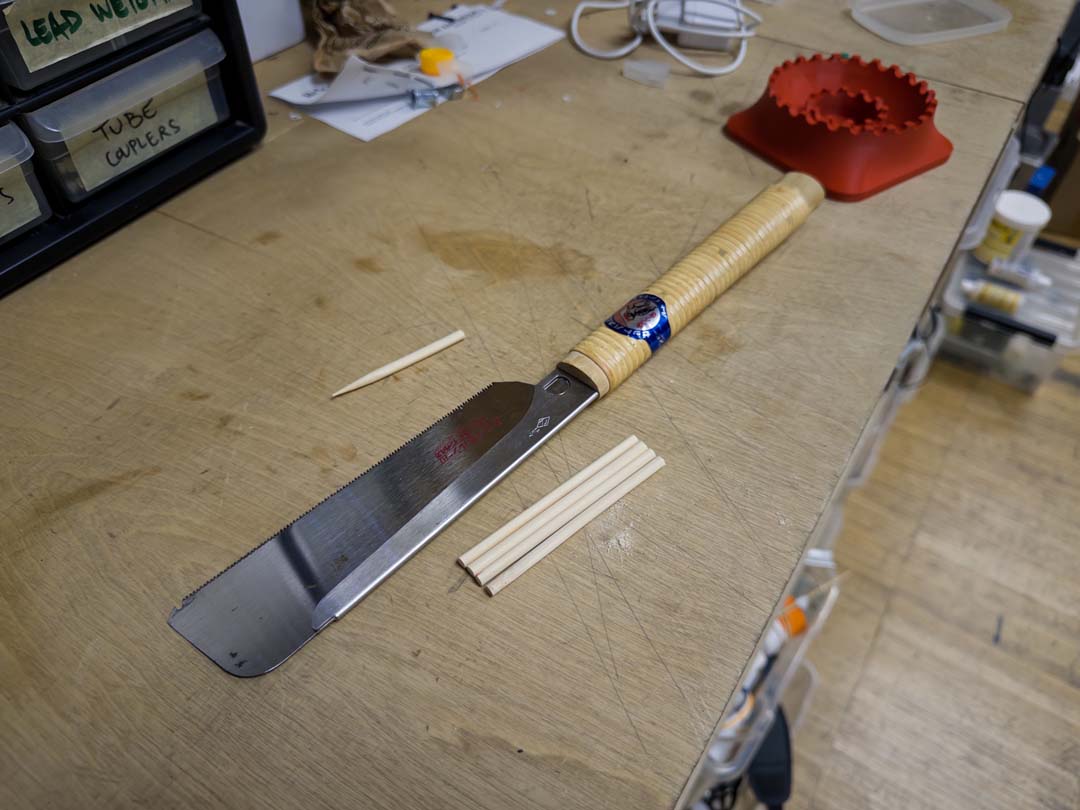
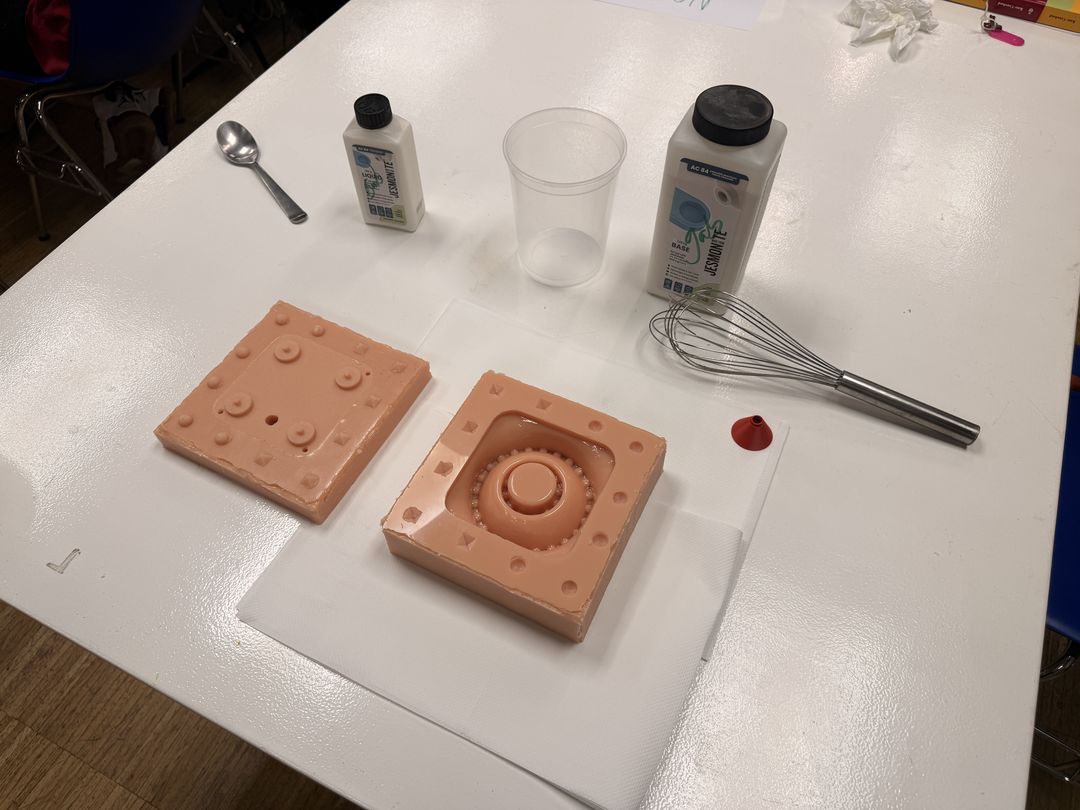
With the mold complete, closed the two halves and seated the registration keys. A 3D printed cone acted as the pour funnel at the sprue hole.
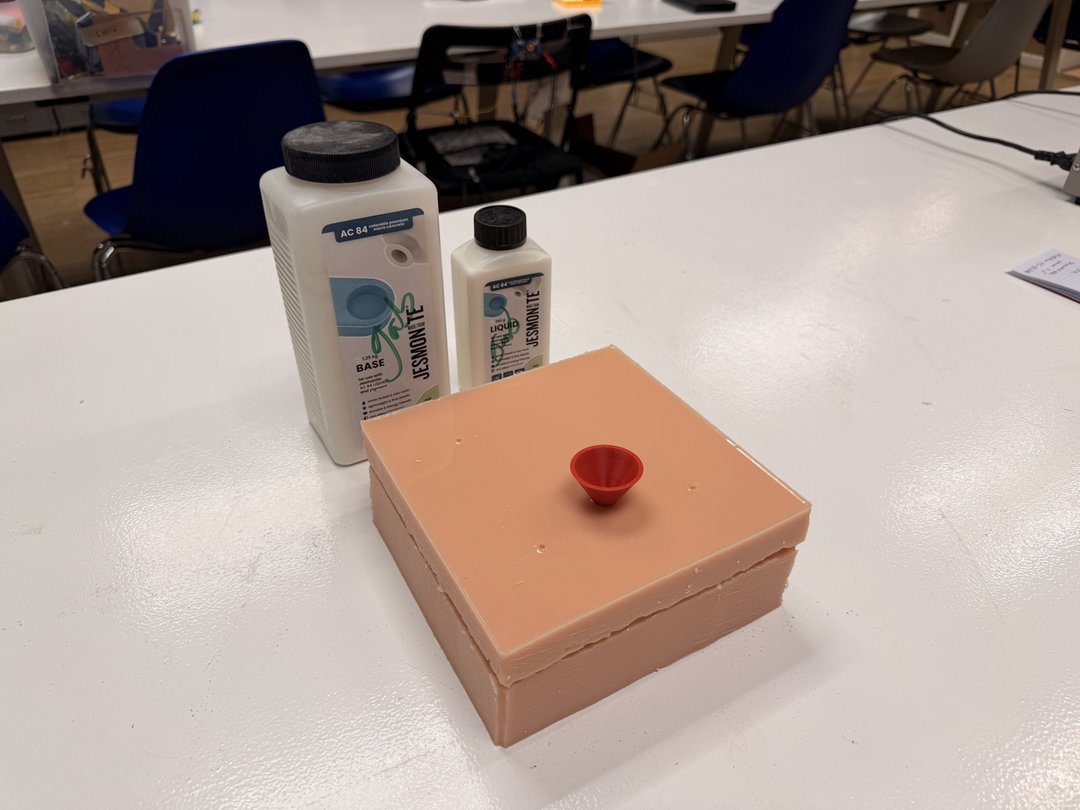
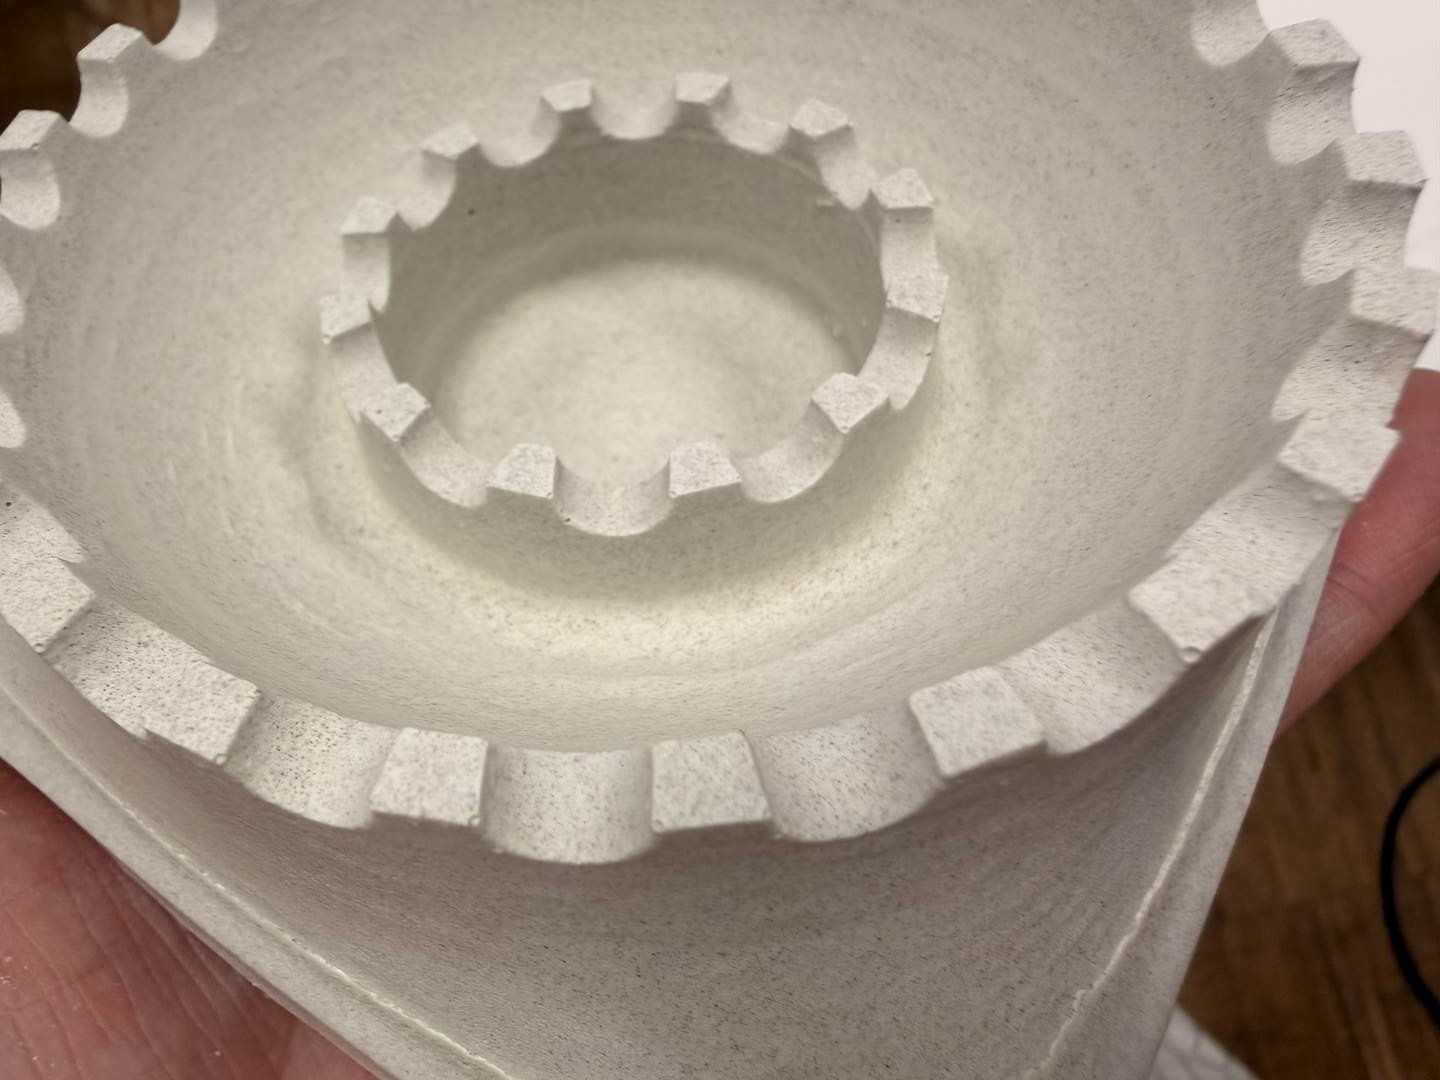
Jesmonite AC84 mix ratio is 5:1 base to liquid by weight. Mixed 375g base with 75g liquid and stirred until uniform. The Jesmonite cured faster than expected and started thickening before I could finish the pour, so I had to mix and pour a second batch to top it off. This caused a visible separation line in the final cast.
Demolded 2 hours after the pour.
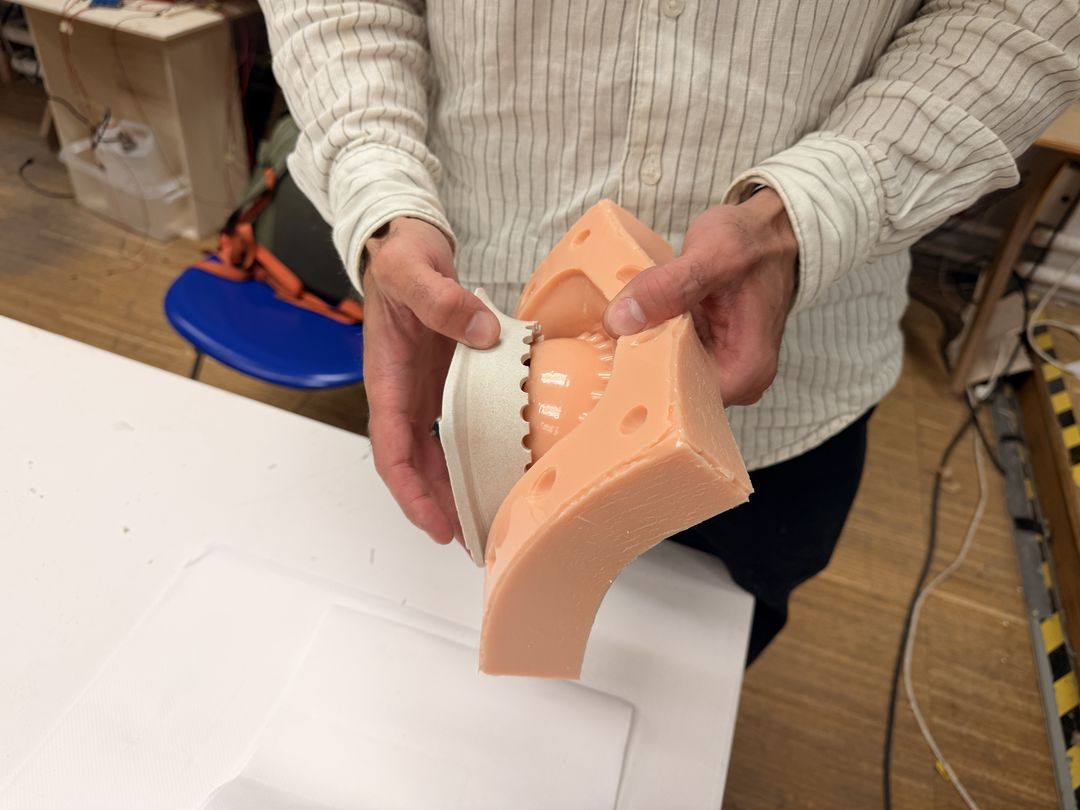
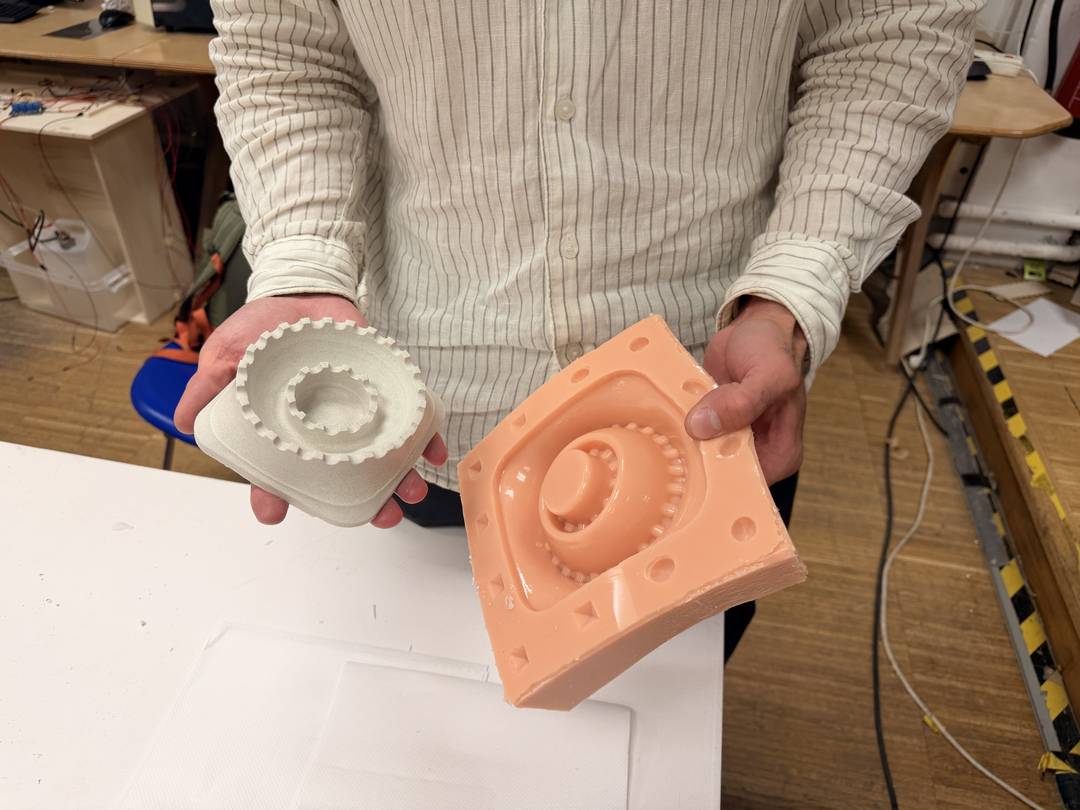
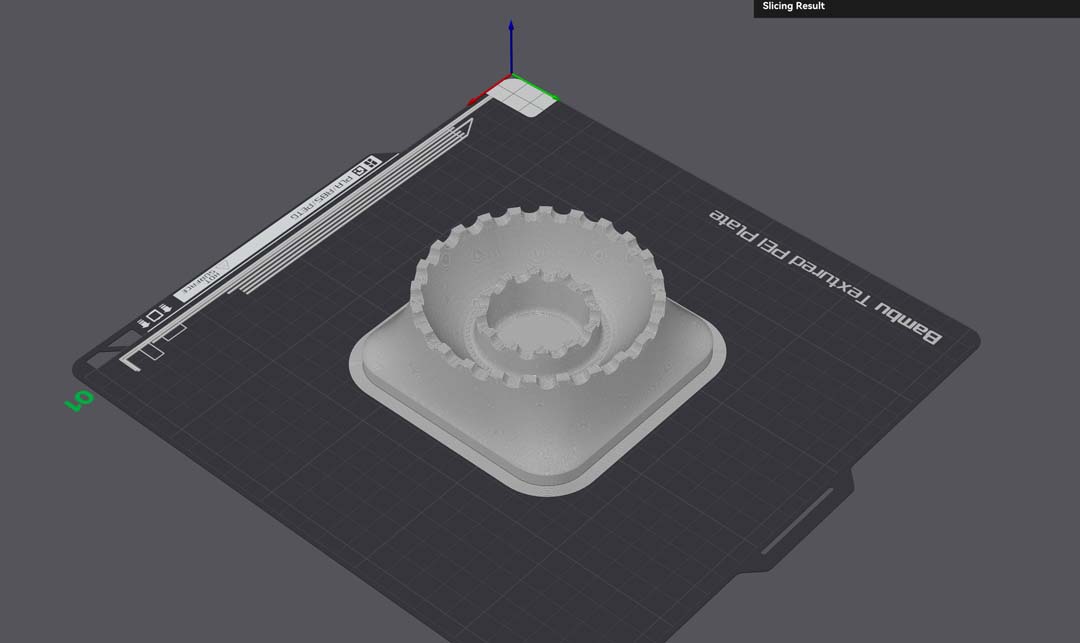
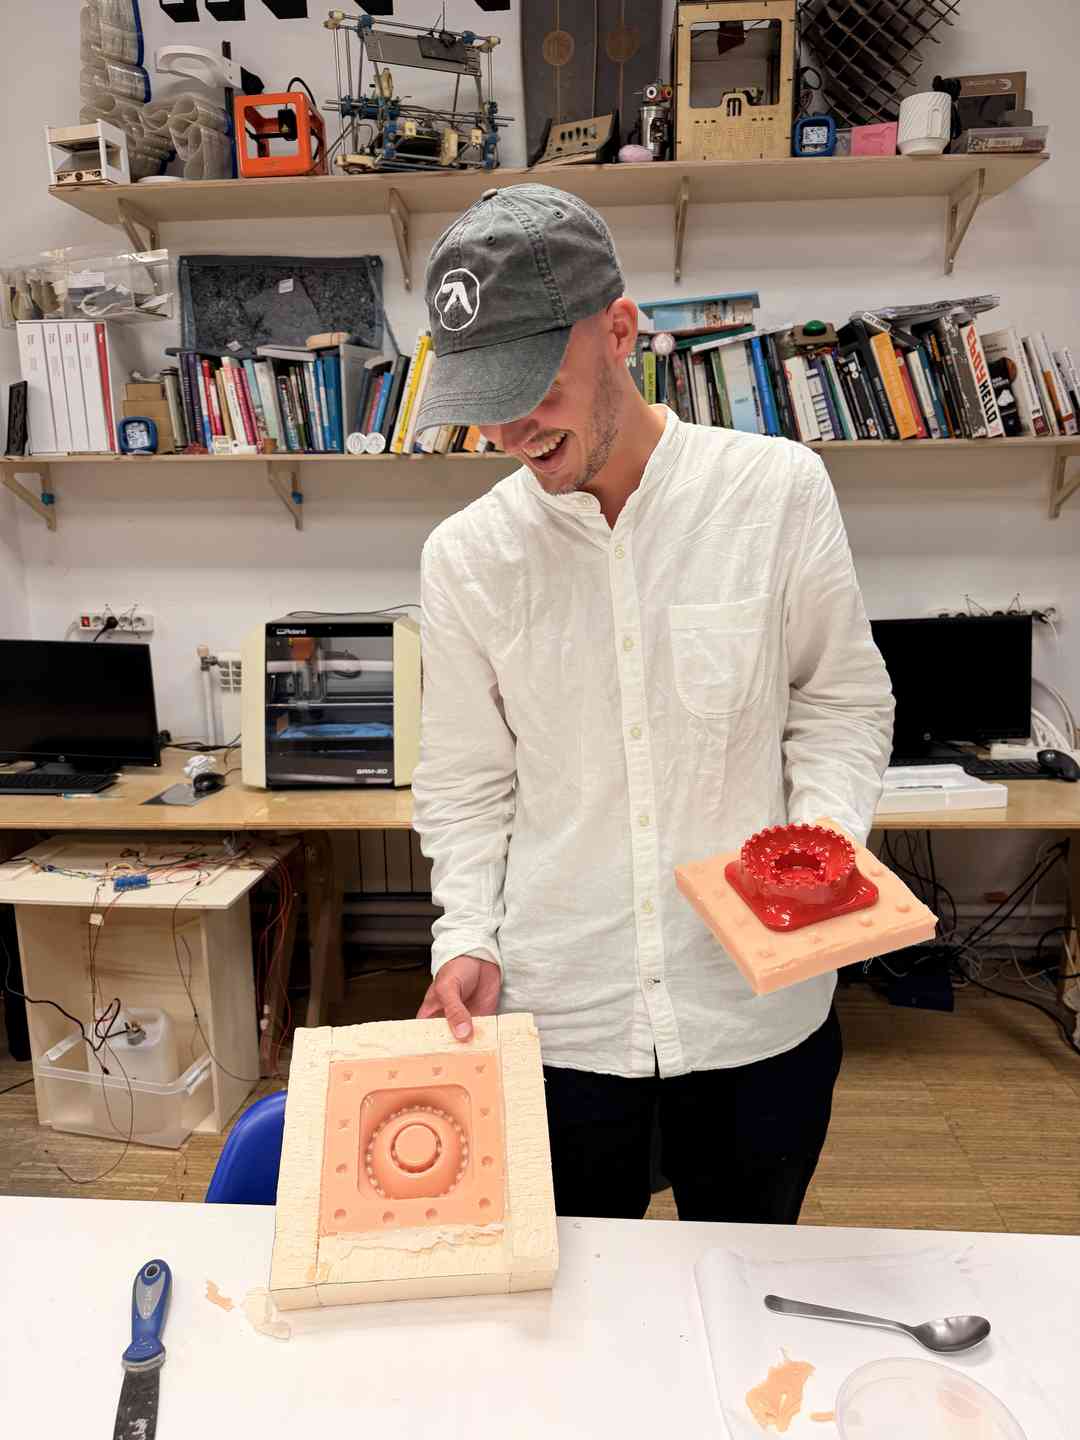
The teeth and inner ring detail transferred cleanly from the master. There's a separation line where the two Jesmonite pours met, which could be sanded out. The silicone feet fit into the base pockets as intended.