1. Project Management
This week I worked on defining my final project idea and started the documentation journey.
Research
Fab Academy requires in-depth documentation of projects, and websites are an effective way to display work and connect with others. I am using GitLab to manage and store my files in a repository accessible to other Fab Academy students.
Key Concepts
- Repository (repo): Stores project files and version history.
- Remote repo: Hosted on a website.
- Local repo: Stored on a local machine.
- Clone: Creates a local copy of a remote repo.
- Add: Stages file changes.
- Commit: Saves a snapshot of changes.
- Push: Uploads changes to the remote repo.
- Pull: Updates the local repo with remote changes.
Useful Links
Setting Up GitLab
Installing Git
- For Windows: Install GitBash.
- For Mac/Linux: Open the terminal (Git is usually preinstalled).
Configuring Git
- Set username:
git config --global user.name "YOUR_USERNAME" - Set email:
git config --global user.email "your.email@example.com"
Setting Up SSH Key
- Check for an existing key:
cat ~/.ssh/id_rsa.pub - If not found, generate one:
ssh-keygen -t rsa -C "your.email@example.com" - Copy the key and add it to GitLab.
Cloning My Fab Academy Repository
- Navigate to the desired folder.
- Clone the repository:
git clone git@git.fabacademy.org:fabacademy2024/yourlabname/yourstudentnumber.git
Local Computer Organization
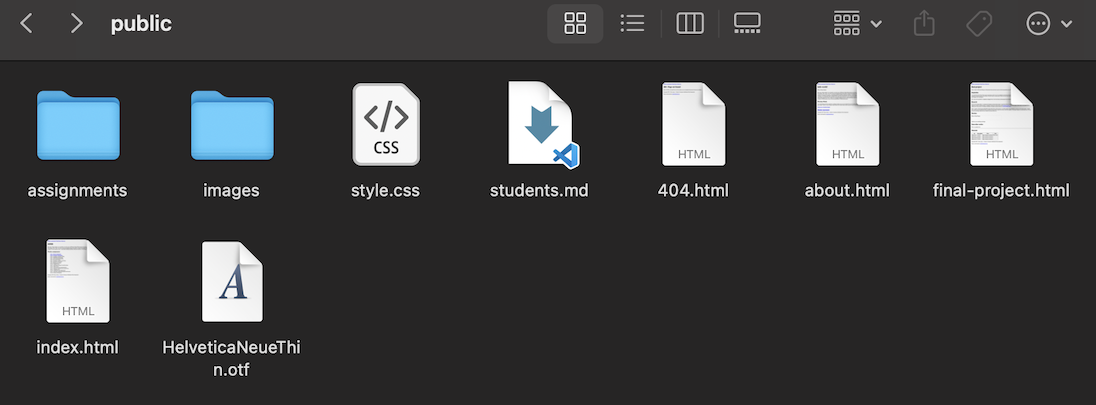
On my personal computer, which will be the primary station I will be working on for this project, I have clearly defined and organized files.

Uploading My Website to Git
- Make local changes in Visual Studio Code.
- Check for modifications:
git status - Stage changes:
git add . - Commit changes:
git commit -m "[your message]" - Push to the remote repository:
git push
Final Steps
After pushing all changes, I verified them by visiting my Fab Academy Git repository. My website is now live and ready for future documentation!
• • • Customizing My Website
After setting up my website, I customized it by adjusting the color palette, fonts, and layout. I used Visual Studio Code to edit HTML and CSS files and experimented with flexboxes for layout structuring.
Edited index.html for homepage layout.
- Added a navigation menu for organization.
- Makes the navbar span the full width of the page.
- Sets the background color to orange (#e95916).
- Rounds the edges slightly with border-radius: 2px.
- Restricts the navbar content width to 1280px, keeping it centered.
- Adds vertical padding (10px top and bottom).
- Sets text color to light beige (#edd5cb).
- Displays links in a row (inline-block).
- Adds padding for spacing.
- Removes underlines from links.
- Changes the text color to white when hovered over.
I linked the webpages for each week at their repsective place on the homepage for easy navigation.
<p><a href="../index.html">Go to Homepage</a></p>
I created the navigation bar at the top of my page using this CSS code.
It looks like this!

This will style the navbar links.
Upload Custom Font
Adding custom fonts enhances your website’s design. I really love Helvetica Neue (especially thin) This guide shows how to use Helvetica Neue as a custom font.
Step 1: Get the Font File
Download the Helvetica Neue font and place it in a folder inside your project (e.g., fonts/).
Step 2: Define Font in CSS
Add the following CSS inside your styles.css file:
      @font-face {
          font-family: HelveticaNeue;
          src: url('fonts/HelveticaNeueThin.otf') format('opentype');
      }
Step 3: Apply the Font
Now, apply the custom font to elements in your CSS:
      body {
          font-family: HelveticaNeue, sans-serif;
      }

      h1, h2, h3 {
          font-family: HelveticaNeue, sans-serif;
          color: #e75816;
      }
Step 4: Link CSS in HTML
Ensure your HTML file includes the stylesheet link:
      <!DOCTYPE html>
      <html lang="en">
      <head>
          <link rel="stylesheet" href="styles.css">
      </head>
      <body>
          <h1 class="main-header">Hello World</h1>
          <p>This text uses the Helvetica Neue font.</p>
      </body>
      </html>
Step 5: Test!
Open your HTML file in a browser and verify that the font loads correctly. If not, check the font path. Congratulations! 🎉 You’ve successfully added Helvetica Neue as a custom font.
Create Header Styles
- Uses the custom font for all headers (h1, h2, h3).
- Sets the header color to orange (#e75816).
- Makes the main header text very large (80px).
- Keeps the orange color for emphasis.
- Custom font.
- Orange text color (#e75816).
- Font size of 20px.
I created header styles so that it would be easier for myself to have a layout and theme for the webpage. It made it a lot easier to manage the site aesthetically.
Style the weekly assignments header with: