Week 1: Project management
This week I worked on defining my final project idea and started to getting used to the documentation process.
Documentation
The two main components of learning how to do documentation are git and html. Luckily, I have had a bit of experience with both of these in the past.
HTML & CSS
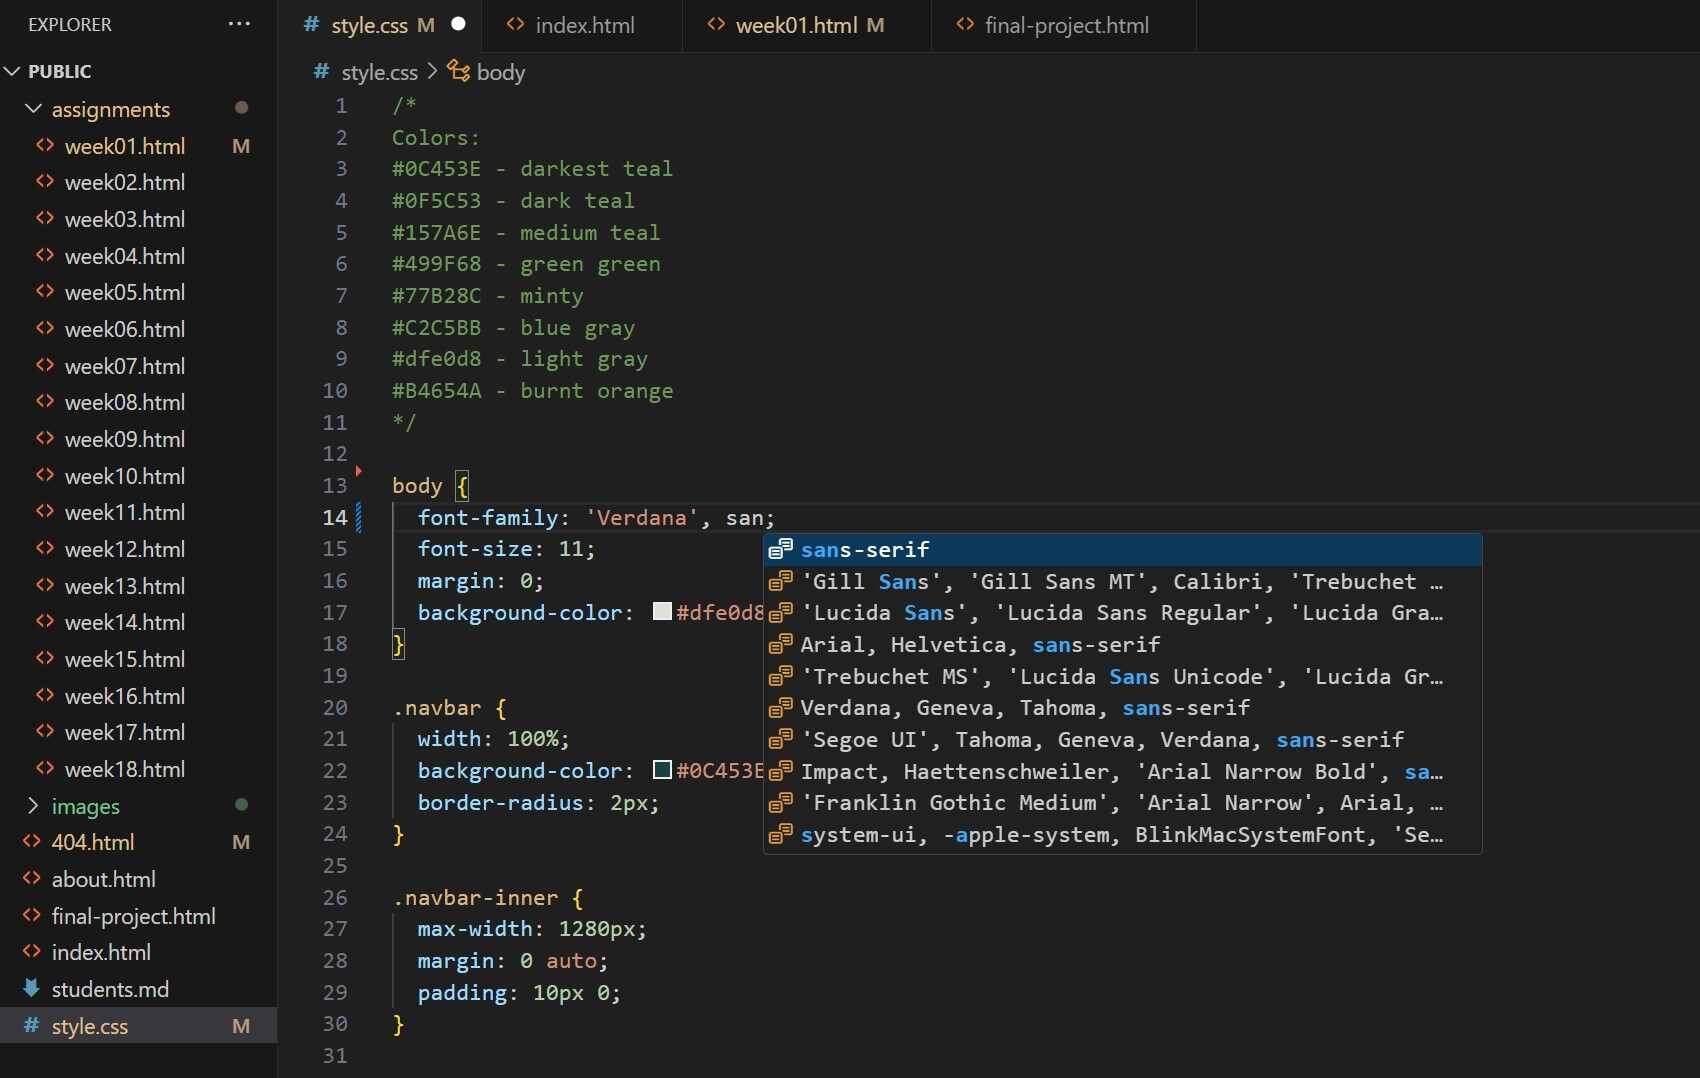
I kept the given code for the structure of this website. I took a basic web design class a few years ago so I wasn't learning HTML and CSS from scratch. I found I remebered the general ideas and less of specific syntax. I referenced W3 Schools HTML Tutorial for any syntax that I did not remember. I am editing the code in Visual Studio. Previously, I had just used a Notebook, which is the default text editor on Windows. I have found Visual Studio helpful because it automatically closes brackets and is generally much nicer to read. It's also very helpful how you can have a whole folder open on the side to easily switch between pages. It also sugguests inputs for certain functions, which is nice because then I have some help remembering syntax. I've included the above screenshot of styles.css so you can see what I'm talking about.
I customized my website using the CSS style sheet. For each class, I can specfiy the font, color, alignment, spacing, and more. To make sure I kept a consistent theme, I have a comment at the top of my CSS file with all the hex codes I've used and what color it is. While this isn't required, I find it helpful to keep a consistent color scheme. A good exmaple of this is the h1, shown below, because I changed 4 of the settings. I want to mention that there are two different fonts listed under font-family. This is incase the browser can't use your desired font, for whatever reason. The browser goes through down the list left to right until it finds a font it can use. The sans-serif tag means That the just pick whatever its default sans-serif font is. This ensures the website is still somewhat stylized even if your desired font isn't avaiable.
        h1 {
          color: #0F5C53;
          text-align: center;
          font-size: 35px;
          font-family: 'Trebuchet MS', sans-serif;
        }
I was able to add reduced sized images to my website. To reduce the resolution of images, I used Image Resizer.com. In my CSS file, I created two divs called row and col so that I could put 3 images next to each other on my final project page. All three images are within the same row class so that they are next to each other. Each image is in a different col class to space them evenly, which is specified in the CSS file. The code for both files is below. A note that there are some extra spaces so that the code doesn't actually do anything.
        In styles.css
        .row {
          display: flex;
        }

        .col {
          flex:33%;
          padding: 50px;
        }

        In final-project.html
        < div class="row">
          [div class="col"
            < img src="images/final-sketchInAction.jpeg" alt="A sketch of the Cat Toy Launcher in action", width="max-width" >
            < p style="text-align: center;">The Cat Toy Launcher in Action< /p>
          < /div >
          < div class="col">
            < img src="images/final-sketchInside.jpeg" alt="A sketch of the interior of the Cat Toy Launcher", width="max-width">
            < p style="text-align: center;">Interior of the Cat Toy Launcher< /p>
          < /div>
          < div class="col">
            < img src="images/final-kirbyMat.jpeg" alt="A gray cat covered by a gray mat", width="max-width">
            < p style="text-align: center;">The Inspiration, My Cat Kirby< /p>
          < /div>
        < /div>
Git
I have used git personally before, so I already had it on my computer. I used the
Git Simple Cheat Sheet
to set up my Fab Academy Gitlab account with my computer. I also had help, since my local instructors helped us set it up.
To start, I made sure I still had Gitbash, since I have a Windows laptop. I then did
git config to set up my username and email. I generated the SSH key and successfully saved it to my computer. This took a few tries,
but I just missed a few characters so it was a quick fix. On my Gitlab account I went to "Edit Profile -> SSH Keys -> Add new key"
and pasted in the SSH key I had just created.
To test I could push things, I started with adding, committing, and pushing the student agreement. I will admit I struggled a bit
when first trying to edit my website. I had forgotten that you have to add all of the files you want to commit, it is not enough to just
have it be in the file from Gitlab. When I actually read what Gitbash was telling me, I figured it out quickly.
Final Project
My initial idea for the final project is a cat toy launcher. The general idea is that a rope is launched that has a cat toy tied to the end. There are a couple sketches on my Final Project page to help explain my idea. I did a little bit of research and I did not see anything exactly like my idea. That's not to say it doesn't exist, it is just nowhere near as popular as ball launching machines for dogs.