This week I worked on creating a vacuum formed mold and I created a resin ring to be electroplated.
Vacuum Forming
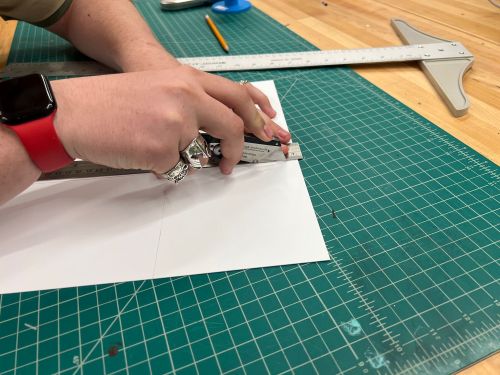
Vacuum forming is a manufacturing process where a sheet of plastic is heated until pliable, then stretched over a mold and forced against the mold by a vacuum. This technique is commonly used to create lightweight, hollow plastic parts and packaging. I used it to create a mold of a little pendant that is a tower with wings. The first step was to cut out a 5x5" square of thermoplastic using a box cutter.
Next, I placed the plastic in the heating machine.
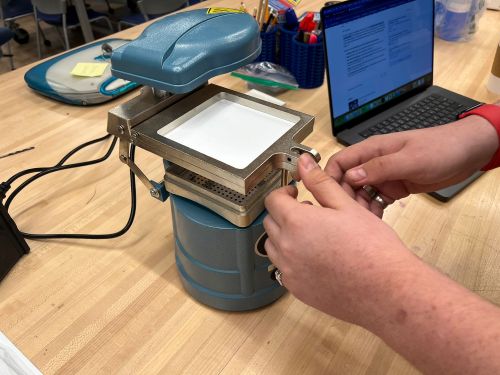
Then, I placed my tower pendant on the underside of the machine. The machine will then heat up, melt the plastic till its soggy, then suck the plastic down onto the bed and create the mold
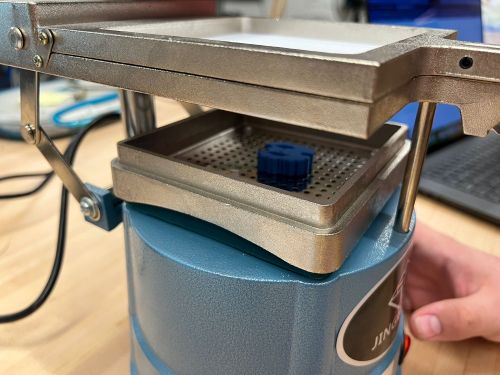
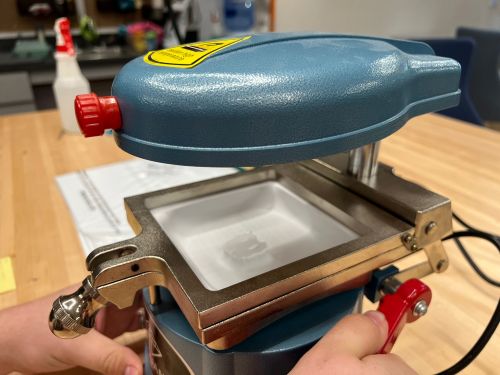
After the machine finished, I took out the mold and removed the pendant. The mold was a perfect fit for the pendant, and I was very happy with how it turned out.
Resin Casting
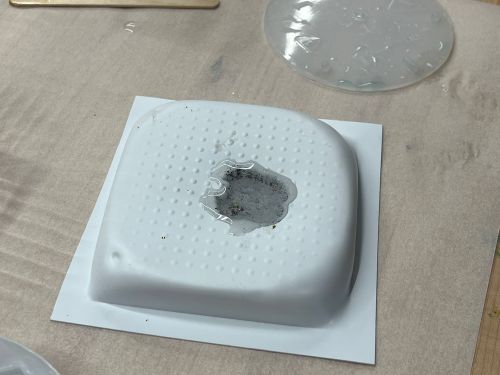
Next, I poured an isopropyl/dish soap mixture into the mold to act as a release agent for the epoxy resin I would be using.
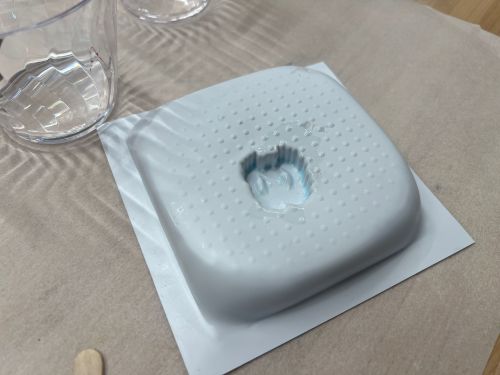
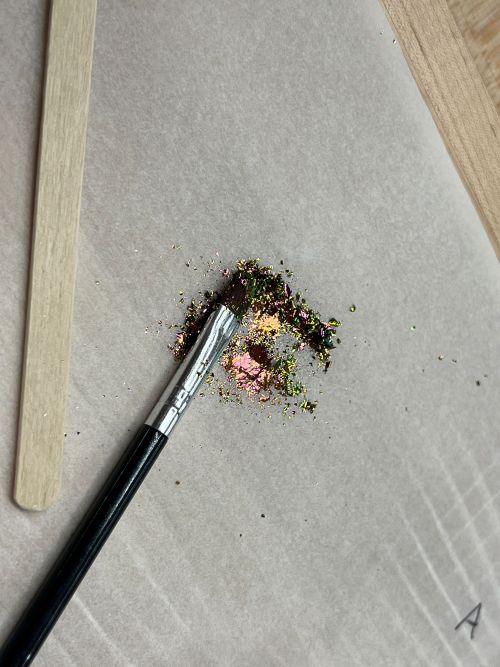
Then, I mixed the epoxy resin and poured it into the mold. I used a 1:1 ratio of resin to hardener, and I used a small cup to measure out the amounts. I then mixed it with a popsicle stick until it was clear. I also added some fuschia glitter to the resin to make it look pretty. I poured the resin into the mold and let it cure for 24 hours.

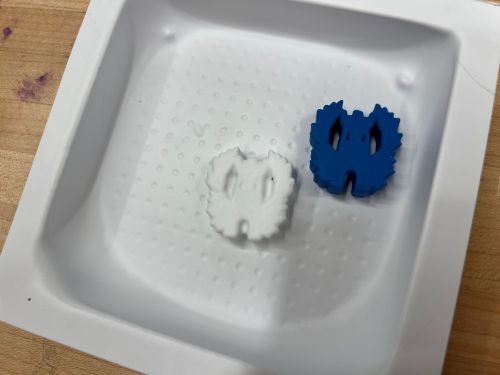
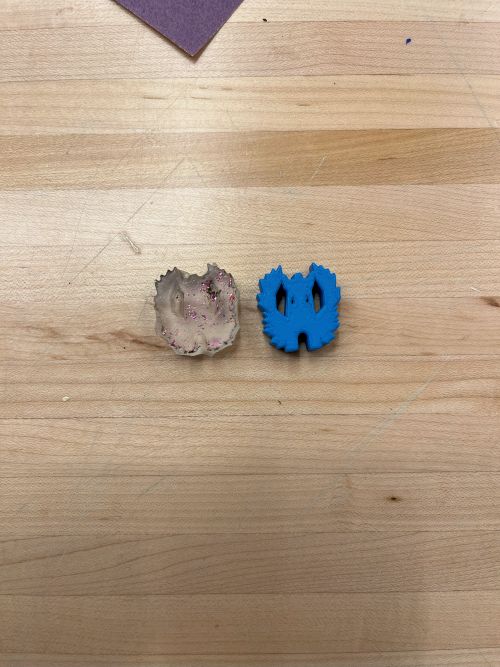
After 24 hours, I took the resin out of the mold and it was perfectly done. Here is a side by side comparison of the pendant and the resin cast.
Electroplating
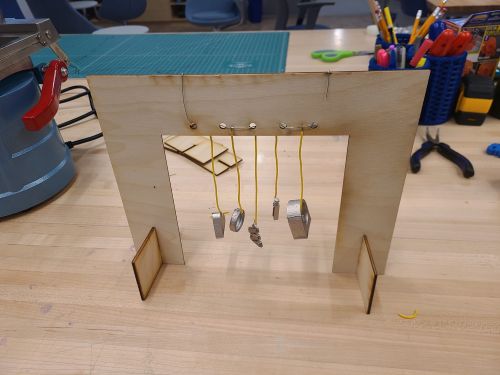
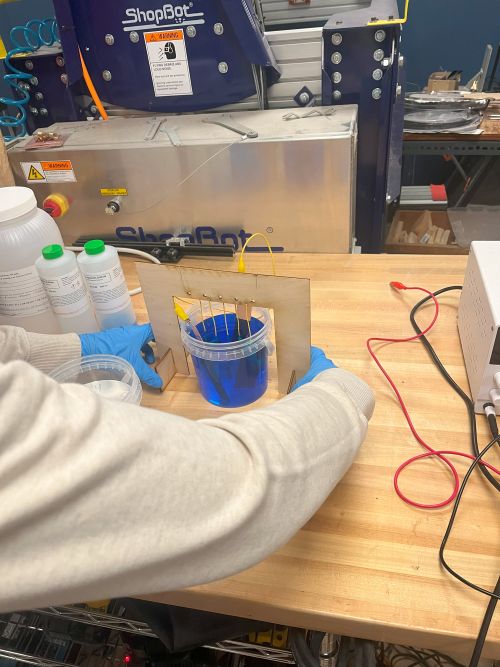
Electroplating is a process by which an electrical charge is used to coat a cathode, or negatively charged object, in metal, creating a shiny metal finish. I decided to electroplate a ring I SLA printed a while ago. It is what's known as a poison ring, which is a ring that has a small compartment to hold poison. I used a 3D printer to print the ring in resin, and then I electroplated it in copper. However, before I could electroplate it, I had to make sure the ring was conductive. Our instructor did this by using a conductive paint to coat the ring. The spray was dangerous, so he sprayed it outside and then brought it inside to dry. Here is a picture of my ring and my classmate's projects after being sprayed.
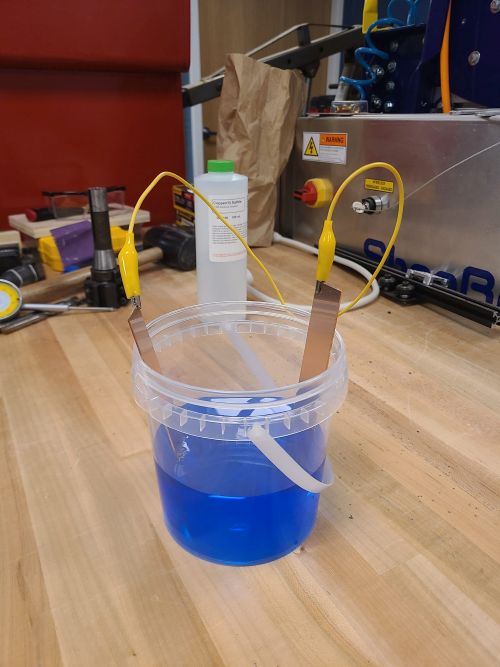
After the paint dried, I placed the ring in a solution of copper sulfate and water. I then connected the ring to the negative power supply and set it to 1.5 volts, and connected two copper plates to the positive side. I let it sit for about 2 hours, and then I took it out and rinsed it off.
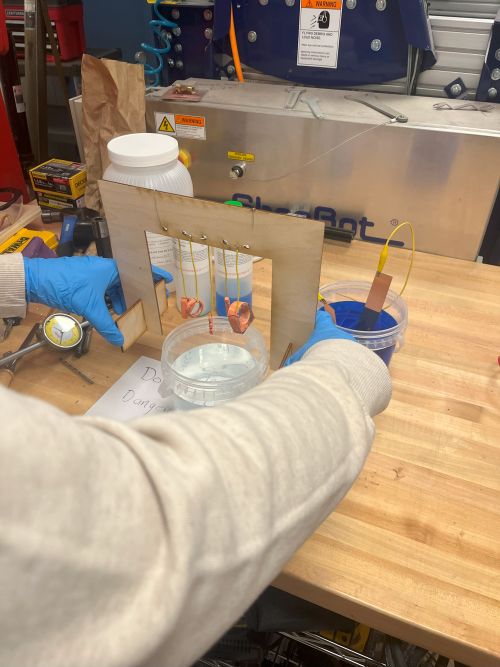
Here is a picture of the ring and my classmate's projects after electroplating.
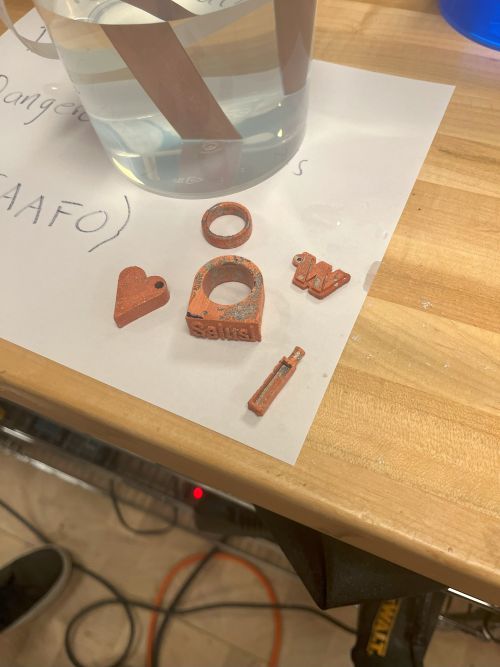
Unfortunately, it seems that our projects got covered in what is called "anode mud", which is all the impurities from the copper plates that got stripped from them and attached to the resin prints. No shiny copper for us. This could be prevented next time by using a more pure copper plate, or by using a different solution.