This week I worked on designing and CNC machining a display board for my Zweihander that I created!.
Group Assignment
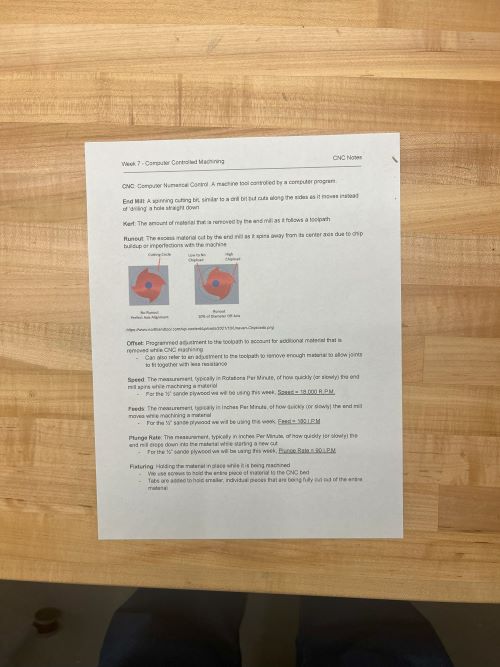
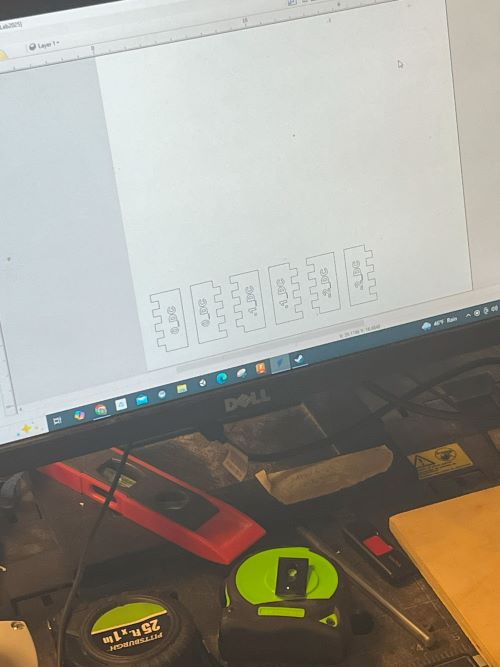
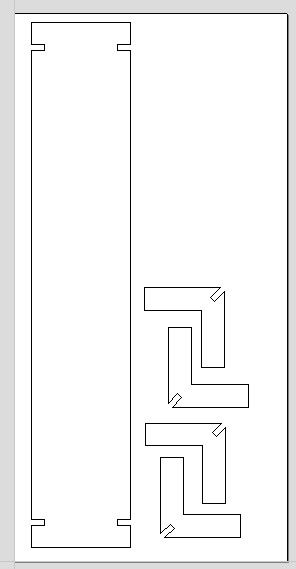
For our group assignment, we learned the safety protocols for the CNC machine, and how to operate it! The most important thing we learned was what attire to wear whilst operating the machine, which means no open toed shoes, no long clothing or hair, and under no circumstances should we wear anything that could possibly get caught in the machine. If we do, we are likely to get ourselves or others injured due to our carelessness. We also learned how to operate the machine, which is not too different from operating a laser cutter, since both machines take SVG files. The only difference being that this machine is infinitely more dangerous. I'll go more in depth in my documentation on how to use the machine properly, but for now I'll just say that its complex. We used a simple design of interlocking pieces pictured below. We also learned about terminology, such as upcut and downcut, which refer to which way the woodchips are pushed after being cut, and we also learned some more common terminology like speed and kerf, which we learned about in Week 3.
Process for CNC Machining
I started by creating an Onshape file, which looks like this. You can find the link to my file here, but you will need an Onshape account to view it.
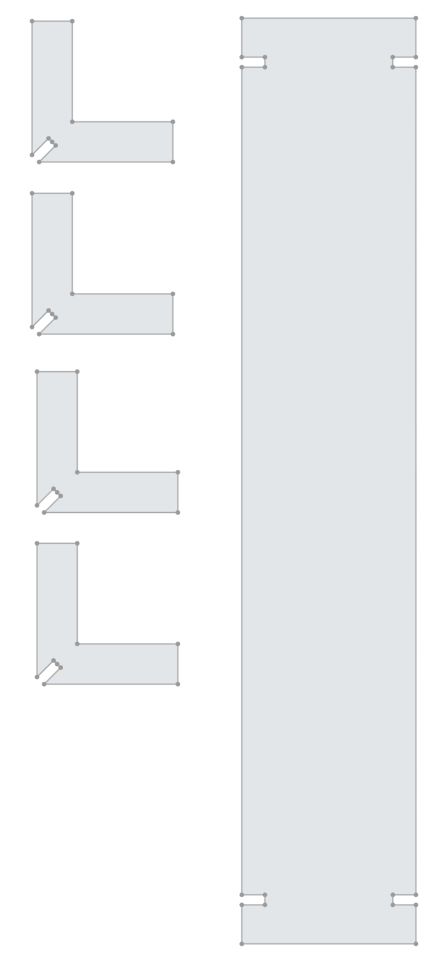
Next, I exported it as a DXF file, then fed it into the machine. Then, because I realized some of my design was taking up to much space, my instructor helped me to optimize it to take up the least amount of space possible on the material.
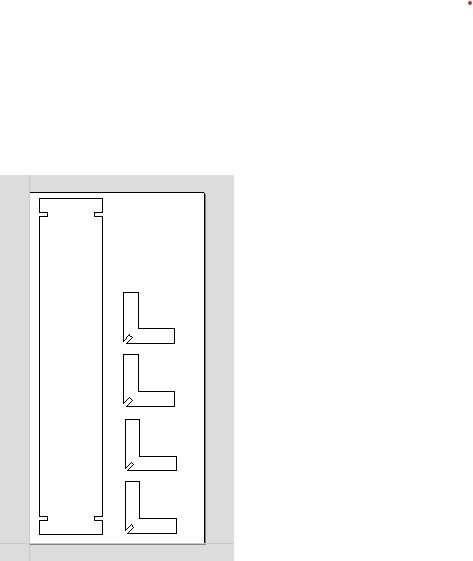
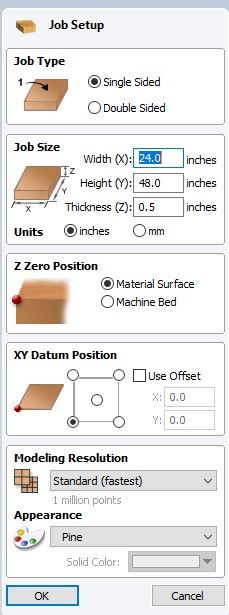
Then, I set up the tool paths. Since I would only be doing cuts with no engravings, I only needed to set up one tool path. I set the tool path to be a 1/4 inch end mill, and set the depth of the cut to be .55 inches, because our material was .5 inches thick, so we want the machine to cut through it. The machine gives you a warning if you set the cut depth to be deeper than the material, but you can ignore that warning.

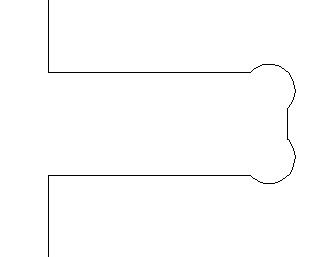
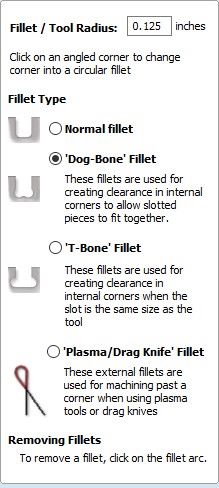
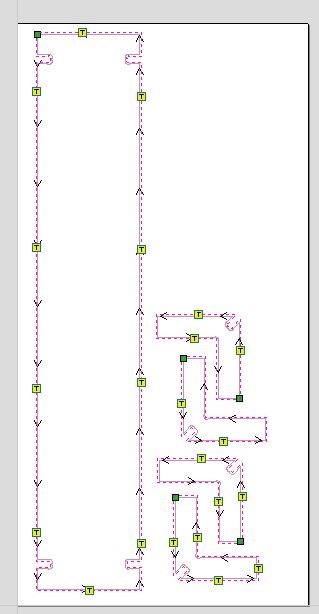
After that, I added dogboned every interior angle so that the machine would accurately cut them. To do this, you must click on the dogbone button, then click on each interior angle. If you do it right, you'll get something that looks like this.
Then, I added tabs, so that our parts wouldn't shake and break off during the cutting process. To do this, you must click on the tab button, then click on the edge of the part you want to add a tab to. If you do it right, you'll get something that looks like this.
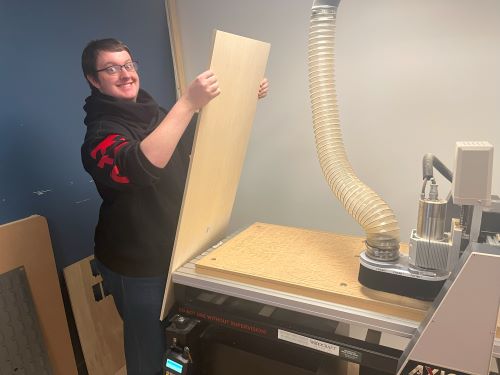
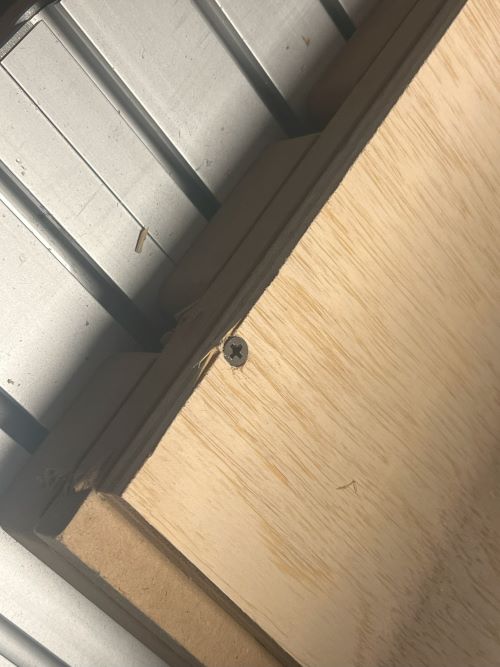
Then I switched to the physical side of things, and prepped the machine. To do that, we first loaded the material, then drilled it into place. Face reveal!
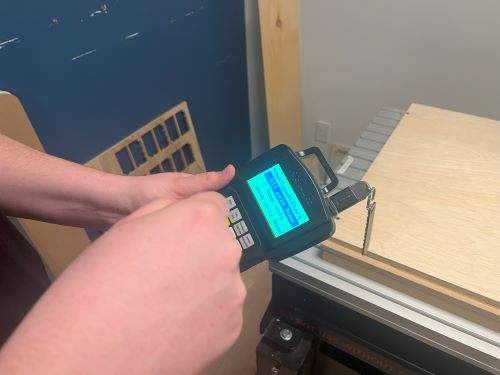
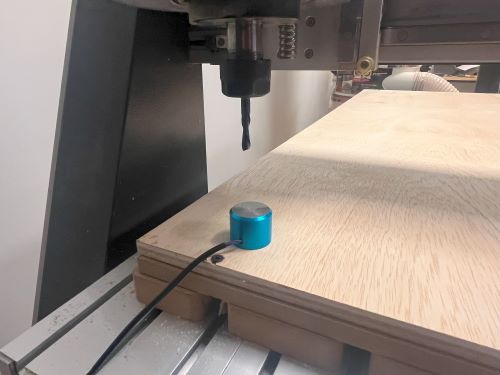
Then I homed and leveled the machine, which we do using this puck. When the machine's bit touches the puck, it makes an electrical current which tells the machine to stop moving, and that it is leveled.
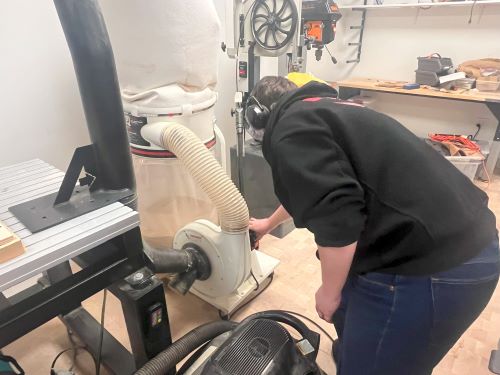
Then, I made sure our final checks where operational, which meant putting on proper ear and eye protection, and turning on the dust collector.
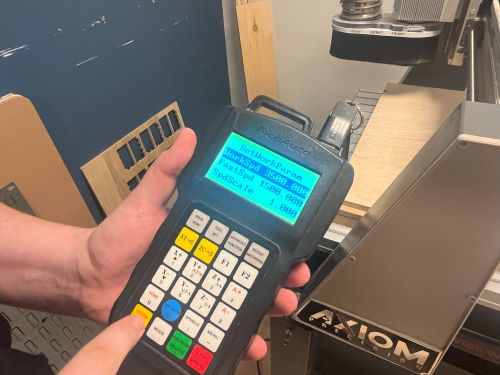
Then I started the machine! We made sure to watch it the entire time, so that nothing bad happened.
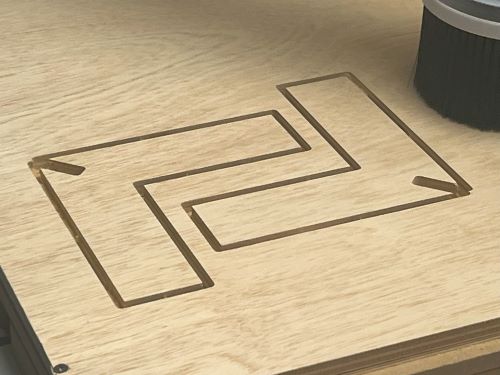
After the machine was done, I took out the pieces, and sanded them down. I also took off the tabs, and sanded down the edges. Then I attached all the pieces together, and it looks like this!

And here it is holding my sword and helmet.
