This week I worked on creating a 3D print and a 3D scan!
Scanning Process
First I had to take scans of the room. I used my instructor's phone using an app called "Scaniverse". You can find it on apple store at this link Scaniverse Link.
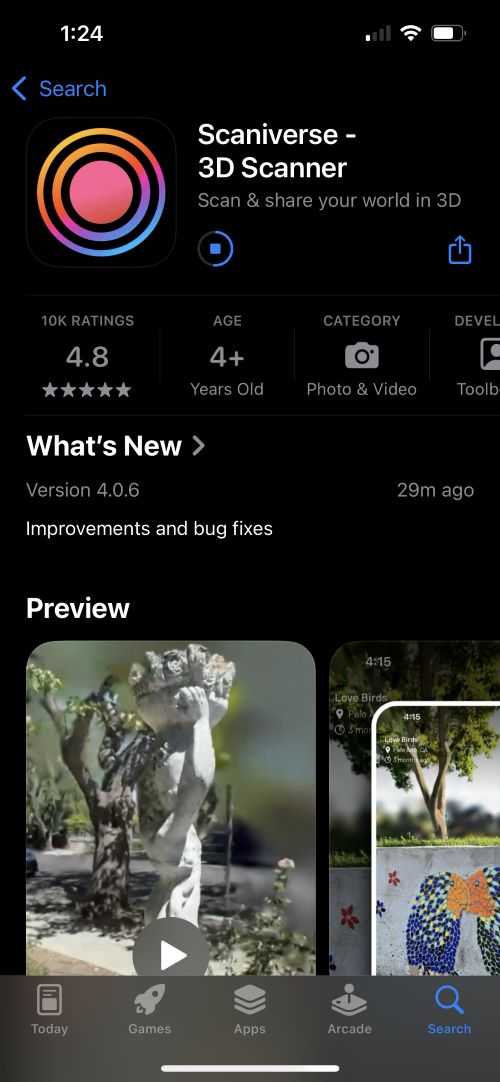
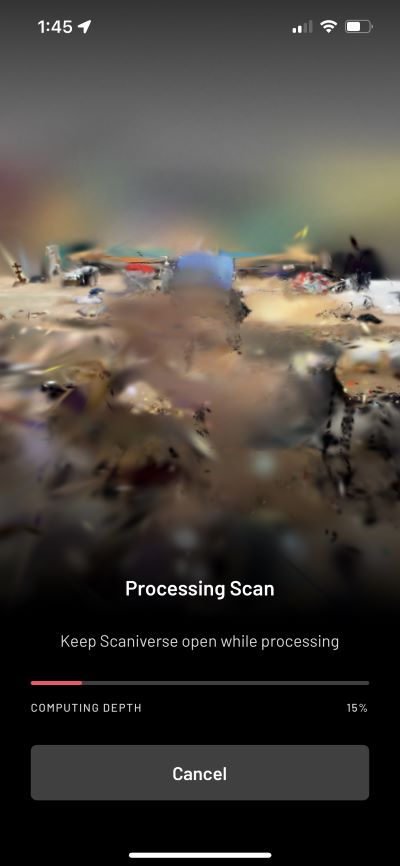
Then I took scans of our Epilog Laser Cutter and a work table in the room.
After taking scans, I then booted up my lab's Meta Quest 3, which was so generously provided by my instructor to view the scanned environments.
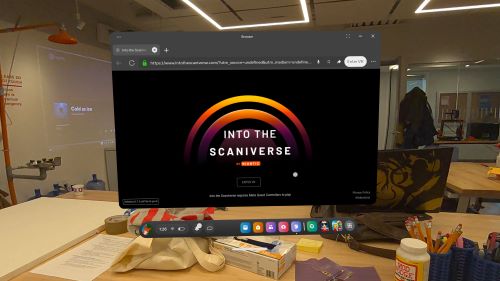
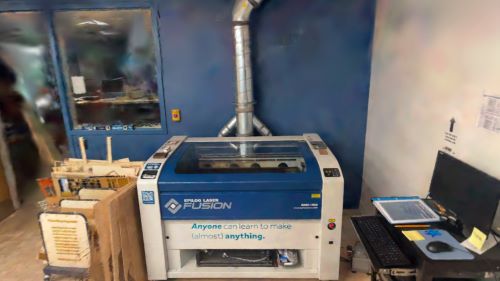
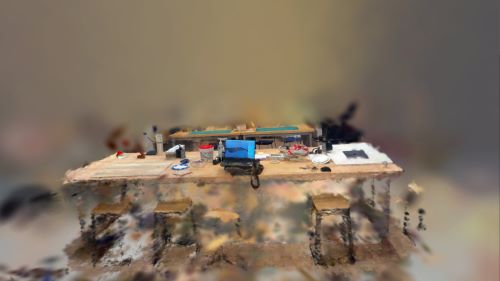
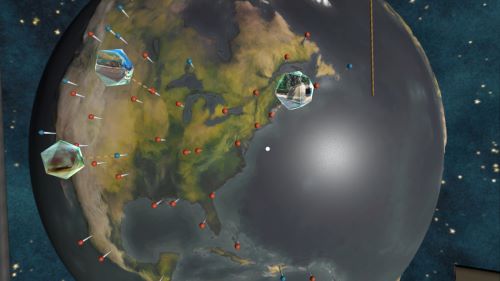
Here you can see the various different scans that were used, as well as a world view of other scanned environments!
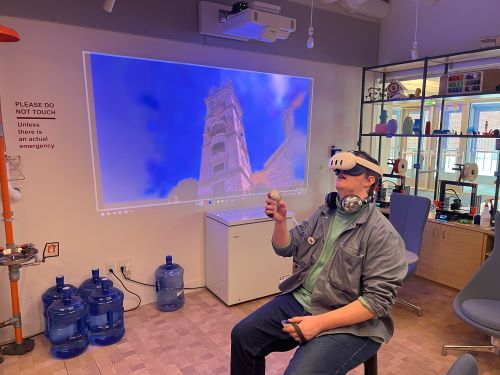
And here is a photo of me using the software that my instructor took to make me look goofy.
Printing Process
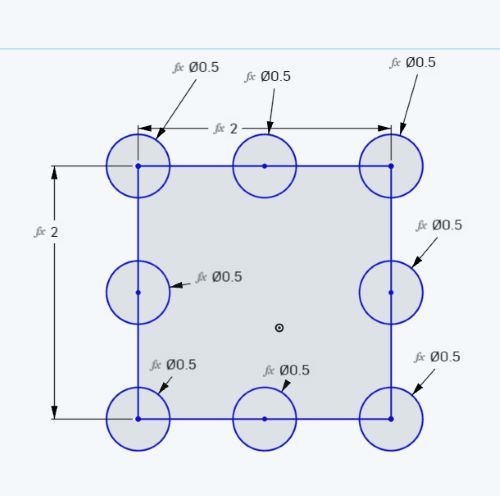
After scanning, I then moved onto printing. I decided to print a "Dice Prison", which is something you put dice that roll poorly in as punishment for rolling poorly I already had a 20 sided dice, also known as a d20 so I prined a small box like prison with pillars that acted like bars. Here is the process of making it! First I drew a square on onshape
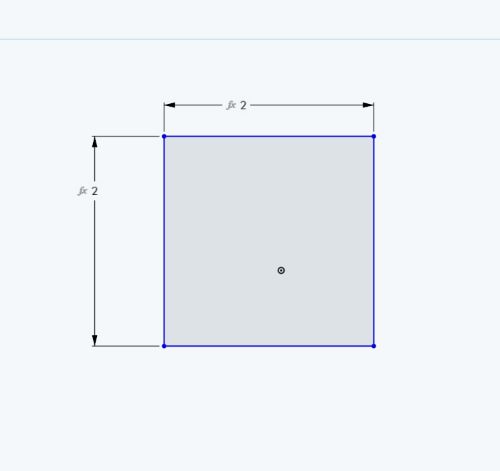
Then I added circles around the perimeter. These will become our pillars once we do our extrusions.
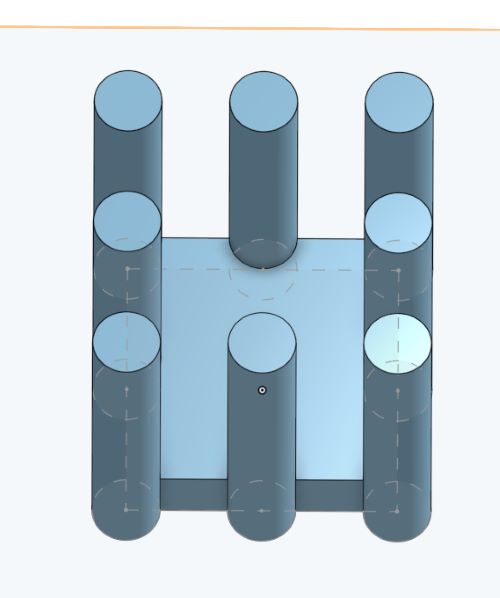
Then I extruded the pillars and the base seperately to make them 3D.
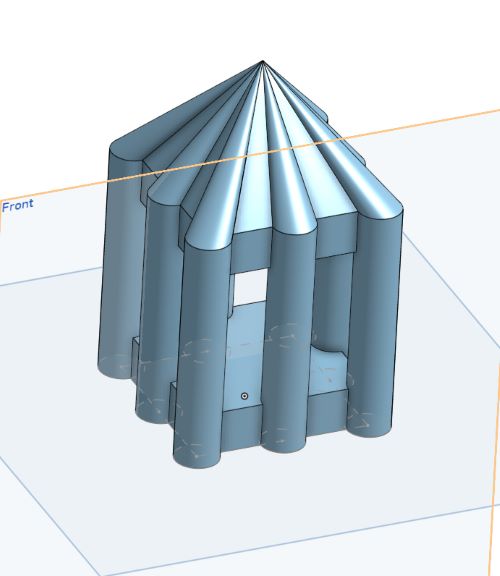
Then I added a top to the base and lofted it to make it 3D, which created this really cool roof.
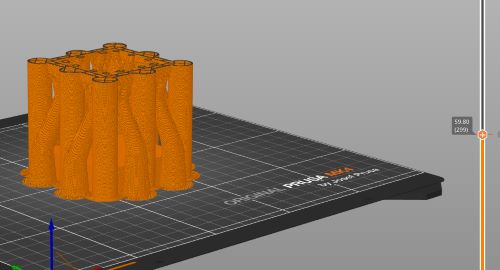
Then I added a stop in Prusa slicer so that it would stop and allow me to put the dice inside. You can do this by clicking on the slider and adding a stop manually. This can be used to add a color change as well, but for this week I did not do that.
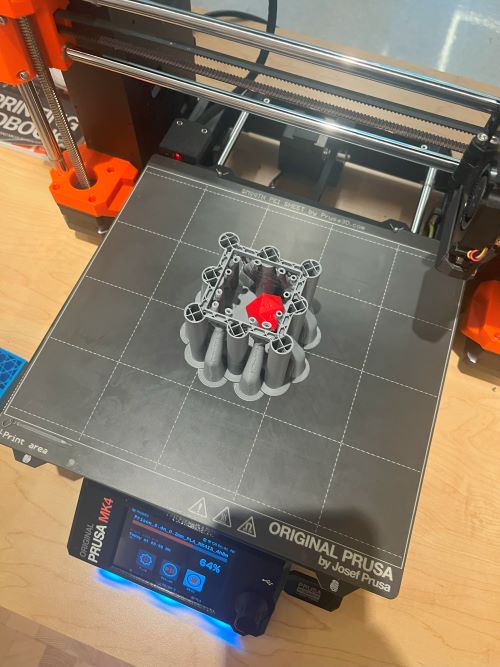
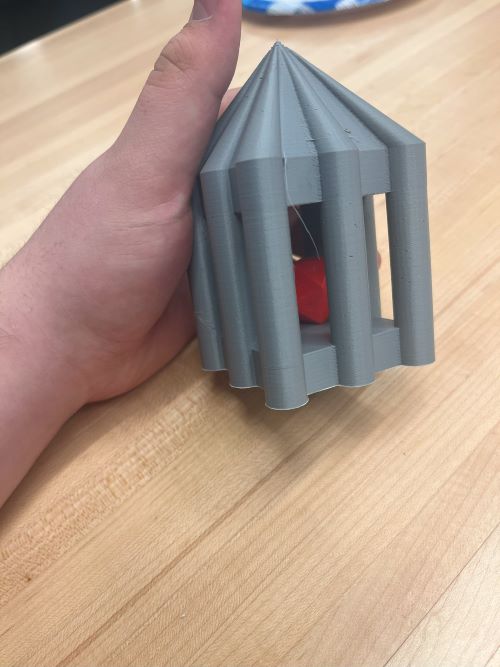
Then I printed it! It took about 4 hours to print and came out really well!
Group Assignment
Here is the link to my group assignment.
Group Assignment