This week I worked on creating a Wokwi simulation of some Raspberry Pi code and the results it can give!
Research
I had to learn how Wokwi worked, which was very easy since I'm not a child. I just had to plug in various simulated circuits and other electrical devices. Then I used the code that was given to me by my instructors, which roughly says to "Turn on light for 500 milliseconds, then turn it off."
Process for Simulated Coding.
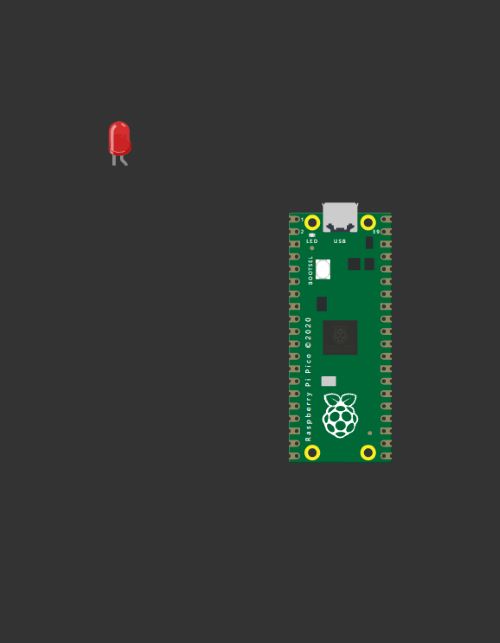
I started by dragging an LED light into the space.
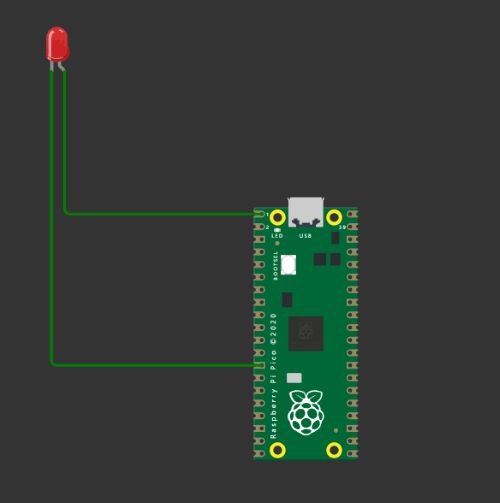
Then I added some wires. Make sure you've set one of them to a ground wire, which is indicated by the square edged pin, and your other pin to a circular one.
Then I moved onto the code. You'll see I used this specific code in order to get my light to work. With this code, my LED lights up for 500 milliseconds, then turns off for 500 milliseconds, and repeats.
        void setup() {
          // put your setup code here, to run once:
          pinMode(0, OUTPUT);
        }


        void loop() {
          // put your main code here, to run repeatedly:
          digitalWrite(0,HIGH);
          delay(500);
          digitalWrite(0,LOW);
          delay(500);
        }
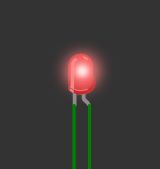
Then I ran the simulation and it worked! The LED light turned on and off every 500 milliseconds.
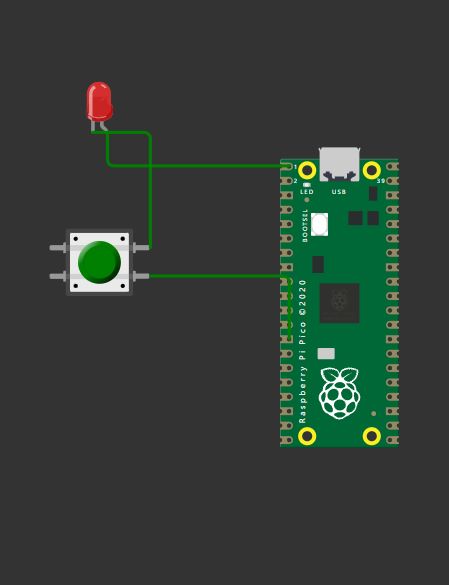
Then, for fun, I added a button to see if I could get the light to turn on and off with the button press, which it did! Make sure you only wire one side of the button in the image, like I have, otherwise it won't work.
Then I got really ambitious, and decided to code an RGB light! This was incredibly fustrating! But it eventually worked. Make sure you use integers to set up your pins like I did!
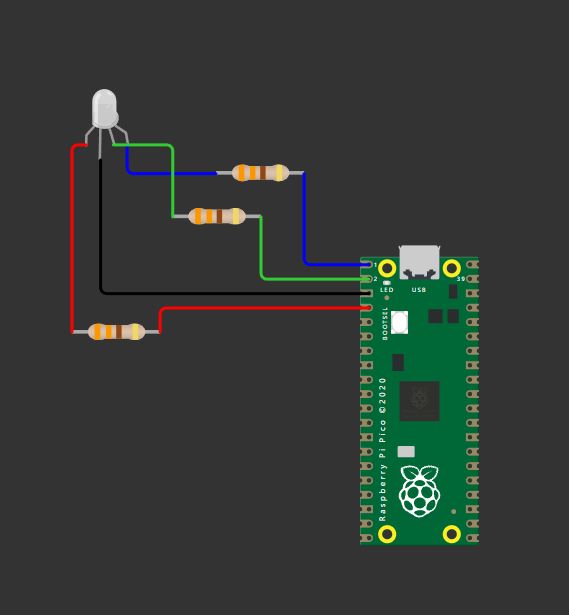
          int RED = 2;
          int BLUE = 0;
          int GREEN = 1;

          void setup() {
                 // put your setup code here, to run once:
                 pinMode(BLUE, OUTPUT);
                 pinMode(RED, OUTPUT);
                 pinMode(GREEN, OUTPUT);
               }


               void loop() {
                 // put your main code here, to run repeatedly:
                 digitalWrite(BLUE,HIGH);
                 digitalWrite(RED,HIGH);
                 digitalWrite(GREEN, HIGH);
                 delay(500);

                 digitalWrite(BLUE, LOW);
                 delay(500);

                 digitalWrite(RED, LOW);
                 delay(500);
               }
This code will make your light turn white, then yellow, then green! Like a Pina Colada!
Group Assignment
Here is the link to my group assignemnt
Group Assignment