Kaz's 3D and 2D model
This week I worked on creating my 3D and 2D model for my project. This is not the full project, but just the electromagnetic generator casing that I plan to use on my shield.
Research
I decided I wanted to use Onshape to create my CAD design, since I'm already very familiar with how it operates, however, for the 2D design, I decided to try out GIMP to see how it works and operates, with very little success, as I am a terrible artist. I actually ended up uninstalling GIMP after creating my horrific 2D design because of how fustrated I was! It was brutish and not user friendly, so I decided to try a different system, FreeCAD. This experience was much better and more enjoyable, and I got the hang of it immediately.
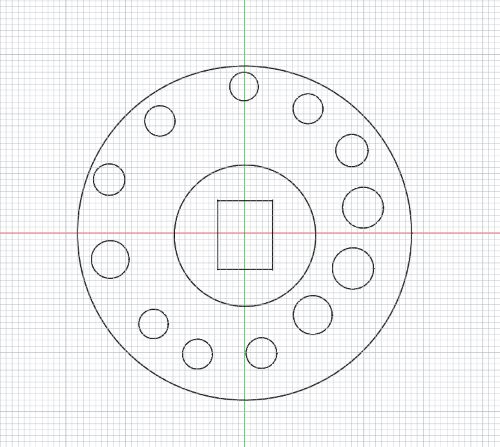
Despite how much easier FreeCAD was, I ended up just drawing it on paper. Nothing could compare to the simplicity and ease of use that came from drawing something on paper by hand, like what I ended up doing. The 3D model in this image is close up of the electromagnet casing.
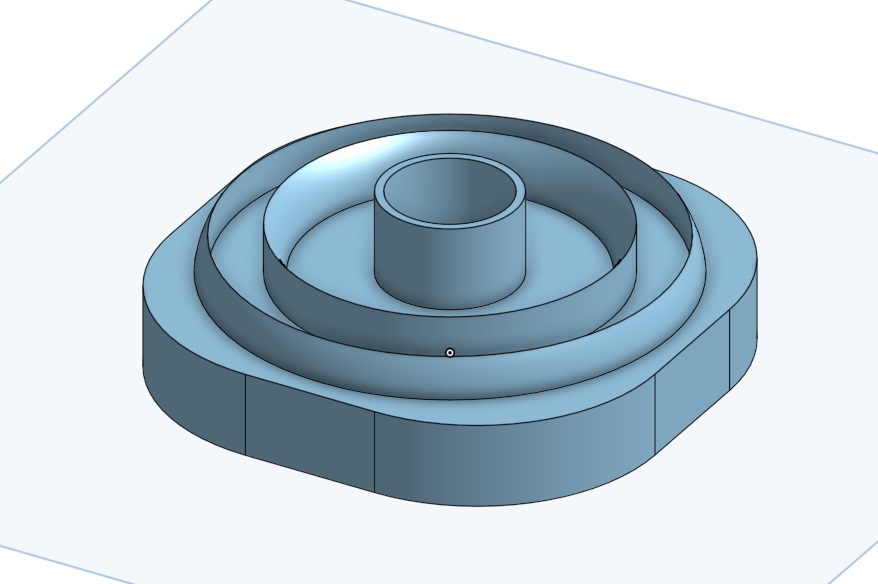
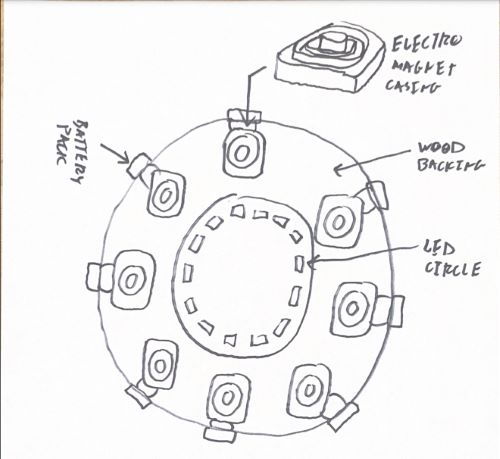
I started by creating a square sketch on Onshape.
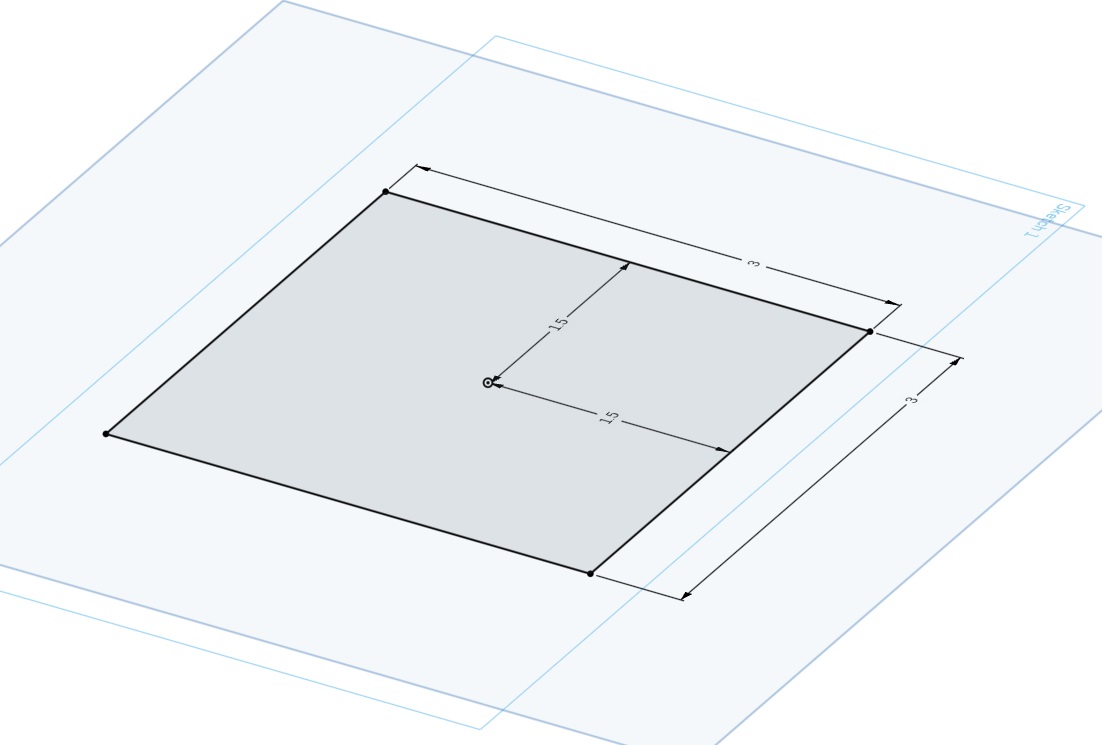
Then I extruded it to create a cube.
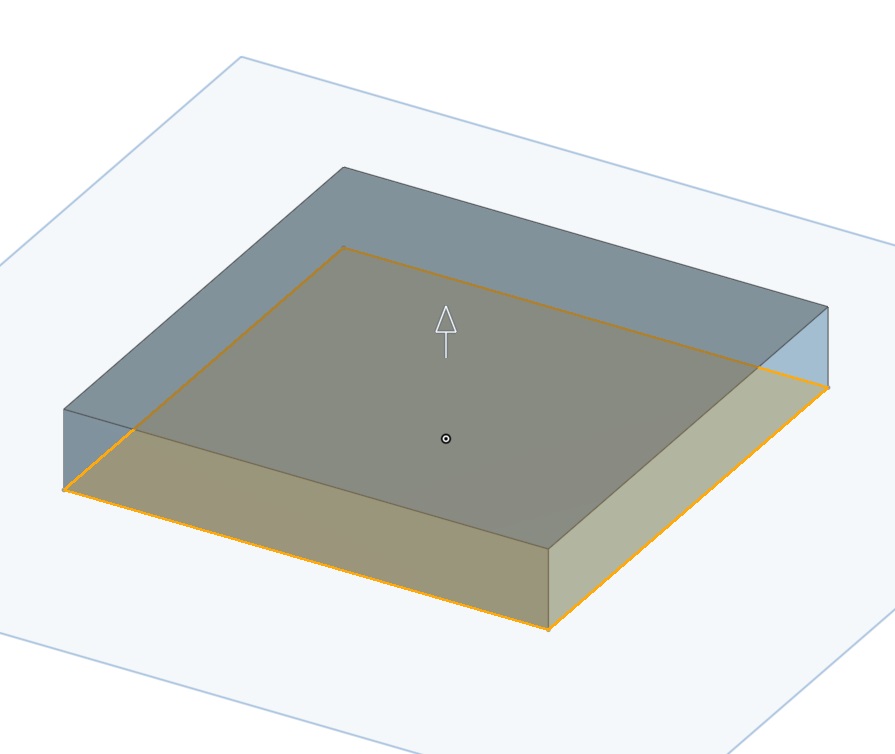
Then I created a new sketch on the top face of the cube and created a circle sketch with several rings.
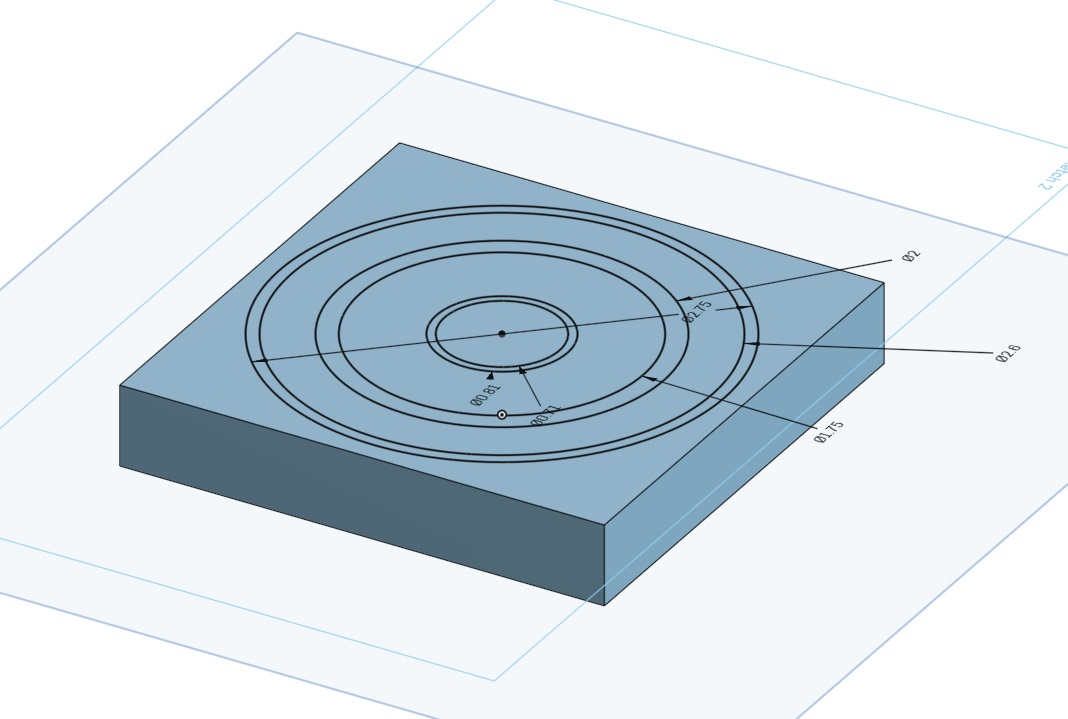
Then I extruded the circle sketch to create a cylinder.
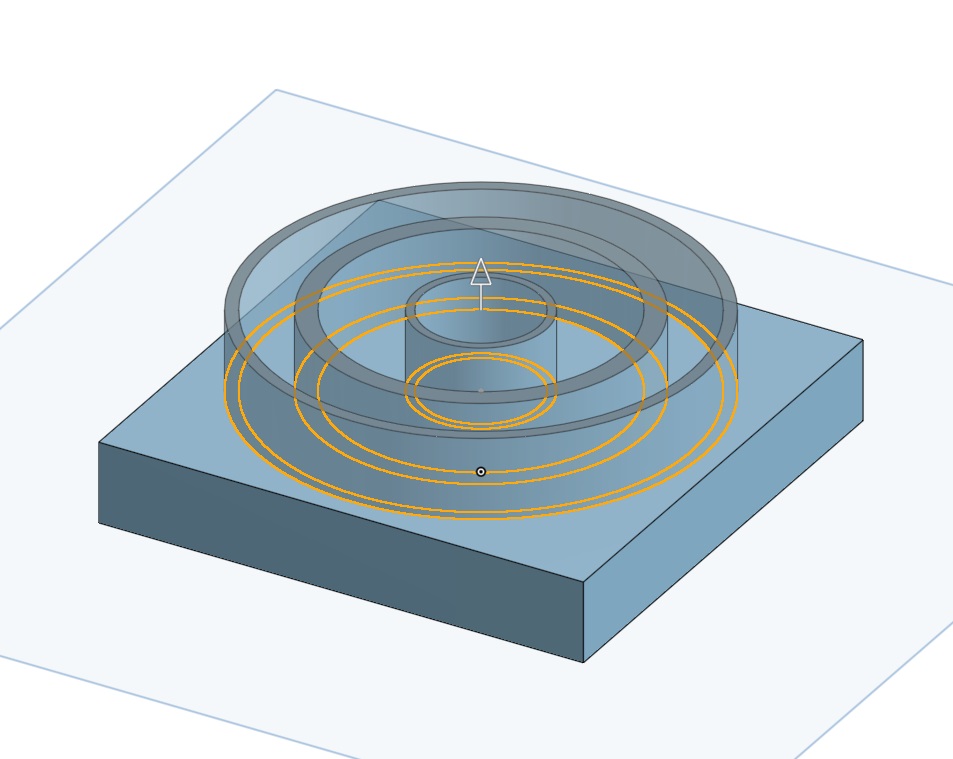
Then after I had my rings, I filet'd the entire project to add a smooth organic feel to the entire project.

Compressing Images
To compress images, click the three dots in the top left hand corner of your photos tool, click resize, then resize your images to 500 pixels by 677 pixels, which is what I did for all my resizing needs. Then, rename them, and place them into your images folder, and then link them in your code using img src=/images/YourImageName.jpg."