Computer Controlled Cutting

Hero Shot

Learning Experience

I gained practical experience in computer-controlled cutting, focusing on laser and vinyl cutters. I learned about safety protocols, machine optimization, material compatibility, and design preparation. Additionally, I gained insights into maintenance procedures, laser curve measurements, and troubleshooting. While teaching others how to use the vinyl cutter, I also shared knowledge about materials. I paid special attention to 2D design, which allowed me to design and cut with precision.
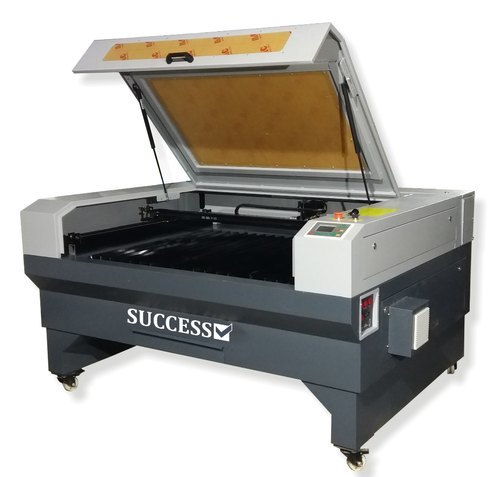
Key Accomplishments

✔️ Created vector designs in Inkscape, saved in DXF format.
✔️ Developed designs in Fusion 360, saved in F3D/DXF formats.
✔️ Operated the laser cutter (STL 43) and vinyl cutter (CAMM-1 GS-24) efficiently.
✔️ Optimized machine settings (speed, power, focus) for precise cutting.
✔️ Maintained the machines, ensured safety compliance, and provided training to solar engineers.

Task: Computer-Controlled Cutting

Group Assignment

  • Do your lab’s safety training
  • Characterize your lasercutter’s focus, power, speed, rate, kerf, joint clearance and types.
  • Document your work to the group work page and reflect on your individual page what you learned.

  • Individual assignments

  • Design, lasercut, and document a parametric construction kit, accounting for the lasercutter kerf, which can be assembled in multiple ways.
  • Cut something on the vinyl cutter.
  • Laser Cutter

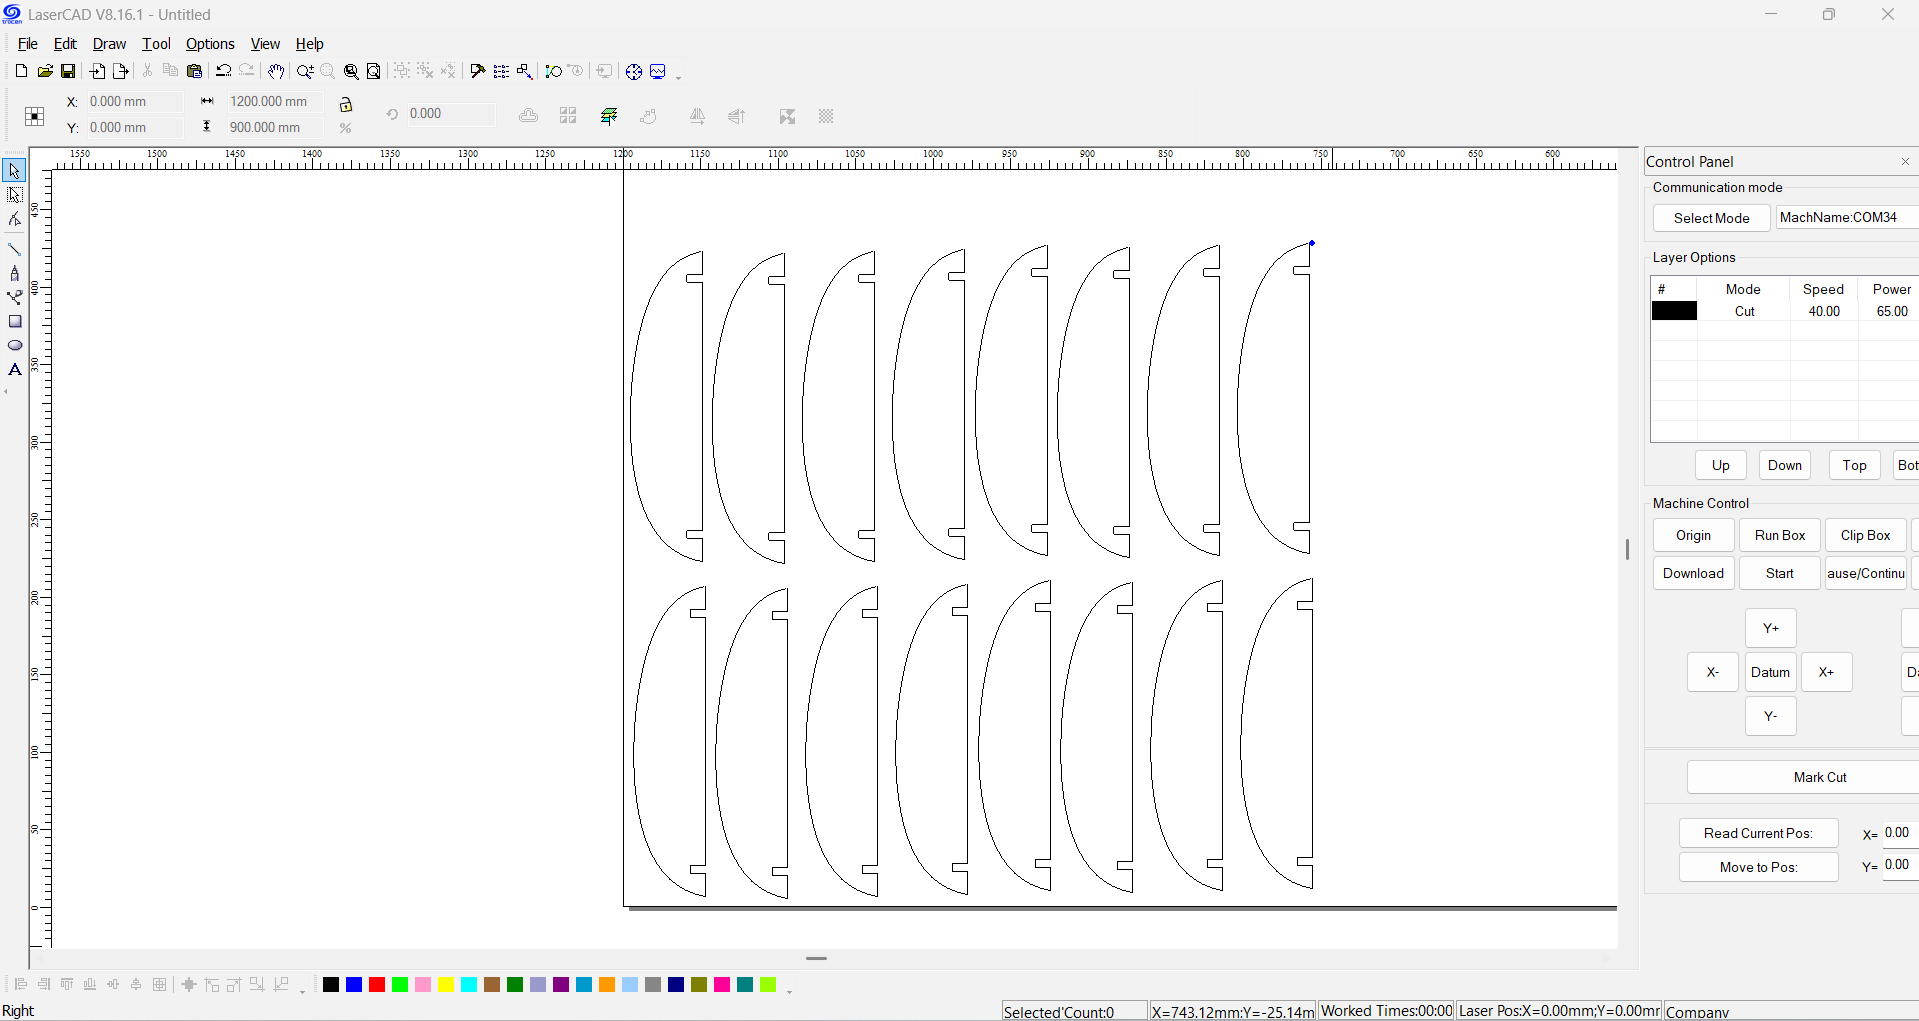
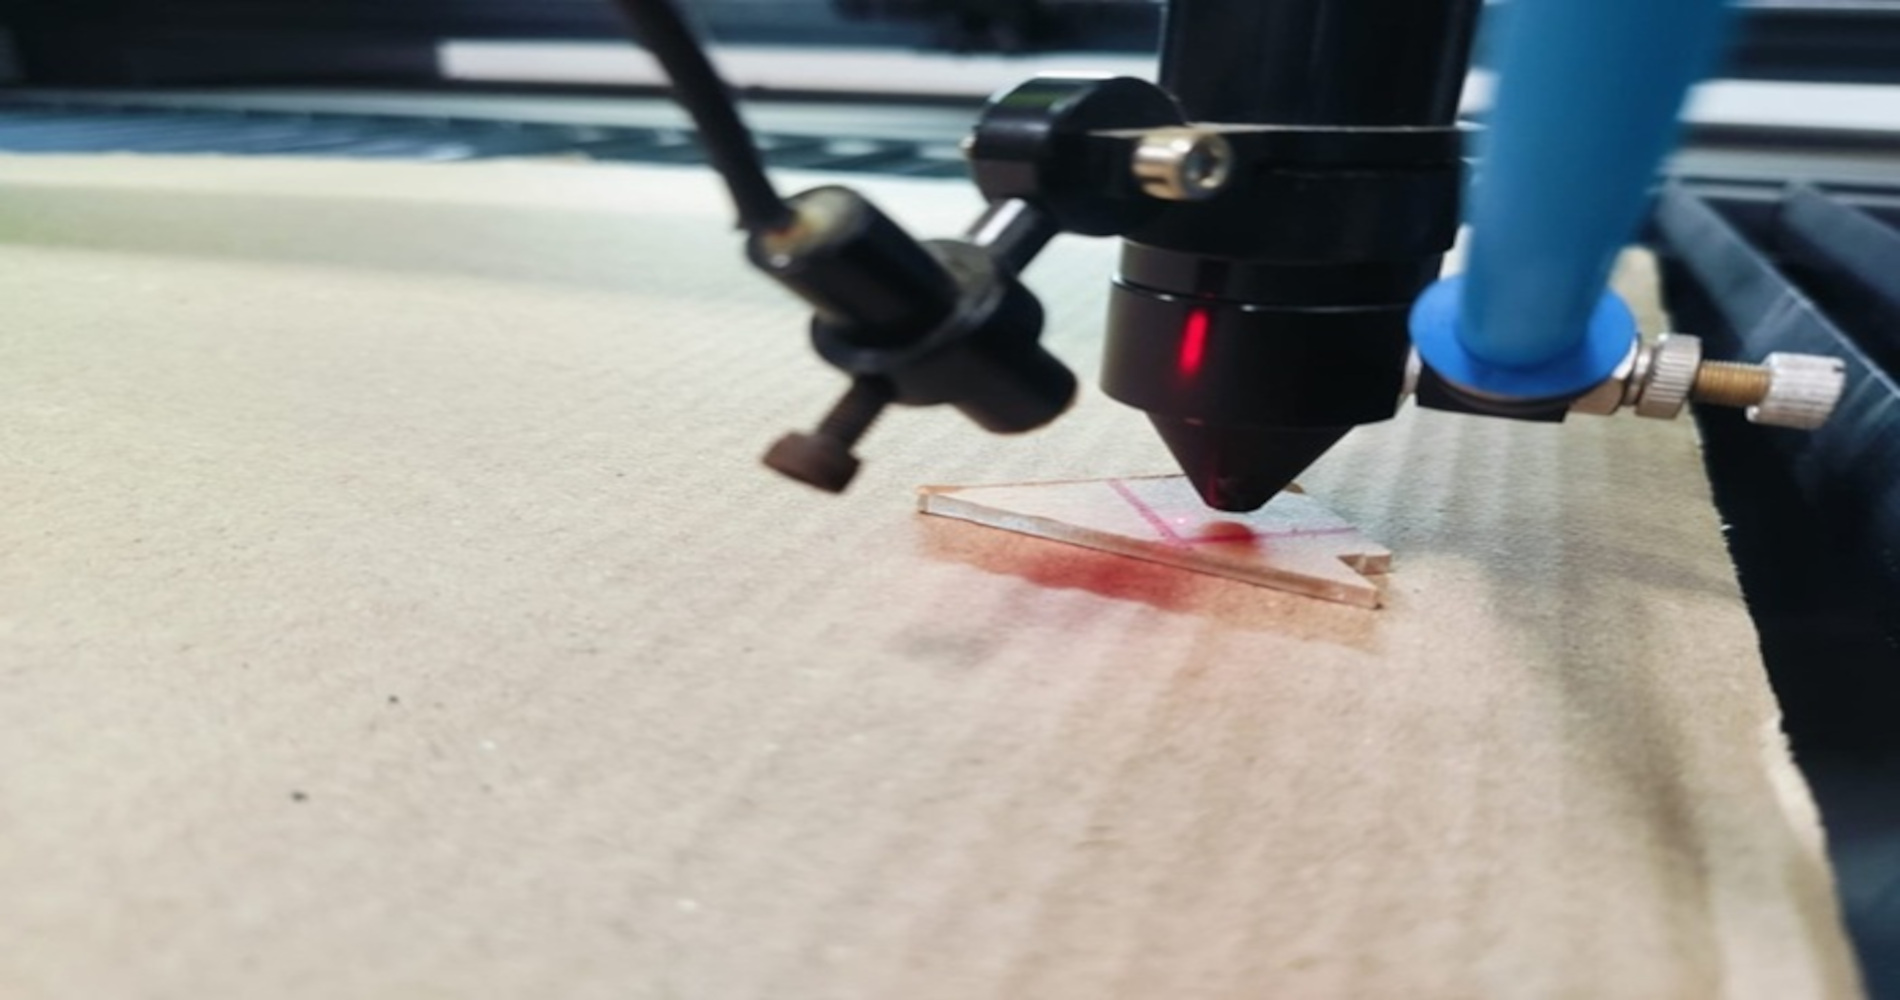
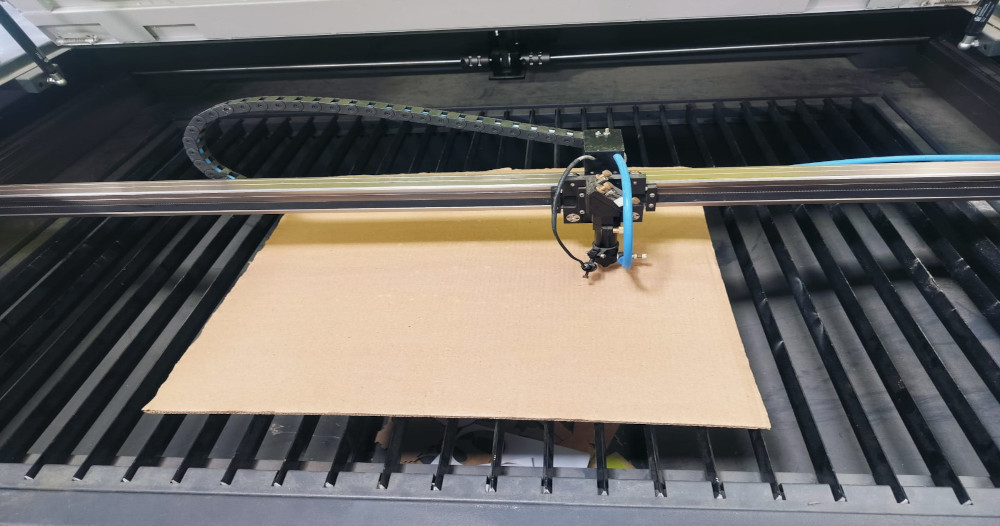
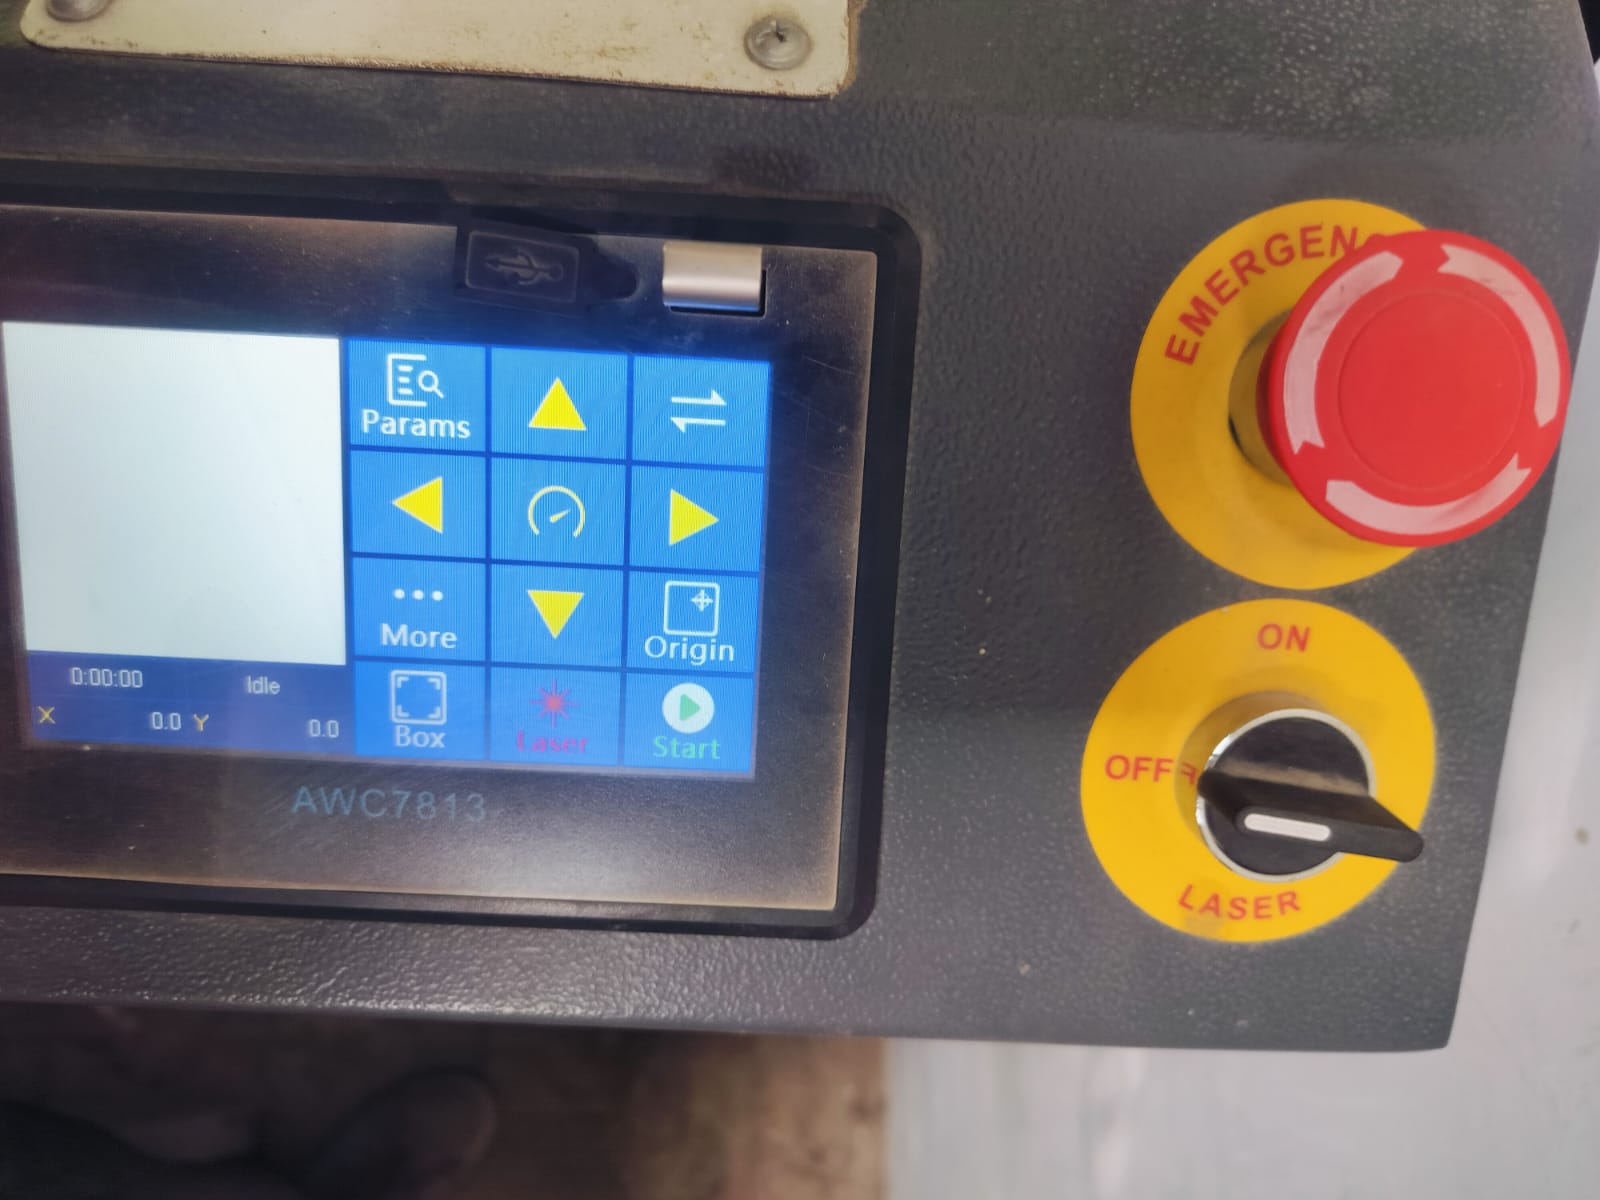
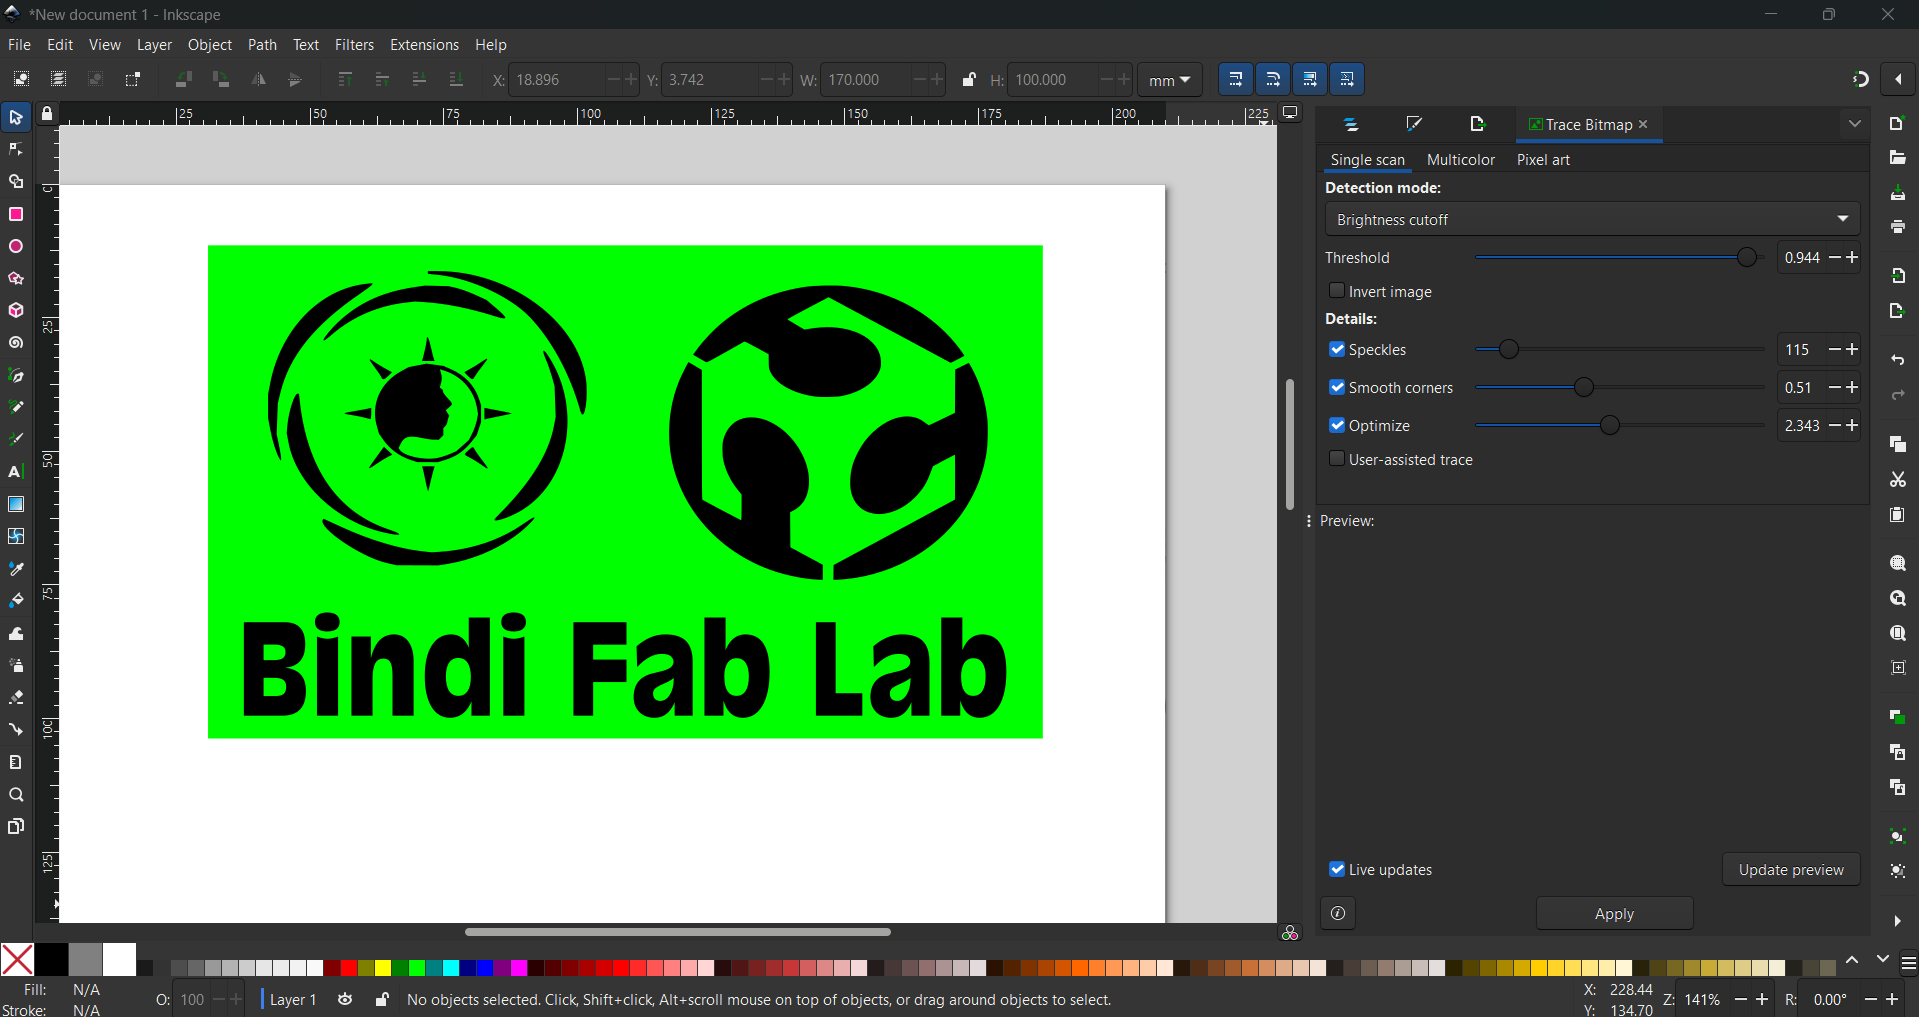
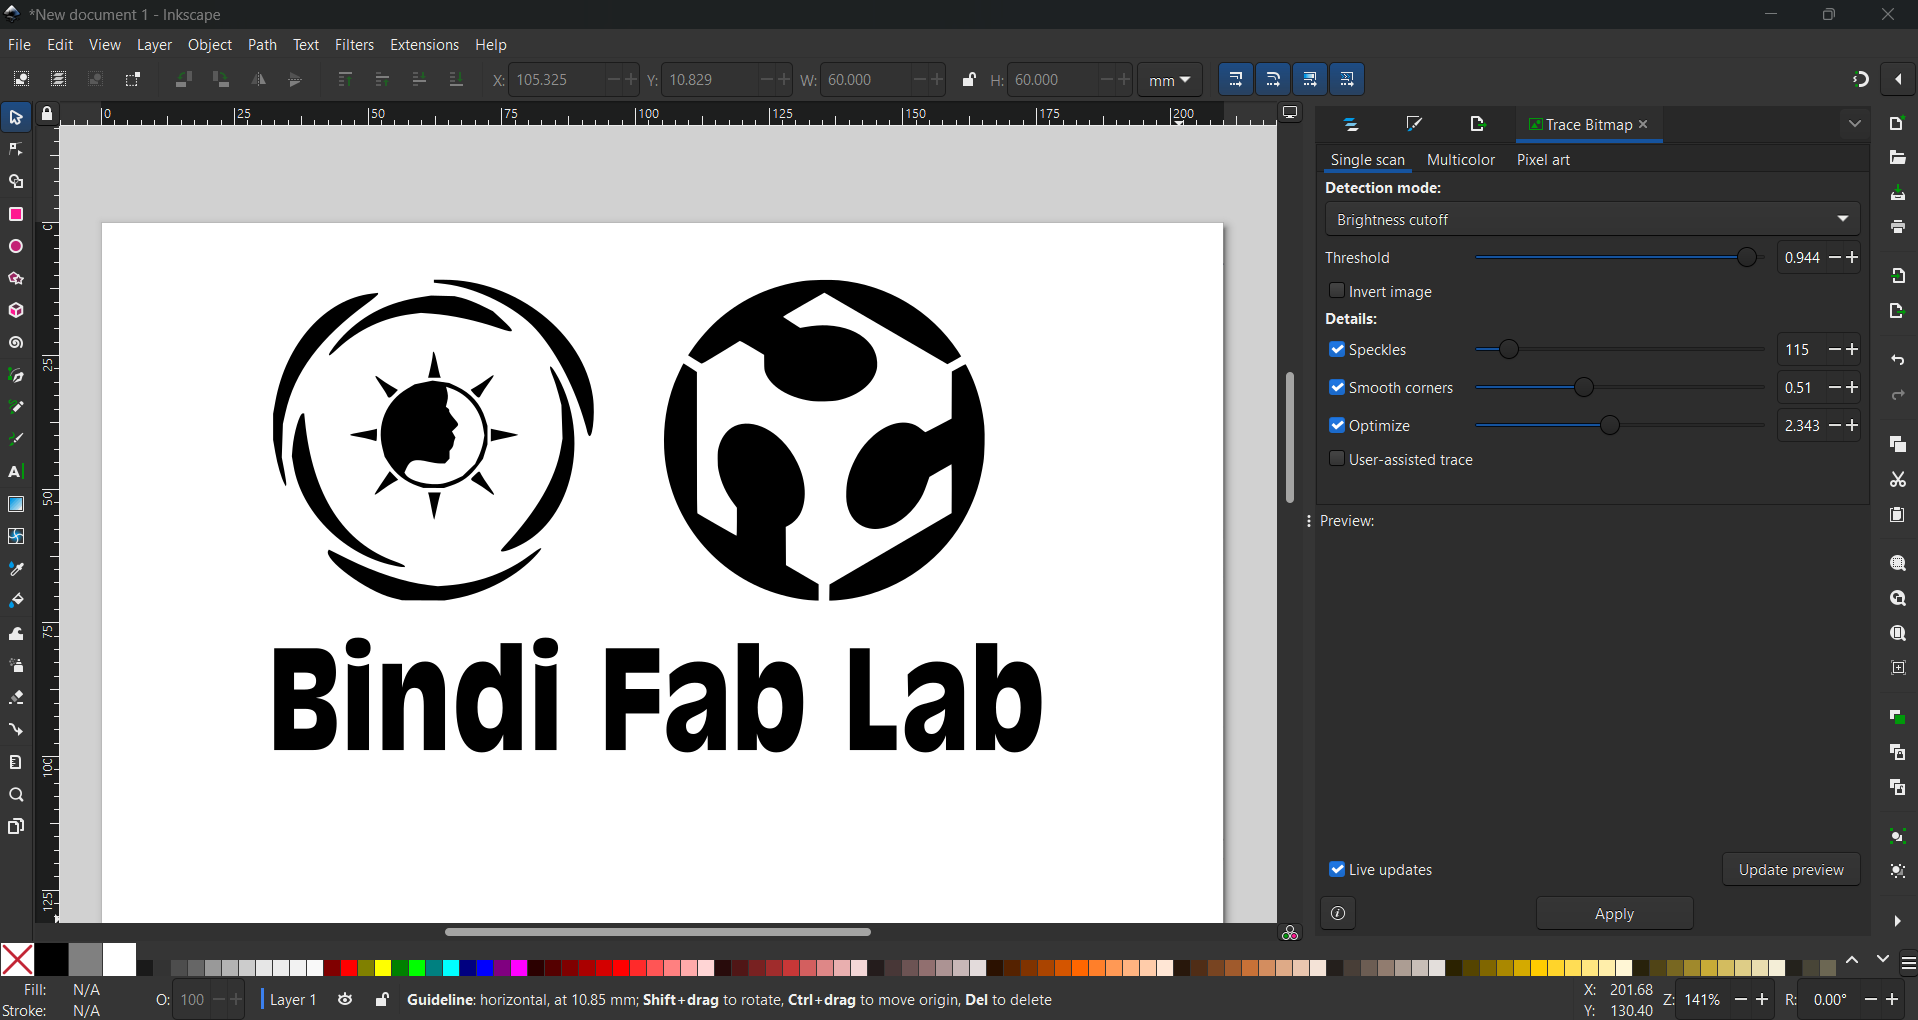
    A laser cutter is a strong machine that cuts or engraves many materials, including leather, fabric, acrylic, and wood, using a concentrated laser beam. To accomplish the incision, the laser travels through mirrors and lenses before melting or burning the material. Laser cutting is quick, precise, and capable of handling intricate designs. It is frequently utilized in sectors like textiles, arts and crafts, industry, and signage. The majority of laser cutters are best suited for non-metal materials, and their maximum thickness is limited. Additionally, laser cutting minimizes material waste. My parametric design will be cut with a laser cutter.

    Safety Measures for Laser Cutter
    • Always wear protective eyewear to shield your eyes from potential laser exposure.
    • Ensure proper ventilation in the workspace to prevent inhalation of hazardous fumes.
    • Remove flammable materials from the cutting area to reduce fire risk.
    • Verify the emergency stop button is functional before operating the machine.
    • Adjust the laser focus correctly to avoid material overheating or possible ignition.
    • Avoid touching freshly cut pieces, as they can retain heat and cause burns.
    • Maintain the machine regularly to ensure smooth and safe operation.
    • Use appropriate power settings for each material to prevent damage and ensure clean cuts.
    Laser Cutter Specification
    Feature Description
    Model Number STL 43
    Laser Type CO2 Glass Laser Tube
    Laser Power 100W / 130W / 150W
    Voltage 230V AC - 50Hz
    Cooling Method Water-cooled
    Working Area 1200 x 900 mm
    Cutting Speed 0-25000 mm/min
    Engraving Speed 0-64000 mm/min
    Driving System Stepper Motor
    Supported Formats CDR, PLT, DXF, AI, BMP, etc.
    Power Adjustment 1% to 100%
    Power Consumption 2 KW
    Applicable Materials Acrylic, Wood, MDF, Fabric, Textiles, Paper, Leather, Plastic, Rubber, Bamboo, and other non-metallic materials
    Weight 100-150 kg (approx.)
    Size 4 x 5 feet
    Manufacturer Success
    Special Features Imported laser tube, Linear guideways, User-friendly controller

    Parametric Design & Laser Cutting


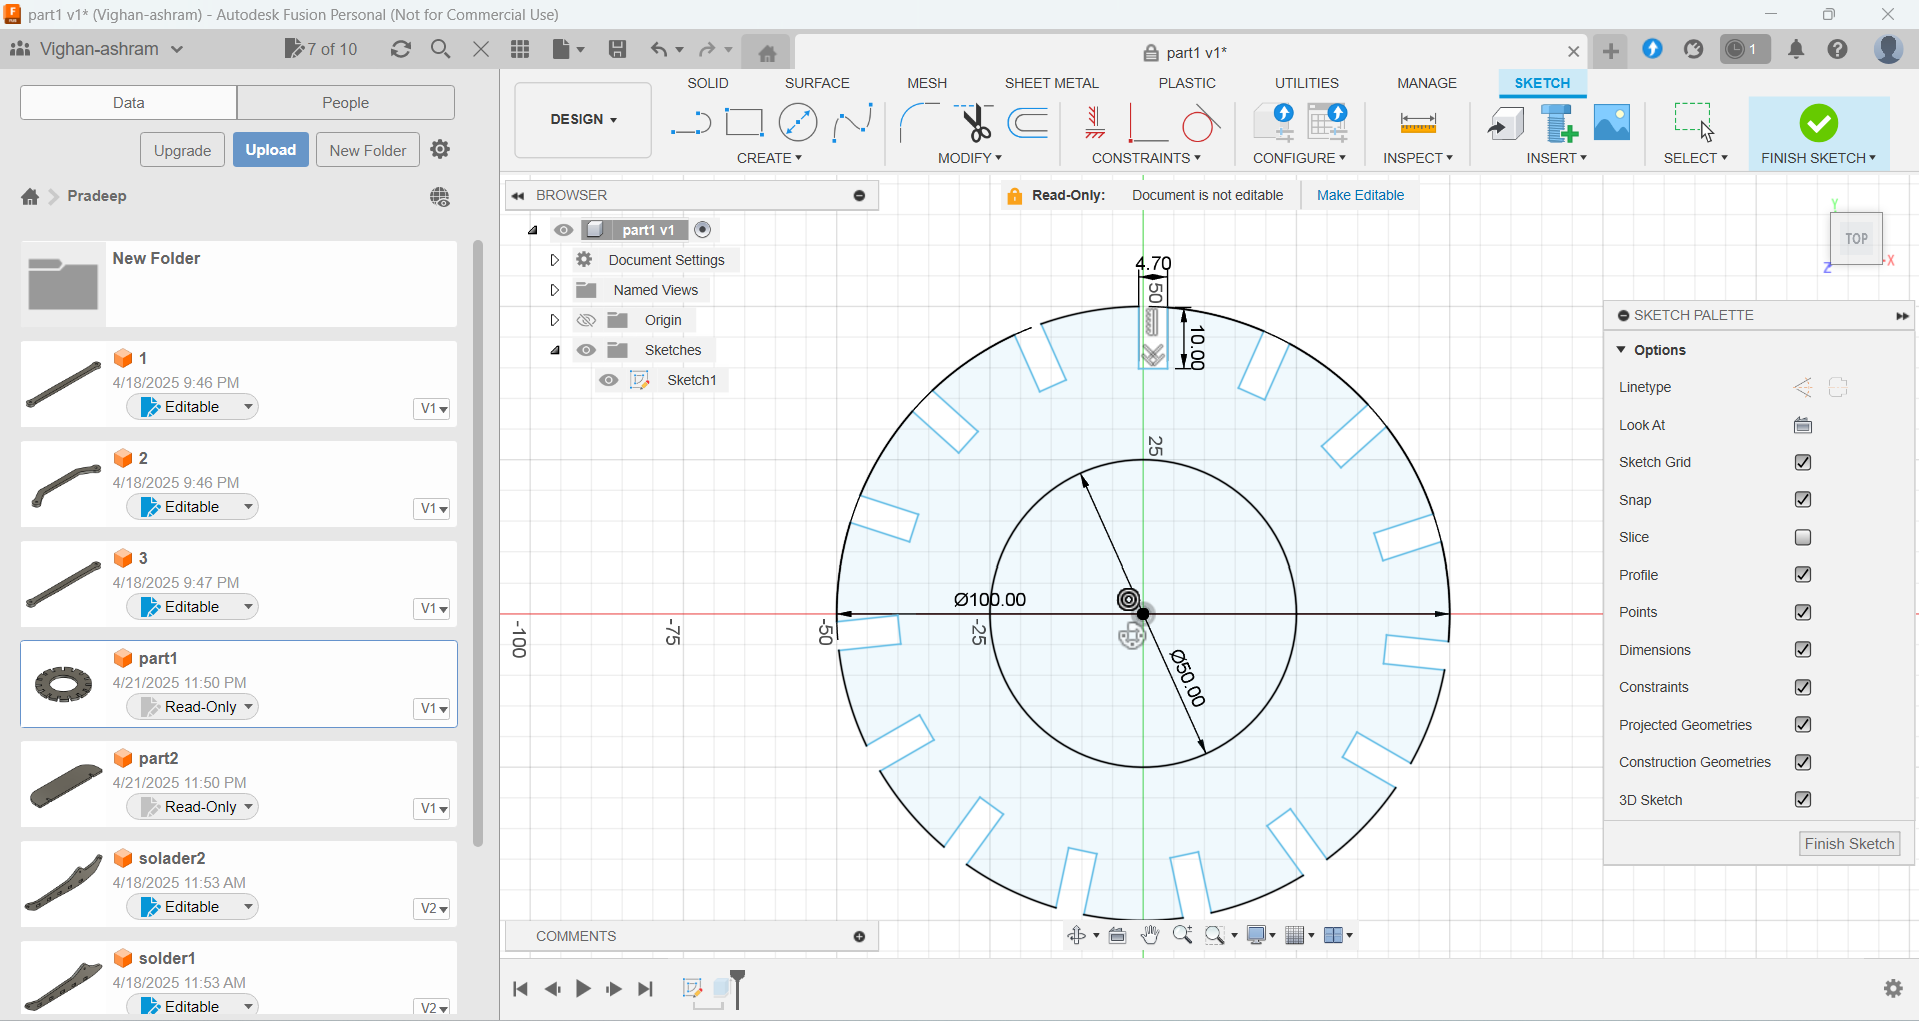
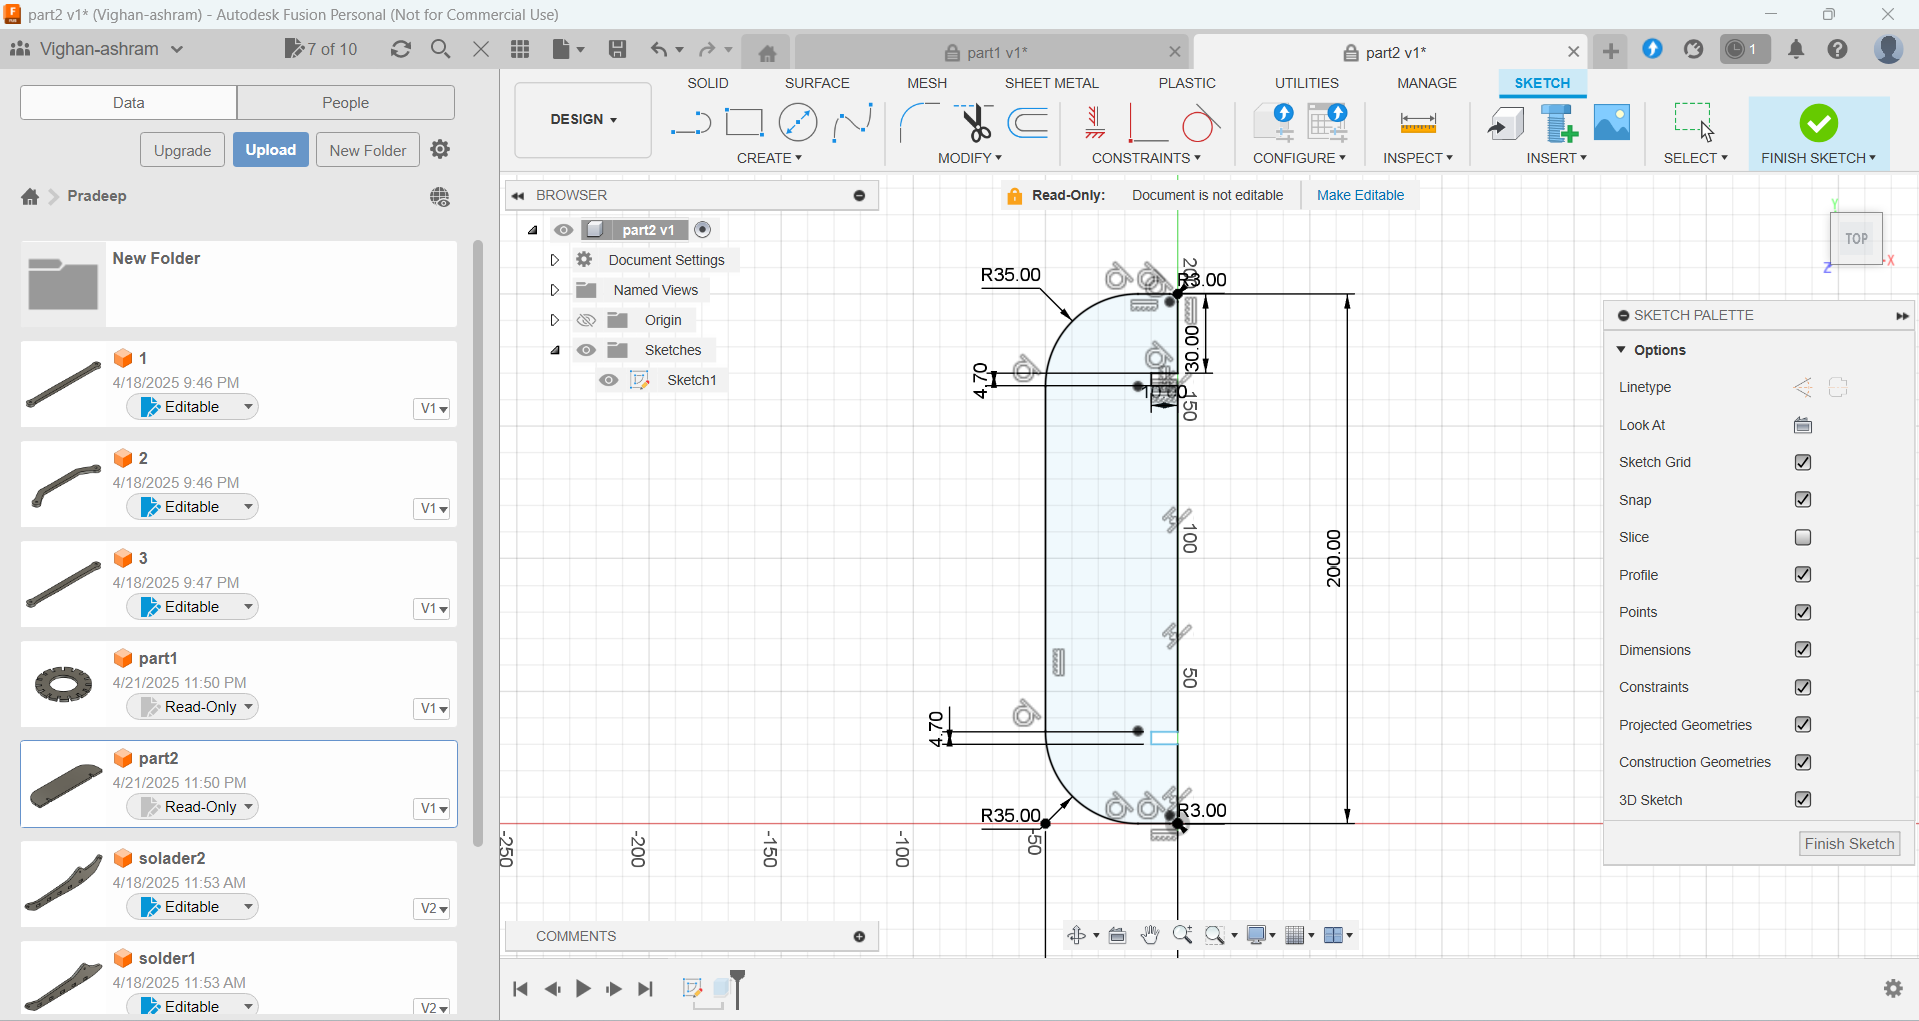
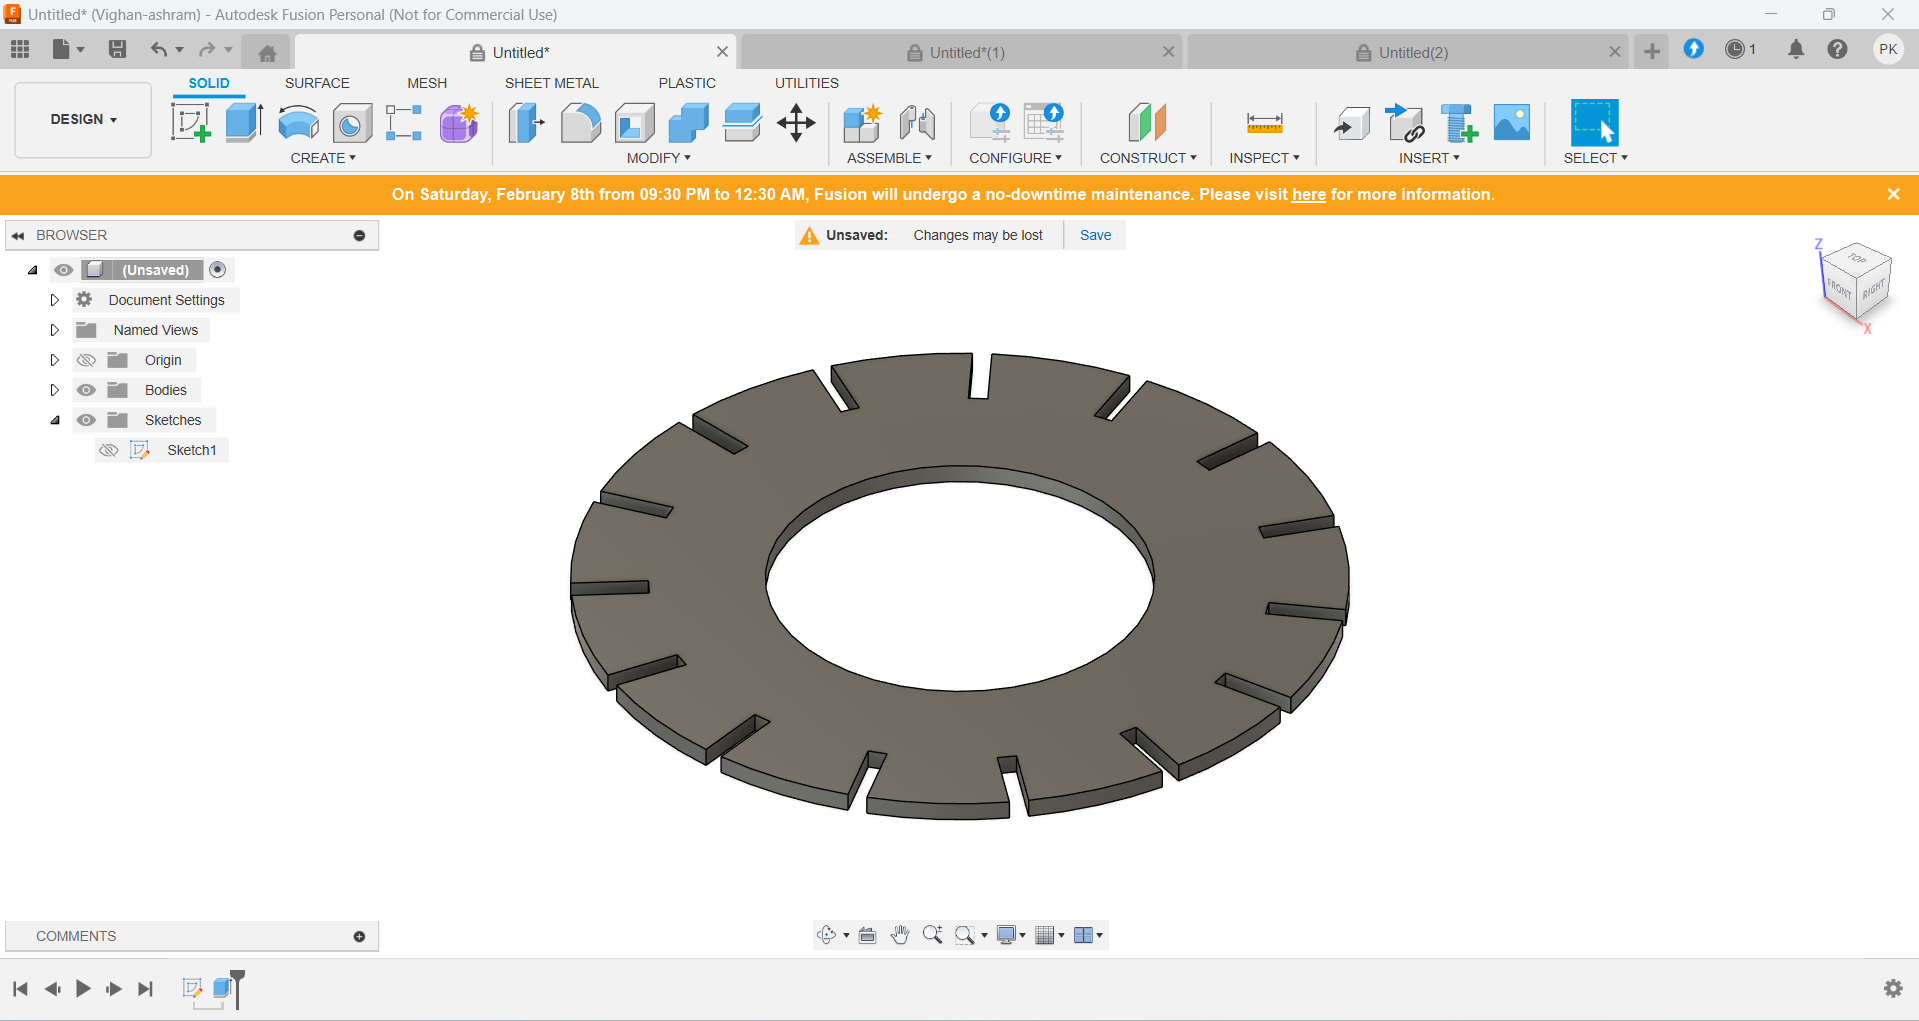
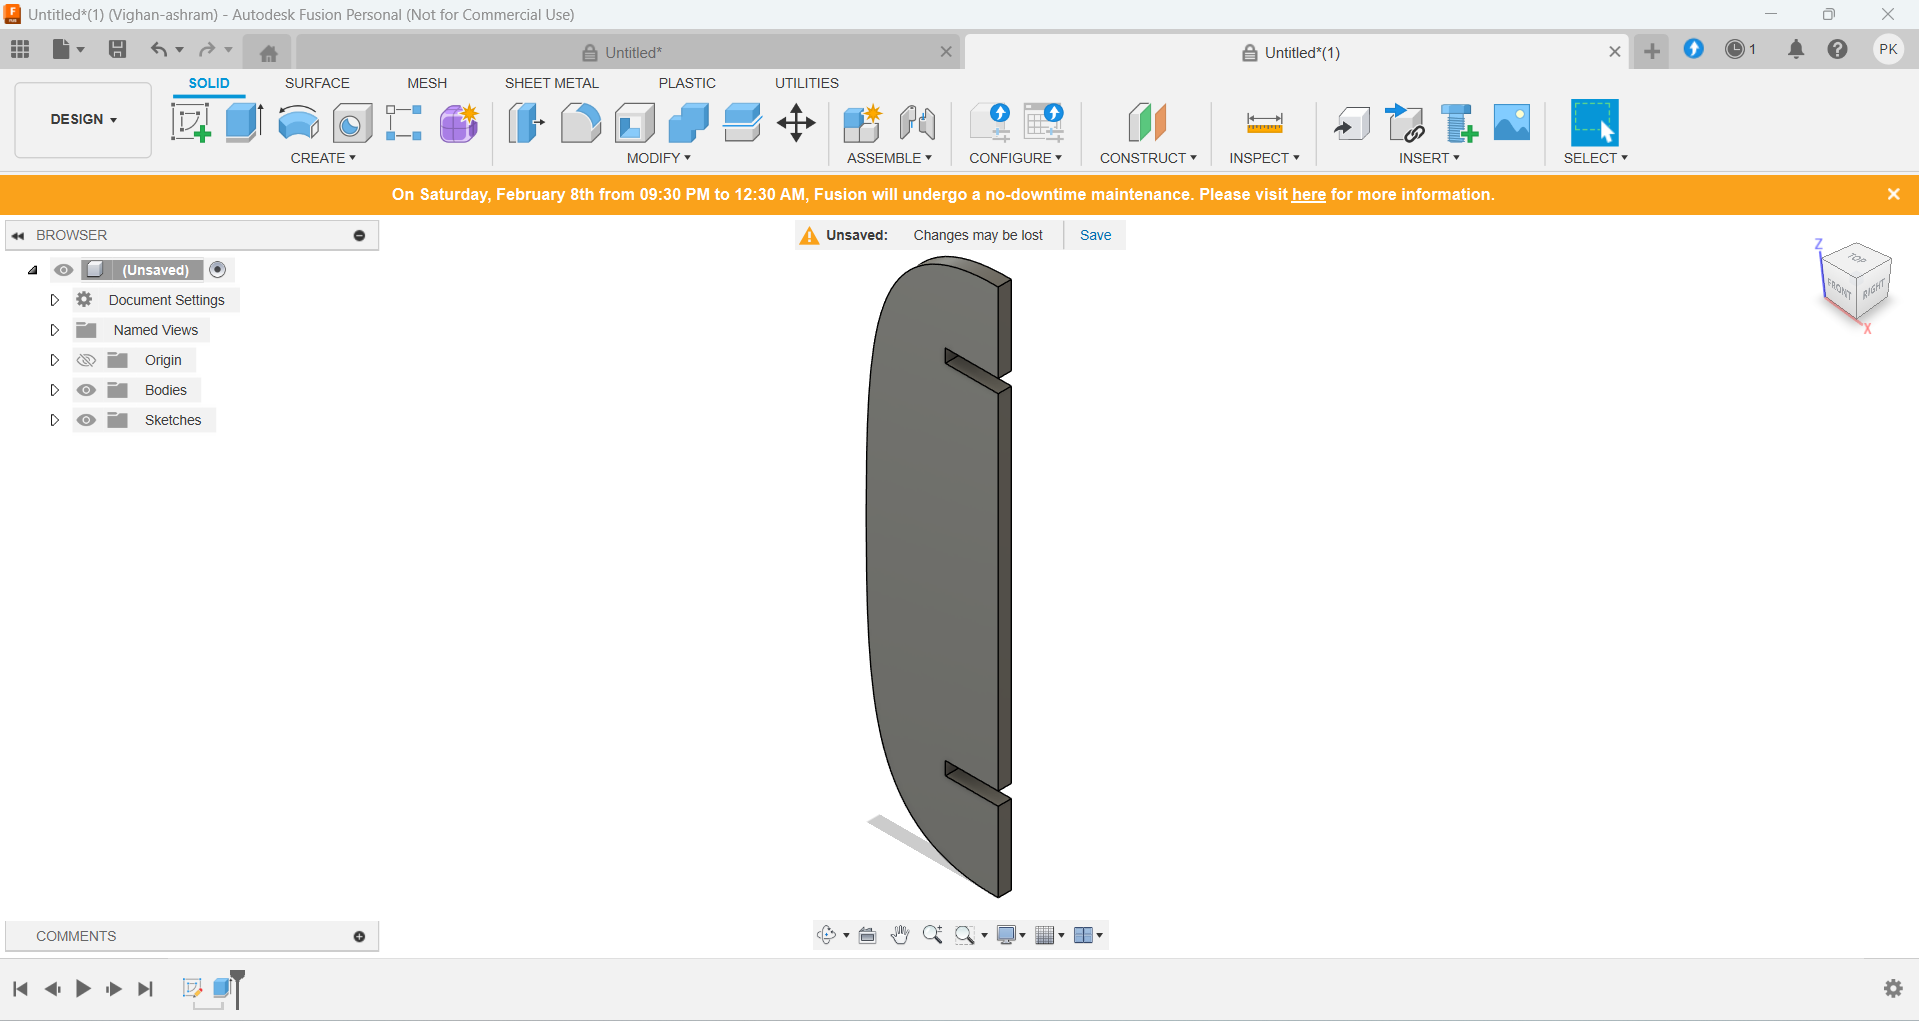
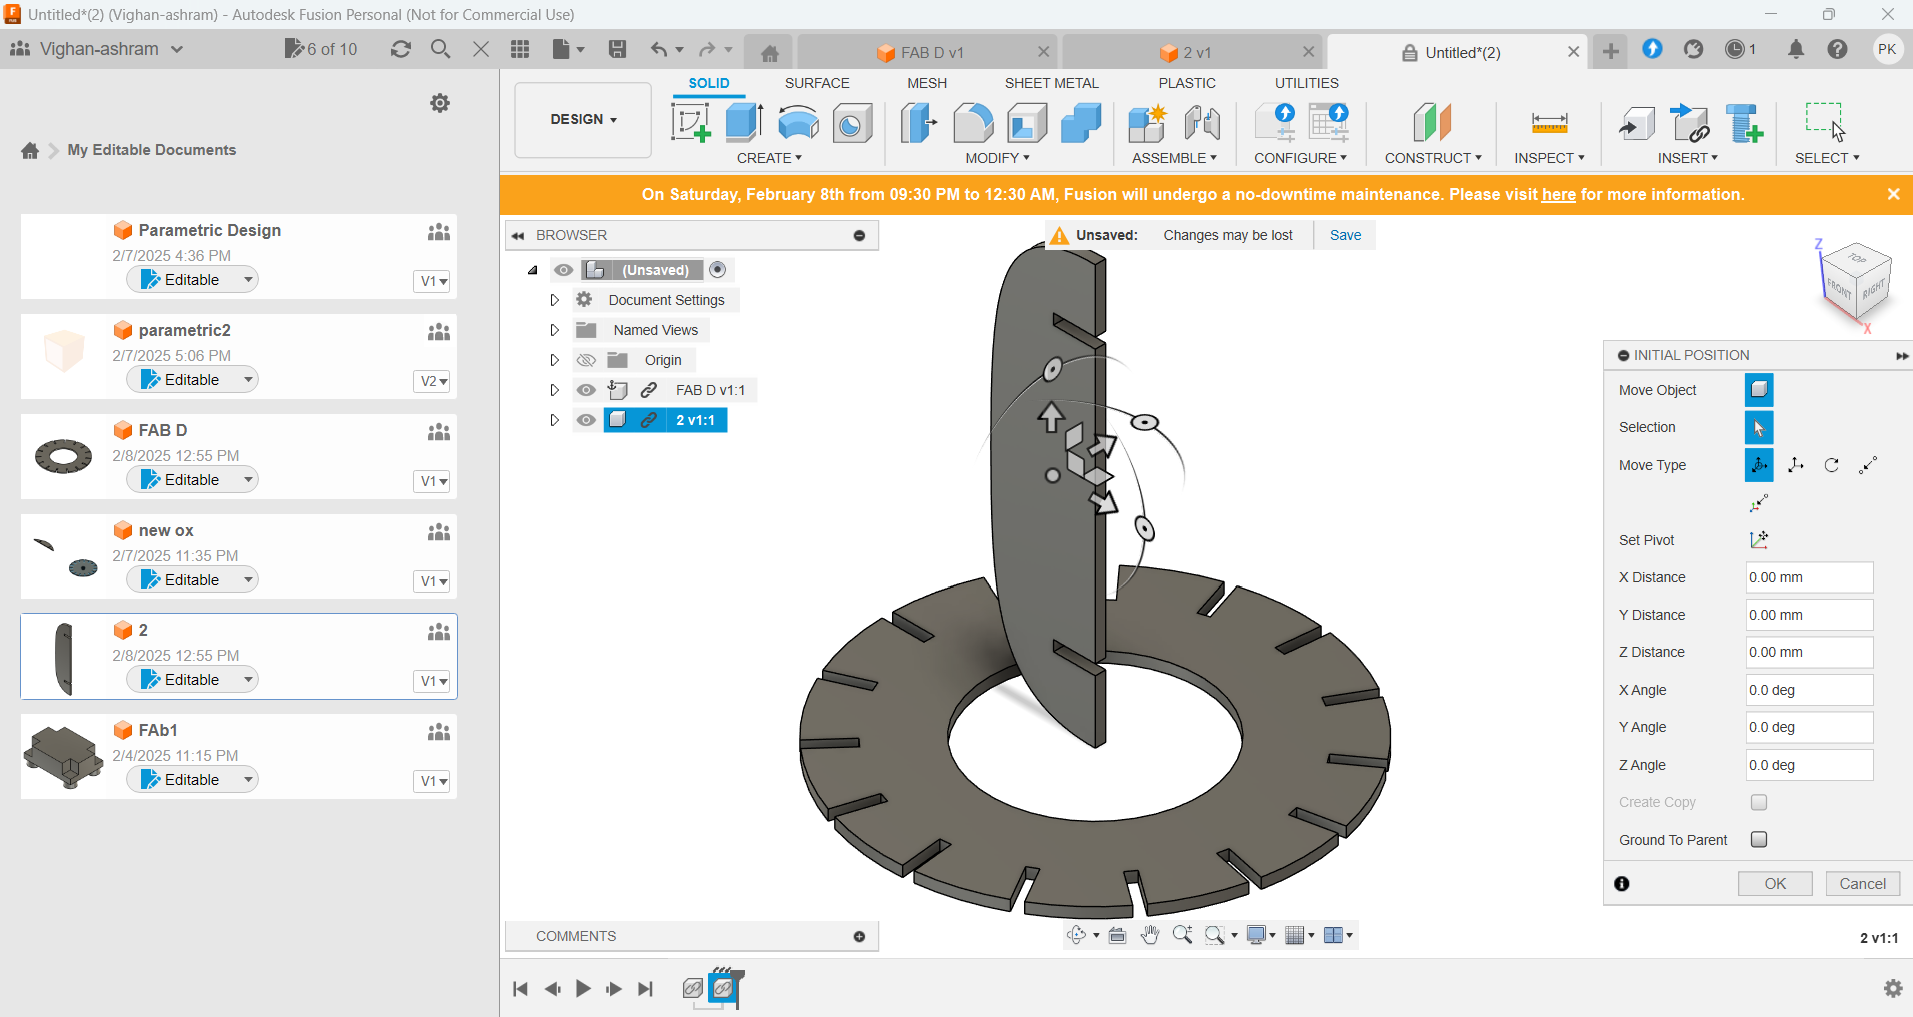
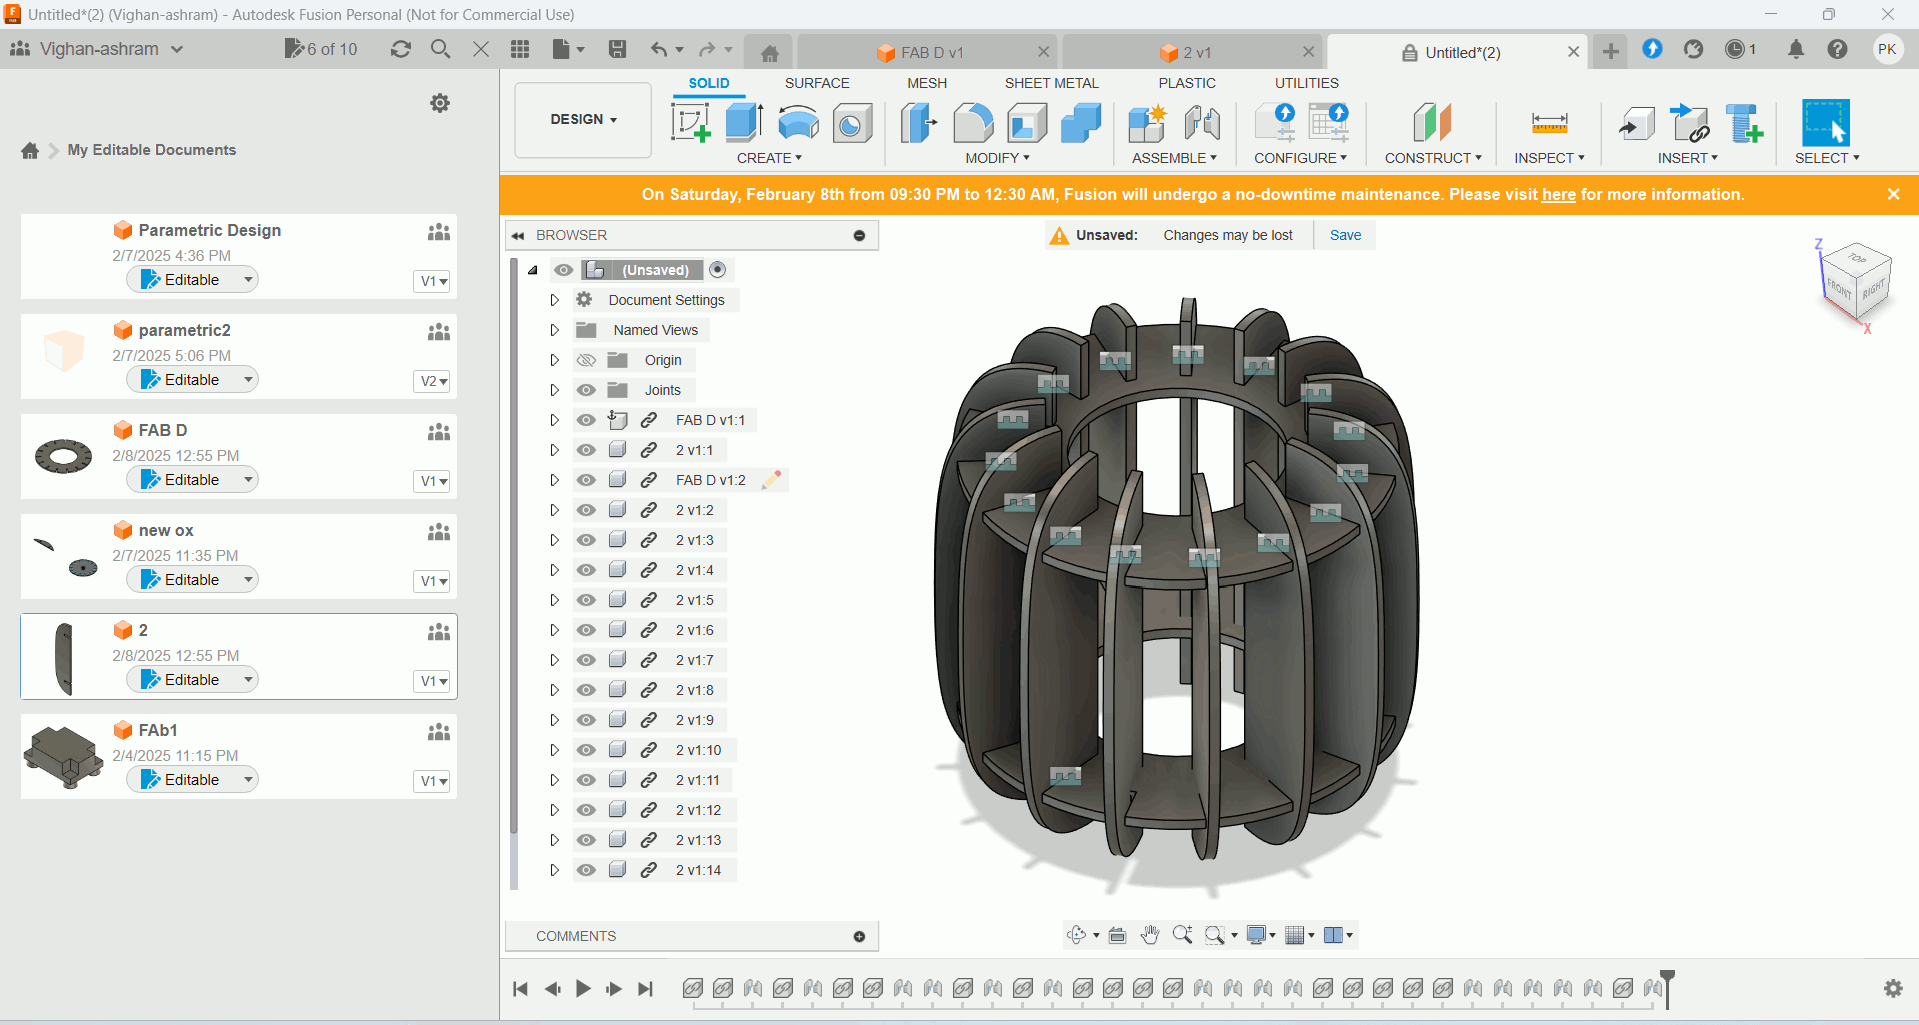
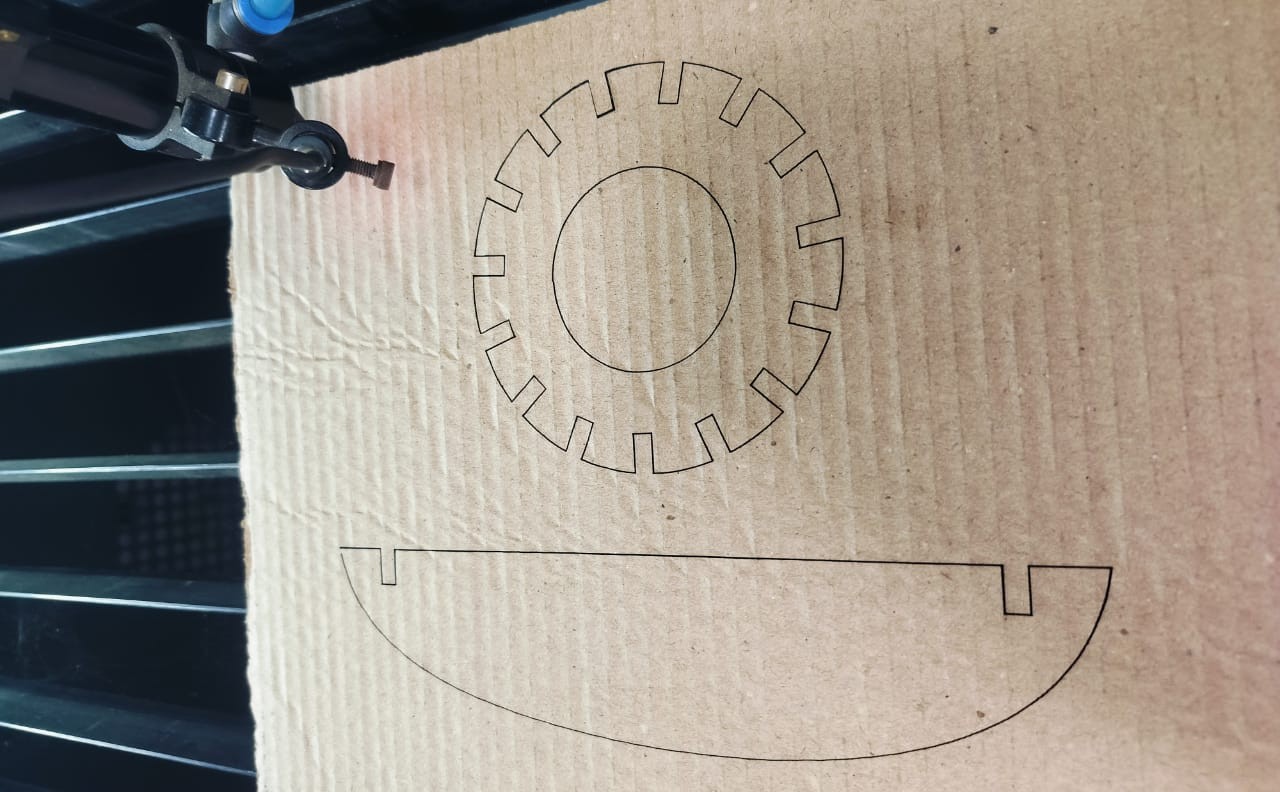
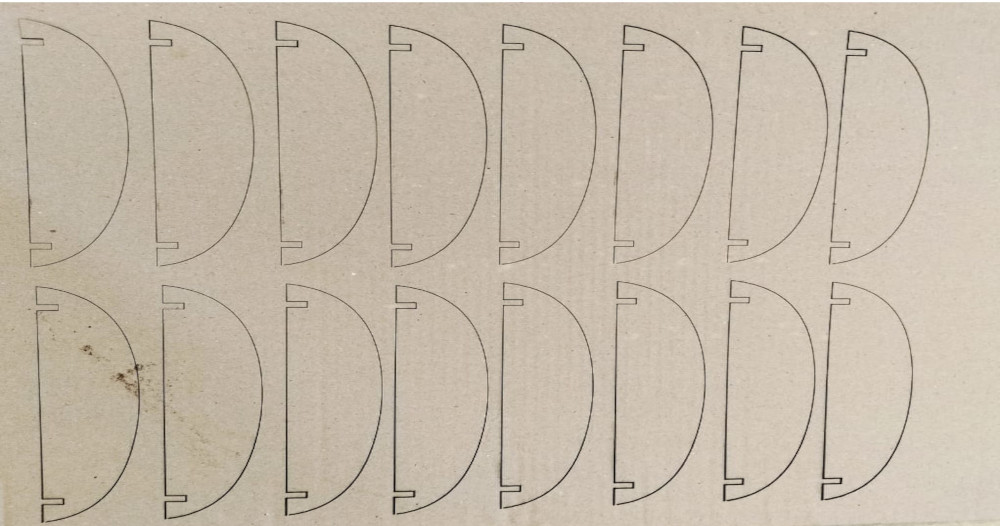
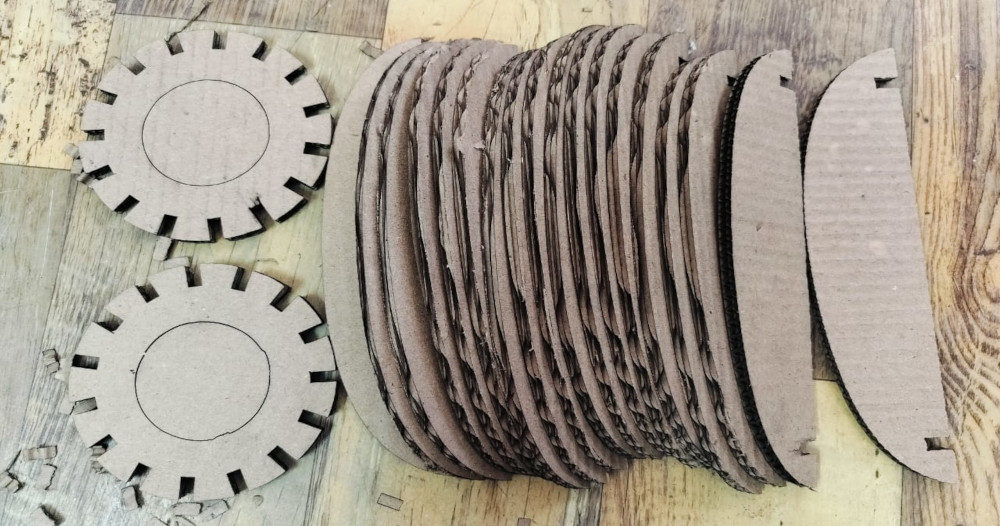
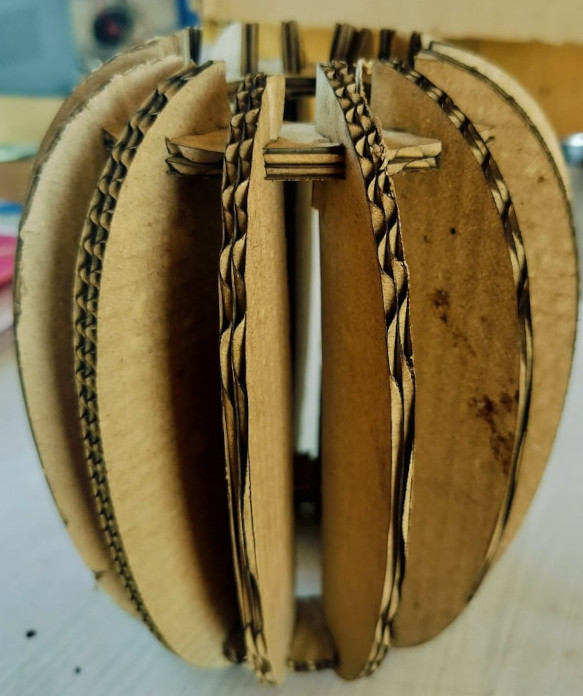
    For my parametric design assignment, I chose to create a circular lamp that could accommodate an LED bulb. To bring this idea to life, I used Fusion 360 to develop a parametric model of the lamp. The completed design can be seen below.

    I started by creating a circle and placed 4.70x10 mm rectangles around it using the circular pattern tool. Next, I created another rectangle and added two 4.70x10 mm press-fit slots to it.
    I then extruded the shapes by 5 mm. After that, I extruded the base part to a height of 5 mm.
    After finishing the components, I assembled them together. I duplicated the part to complete the entire assembly.
    I opened both design files in the laser cutting software. I set the laser parameters to 40 power and 65 speed, then saved the file to a USB drive.
    I adjusted the laser beam alignment. I carefully placed the cardboard sheet onto the laser cutting bed.
    I inserted the USB drive into the laser cutter and opened the saved file. I copied the file to the machine, powered on the laser, and initiated the cutting process.
    Once the machine was on, I ensured the laser beam was properly aligned. Video demonstration of the laser cutting process.
    Laser-cut parts ready for assembly. Additional cut-out pieces.
    I collected all the pieces cut by the laser. I assembled all the parts following the original design.
    Finally, I installed the LED and captured the final "hero shot" of the assembled product.

    Kerf in Parametric Design & After Laser Cutting

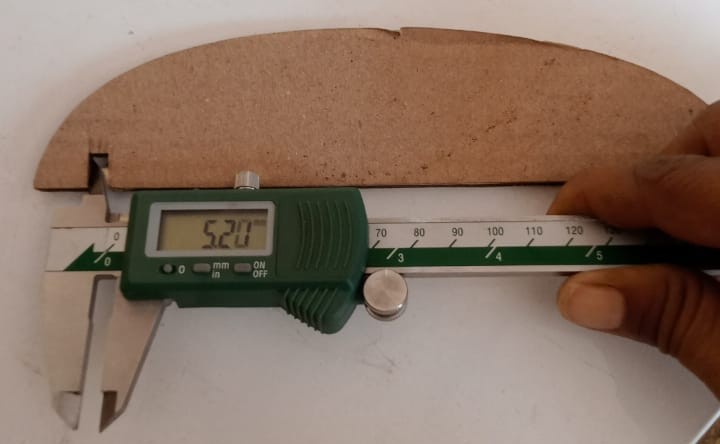
    I used 5mm cardboard and implemented the press-fit technique for my design. During our group activity, I performed a kerf test and found the kerf value to be approximately 0.62 mm using 50 speed and 20 power settings. Based on this outcome, I updated the design parameters to achieve accurate and secure joints after laser cutting.

    Used 4.70 mm press-fit in Part One to ensure tight joints.
    Applied 4.70 mm press-fit again in Part Two for consistency.
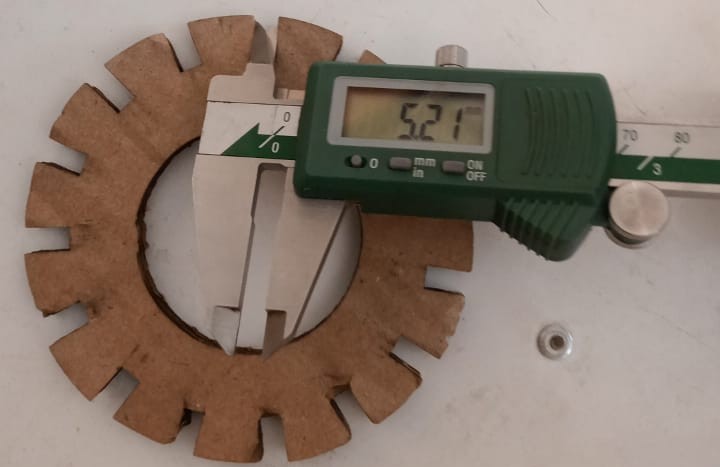
    Kerf observed in Part One was approximately 0.60 mm.
    Similar kerf value of around 0.60 mm was recorded in Part Two.
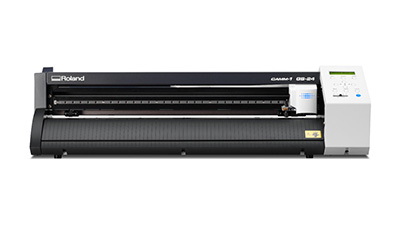
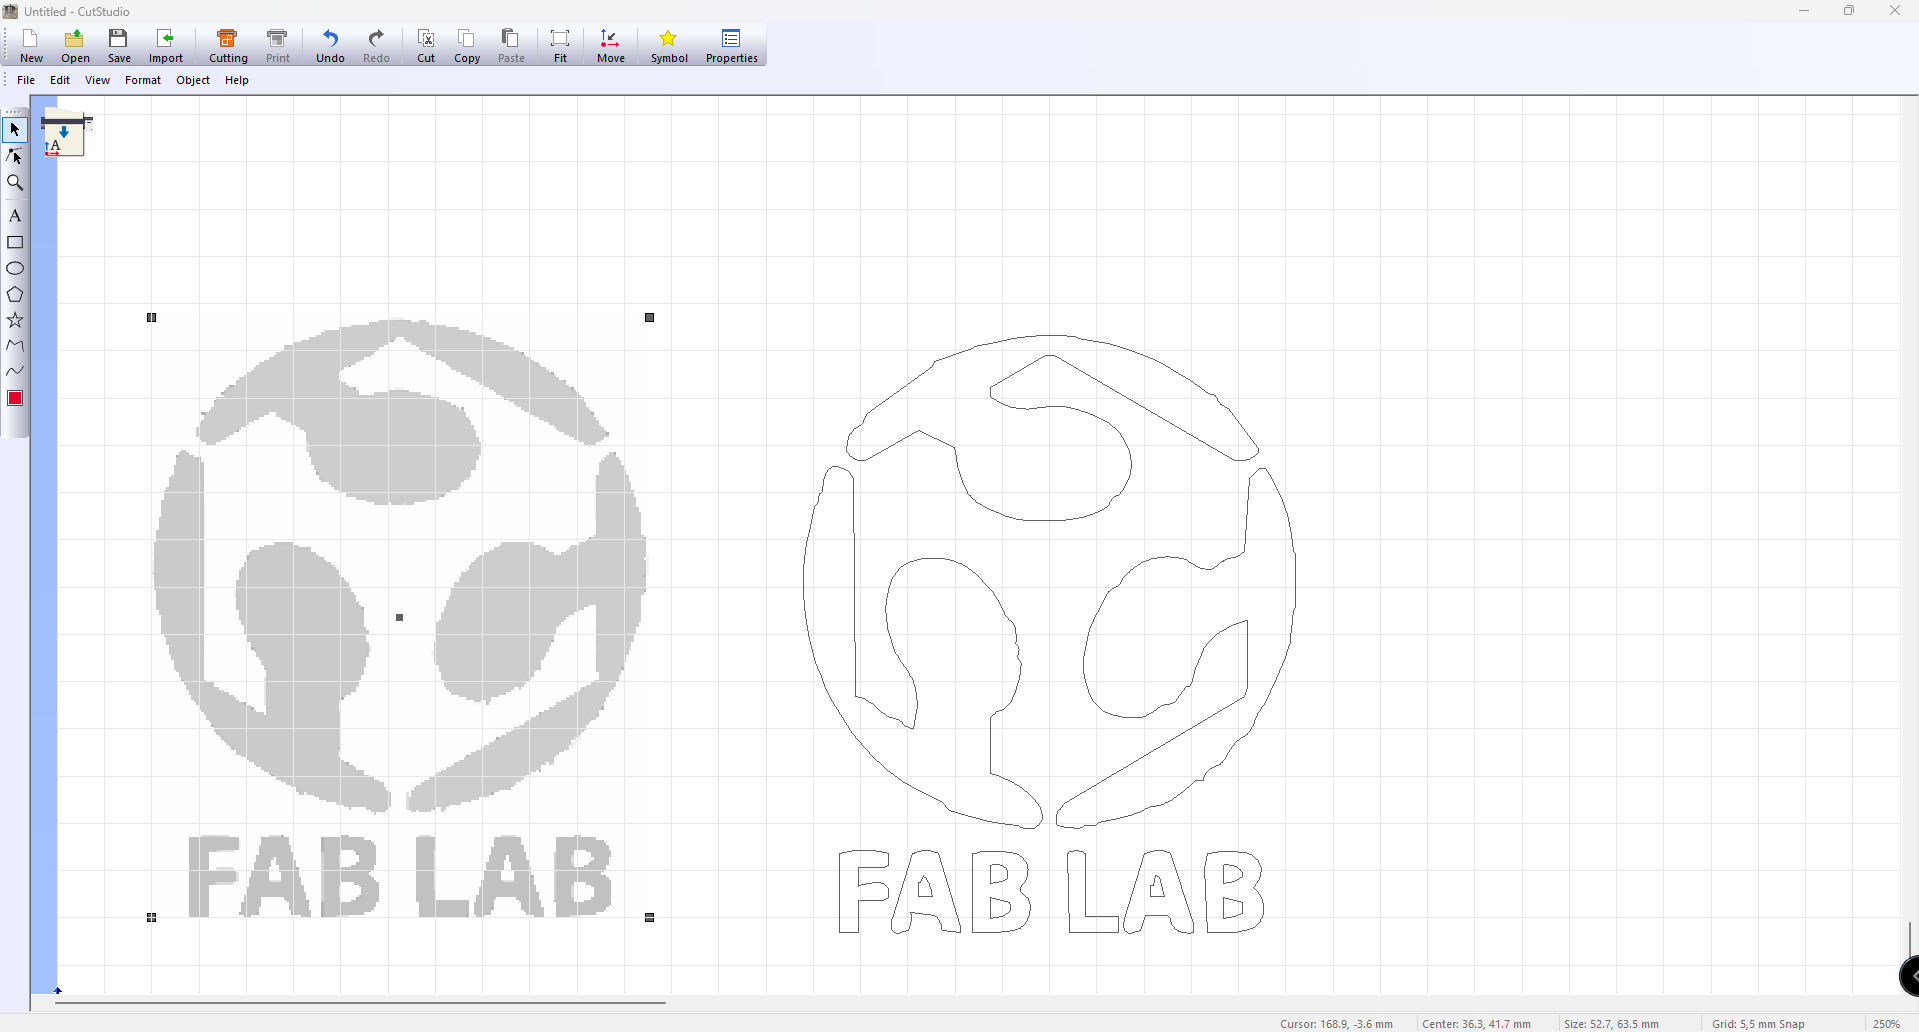
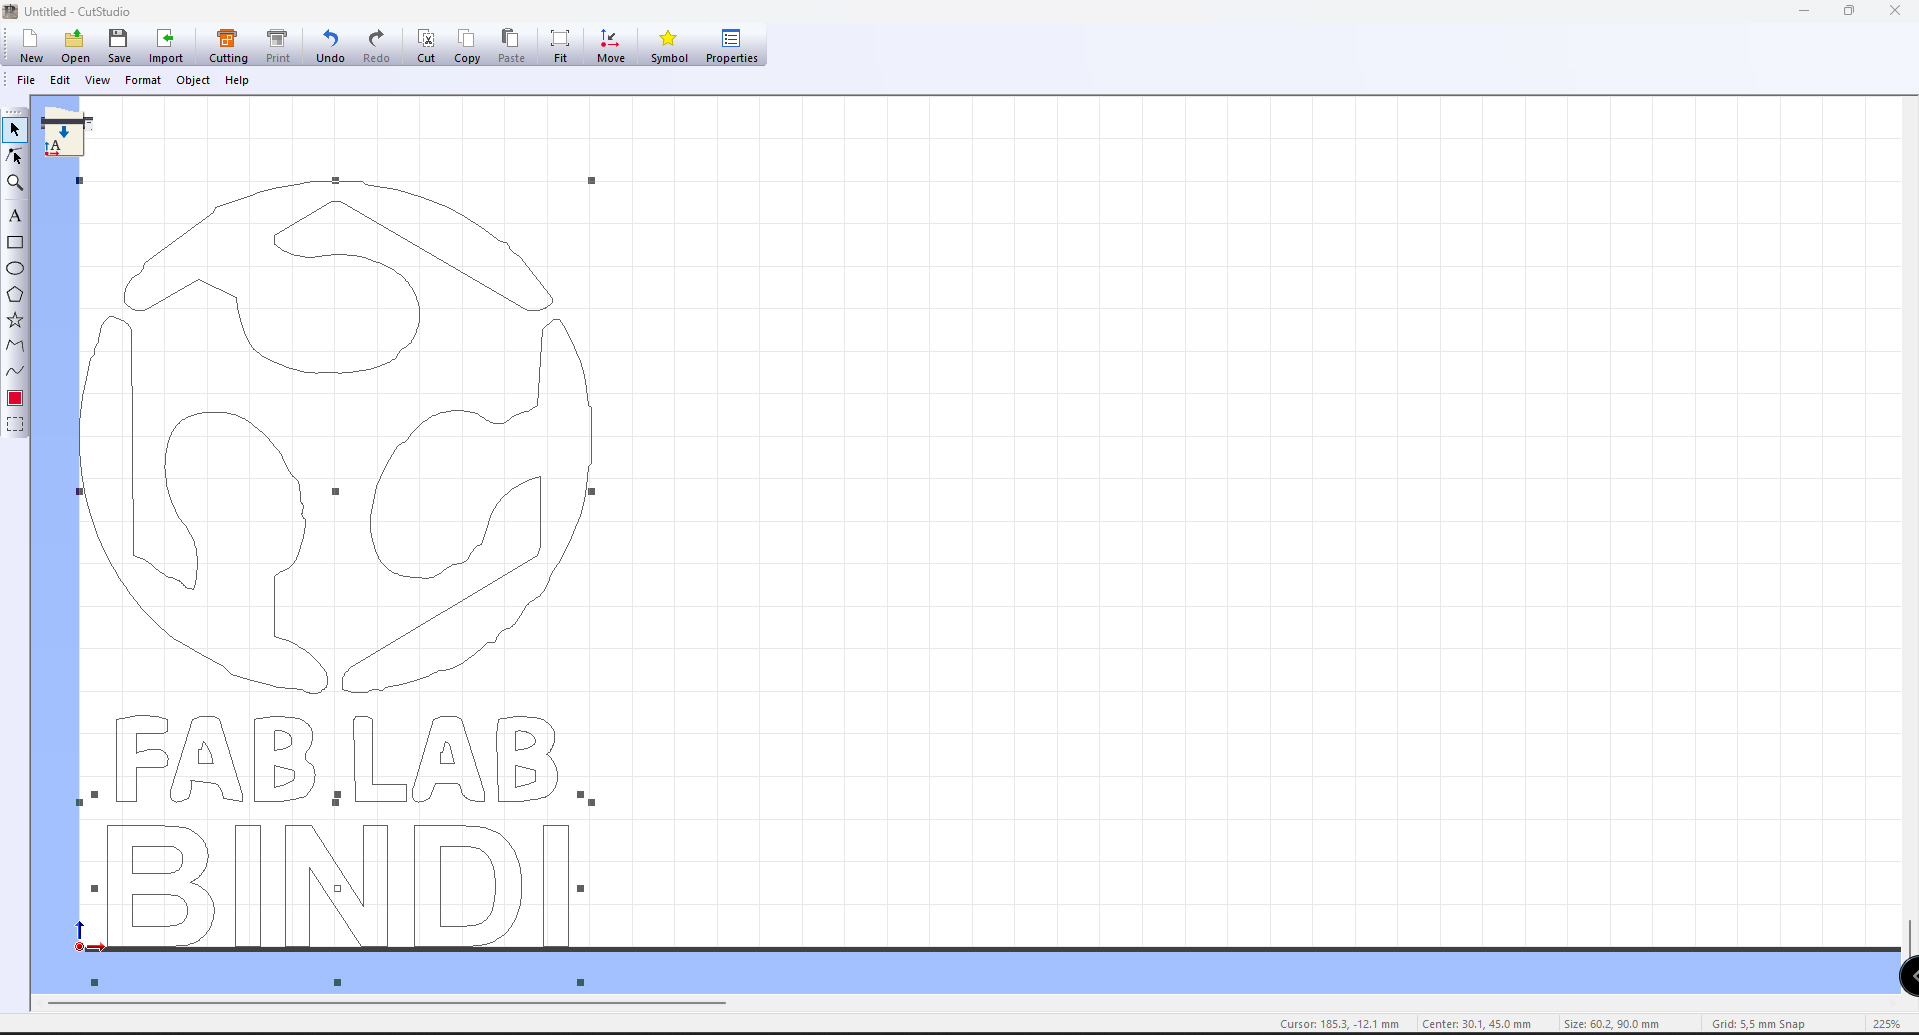
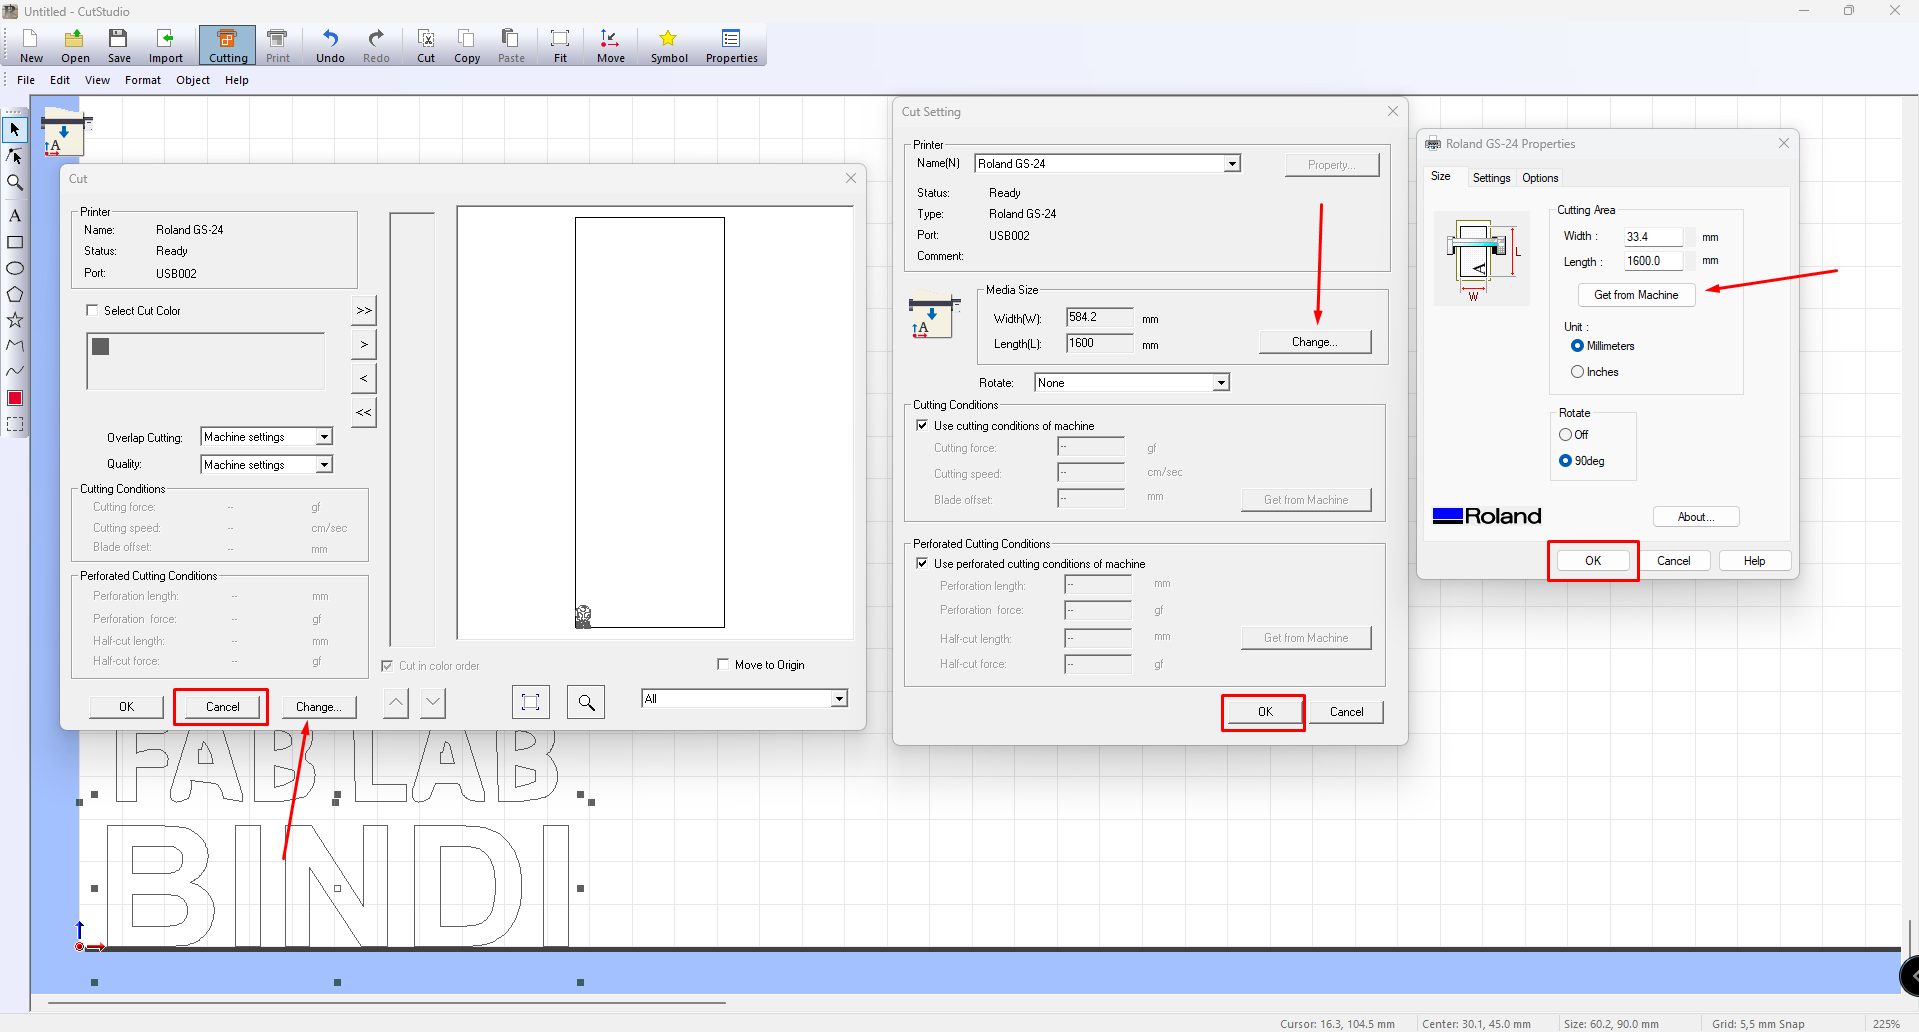
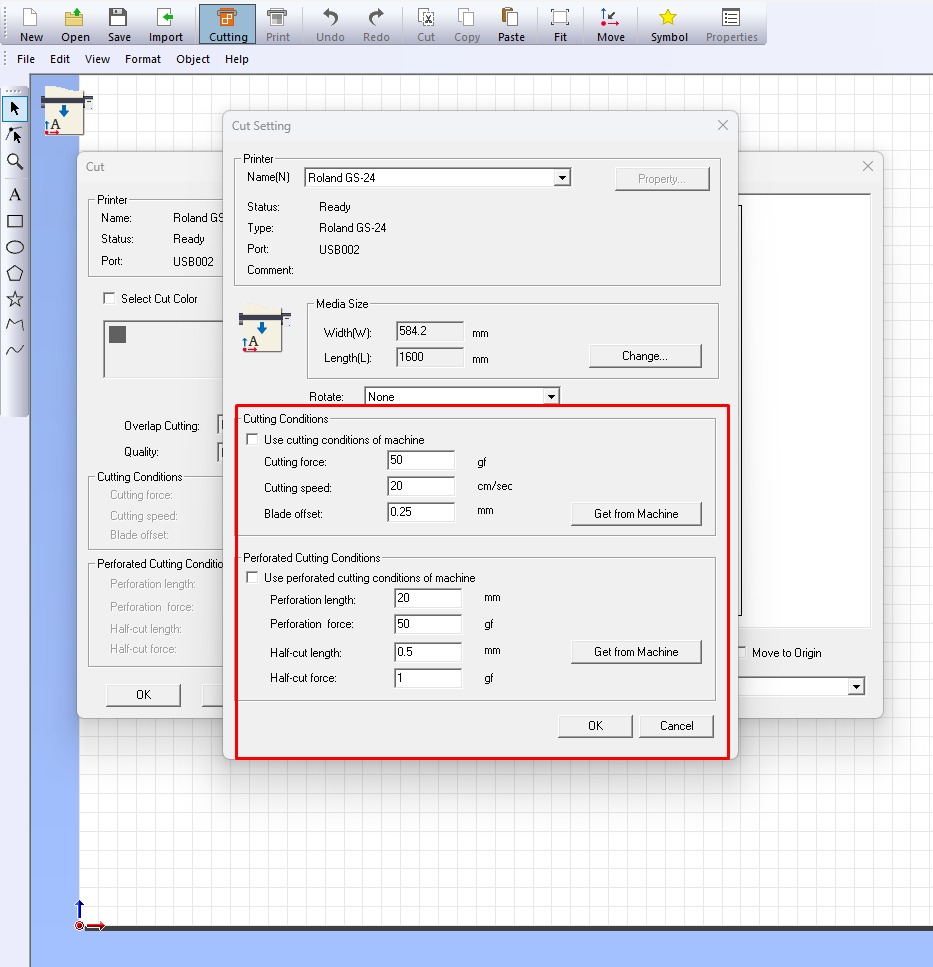
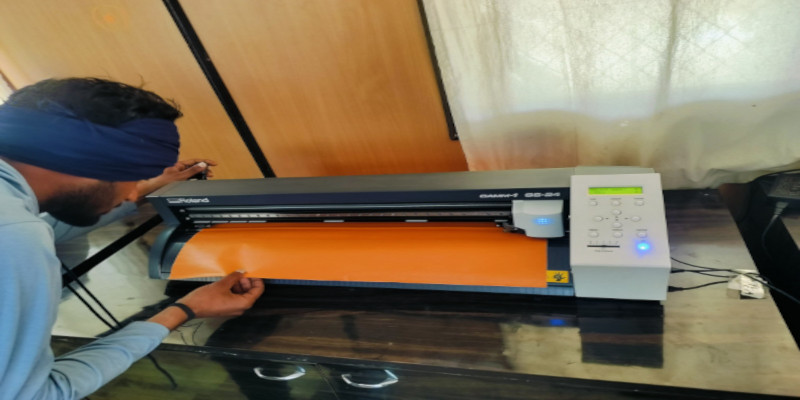
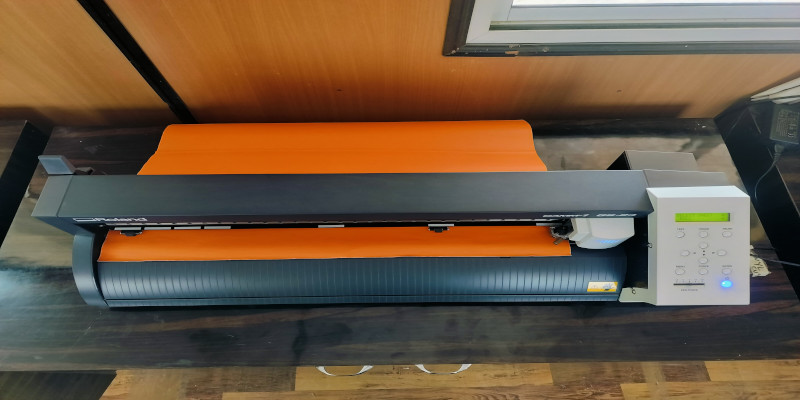
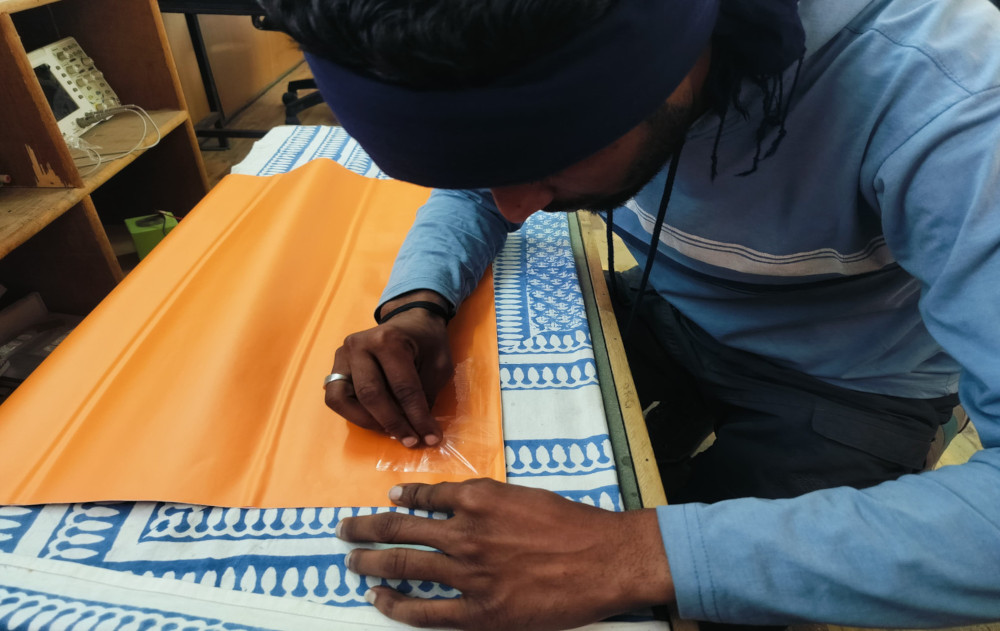
    Desktop Vinyl Cutter CAMM-1 GS-24

    The CAMM-1 GS-24 is a powerful desktop vinyl cutter, ideal for small and medium-sized businesses. Known for its accuracy and user-friendliness, it supports a wide range of materials, including paper, vinyl, and heat transfer materials. The GS-24 operates efficiently and delivers high-quality results, making it perfect for creating custom signage, decals, and heat transfer designs for clothing. Designed for both intricate designs and large-scale projects, it provides a versatile and reliable solution for various cutting needs.

    Safety Measures for Vinyl Cutter
    • Keep hands and fingers away from the cutting area.
    • Handle the cutting blade carefully as it is very sharp.
    • Load the vinyl sheet correctly to prevent jamming.
    • Adjust the blade depth properly to avoid excessive pressure on the material.
    • Clean up vinyl scraps and waste after cutting.
    • Use the emergency stop button in case of a malfunction.
    • Ensure the machine is properly powered and voltage-regulated to prevent electrical issues.
    CAMM-1 GS-24 Features
    Feature Description
    Cutting Width 24 inches
    Cutting Length Up to 10 yards
    Cutting Speed Up to 20 inches per second
    Resolution 0.0005 inches
    Interface USB, Serial, and Parallel Port
    Maximum Cutting Force 350g
    Supported Materials Vinyl, heat transfer materials, paper, card, and more
    Weight 22 kg (48.5 lbs)
    Power Supply 110-240V, 50/60Hz

    Logo Design & vinyl Cutting

    Step by Step Process

    Initially, I designed the logo.

    I used bitmap tracing to convert the design into an outline.

    I opened the outline file in Cut Studio and created the cutting path.

    I made adjustments to the cutting file as needed.

    I tweaked the cutting settings to match the requirements.

    I loaded the vinyl paper into the vinyl cutter.

    I lowered the lever to secure the paper in place.

    I selected the roll of vinyl paper.

    I set the origin point to ensure the cutting started from the correct position.

    I sent the cut command from Cut Studio and waited for the cutting process to finish.

    I removed the roll from the machine after the process was complete.

    I carefully removed the cut vinyl from the machine.

    I used transfer tape to lift the logo from the vinyl backing.

    I applied the logo to the laptop.

    I also provided training to others during this process.

    Tools I Used for This Assignment
  • Written by me, stretched by ChatGPT.