brief Insight of this week
In our group assignment, we explored the laser cutter and learned about its process. We gained insights into how the laser cutter works, from the preparation of the design to the actual cutting process. Additionally, we understood how to create parametric designs and how these designs can be translated into the laser cutter for precise and efficient cutting. The experience helped us grasp the importance of accuracy in the design phase and the capabilities of laser cutting in bringing complex designs to life.
About Laser Cutter
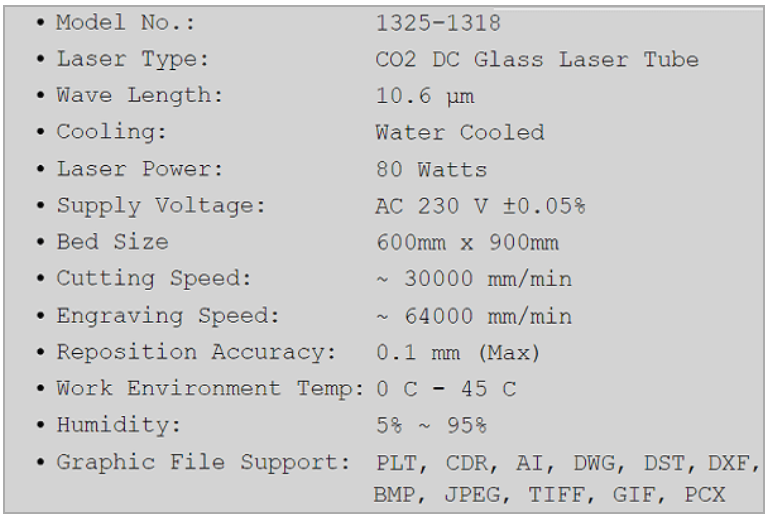
A CO2 DC glass laser tube is a type of laser used in laser cutters, particularly for cutting and engraving a variety of materials. The "CO2" refers to carbon dioxide, which is the gas used in the tube to generate the laser beam. These tubes are commonly made of glass, which helps to contain the laser gas and facilitate the laser's efficient generation.
The laser operates by exciting the CO2 gas with a high-voltage electrical discharge, producing a laser beam with a wavelength of around 10.6 microns. This wavelength is highly effective for cutting and engraving materials like wood, acrylic, leather, glass, and even some metals.
Key benefits of CO2 glass laser tubes include:
Overall, CO2 glass laser tubes are widely used in industries such as manufacturing, signage, crafting, and prototyping for their ability to deliver clean, precise results across a variety of materials.
Group Assignment
The purpose of the group assignment is to: -
Key Safety Tips for Operating a Laser Cutting Machine
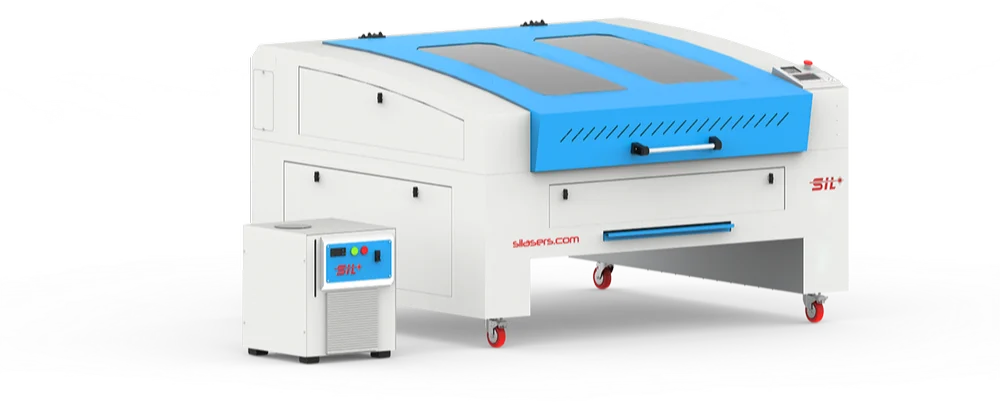
Understanding the Operation and Specifications of Laser Cutting Machines
Laser cutting machines operate by focusing a laser beam onto the material to be cut. The laser is typically generated by a laser source, such as CO2 or fiber lasers, and then directed through a series of mirrors or fiber optics to the cutting head. The cutting head focuses the laser beam onto the material’s surface with extreme precision. As the laser beam interacts with the material, it heats it to a point where it either melts, burns, or vaporizes, depending on the material type. Simultaneously, a jet of gas, typically oxygen or nitrogen, is often used to assist in the cutting process by blowing away the molten material and ensuring a clean edge. The material is typically placed on a moving bed or stage, and the laser cutting machine's computer-controlled system (CNC) moves either the material or the laser head along pre-programmed paths to cut the material. The movement can be based on a vector or raster-based design, with the cutting path being determined by the file input from a CAD program. The result is highly detailed, accurate cuts with minimal kerf (the width of the cut).
 |
 |
|
|
|
Understanding the Laser Cutting Process
The laser cutting process is a highly efficient and precise method used to cut and engrave materials using a focused laser beam. It is commonly used in industries like manufacturing, automotive, aerospace, signage, and fabrication due to its ability to deliver accurate and clean cuts. Here’s a breakdown of how the laser cutting process works and the steps involved:
Laser Generation
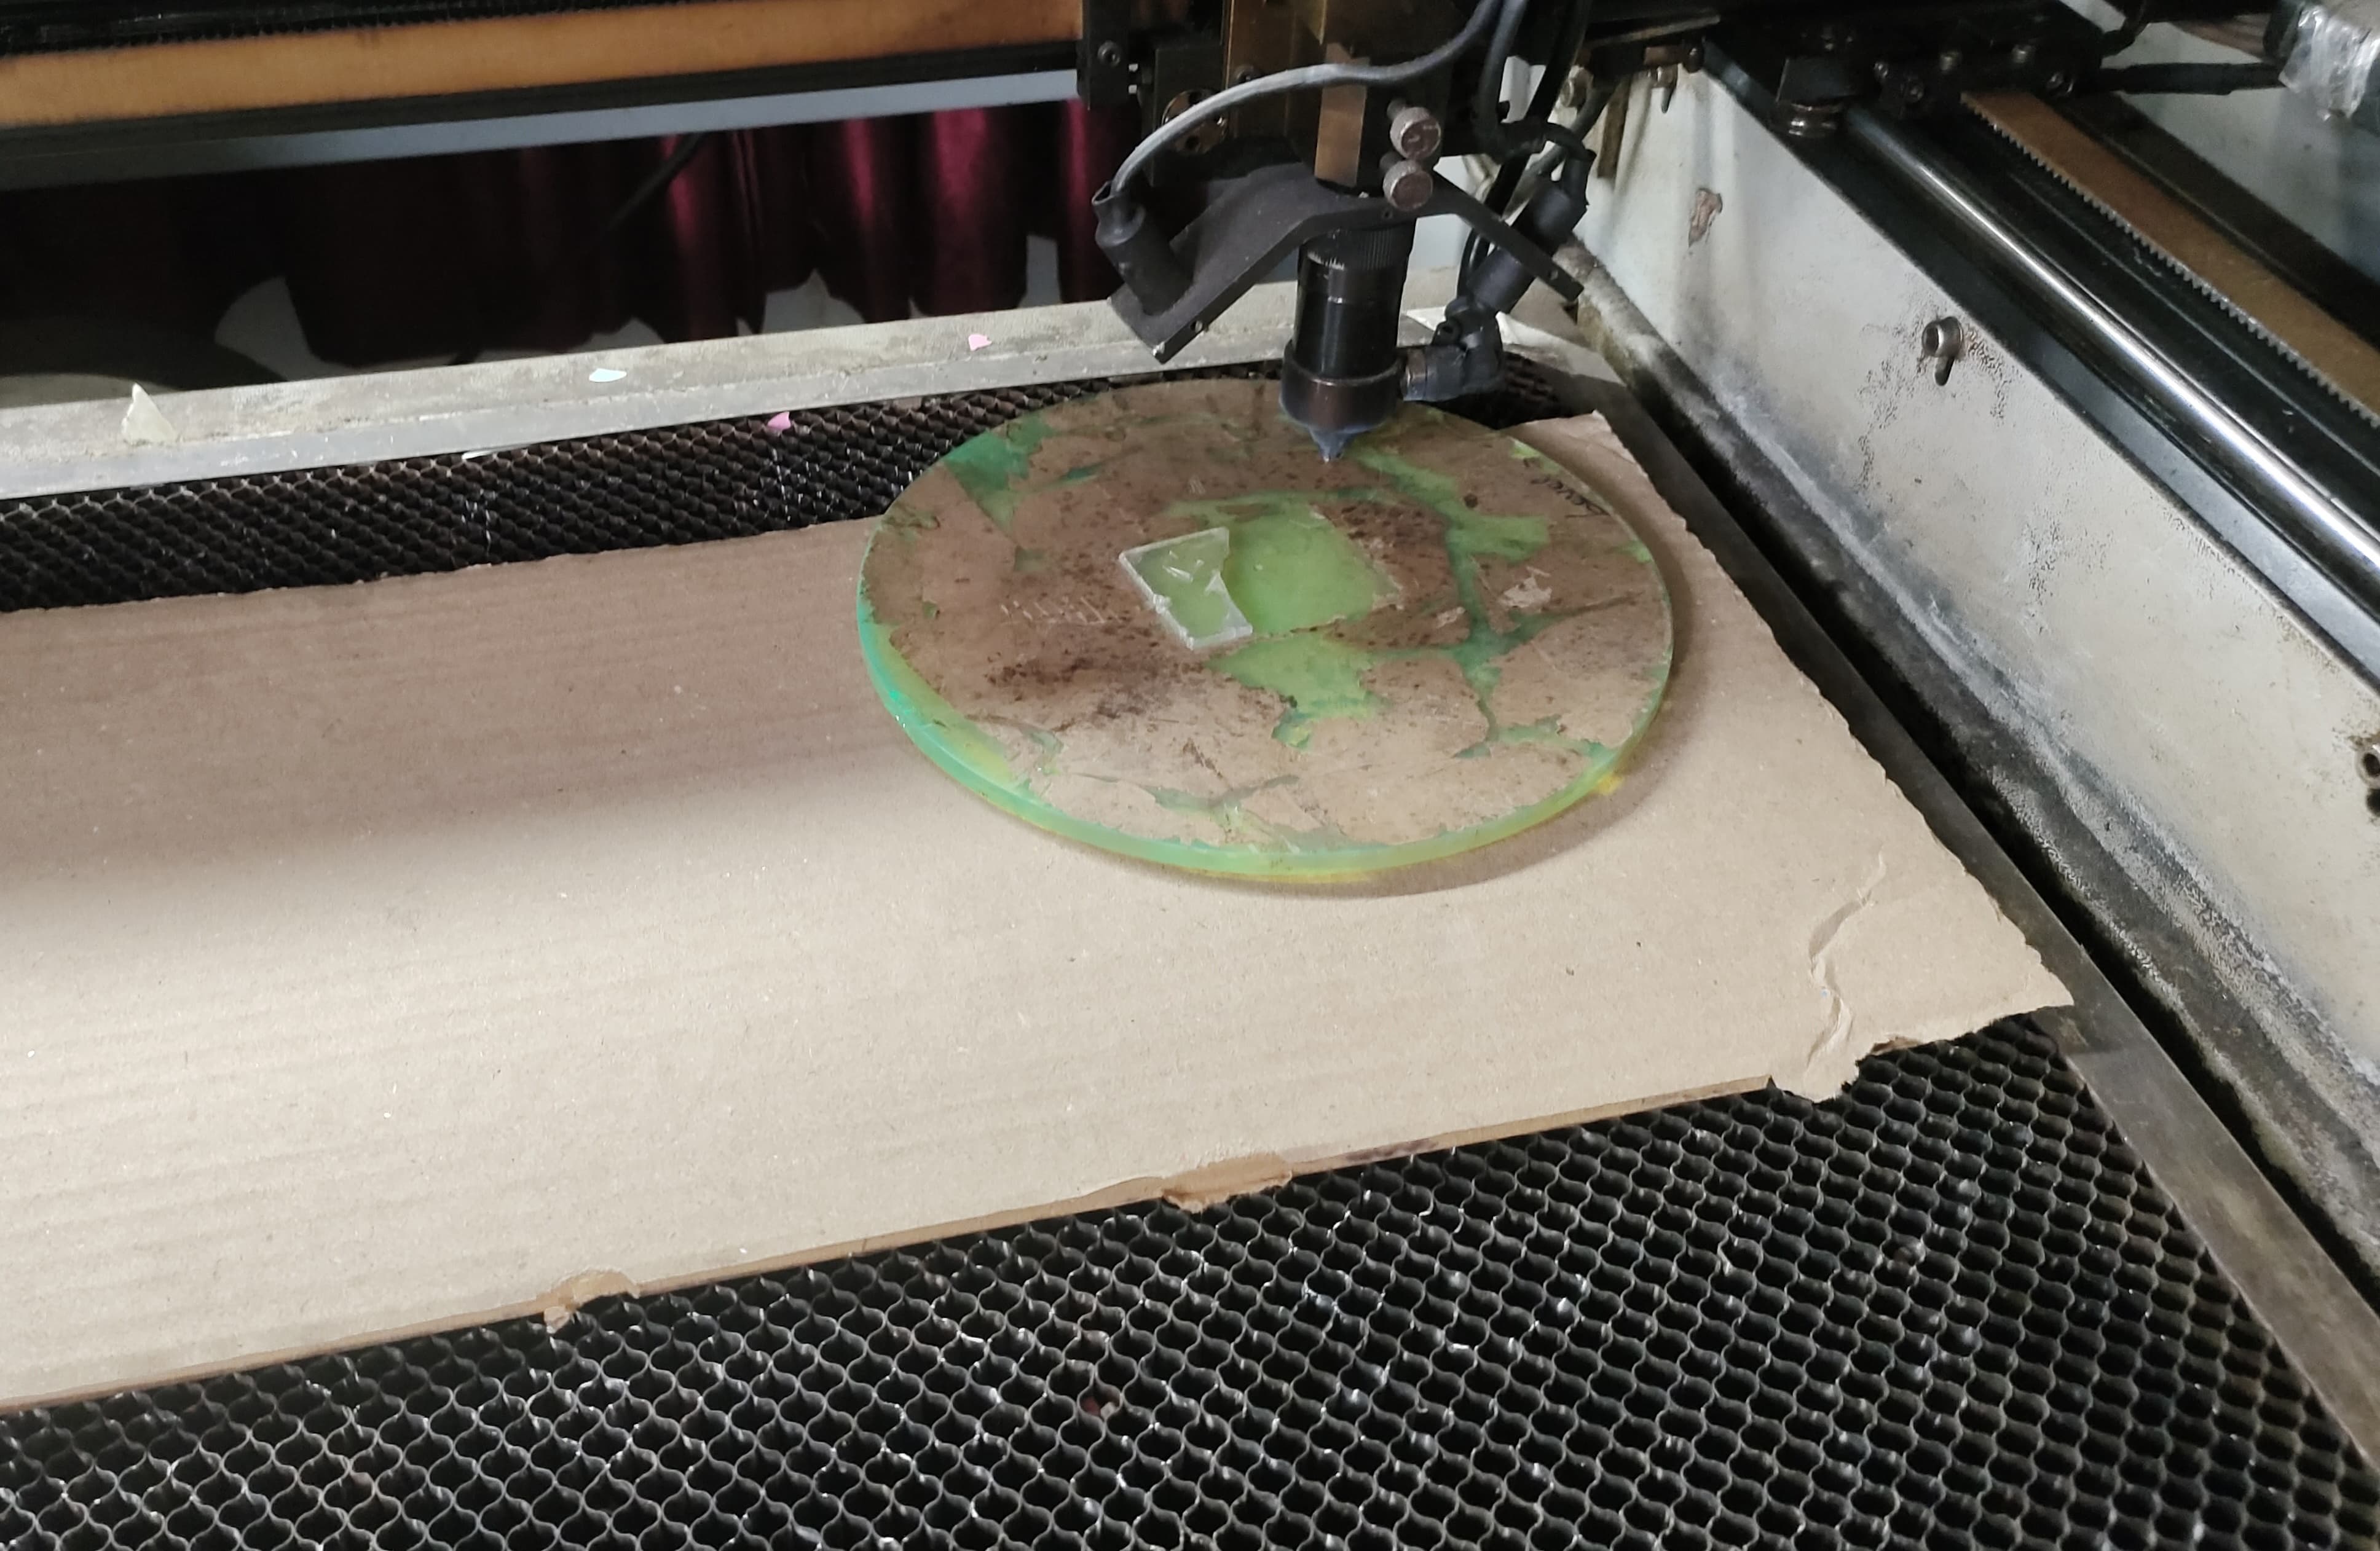
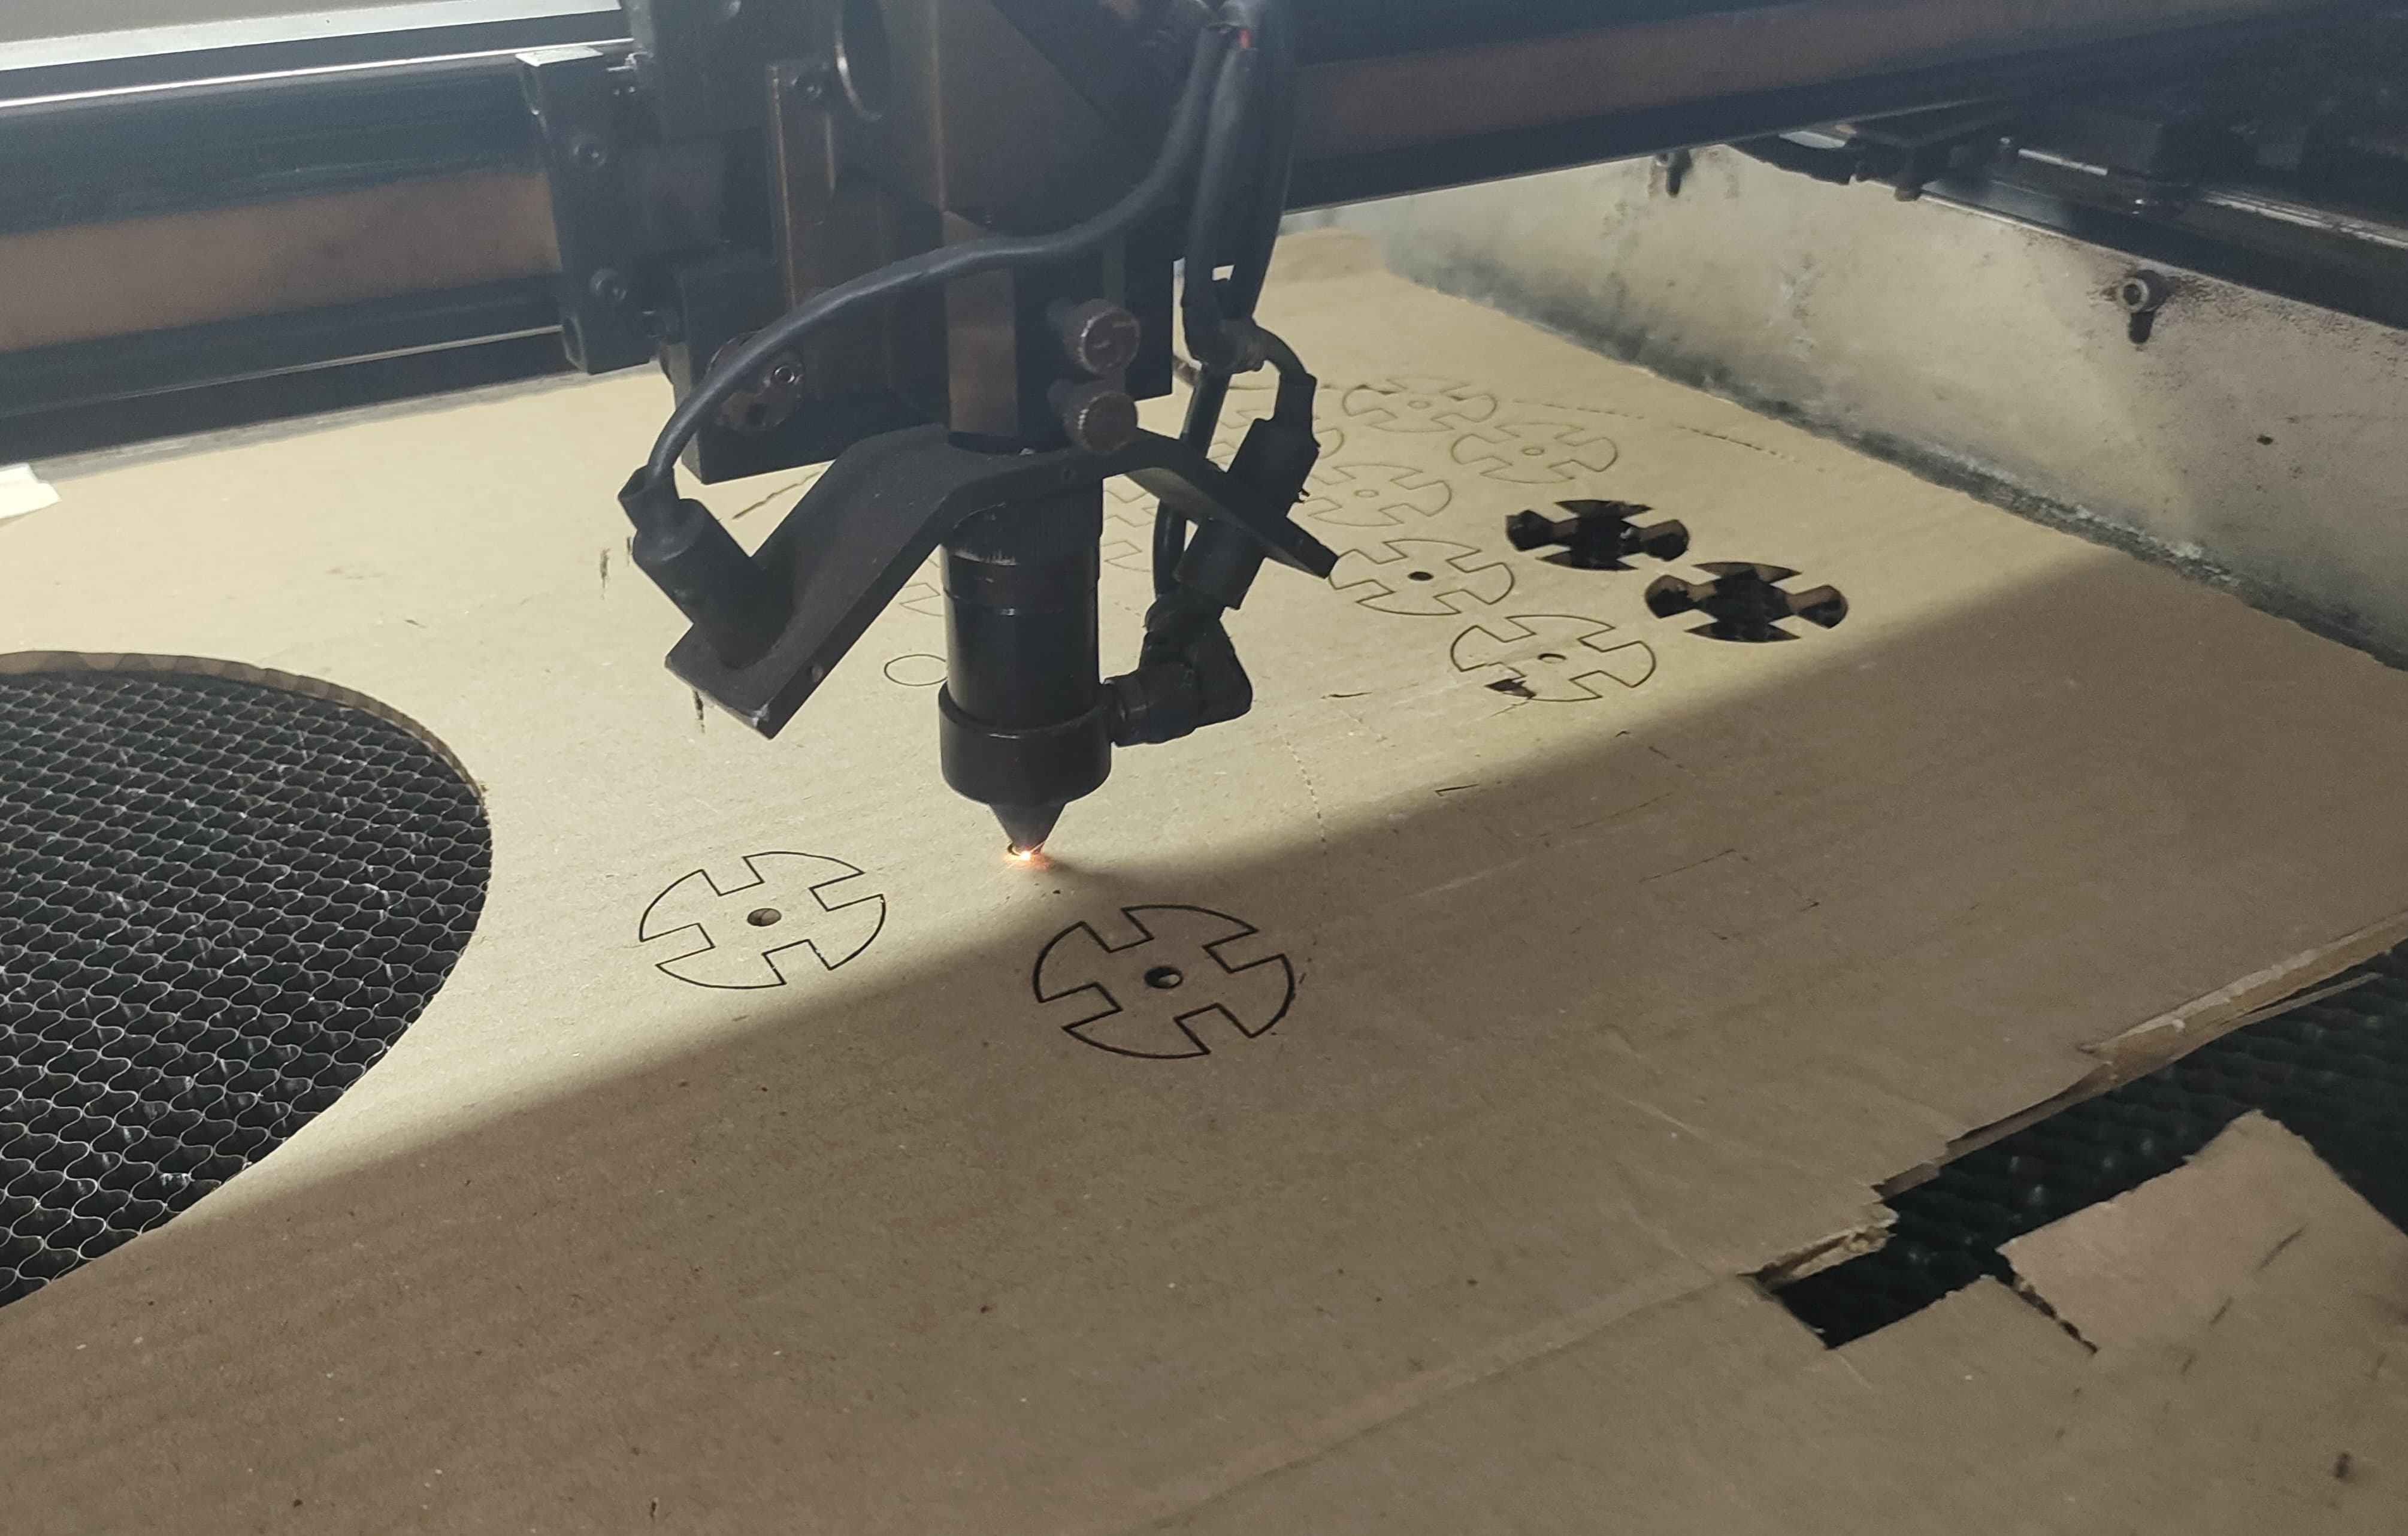
Peramectric Design Cutting Process
 |
 |
| STEP 1: Initially, a standard clearance of 6mm is maintained between the nozzle head and the workpiece. |
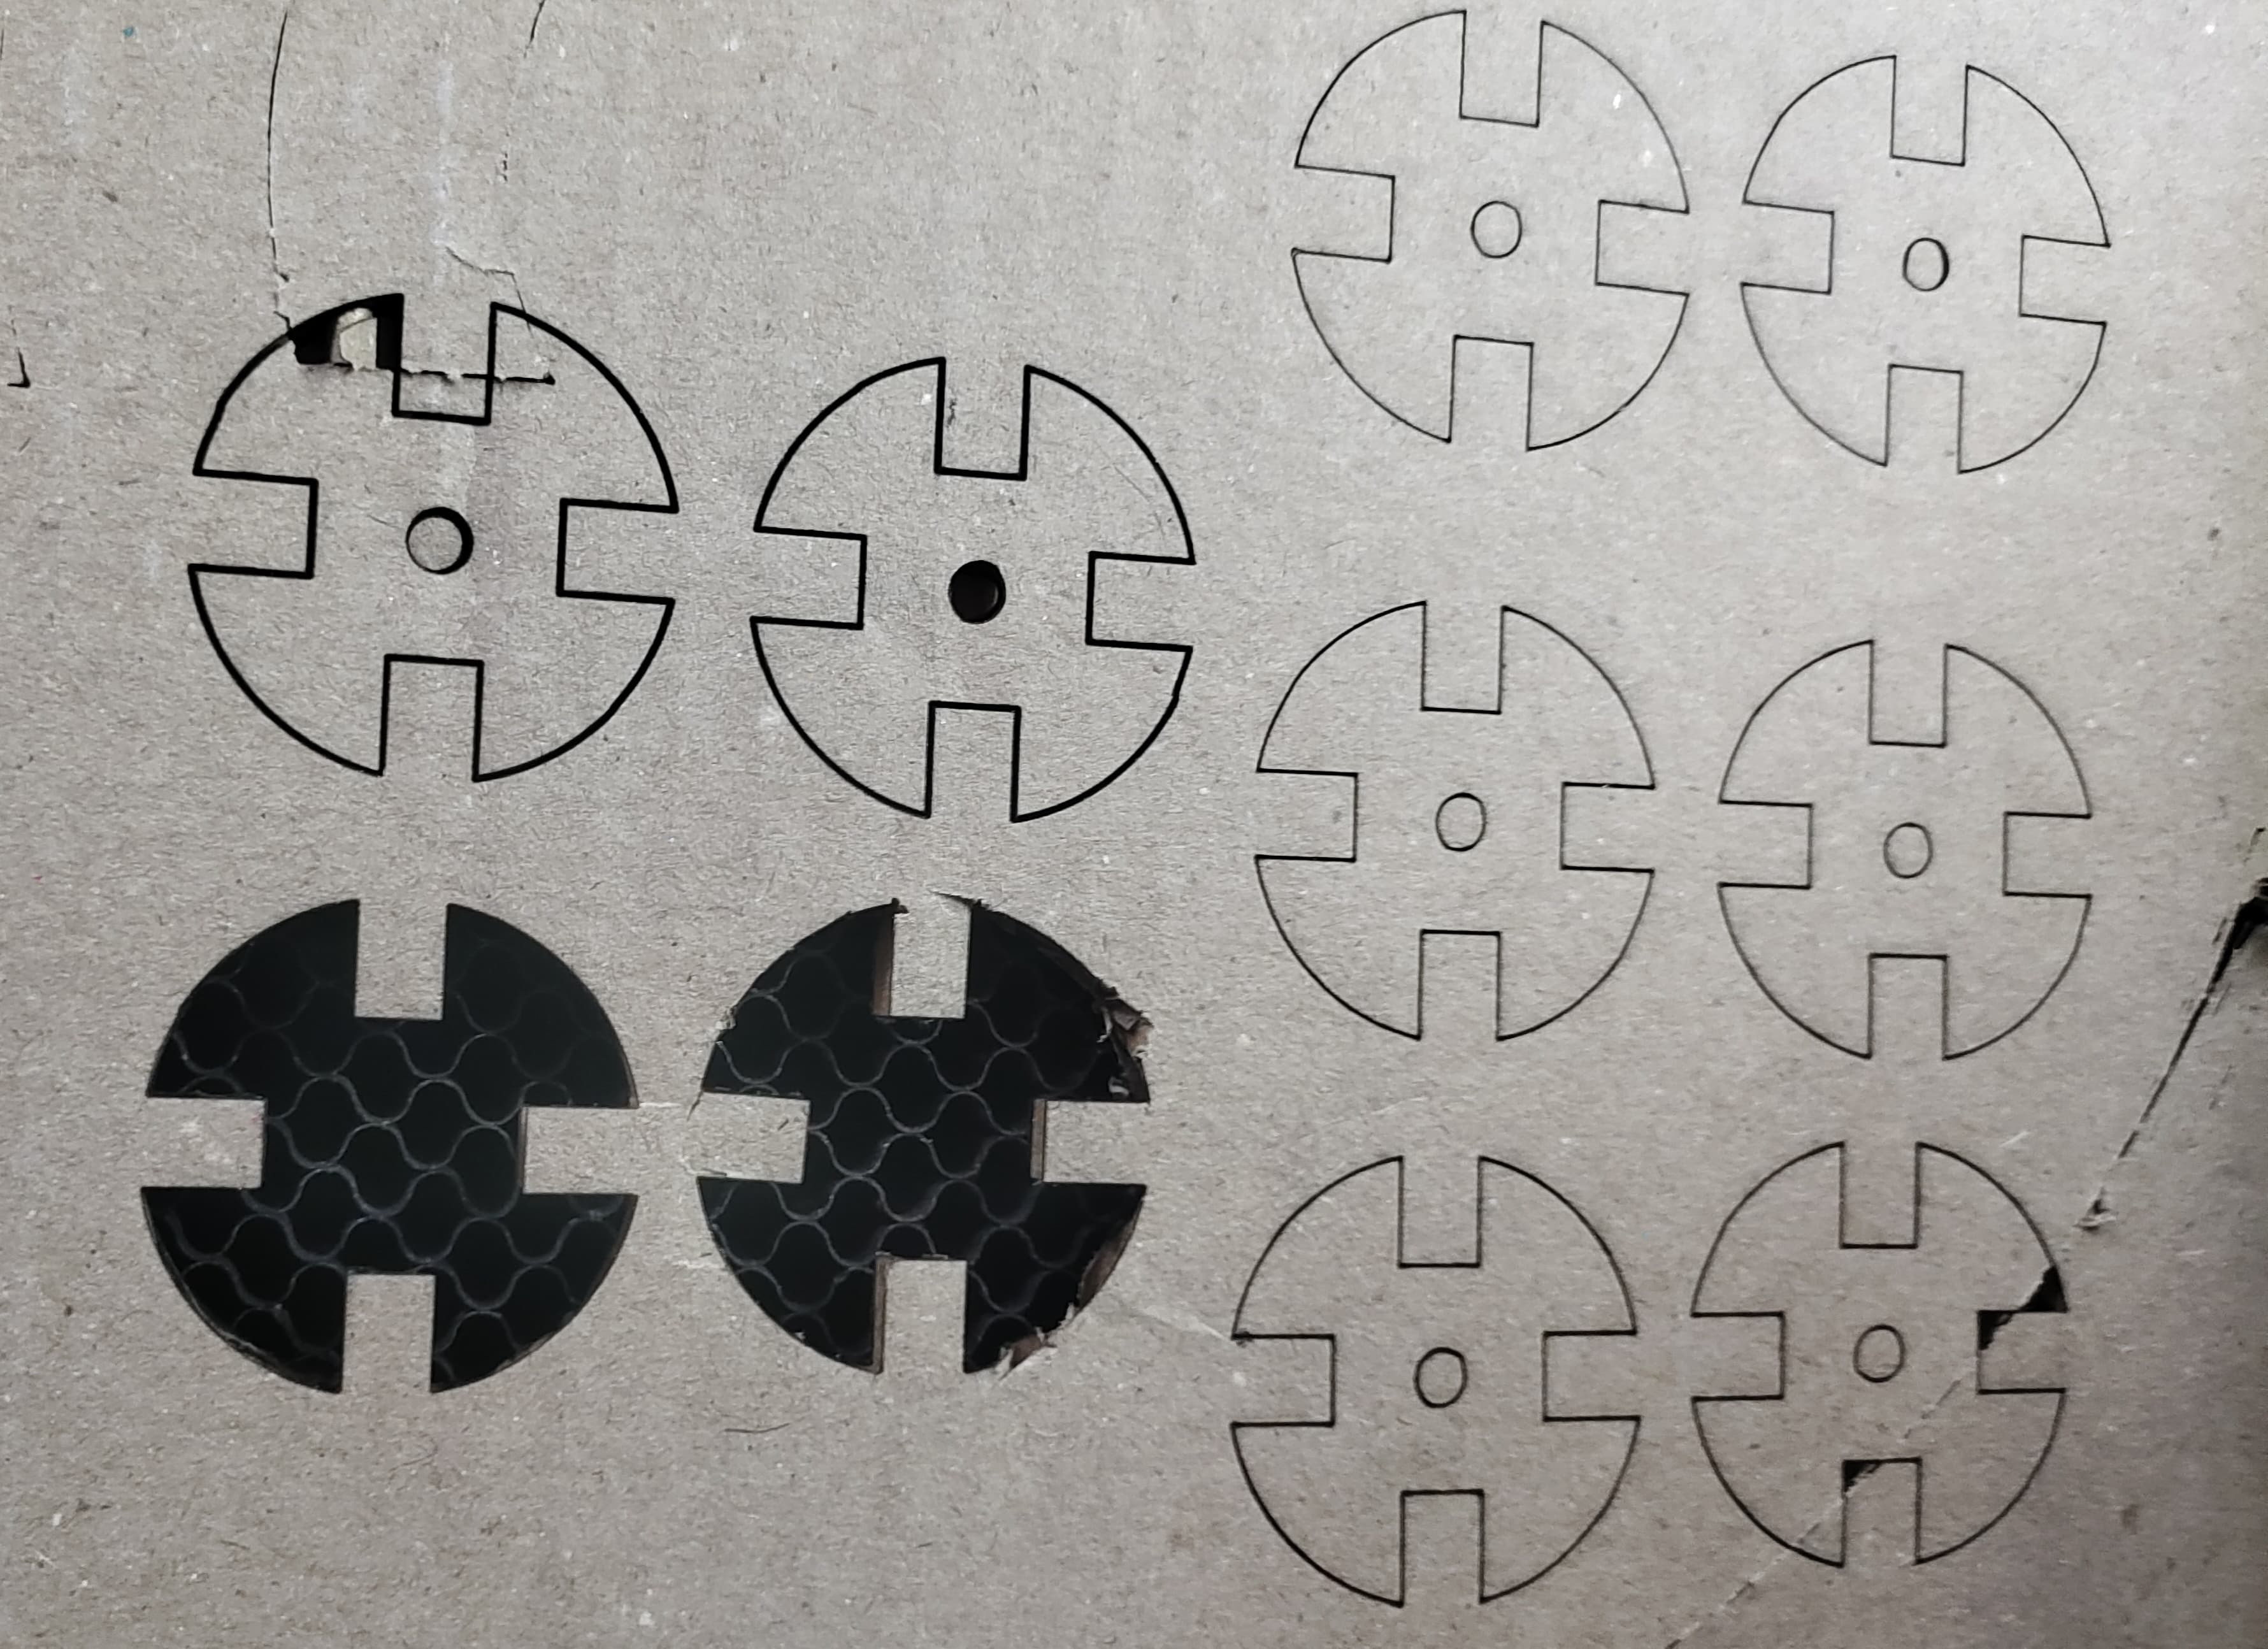
STEP 2: After that, the cardboard is placed into the laser cutter, and the final design start for printing. |
 |
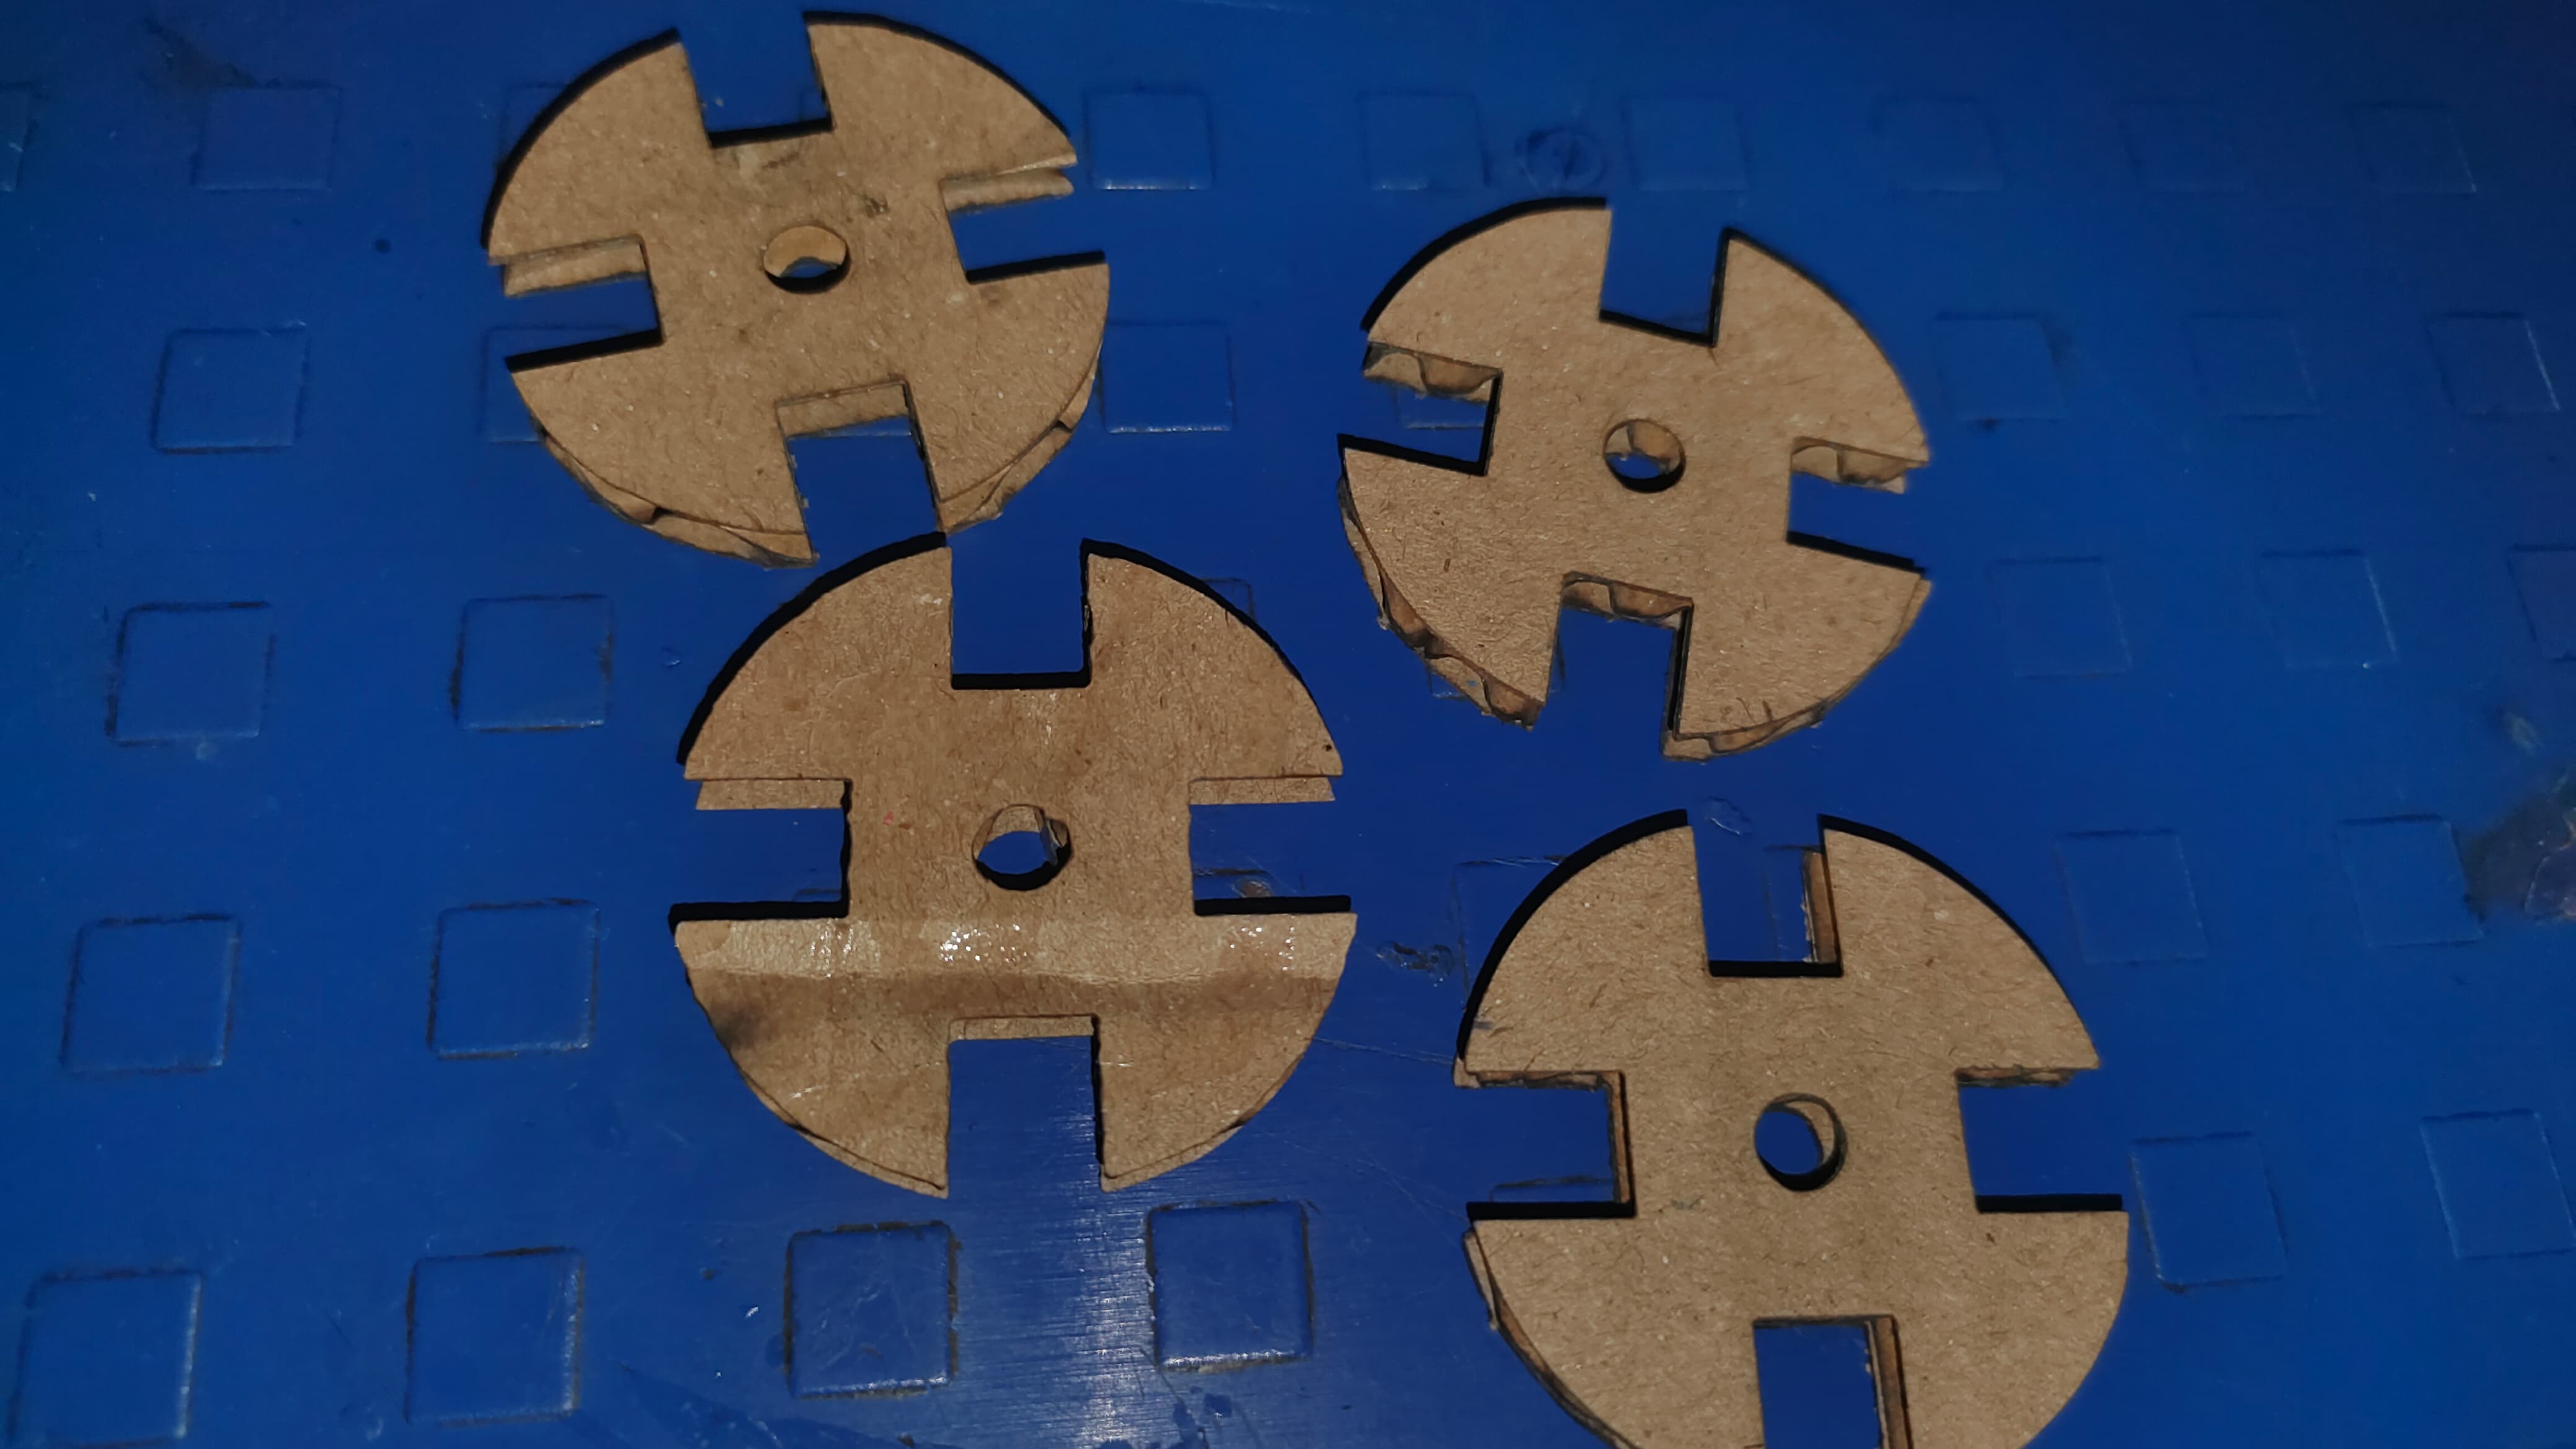 |
| STEP 3: Next, the design is precisely cut into the final shape on the cardboard. |
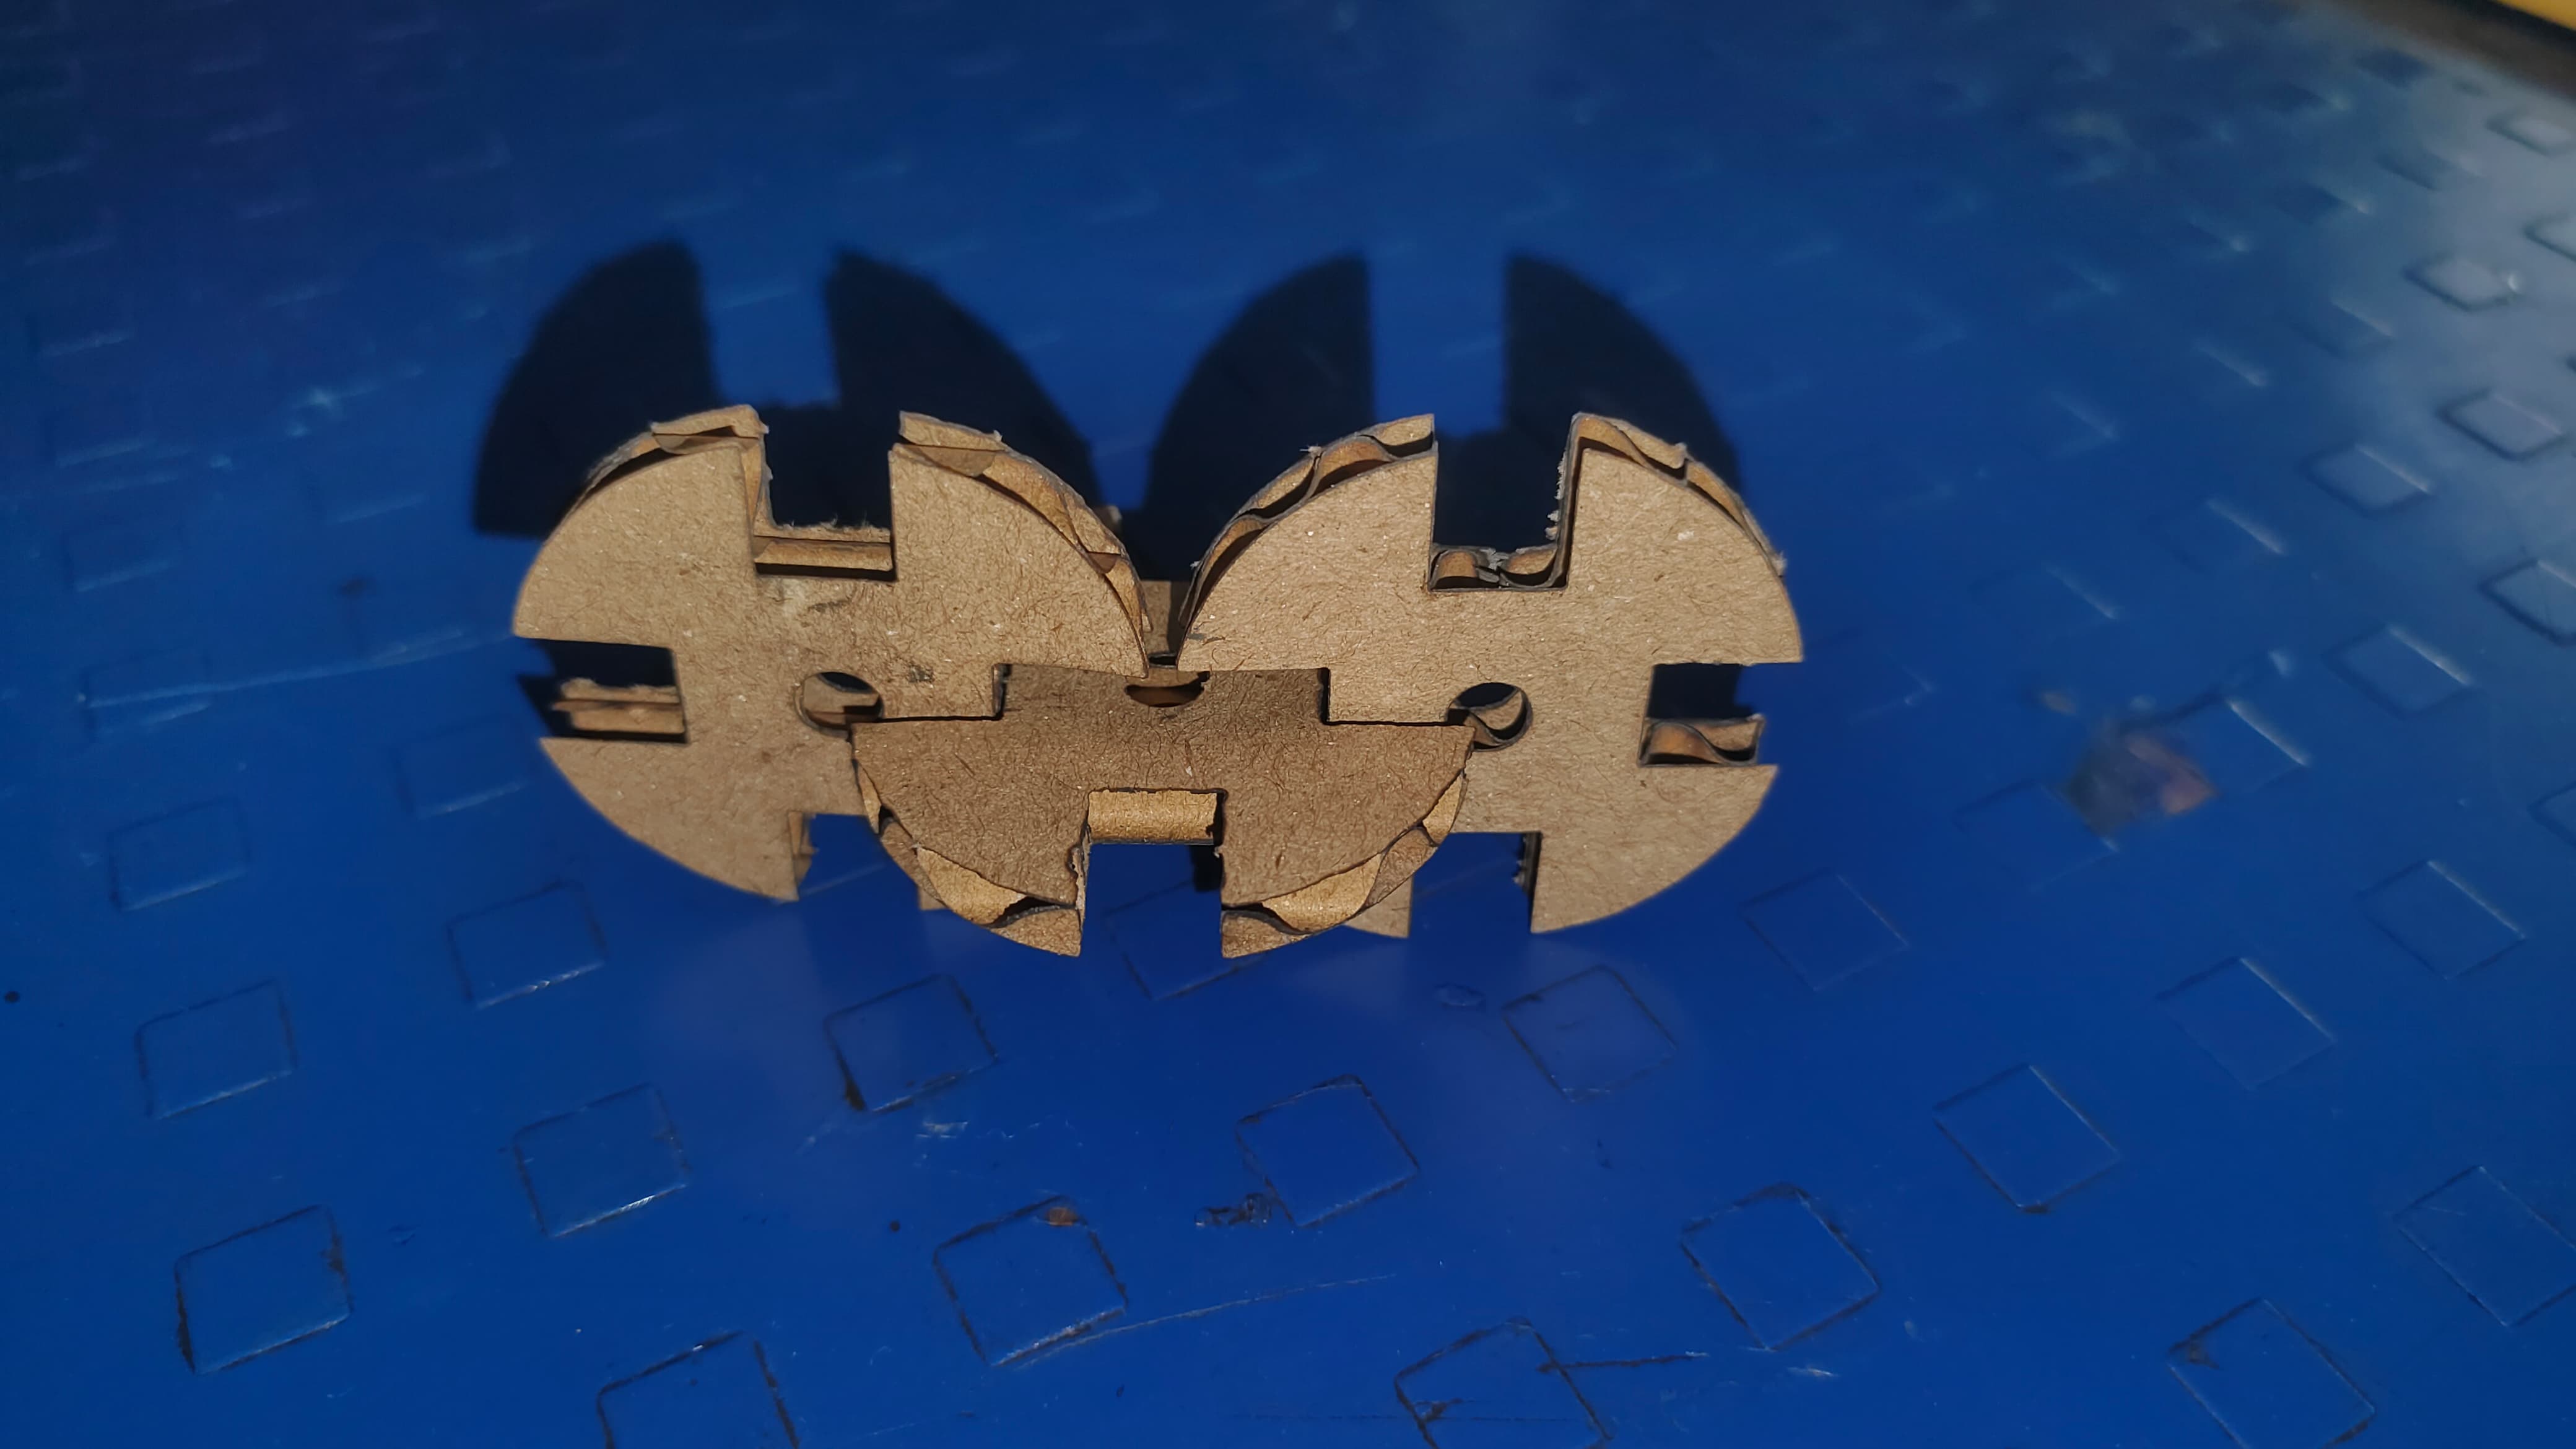
STEP 4: Then, we carefully and easily remove the design from the cardboard, ensuring that all parts are fully detached without any damage. |
 |
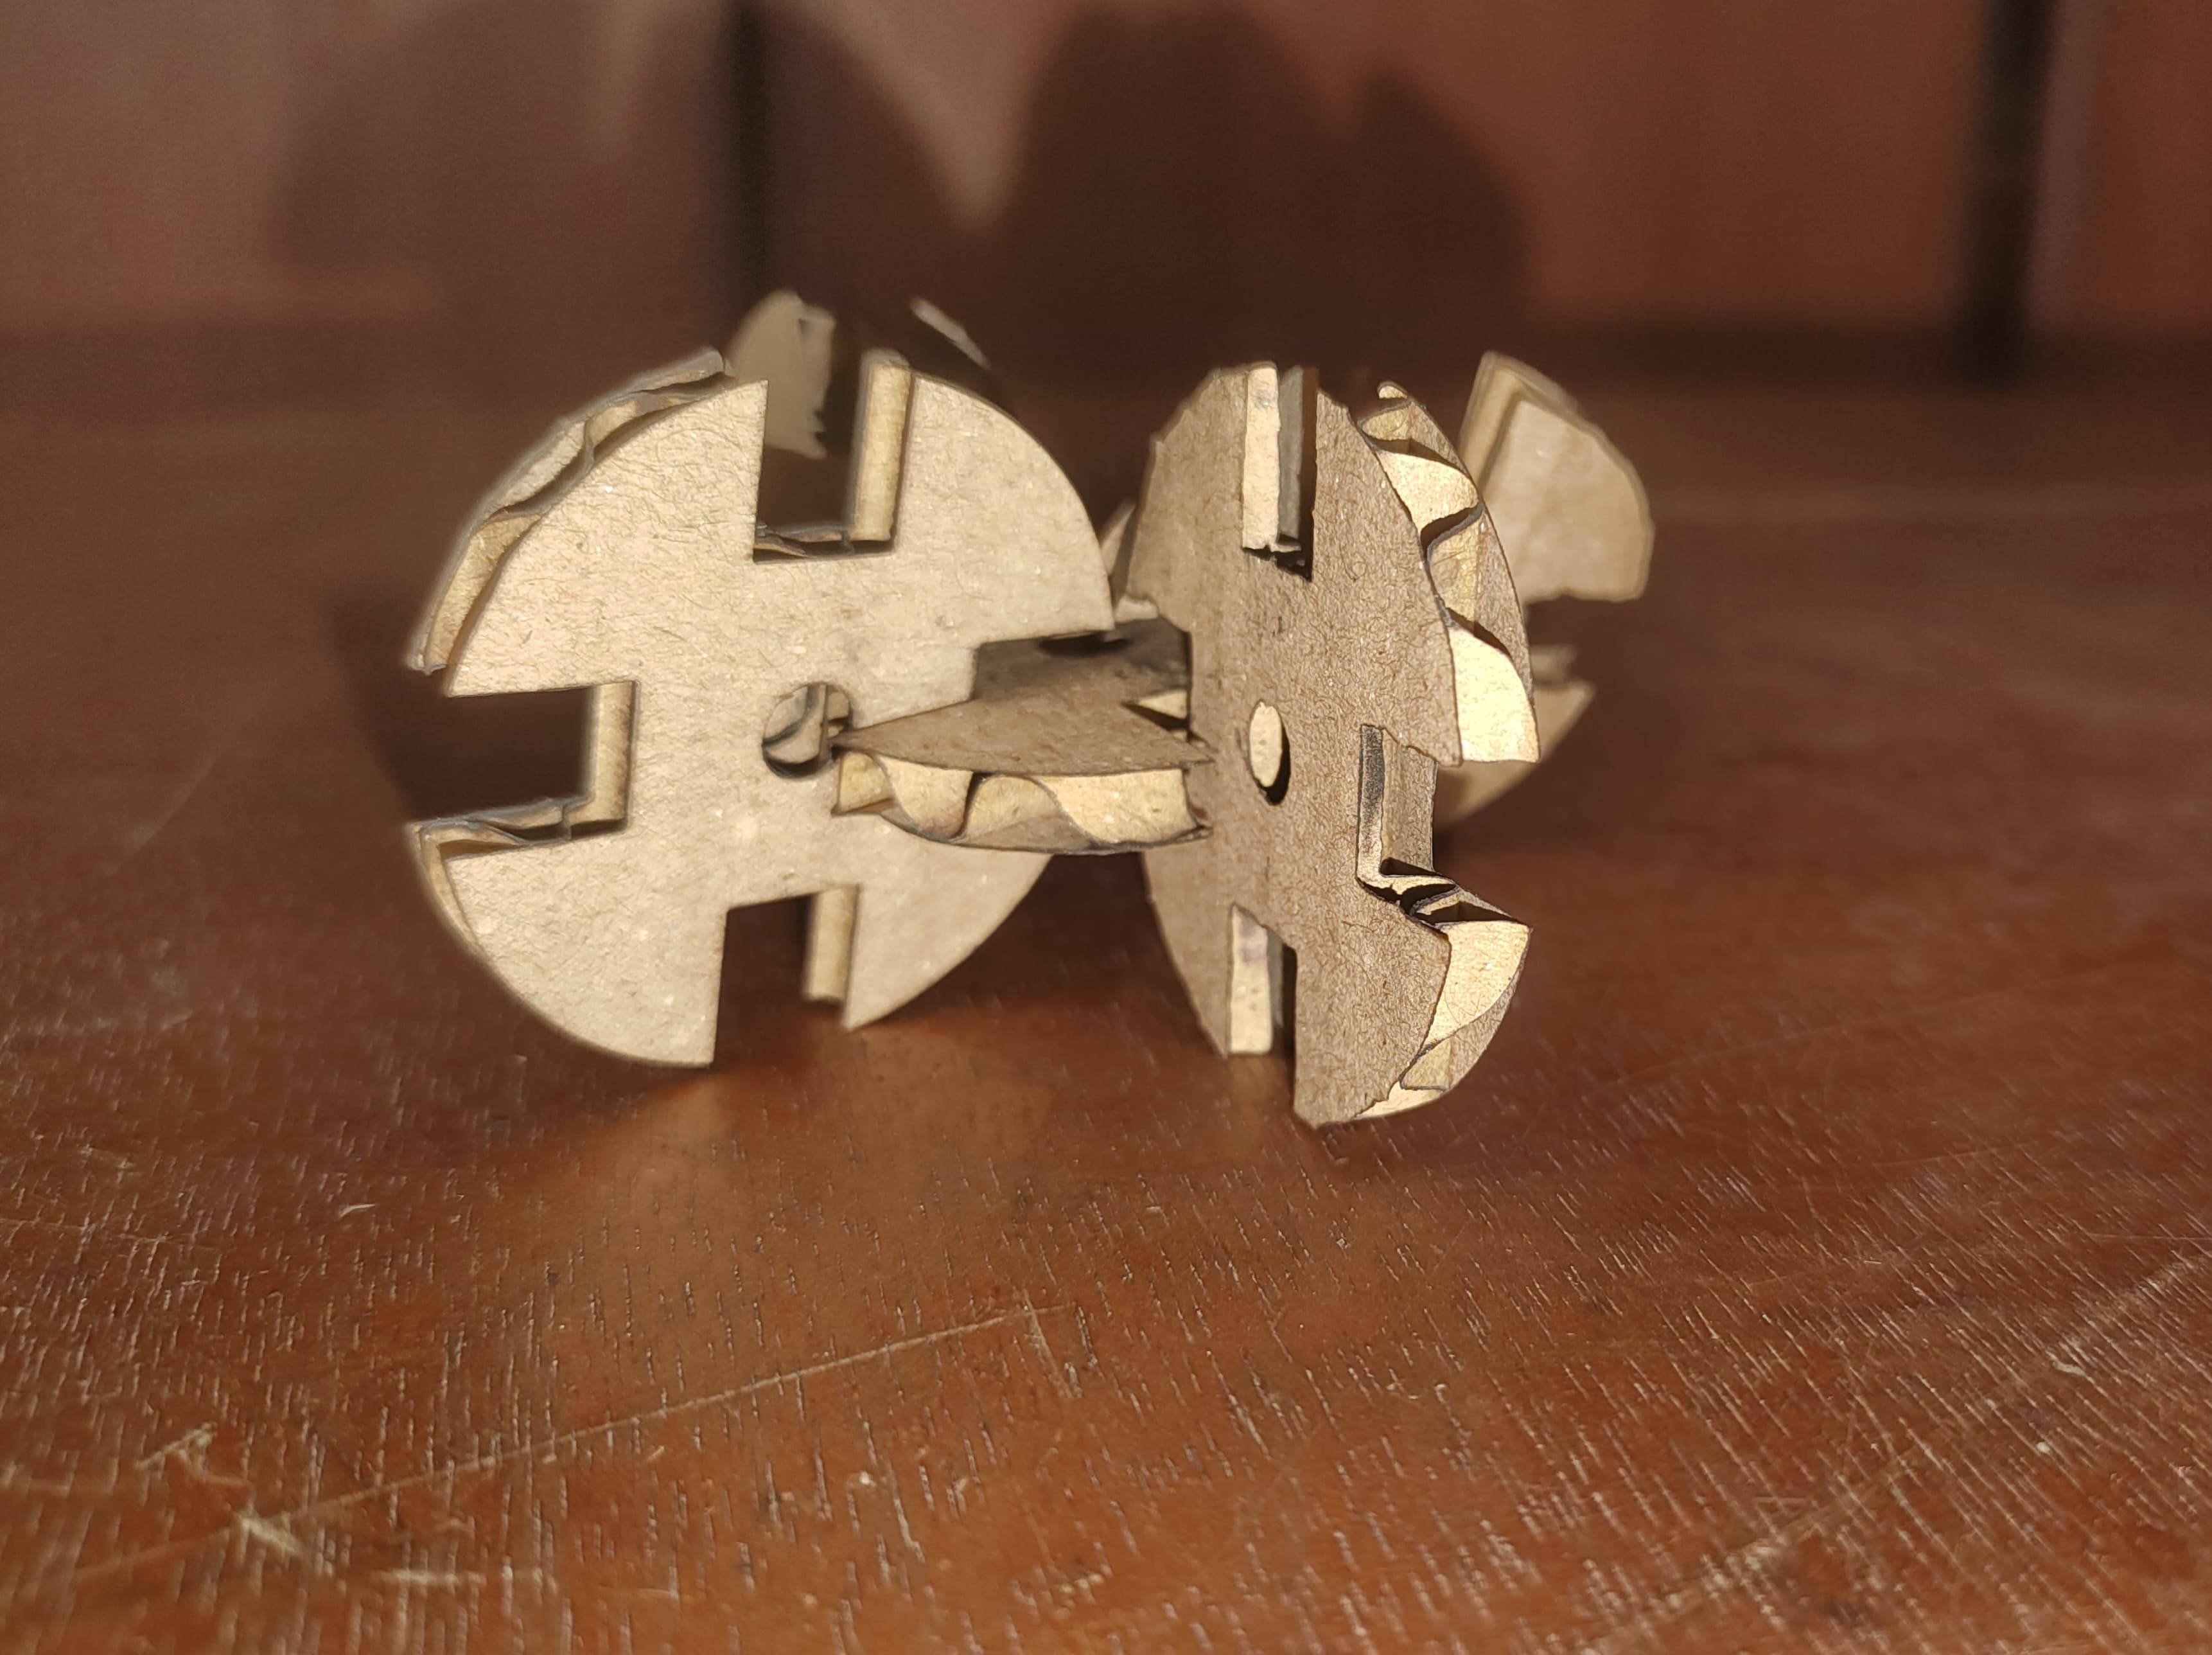 |
| STEP 5: Afterward, our final design is properly printed and ready for preparation. We then begin the process of assembling the pieces together. |
|
Understanding Power and Speed Testing in Laser Cutters
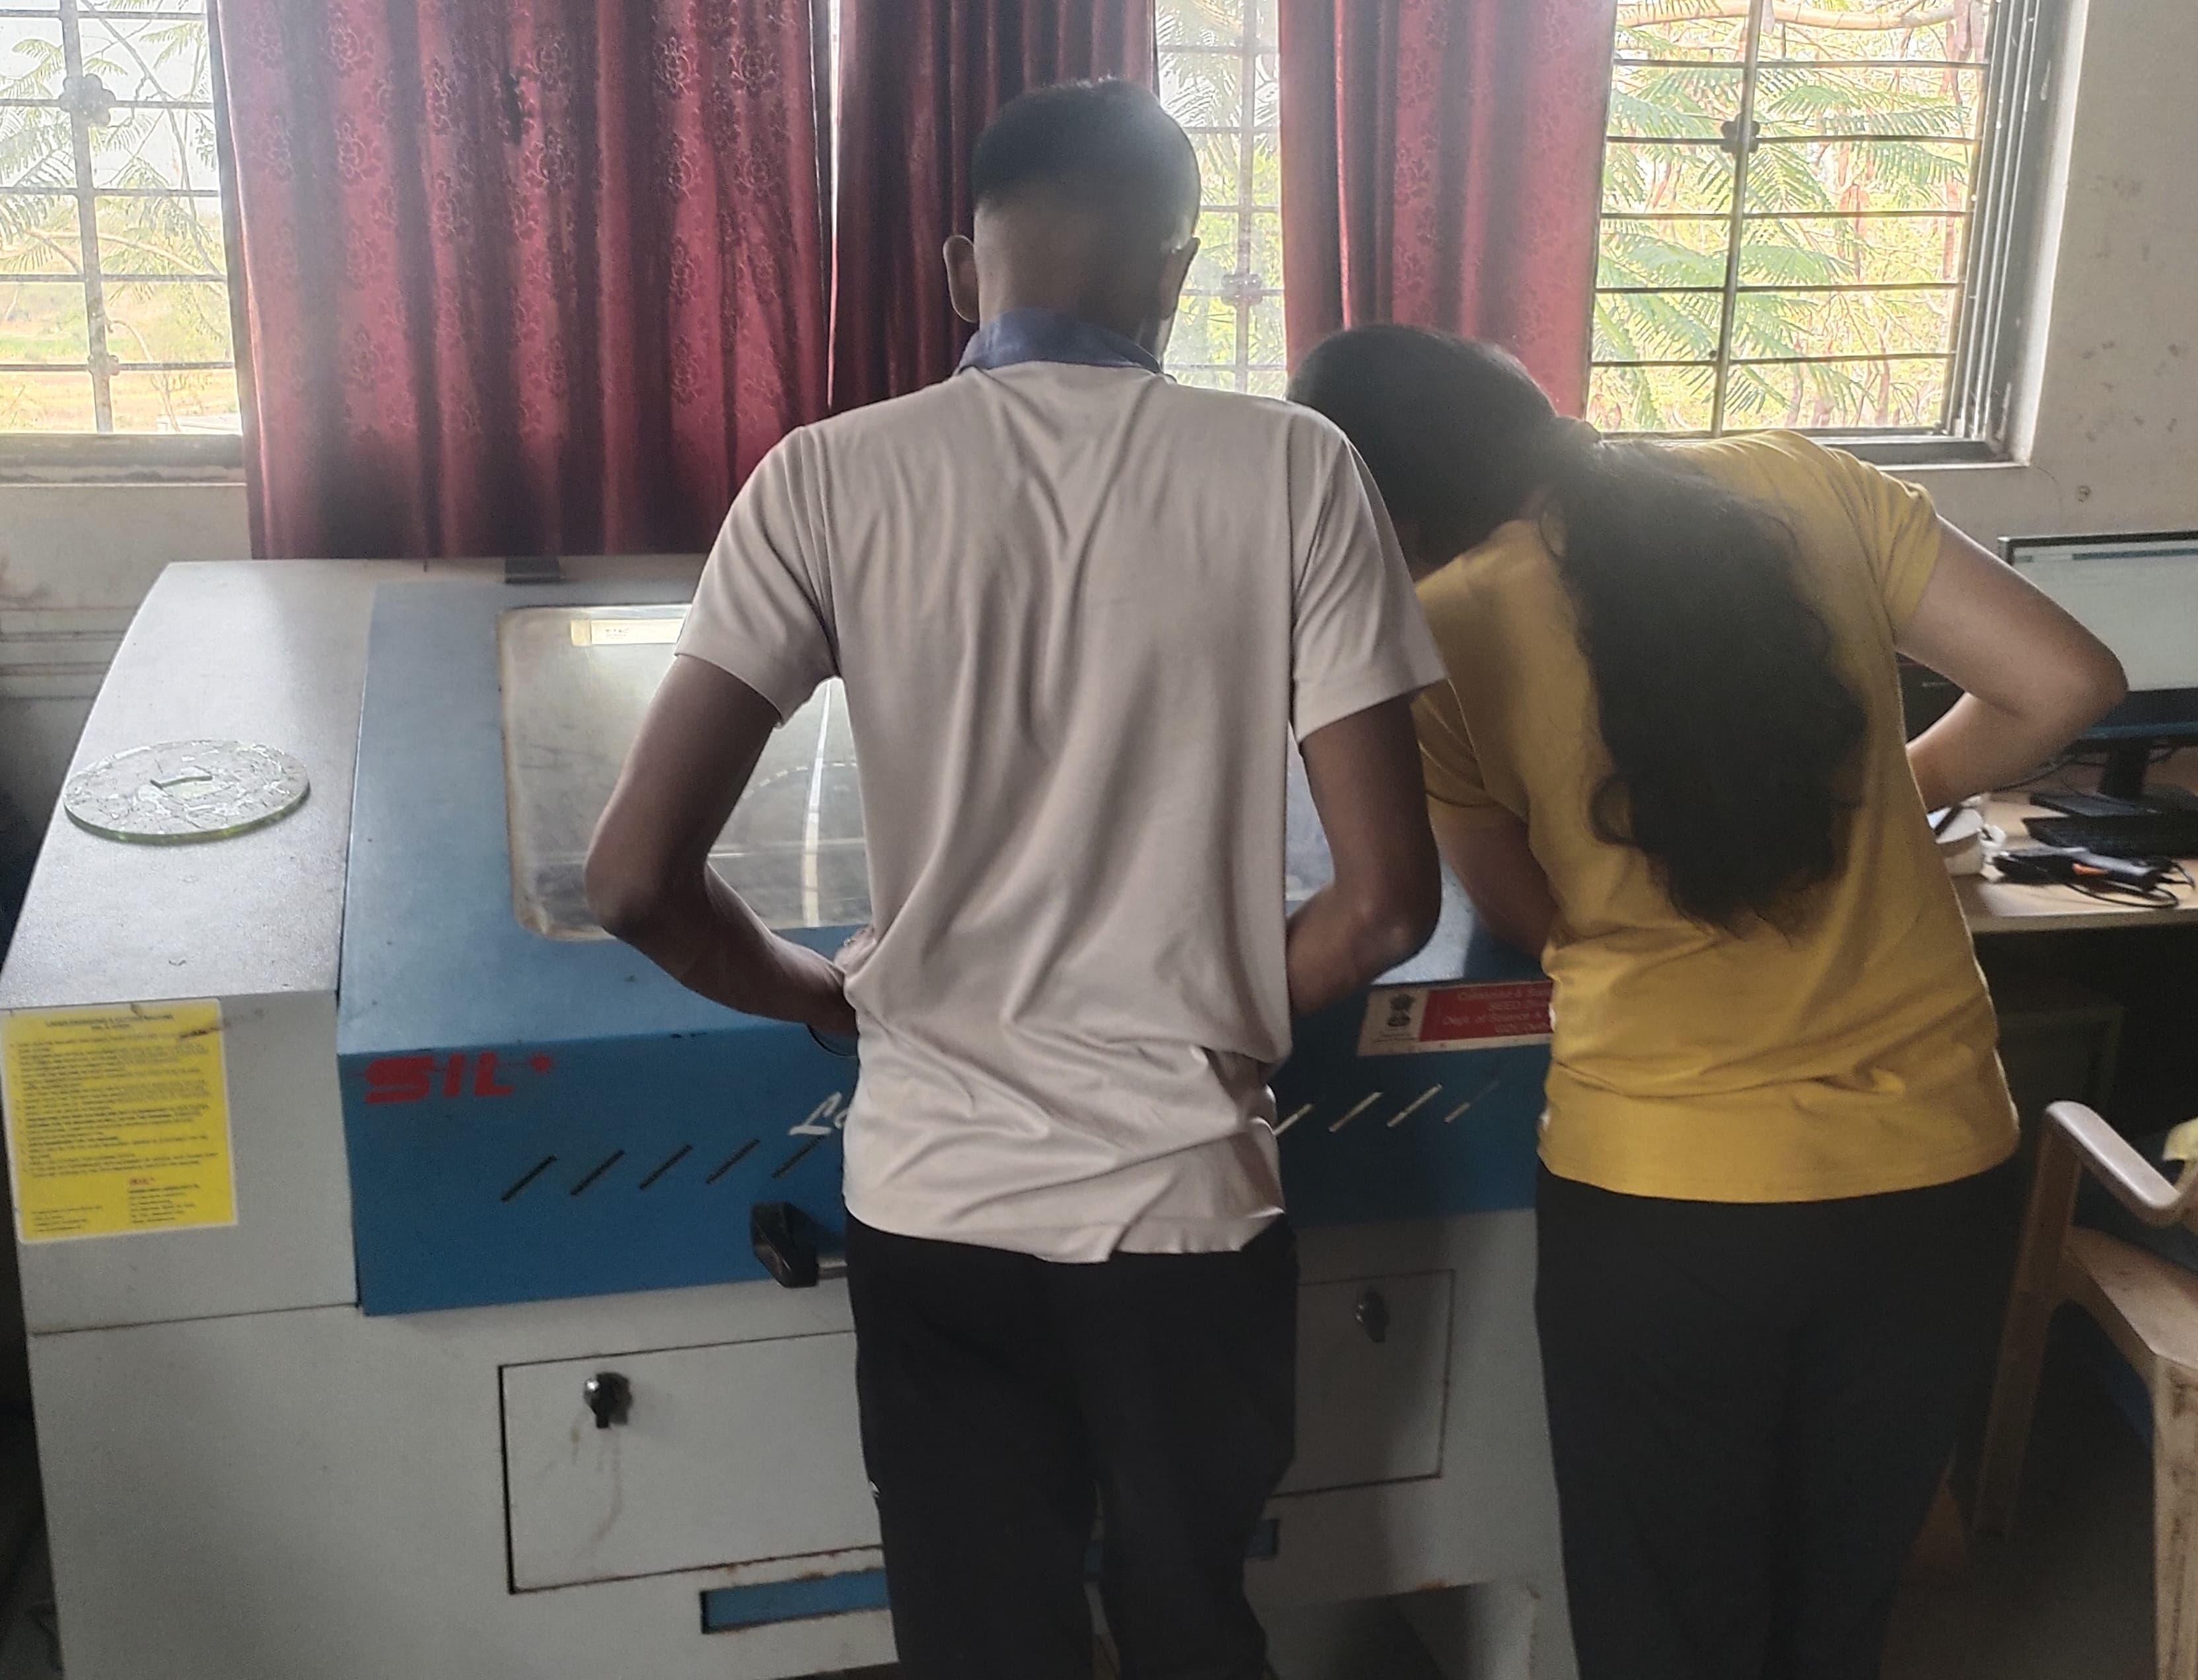
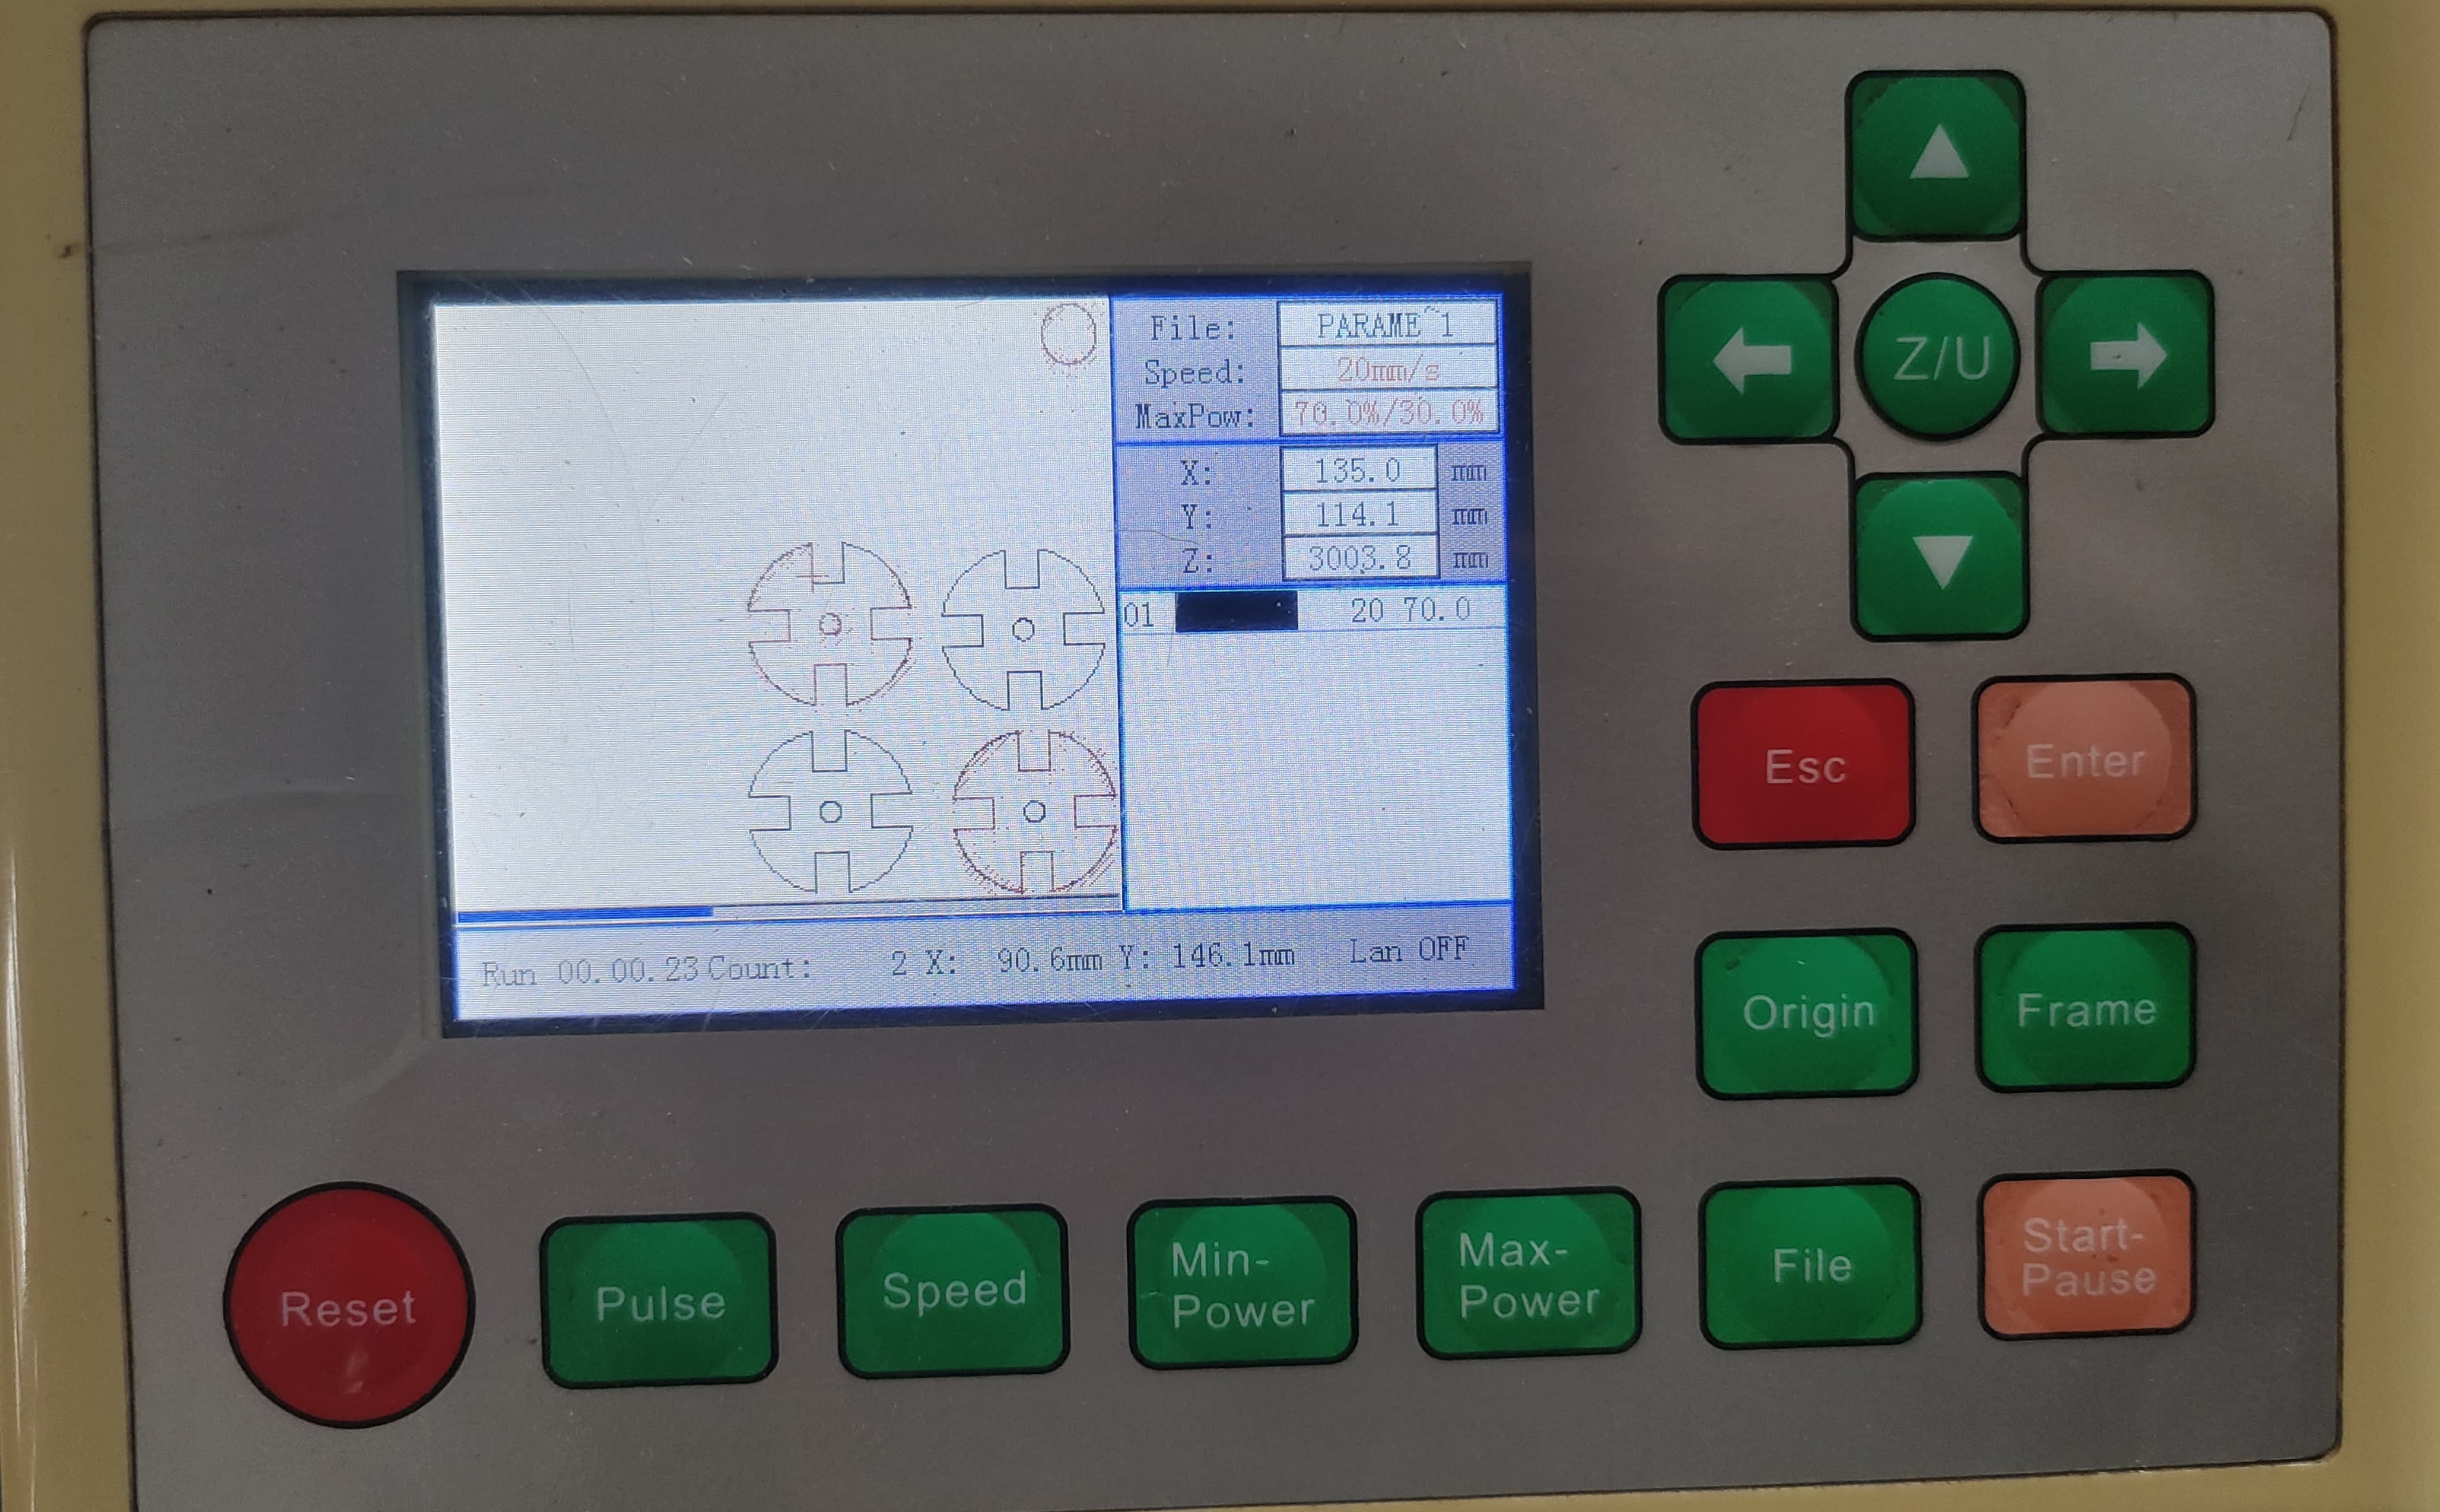
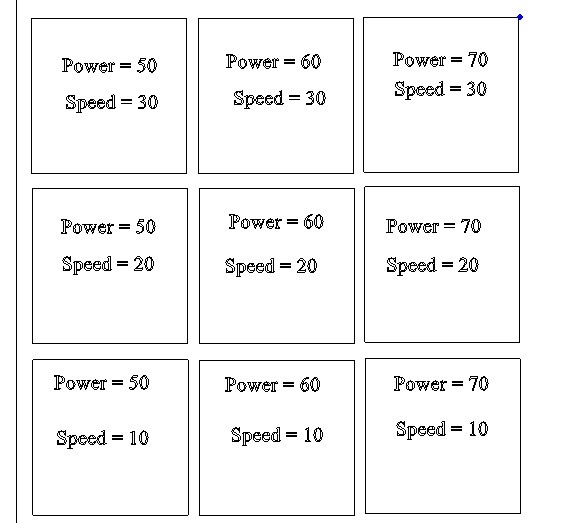
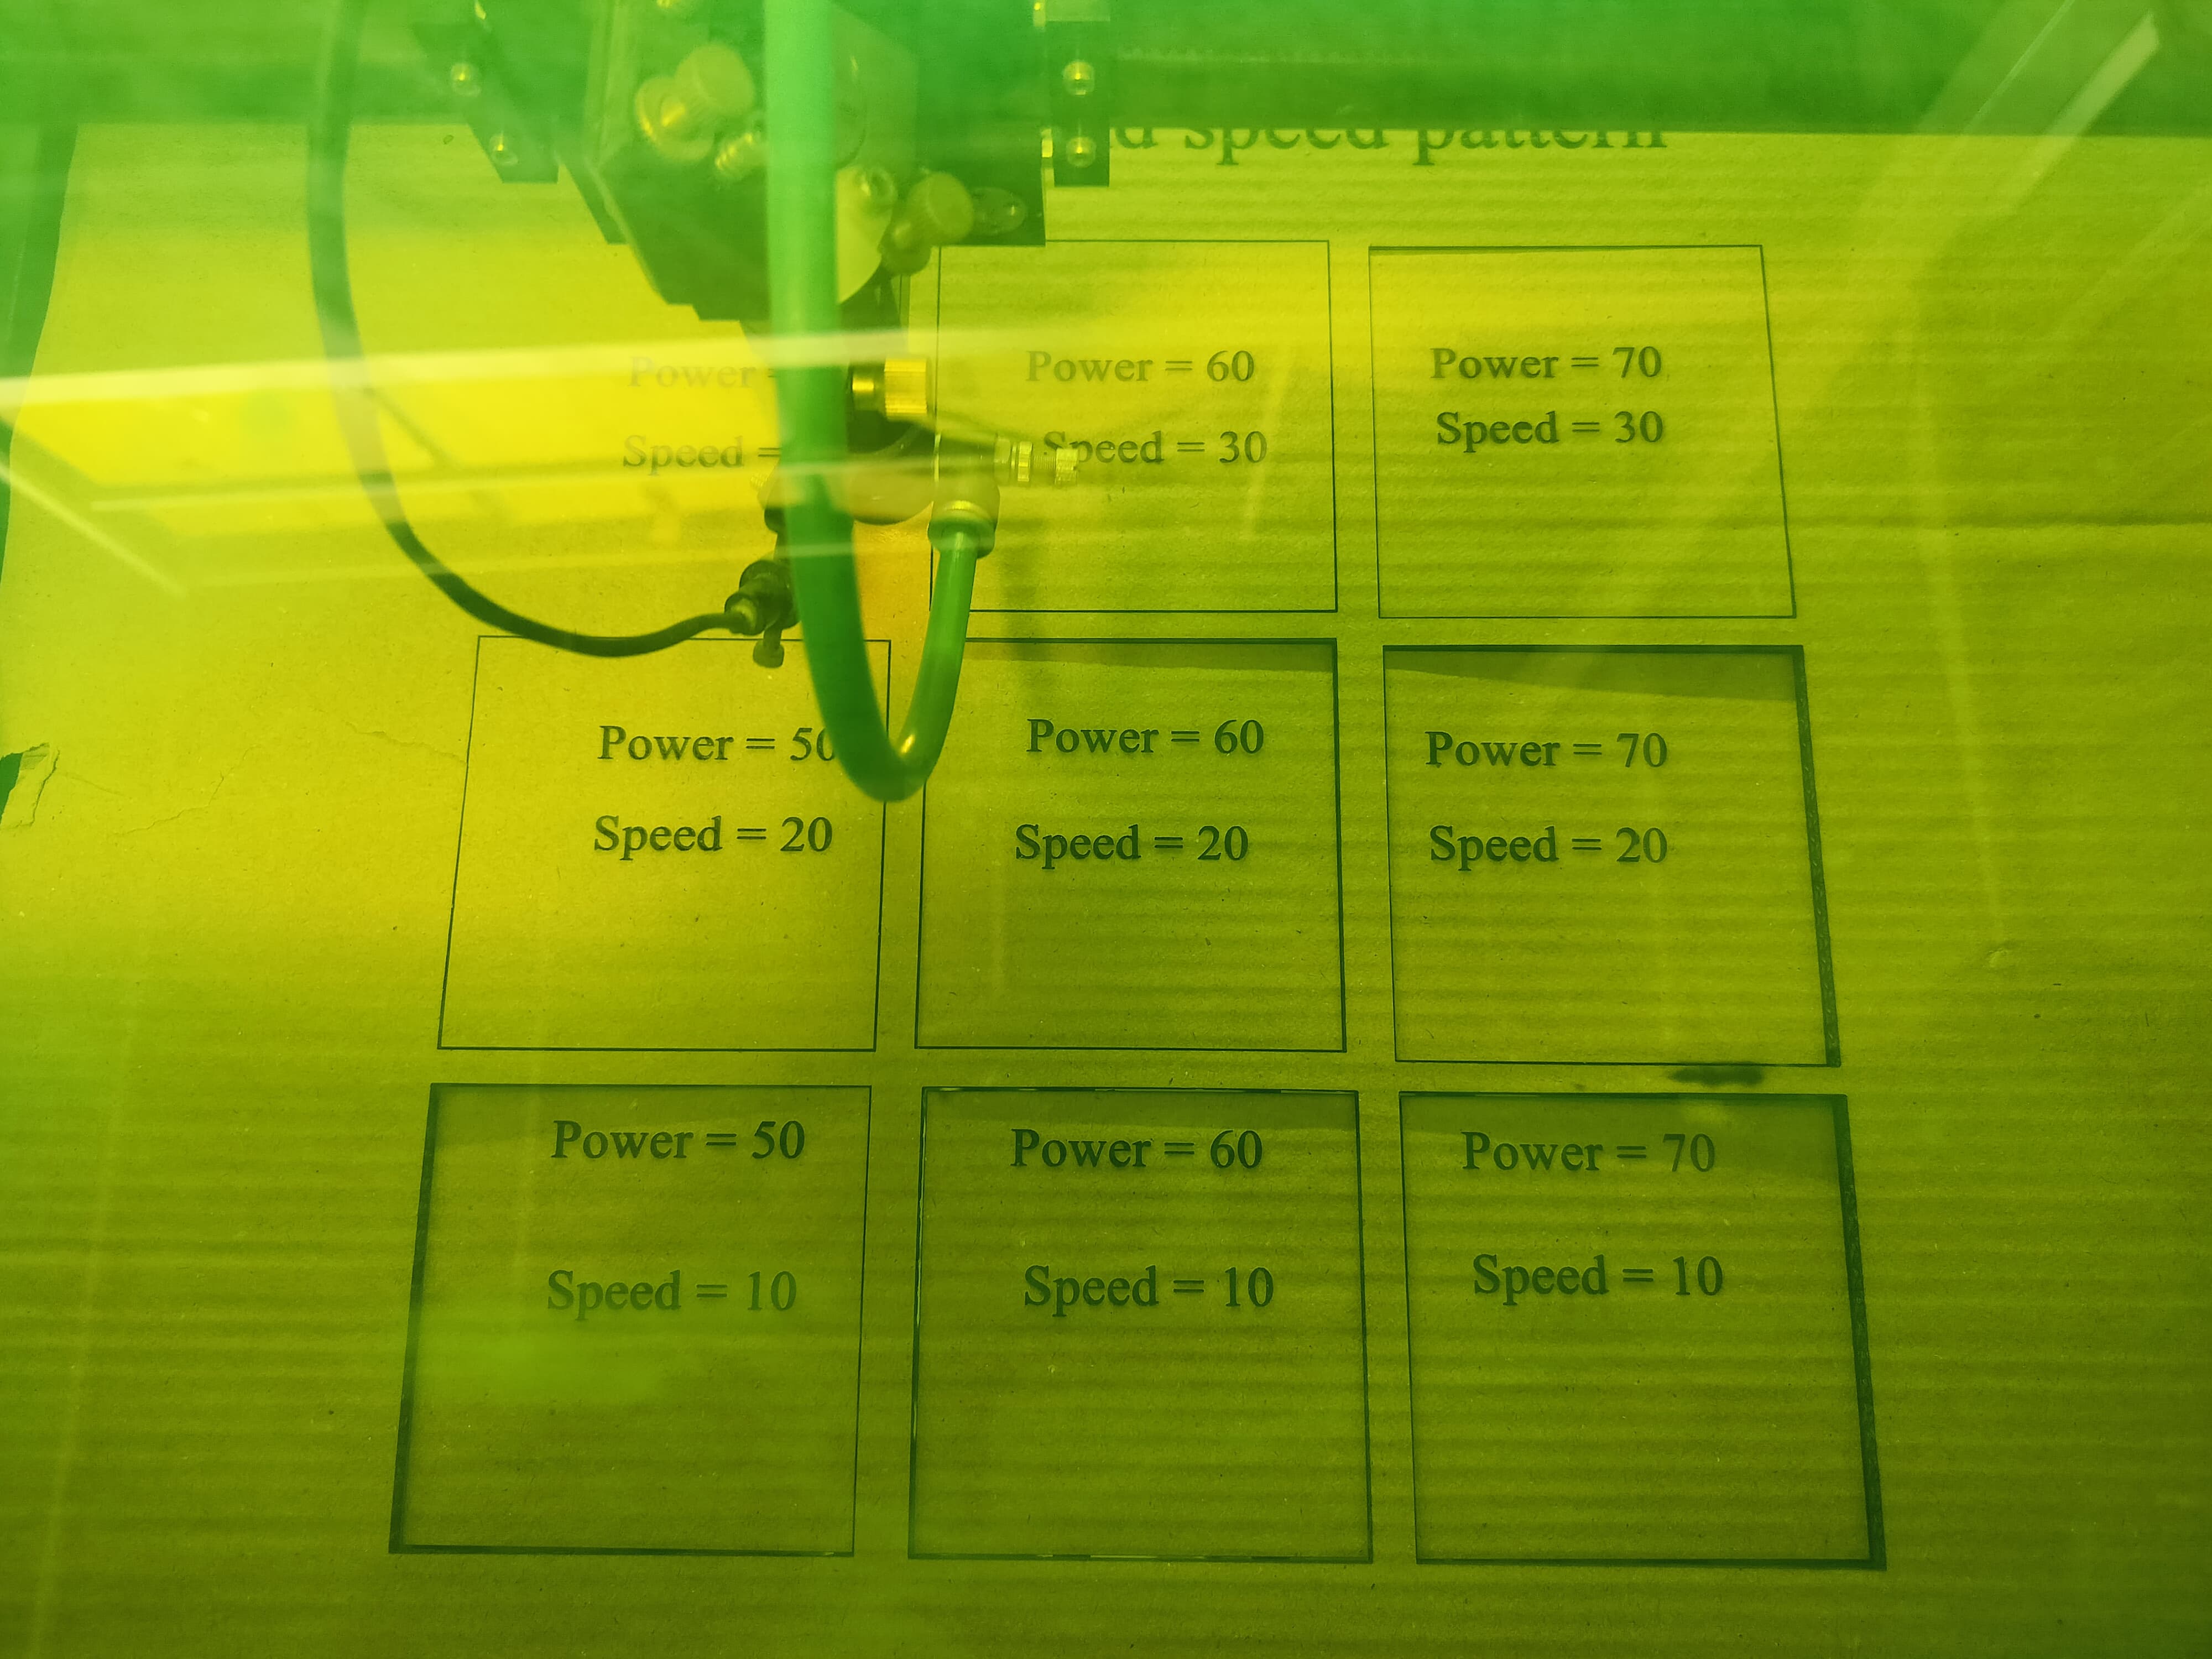
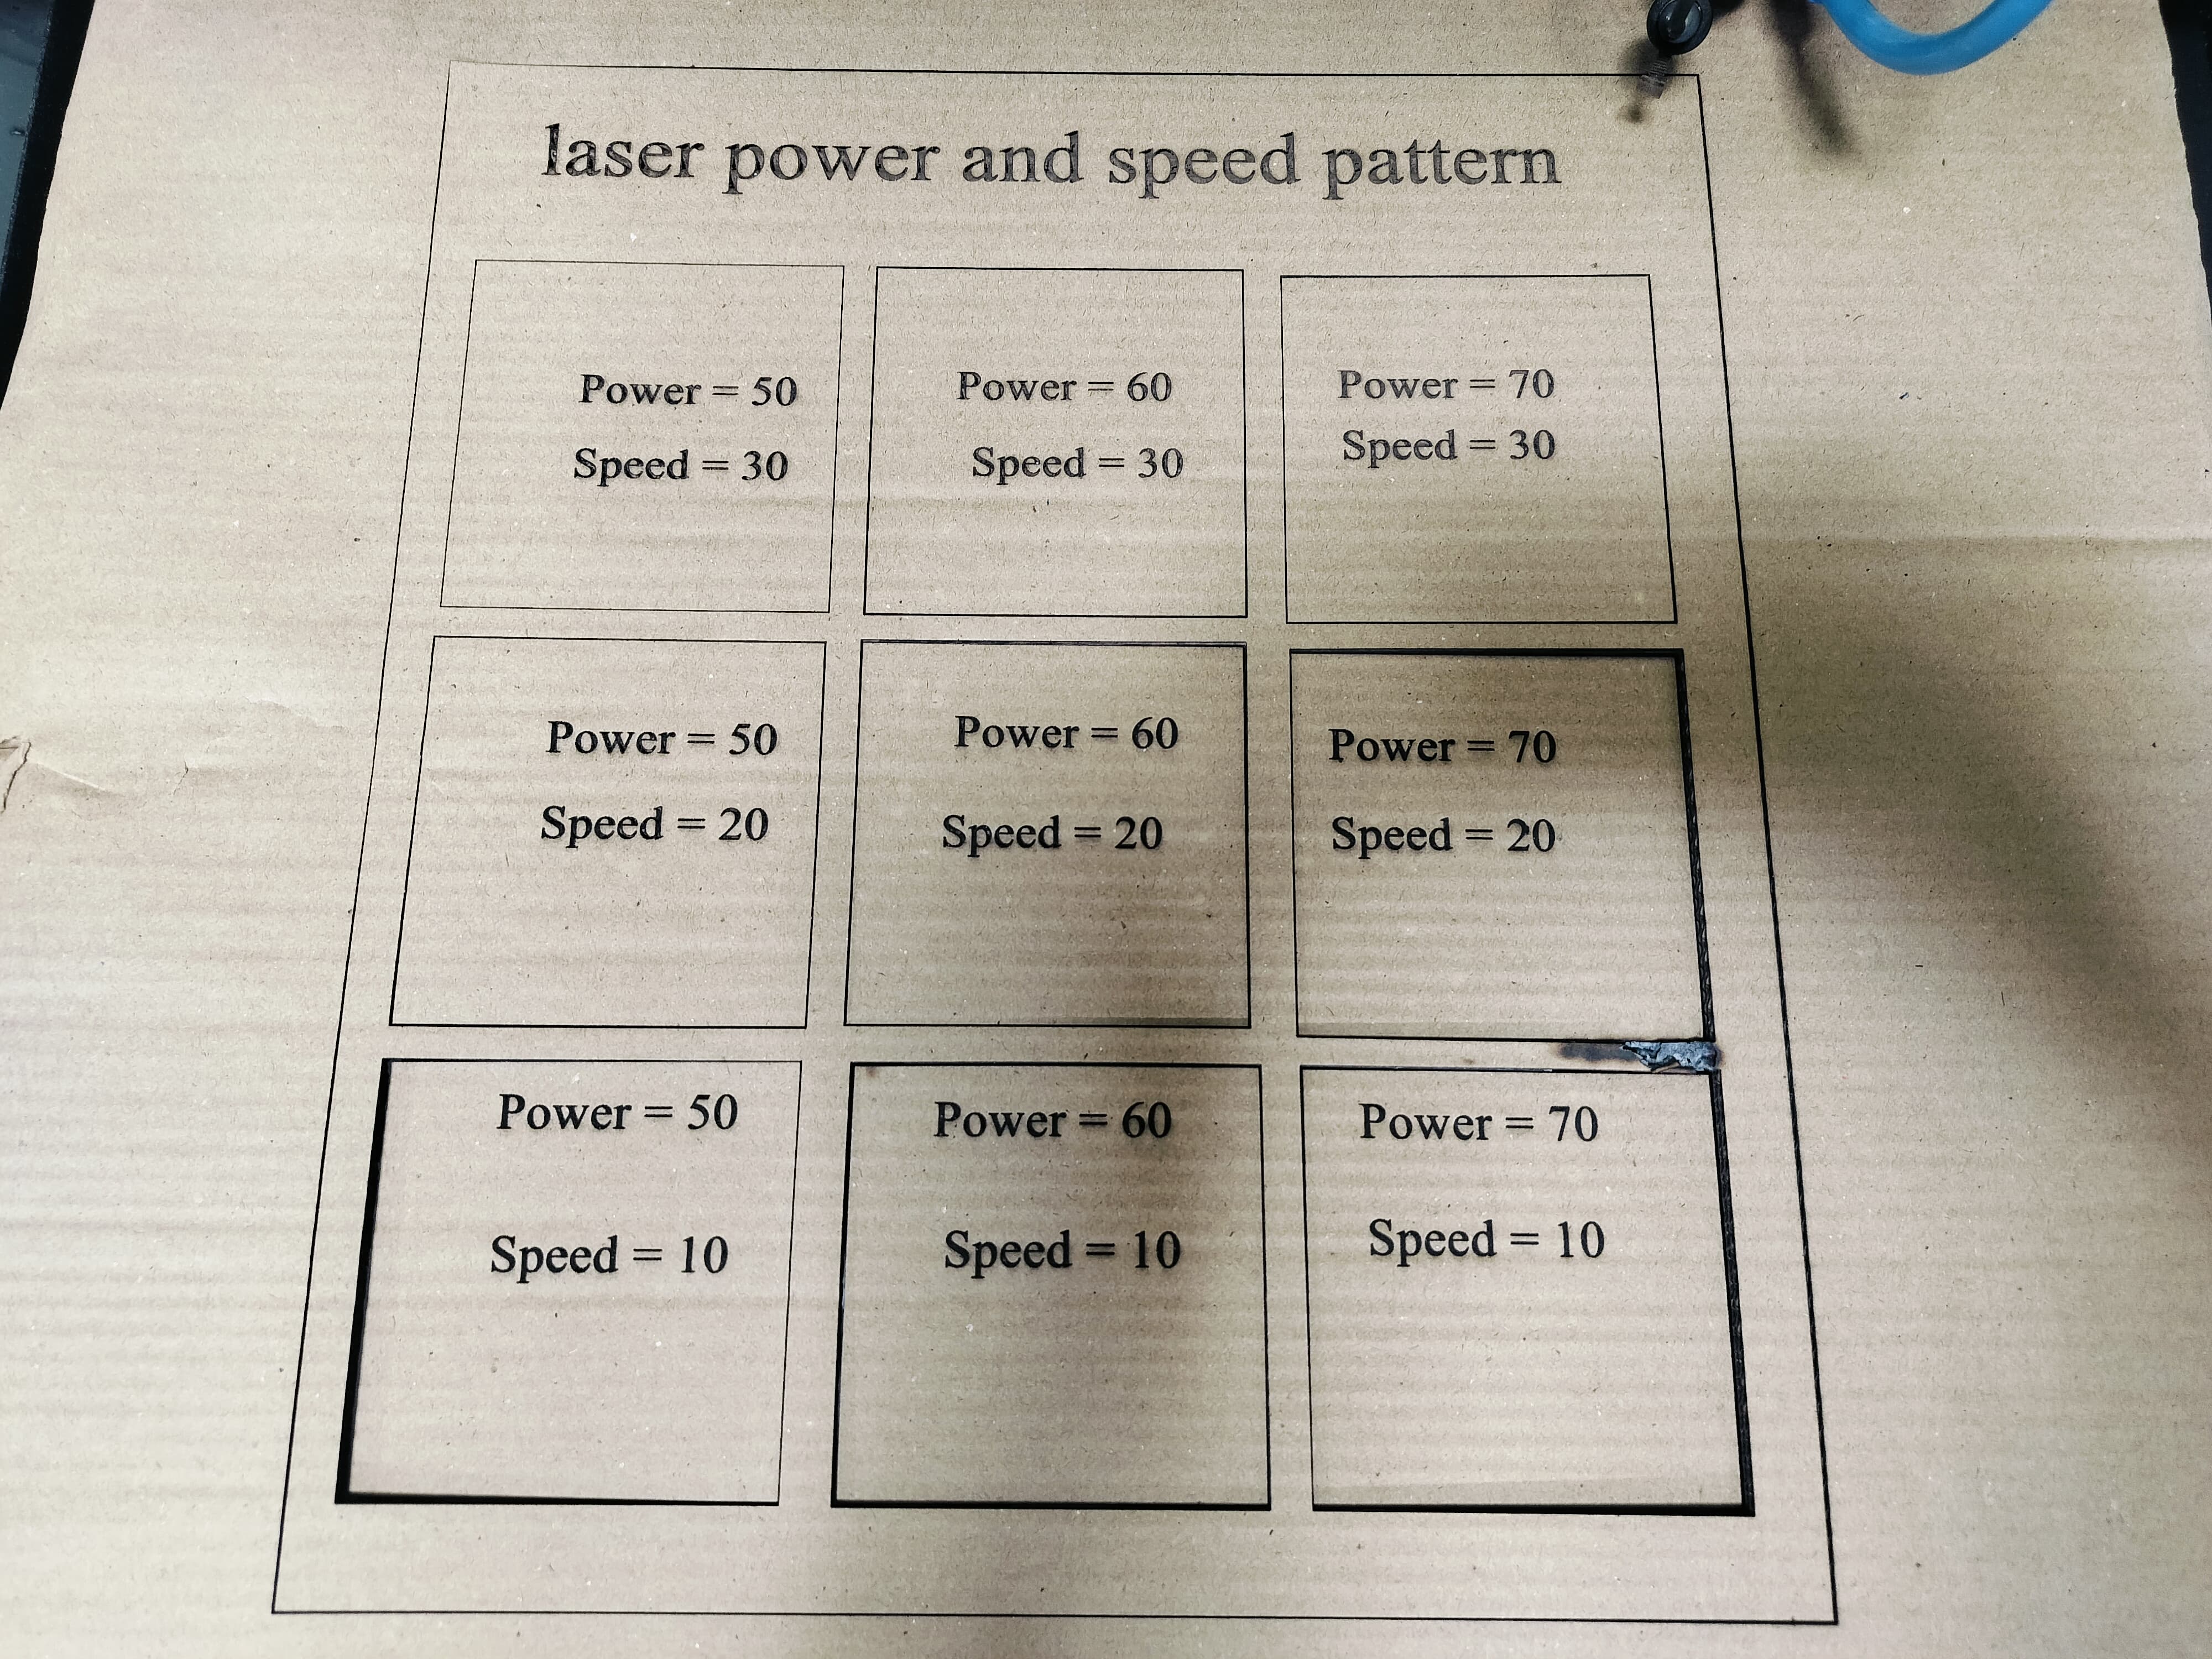
Power and speed testing in laser cutters is essential for optimizing cutting performance. The power determines the intensity of the laser beam, affecting how deep the cut is, while speed controls how quickly the laser moves across the material. Testing different combinations of power and speed helps identify the best settings for achieving clean cuts, minimizing material damage, and ensuring efficiency. A slower speed with higher power is often used for thicker materials, while faster speeds with lower power are effective for thinner materials. Properly adjusting these parameters helps achieve the desired results in terms of cut quality and material preservation.
 |
 |
|
|
|
Laser cutting power and Speed test
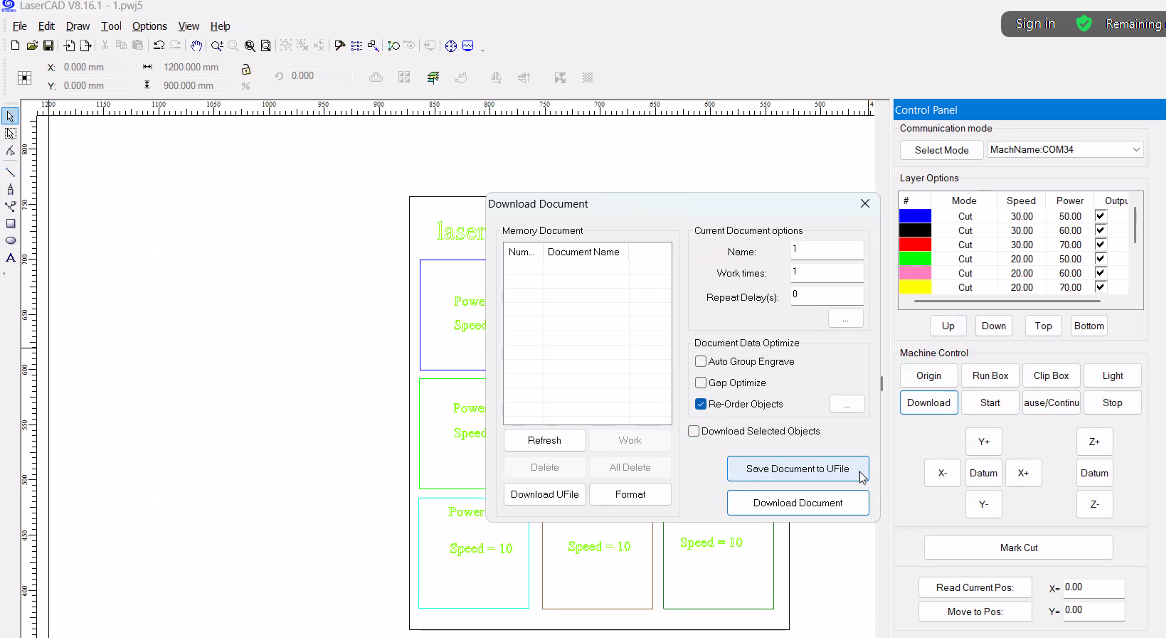
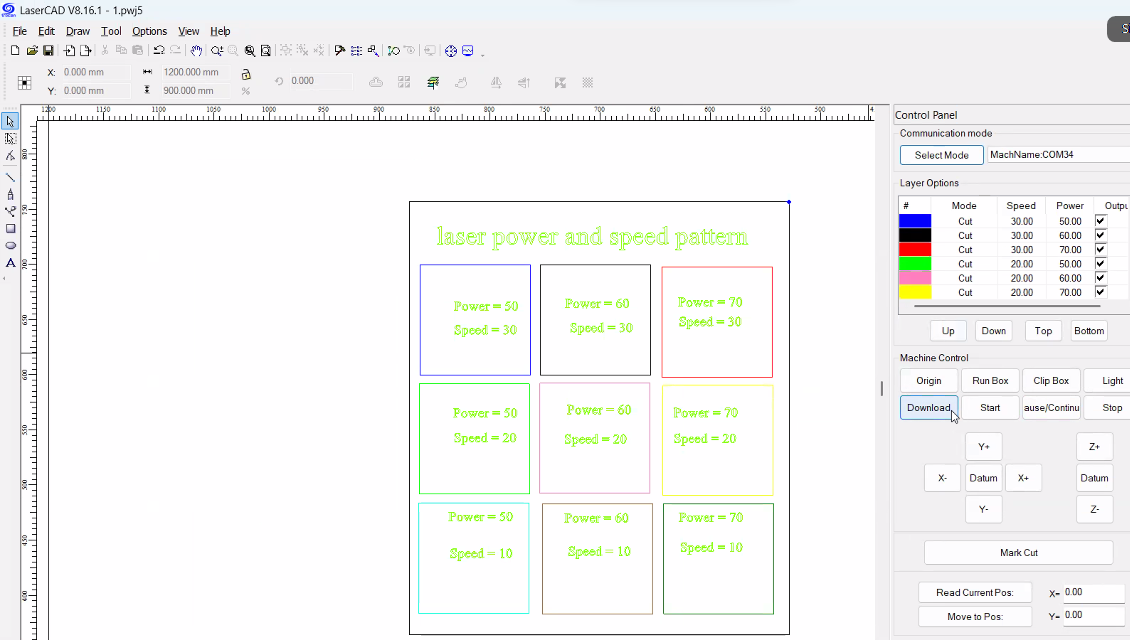
Initially, we conceptualized and planned the laser cutting design. The design was then created in SolidWorks and saved as a DXF file format. To transfer the design to the laser cutting machine, we used RDWorks software, where we imported the DXF file. After importing, we thoroughly examined the design within RDWorks, gaining an understanding of its features and functions. Next, we applied specific offsets and set distinct power, speed, scan, and cut parameters for each cut type, color-coding each section for clarity. In the end, the file was finalized and ready for input into the laser cutting machine.
 |
 |
|
|
|
Speed Pattern Test Sheet Printing on Cardboard
 |
 |
|
|
|
 |
 |
|
|
|
Kerf Masurement
Kerf measurement refers to the process of determining the width of the material that is removed during the laser cutting process. This measurement is crucial for ensuring precision, as the kerf can affect the final fit and alignment of parts. Factors such as laser power, speed, and material type can influence the kerf width. By accurately measuring the kerf, adjustments can be made to compensate for the material loss, ensuring a more precise and accurate cut for each piece.
Analysis Kerf Calcuation
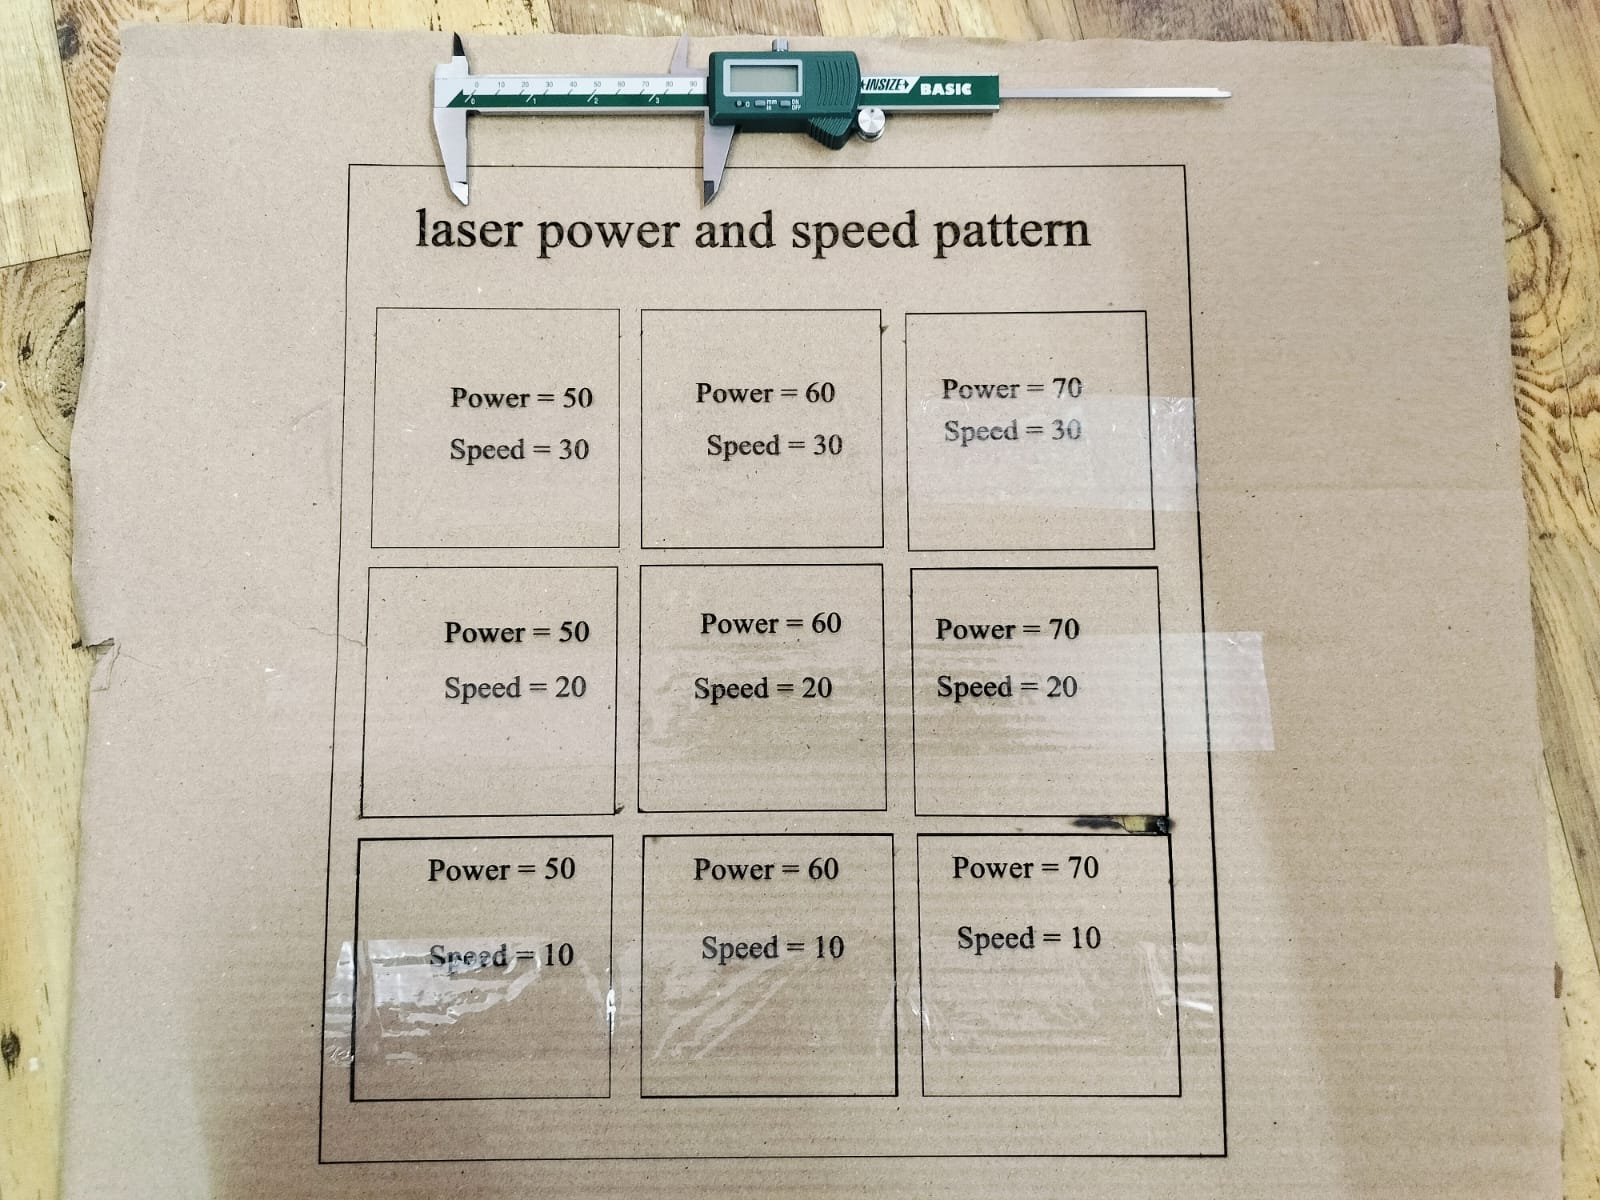
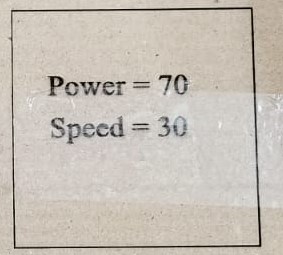
We designed a 100 mm by 100 mm speed pattern box. For the cutting process, we set the laser cutter to a power of 70 and a speed of 30. With these settings, the laser was able to cut the box cleanly and accurately. The combination of high power and low speed helped ensure a precise and complete cut through the material.
 |
||
|
|
|
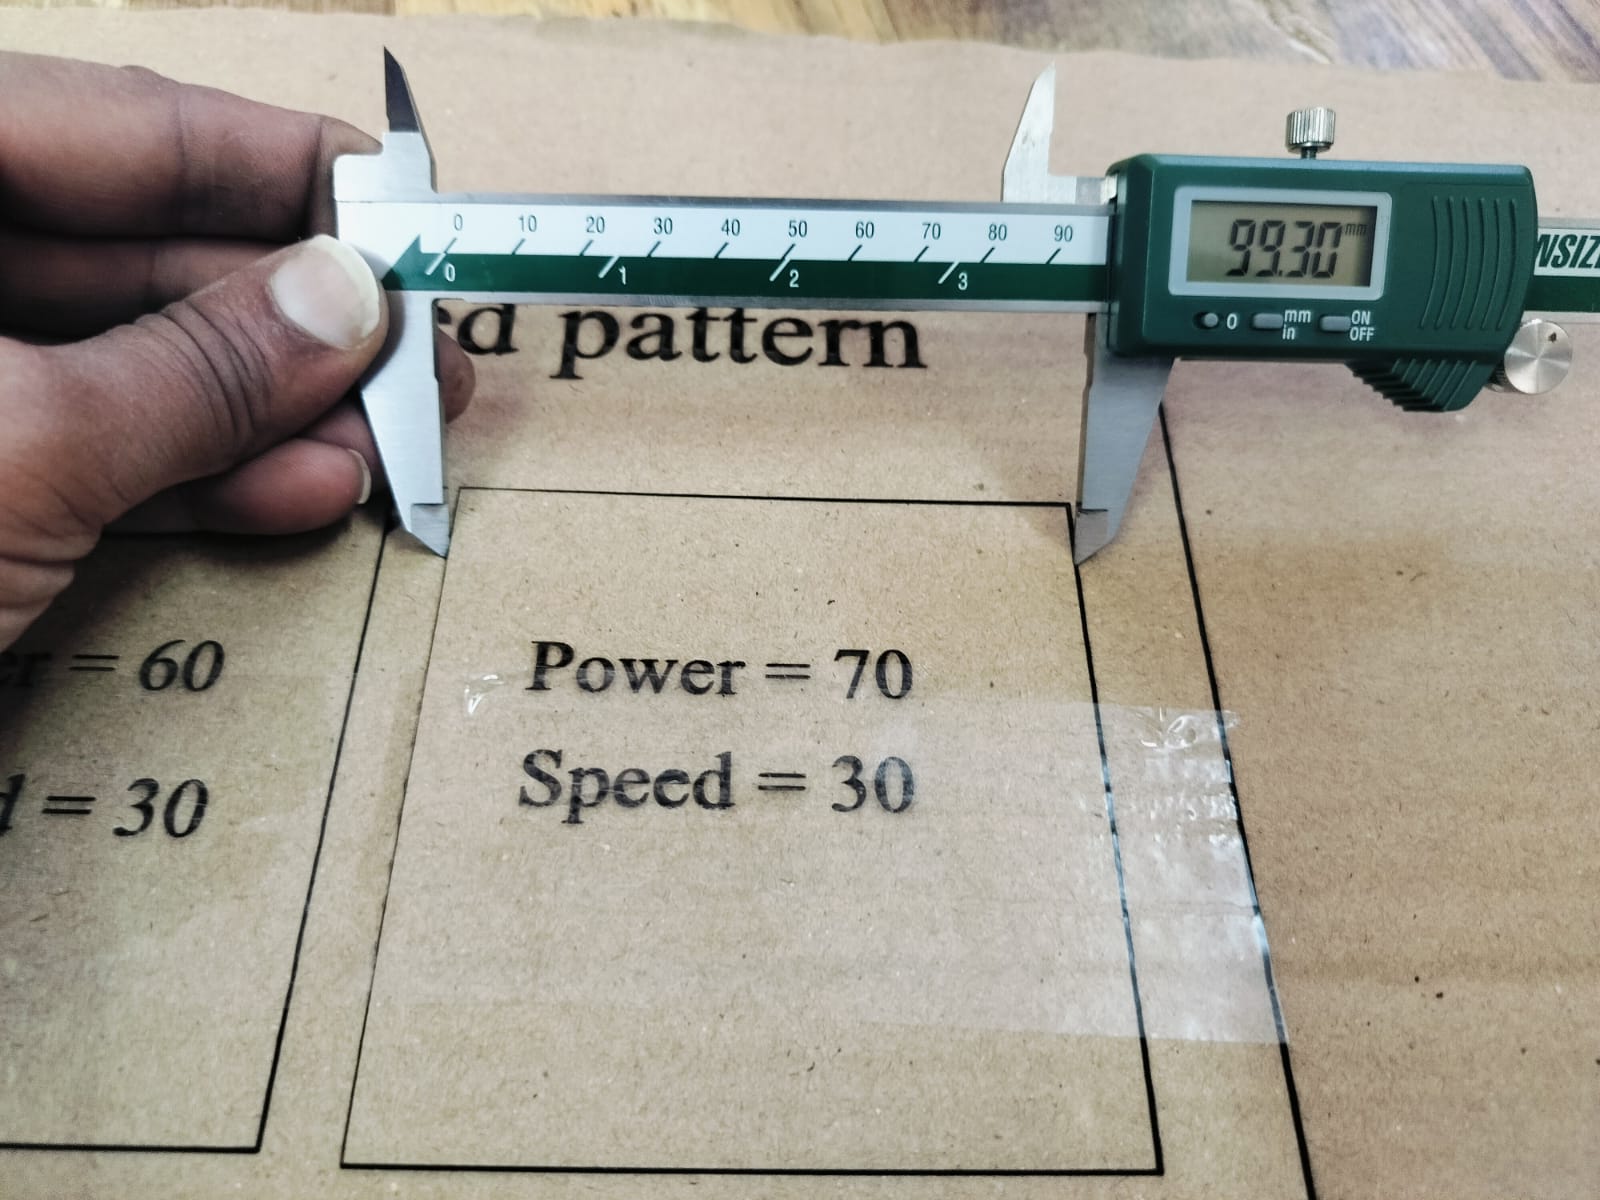
After cutting the speed pattern box using the laser cutter, we measured the dimensions using a Vernier Caliper. Based on the measurements, we calculated the kerf — the amount of material removed by the laser during the cutting process.
 |
 |
|
|
|
|
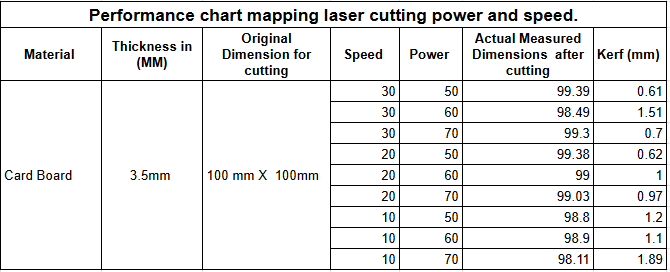
After measuring with the Vernier Caliper, we observed that the original dimensions of our speed pattern box, which were 100 mm × 100 mm, had been reduced to 99.30 mm × 99.30 mm after laser cutting. This indicates a material loss of 0.70 mm during the cutting process. As a result, the actual size of the box is now 99.30 mm, and the kerf (material removed by the laser) is calculated to be 0.70 mm.
Conclusion
This assignment has provided valuable learning experiences in several key areas. First, I gained a deeper understanding of the laser cutting process, from design creation in SolidWorks to preparing the file for the machine using RDWorks. I learned how to adjust parameters such as power, speed, and offsets to optimize the quality of the cut. Additionally, the importance of accurately measuring kerf and testing different settings was highlighted, as it plays a crucial role in achieving precise results. Overall, this project improved my practical skills in laser cutting and design preparation, as well as my ability to troubleshoot and fine-tune the process for better outcomes.