Interface and Application Programming
Learning Experience
During this assignment, I gained a comprehensive understanding of Graphical User Interfaces (GUI) and how they interact with embedded hardware systems. I experimented with MIT App Inventor to develop a unique mobile application capable of interfacing seamlessly with a microcontroller. To handle sensor data efficiently, I also learned how to integrate Firebase for real-time data storage and retrieval. For practicing serial communication techniques, I attempted to connect the application to the ESP32-C3 microcontroller using both Bluetooth and USB protocols. While working on this, I faced several challenges in synchronizing real-time sensor data, which significantly enhanced my debugging and troubleshooting abilities. This hands-on experience improved my logical thinking and problem-solving skills in the field of embedded systems and boosted my confidence in integrating software with physical systems.
Key Accomplishments
✔️A fully customized mobile application was successfully developed using MIT App Inventor to enable remote control of hardware components.
✔️The ESP32-C3 microcontroller established seamless, real-time communication with the mobile application.
✔️Firebase, a cloud-based database, was integrated to efficiently store and retrieve sensor data.
✔️Bluetooth and USB communication protocols were extensively tested and debugged to ensure reliable and consistent data transfer.
✔️A responsive and fully functional user interface was designed to bridge the gap between hardware and software components.
✔️The entire development process was systematically documented to support future reference, knowledge transfer, and collaborative learning.
Task: Interface and Application Programming
Group assignment:
Compare as many tool options as possible.
Document your work on the group work page and reflect on your individual page what you learned.
Individual project:
Write an application for the embedded board that you made. that interfaces a user with an input and/or output device(s)
Google created Firebase, a feature-rich platform that provides a variety of tools and services to assist developers in creating top-notch web and mobile applications. Firebase, which was first established in 2011 and subsequently purchased by Google in 2014, offers robust backend services such serverless functionality, cloud storage, user authentication, and real-time databases. It facilitates smooth data synchronization between devices and streamlines intricate backend procedures, freeing up developers to concentrate more on creating amazing user experiences. Firebase is still a top option for developing scalable, secure, and feature-rich apps, and both startups and major corporations trust it.
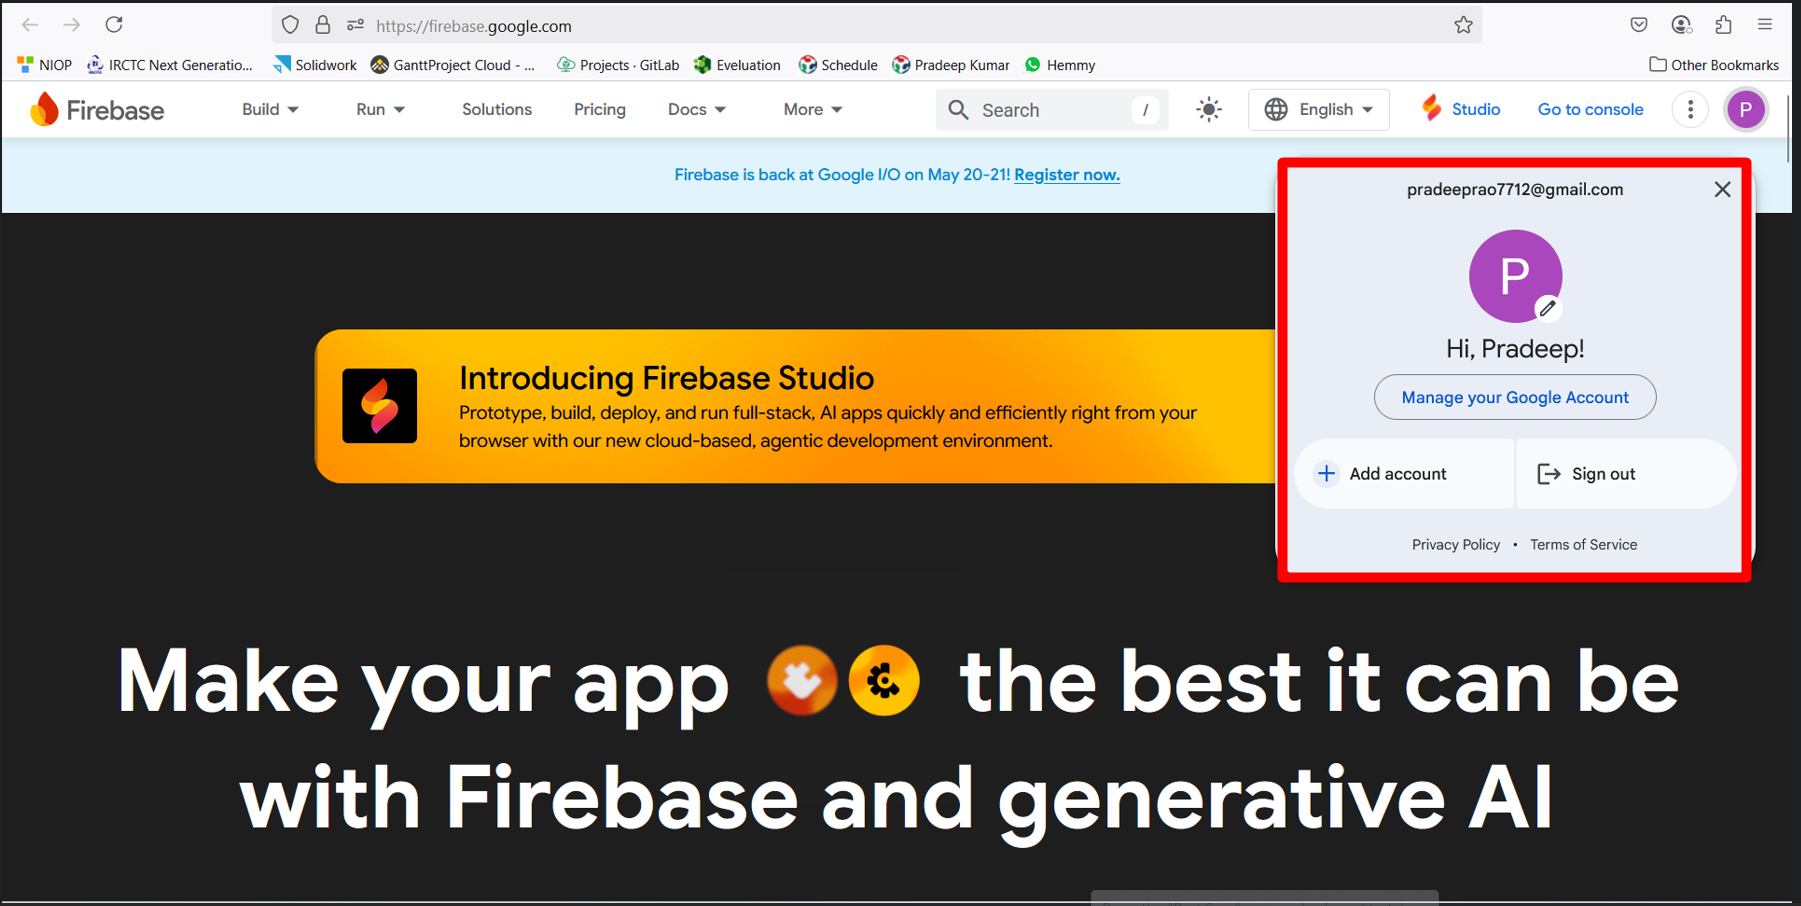
To begin working with Firebase, I first signed up and created a Firebase account, which gave me access to a secure and scalable backend platform for storing, managing, and syncing data in real time.
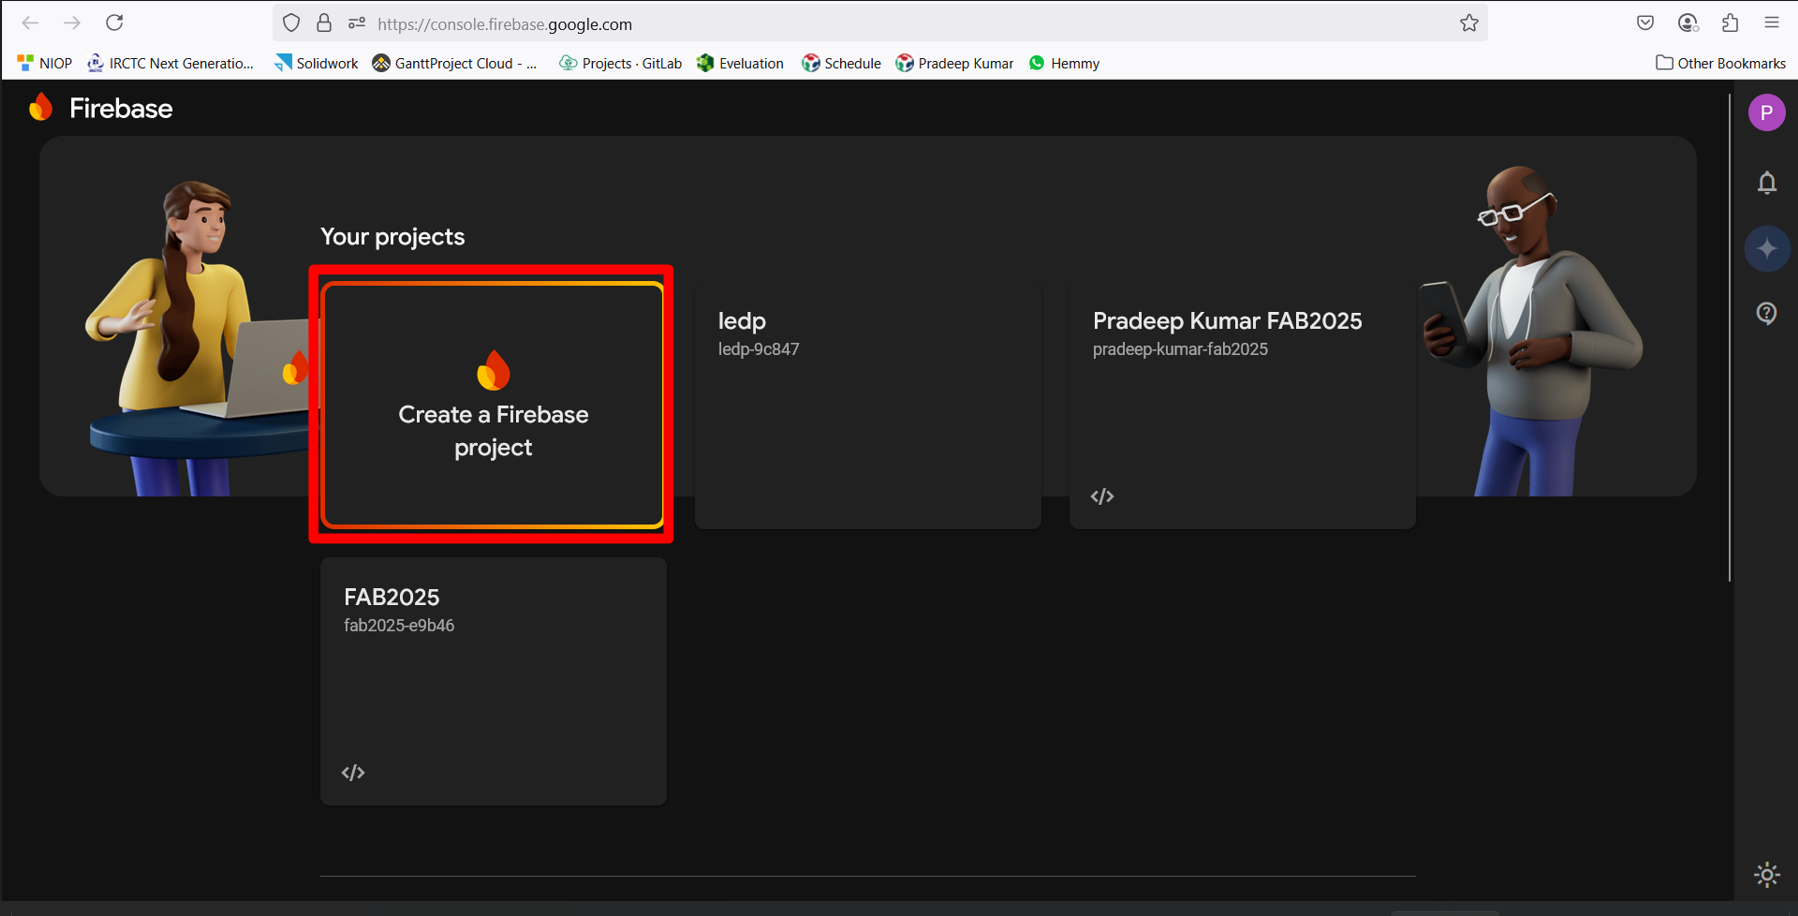
After logging in, I clicked on “Create a Firebase Project” to initiate a centralized workspace where I could efficiently manage all aspects of my application development.
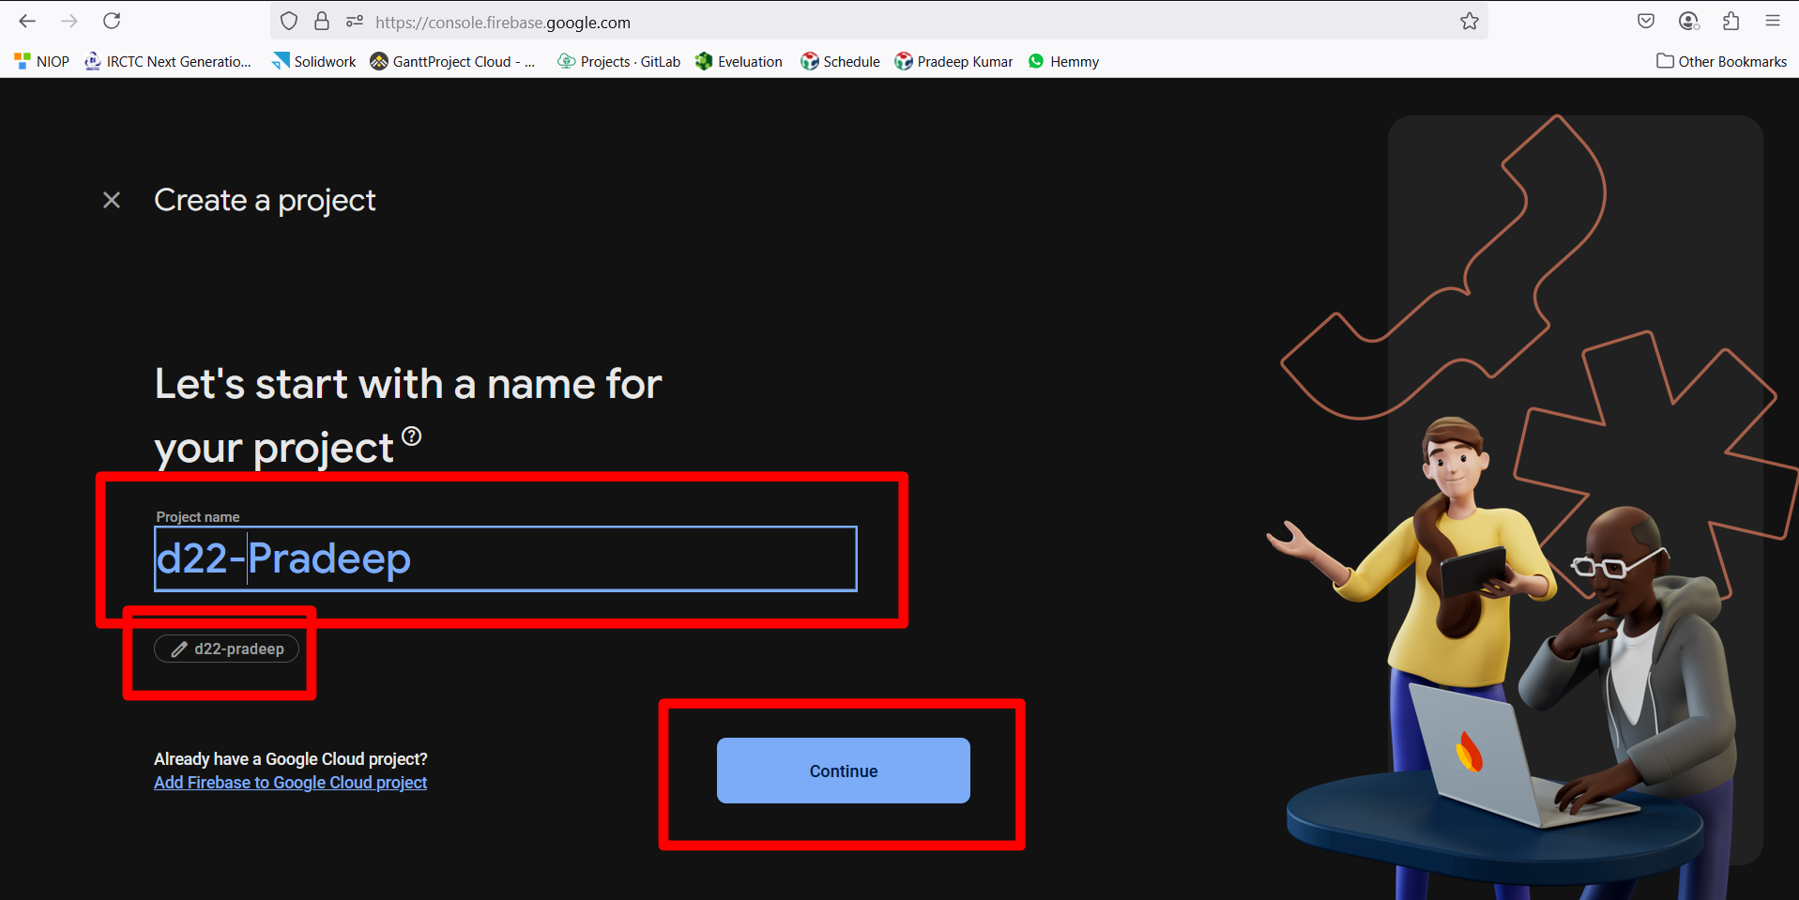
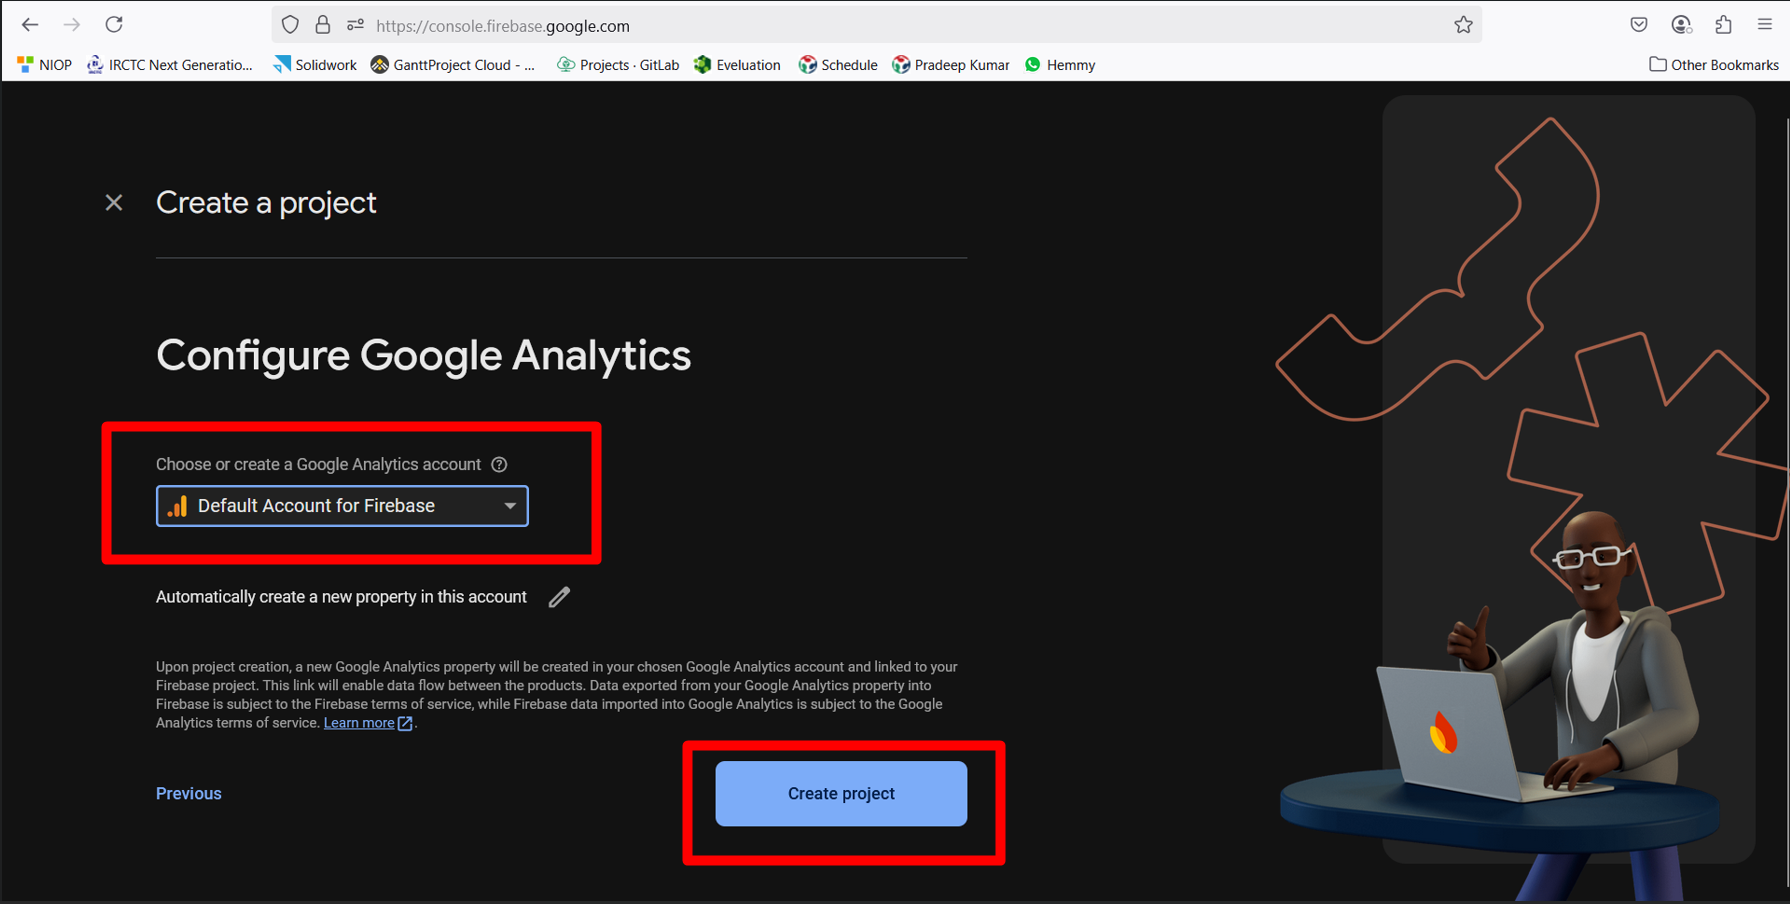
I then assigned a unique and meaningful name to my project to clearly identify it among other Firebase projects.
By clicking the “Continue” button, I proceeded with the initial setup, moving on to the next step in the project creation workflow.

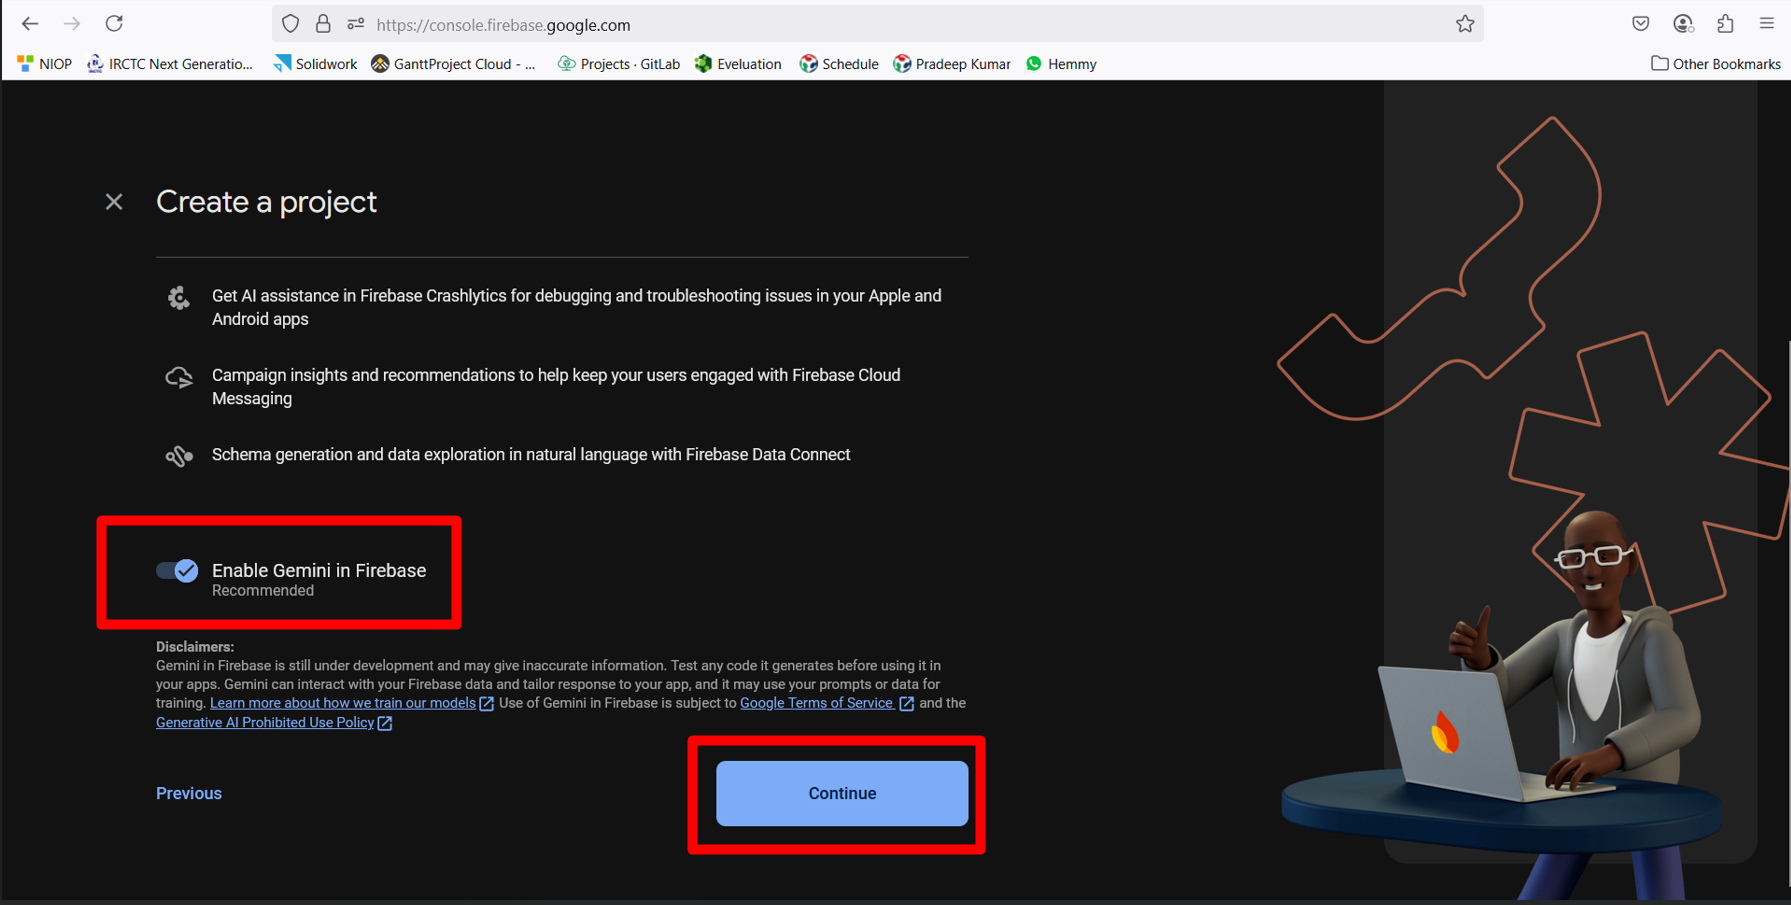
In the next window, I once again clicked “Continue” to proceed, ensuring all default settings were acceptable for my use case.
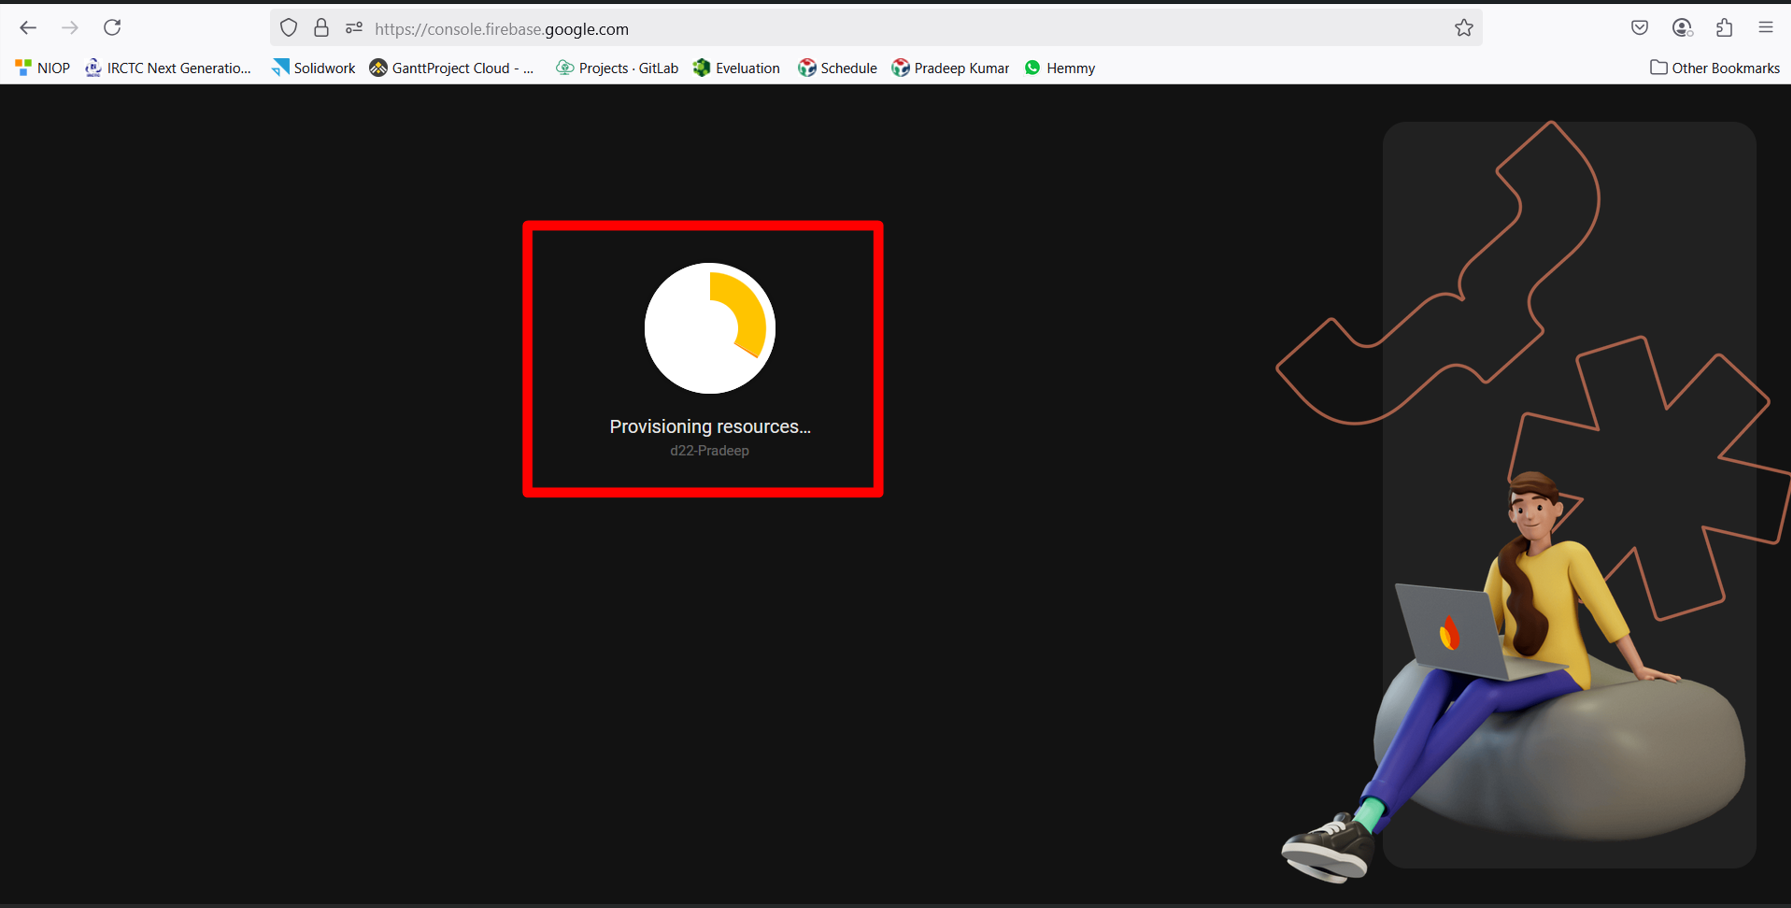
Firebase then started creating the project infrastructure in the background, which included provisioning cloud resources required for my application.
Once the project was successfully created, I received a confirmation.
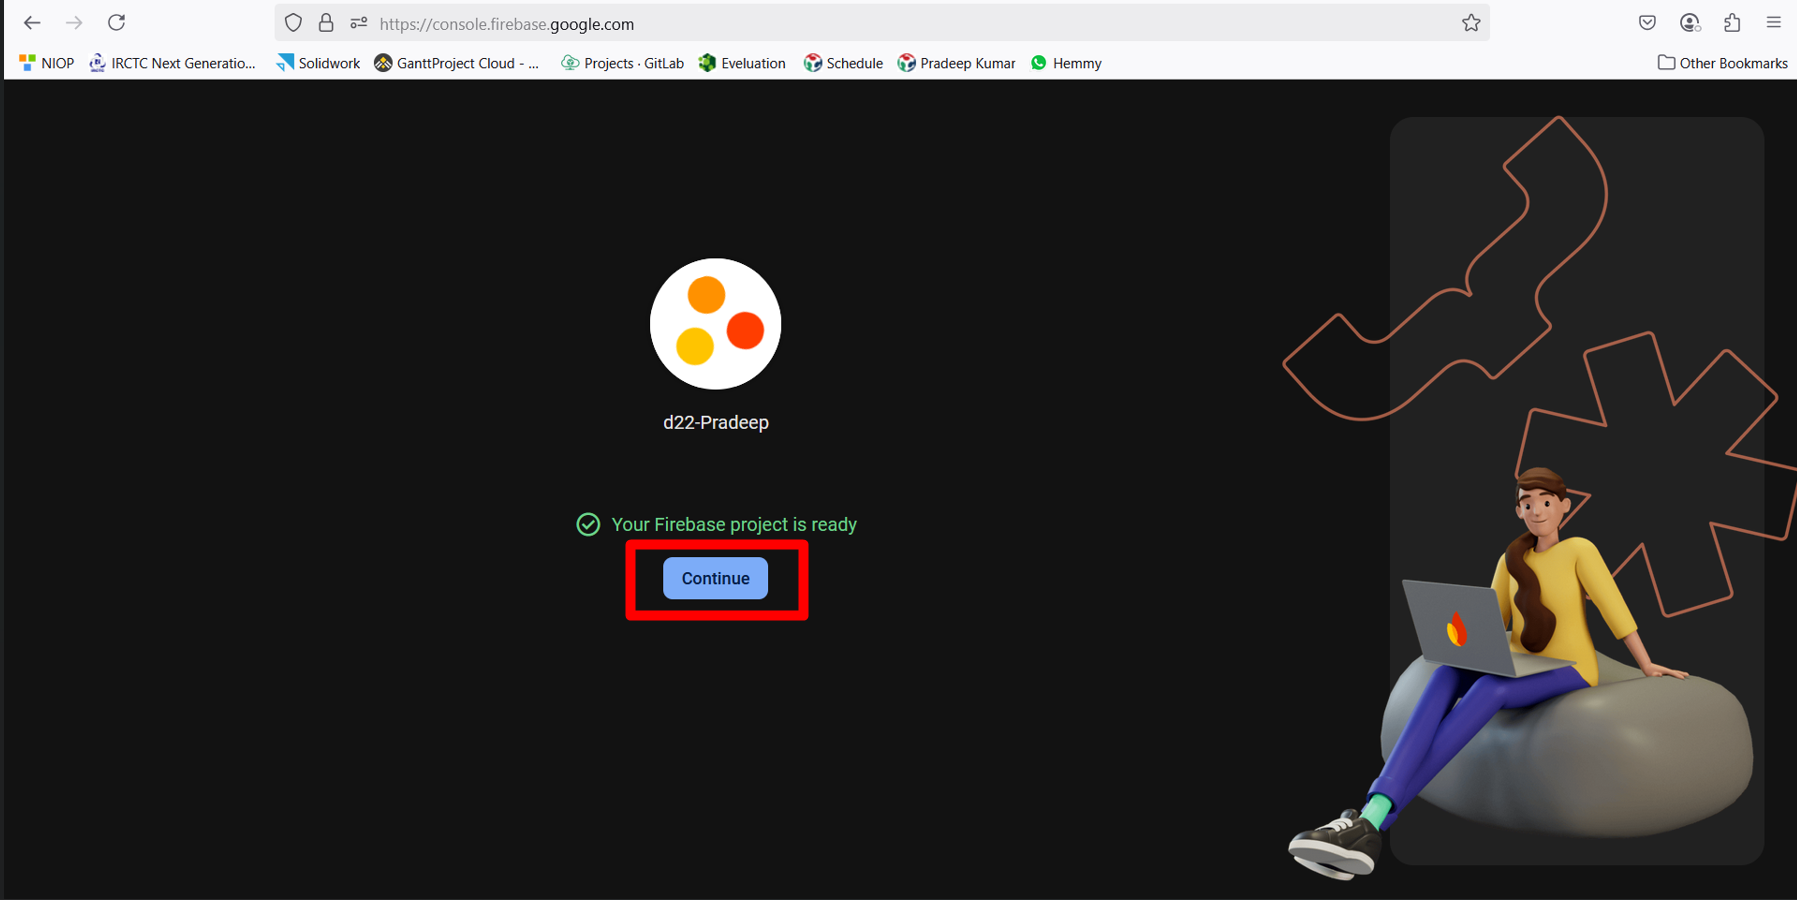
I clicked on “Continue” to enter the project dashboard.
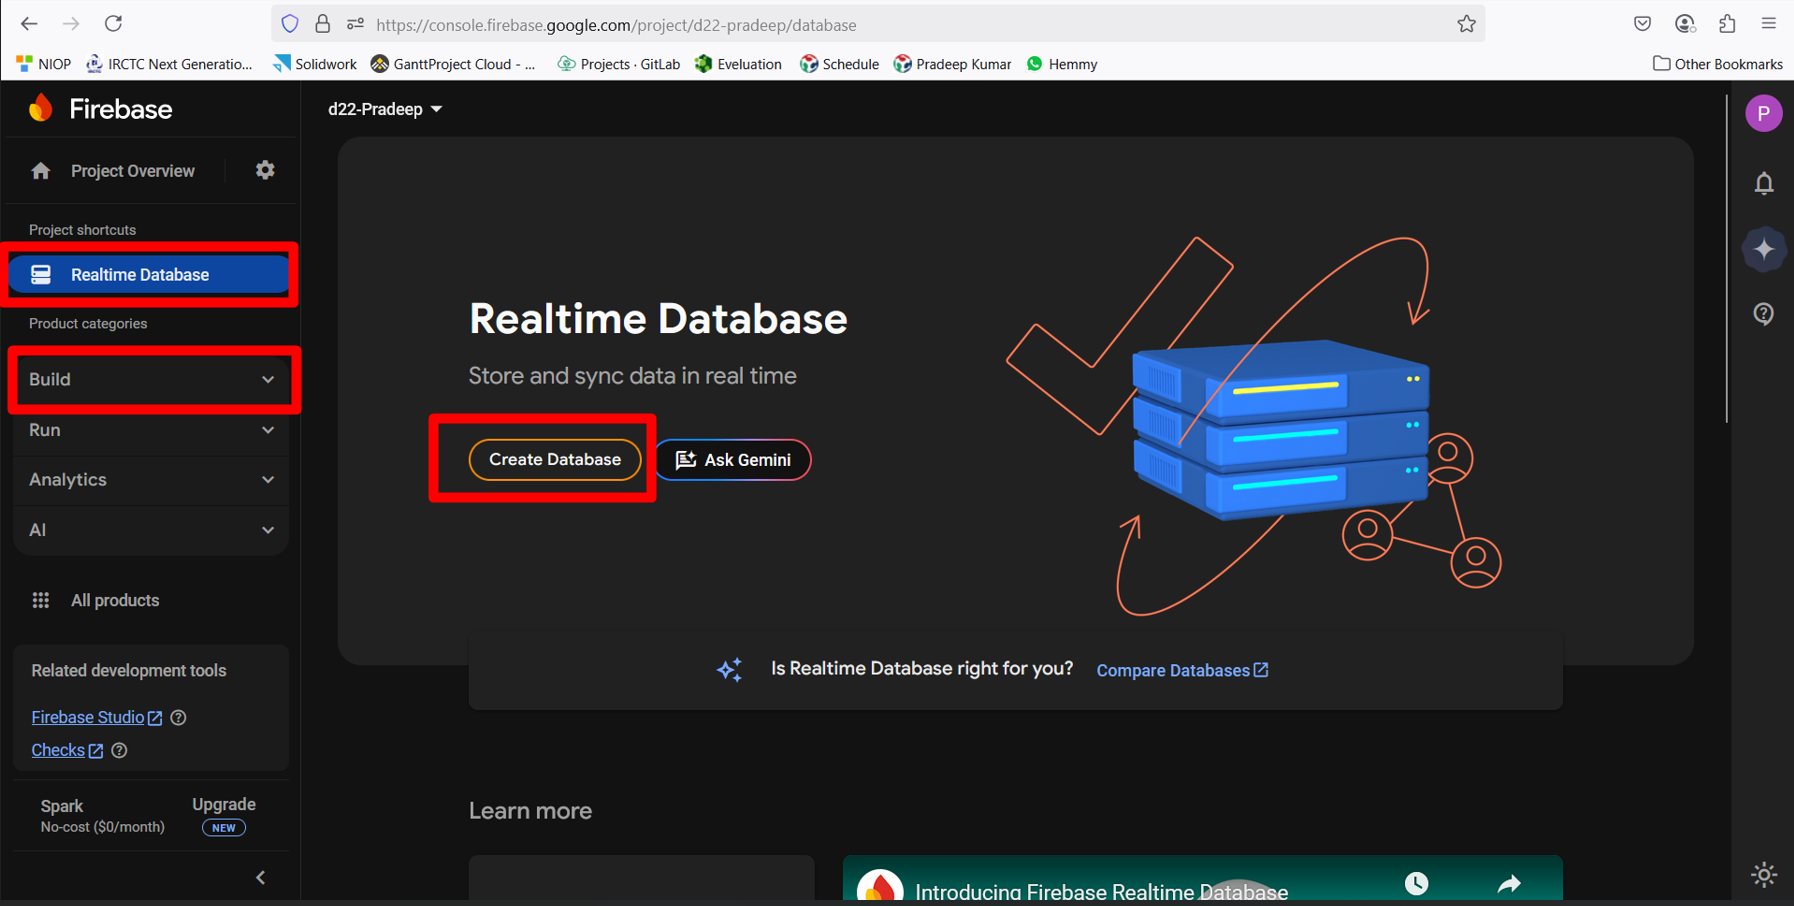
After entering the Firebase console, I selected the “Realtime Database” option from the left-hand menu to begin setting up my application’s cloud-hosted database. On the Realtime Database page, I clicked on “Create Database” to initiate the process of building a structured and synchronized data system.
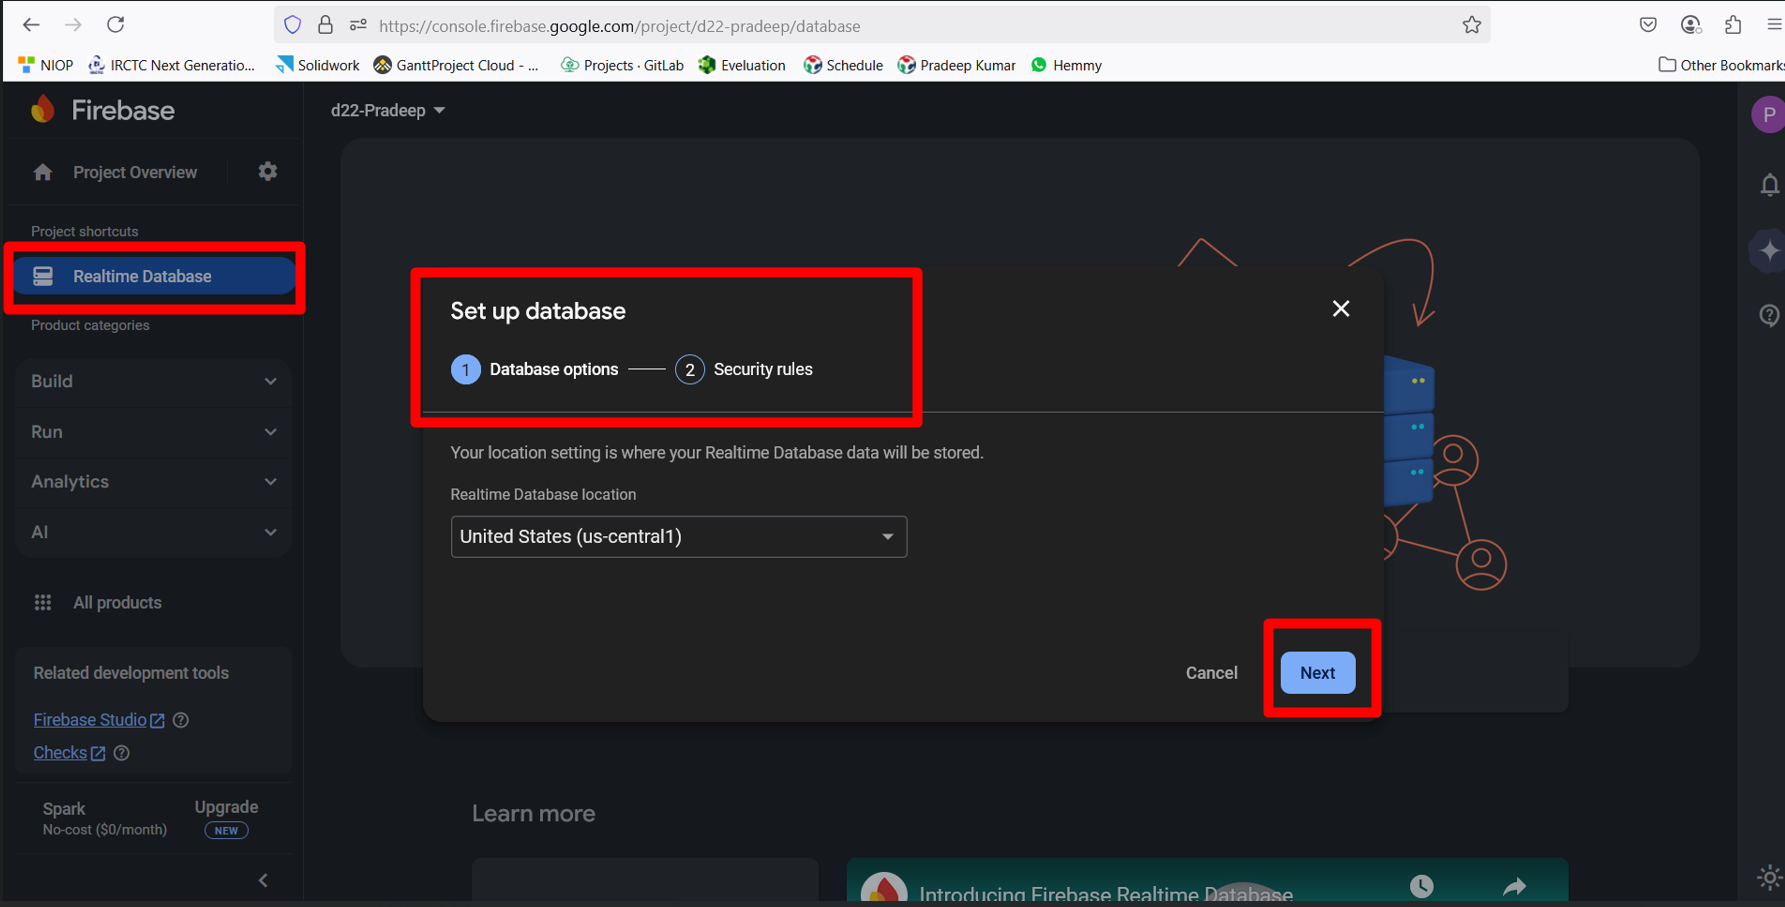
When the database setup window appeared, I selected the appropriate location for my database and then clicked on “Next” to continue.
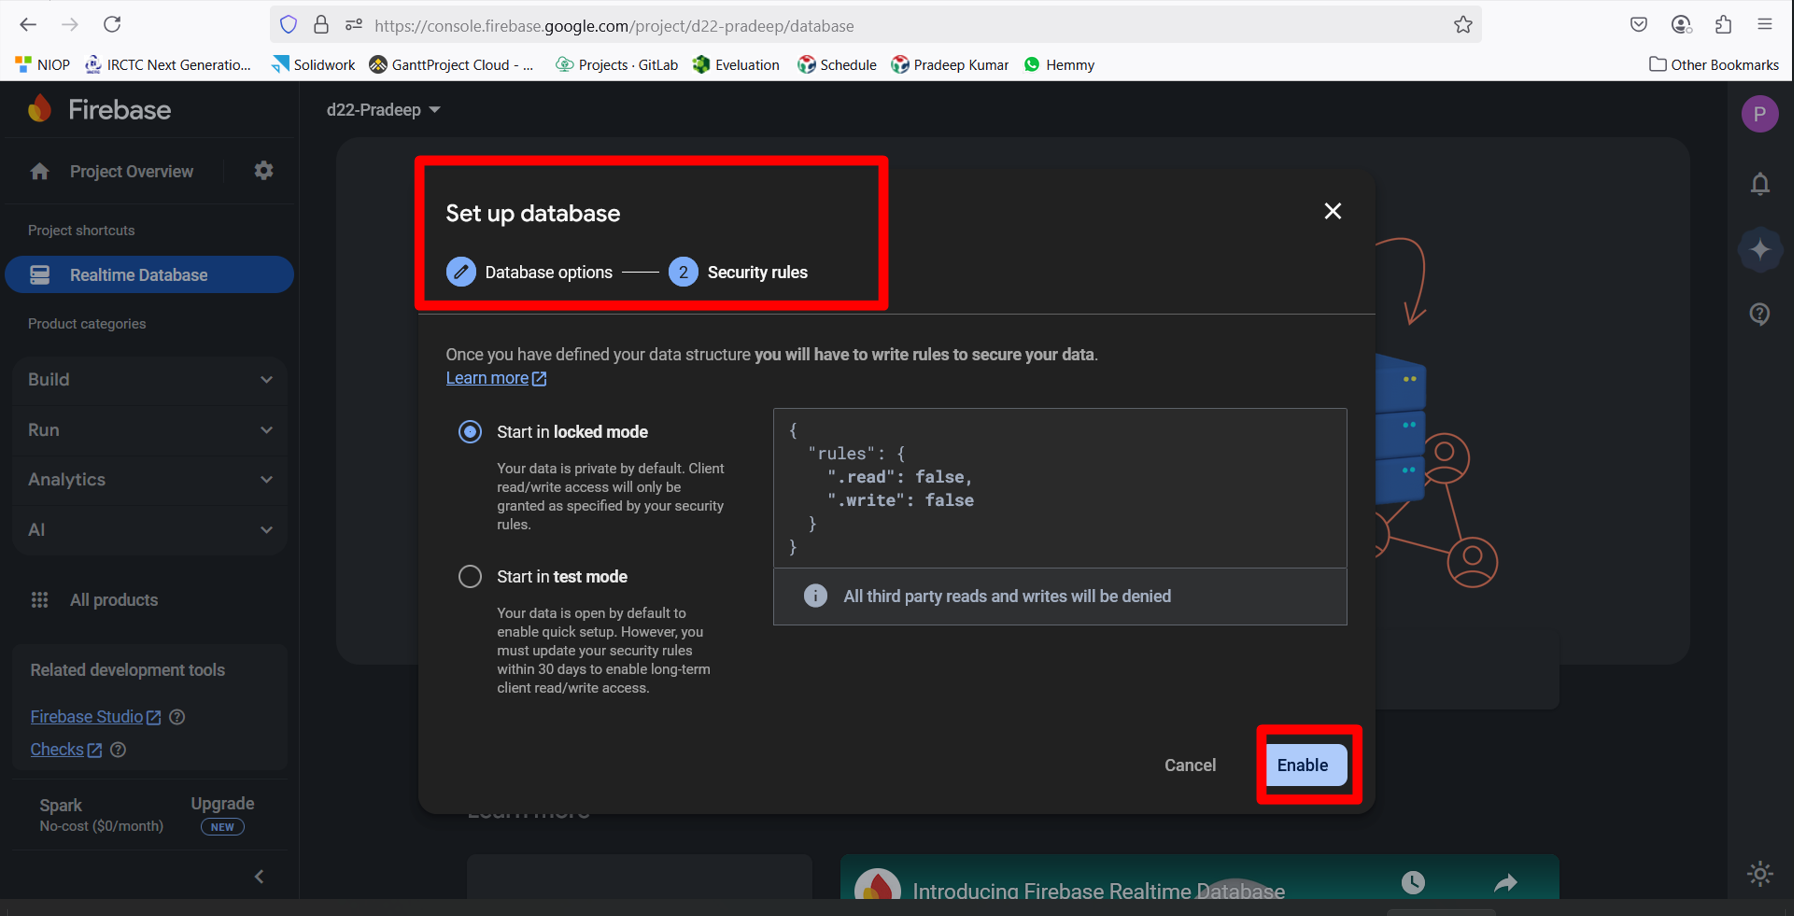
During the database rules configuration step, I enabled the read and write permissions to allow seamless interaction with the database during the development phase.
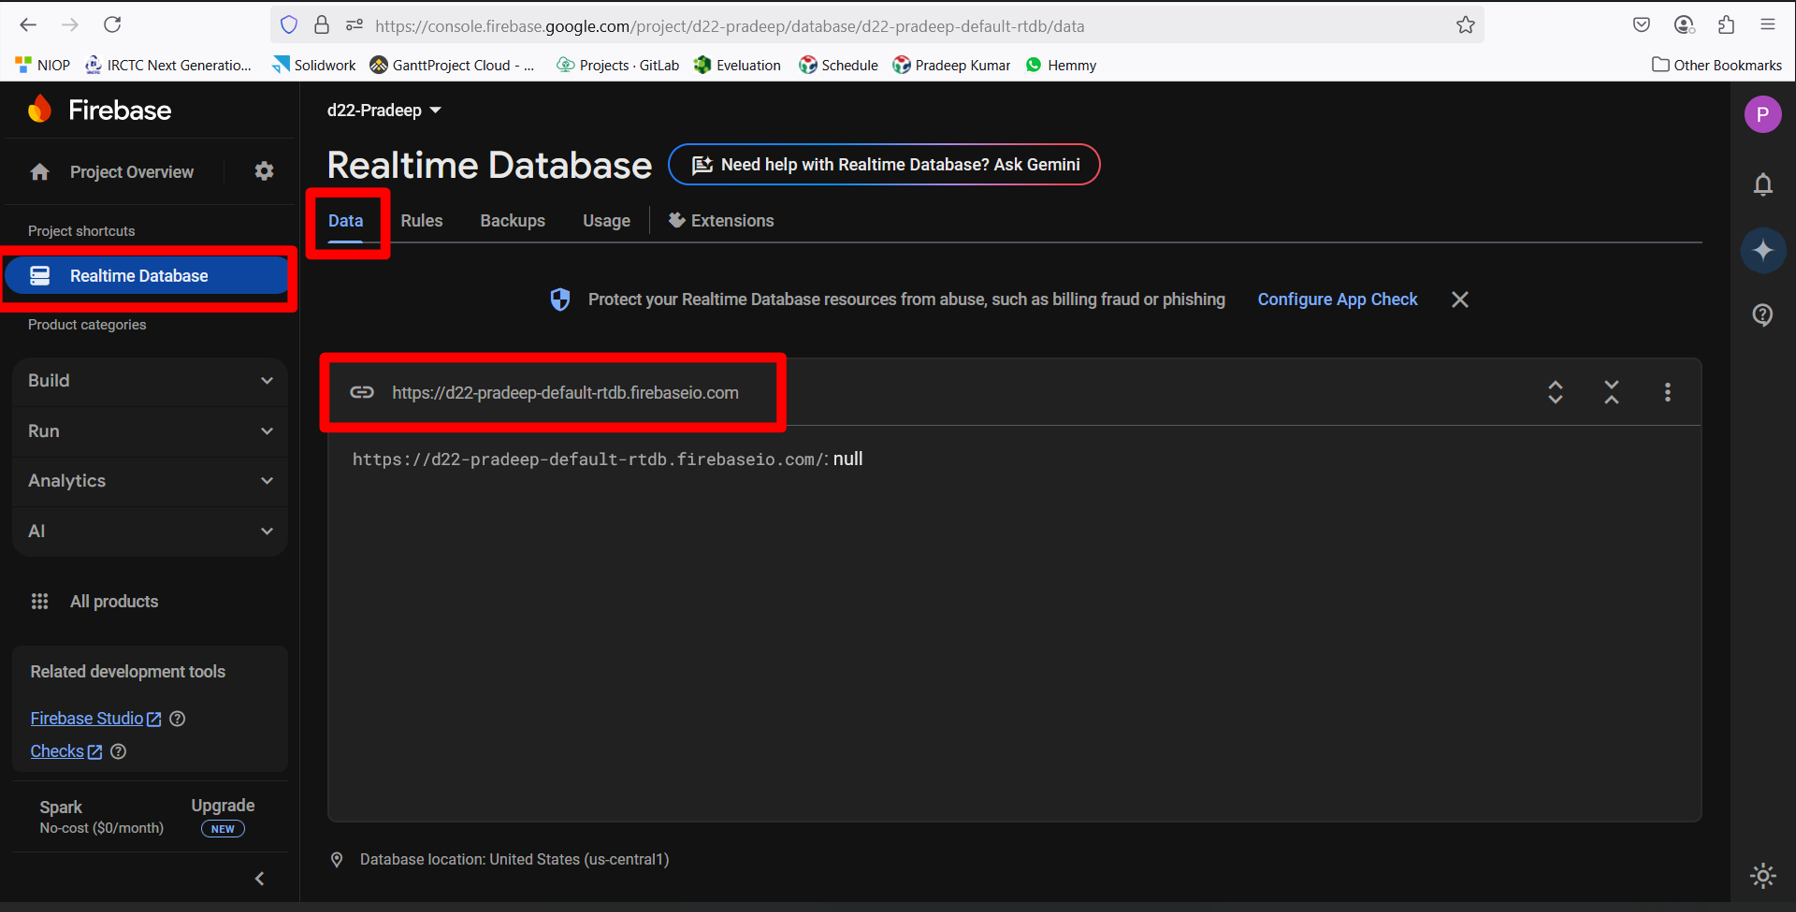
Once this setup was complete, Firebase generated a unique database URL, which could be used as a reference point to send and retrieve data from the application.
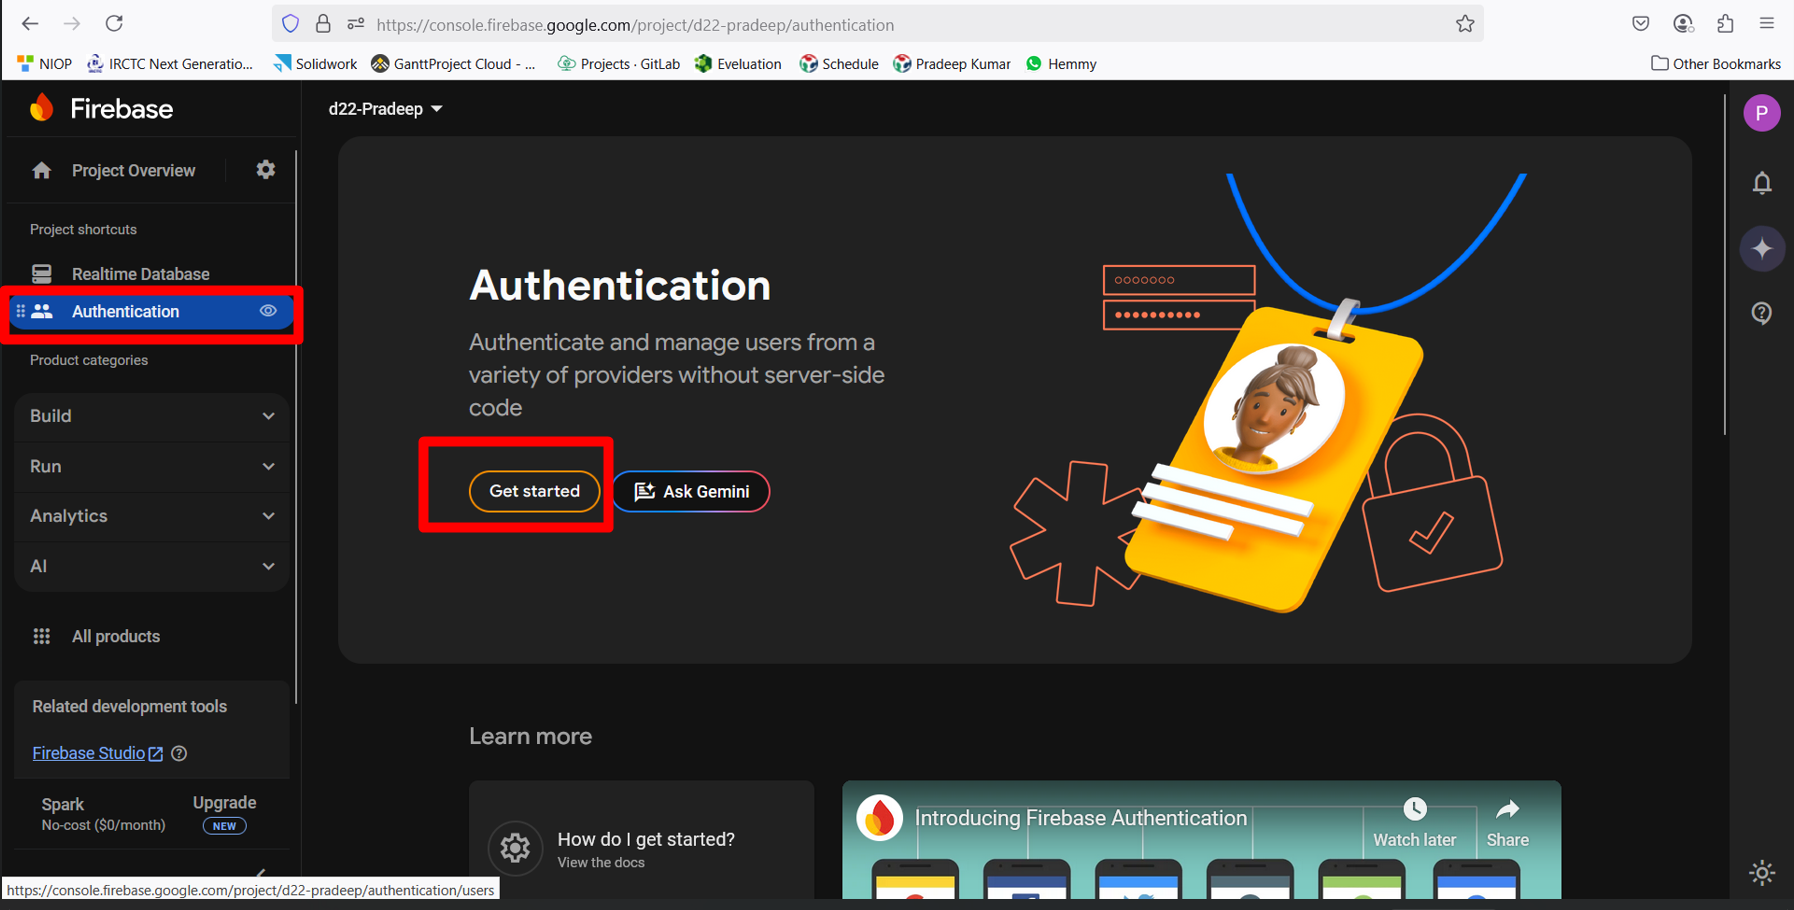
Moving ahead, I navigated to the “Authentication” tab to configure how users would securely access the app.
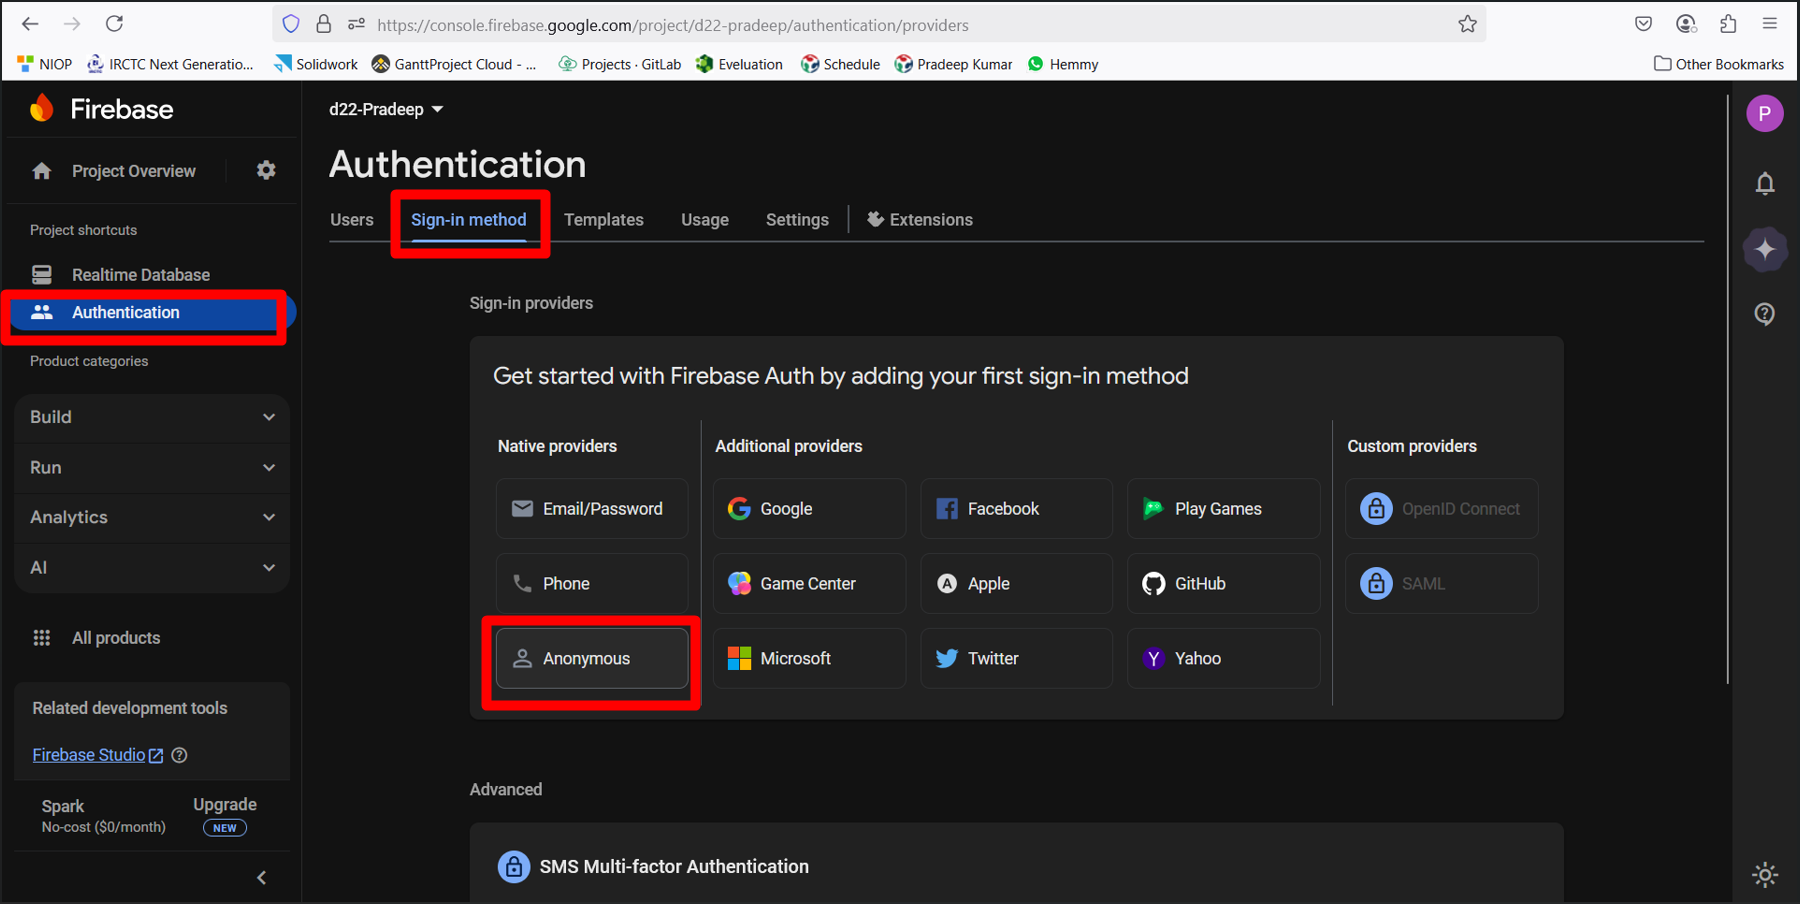
Under Authentication > Sign-in Method, I selected the “Anonymous” sign-in option, which allows users to interact with the app without needing to register.
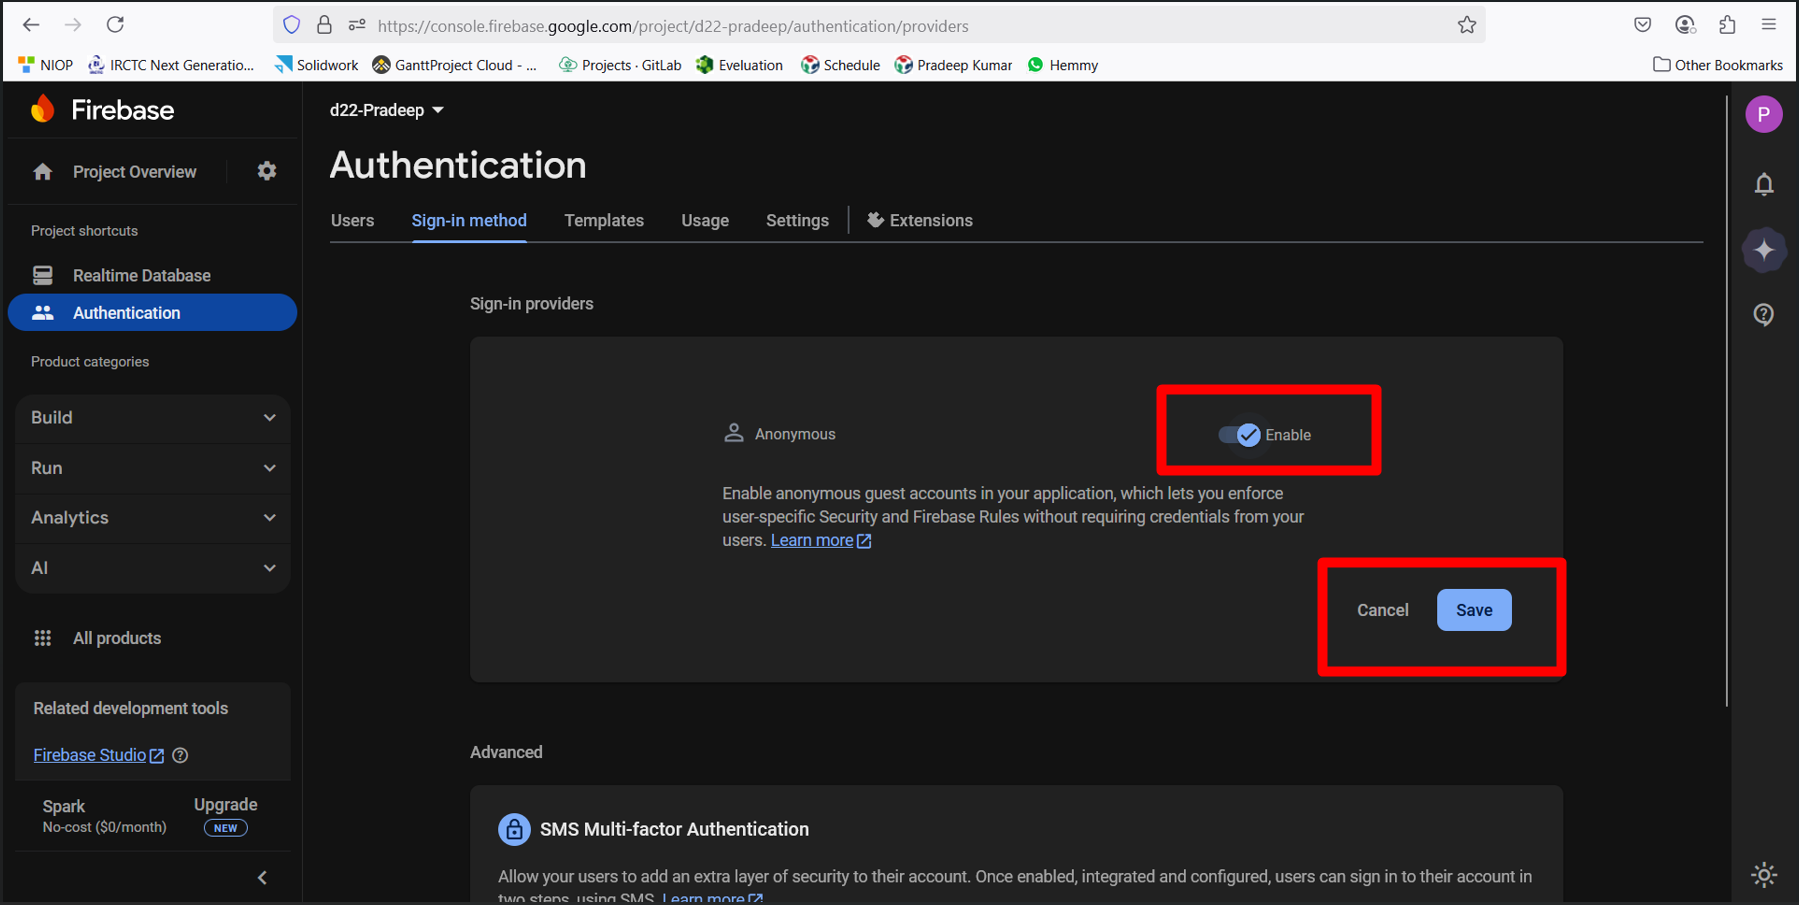
After enabling the anonymous login option, I saved the settings by clicking on “Save,” which activated the authentication module for my project.
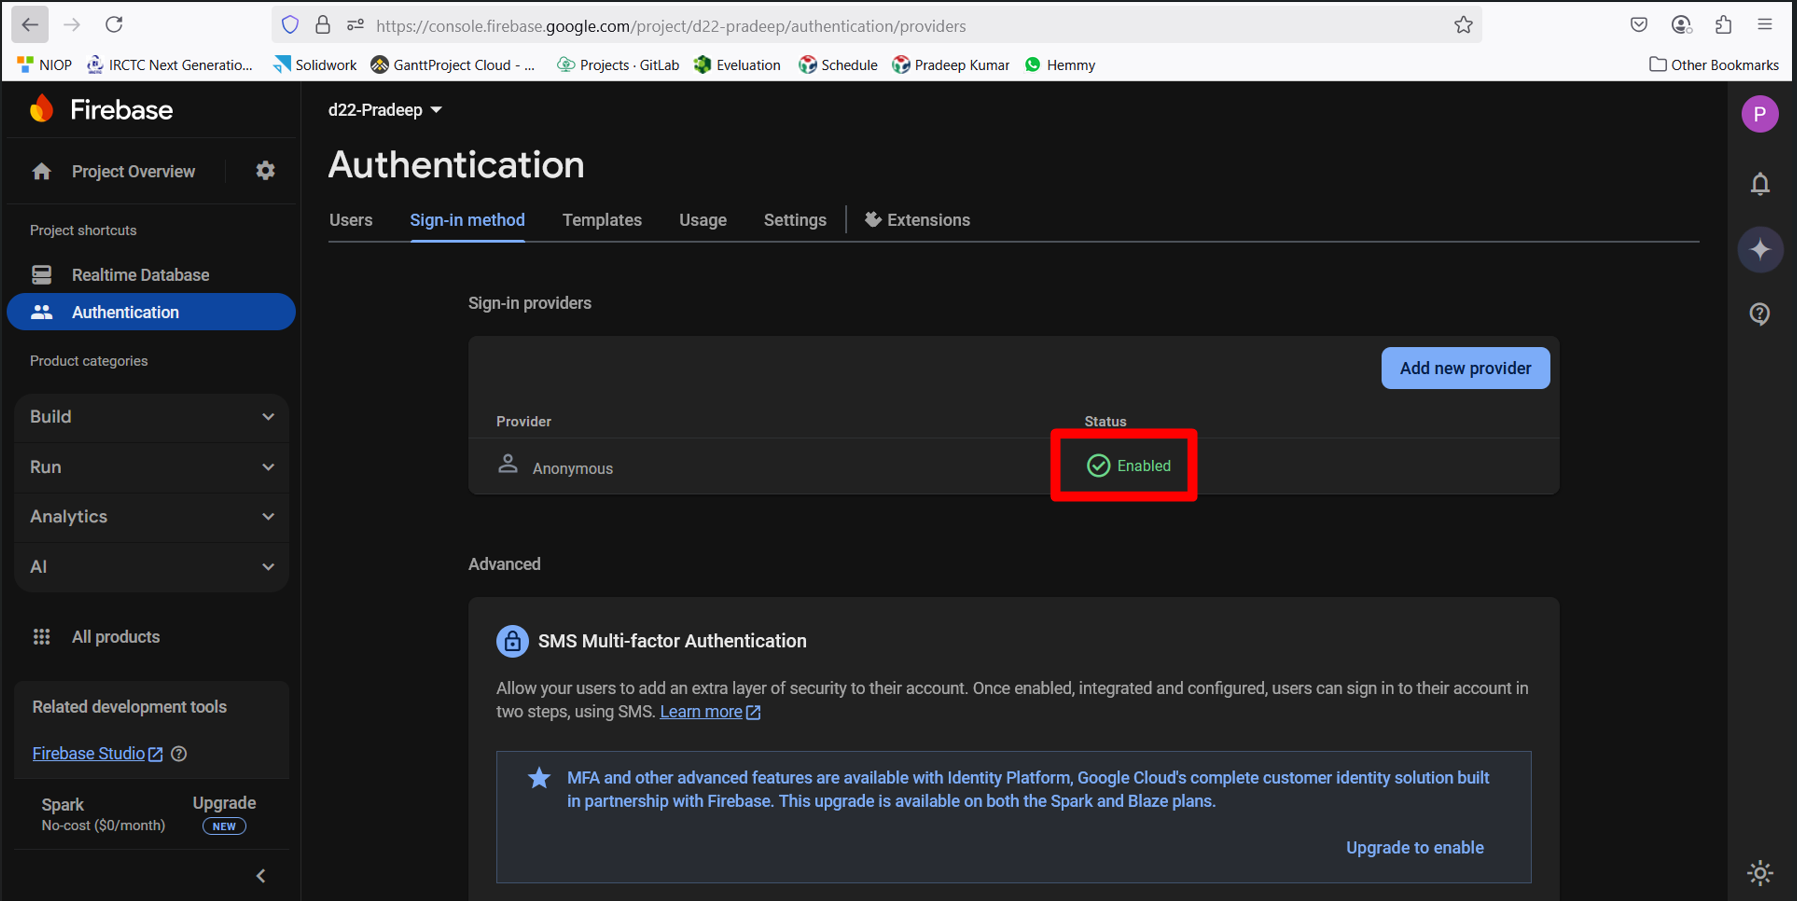
Following these steps, Firebase Authentication was successfully enabled, allowing me to manage user sessions and protect app resources.
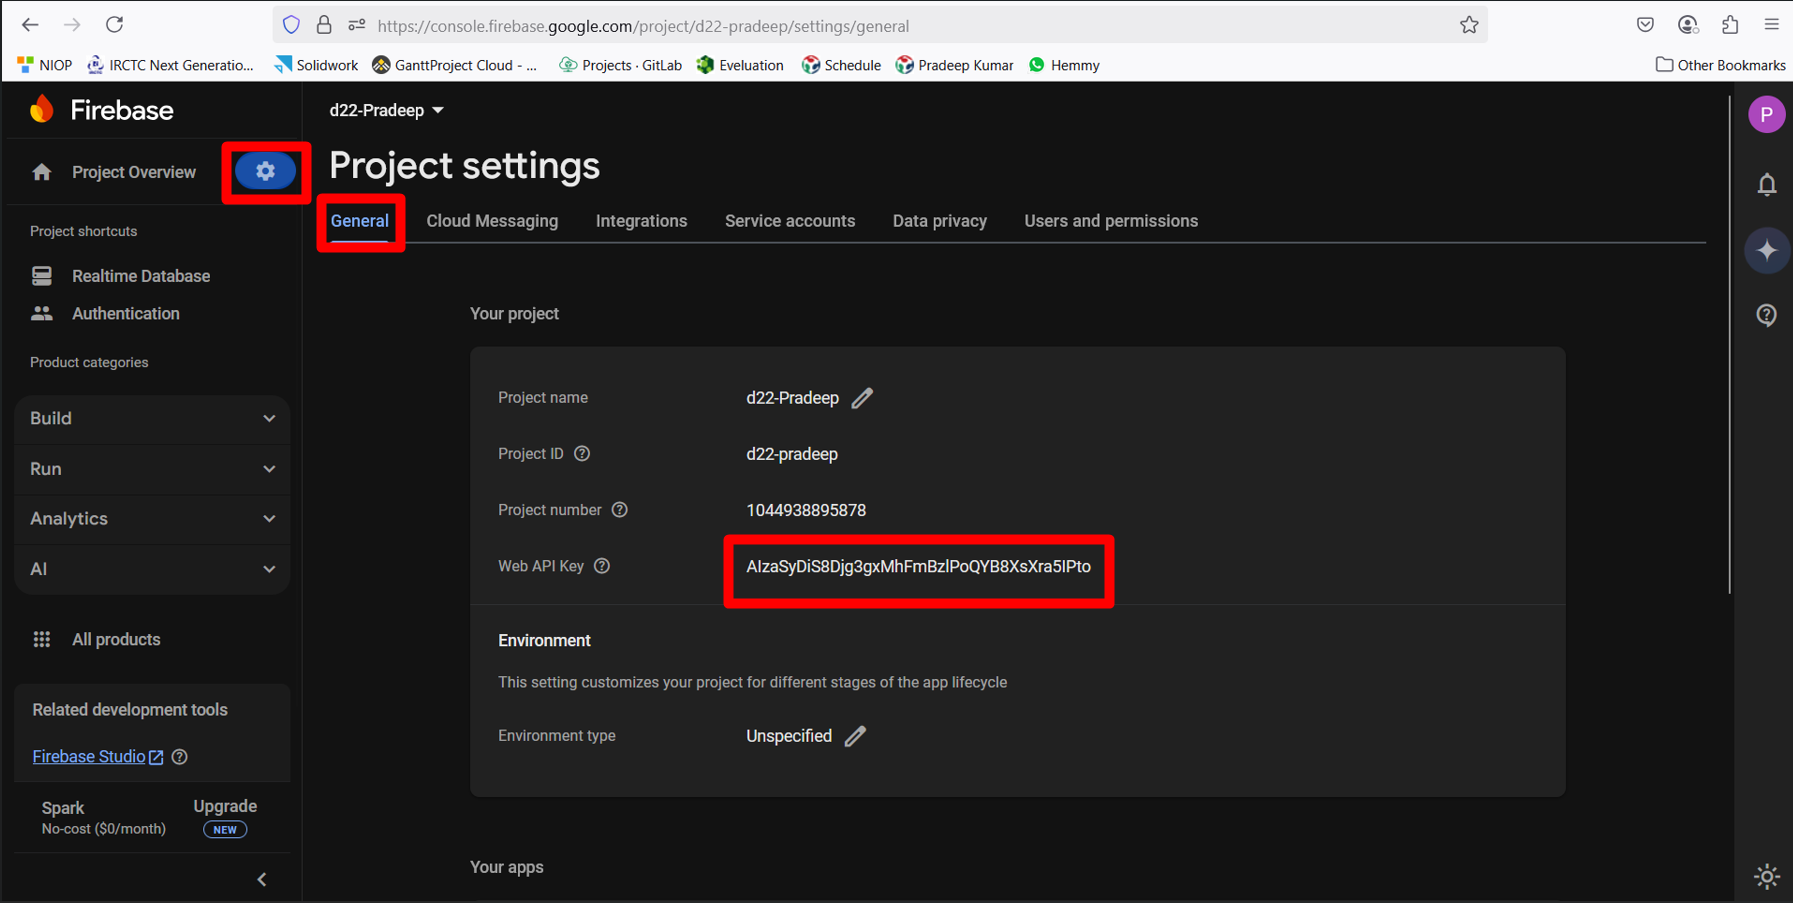
To retrieve the API key and other essential identifiers, I went to the Project Settings by clicking the gear icon next to “Project Overview.” In the General tab, I found my Web API Key and other details required for integrating Firebase into my code.
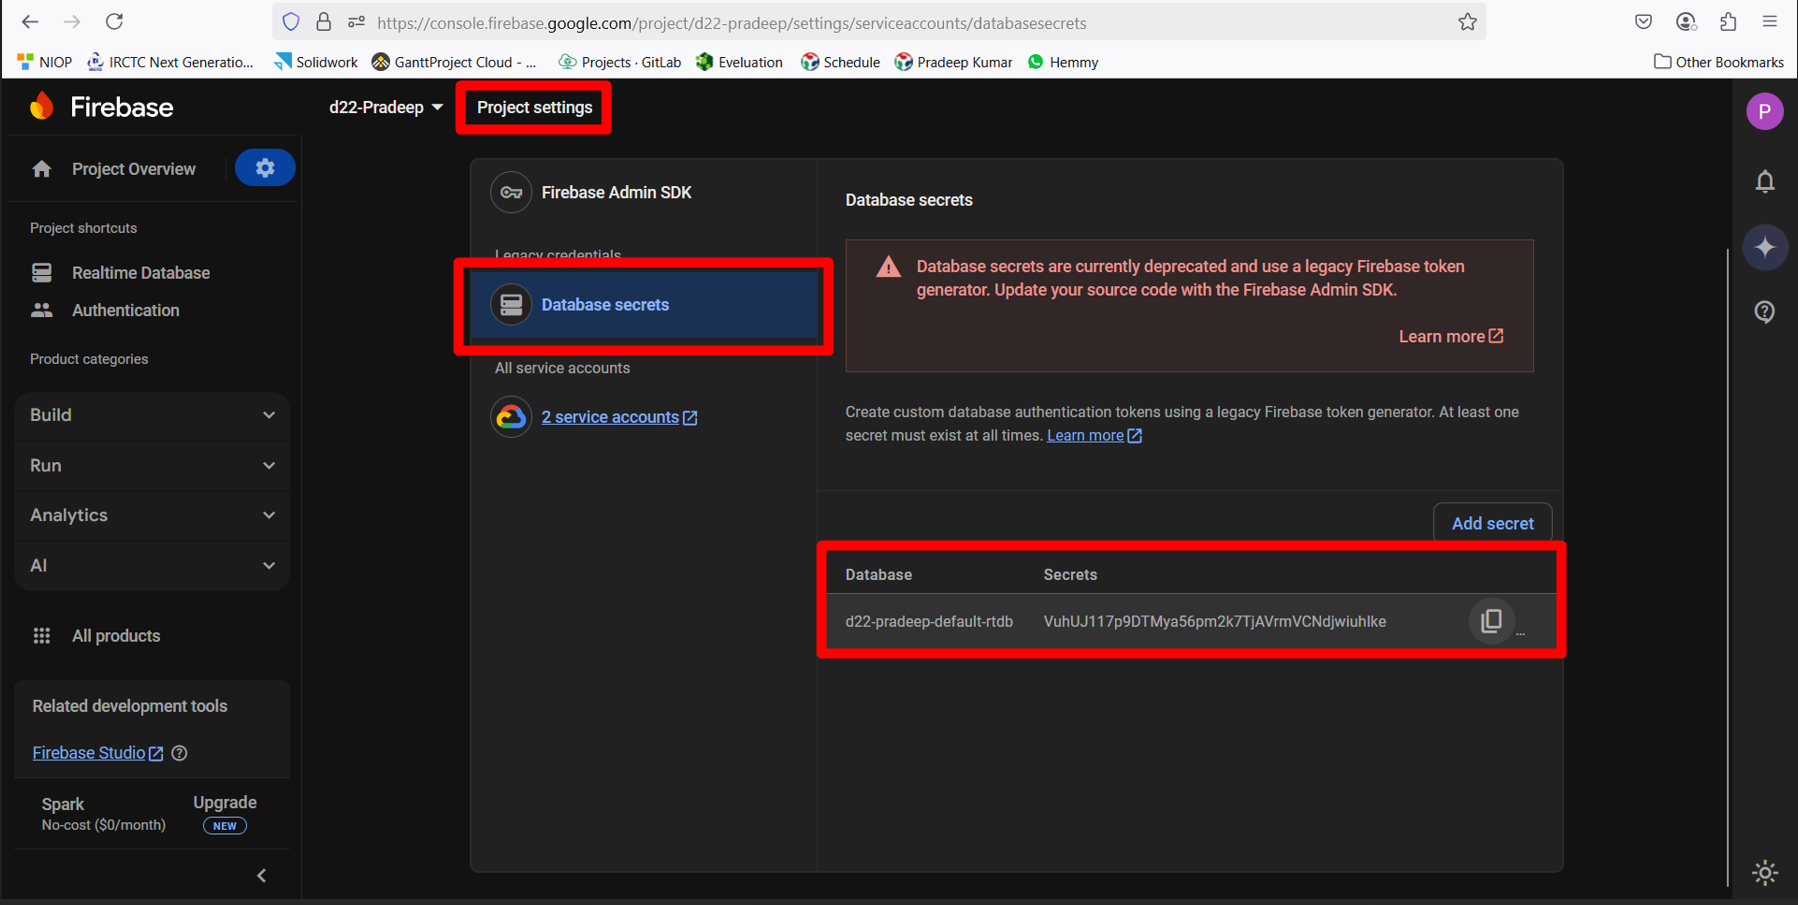
Additionally, within the Database > Rules section, I could verify and update my access control settings. My unique database endpoint (URL) was also visible there for use in the application's frontend/backend integration.
MIT App Inventor is a free, easy-to-use, blocks-based programming platform developed by the Massachusetts Institute of Technology (MIT) that allows anyone, even beginners and children, to create fully functional mobile apps for Android and iOS devices. It uses a visual drag-and-drop interface that makes learning to code simple and engaging, helping users quickly build apps without needing advanced programming knowledge. Designed to promote creativity, problem-solving, and digital empowerment, MIT App Inventor is used by millions of people worldwide to turn ideas into real-world applications that can positively impact their communities.
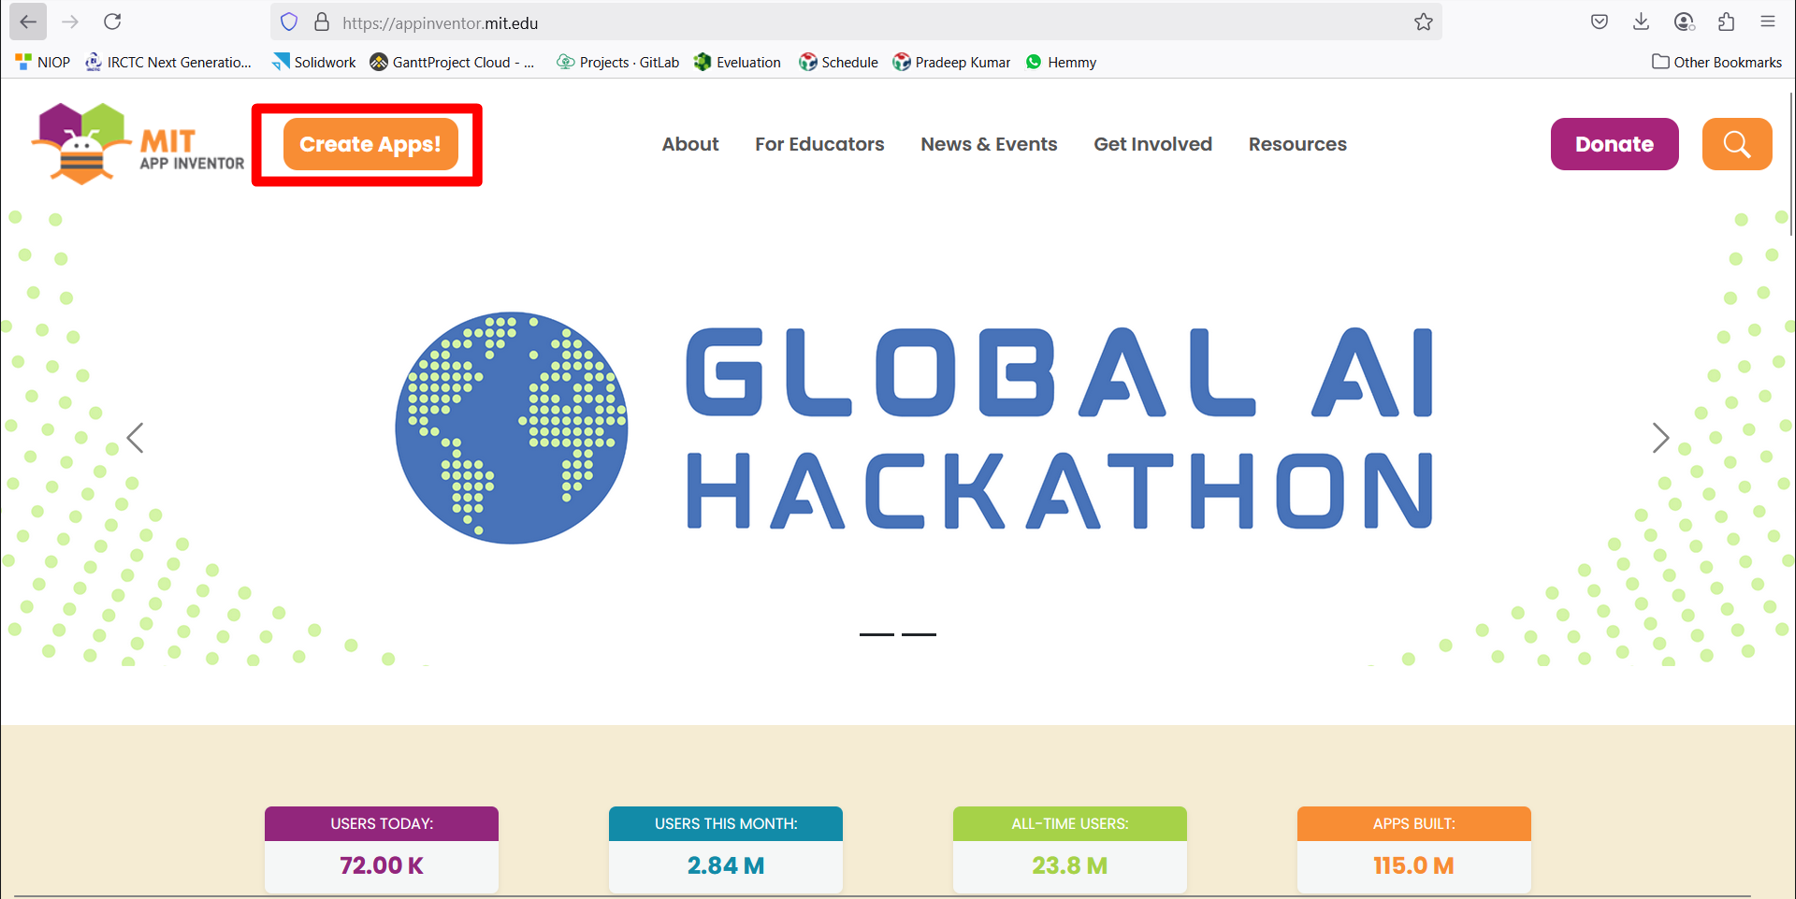
To create the MIT Inverter, I first opened the MIT App Inverter website, where I found the option to "Create Apps" and clicked on it.
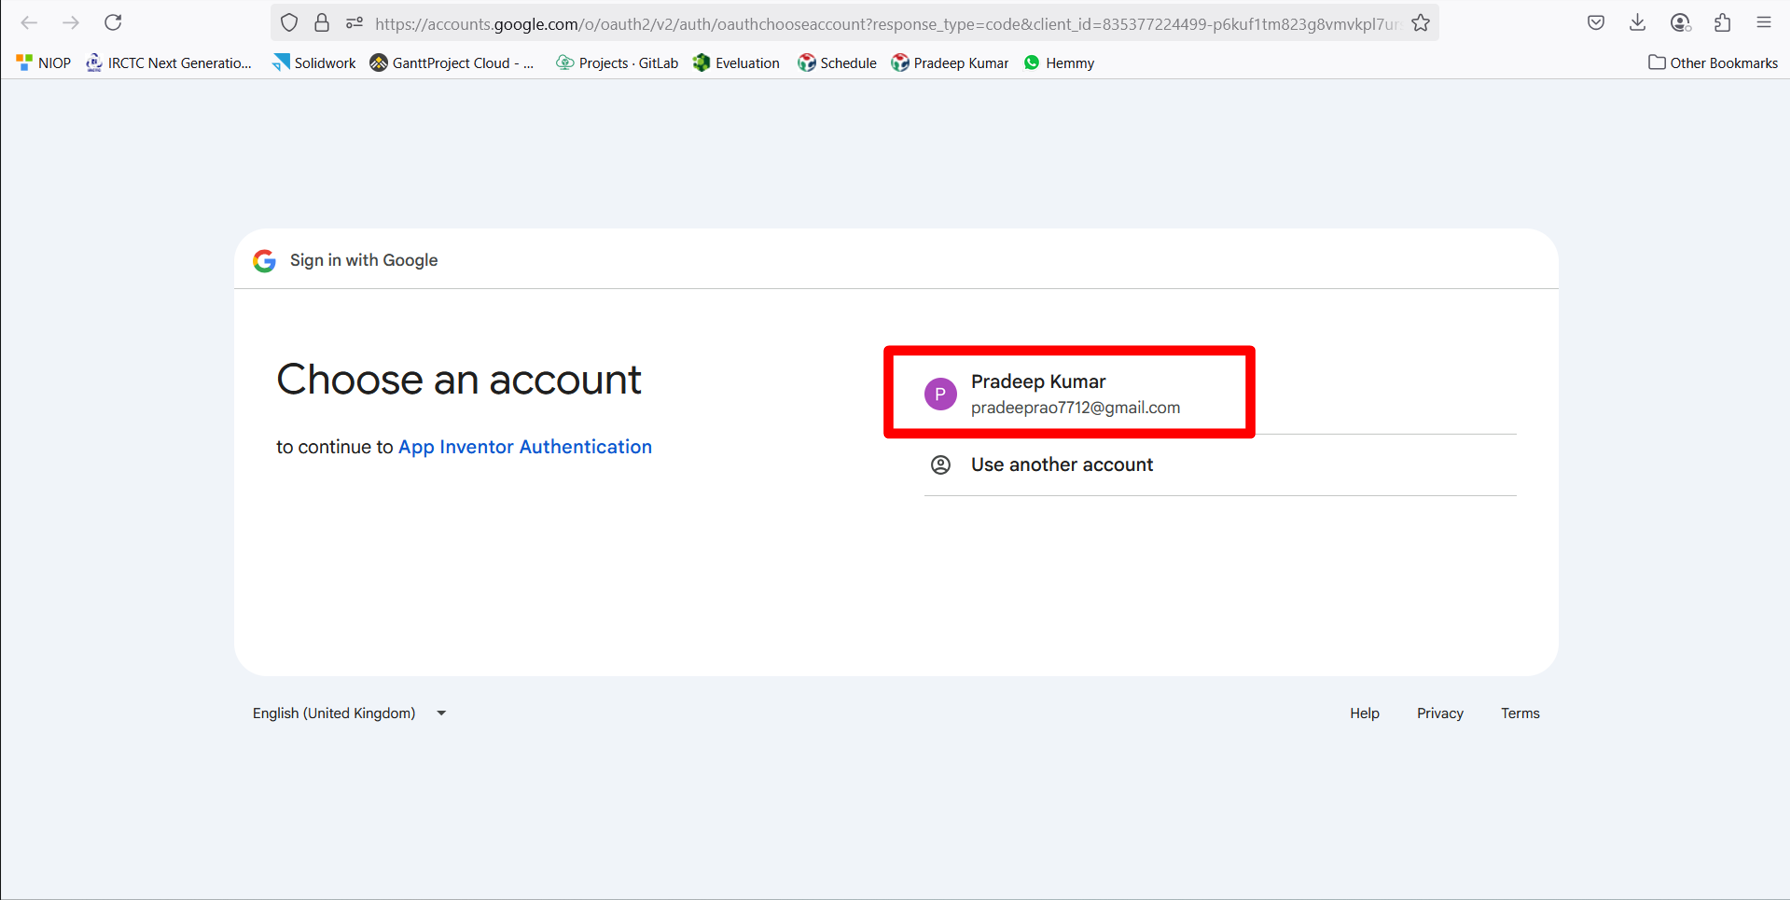
I created an account using my personal email ID.
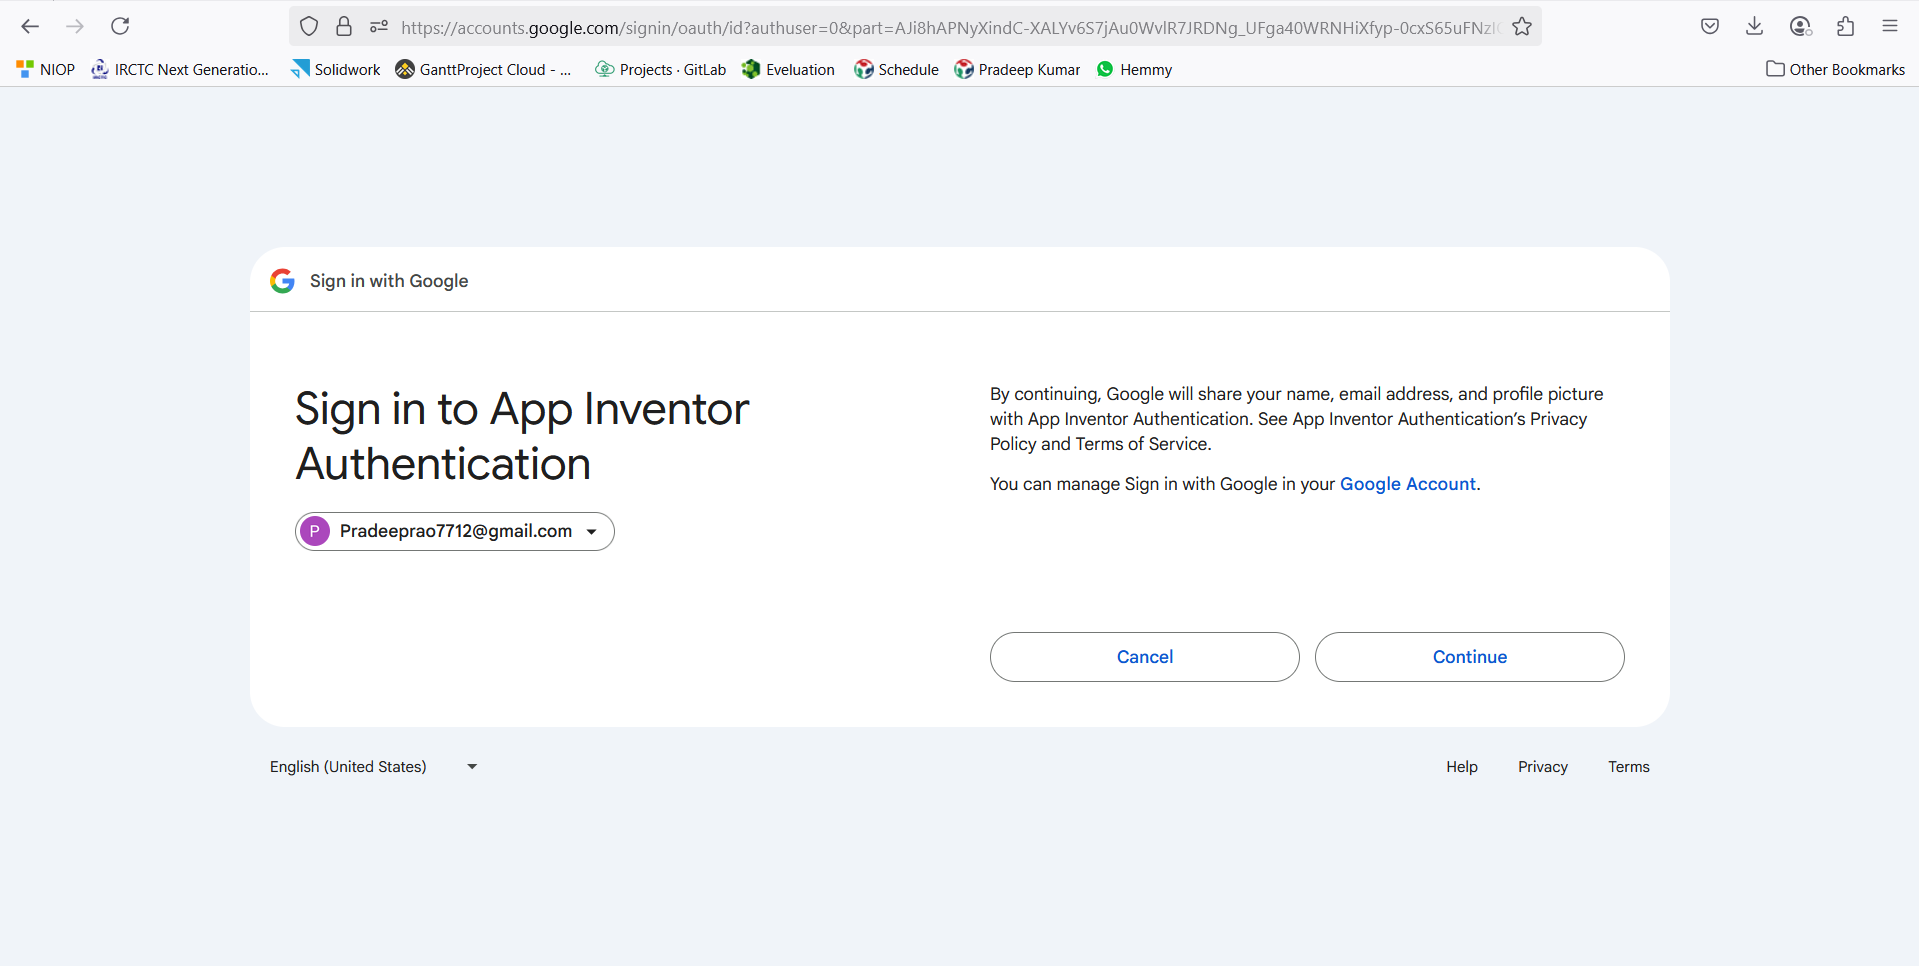
I clicked on the "Continue" button.
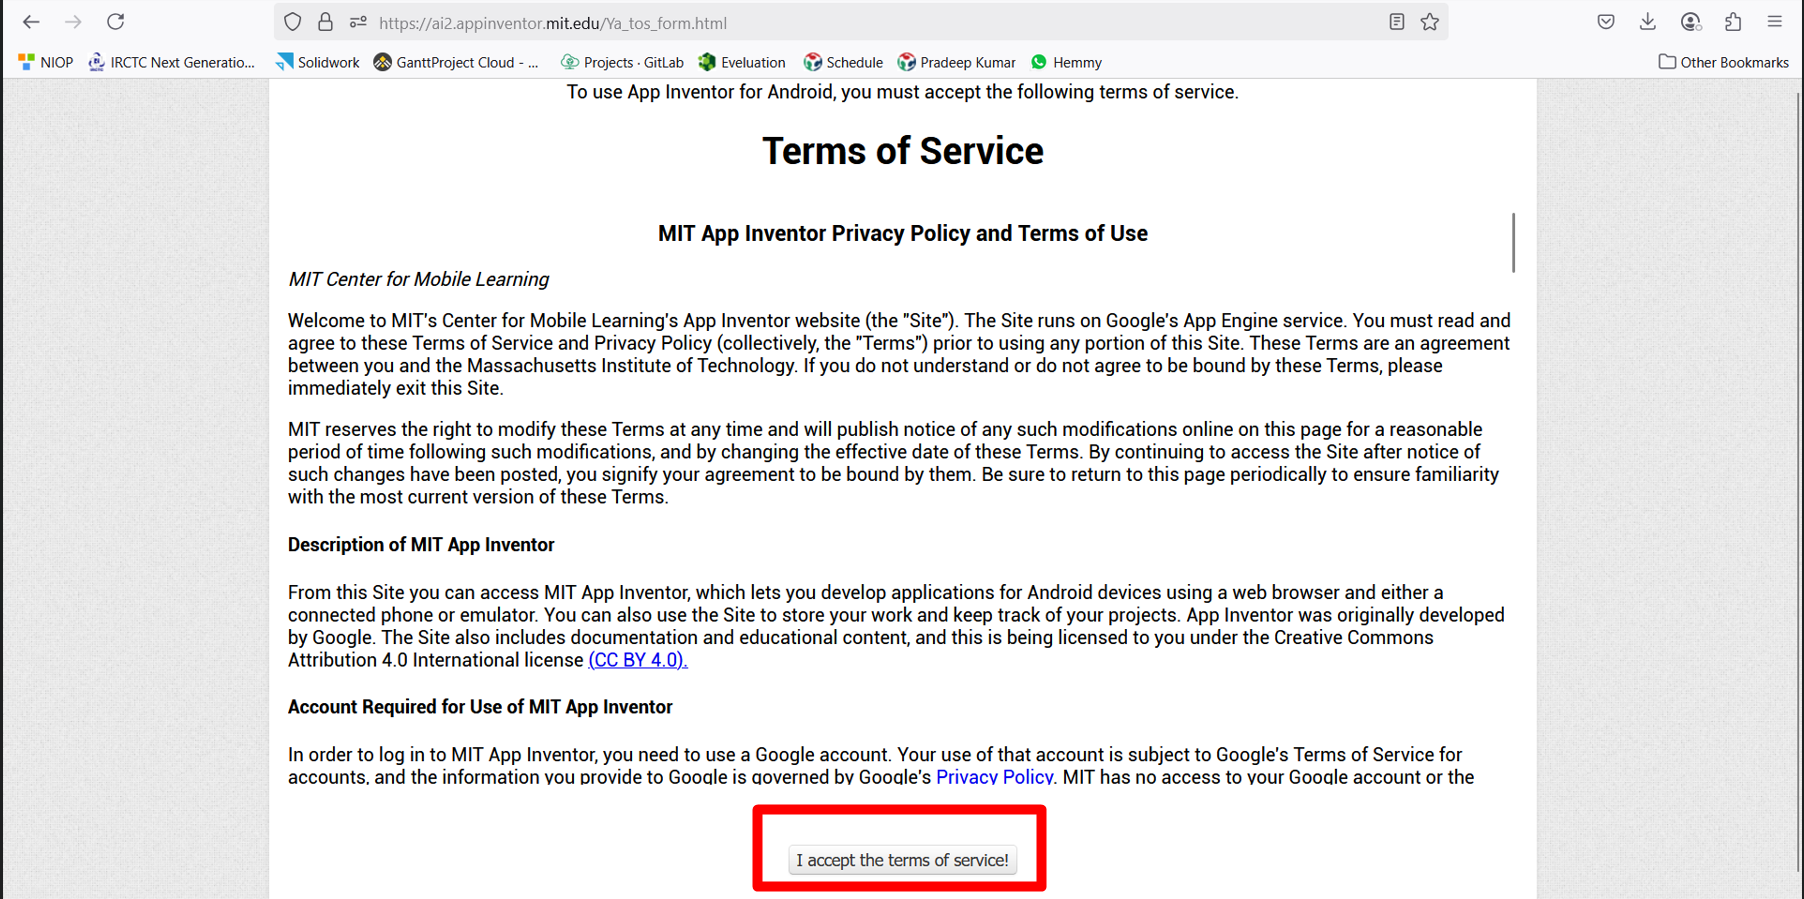
A page displaying MIT’s terms and conditions appeared, where I clicked on "Accept" to proceed.
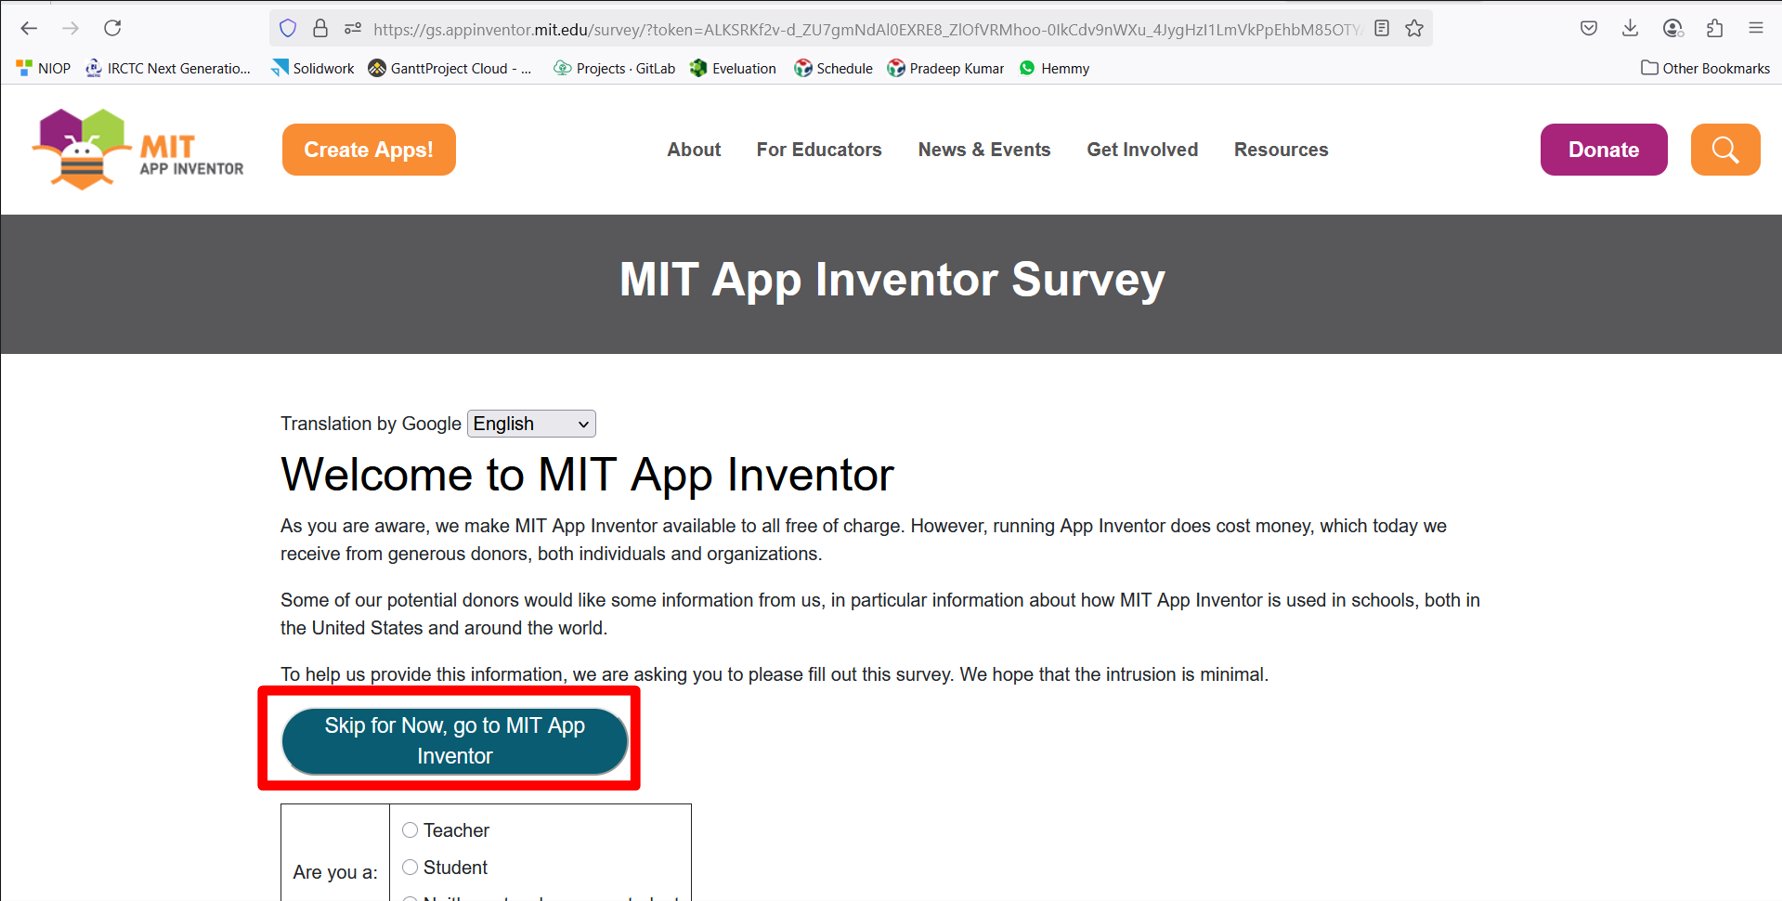
Next, a page opened where I selected "Skip for Now.
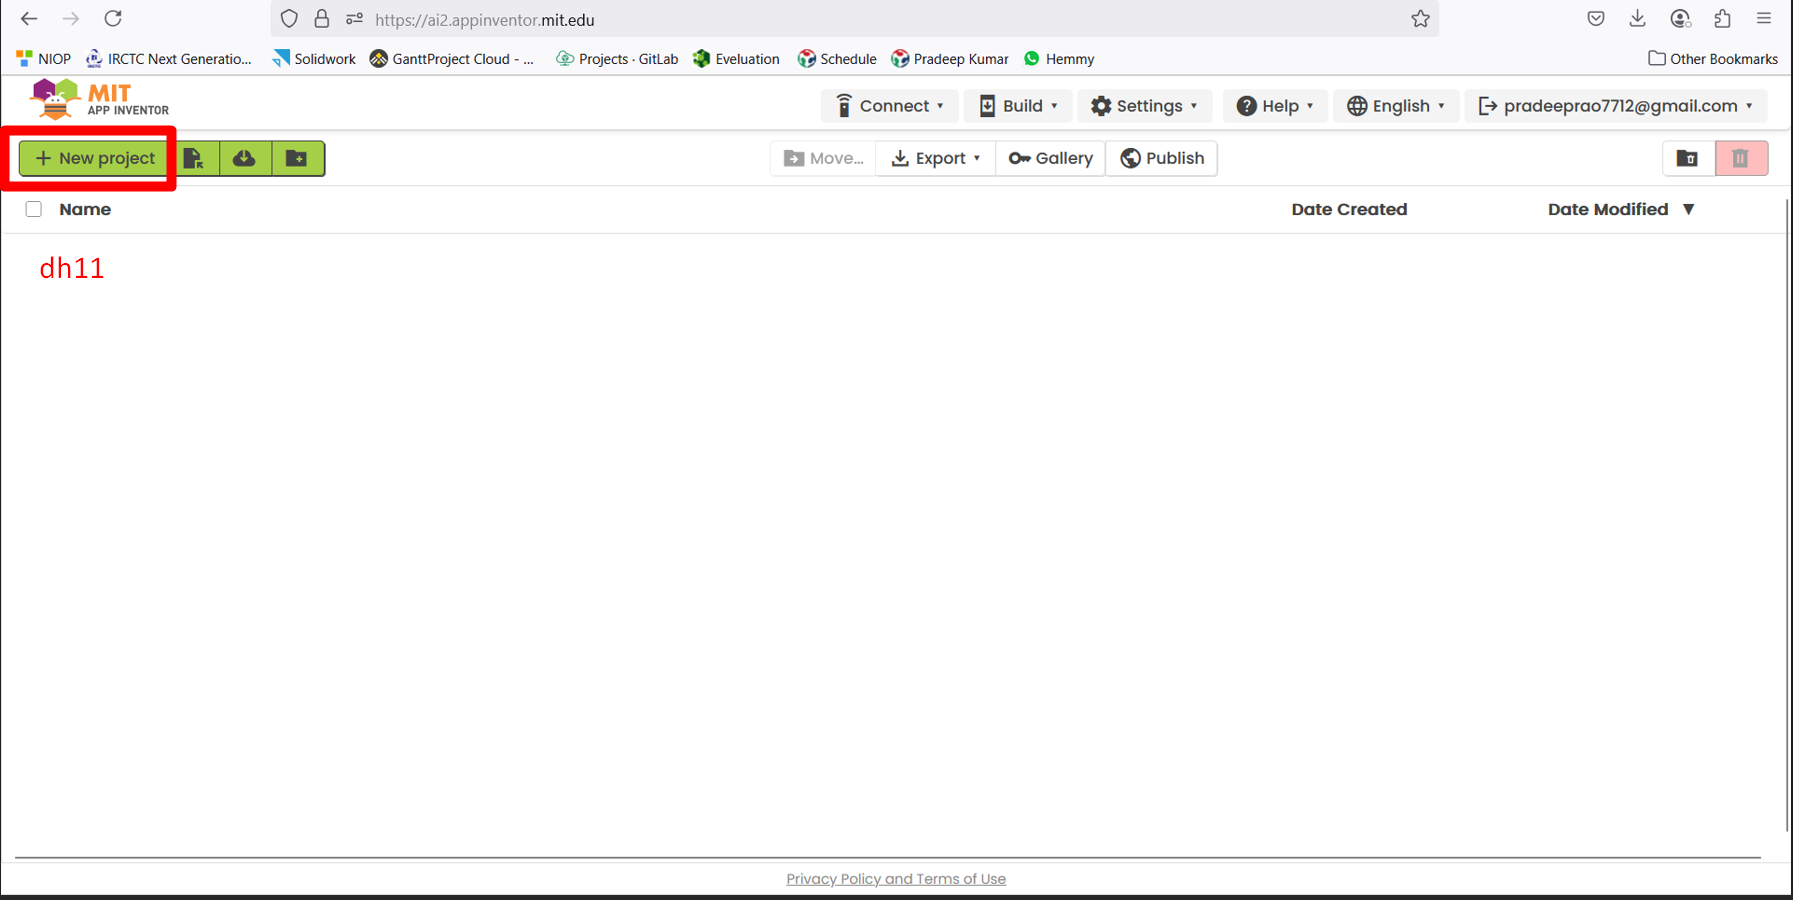
A new page appeared showing the project section. Here, I clicked on "New Project" and named my project "dh11."
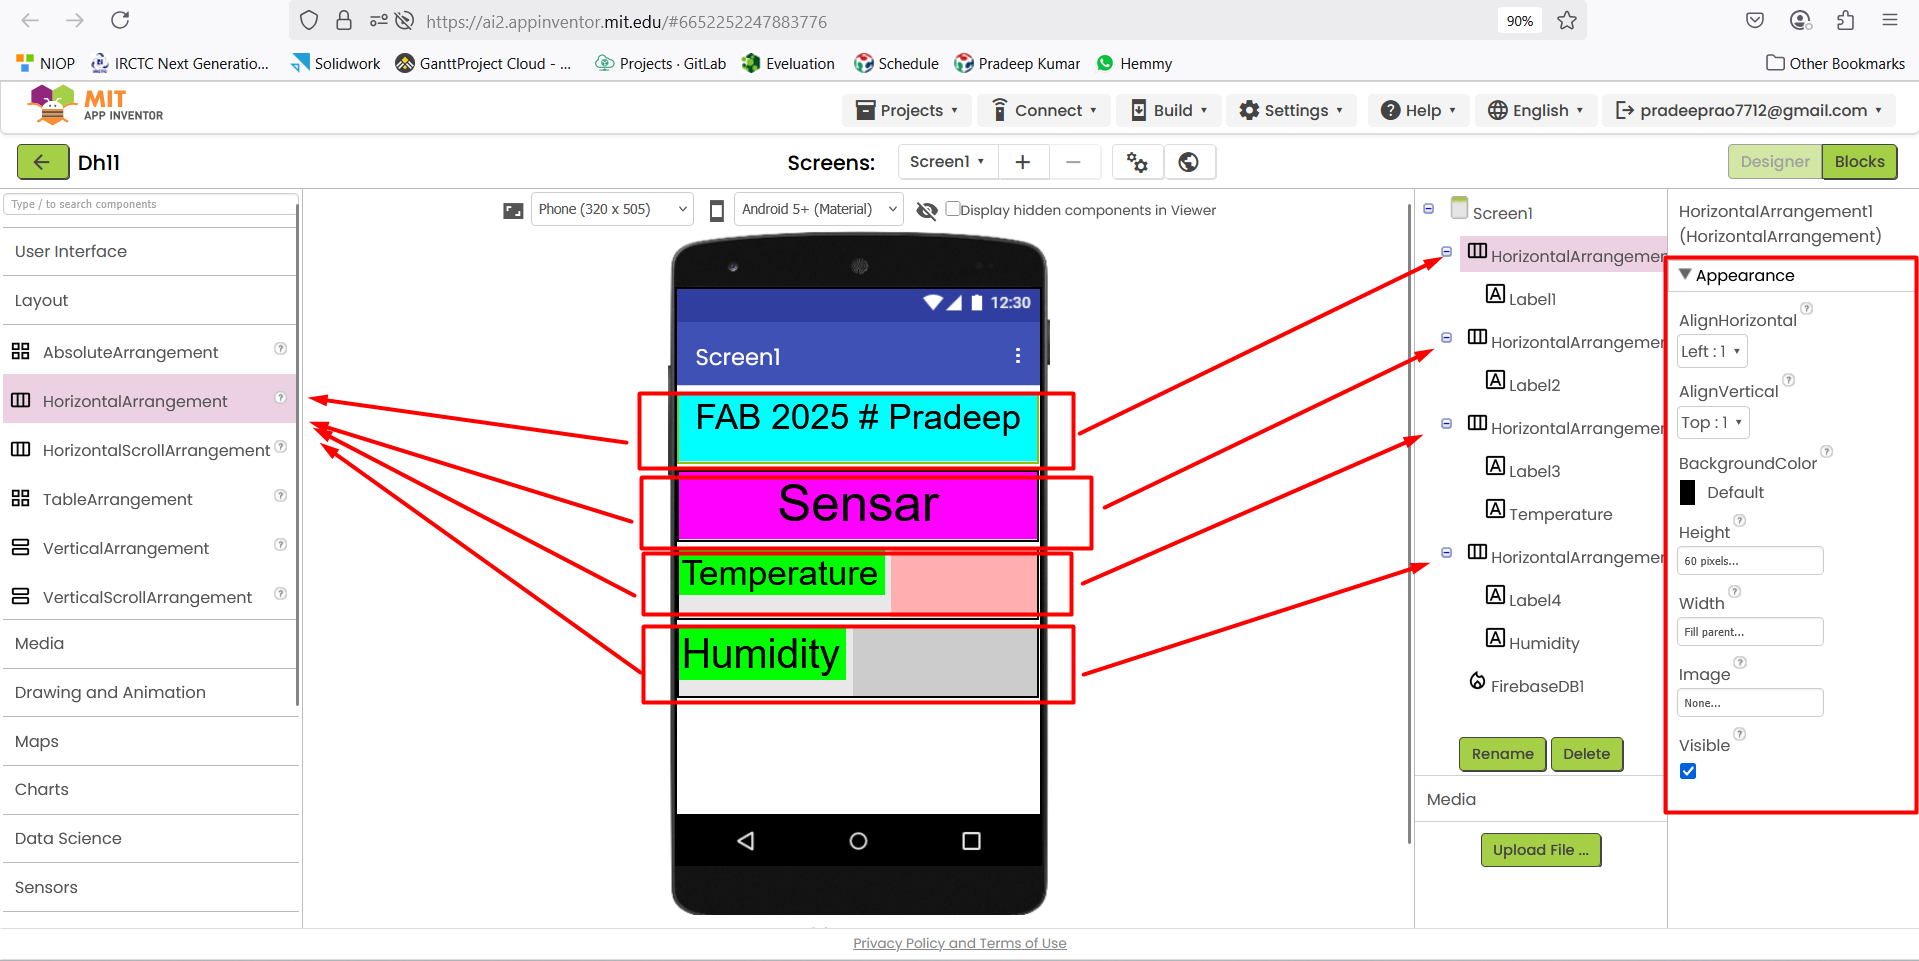
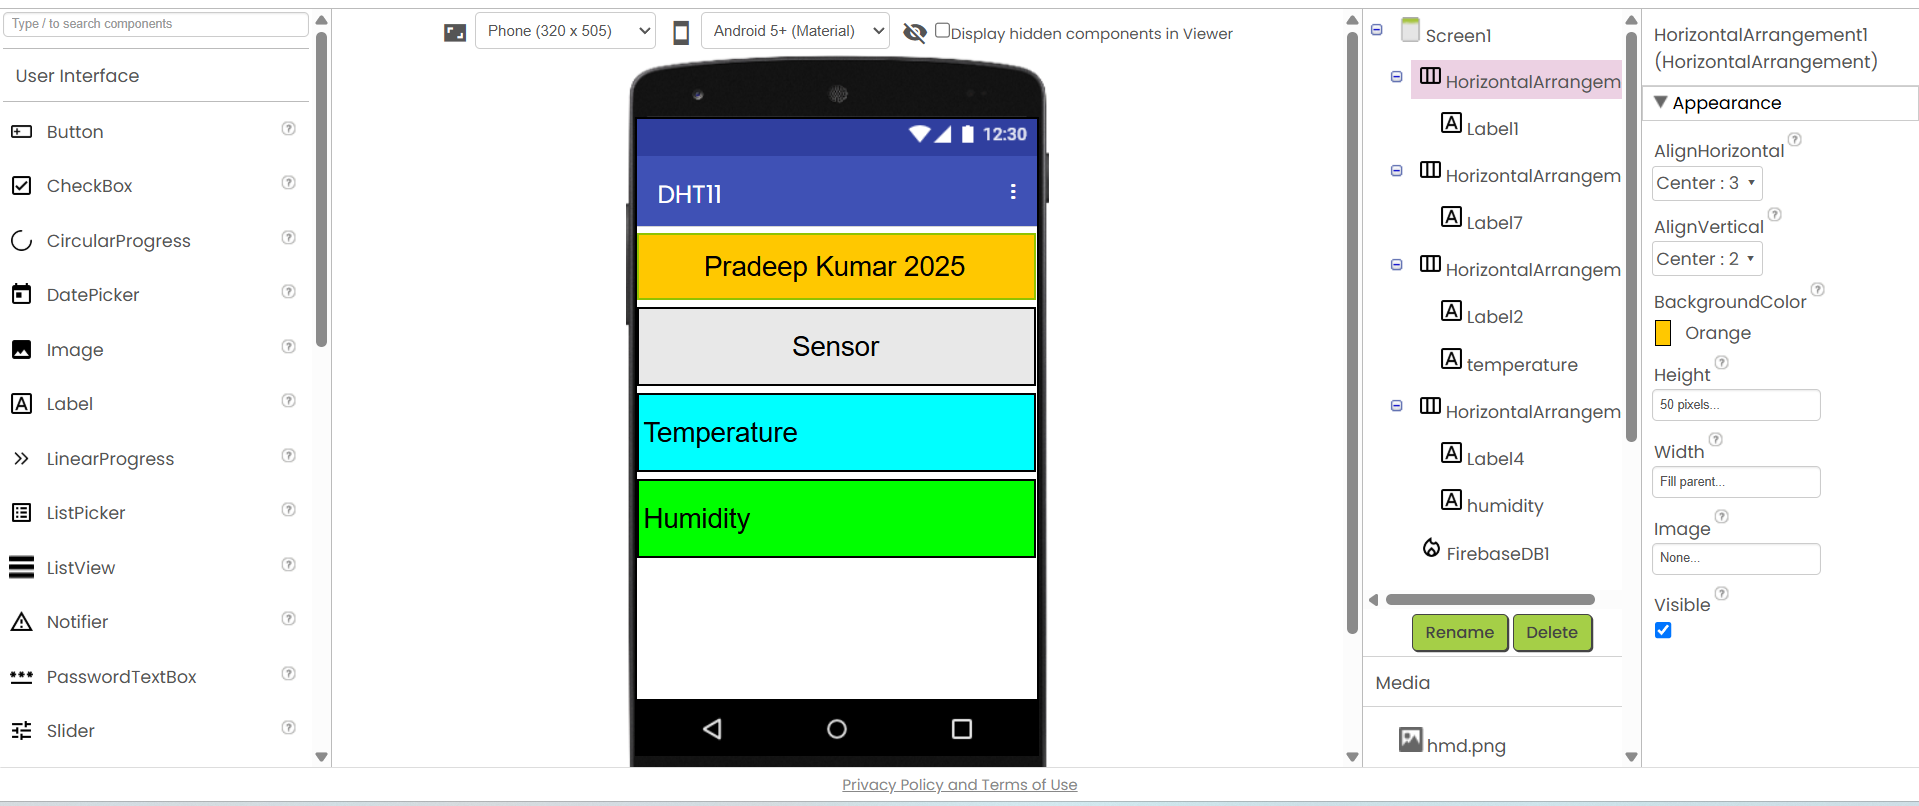
The view of my mobile application started to load, and I saw a screen appear. I first went to the layout section and clicked on "Horizontal Arrangement," which gave me four horizontal arrangements.
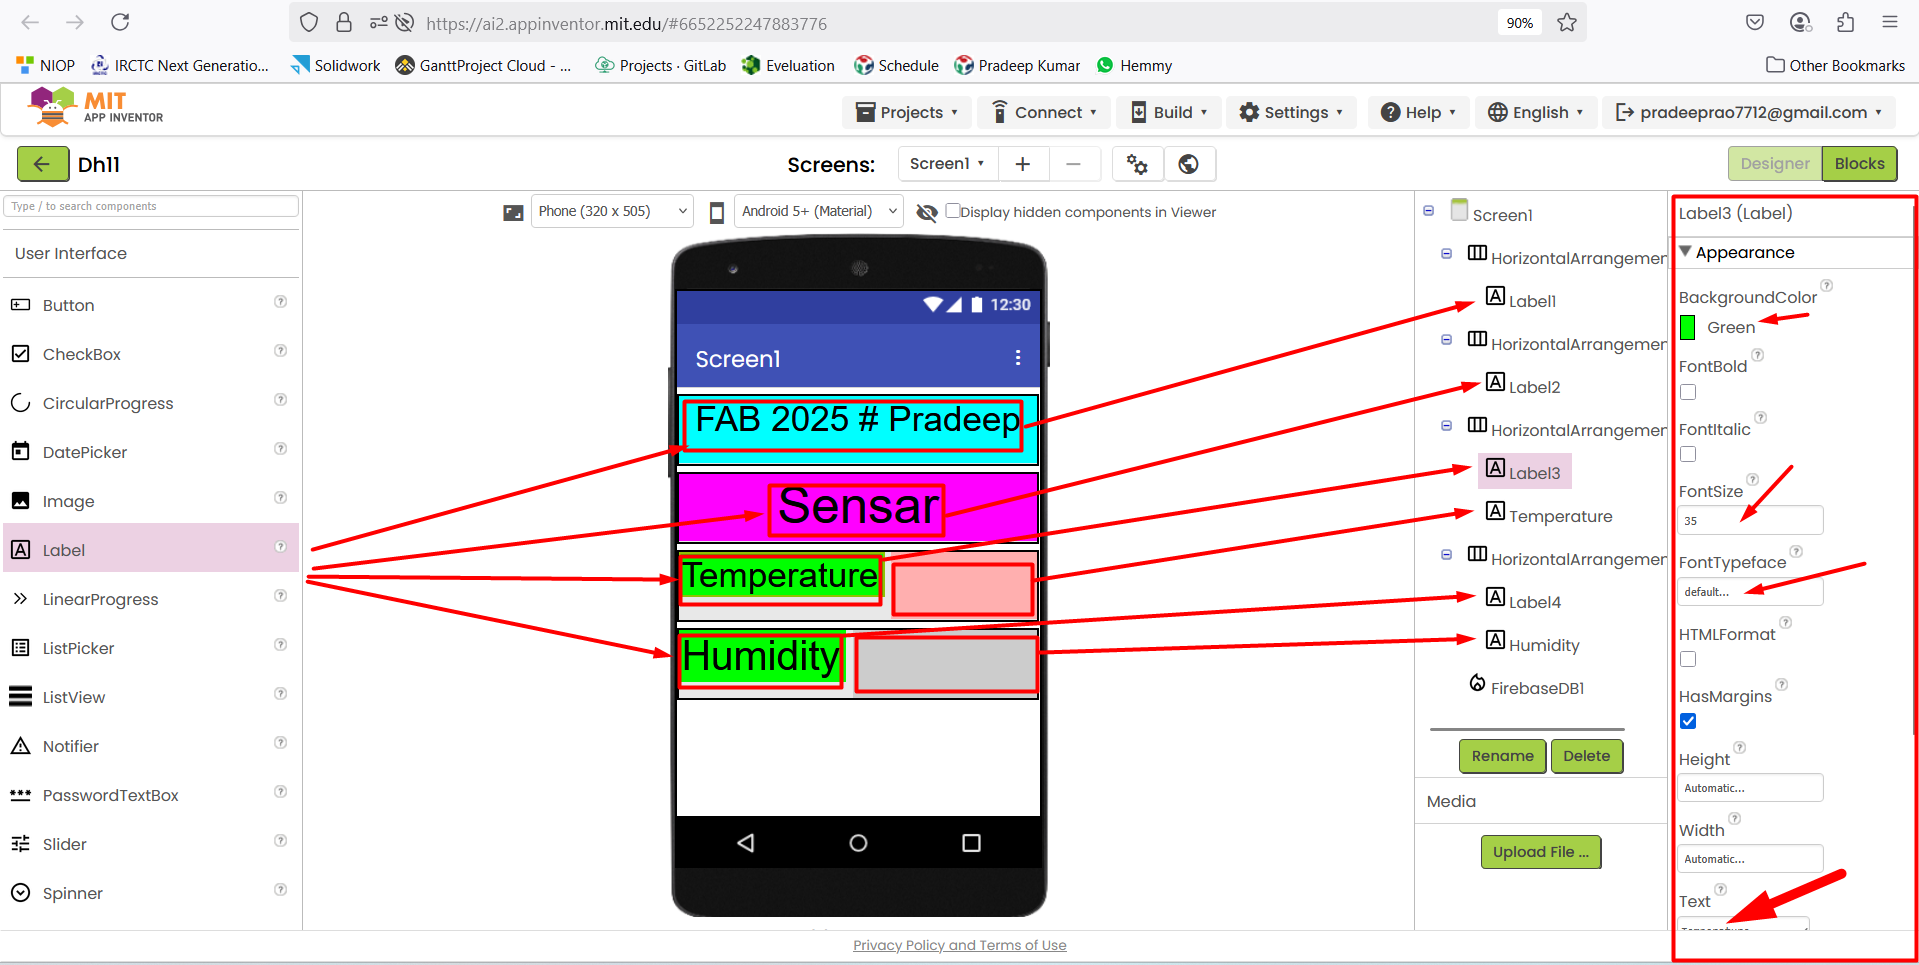
Similarly, I added four labels where I entered names for each.
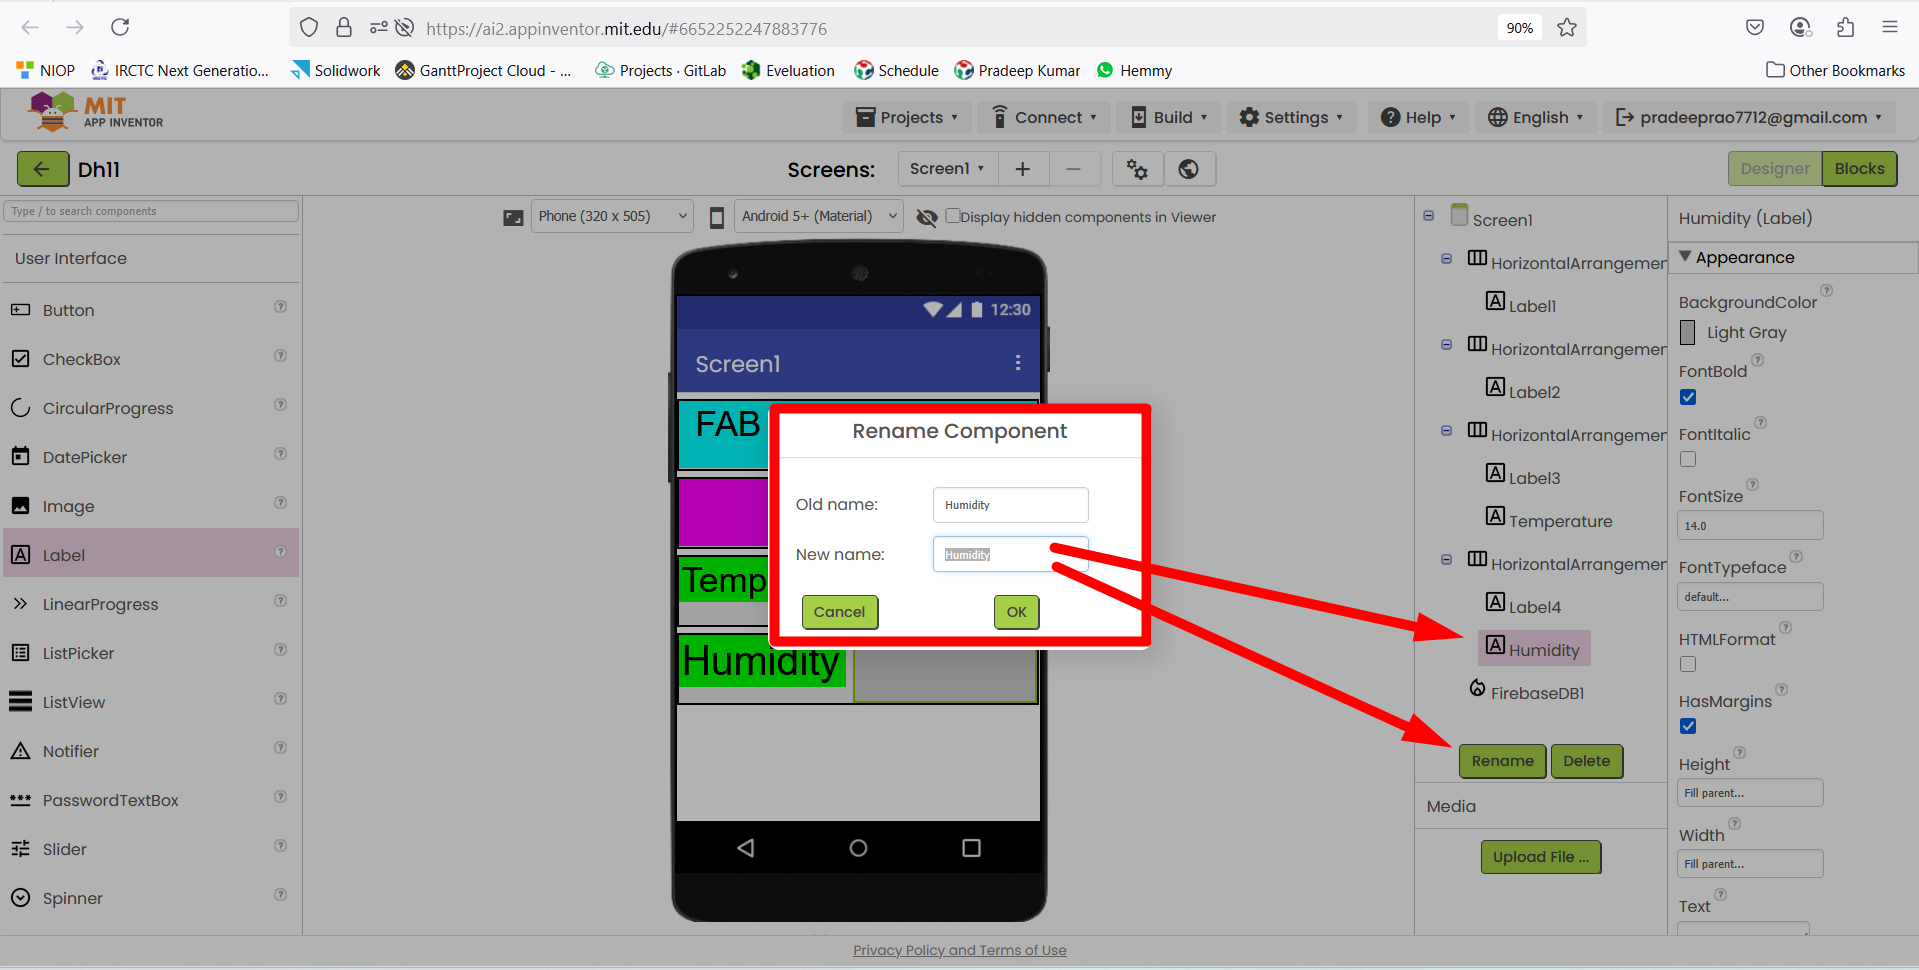
I used two labels to display temperature data from the temperature sensor, and I updated the labels with appropriate names to reflect the sensor readings.
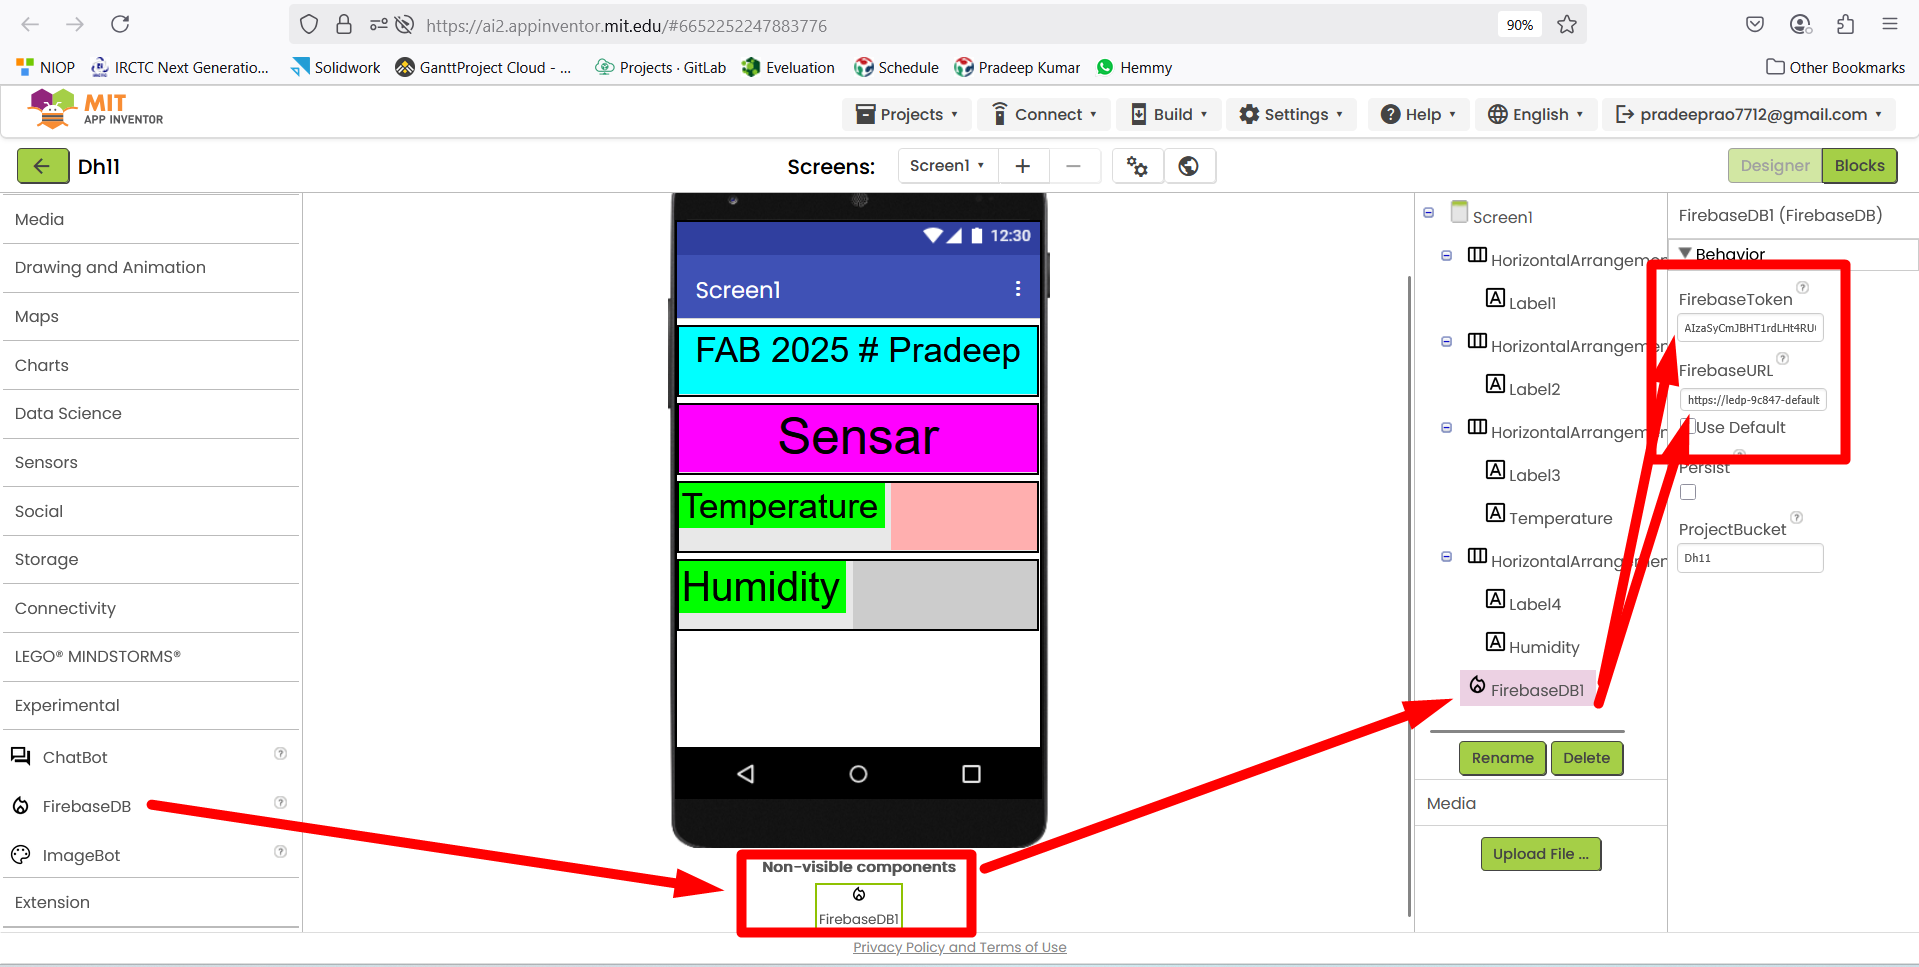
I then moved down to the "experimental" section and clicked on Firebase DP. In this section, I entered the Firebase token ID and URL.
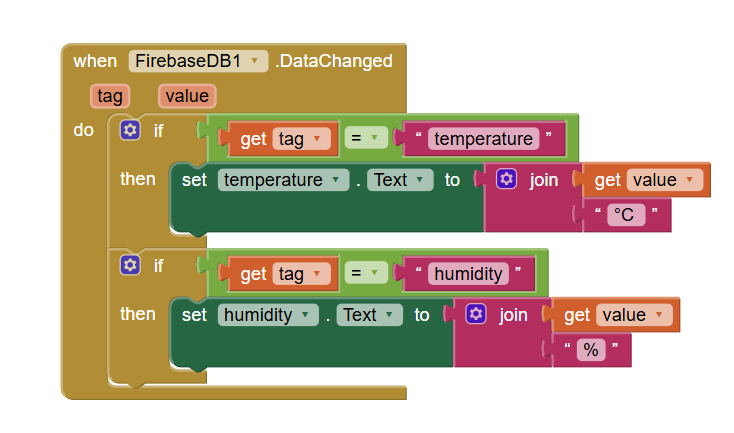
I took a block for coding and set up the block with the necessary configurations.
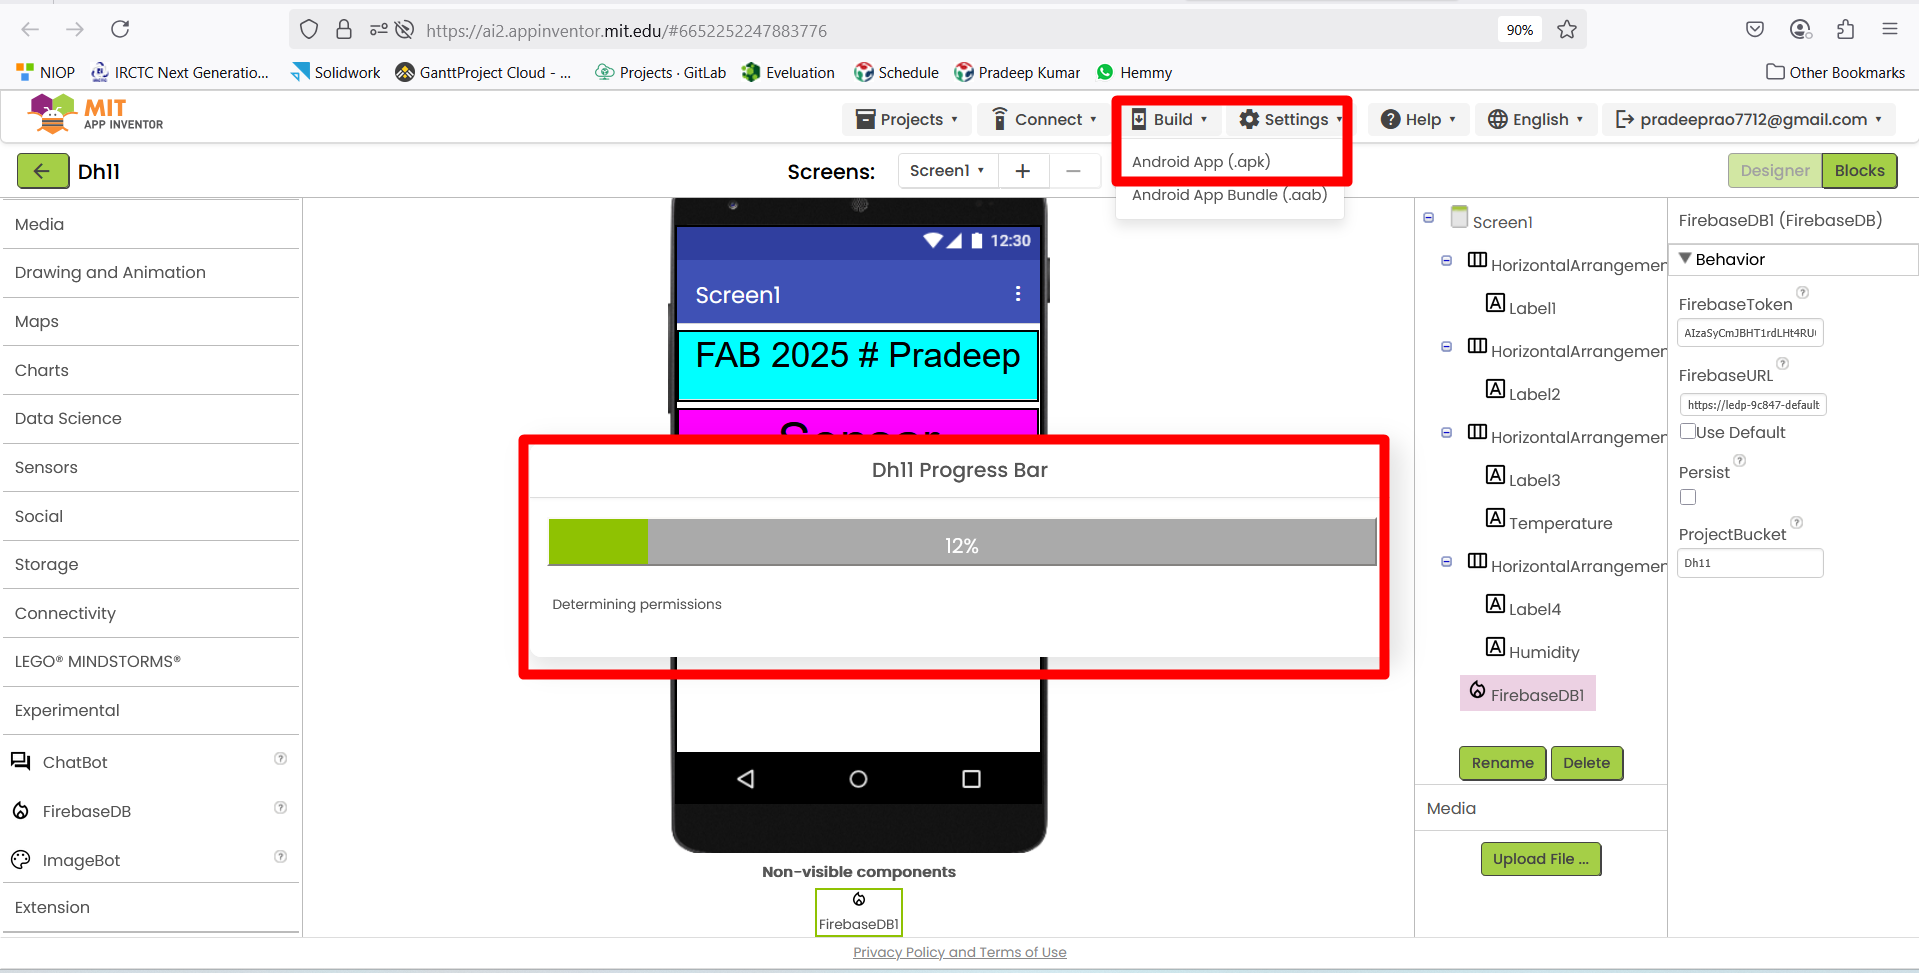
After completing the setup, I clicked on the "Build" option, then selected "Android App APK." My dh11 project started processing in the progress bar, ranging from 1% to 100%.
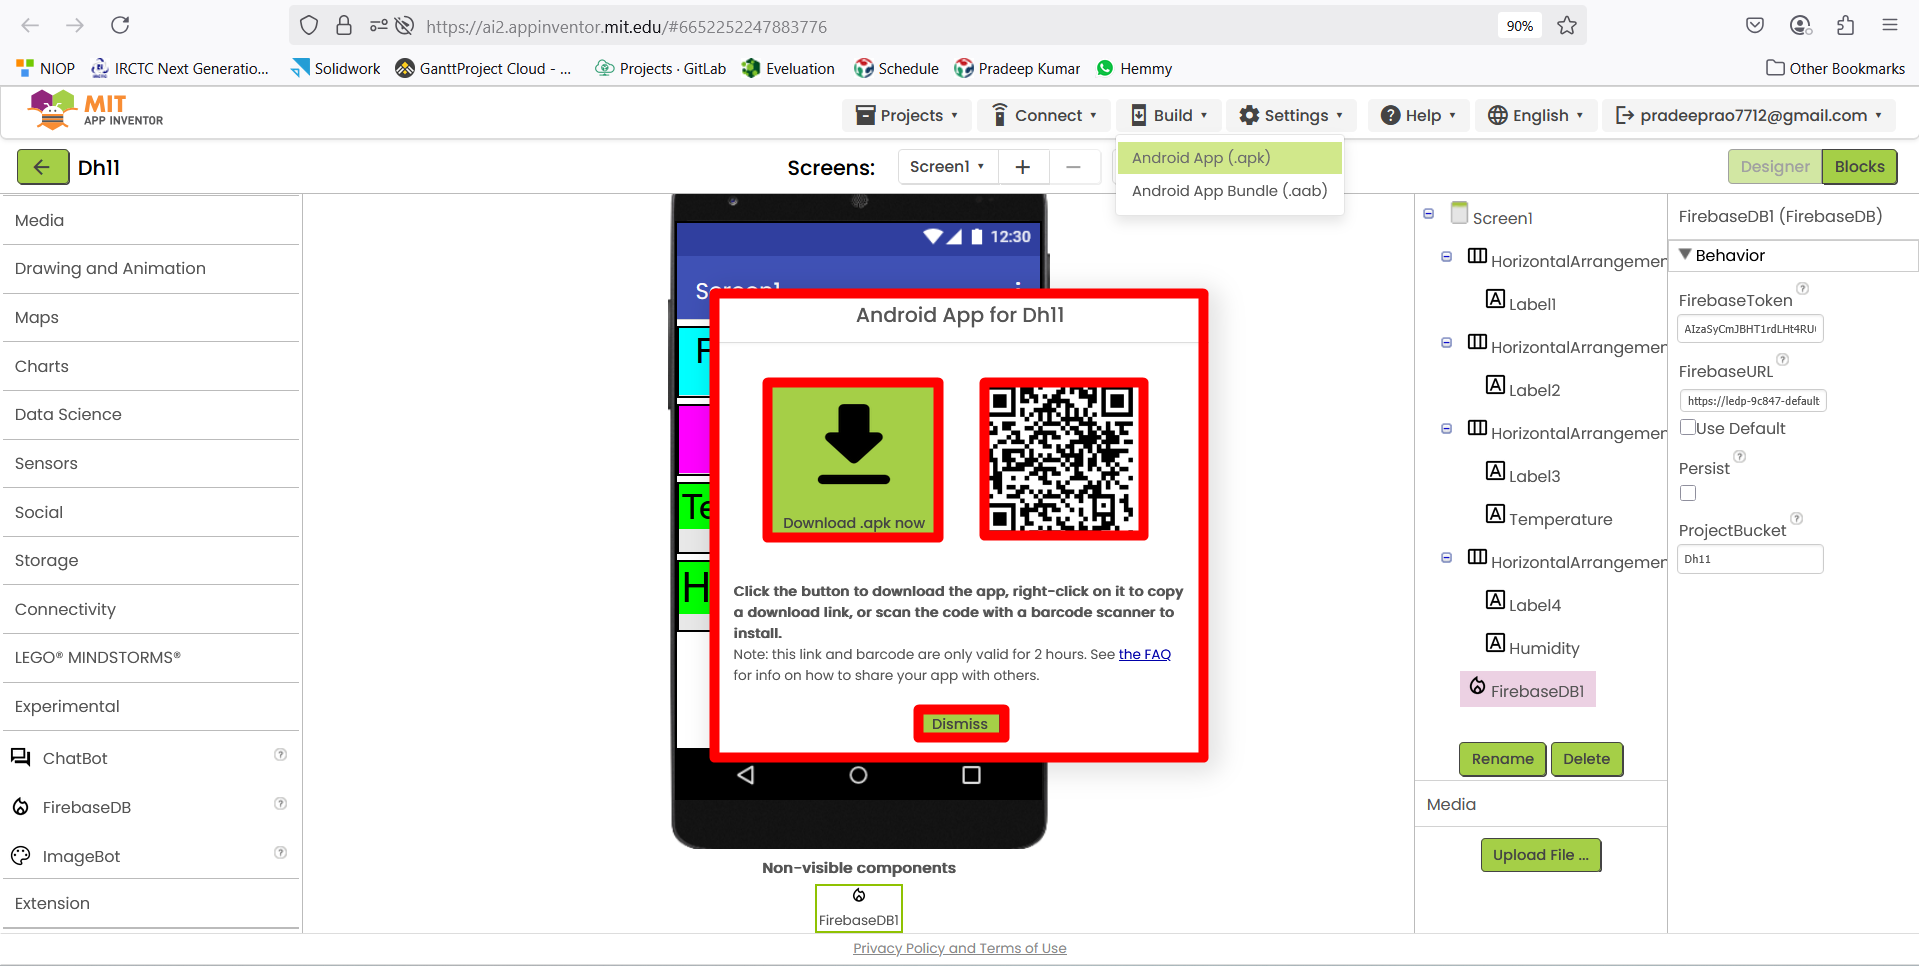
A small window popped up displaying the Android app for dh11. After scanning, the app could be downloaded, so I clicked on the "Downloading APK" option to download the file. The APK file was successfully downloaded, and I completed the process.
Initially, I began using the app, but I faced some issues with its functionality. To address these problems, I made several modifications, such as adjusting the color labels, text formats, and blocks to ensure consistent use of uppercase and lowercase letters throughout the interface. After implementing these changes and downloading the updated version, the app started functioning smoothly and met my expectations.
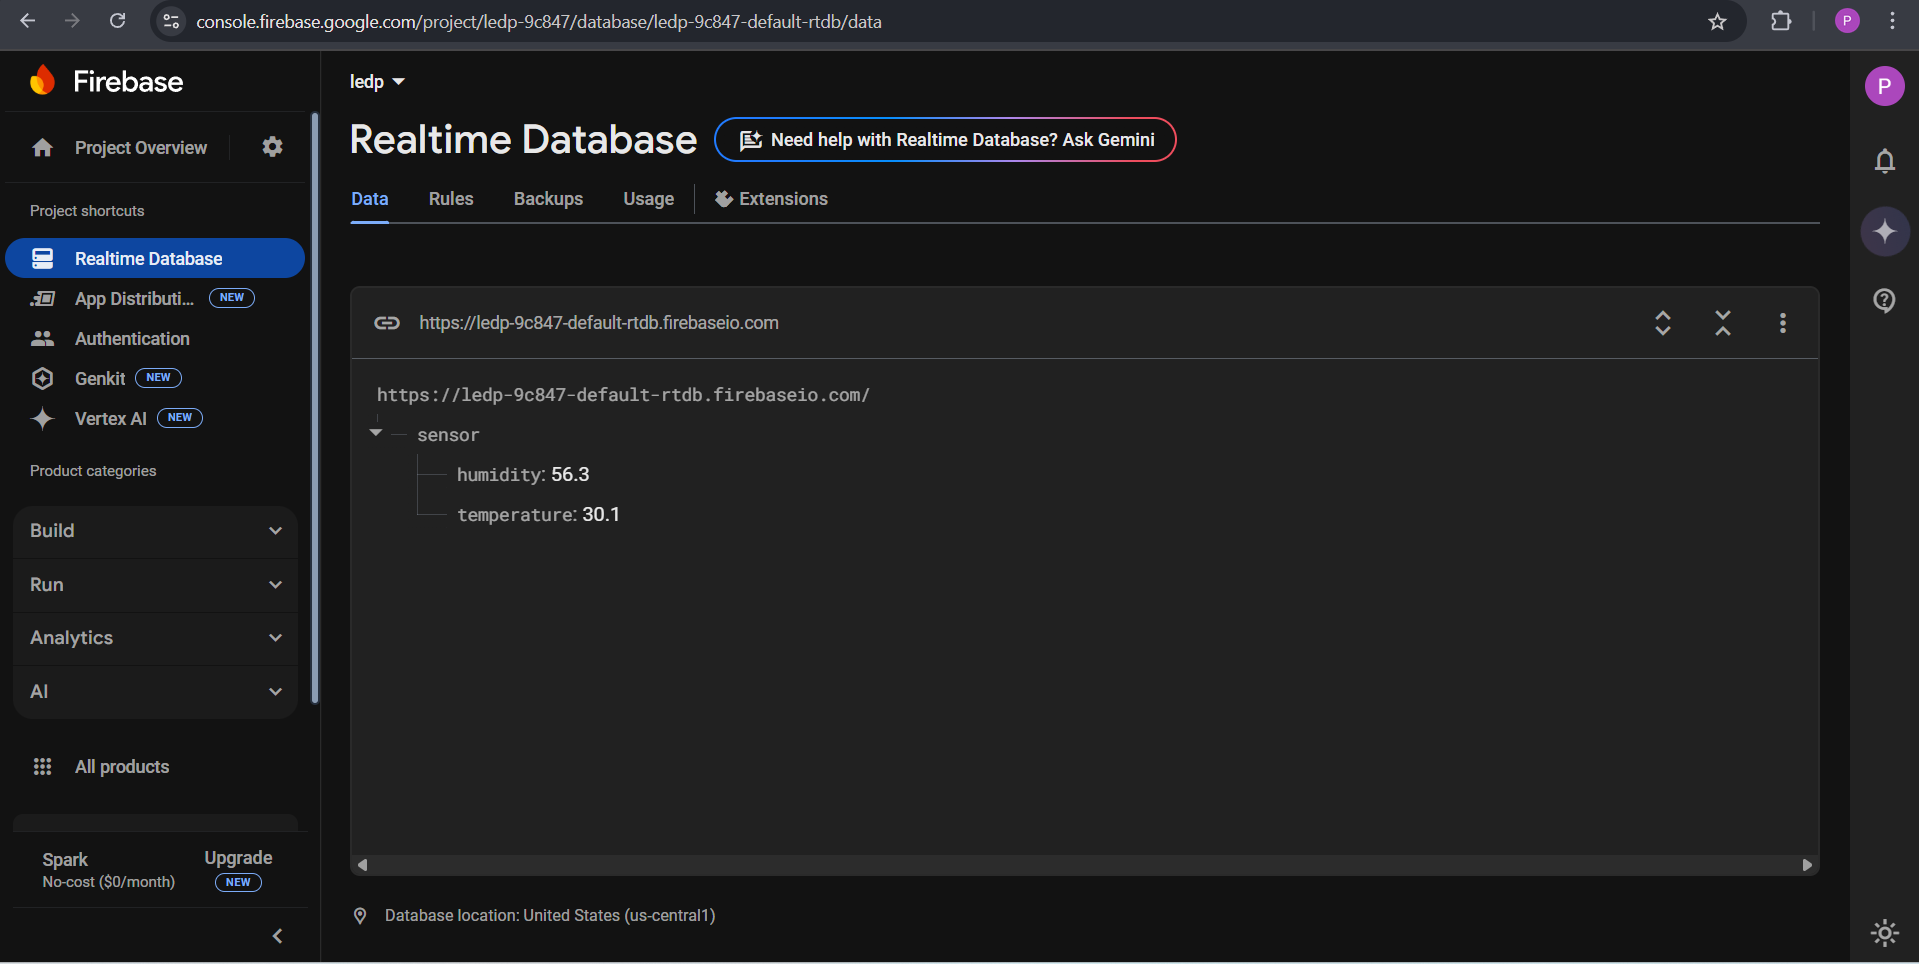
I accessed the real-time database and observed that a sensor had been successfully integrated. Additionally, I could see live data streaming from both the human presence sensor and the temperature sensor in real time.
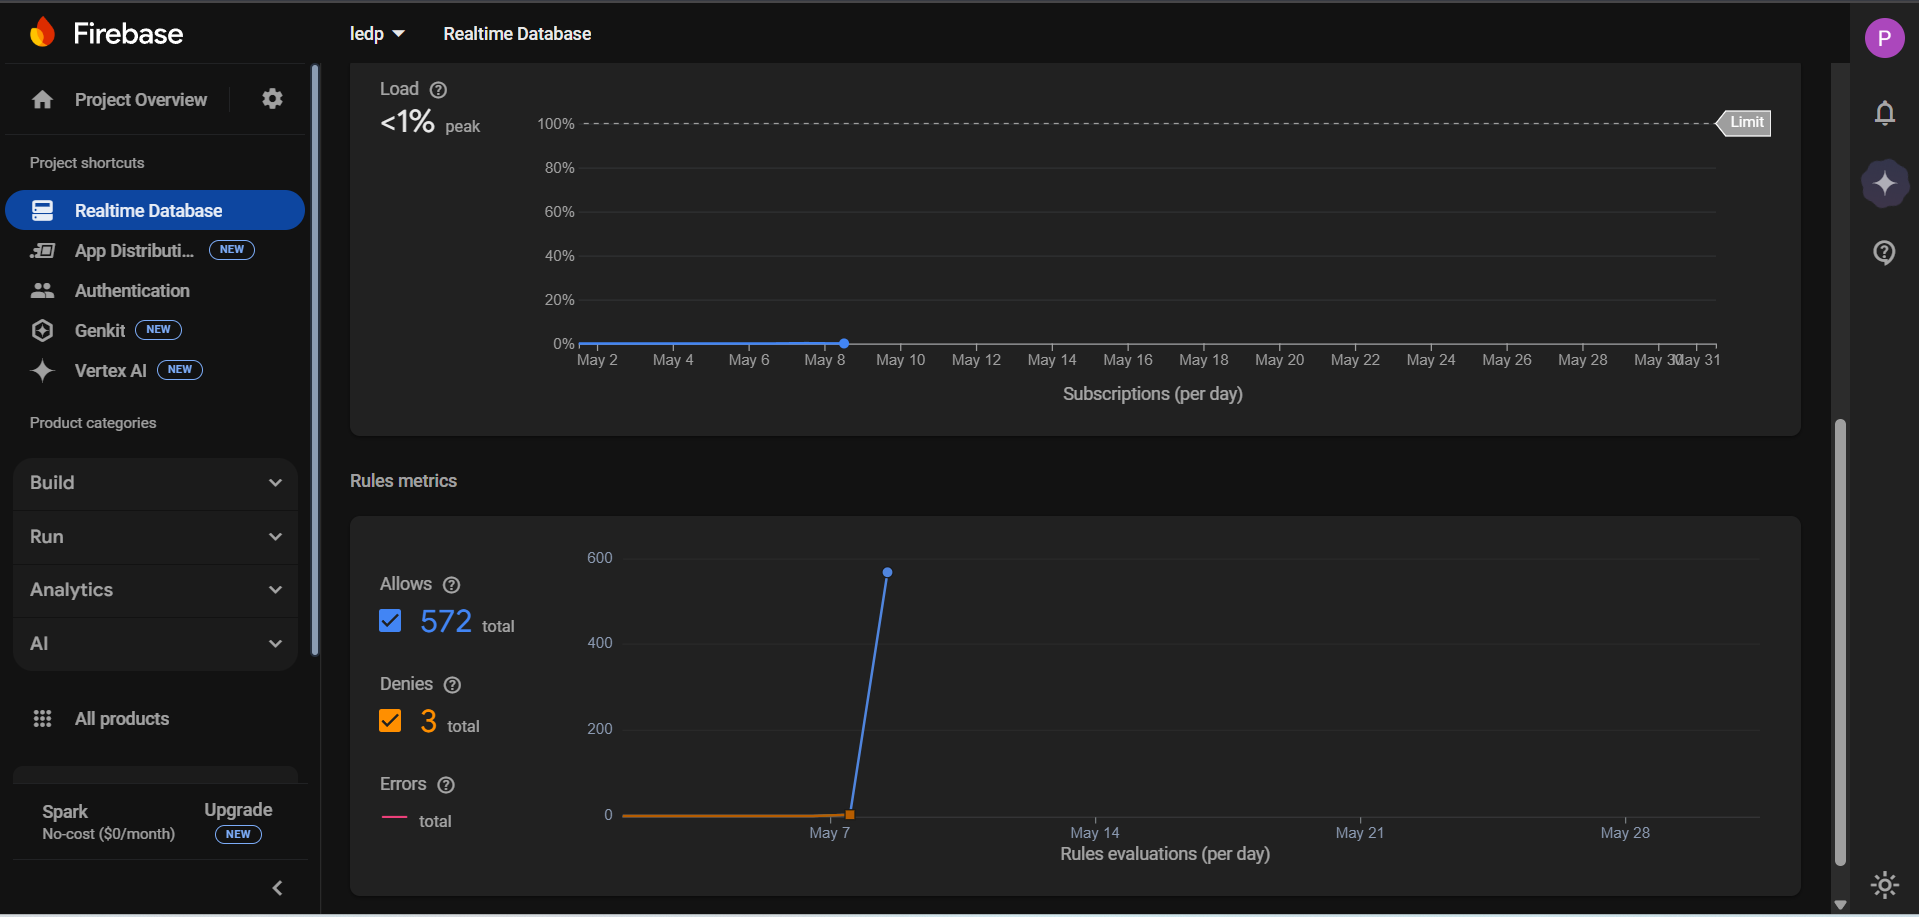
In addition to this, graphical representations were also generated on the user interface, clearly displaying real-time insights into the volume of incoming data and the amount being stored.
This is the final project video showcasing the integration of Firebase, the DHT22 temperature and humidity sensor, and a custom-built mobile application developed using MIT App Inventor.
An open-source programming language and integrated development environment (IDE), Processing was developed to enable artists, designers, and novices to learn how to code. Ben Fry and Casey Reas created it in 2001 with the intention of encouraging creativity through programming. The platform is perfect for anyone who want to learn coding through graphics, animation, and interactive design because it makes the process of generating visual arts easier. Because it supports cross-platform development, it is compatible with Linux, Windows, and macOS. Processing is frequently used in educational settings, especially in art and design programs, to teach programming fundamentals through imaginative visual projects because of its simple integrated development environment and intuitive user interface. To increase Processing's functionality and make it a flexible tool for a variety of digital creations, the community is actively working to create new tools, libraries, and resources.
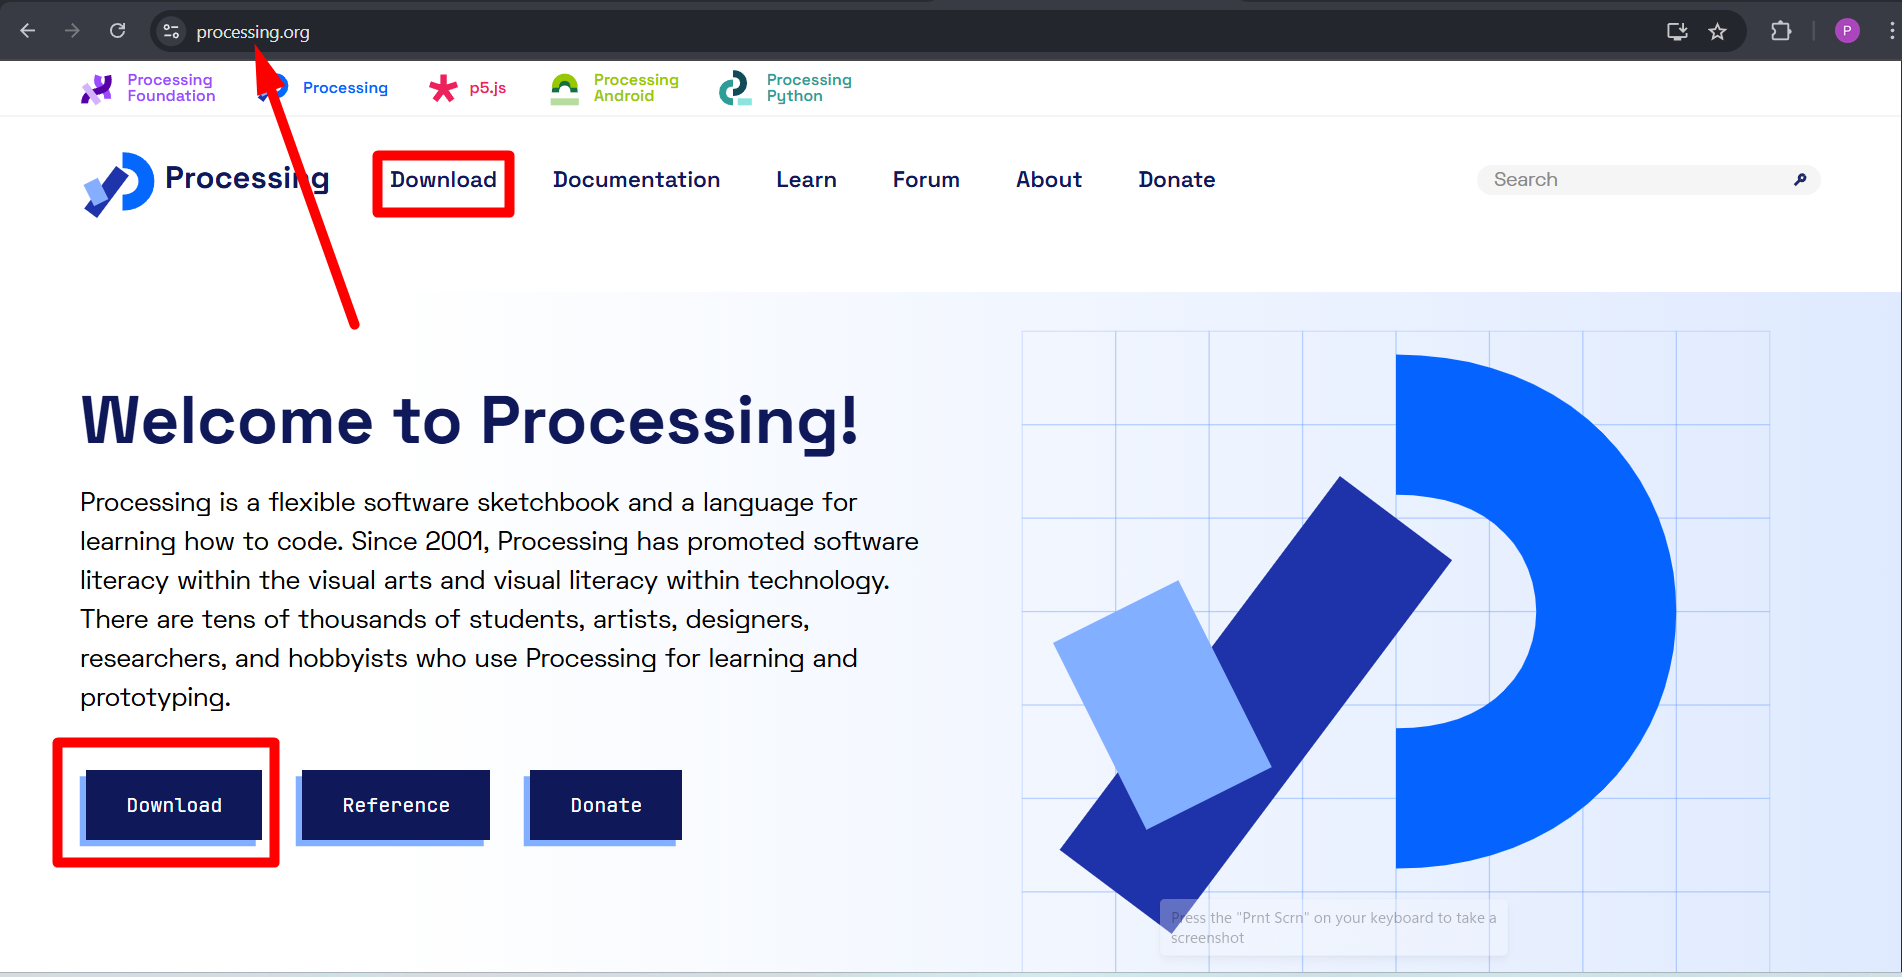
To begin with, I visited the official website of Processing.
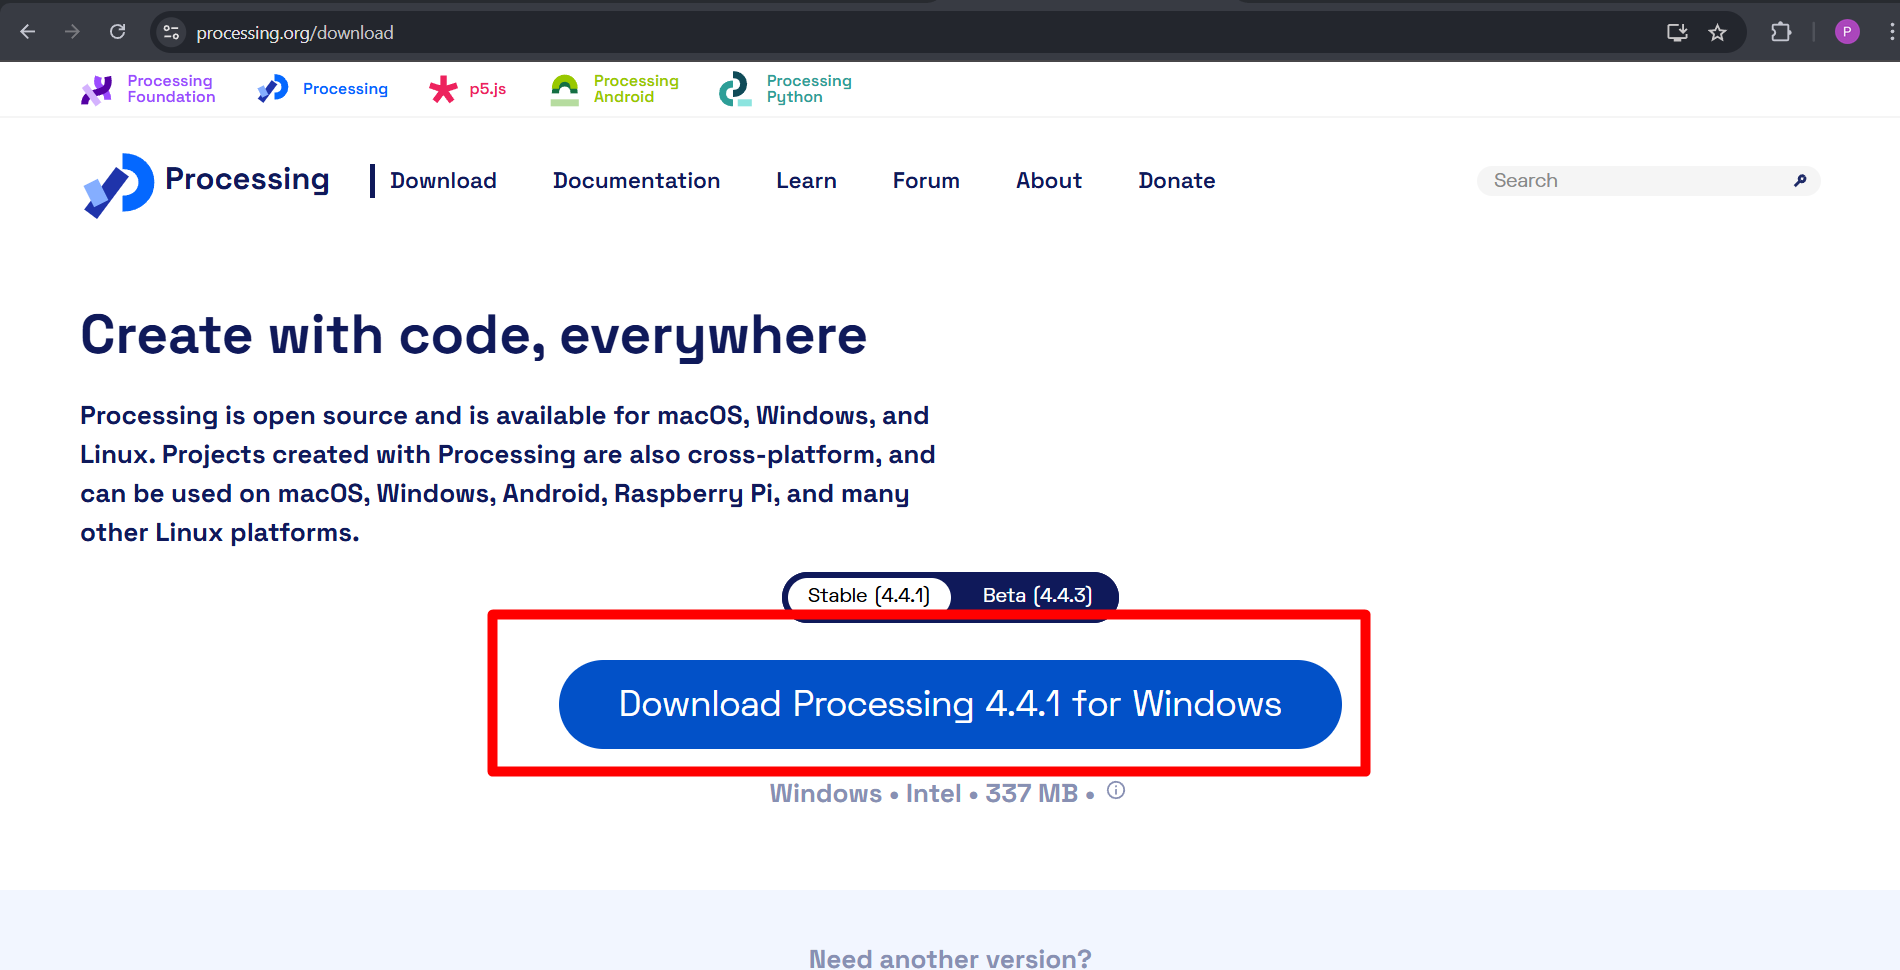
Next, I clicked on the "Download" button.After clicking the "Download" button, I selected "Download Processing 4.4.1 for Windows." As a result, the file started downloading.
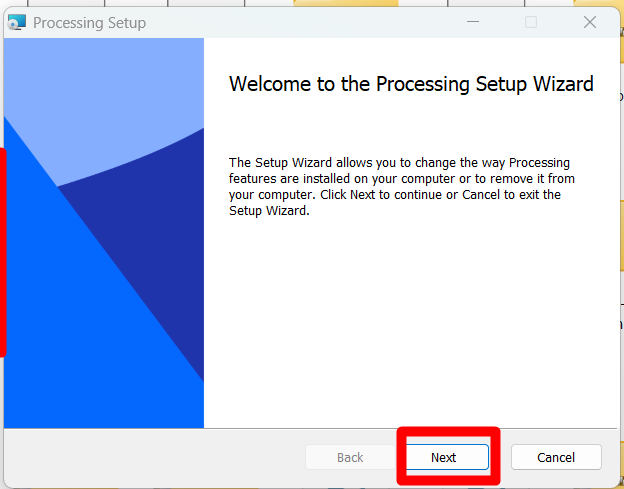
Once the download was complete, I double-clicked on the file to initiate the setup process.
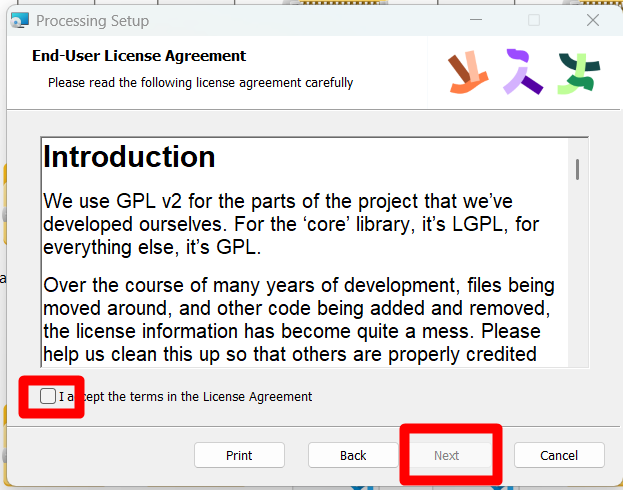
Then, I clicked on "Next," accepted the "User License," and clicked on "Next" again.
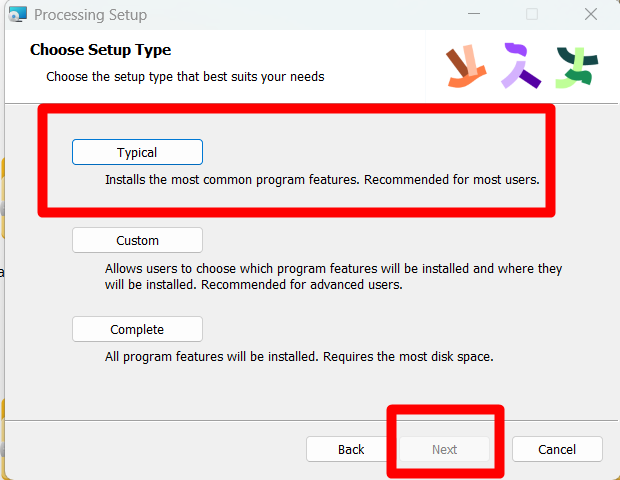
After that, I selected "Typing" under the "Custom Type" option and clicked on "Next."
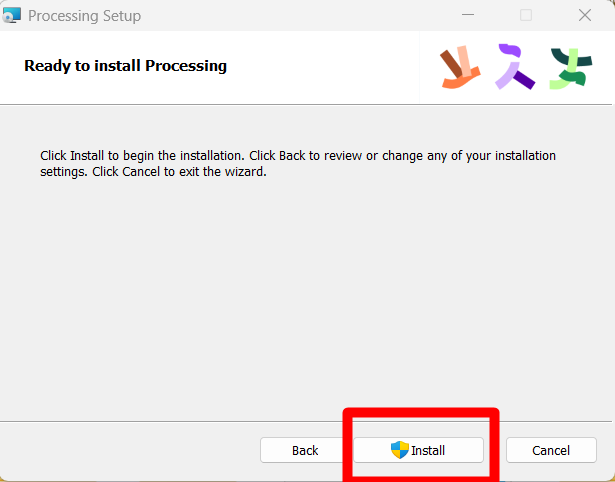
Upon clicking "Next," I was presented with the "Ready to Install" screen, where "Install" was highlighted. I clicked on "Install."
Processing
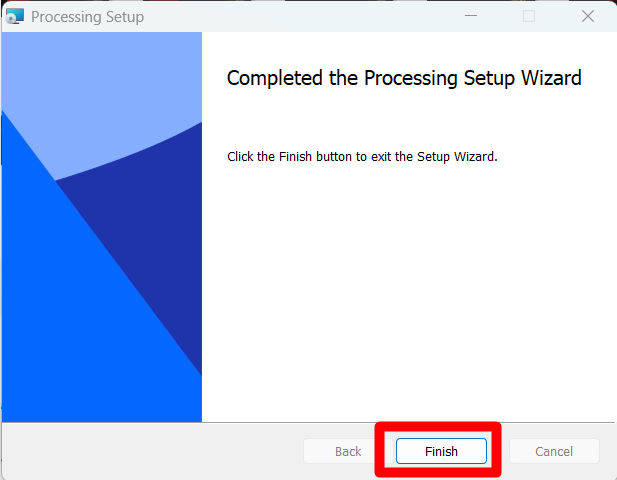
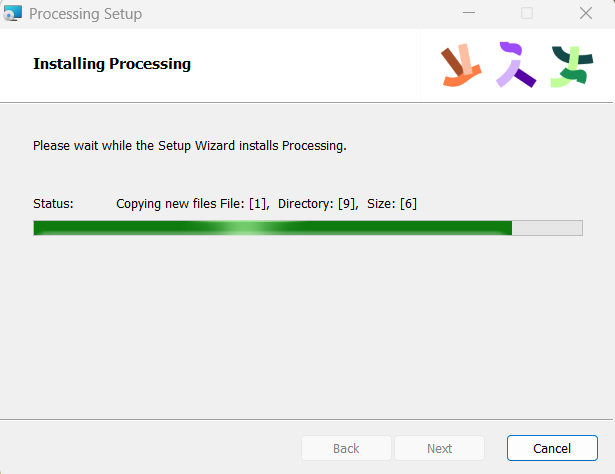
The installation process then began. Once the installation was completed, I clicked on "Finish."
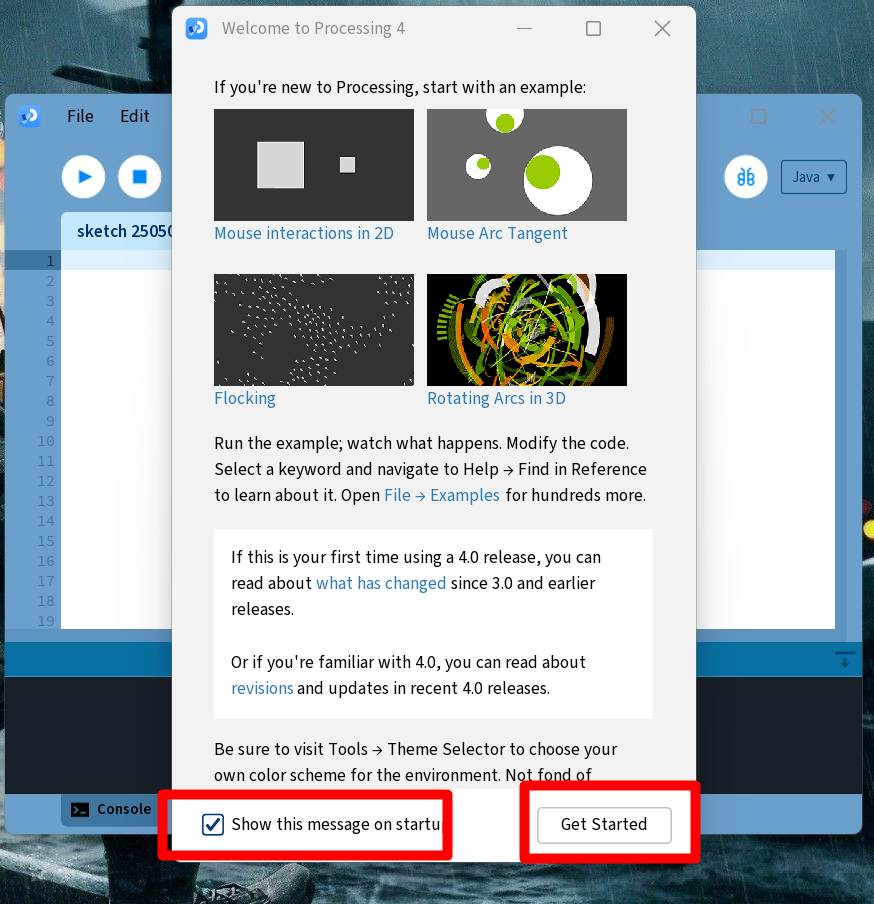
When I clicked on the processing icon, a notification appeared on my laptop screen. I then clicked on the "Gate Start" button that appeared on the notification.
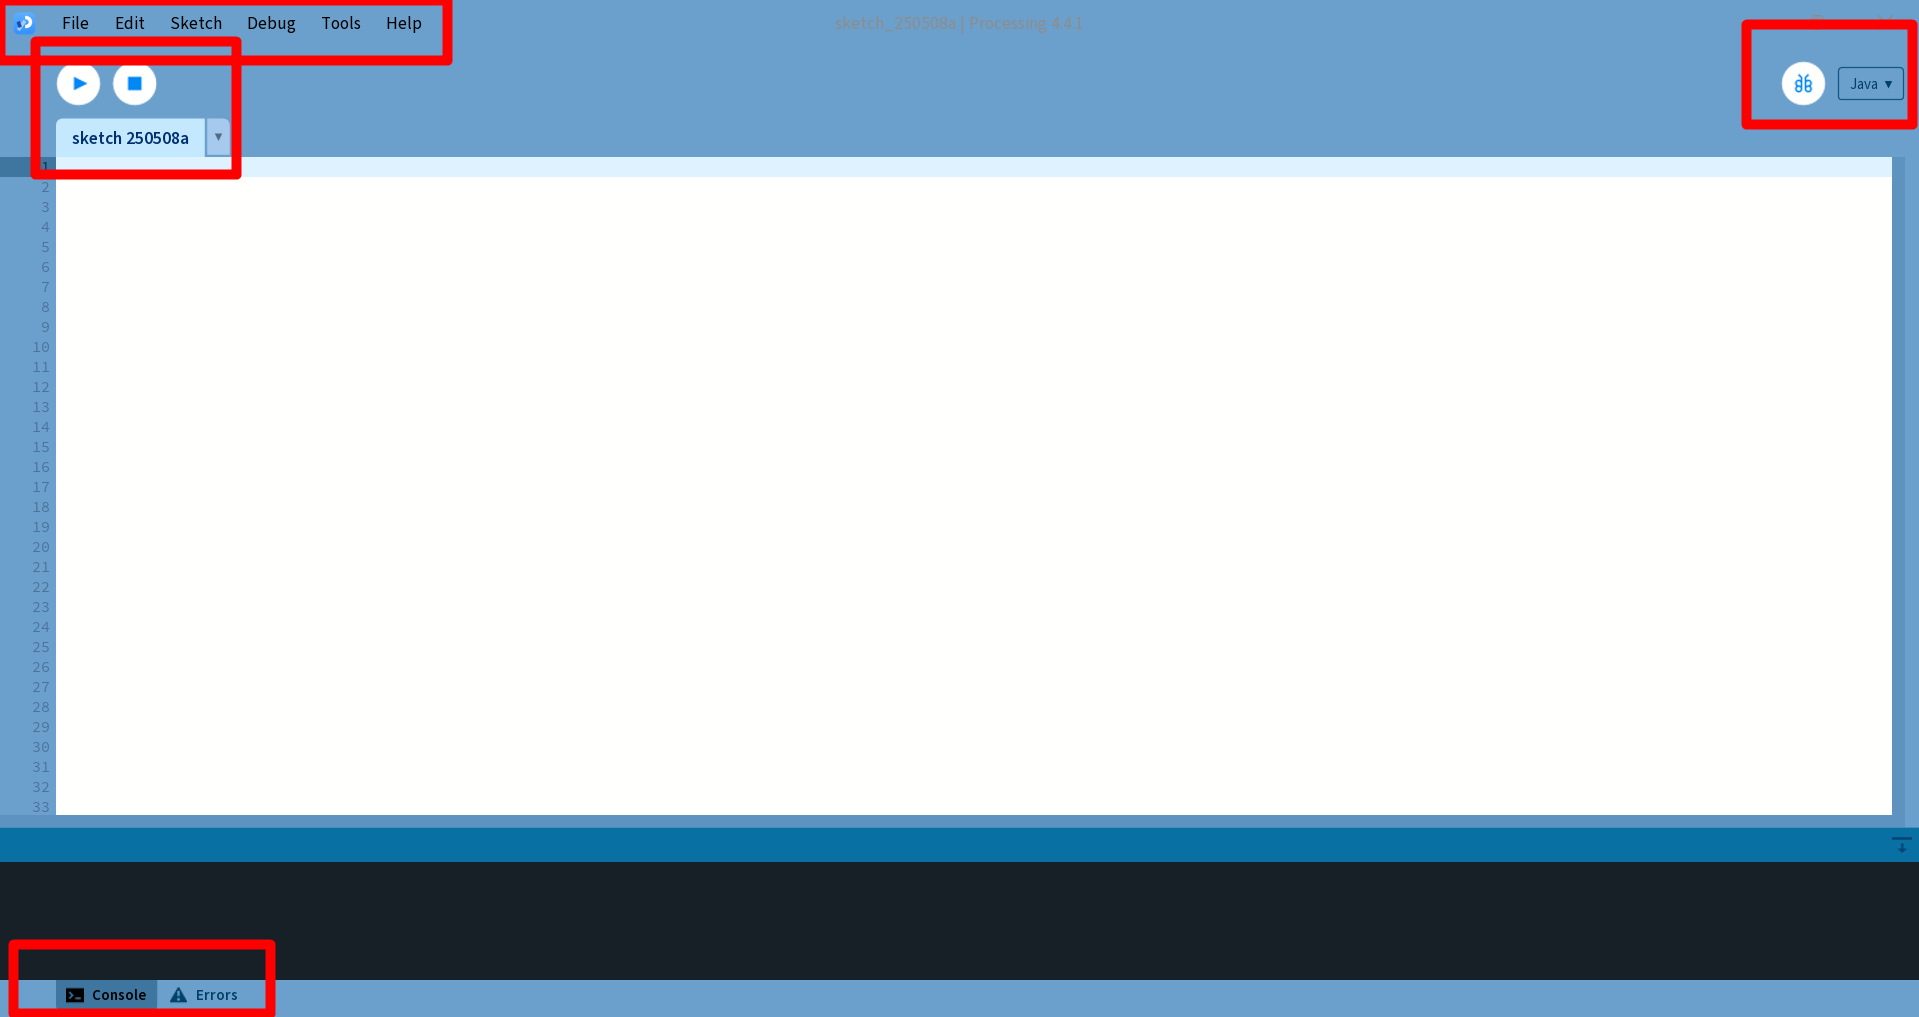
After clicking, I was presented with a processing window that displayed options like File, Edit, Sketch, Tools, and Help. Within this window, there were also "Run" and "Stop" buttons. The interface included a section where we could input our code, along with two options below for control and error handling. Additionally, a "Java" option was available, which I explored alongside the other features.
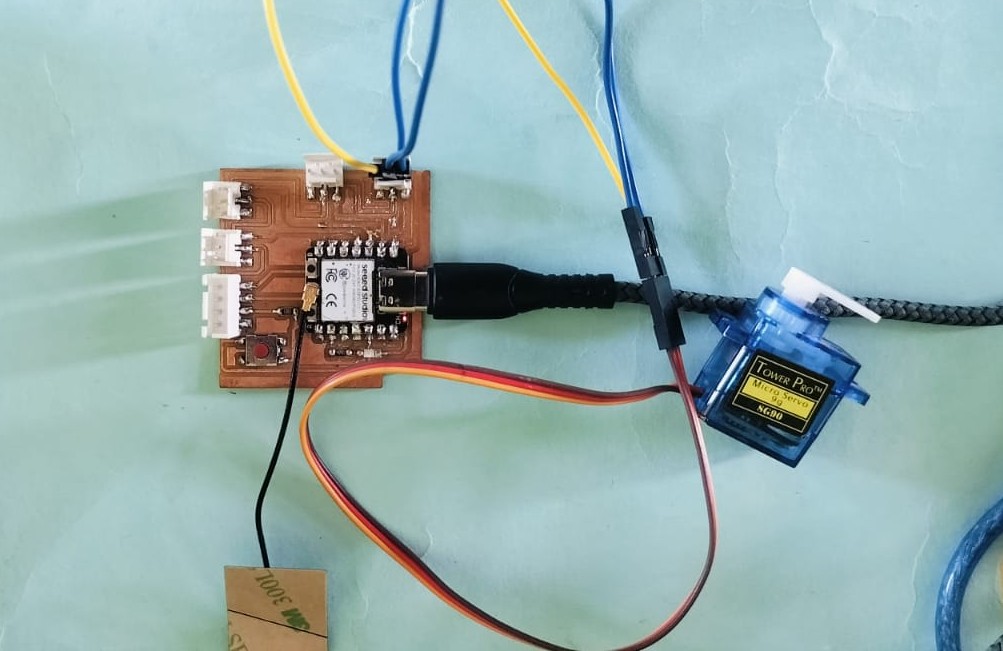
I connected the servo motor to my ESP32-C3 board and attached it to the A0 pin. Additionally, I linked the board to the USB cable for power supply and communication.
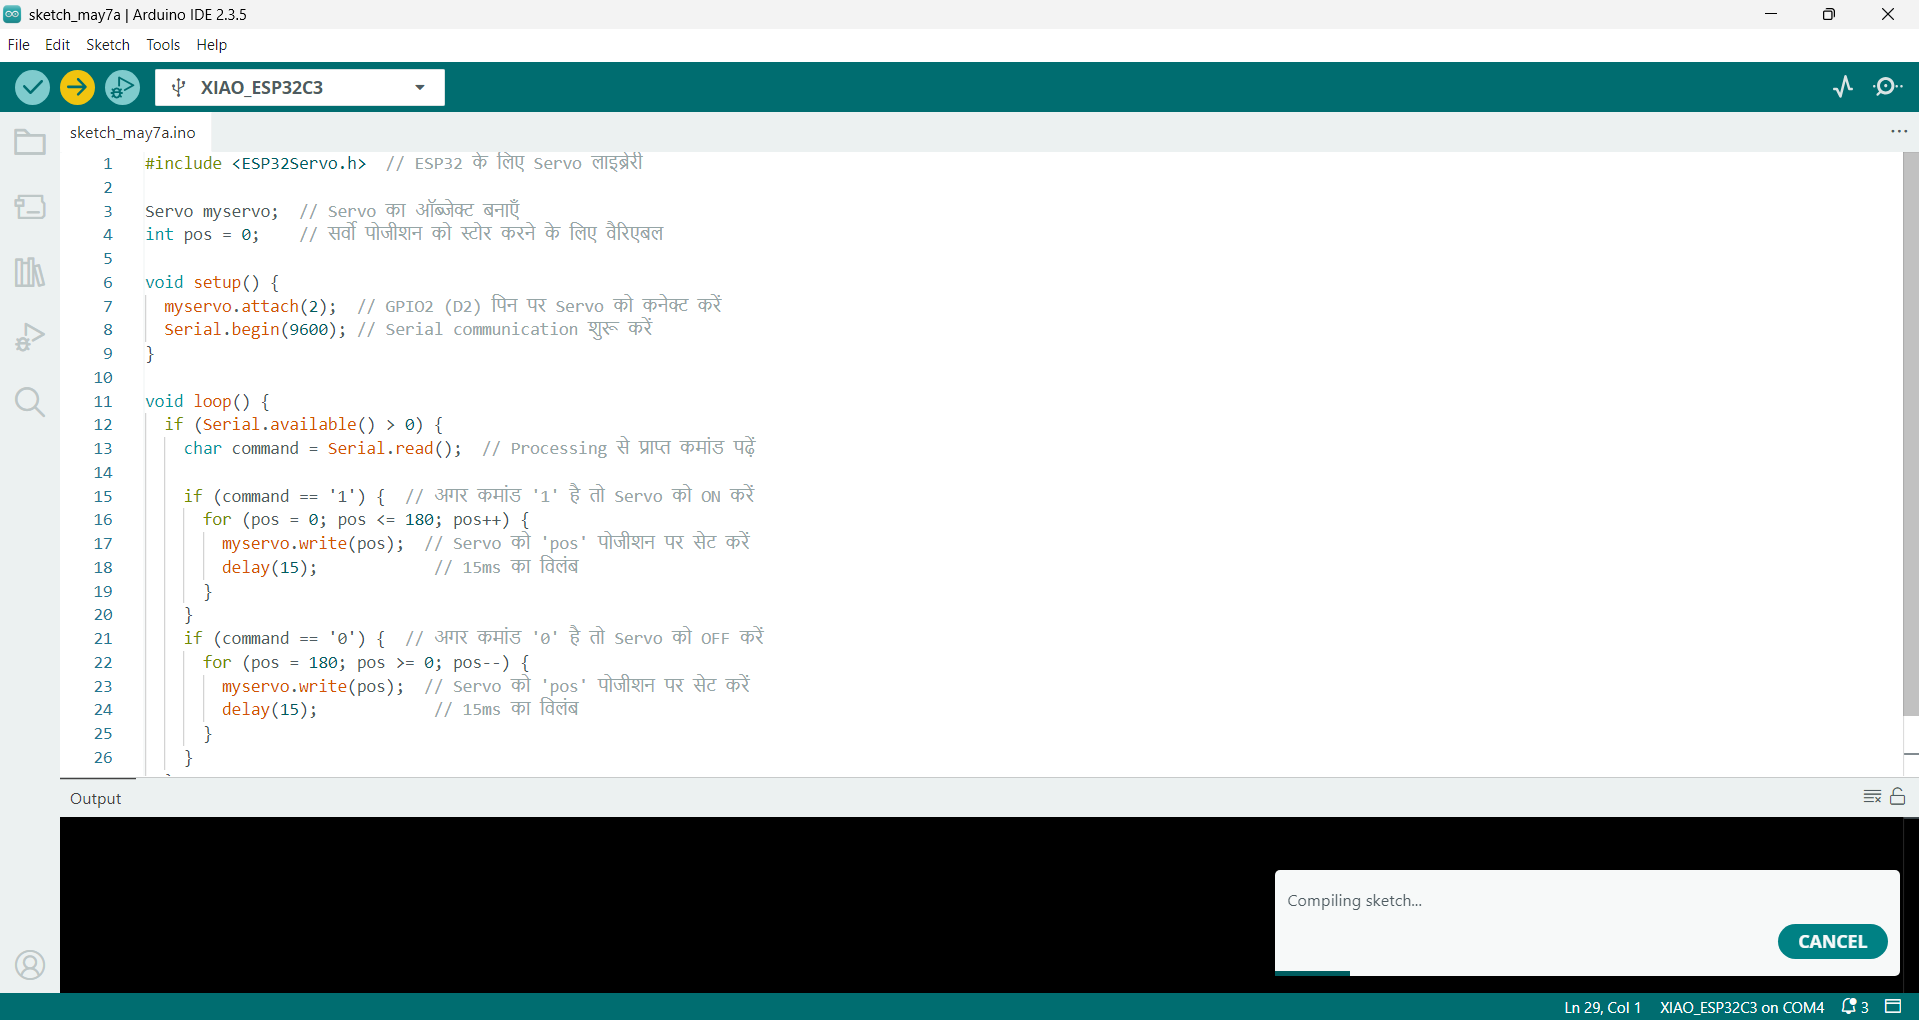
With the help of ChatGPT, I obtained the code. After opening the Arduino IDE, I pasted the code into the editor and successfully verified it
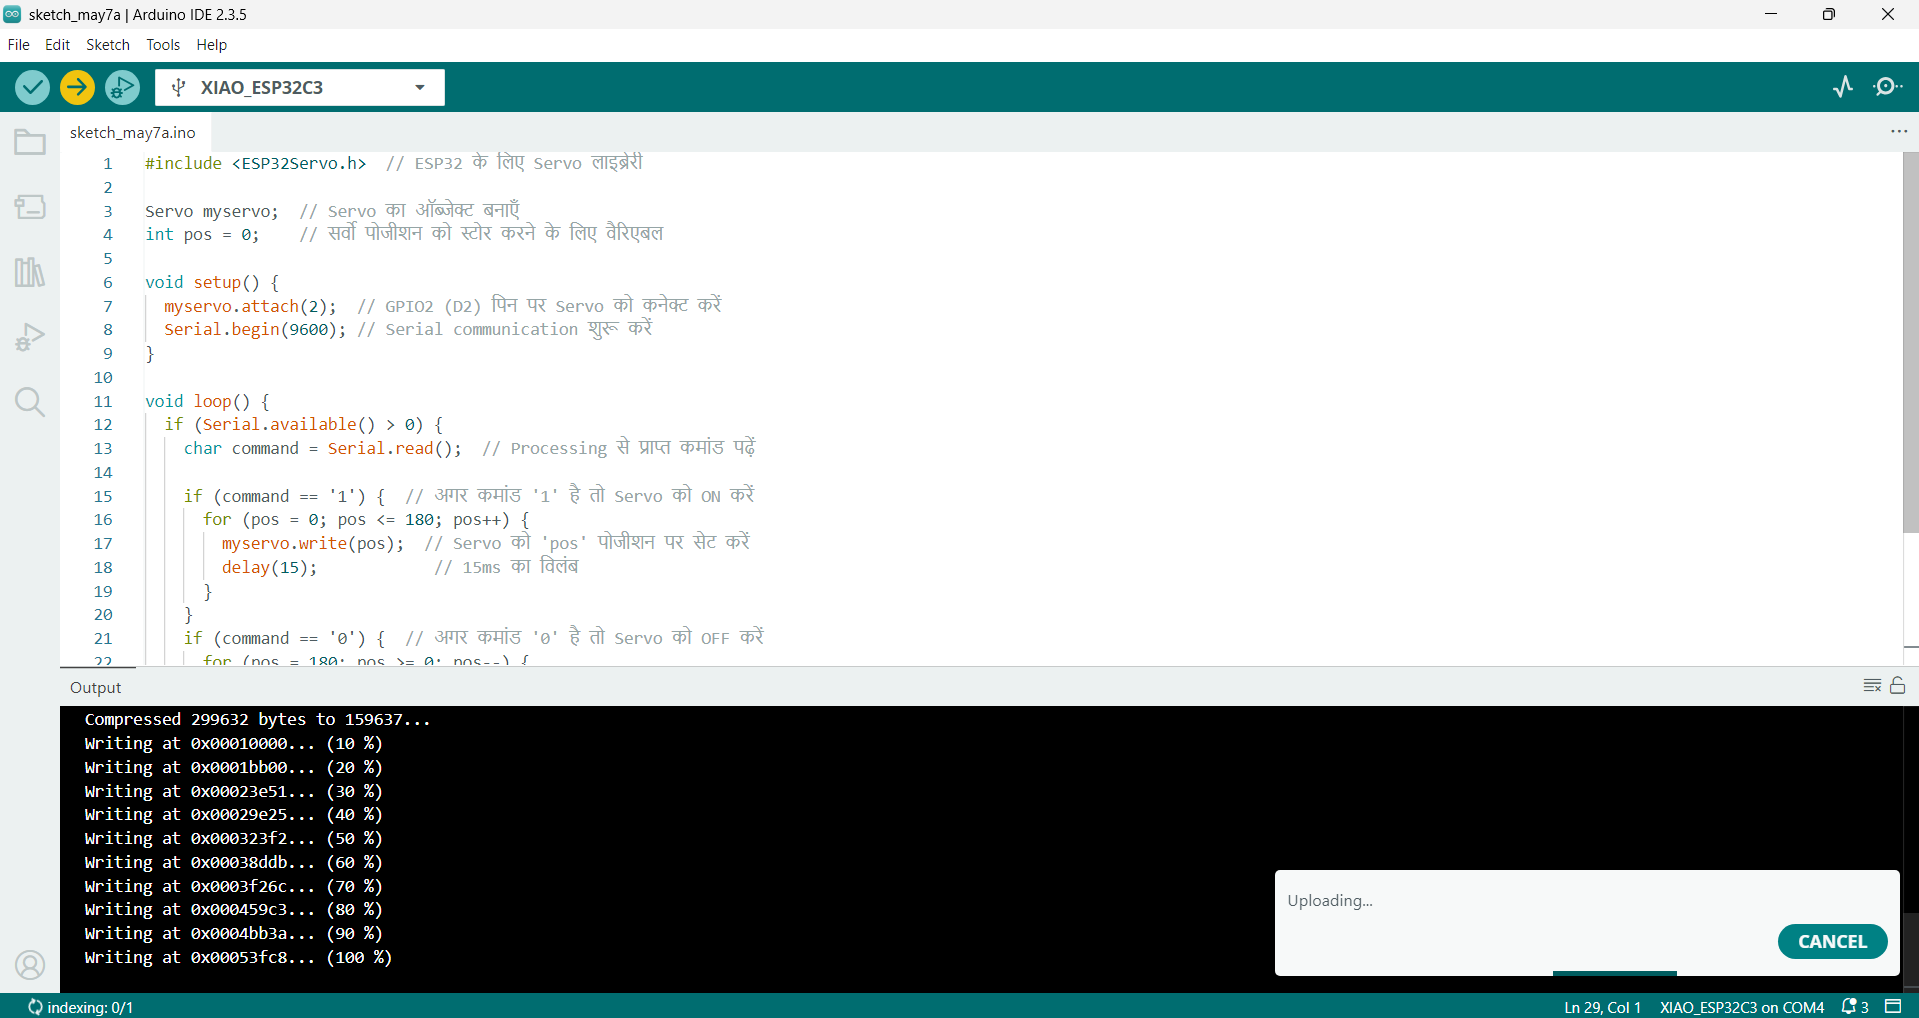
I uploaded the code
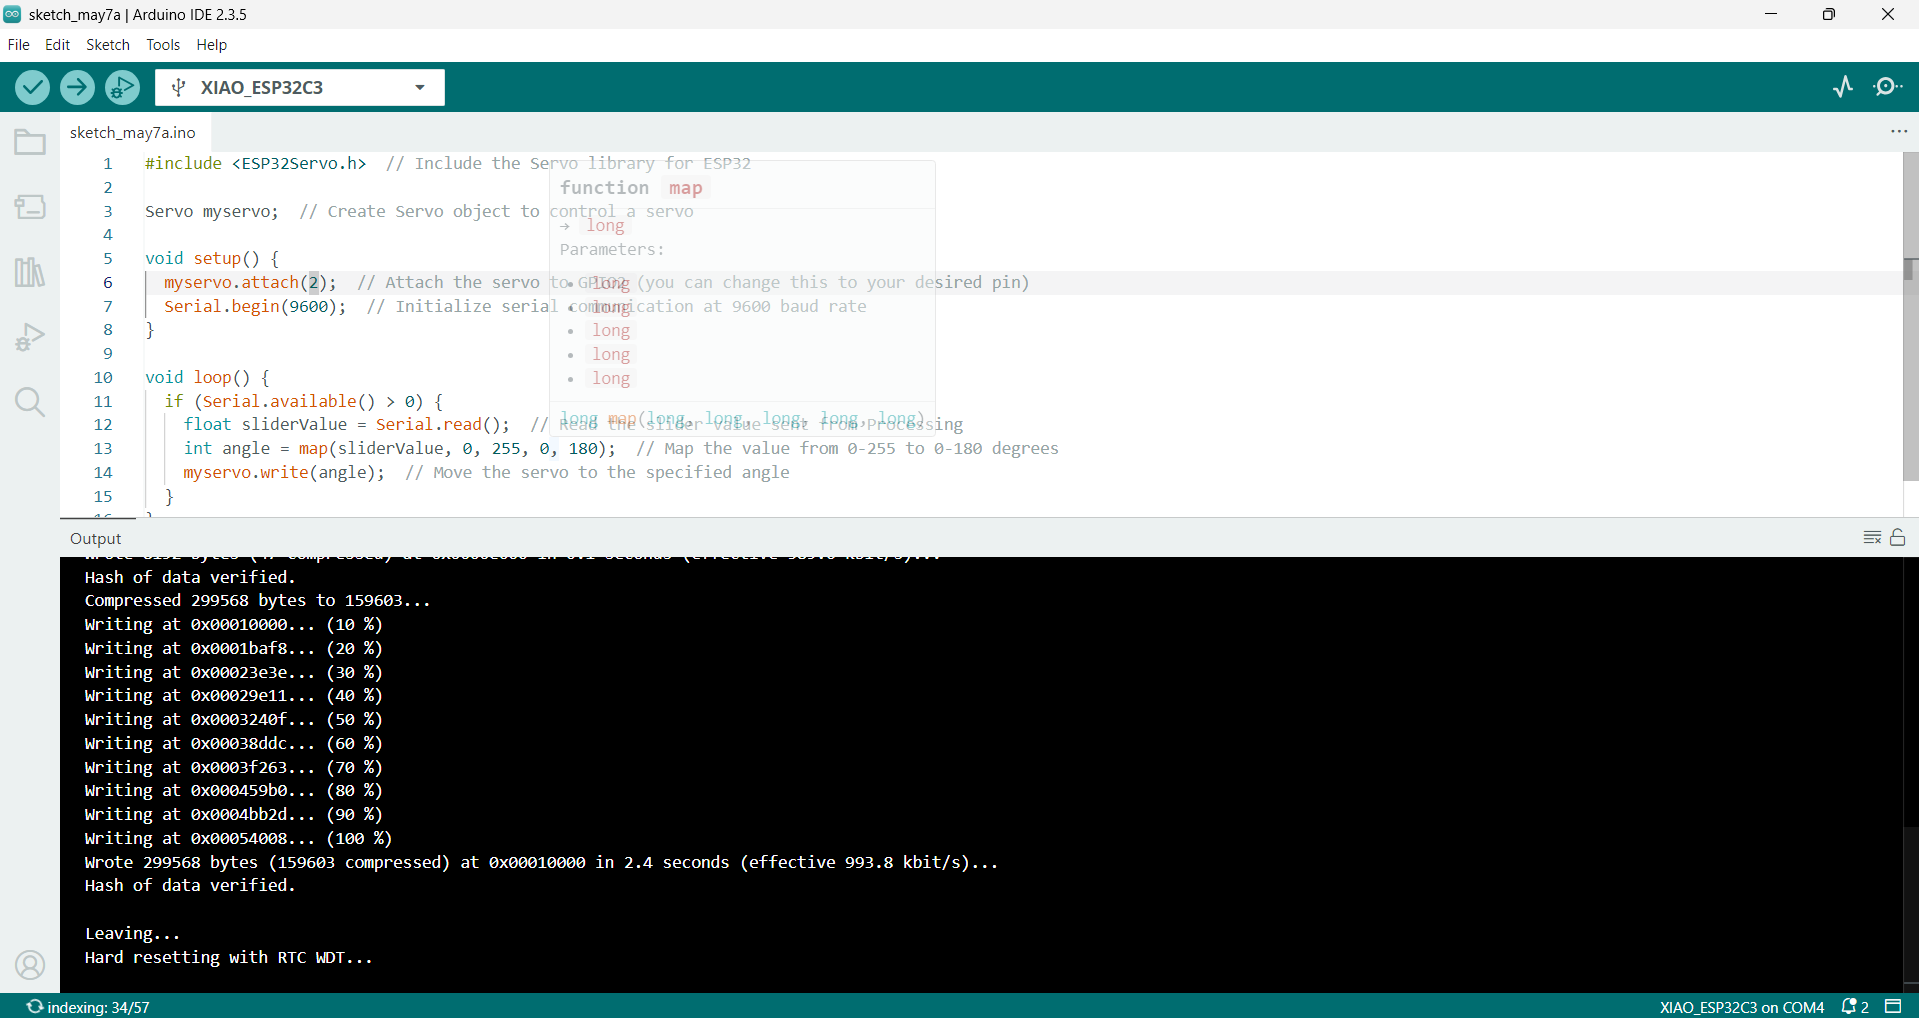
I uploaded the code successfully
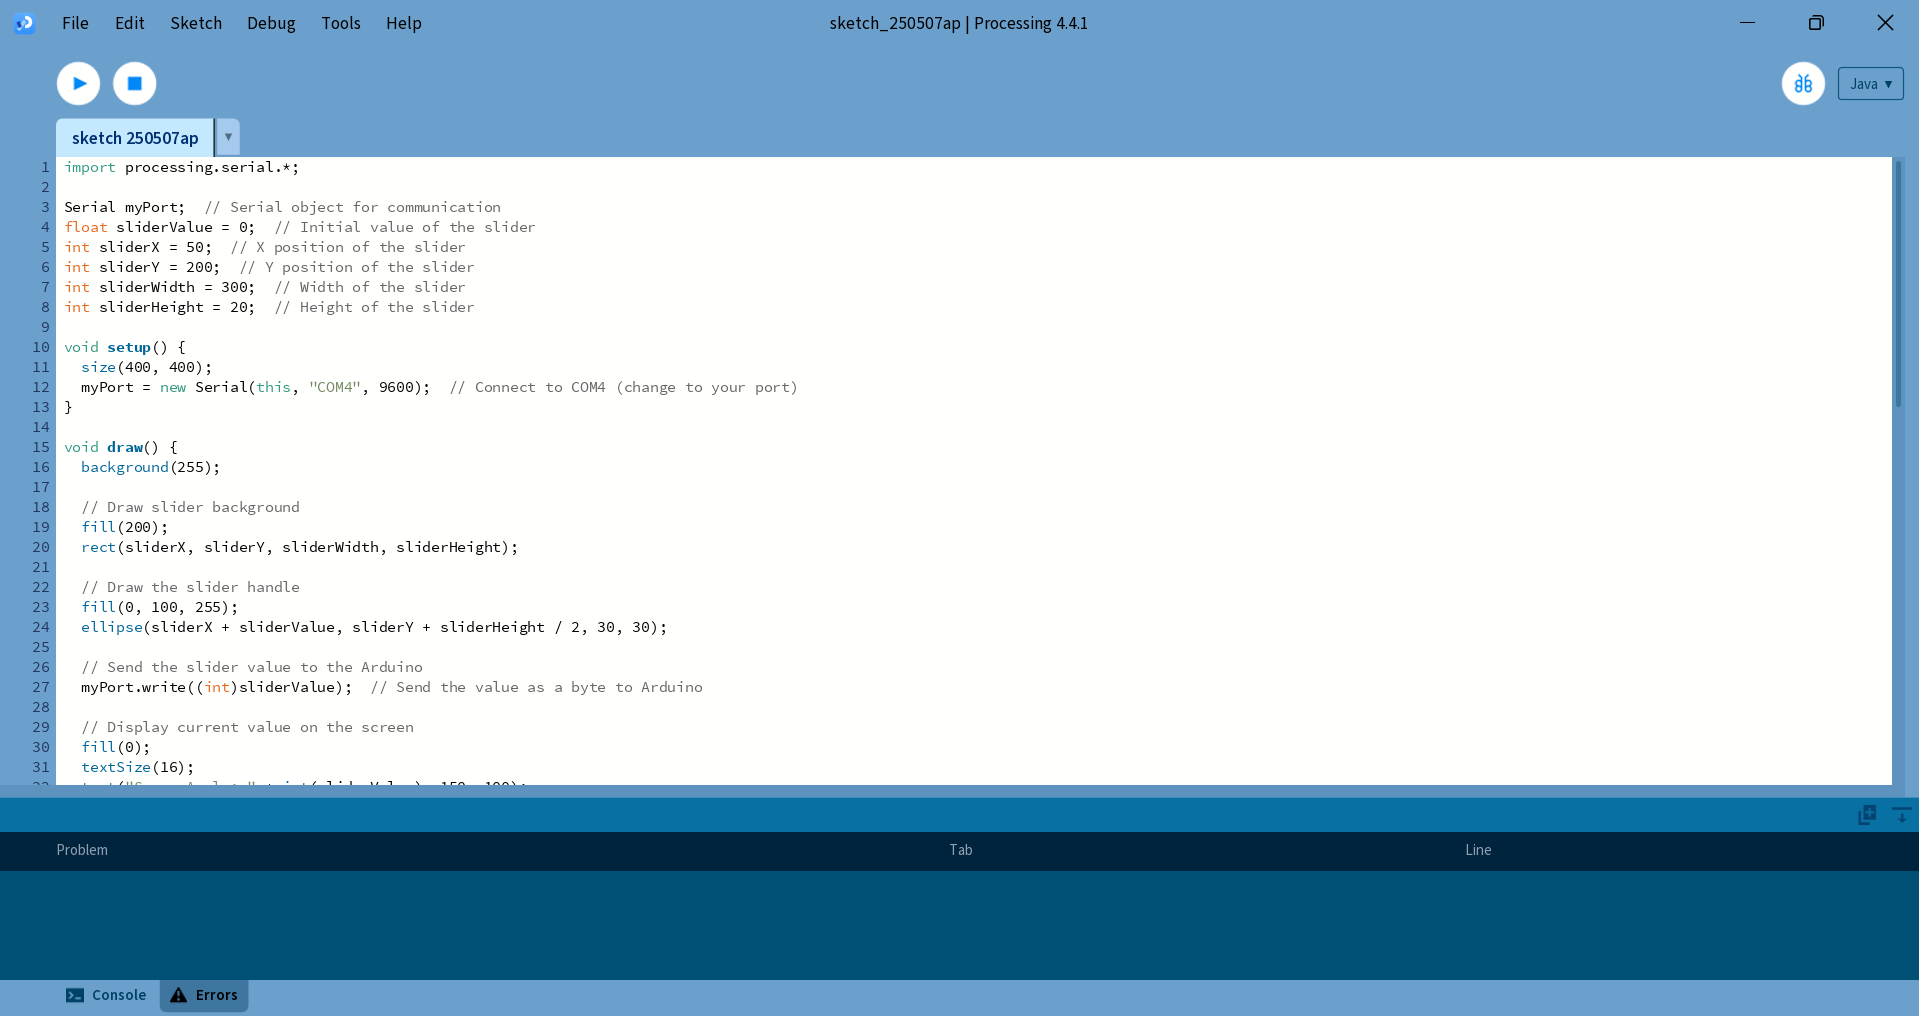
I opened the processing software and inserted the processing code that included the slider code. This slider was designed to control the angle of my servo motor. The motor's header should rotate based on the angle set by the slider. For example, at zero degrees, the motor should rotate to zero, at 90 degrees it should rotate to 90, and at 180 degrees it should rotate to 180. I created this slider in the code and then integrated it into the processing software.
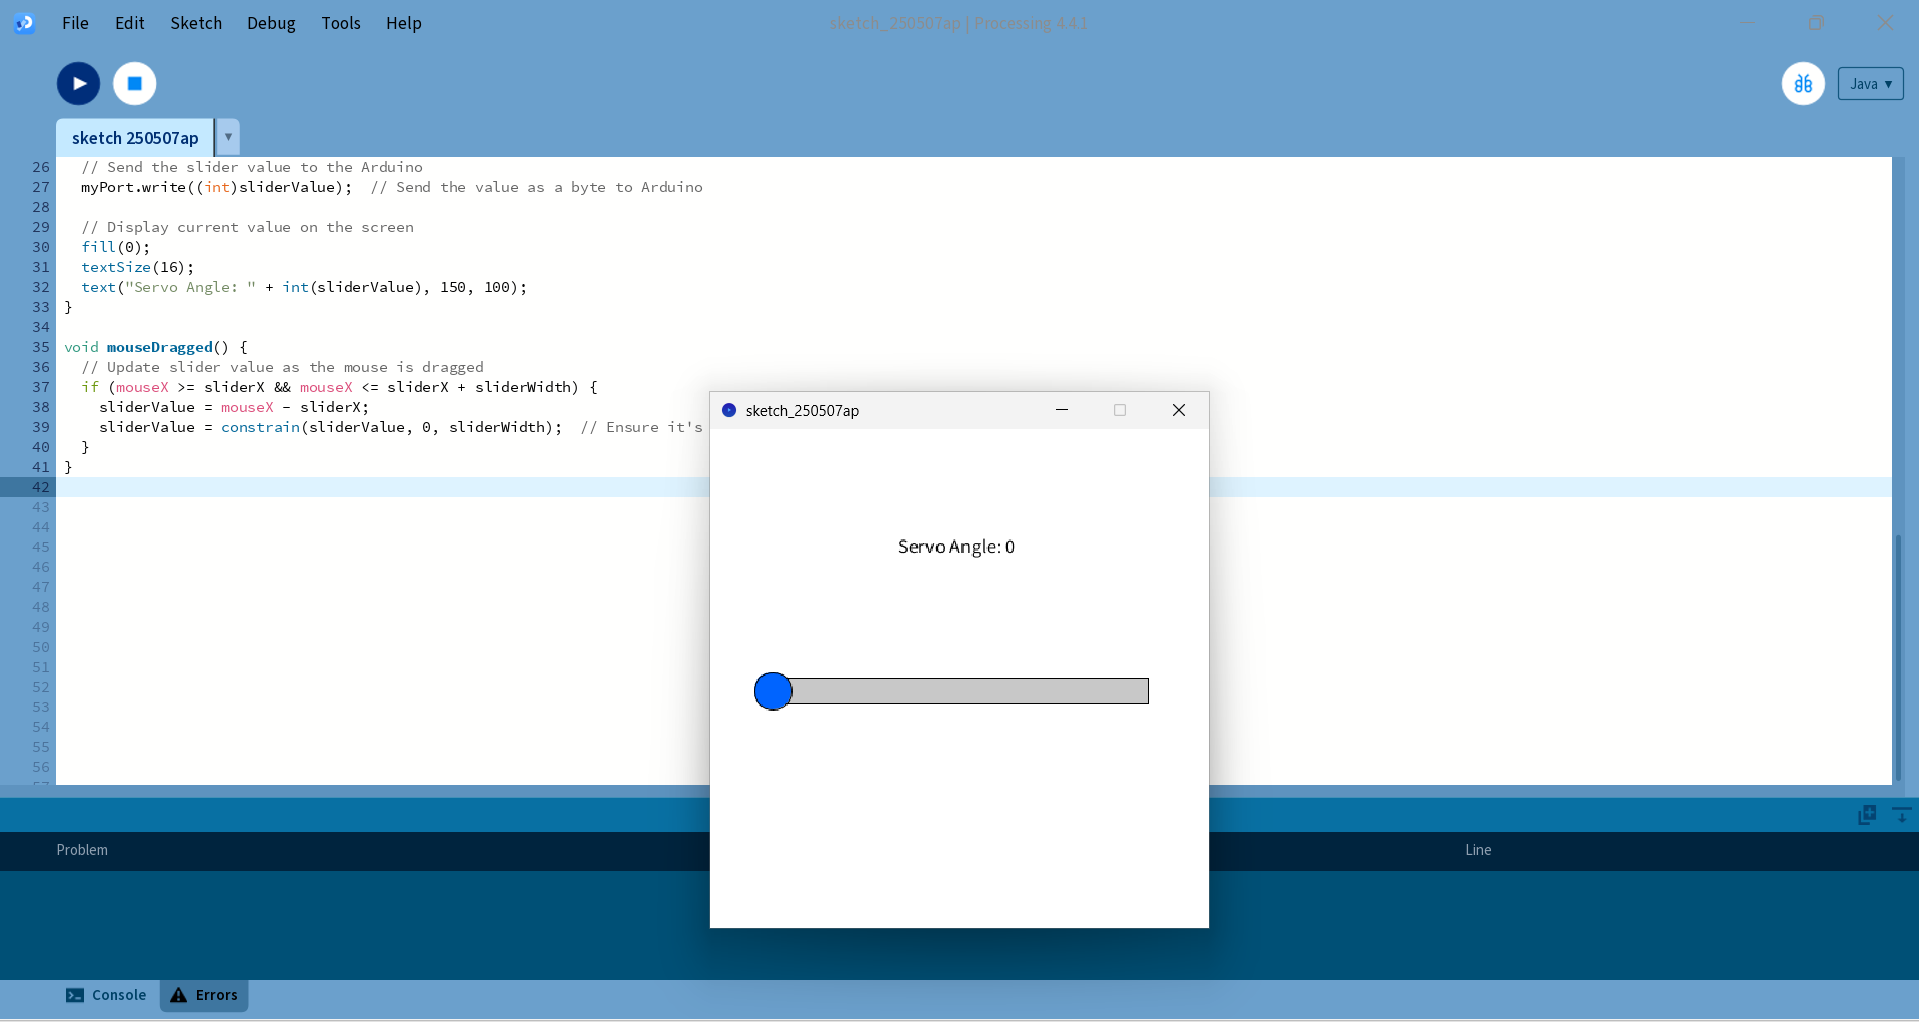
Once I clicked the 'Run' button in the Processing software, an interactive slider was displayed on the screen. This slider allowed me to control the position of the servo motor by simply dragging it forward or backward. As the slider's position changed, the servo motor's angle adjusted in real-time, demonstrating a smooth and responsive interaction between the software interface and the hardware component.
Using the Arduino IDE and Processing Software, I developed a user interface in Java within the Processing environment to control a servo motor. By integrating a slider button into the interface, I was able to smoothly adjust the motor's position in real-time. The entire control mechanism was tested and successfully demonstrated through a recorded video, which is available below.
Tools I Used
App Development: MIT App Inventor
Database & Backend: Firebase
GUI Programming: Processing
Microcontroller Programming: Arduino IDE
Microcontroller Board: ESP32-C3
Sensors & Actuators: DHT22 (Temperature Sensor), Servo Motor
Concept by me, structured by ChatGPT.