Learning Experience
During this assignment, I created a 3D model of my logo using Fusion 360, which formed the foundation of the entire project. Using FlashPrint 5, I generated the necessary G-code for 3D printing, ensuring that the model was thoroughly evaluated before proceeding to the next stage. I also gained hands-on experience with CNC milling using the SRM-20 and Modela Player 4 to create wax models for mold-making. Furthermore, I applied my knowledge of materials by working with Moldsil silicone rubber and its catalyst, successfully creating a detailed and flexible mold for casting. These experiences not only improved my technical skills but also enhanced my understanding of the entire process, from design to final production.
Moulding
Moulding is a strip of material used to cover the joints where two surfaces meet, such as between a wall and ceiling or wall and floor. It is also used for decoration in homes, furniture, and buildings. Mouldings help give a neat and finished look to rooms.
Traditionally, mouldings were made from wood or plaster. In classical architecture, they were often carved from stone or marble. Modern mouldings can be made from plastic, MDF (medium-density fiberboard), or reformed wood. These materials are lighter and easier to install.
There are different types of mouldings like cornices, baseboards, casings, and chair rails. Some are plain, while others are decorative with patterns. A plain moulding has straight edges, while a sprung moulding has slanted edges that help it fit between angled surfaces.
Mouldings are used not only to improve appearance but also to hide gaps and protect walls from damage. In some buildings, mouldings are shaped directly on the wall using plaster.
In simple words, moulding is a strip that makes the meeting points of walls, floors, and ceilings look smooth and beautiful.
Casting
Casting is a manufacturing process where a liquid material is poured into a hollow shape called a mold. The mold has the same shape as the object you want to make. After pouring, the material is allowed to cool and become solid. The finished product, once removed from the mold, is called a casting.
Casting is used to create parts and objects that are complex or hard to make by hand. It is commonly used to make items like machine parts, tools, car engine parts, and even artistic sculptures. Materials used for casting include metal, plaster, concrete, clay, and plastic.
This process is useful because it can produce large or detailed shapes in one step, saving time and effort. For example, large parts like ship propellers or engine blocks can be made easily using casting, instead of joining many small pieces.
Casting is an ancient method. It has been used for over 7,000 years. One of the oldest known castings is a small copper frog made in 3200 BC.
3D Printing Process
I chose to 3D print the model before using the SRM-20 CNC machine. This was done to ensure there were no design flaws and to test how the design would turn out in physical form.
Software used: FlashForge FlashPrint 5.
Settings: 100% infill and a 2mm raft for better bed adhesion.
Outcome: The 3D printed model had minor flaws due to folds in the design but was generally successful, leading to a smooth transition to the next steps in the process.
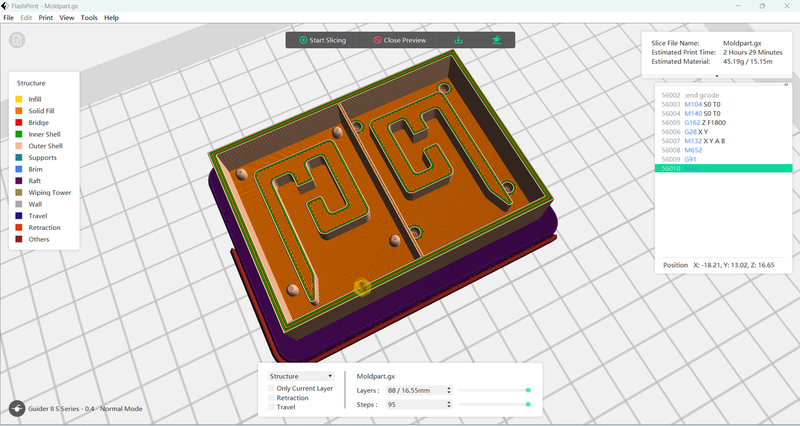
Using FlashForge FlashPrint 5 software, I generated the G-code required for 3D printing. To ensure maximum strength, I set the infill density to 100% and added a 2 mm raft to enhance bed adhesion and overall print quality. After finalizing the settings, I started the printing process.
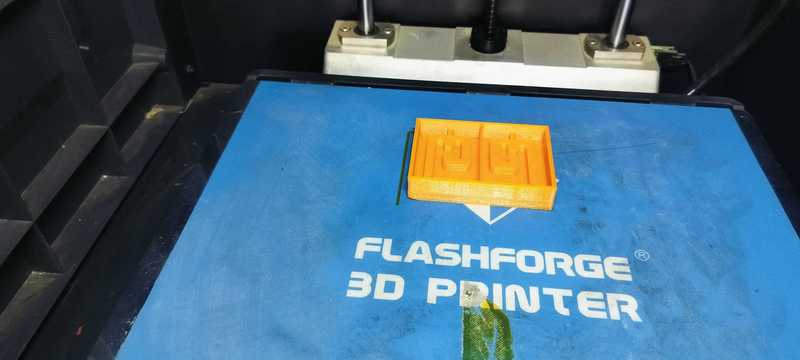
After the design was ready, I prepared my G-code on the 3D printer, and I 3D printed my design with 100 percent infill.
Printing Complete
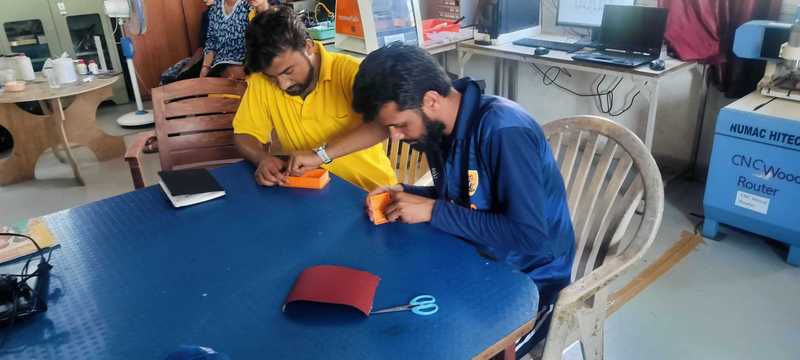
I sanded the printed object to give the silicone mold a smooth finish.
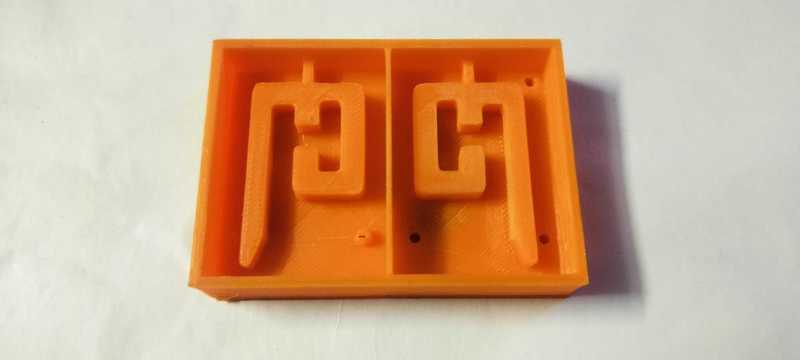
Final Object - "My 3D printed part turned out well, so I was ready to proceed with mixing it on the SRM-20 machine. I was confident that my design would not present any issues.
Casting Process
For the casting process, I used the following items:
- Moldsil
- Catalyst (Part B)
- Weighing scale
- Water
Casting Process
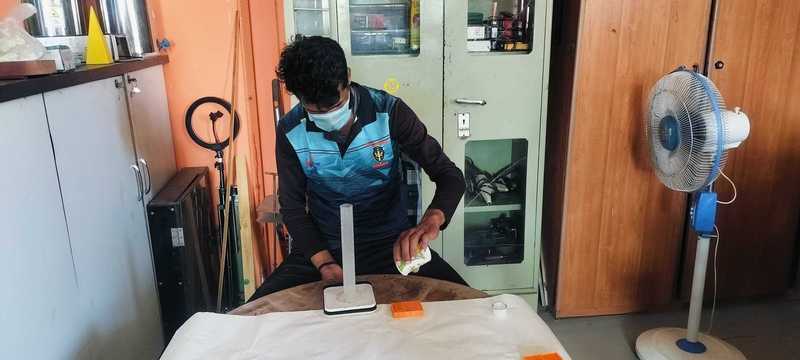
To begin, I added water to the mold to determine the volume required for the casting material. This step helped me accurately estimate the amount of silicone needed.
Next, I measured the weight of the water using a measuring container.
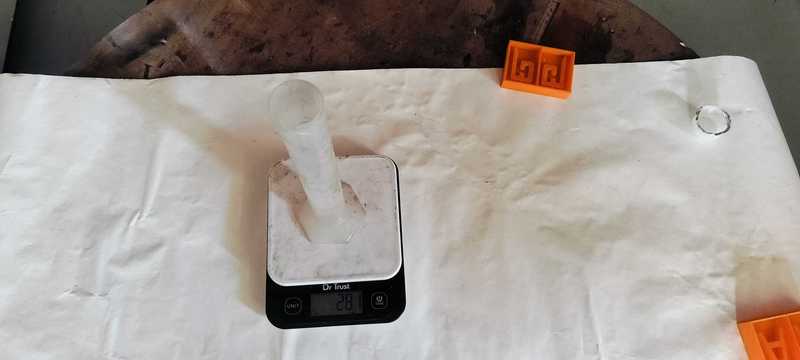
The measured volume of water was 28.1 ml.
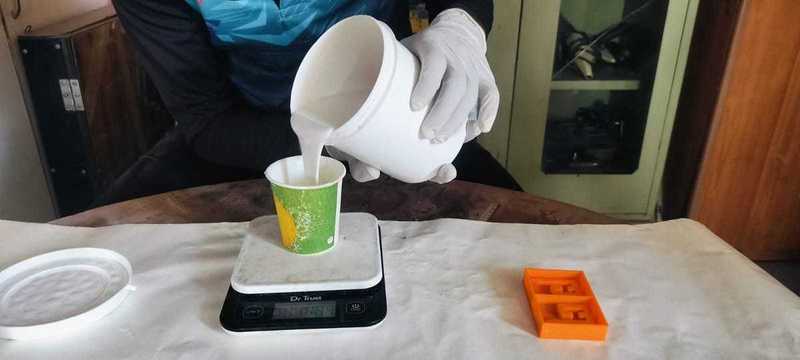
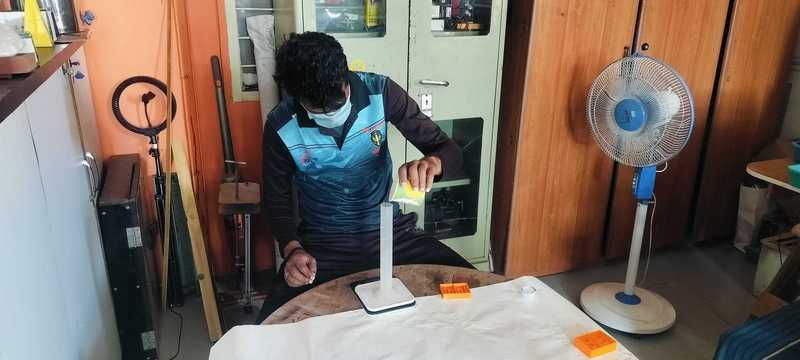
Then, I poured the Moldsil into a clean glass for mixing.
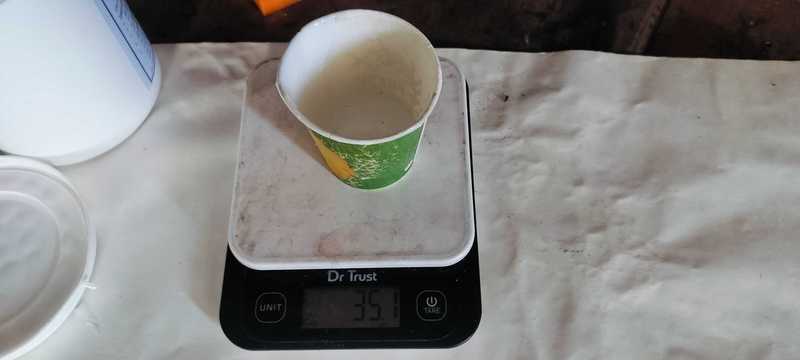
Based on the water volume, I used 35.1 ml of Moldsil—slightly more than needed—to ensure there was enough material during the casting.
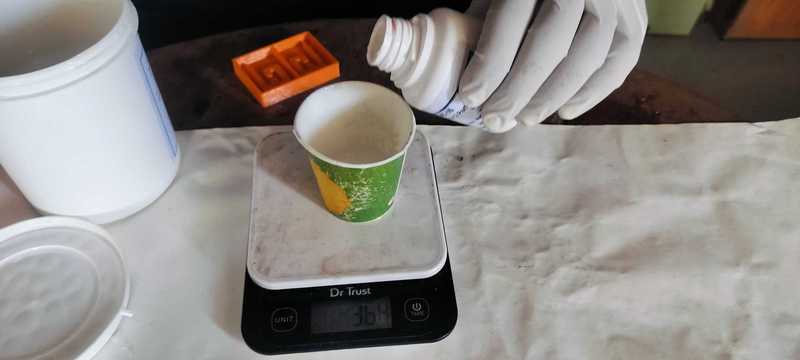
After that, I measured 1.3 ml of CAT-16 (the catalyst).
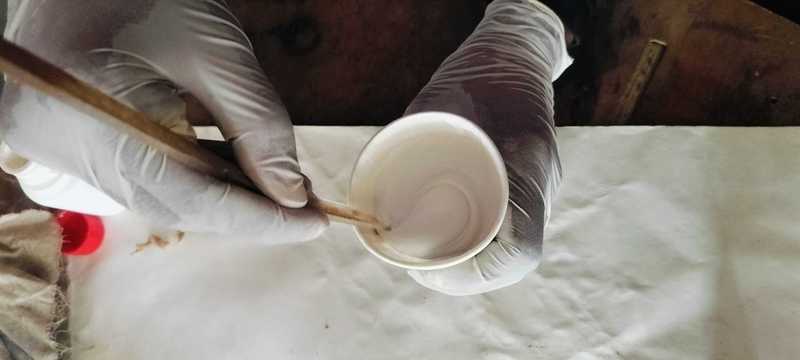
I thoroughly mixed both components to achieve a uniform consistency.
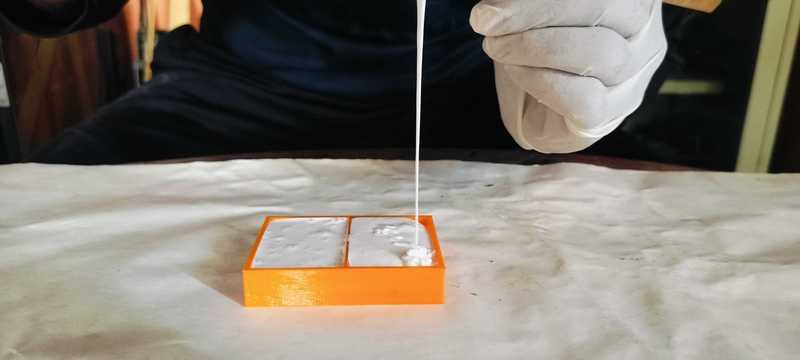
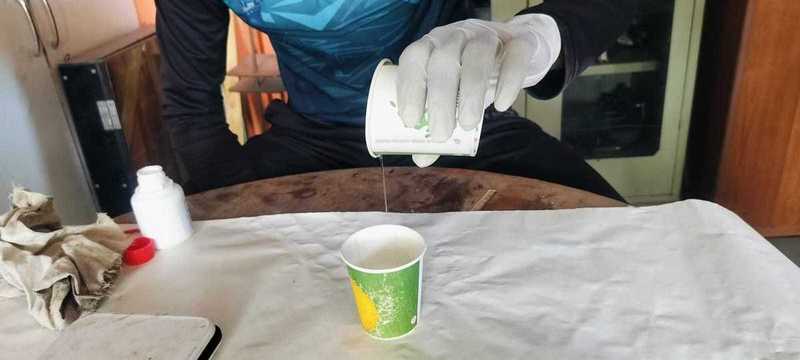
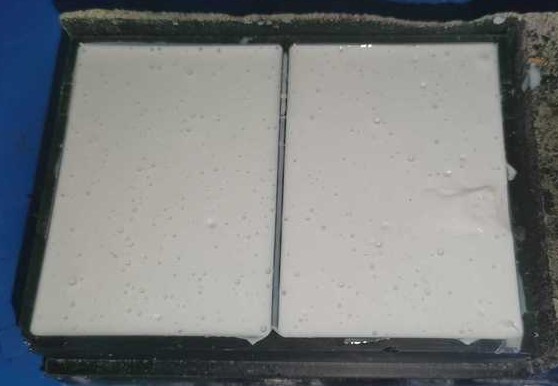
Once mixed, I carefully poured the silicone mixture into the mold.
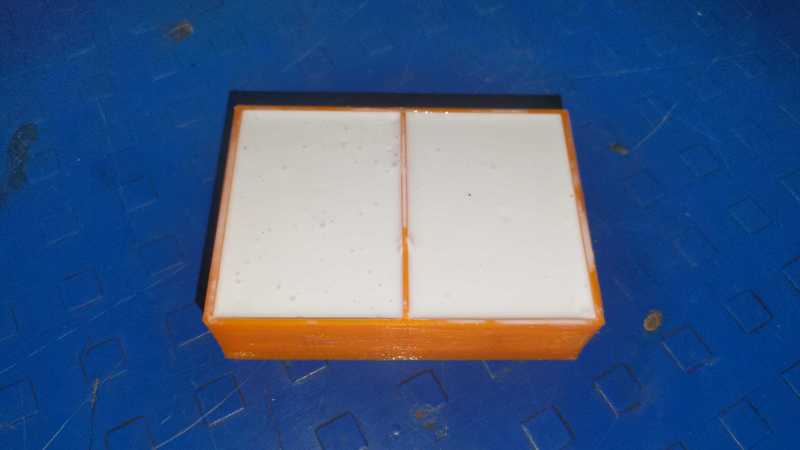
Finally, I placed the mold on a flat surface to allow the material to set properly.
I removed the silicon mold after 24 hours.

Once I received the silicone mold, I tightly secured it with rubber bands to ensure it stayed in shape.

I then poured water into the mold to determine the exact quantity required for the resin and hardener mixture.

After checking, I found that the mold could hold 9 ml of liquid.

Based on this measurement, I prepared the resin and hardener mixture in a 3:1 ratio.

I mixed both components thoroughly to ensure a consistent blend.

After achieving a smooth and even mixture, I carefully poured it into the mold.

By following the same procedure described earlier, I was also able to successfully fabricate a soft wax object, which demonstrated smooth and precise detailing.

The soft wax material produced excellent results, with the final object emerging cleanly and without defects.
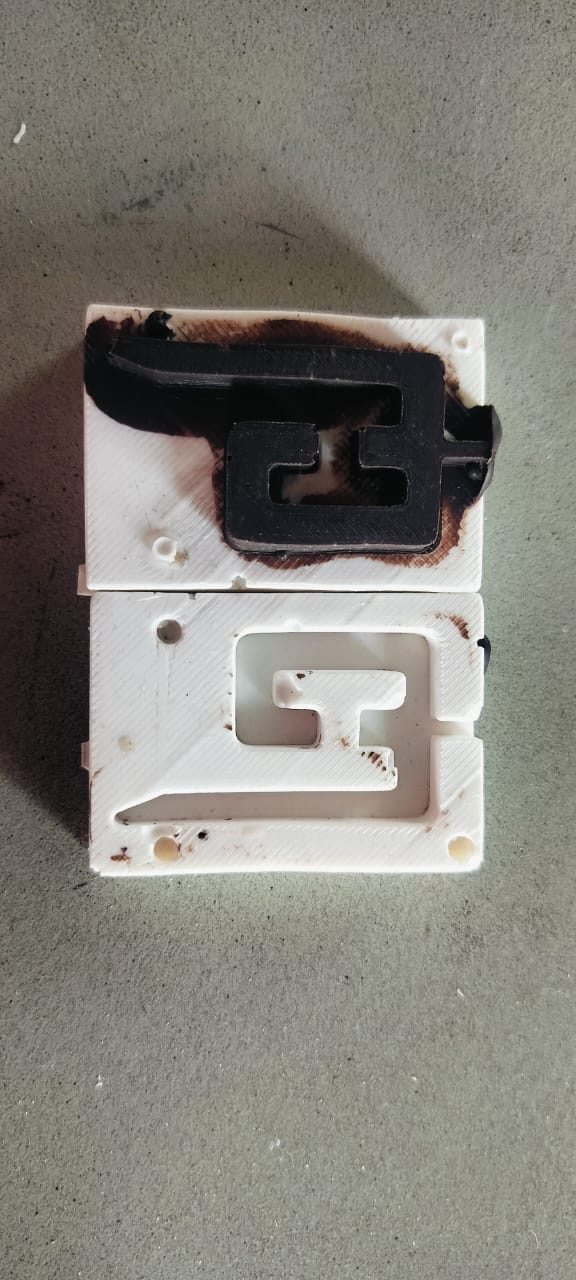
Using the same step-by-step process, I applied the technique to create a chocolate-based product, which turned out successfully.
The resulting model marks the final version of my chocolate object, accurately reflecting the intended design and structure.
Modela Player 4 for G-Code
I used Modela Player 4 software to create my wax model on the SRM-20 machine, which allowed me to generate the G-code for my design and perform roughing, finishing, and surfacing operations
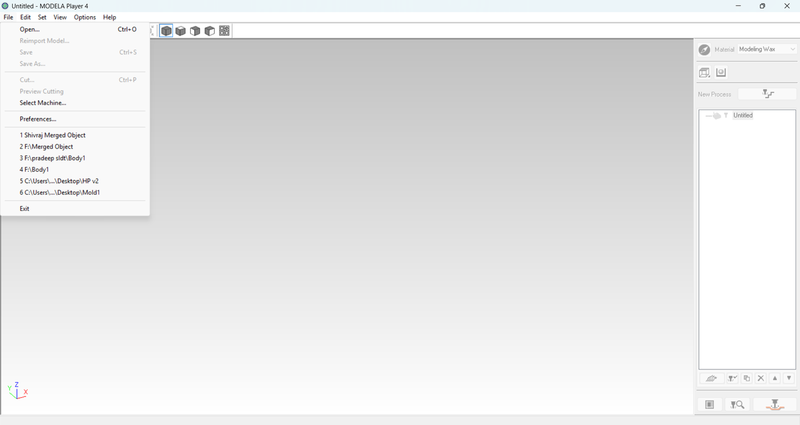
First, I opened the Modela Player 4 software. I clicked on "File" and then selected "Select Machine".
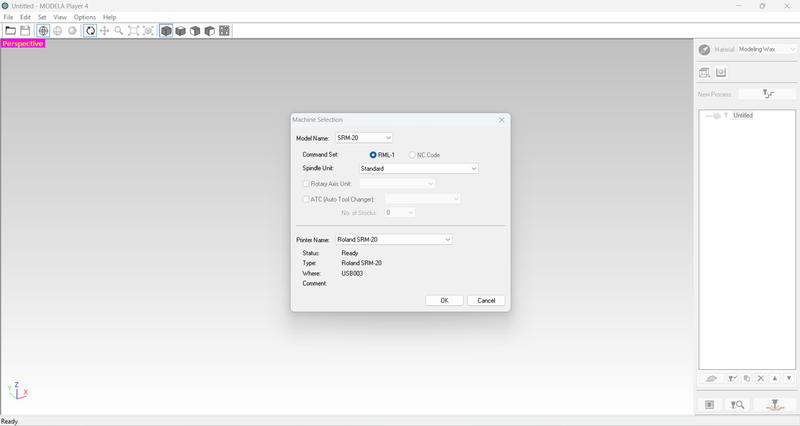
I chose the model number SRM-20, selected Standard, and then chose my machine.
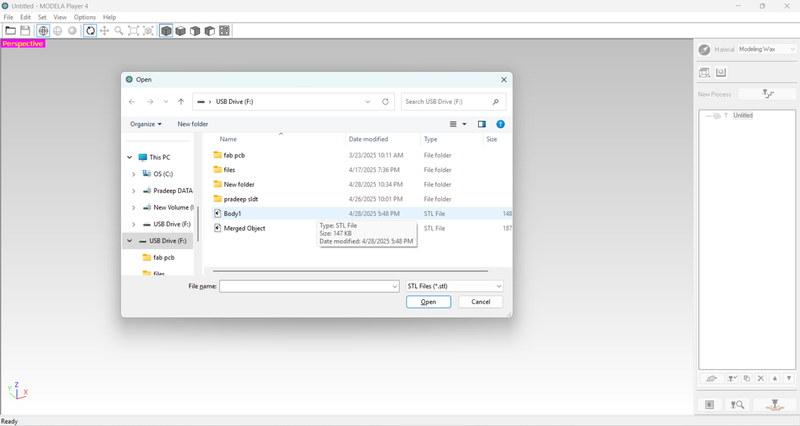
After that, I clicked on "File" again and selected "Open" to load my STL file.
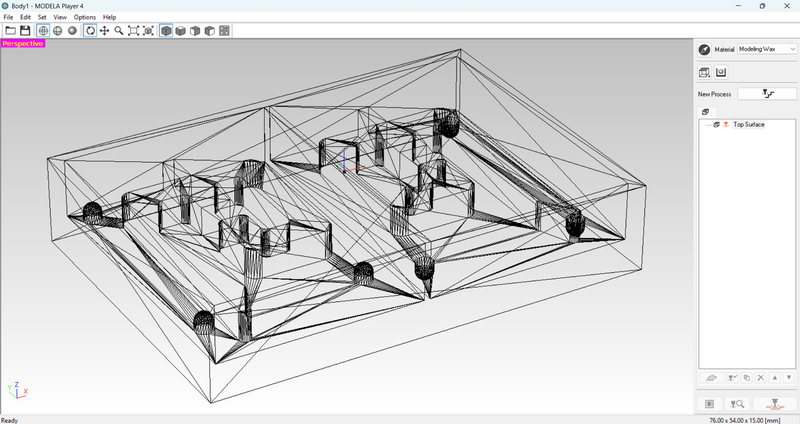
My object became visible on the screen.
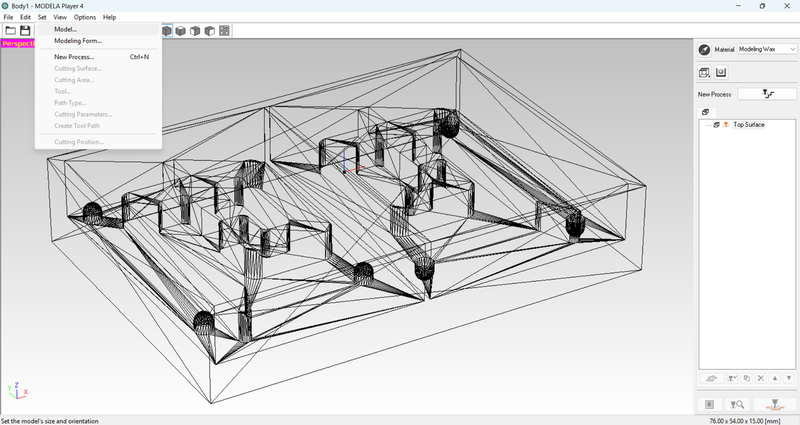
Next, I clicked on "Set", then on "Model".
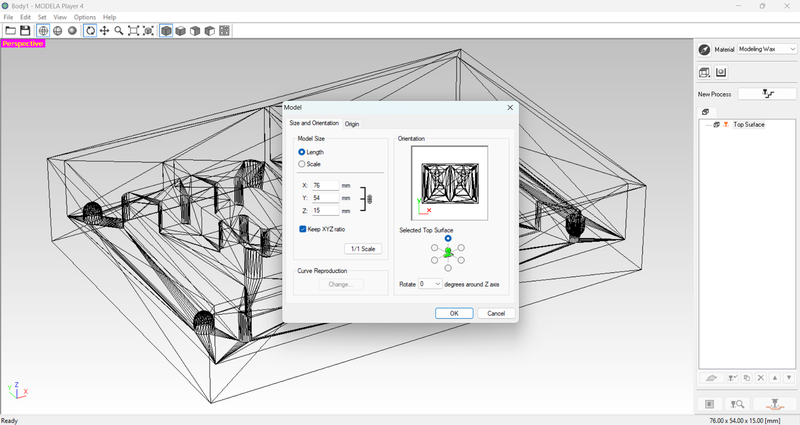
The model opened in a new window, where I arranged it properly, according to how I wanted it to be cut. I also adjusted the size of the object as needed.

Then, I set the origin for the object.
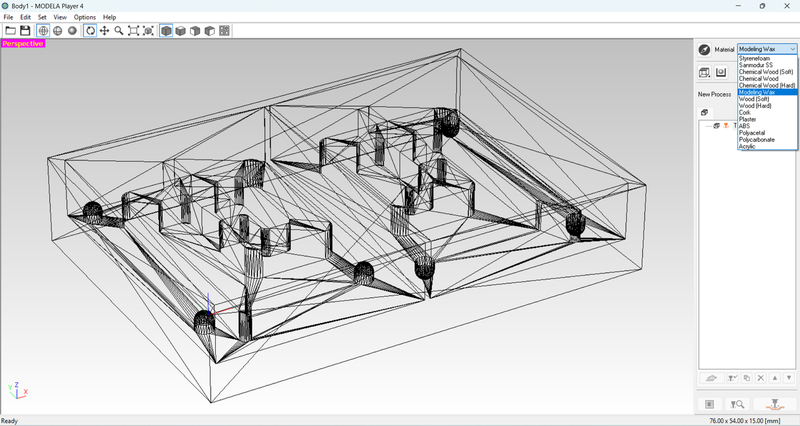
Finally, I selected the material for the object, choosing Modeling Wax for the process.
Detailed CNC Milling Process: Surfacing, Roughing, Finishing
| 🟦 Surfacing (3mm End Mill) |
🟧 Roughing (3mm End Mill) |
🟩 Finishing (3mm Ball Nose) |
1. Clicked on Surfacing

2. Selected Top (+Z)

3. Chose 3mm End Mill

4. Selected the surface leveling area

5. Clicked on Scan Line
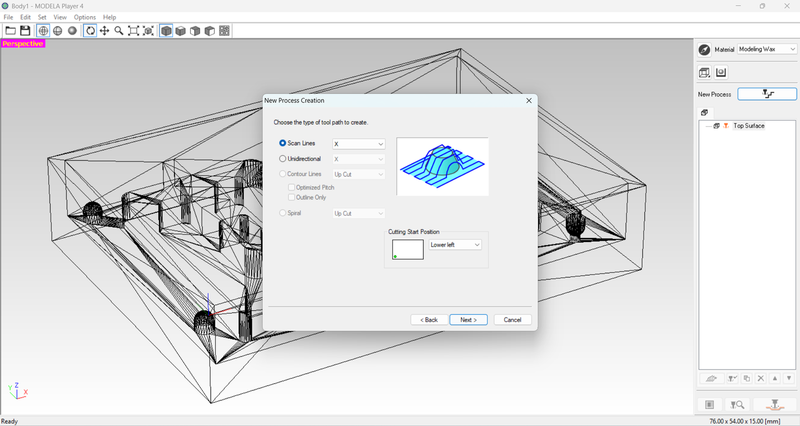
6. Created a New Process

7. Kept the settings to default

8. Set the Toolpath to "Right Now"

9. Surfacing View
|
1. Clicked on Roughing

2. Selected Top (+Z)

3. Chose 3mm End Mill

4. Selected the entire mold for the Roughing Area

5. Set the Cutting Direction to X

6. Created a New Process
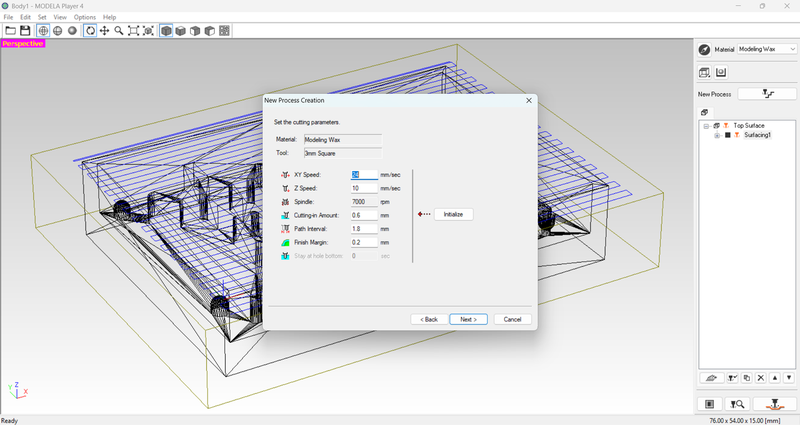
7. Kept the settings to default

8. Set the Toolpath to "Right Now"

9. Roughing View
|
1. Clicked on Finishing

2. Selected Top (+Z)

3. Chose 3mm Ball Nose Bit

4. Selected the entire mold for the Finishing Area

5. Set the Cutting Direction to X-Y

6. Created a New Process

7. Kept the settings to default

8. Set the Toolpath to "Right Now"

9. Finishing View
|
After creating the toolpath I started the process of creating my own wax blog
Wax Milling and Mold Block Preparation
First, we broke the wax into smaller pieces so it could be melted and reshaped into a solid block.
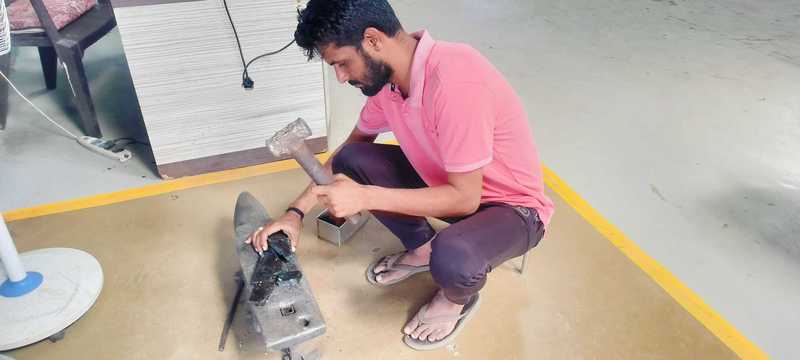
Using a hammer, we crushed the old wax block into small fragments.
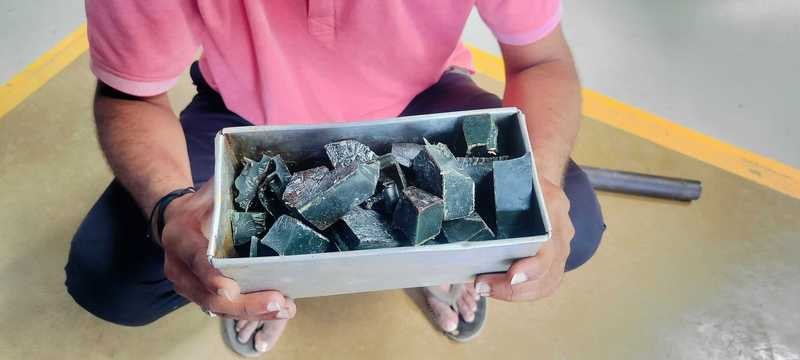
The wax pieces were then placed into the mold frame.
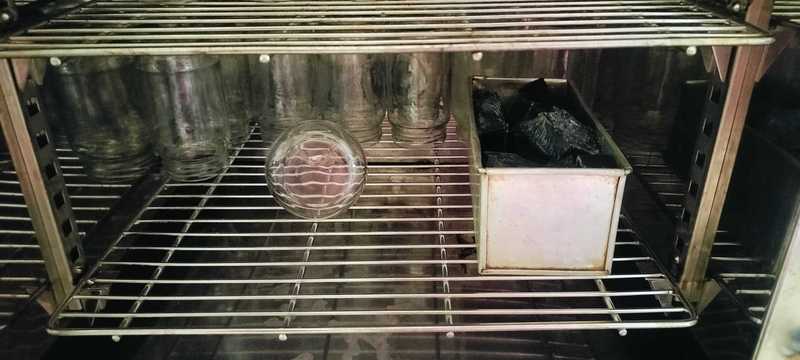
We placed the mold in an oven to melt the wax evenly.
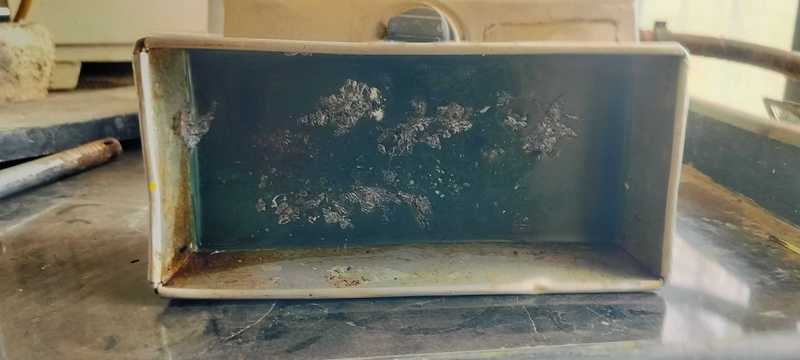
After some time, the wax solidified and took the shape of the mold.
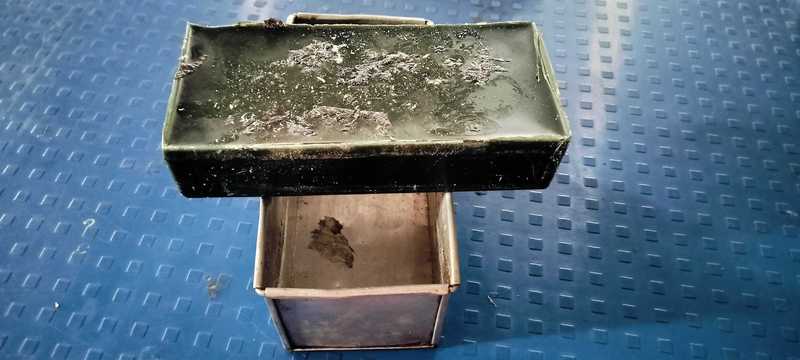
We carefully cut and removed the wax block from the mold using a knife.
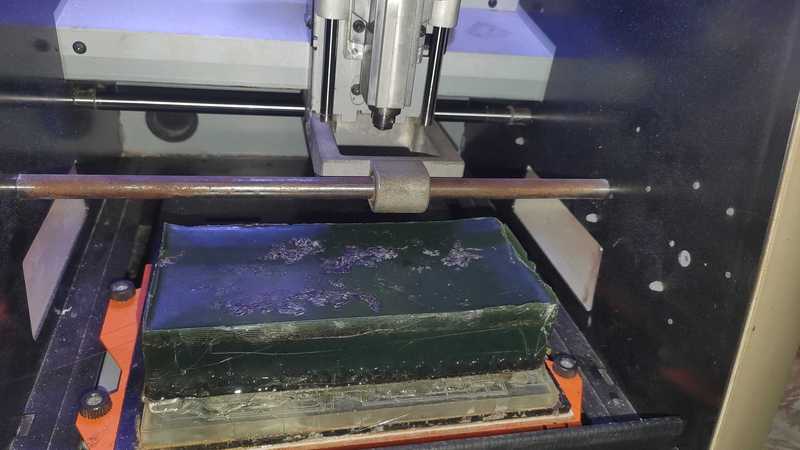
I have stuck the wax to the bed using a glue gun, now the wax block is ready for the moulding process.
Using the V-panel, I set the origin at the same position where the mold was created. I aligned the origin according to the mold's location.
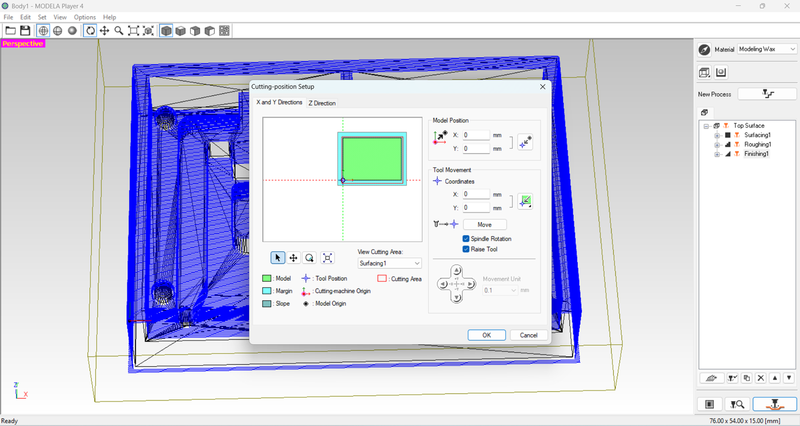
To begin the milling process, I clicked on the cutting position setup and then confirmed it by clicking OK.
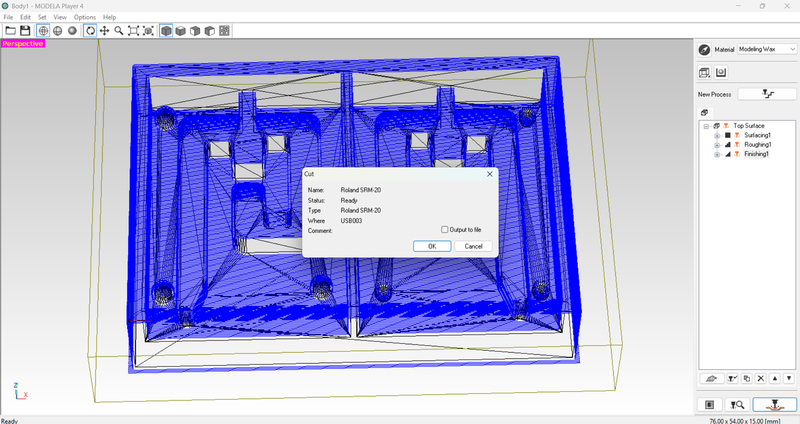
When the cut option appeared, I selected it and clicked OK to proceed.

Next, I performed surfacing (roughing), changed the tool, and finally completed the finishing pass.
| Surfacing Pass |
Roughing Pass |
Finishing Pass |
 |
 |
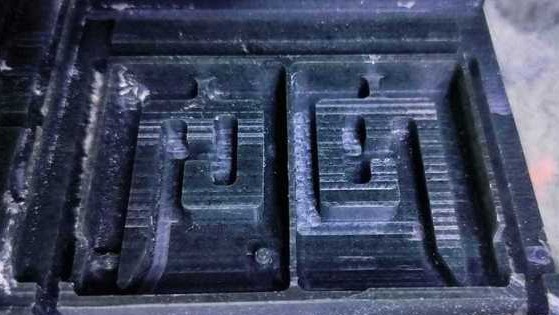 |

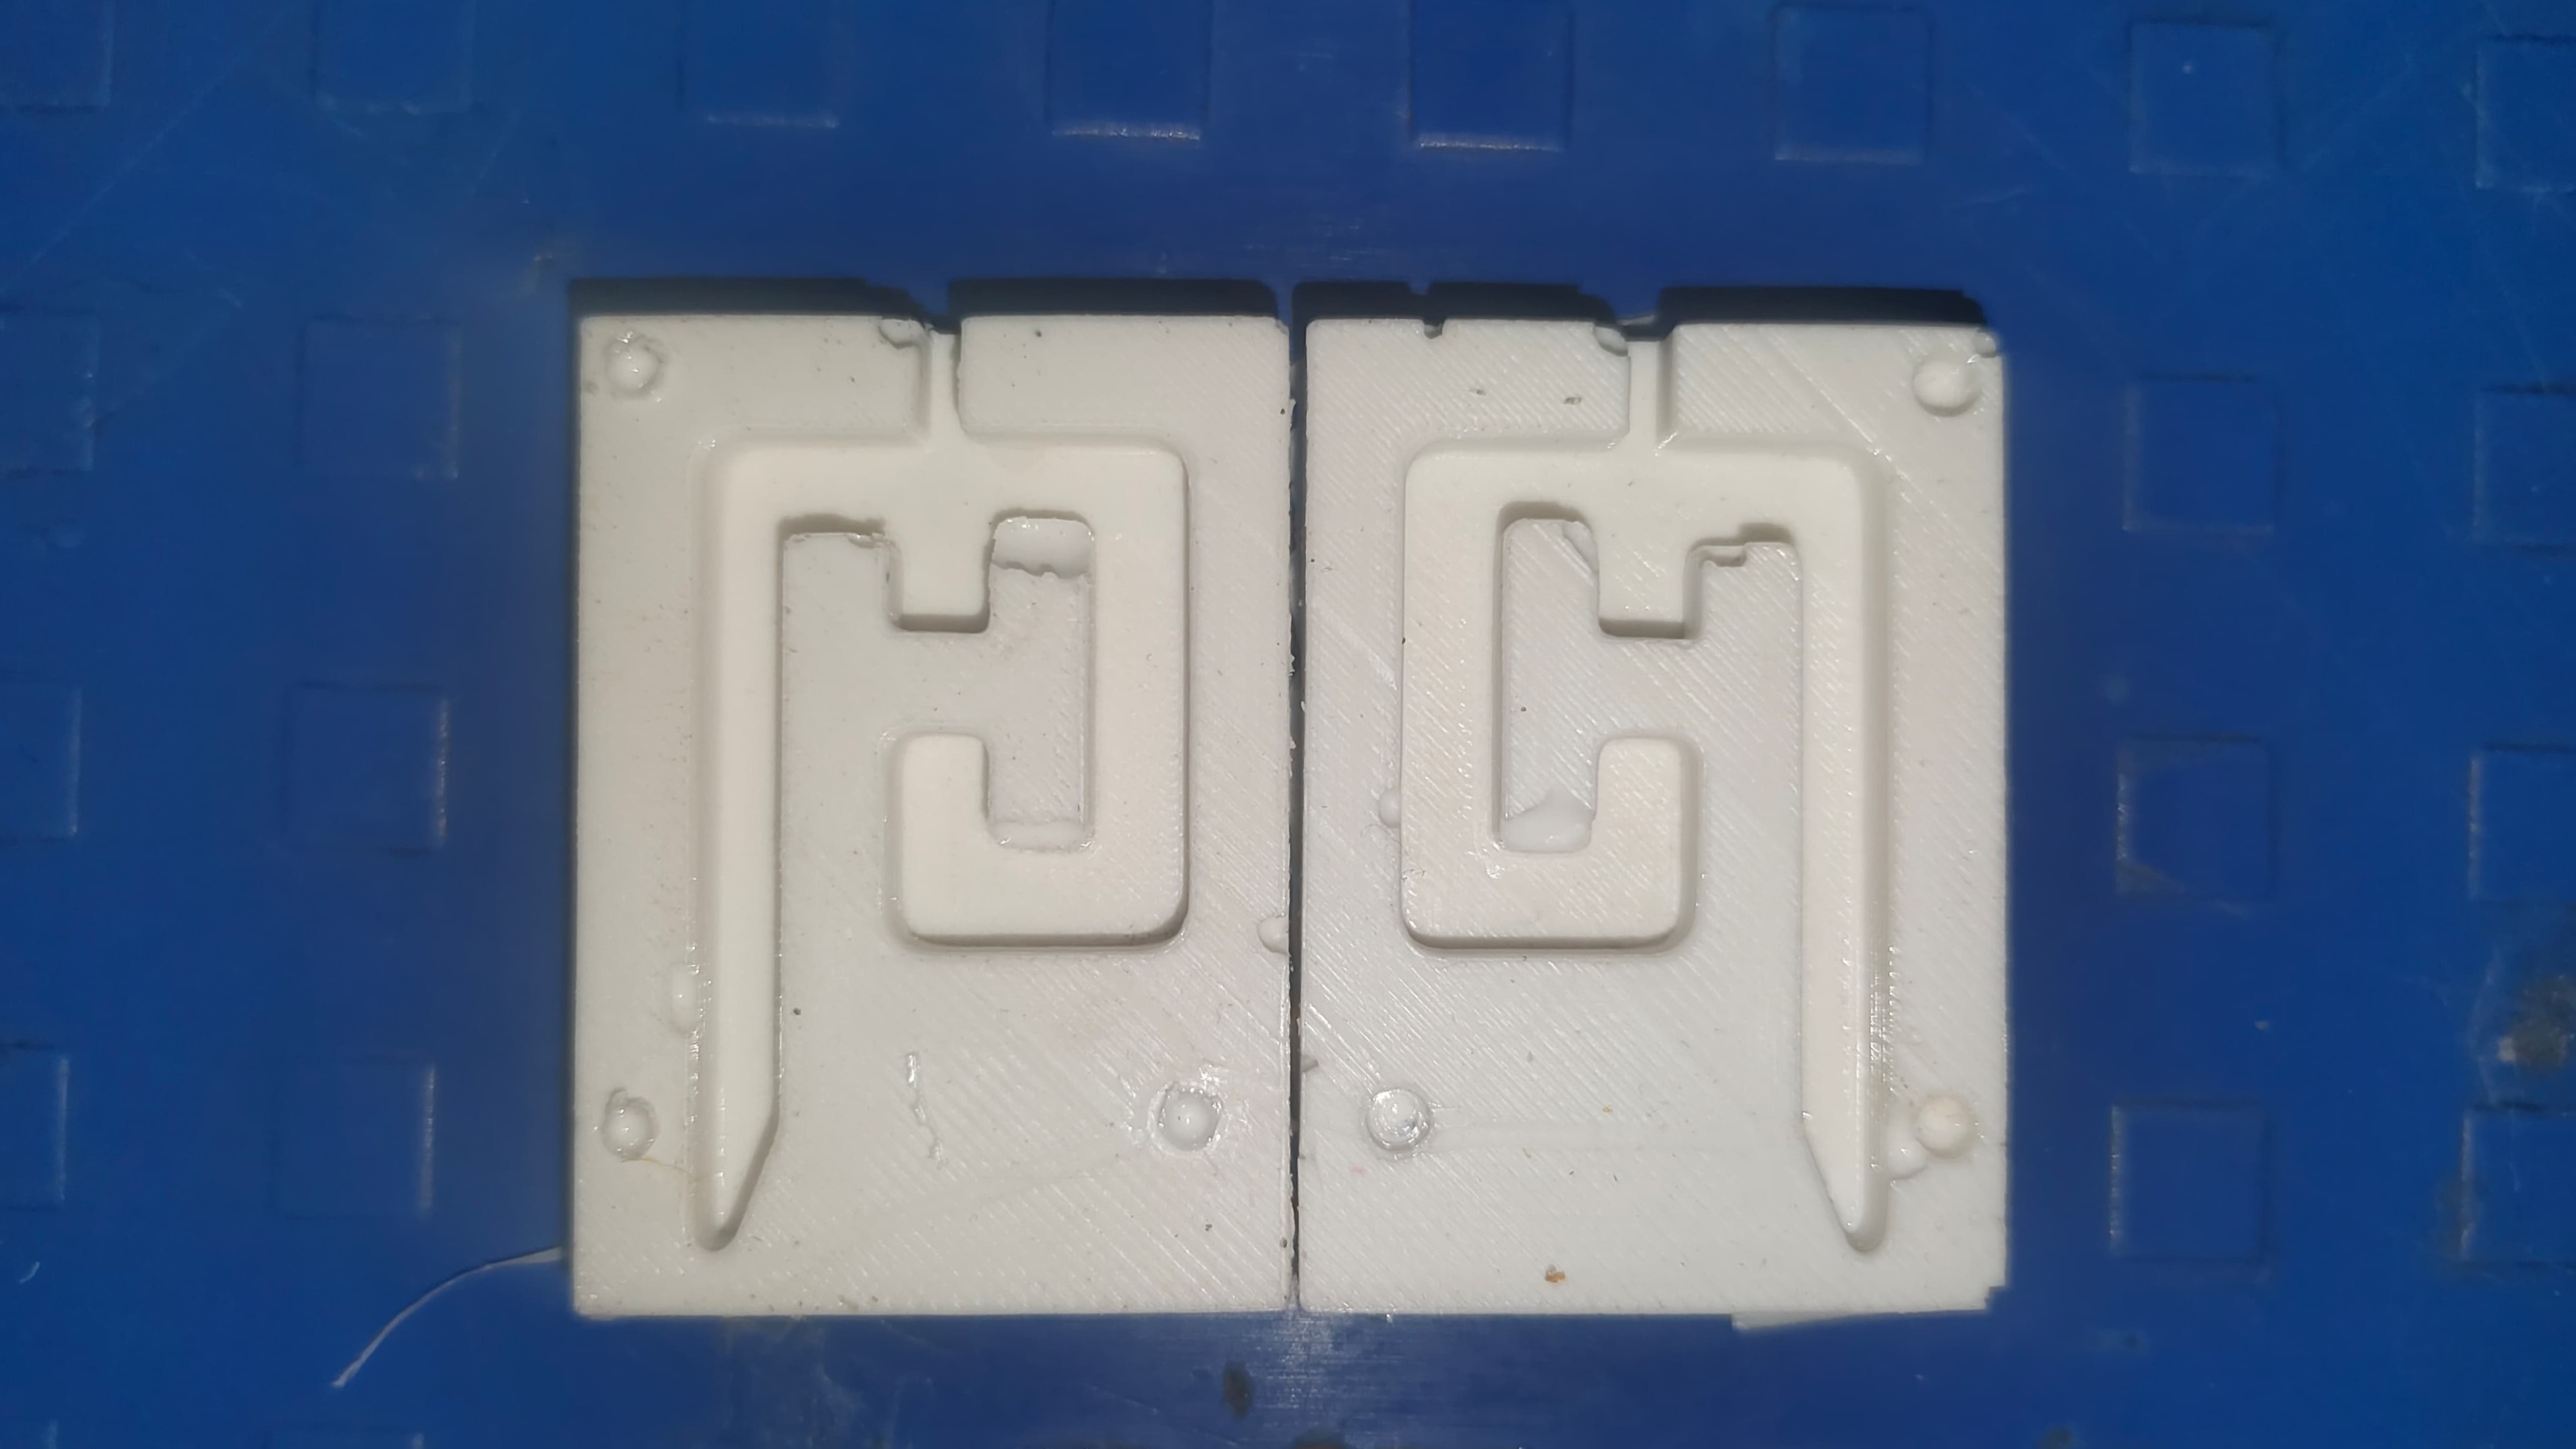
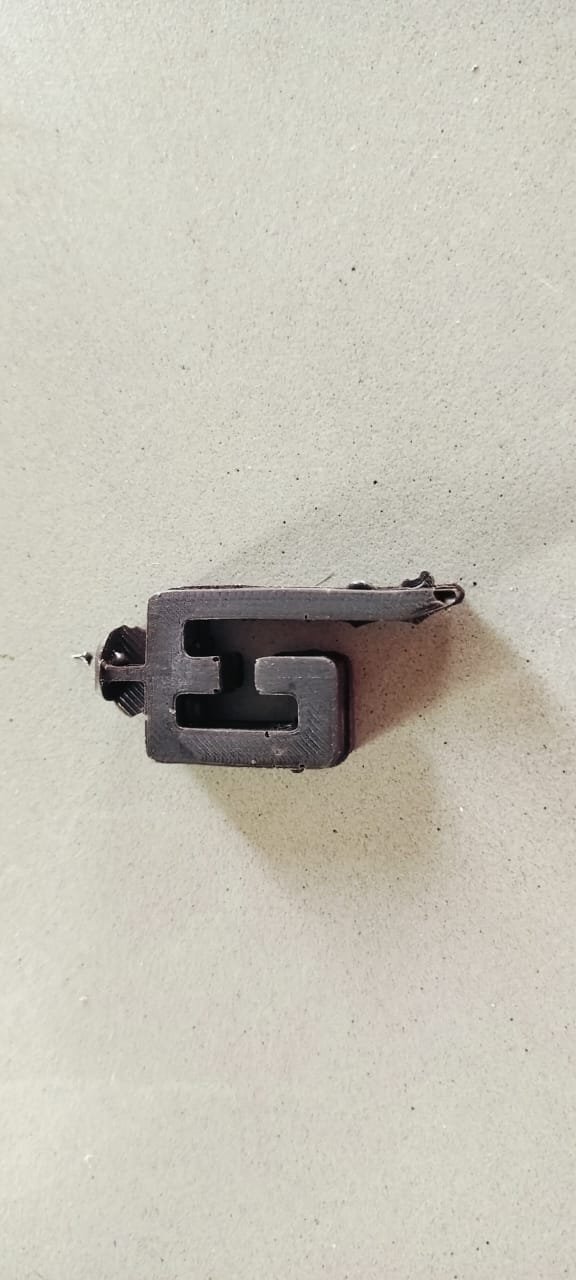
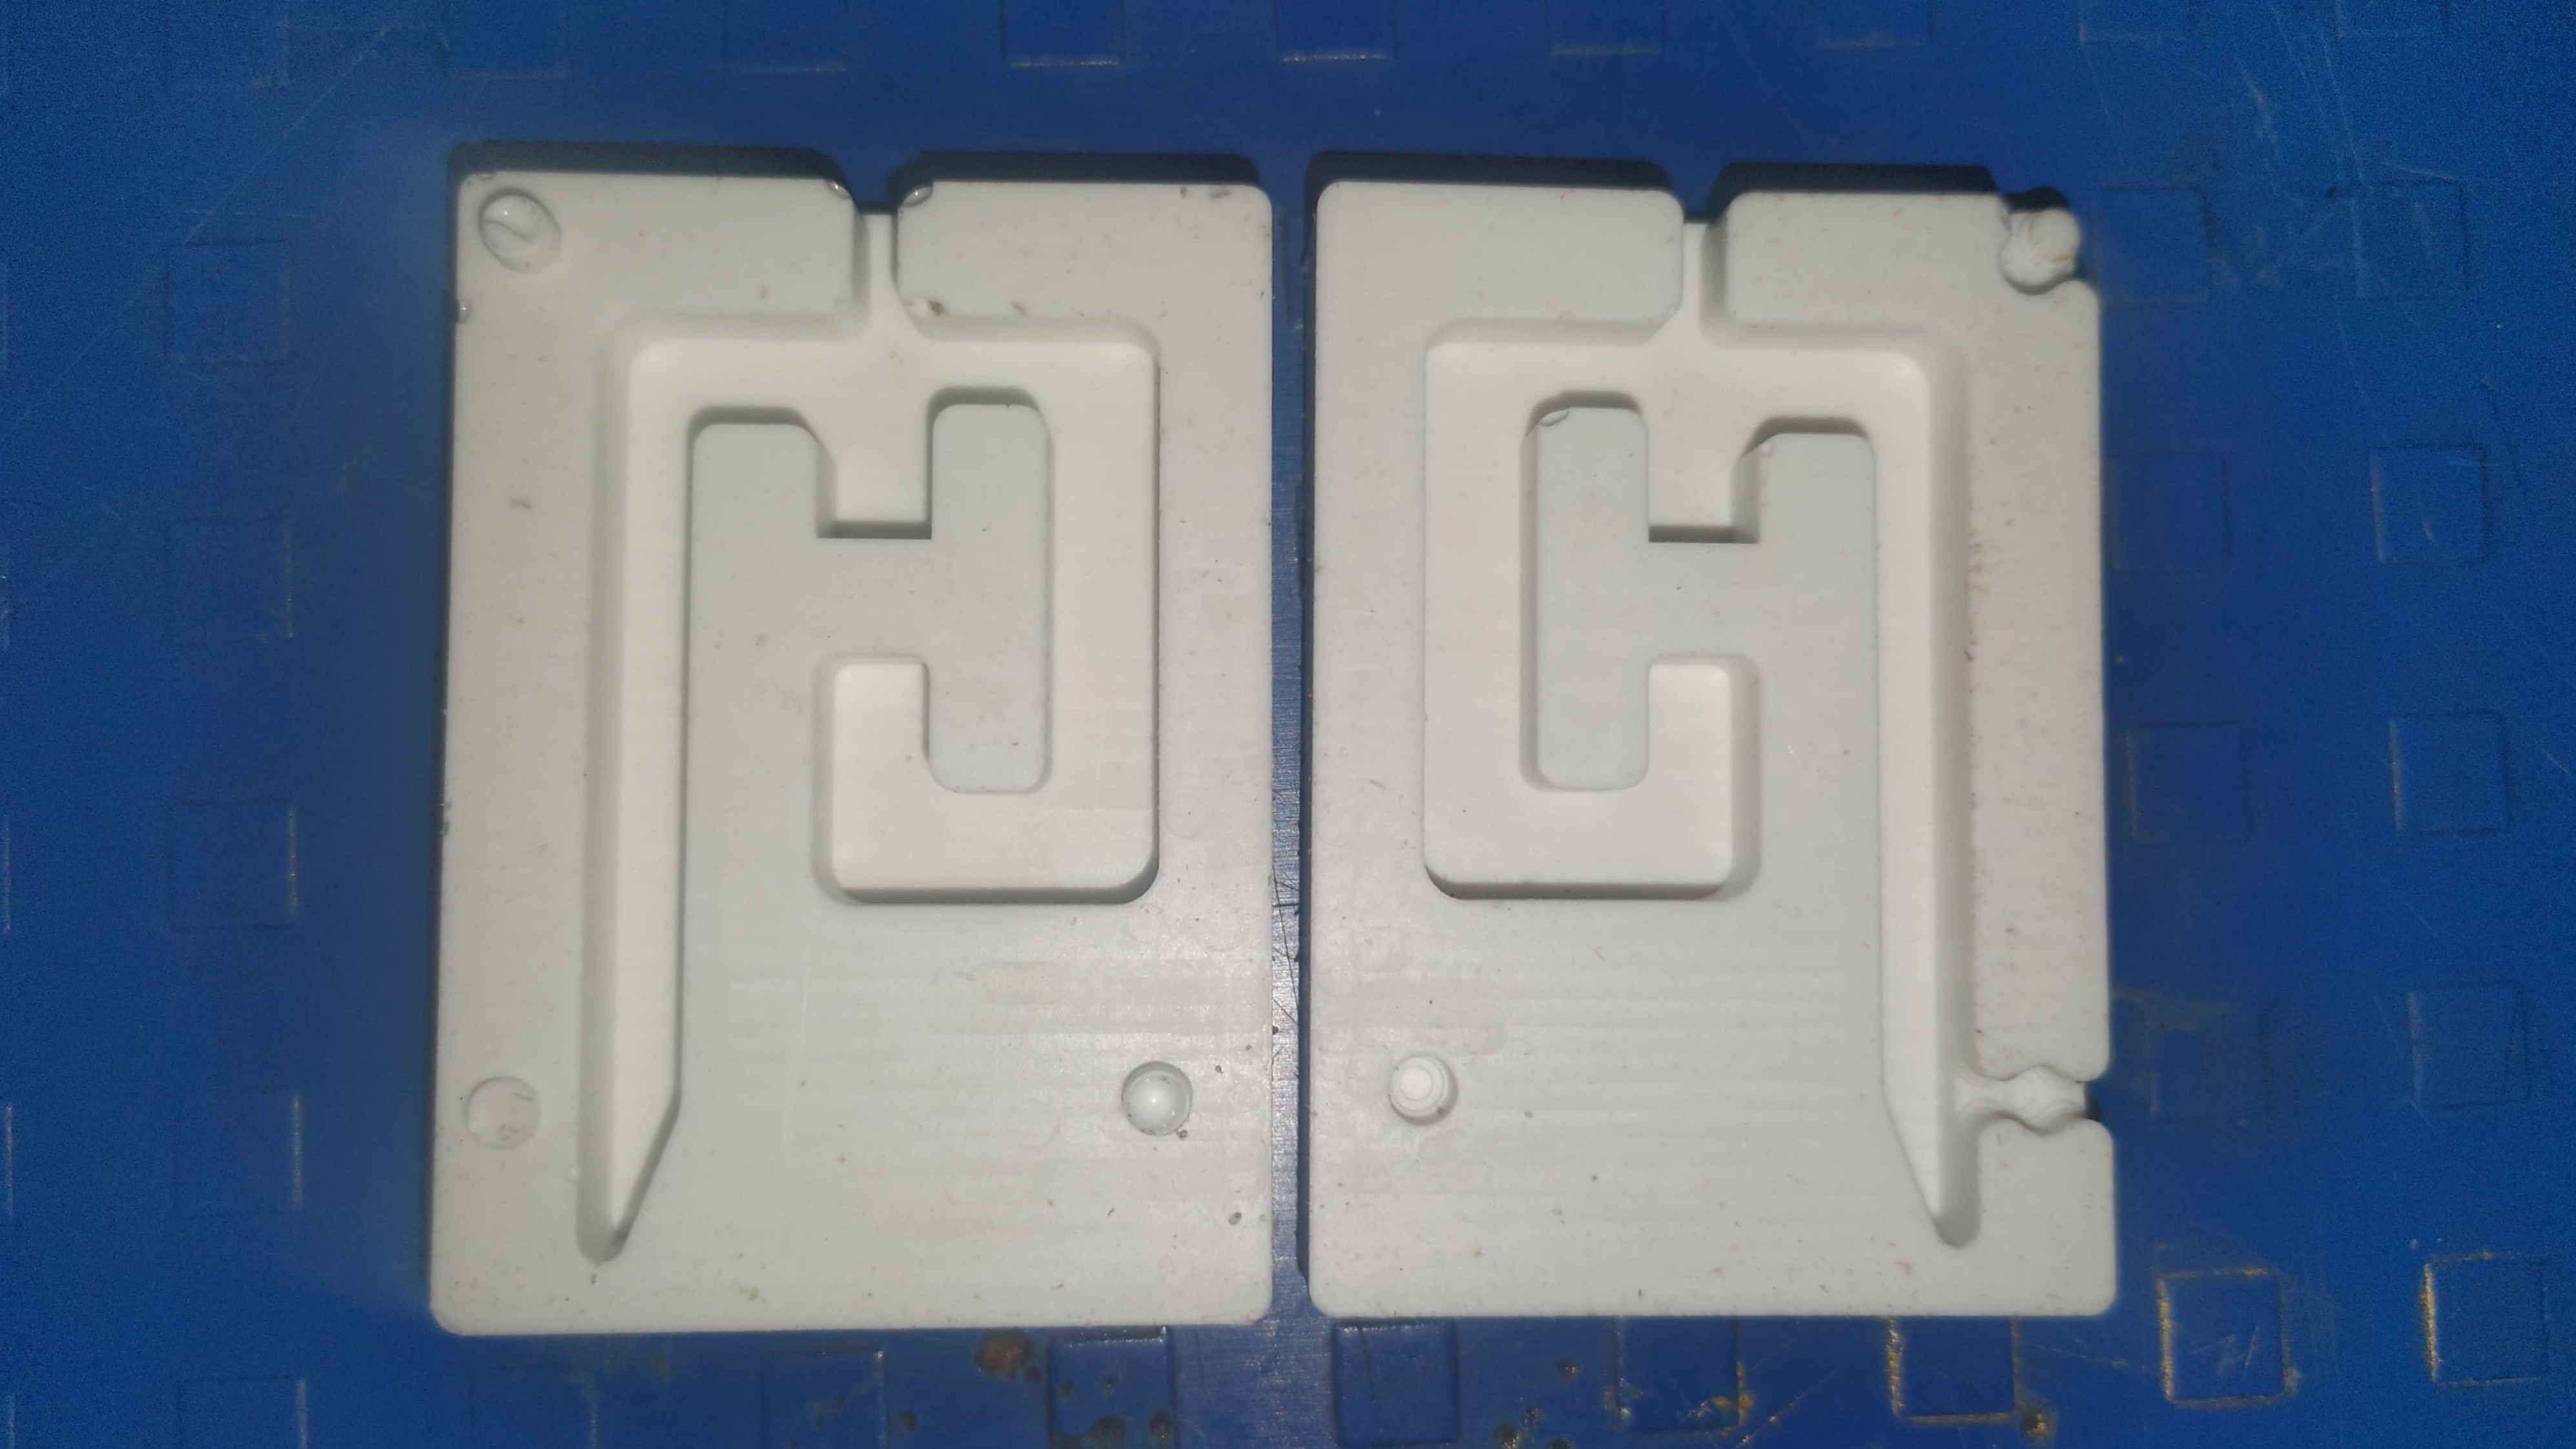
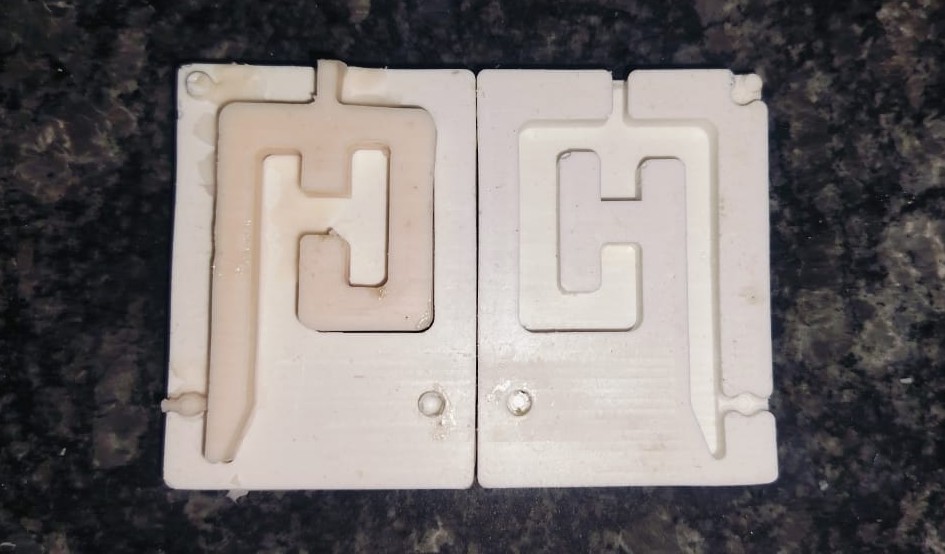
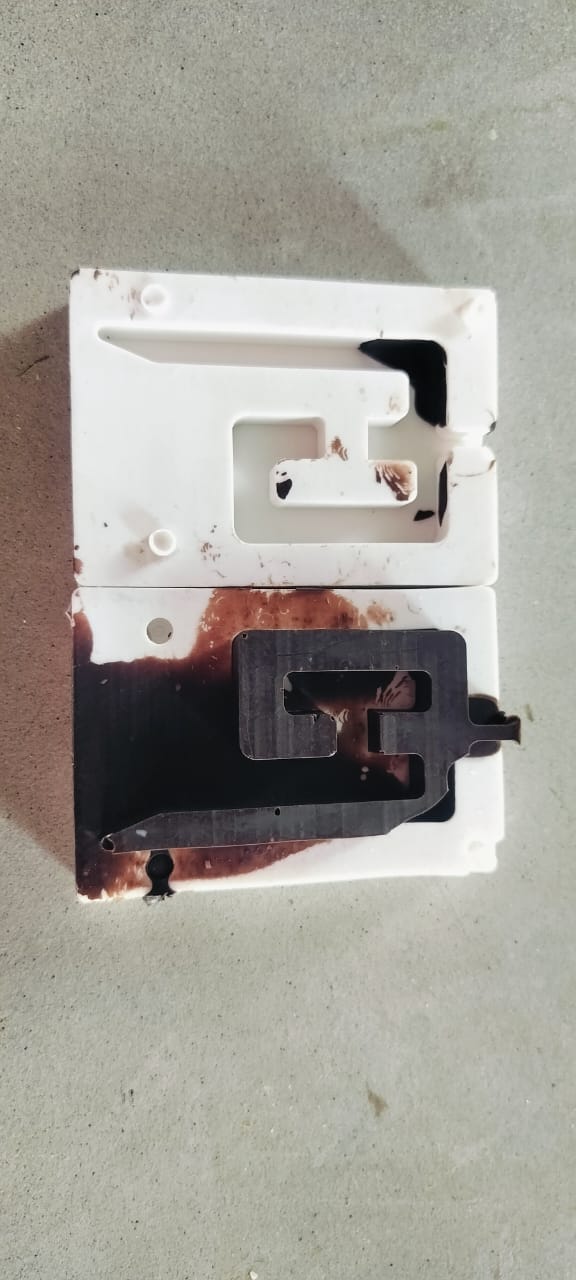
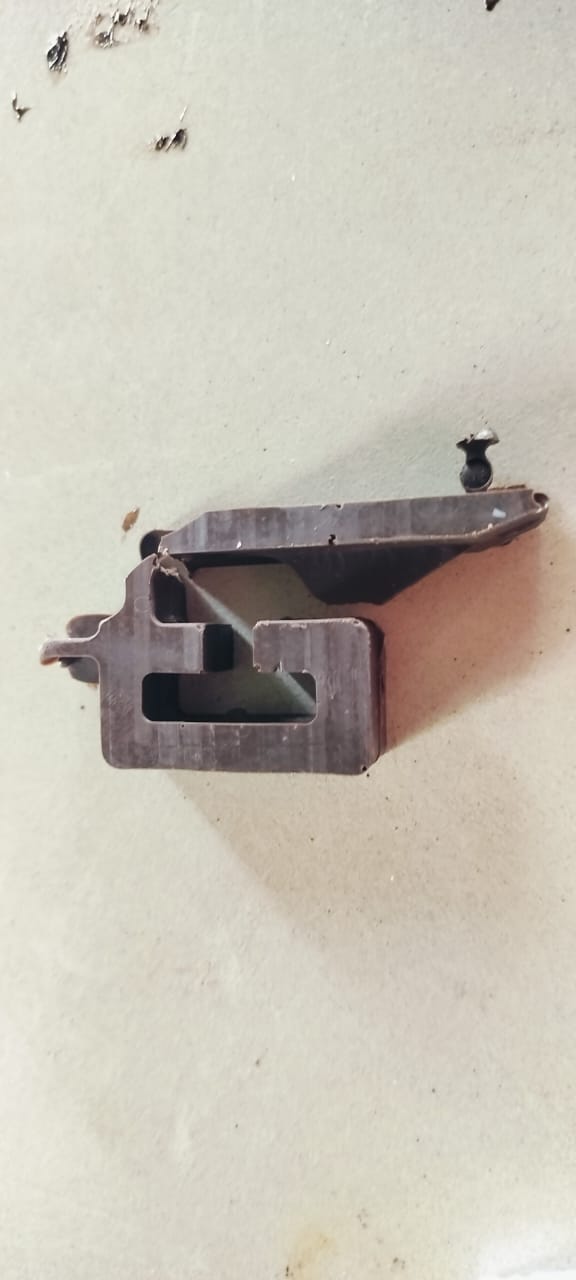
Fianl Output of the mold
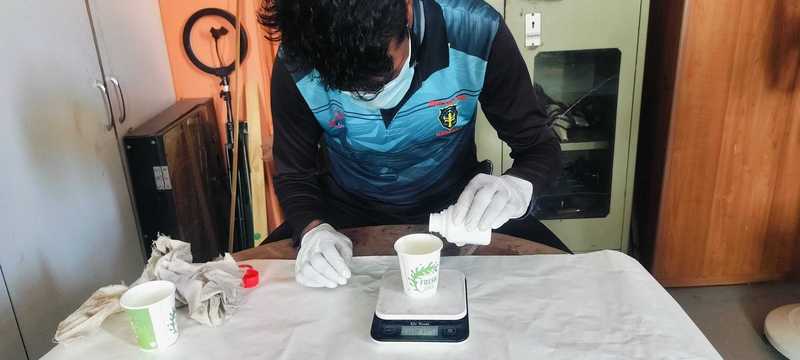
Casting Process
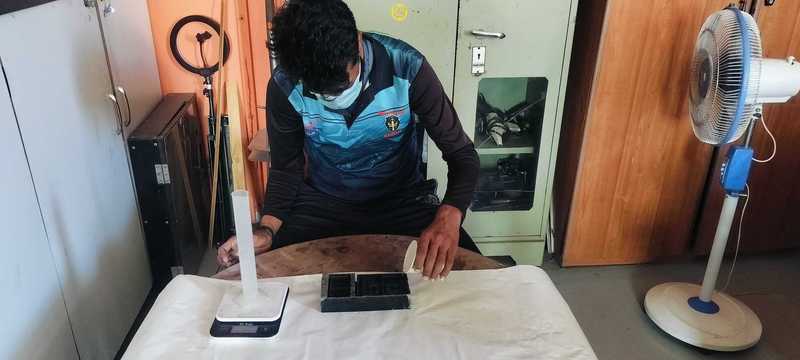
1. First, I poured water into a mold to measure the required quantity.
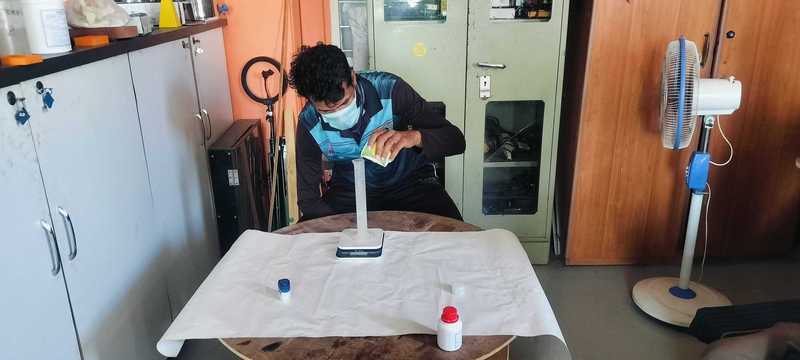
2. I placed the glass with water on the weighing machine.
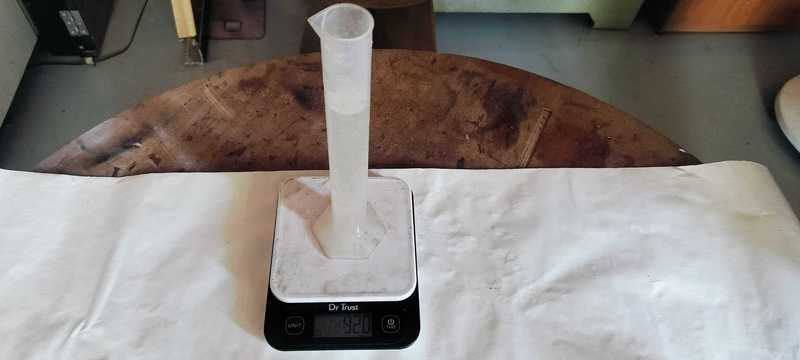
3. The weight of the water was 92 ml.
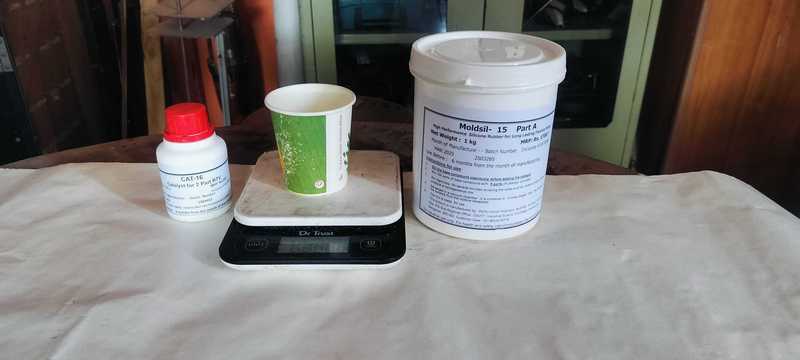
4. Then, I selected Mouldsil and Cat-16 for the casting mixture.
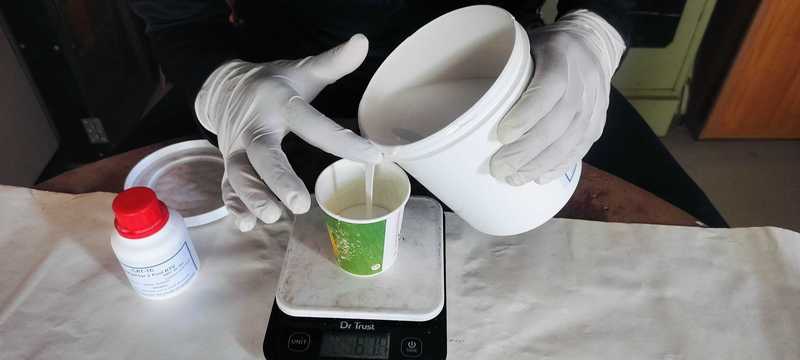
5. I poured the Mouldsil into the glass.
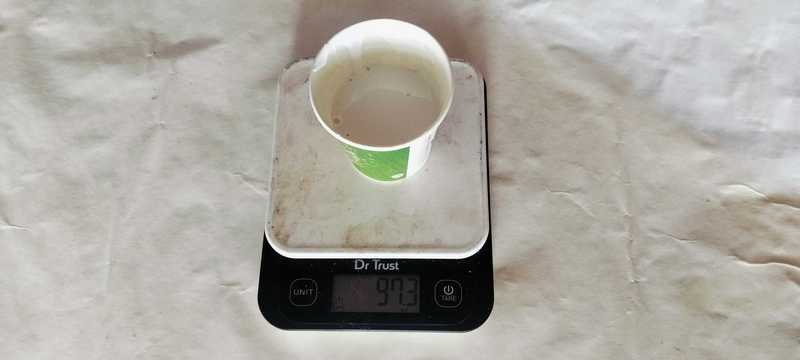
6. The weight of the Mouldsil was 97 ml.
7. Next, I added Cat-16 into the glass.
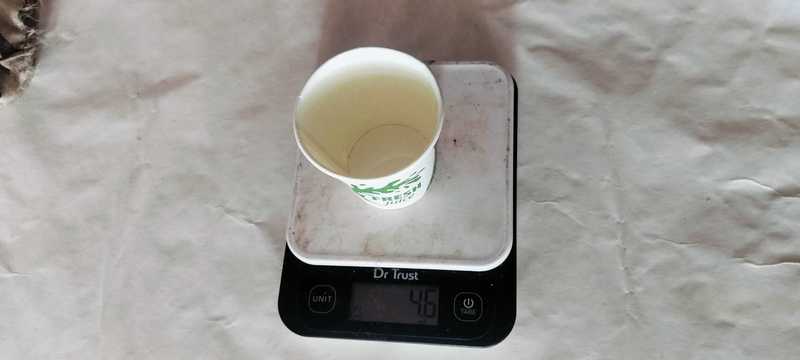
8. The weight of Cat-16 was 4.6 ml.
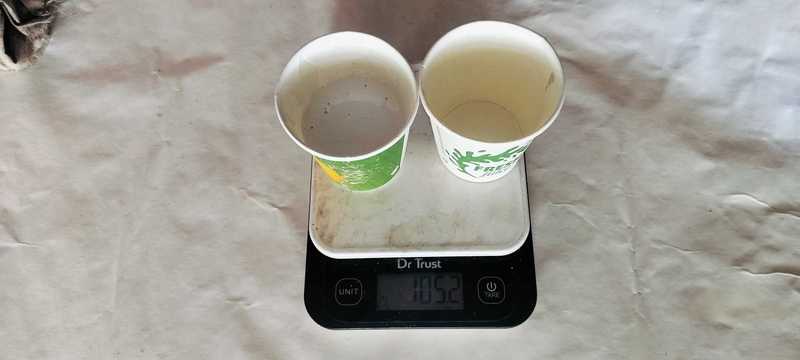
9. The total combined weight of both materials was 105 ml.
10. I poured both materials into a single glass for mixing.

11. The materials were mixed thoroughly to form a uniform mixture.
12. I poured the mixture into the mold carefully.
13. Finally, I placed the mold on a flat surface to let it set properly.
14. I removed the silicon mold after 24 hours.

Once I received the silicone mold, I tightly secured it with rubber bands to ensure it stayed in shape.

I then poured water into the mold to determine the exact quantity required for the resin and hardener mixture.

After checking, I found that the mold could hold 15 ml of liquid.

Based on this measurement, I prepared the resin and hardener mixture in a 3:1 ratio.

I mixed both components thoroughly to ensure a consistent blend.

After achieving a smooth and even mixture, I carefully poured it into the mold.
By following the same procedure described earlier, I was also able to successfully fabricate a soft wax object, which demonstrated smooth and precise detailing.

The soft wax material produced excellent results, with the final object emerging cleanly and without defects.
Using the same step-by-step process, I applied the technique to create a chocolate-based product, which turned out successfully.
The resulting model marks the final version of my chocolate object, accurately reflecting the intended design and structure.