Individual assignment:
Document your individual contributionFinal Machine Video
Individual assignment:
Document your individual contributionFinal Machine Video
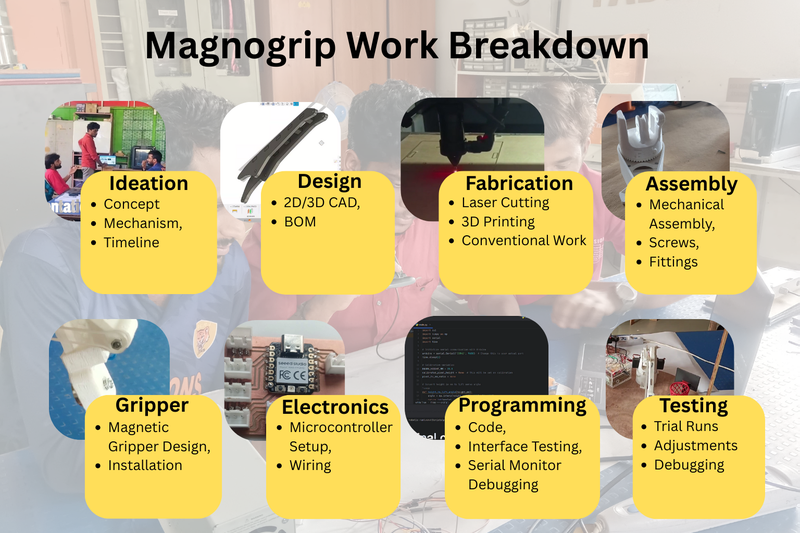
We divided the tasks among team members to construct the machine
1. Shivraj Singh:Responsible for designing the microcontroller and electronics, as well as compiling the final project video.
2. Pradeep KumarTasked with designing the robotic arm and base mechanism, ensuring structural integrity and functionality.
3. Bommidi Ramesh: Handled the programming aspects of the project and contributed to certain design elements.
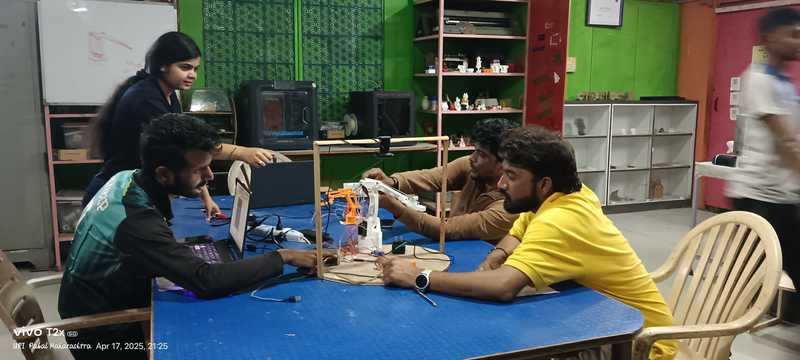
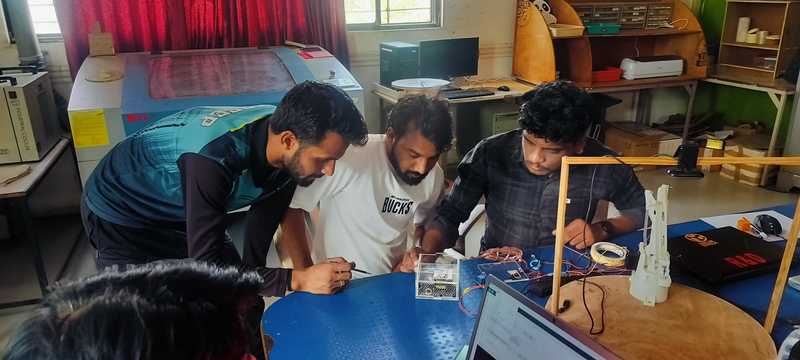
Our team worked together by dividing the project into smaller tasks, with each member taking responsibility for specific parts. This clear division of work helped us stay organized and ensured that everyone knew what they needed to do. By communicating regularly and supporting each other, we were able to complete the project efficiently and effectively.
I worked on a group assignment related to mechanical and machine design, specifically focused on the development of a robotic arm. This project was carried out with my team members, Ramesh, Shivraj, and myself.
For my part, I was responsible for the 2D and 3D design of the robotic arm. I created detailed models and ensured that they were suitable for production. After completing the designs, I worked on 3D printing and laser cutting the components. Additionally, I designed and developed appropriate housing for the electronic parts to ensure they were securely and properly functioning.
I also took responsibility for purchasing the necessary materials for the project, ensuring that all required components for the construction and assembly of the robotic arm were available. Once all the parts were ready, I assisted in the assembly process, making sure that all components fit correctly and worked together as intended.
Finally, I participated in the testing process of the robotic arm to ensure that it functioned as expected. I also contributed to the documentation of the project and helped in creating the final video, which showcased the design, assembly, and functionality of the robotic arm.
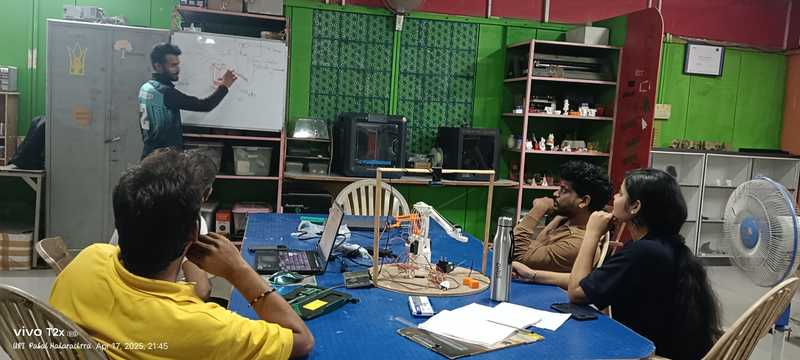
To begin with, our team came together to discuss the overall plan — what we wanted to build, how we would build it, and how we would divide the work. The three of us brainstormed various ideas and also interacted with people on campus to understand their real-world needs. We asked Vigyan Ashram staff what kind of robot could be useful in their daily tasks. After gathering insights and exploring different possibilities, we decided to create a robotic arm that would not only serve practical purposes in an industrial setting but also have an appealing design. Inspired by past projects, we noticed that most machines used stepper motors. So, we decided to try a different approach and build our robotic arm using servo motors for more precise and smoother control.
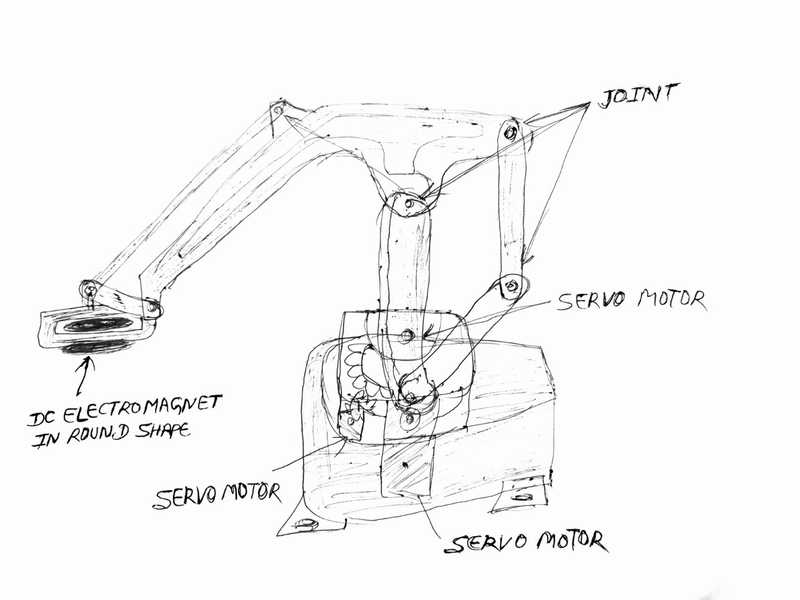
As a team, we collaboratively planned the design of our robotic arm. We decided that the arm should include one servo motor at the base for rotation, two servo motors at the shoulder joints for movement, and one servo motor for the gripper. Additionally, we planned to use a separate power source and a dedicated controller to manage all the servo motors. To integrate and control all these components efficiently, we also decided to design a custom PCB for the robotic arm.
1. Master Arduino → Sends Data → Slave Arduino → Controls Servo Motors → Executes Arm Movement.
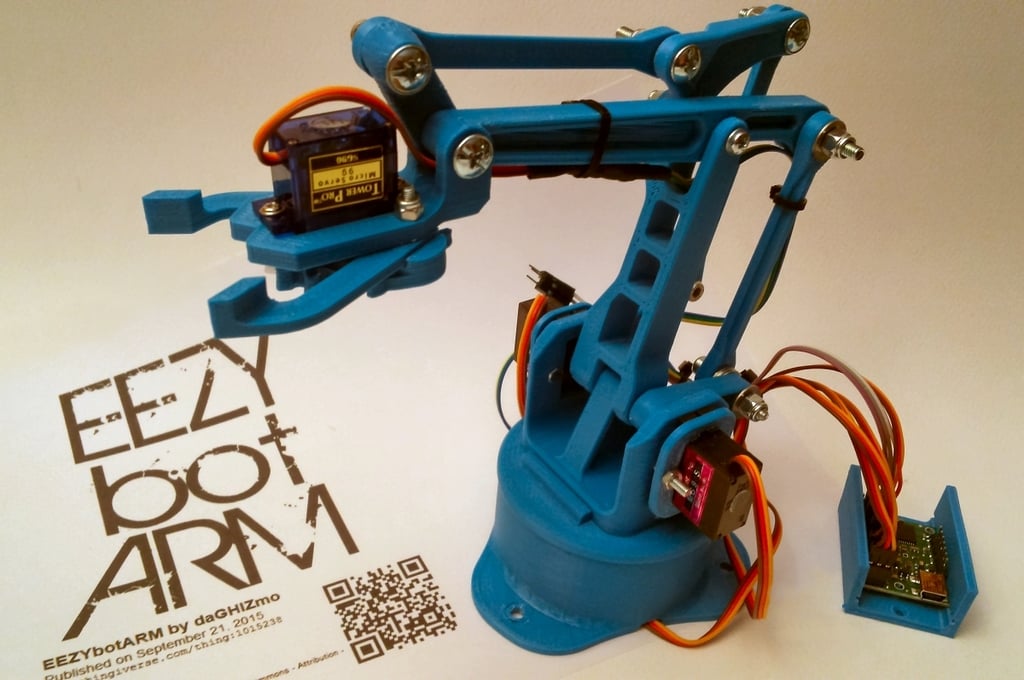
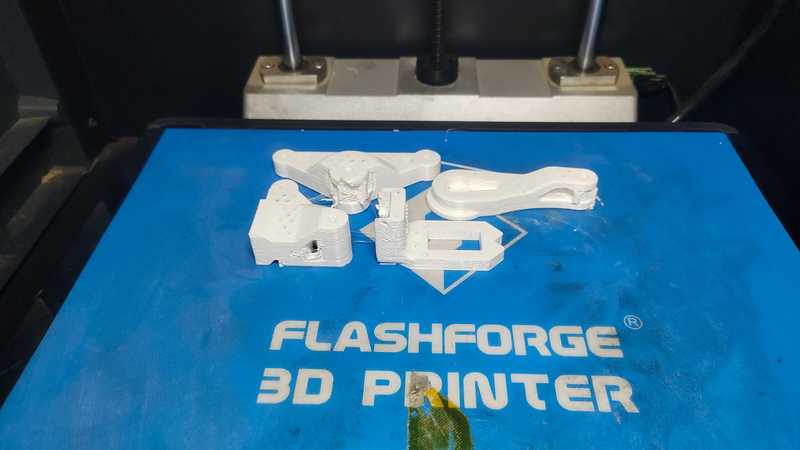
To begin this task, we decided to first test how our robotic arm would work. For the testing phase, we needed a 3D file of a robot. So, we visited the Thingiverse website and selected a small robot design. After choosing the design, we prepared it for 3D printing.
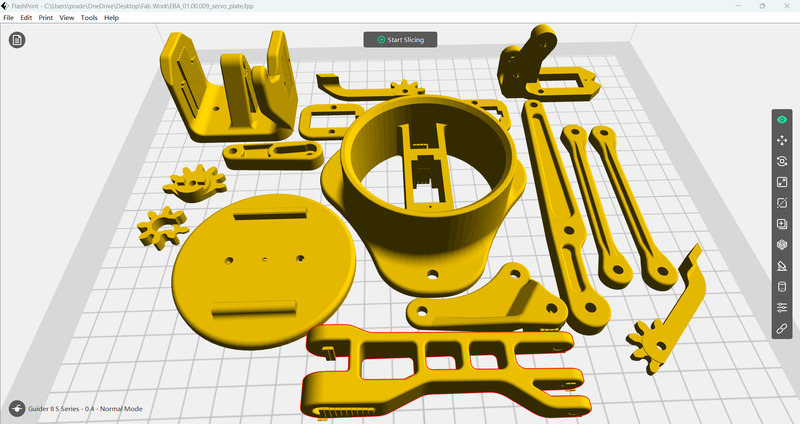
First, I downloaded all the necessary files from the website. Then, using the FlashForge 5 application, we configured all required settings such as Support, infill, raft , and others. After completing the setup, we successfully generated the G-code.
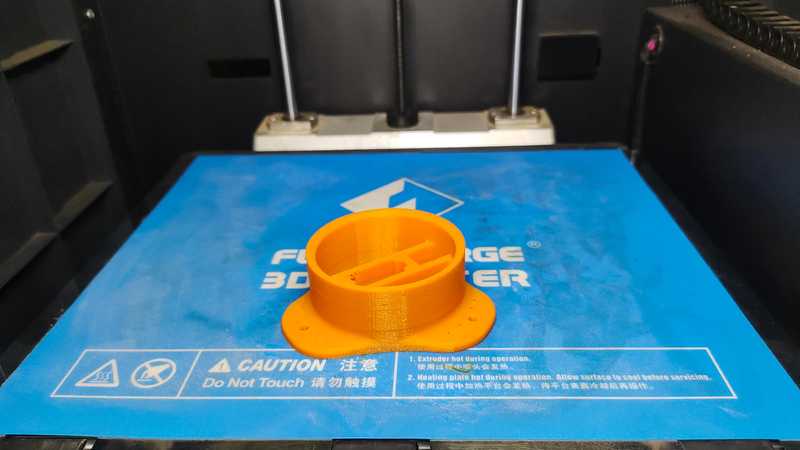
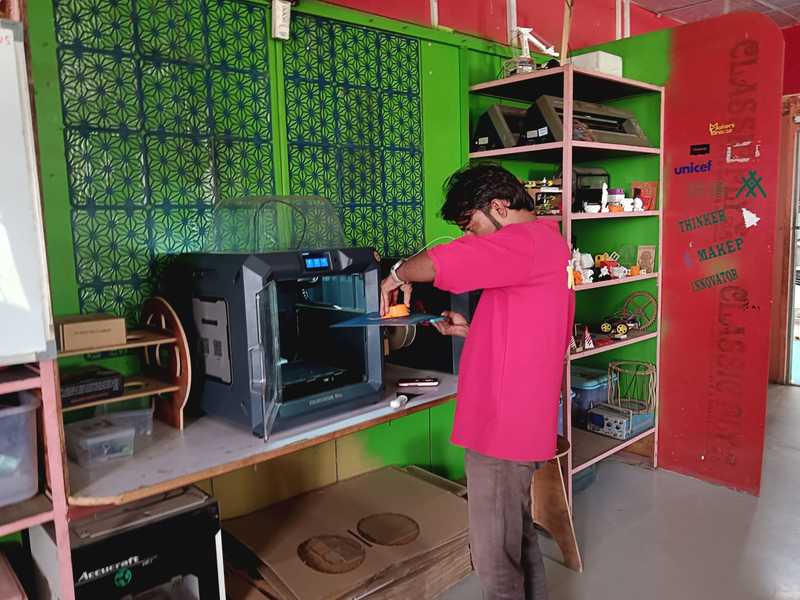
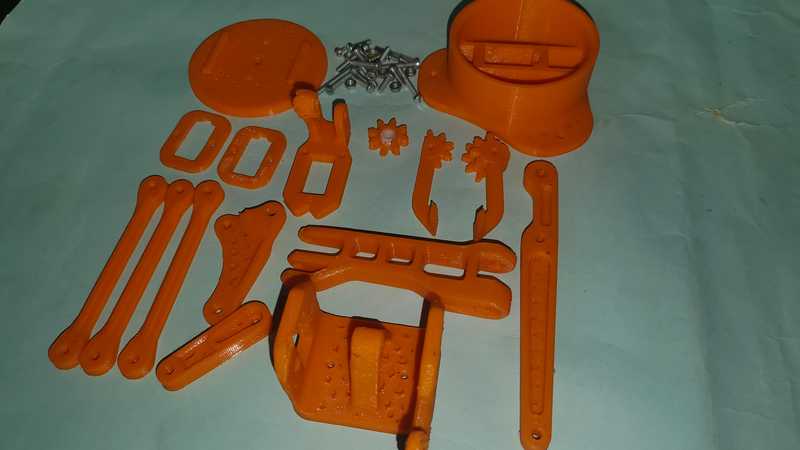
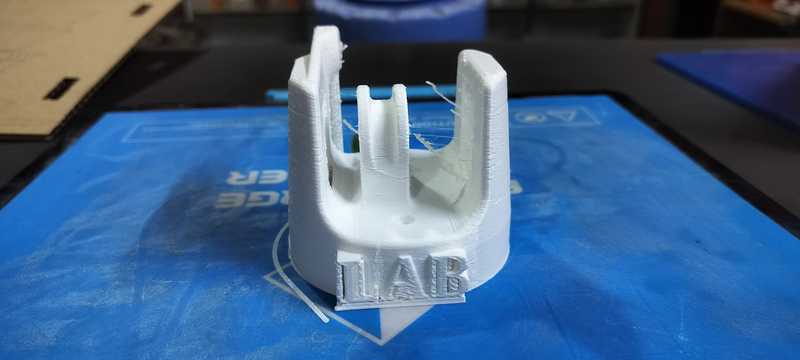
I uploaded the G-code to the 3D printer, and it took about 15-20 hours to print. Some parts were damaged during the process, so we reprinted them. After printing, I performed some finishing work on the parts. and all parts are almost done.
 |
 |
I took the photo of all the parts. with screw and servo motor.
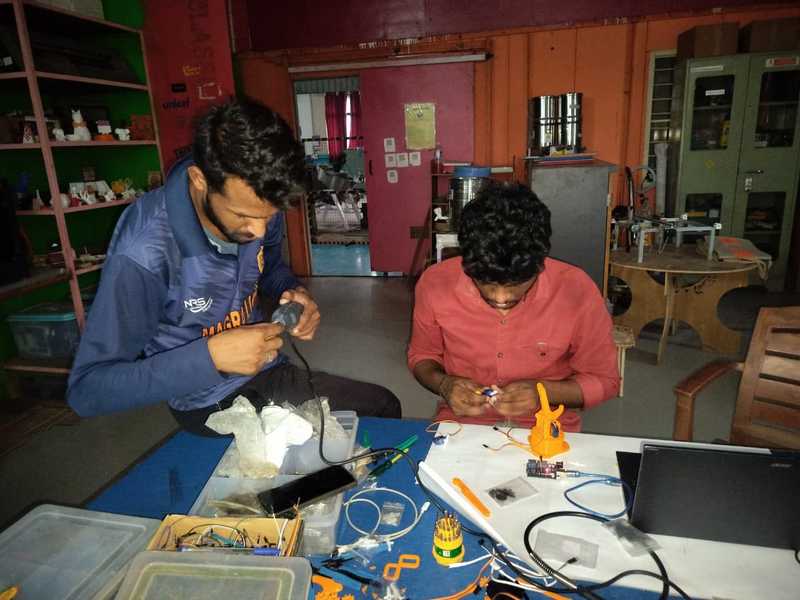
Our Robot is Ready for Programming
Conclusion - After completing the programming, we realized that we needed to build a more advanced robot. The current one was only used for testing purposes. We thoroughly tested it, set up the program, and observed its operation. This helped us understand the working principles, identify the design requirements, and figure out how to make it function optimally. We also discussed potential improvements and modifications. After our meeting, we decided to proceed with designing a new robot.
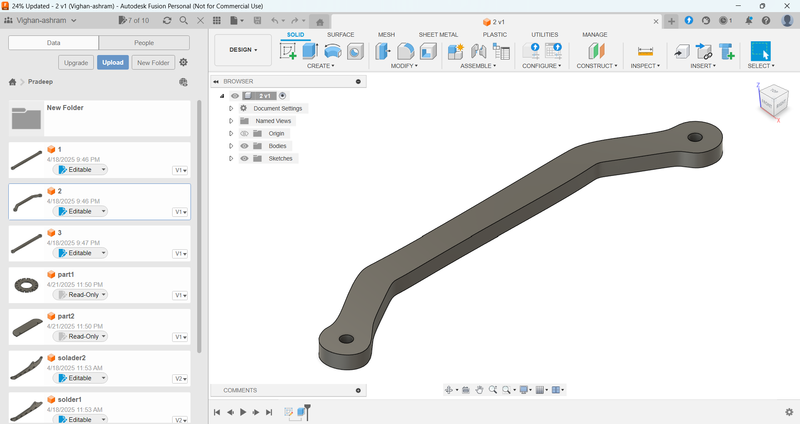
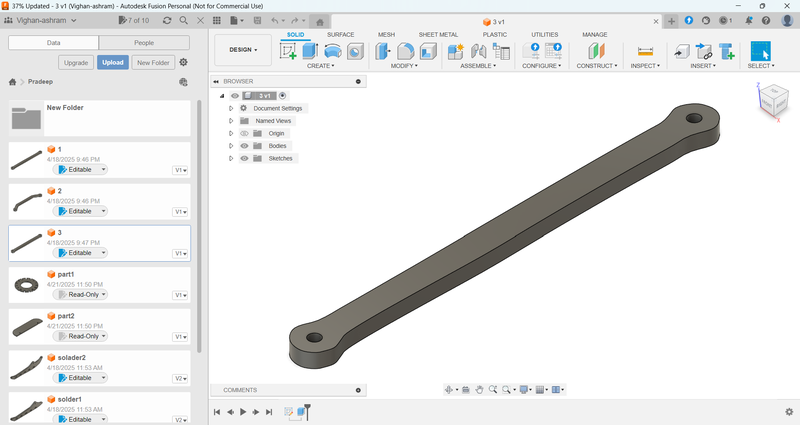
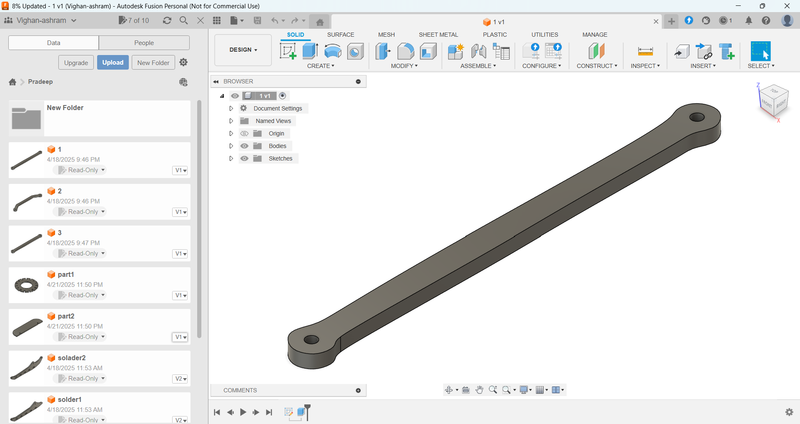
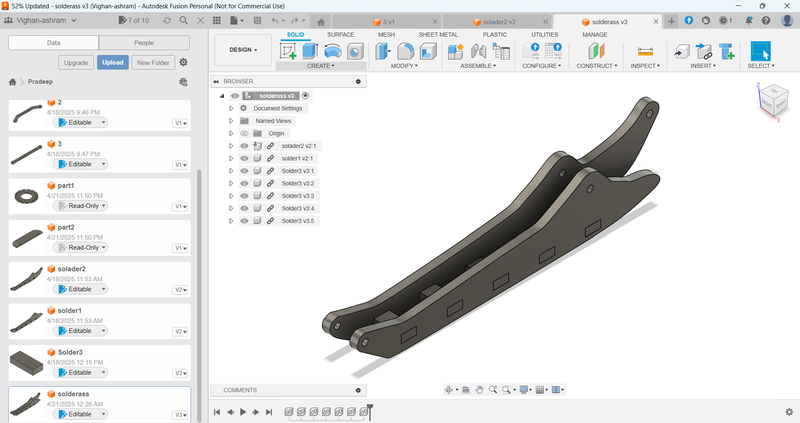
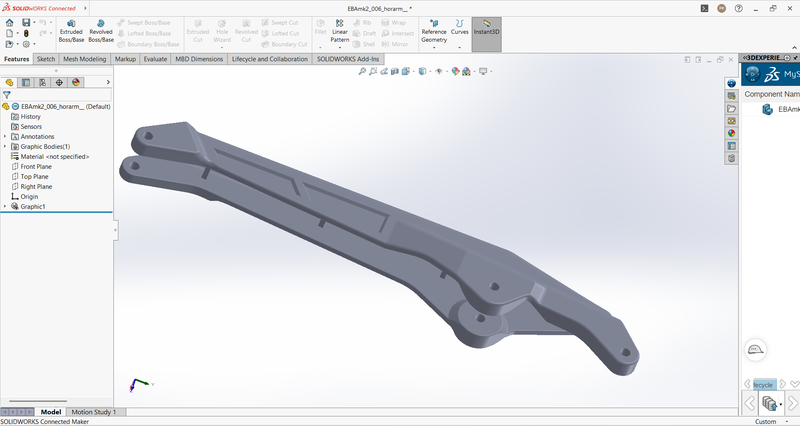
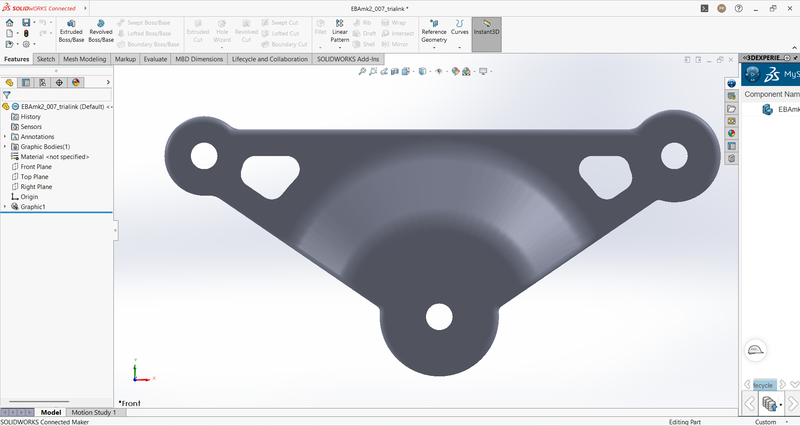
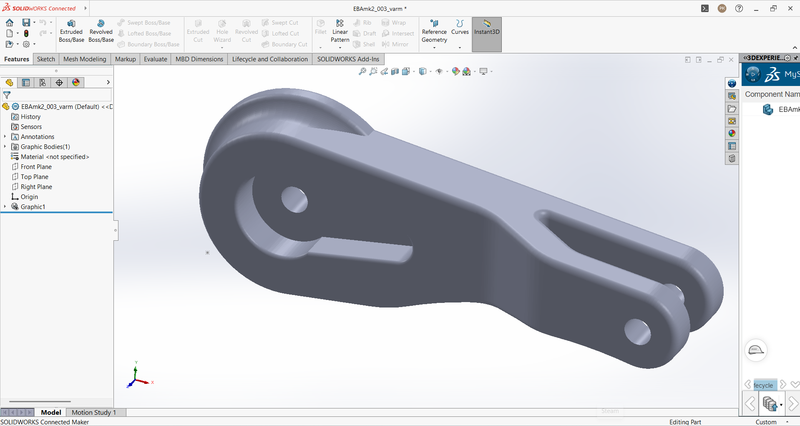
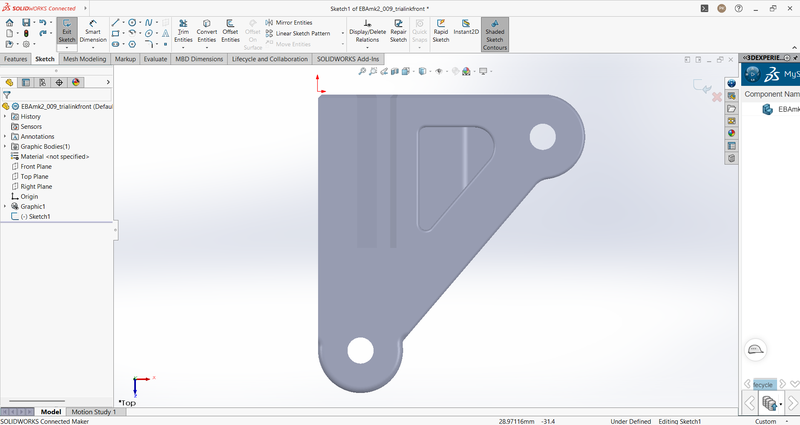
To design robotic components, I used Fusion 360 for creating precise 2D sketches. These designs were iteratively improved and finalized for laser cutting. The software allowed me to experiment with different modifications to enhance the components before fabrication.
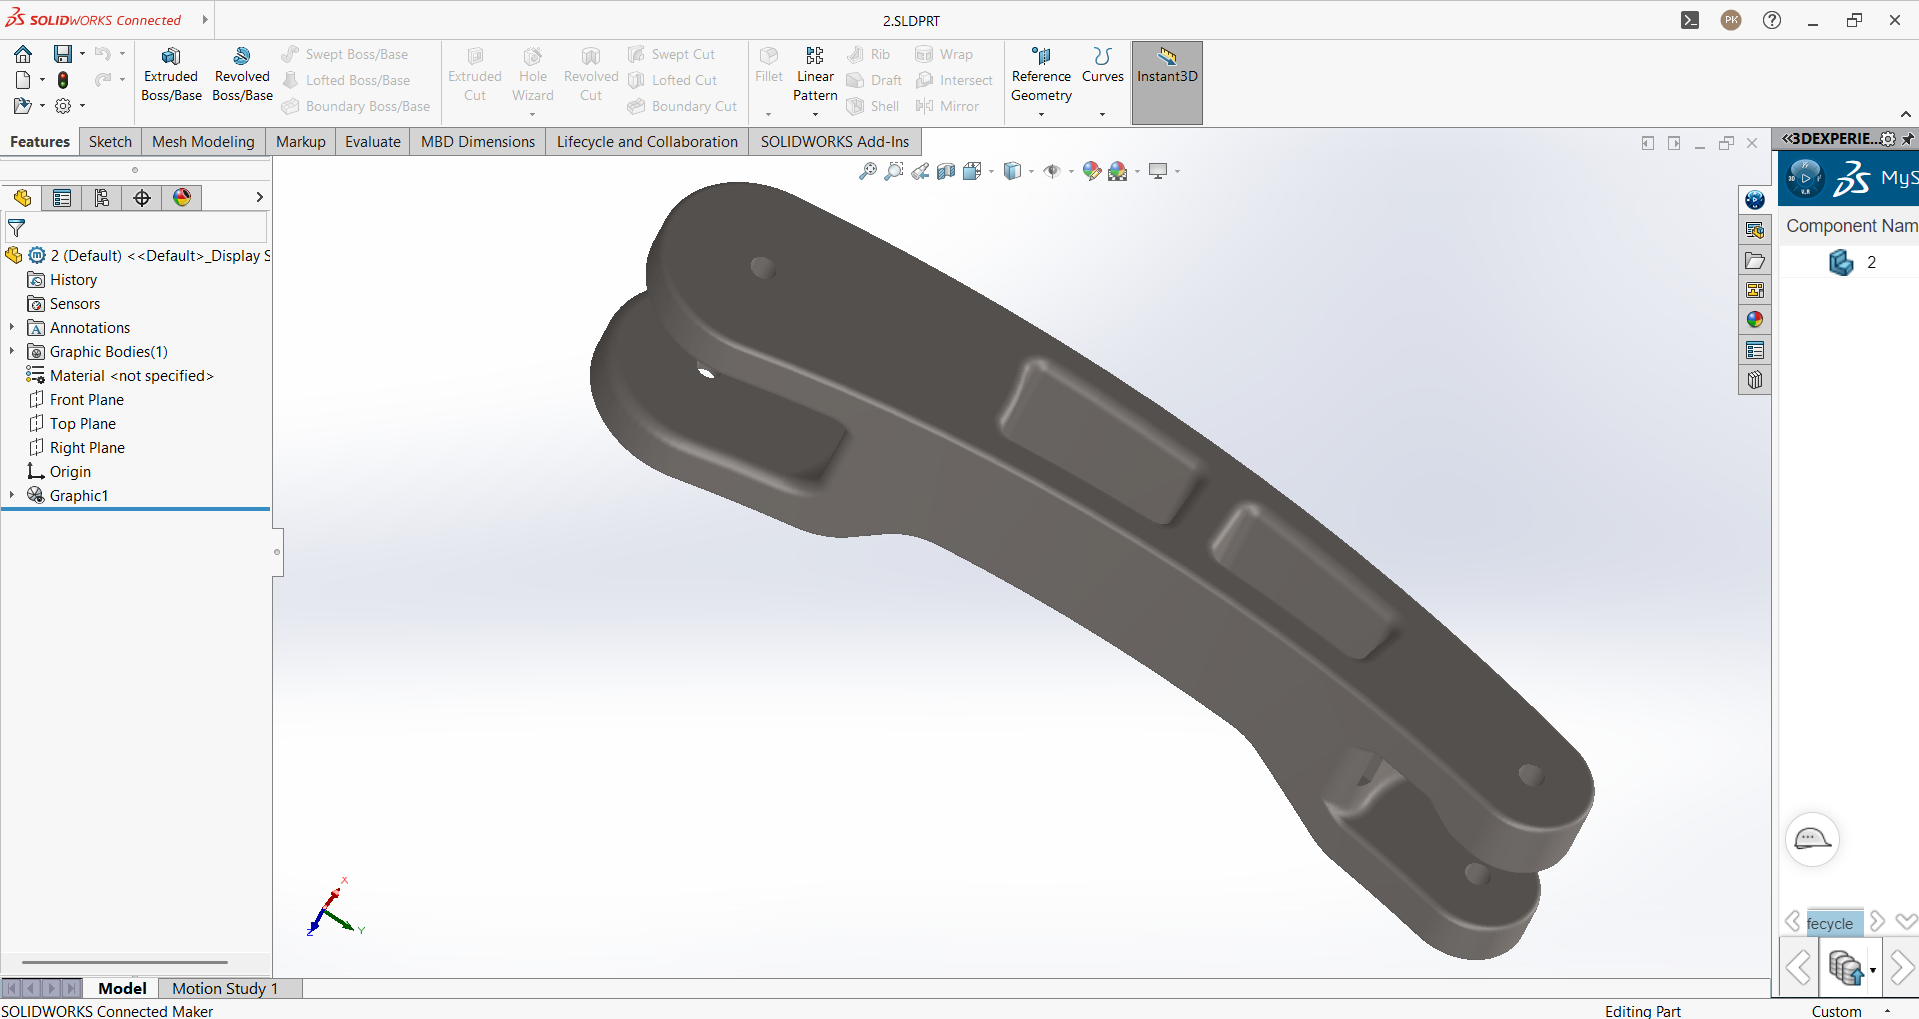
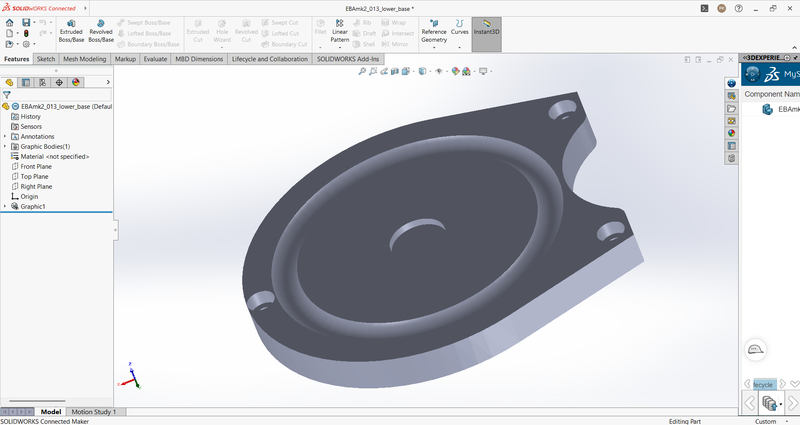
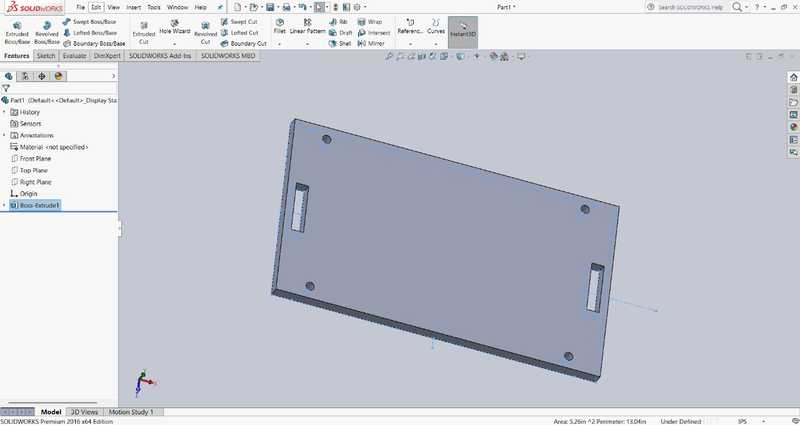
Additionally, I worked with SolidWorks during the design phase, which helped me better understand how to edit and adapt design files. I imported various sample files into the software, studied their structure, and developed a new model based on them. This final design was later successfully 3D printed.
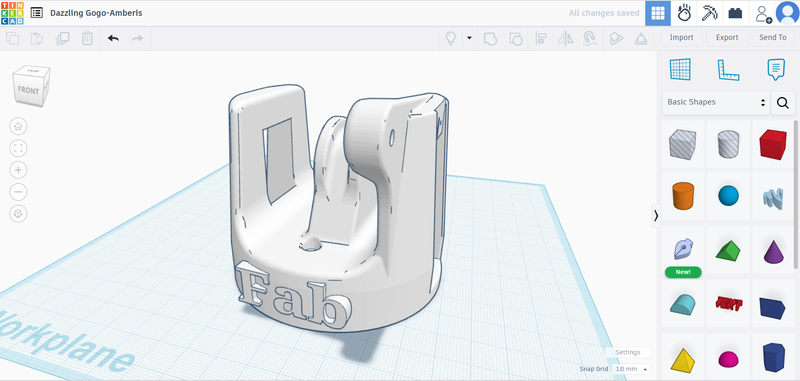
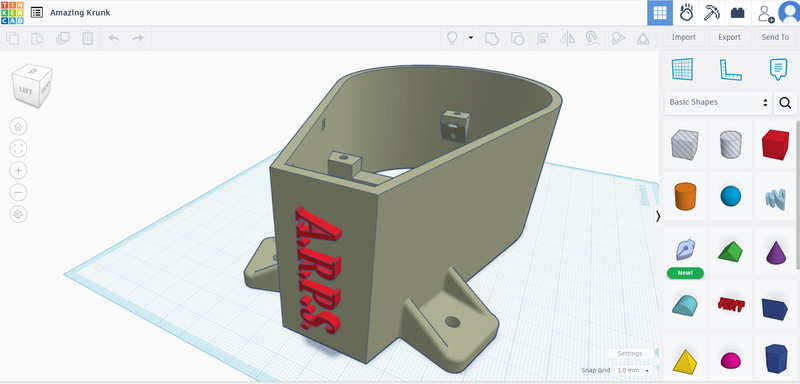
Due to time constraints, I couldn't design every part from scratch. Instead, I modified two pre-existing models using Tinkercad, customizing them to match the specific requirements of my project.
The base design files were sourced from the Tingiverse website and were adapted to suit the functionality and aesthetics of my final build.
 |
 |
 |
 |
 |
 |
 |
 |
 |
 |
 |
 |
 |
 |
 |
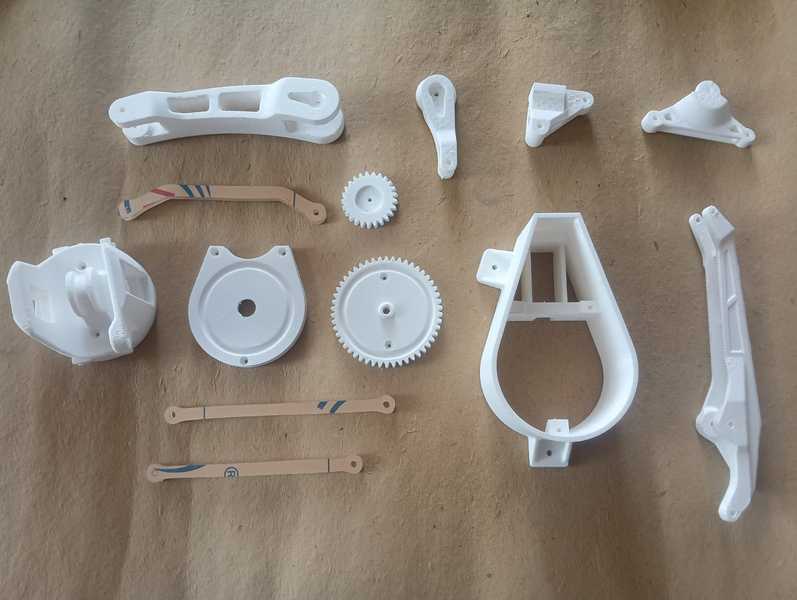 |
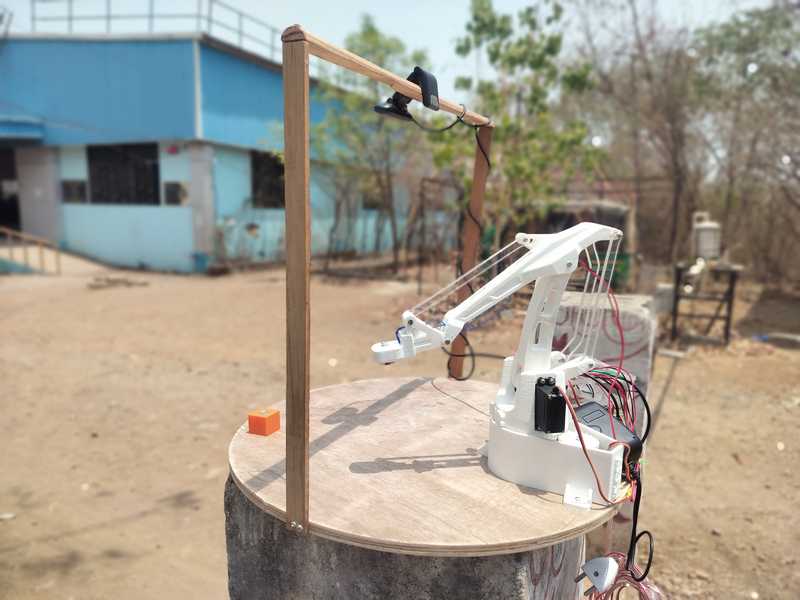
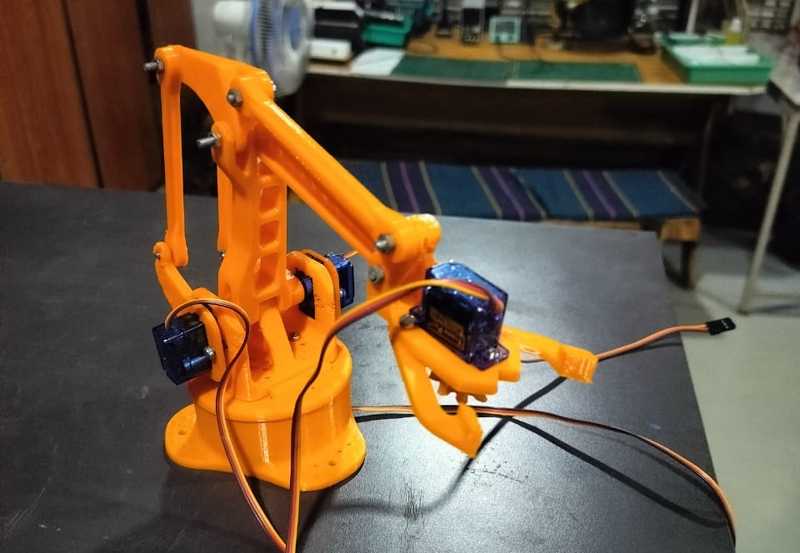
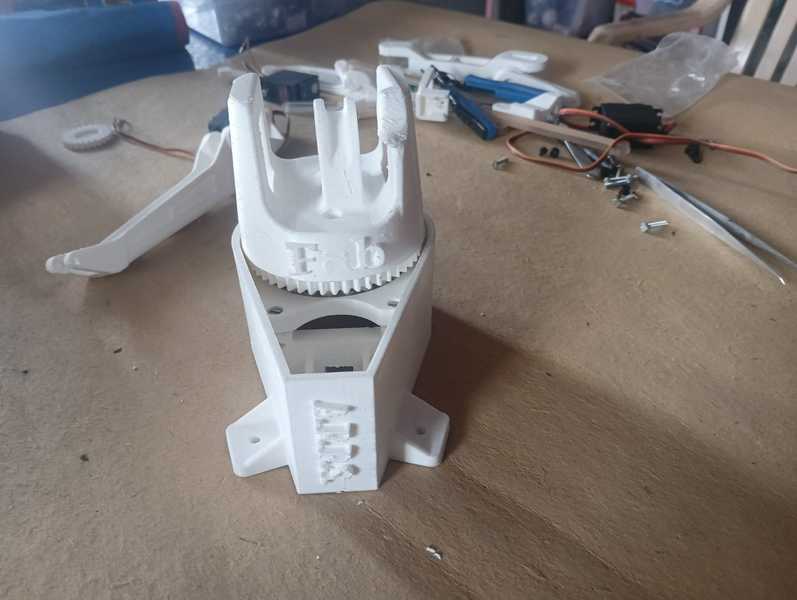
After 3D printing all the parts using a laser cutter, we brought them together and assembled the robotic arm as a team. The components included the base, base servo motor, shoulder arm, shoulder servo motor, elbow arm, elbow servo motor, forearm linkage, wrist arm, and wrist servo motor. To complete the design, we used a combination of files—some were sourced from Thingiverse, and others were custom-designed by us. This collaborative approach helped us successfully complete the mechanical structure of the robot.
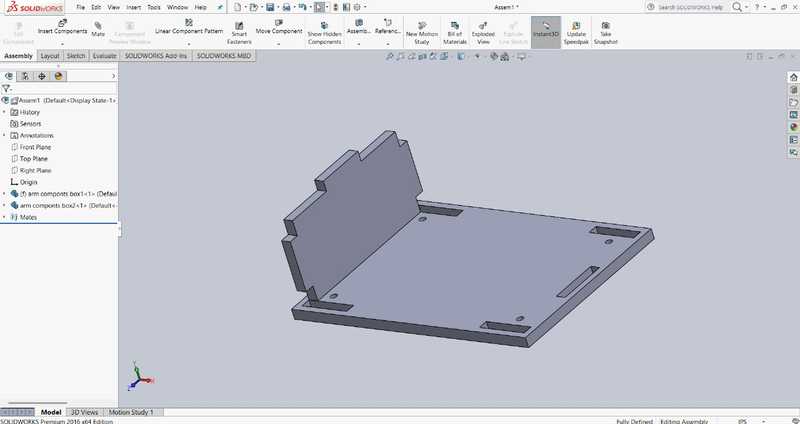
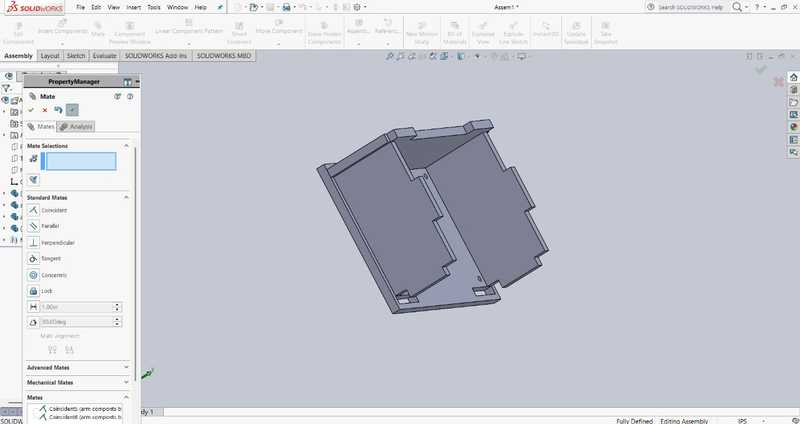
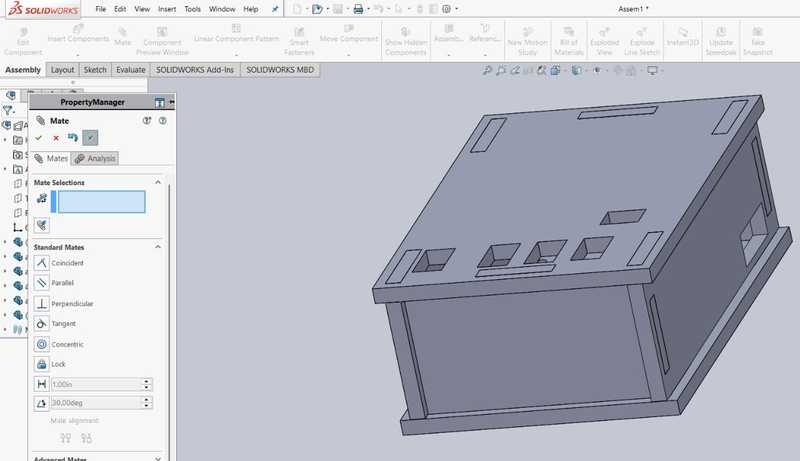
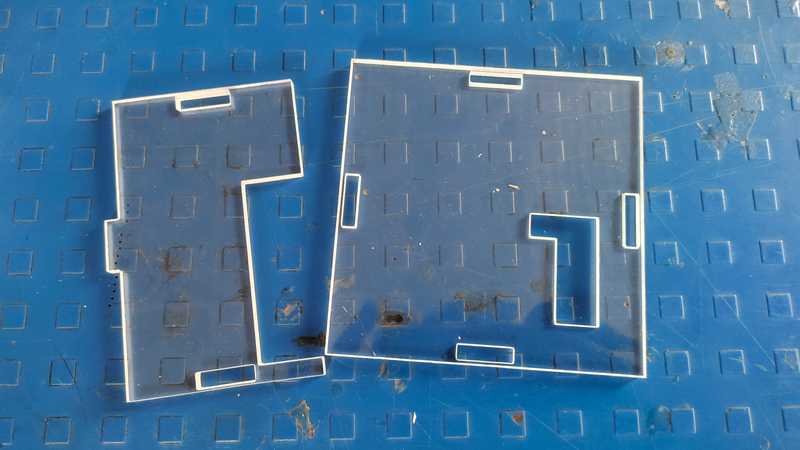
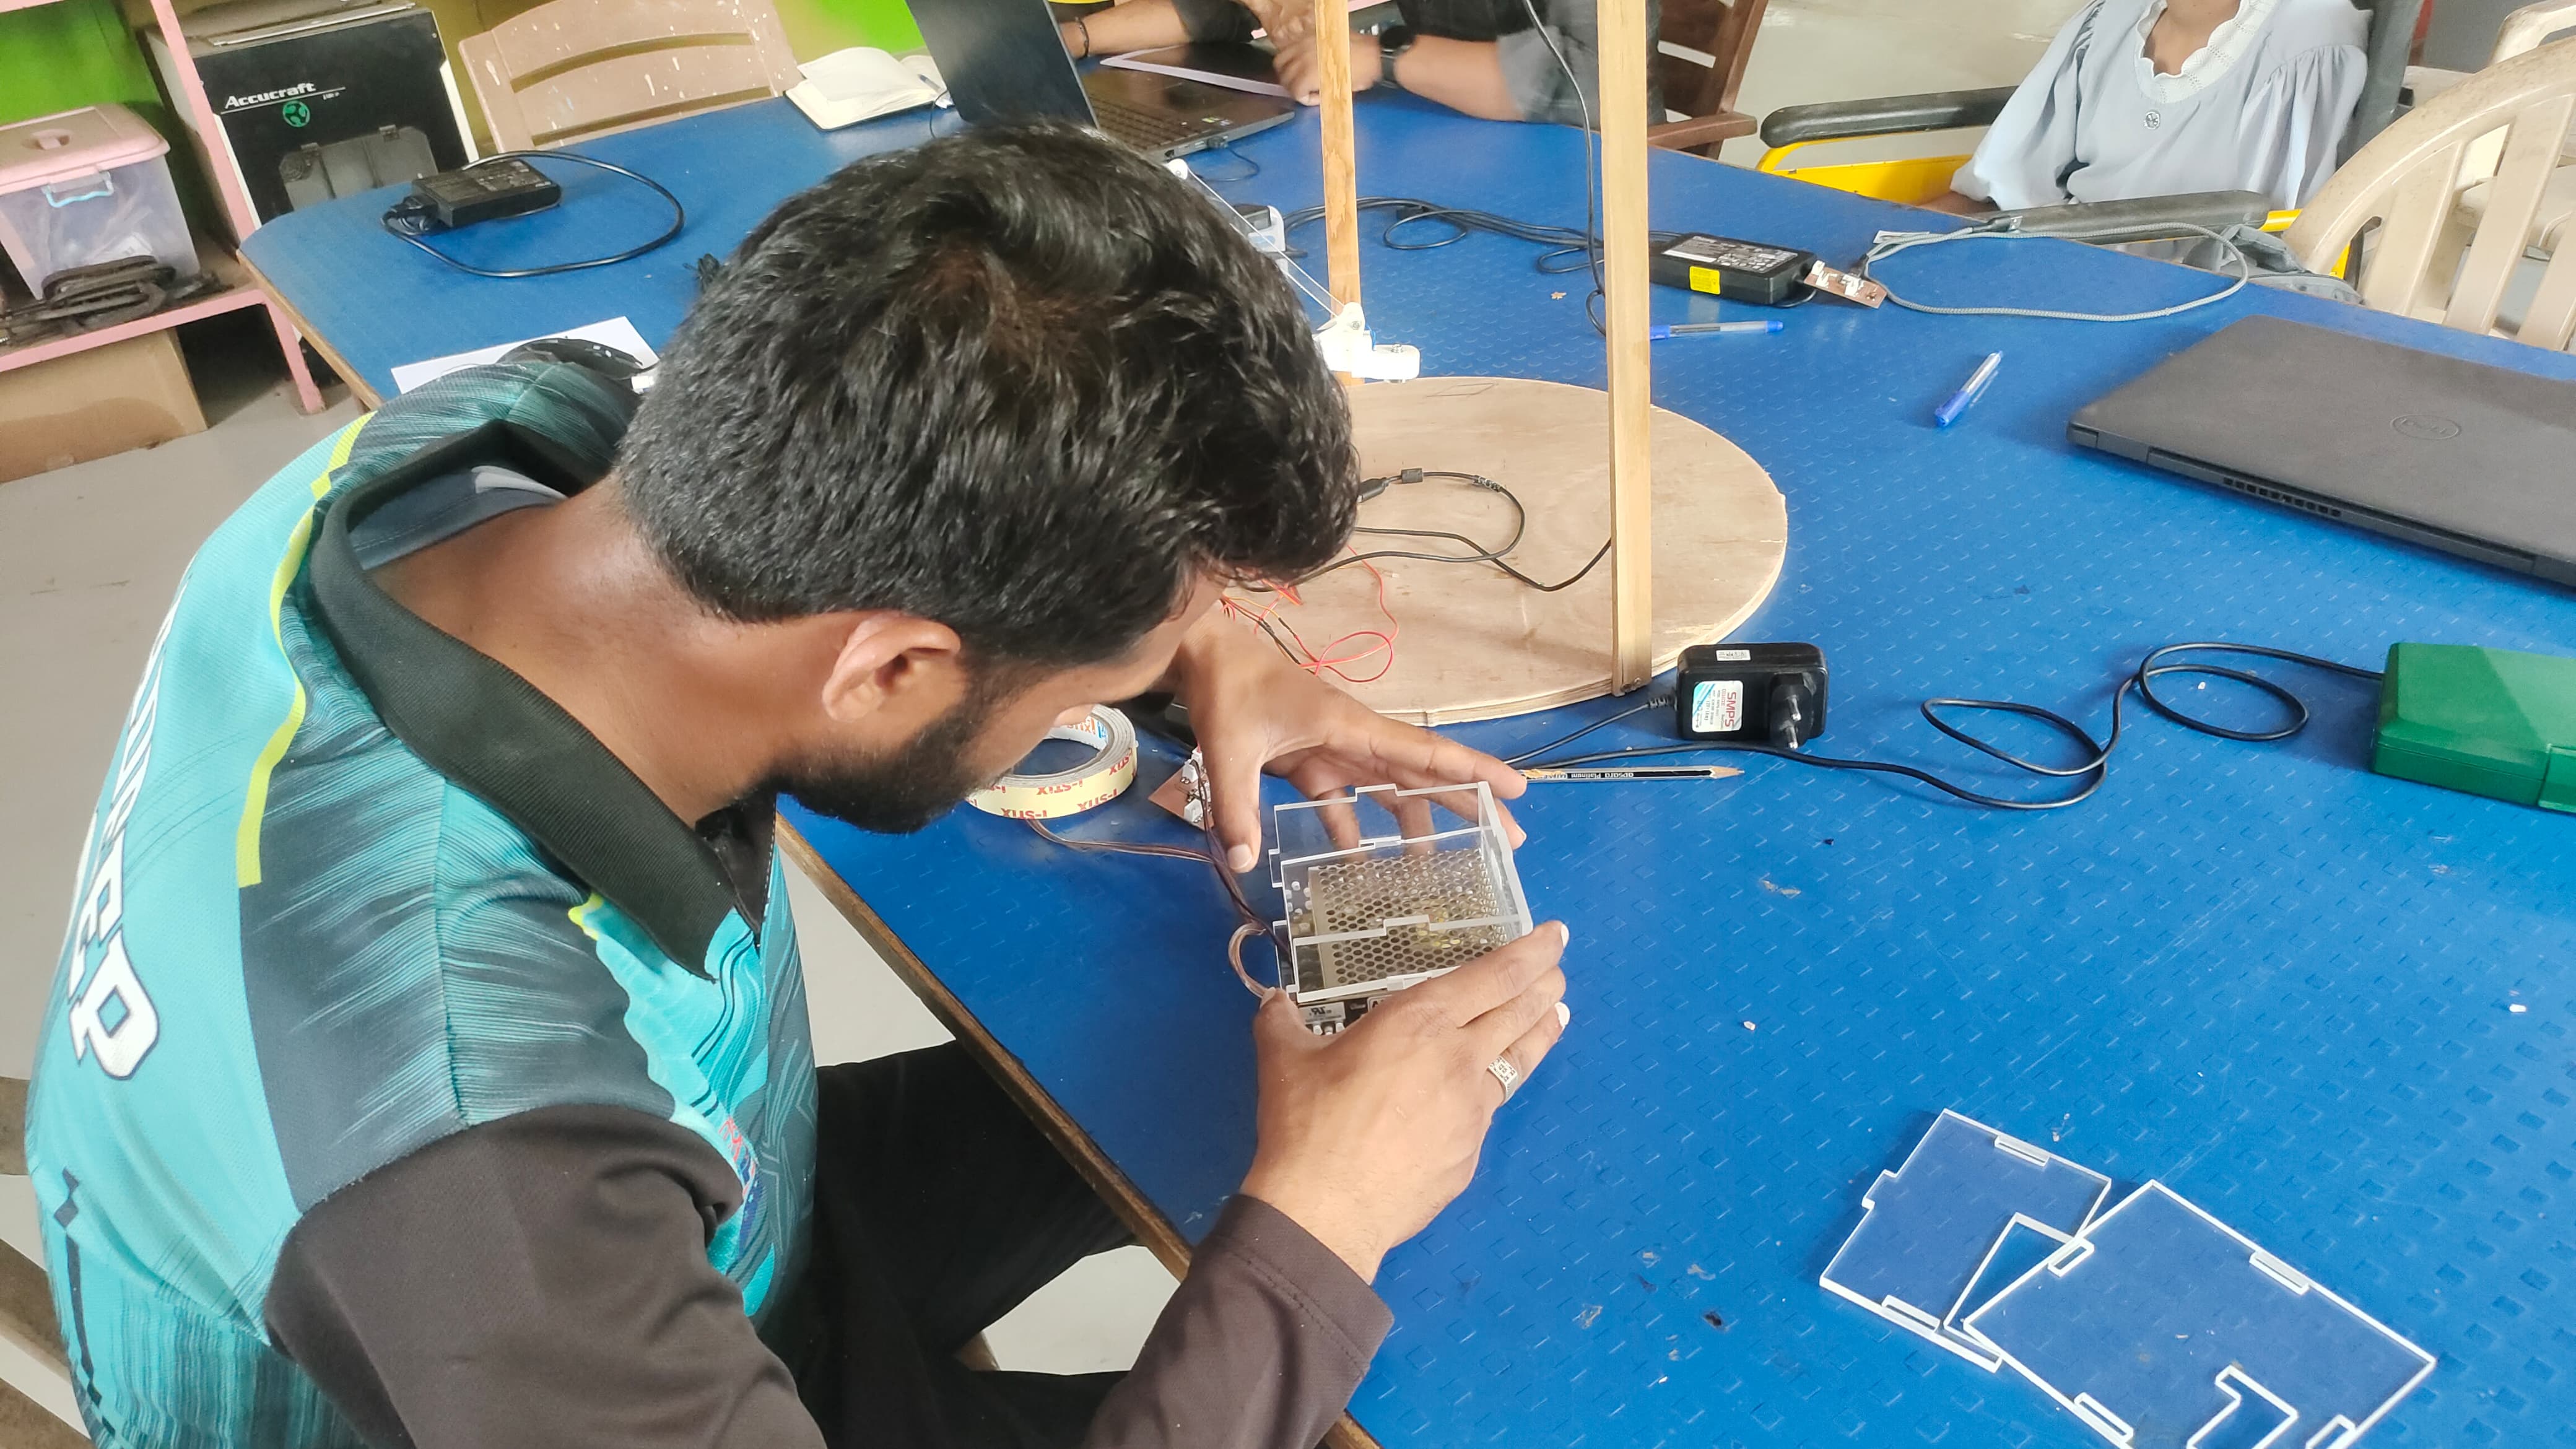
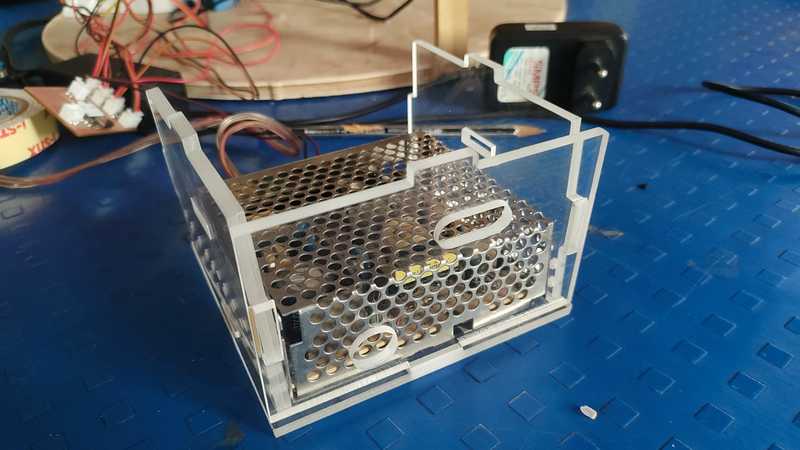
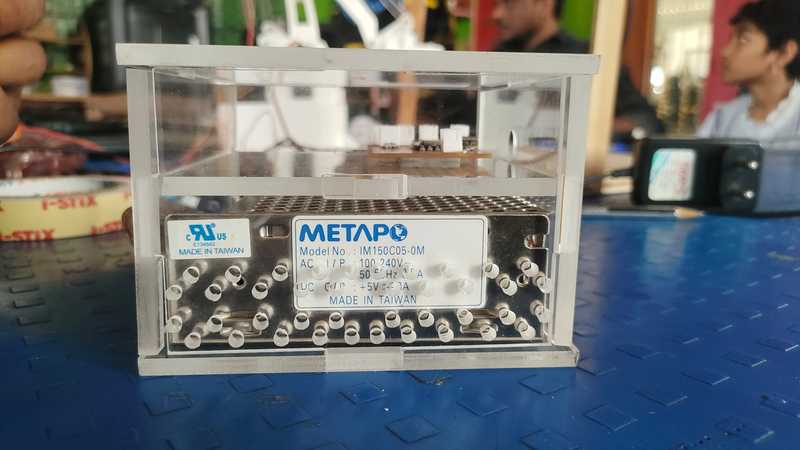
As part of our project, the team developed a PCB for the robot, including relays and power supply components. To support this, I designed a custom housing using SolidWorks. I carefully ensured that all parts were properly accommodated inside the enclosure, while also focusing on a clean and visually appealing final design.
 |
 |
 |
 |
 |
 |
 |
 |
I went to the local market to purchase some metal components for my robot. One of the important parts we needed was small balls (bearings) to help the robot rotate smoothly in all directions. Since we couldn't find the exact parts in the market, we came up with a creative solution — we used beads from a bracelet as a substitute for the bearings. In addition, I visited Pune’s electronics market to find and purchase the suitable servo motors required for the robot based on our design needs. I explored different types and specifications of motors and selected the ones that matched our project requirements. The list of the motors I purchased is shared below.
| Servo No. | Name | Function | Controls | Suggested Model |
|---|---|---|---|---|
| Servo 1 | Base Servo | Rotates the entire arm horizontally | Base Rotation (Axis 1) | MG995 / MG946R |
| Servo 2 | Shoulder Servo | Moves the upper arm up and down | Shoulder Movement (Axis 2) | MG995 / MG946R |
| Servo 3 | Elbow Servo | Bends the arm at the elbow joint | Elbow Movement (Axis 3) | MG995 / MG946R |
| Servo 4 | Gripper Servo | Opens and closes the gripper | Gripper Operation (Axis 4) | SG90 |
During the Robotic Arm project, I developed a broad set of skills—from precise measurement and design to 3D printing and laser cutting. Due to time limitations, we utilized reference design files from the Thingiverse website, which allowed us to complete the task efficiently. Despite that, the overall process gave me valuable insights into design fundamentals, structural base creation, and hands-on fabrication techniques.
Throughout the project, I also gained practical experience in areas like documentation, video editing, photo editing, and programming. I’m especially grateful to my teammates, Shivraj and Ramesh, whose constant support and shared knowledge played a key role in our progress. This group collaboration enhanced my technical understanding and taught me the value of teamwork.
I'm genuinely proud of the robotic arm we built—it shows real potential for future industrial applications. I'm excited to explore and develop the idea even further.
In addition to design work, I actively participated in several aspects of the final prototype, including assembly, media editing, and overall presentation. I worked closely with my teammates and truly enjoyed the process, which offered a great platform for learning and personal growth.
I collaborated with Shivraj on tasks like video editing and documentation. I also took initiative in programming, which I ran and tested independently. This hands-on involvement helped me understand coding fundamentals, camera integration, and dual-Arduino id control systems for the robotic arm.
Thanks to the support of my team, I also had the opportunity to learn from Subhash Sir, especially in the areas of public speaking and project presentation. This collective effort made our robotic arm project a great success, and I’m proud of what we achieved together.