Individual Machine Build Part
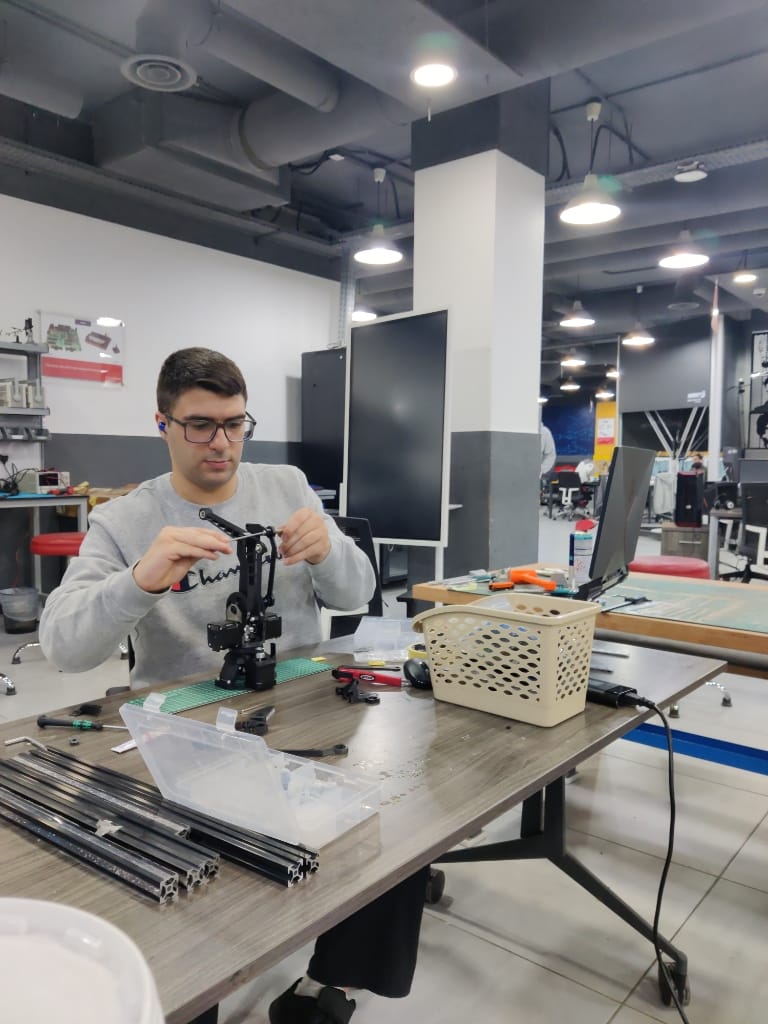
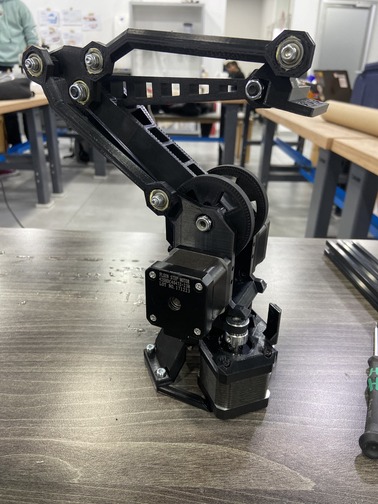
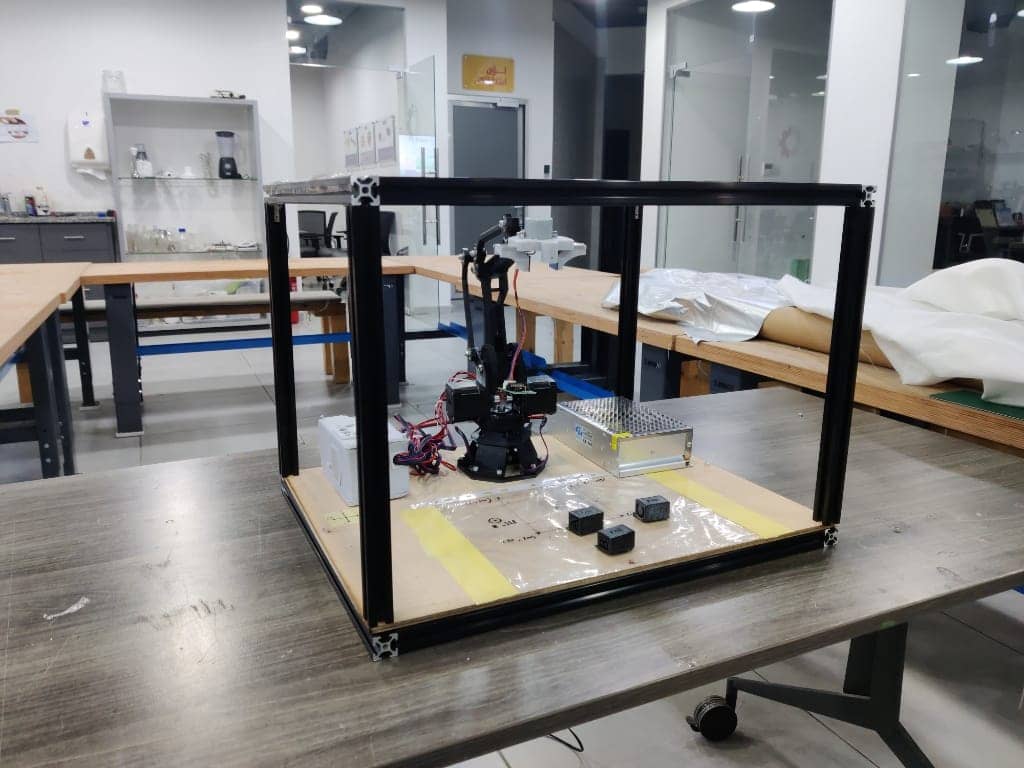
Hero Shot
Summary
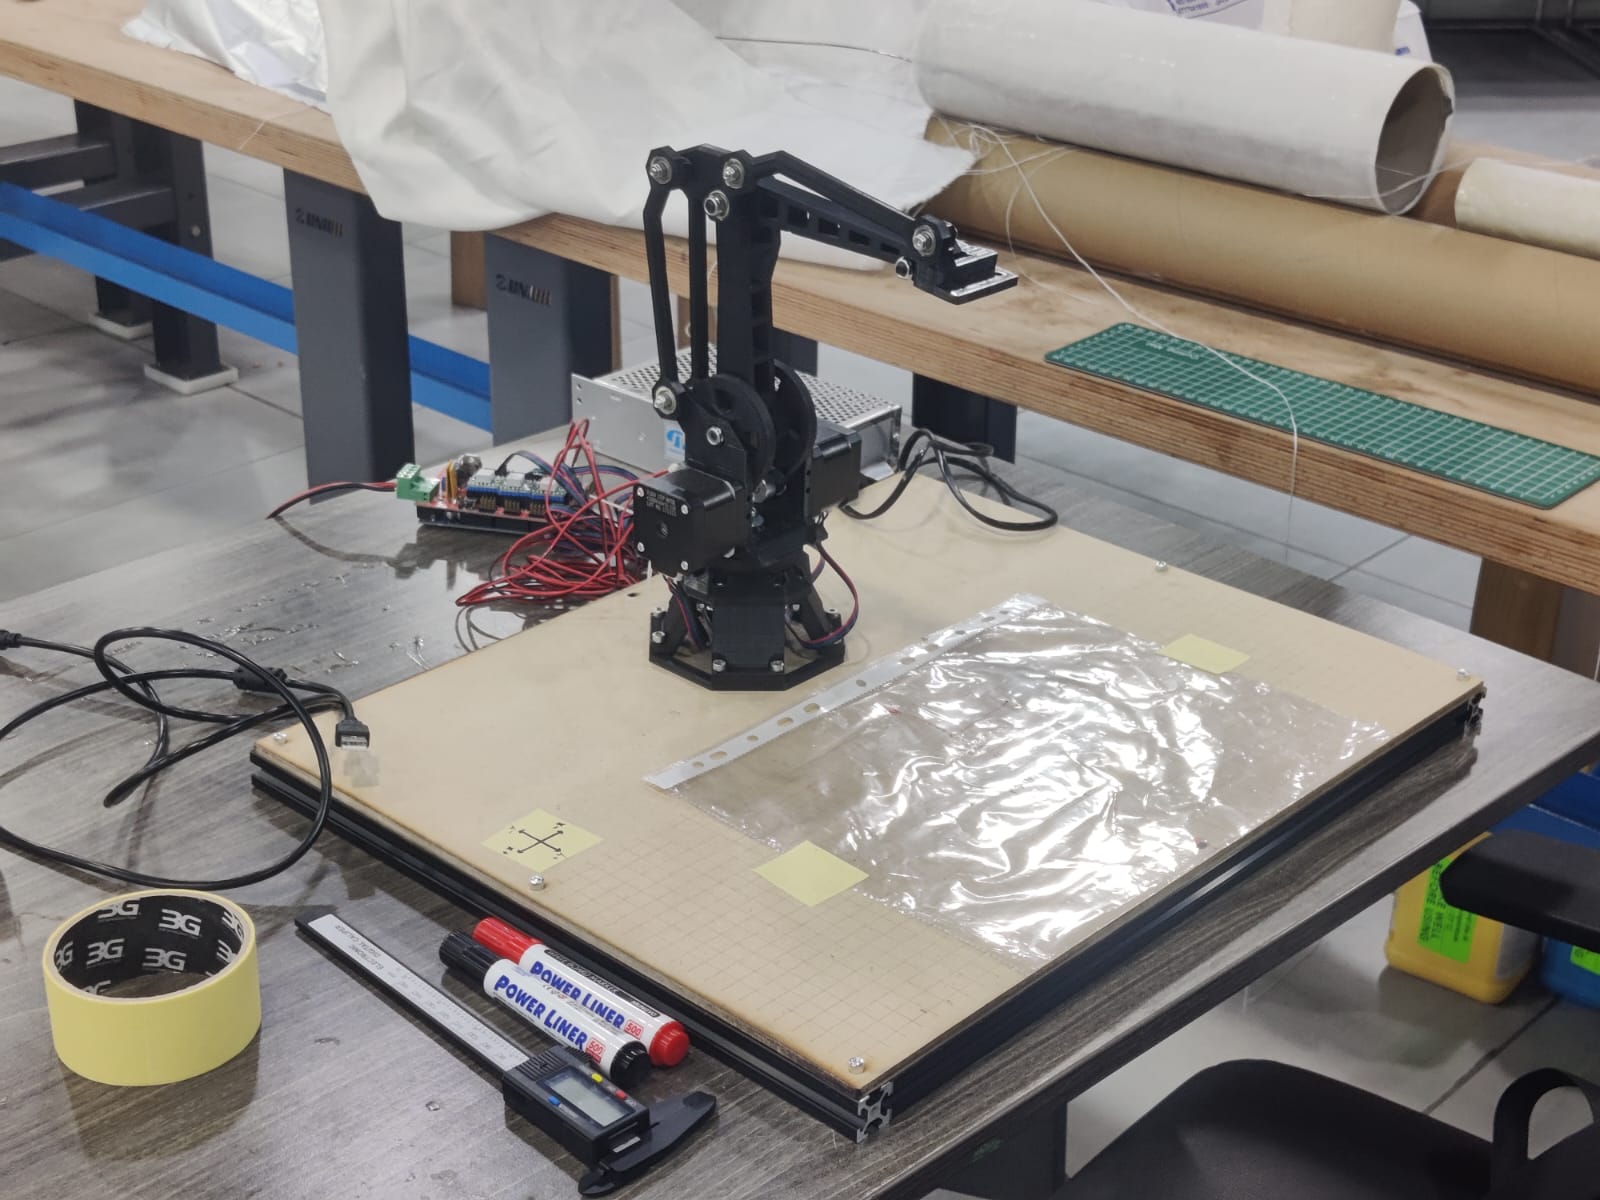
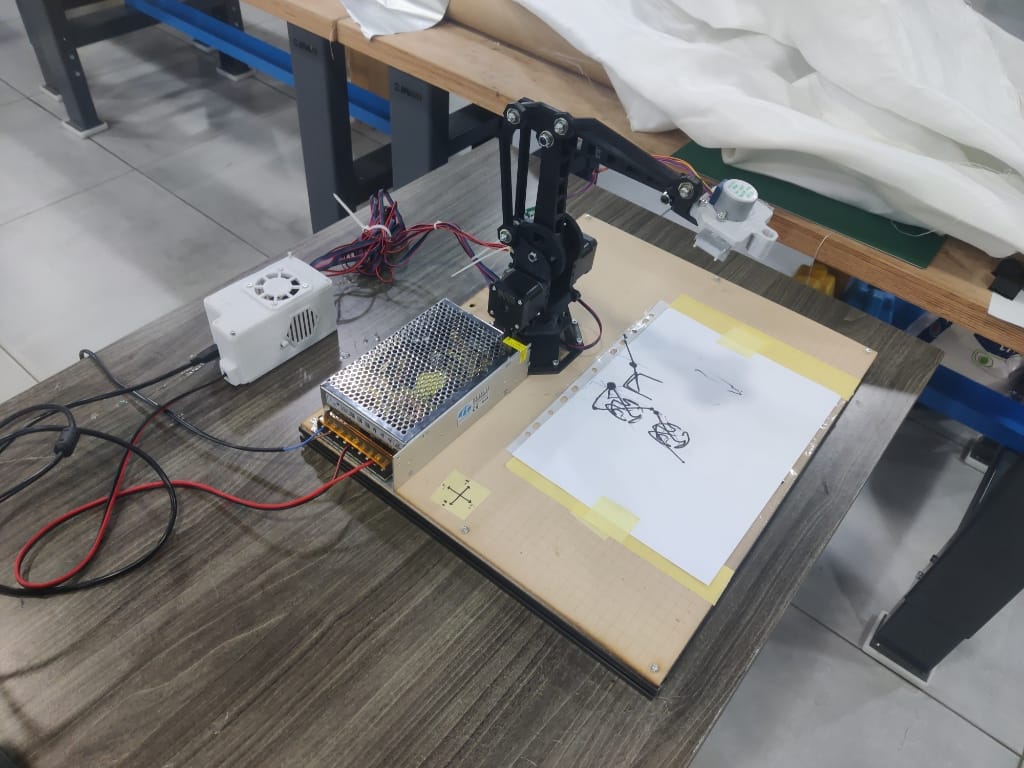
Throughout Machine Week, I took primary responsibility for the mechanical design and construction of our articulated robotic arm project, FabLab in a Box. My role spanned from analyzing CAD files and identifying required parts, to 3D printing components, sourcing materials from local markets, and assembling the full mechanical structure. I also contributed significantly to system alignment, gripper integration, structural mounting, and preparing the arm for its multi-functional tasks like gripping, plotting, and engraving.
The group assignment Page :
Work Process Detail
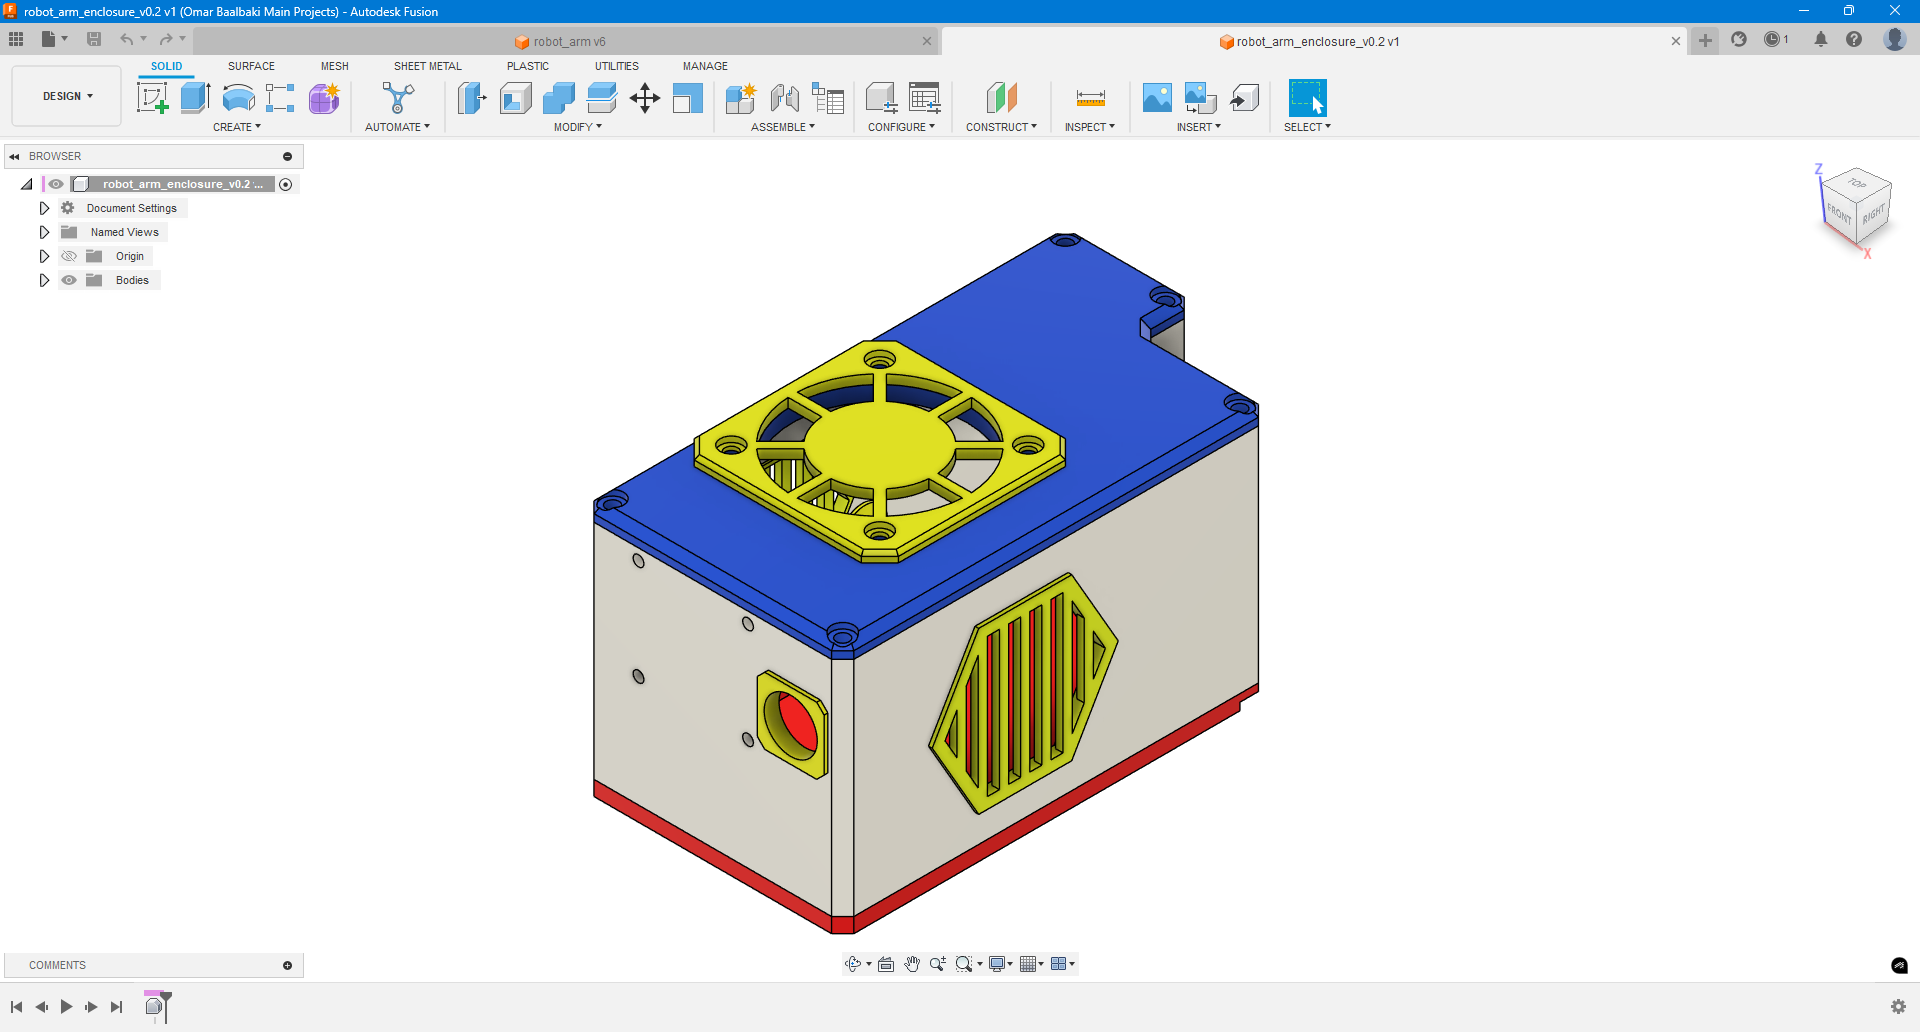
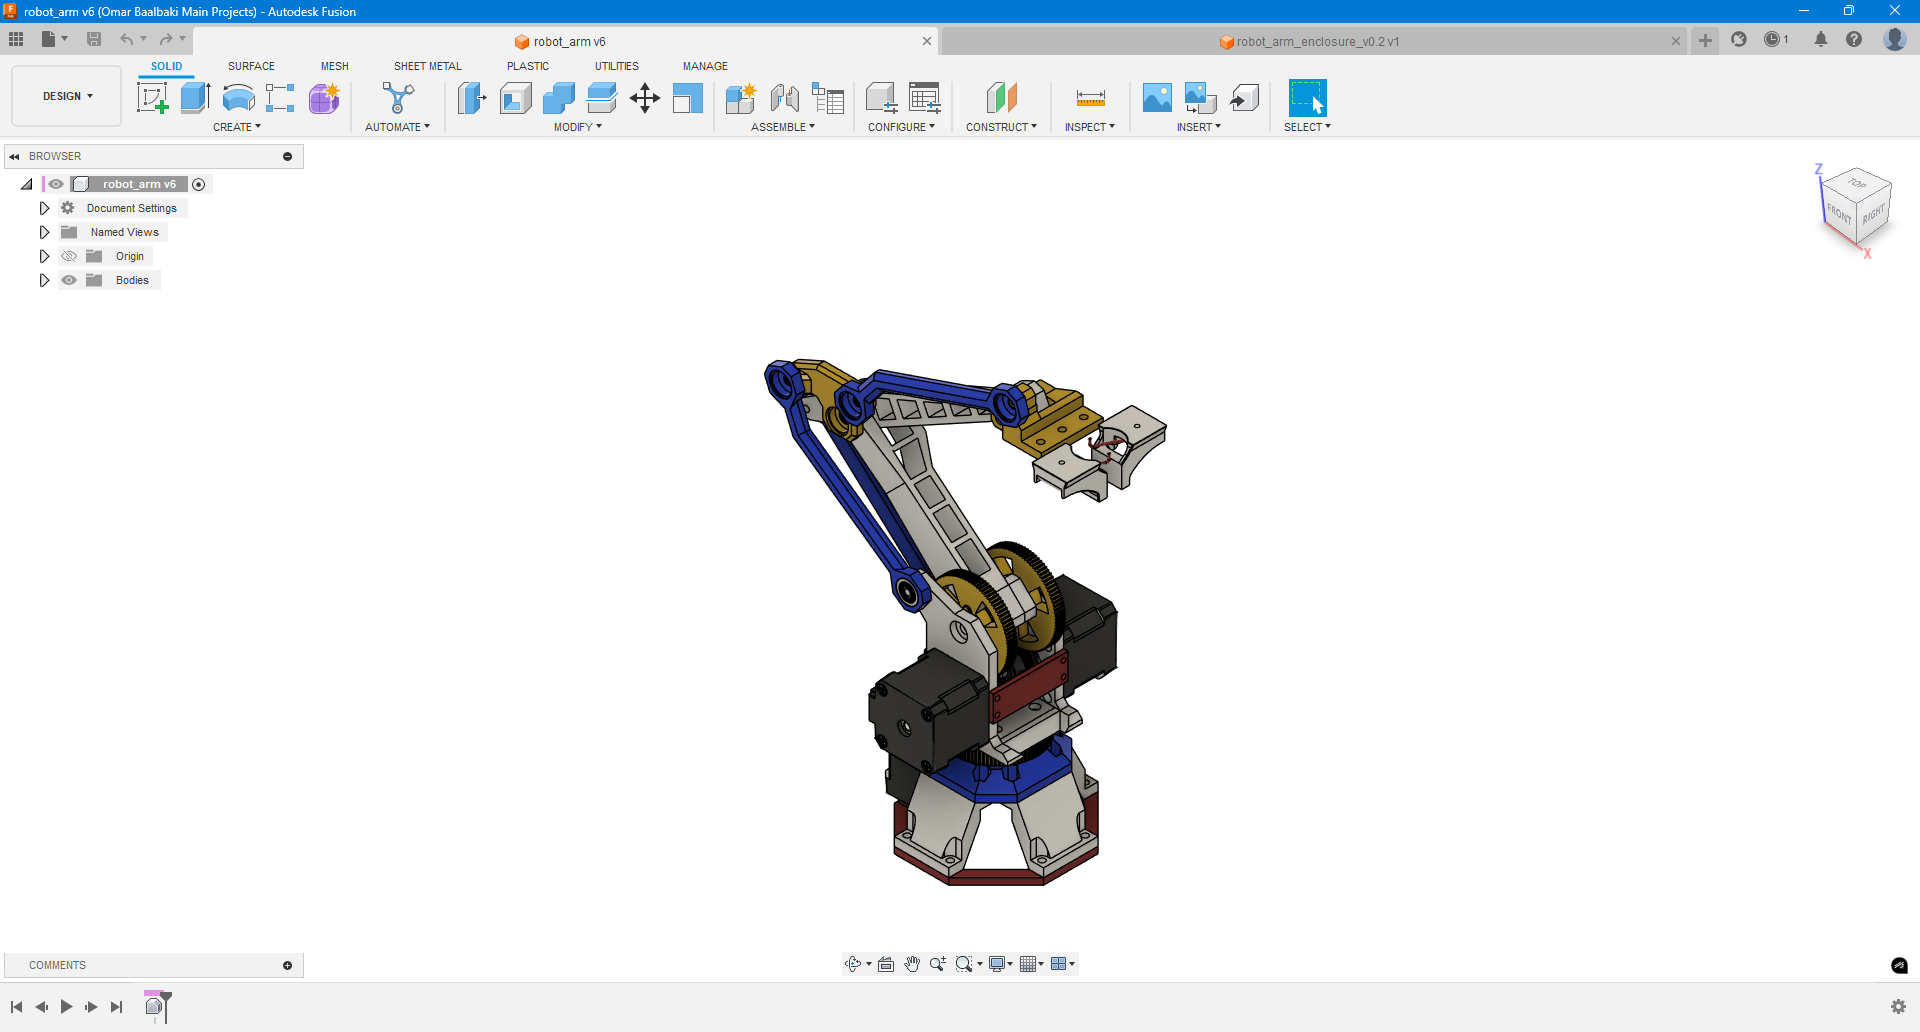
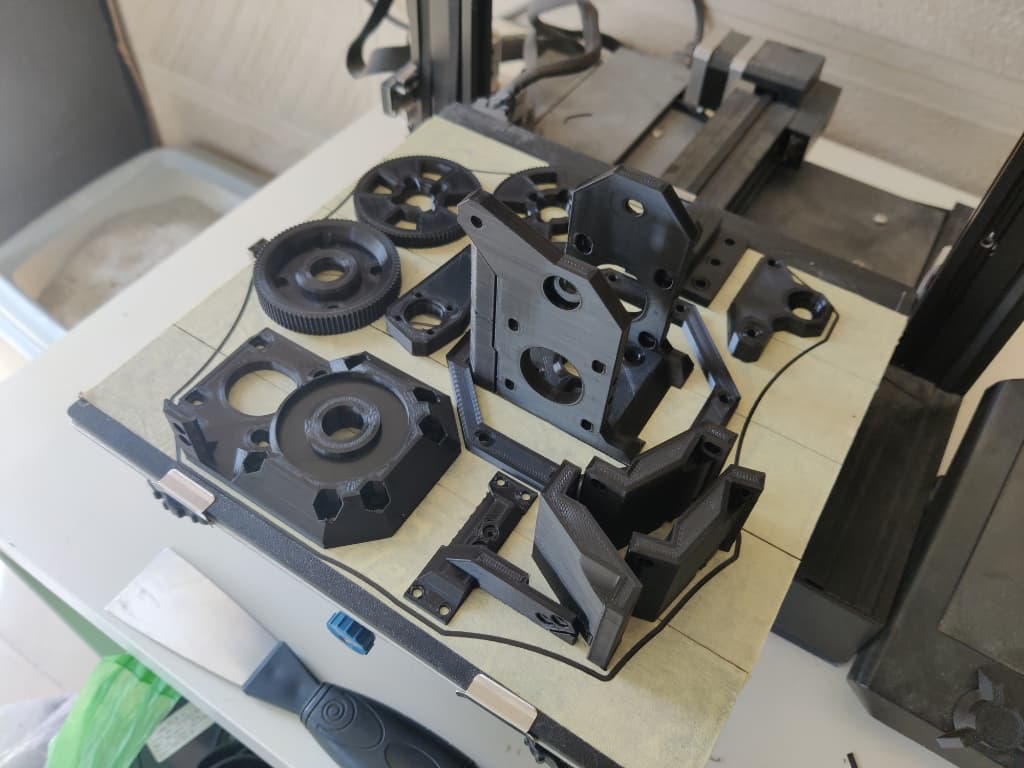
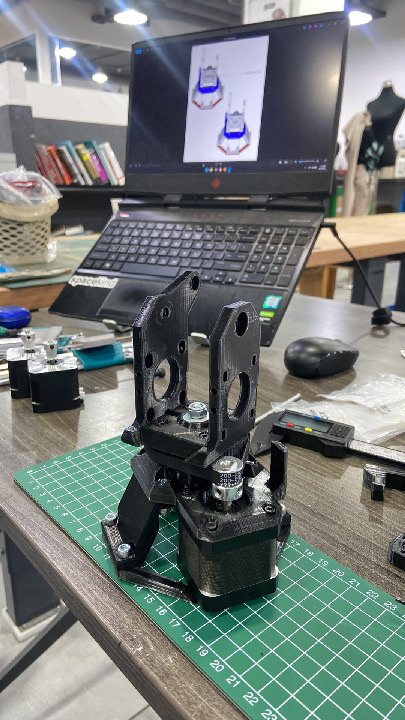
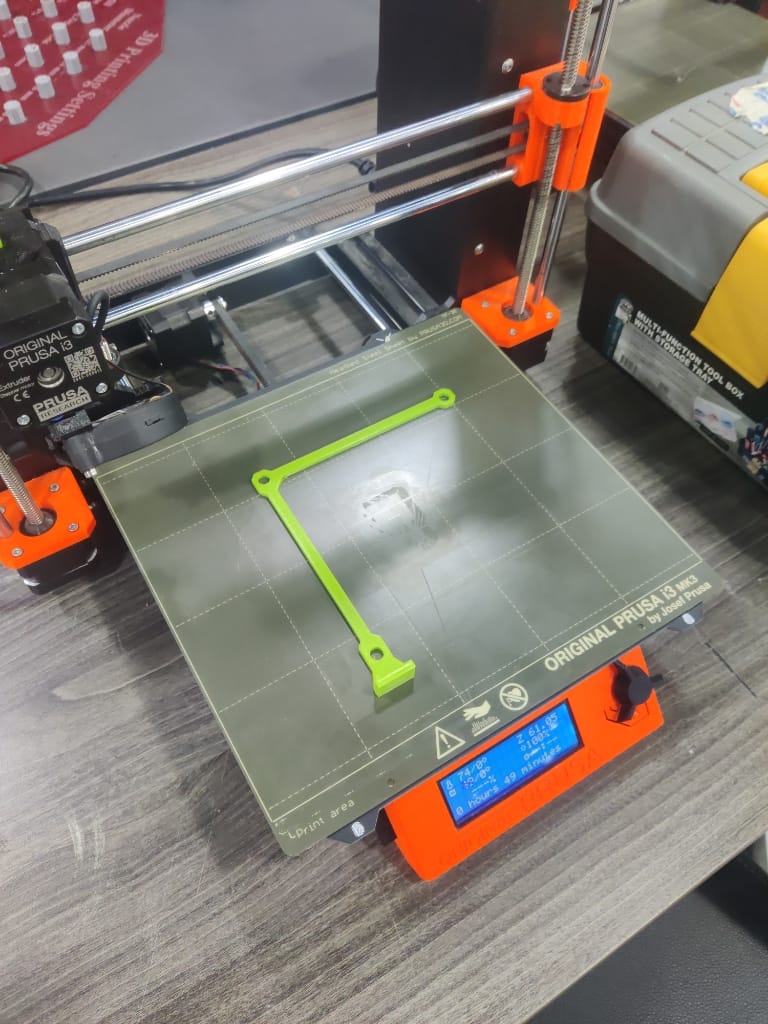
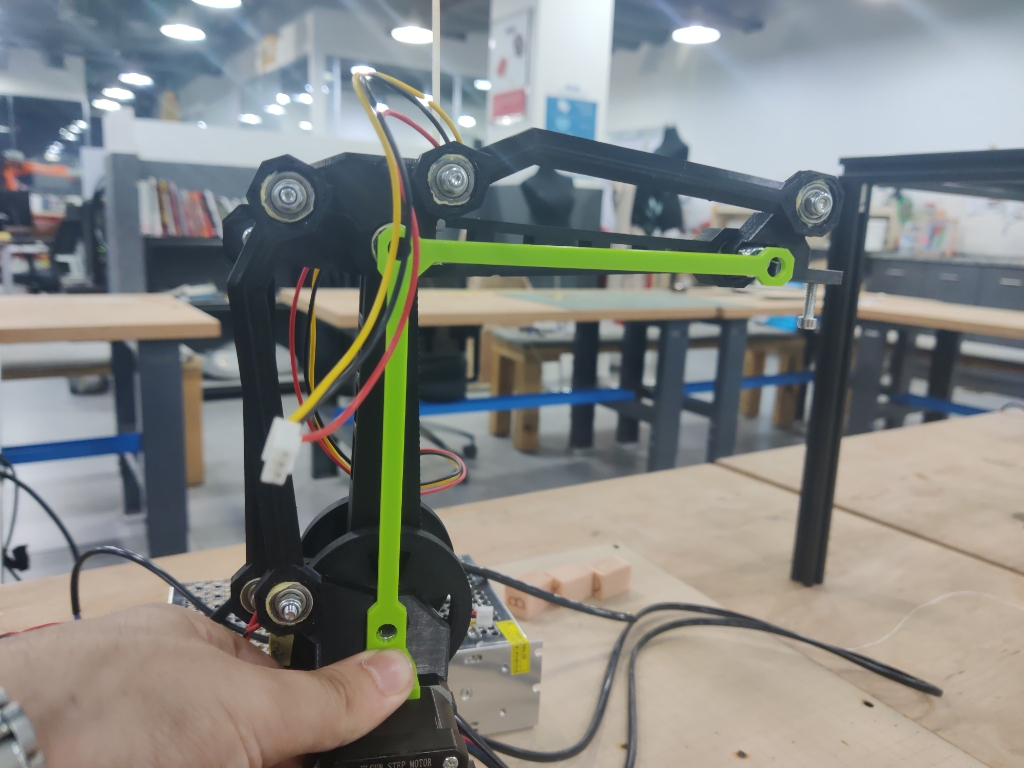
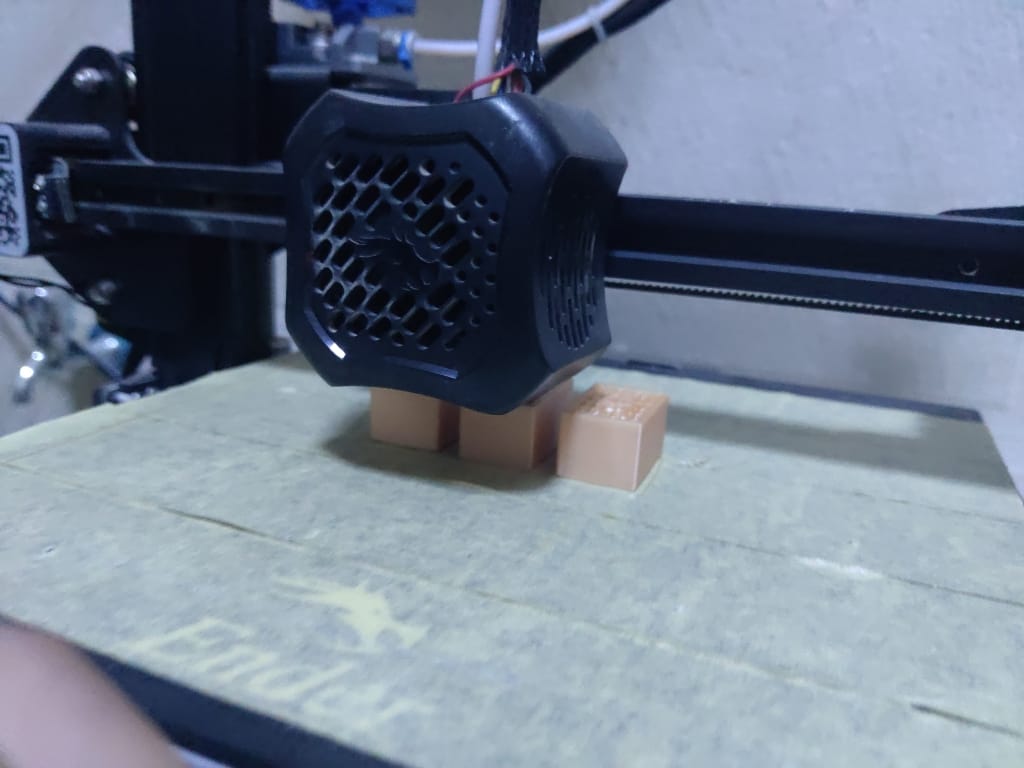
1. 3D Modeling & Printing
- Designed components in Fusion 360 and printed structural parts using PLA.
- Utilized available printer settings for strong infill and quality finish.
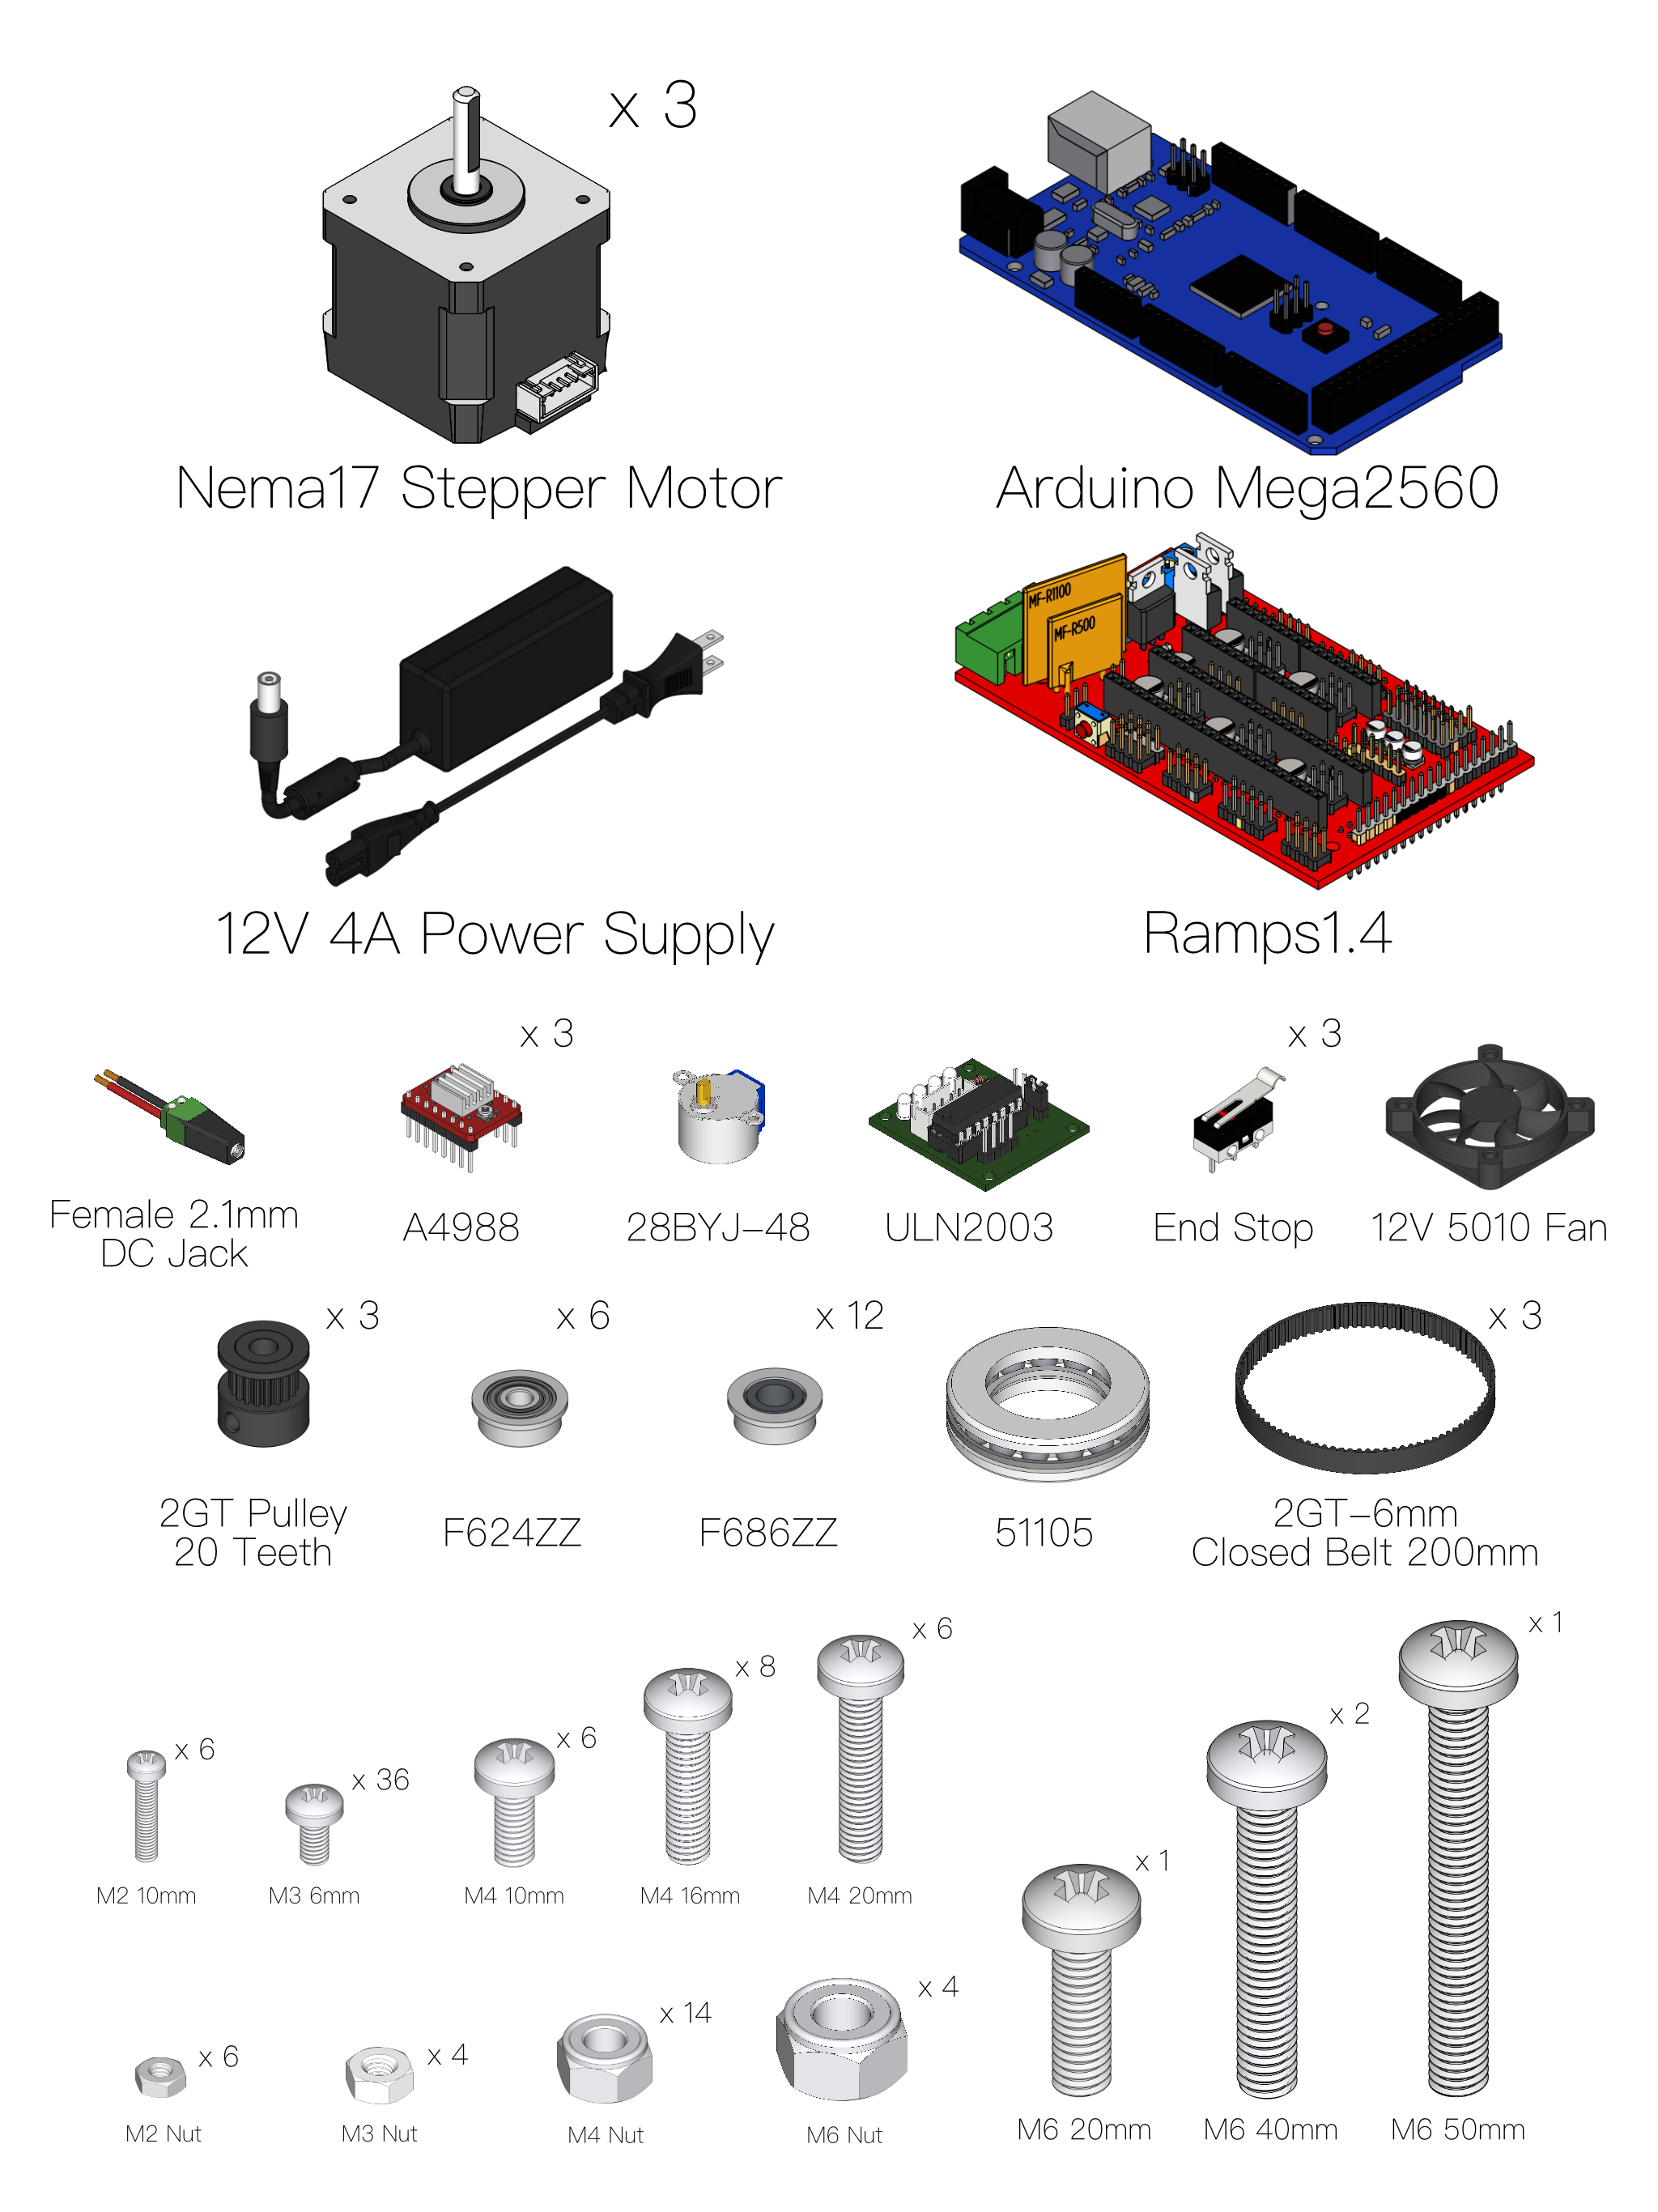
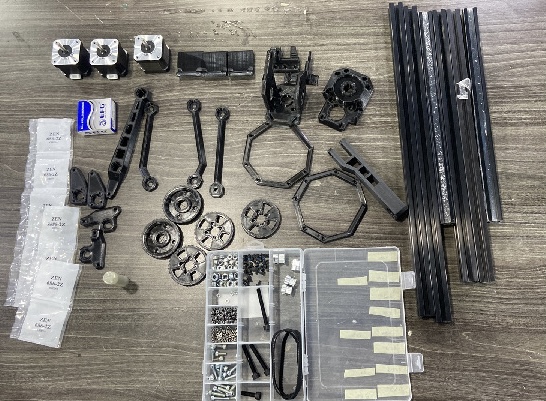
2. Local Sourcing & Salvage
- Purchased missing mechanical parts: bearings, screws, nuts, washers.
- Recycled parts from old 3D printer kits (stepper motors, belts, etc.) with instructor approval.
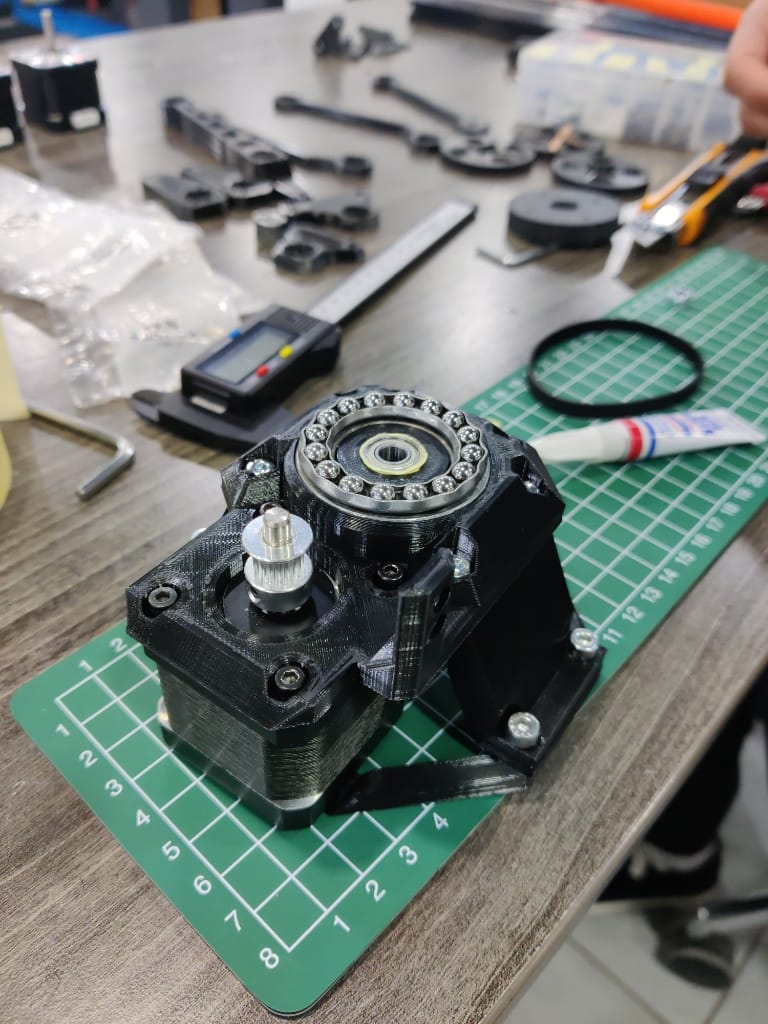
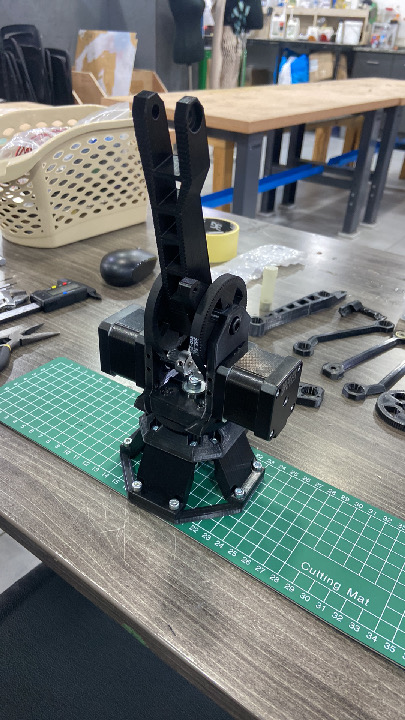
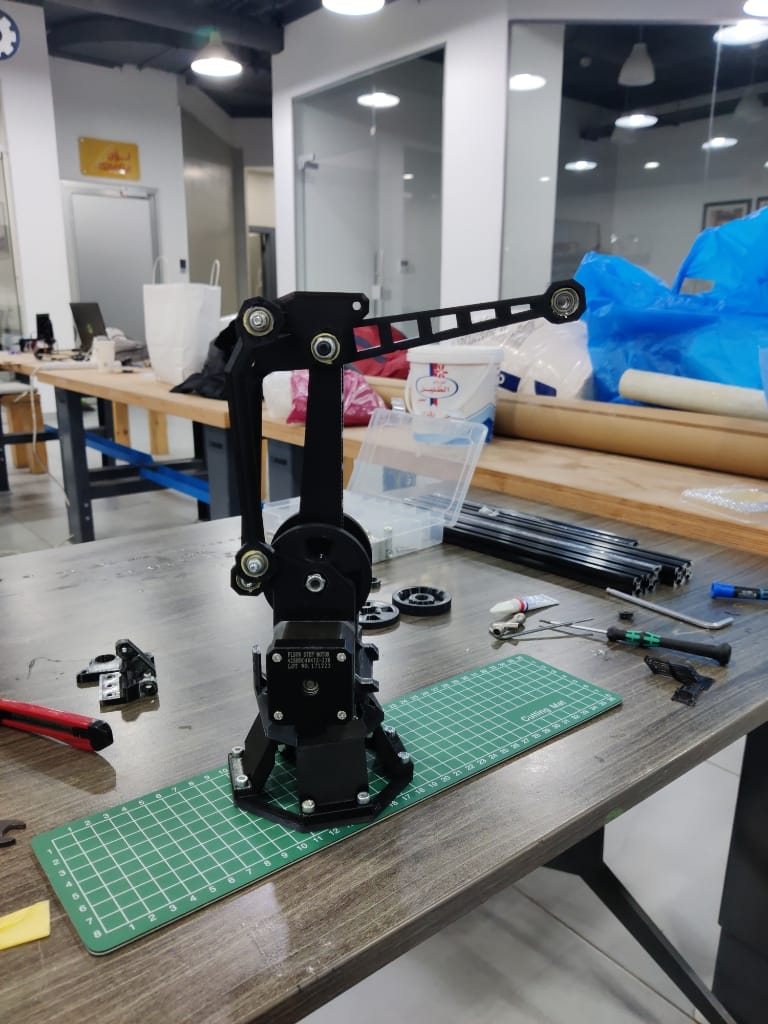
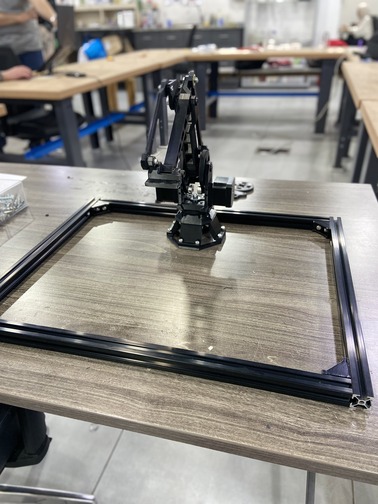
3. Mechanical Assembly
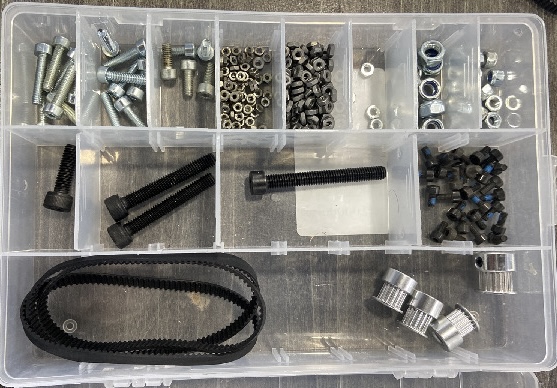
- Organized all parts and created a labeled parts kit.
- Assembled the robot arm over two days following the plan and adapting where needed.
- Solved bearing compatibility issues by micro-adjusting diameters with tape shimming.

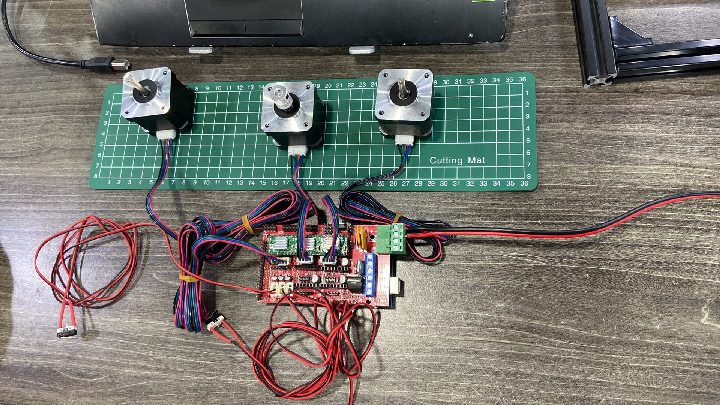
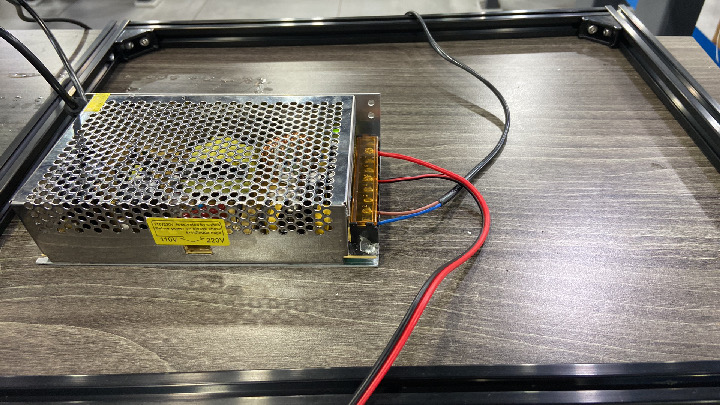
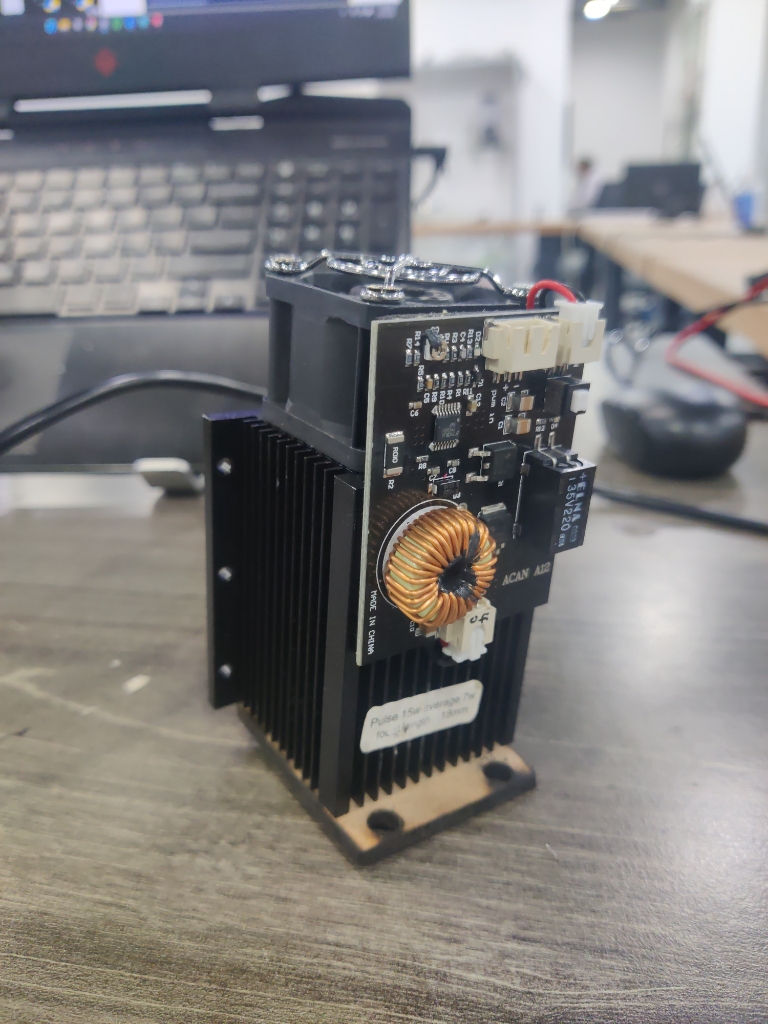
4. Electronics Setup & Testing
- Used RAMPS 1.4 board with A4988 drivers and a 12V power supply.
- Checked all voltages and current limits using a multimeter and proper safety protocols.
- Tested motors and limit switches individually before integrating into the frame.
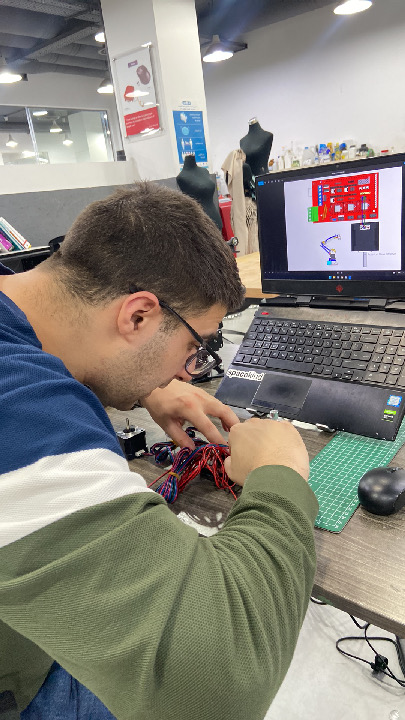
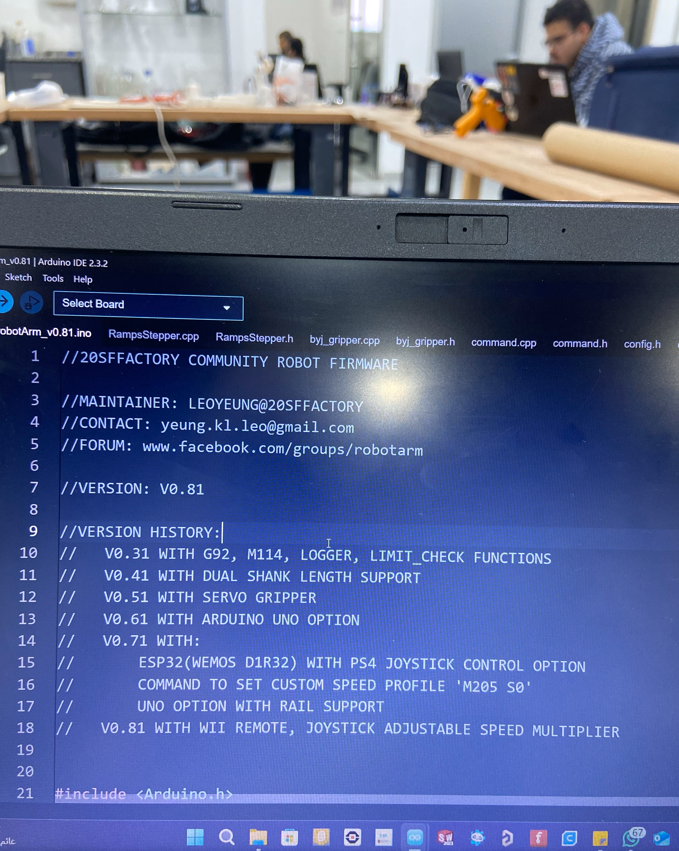
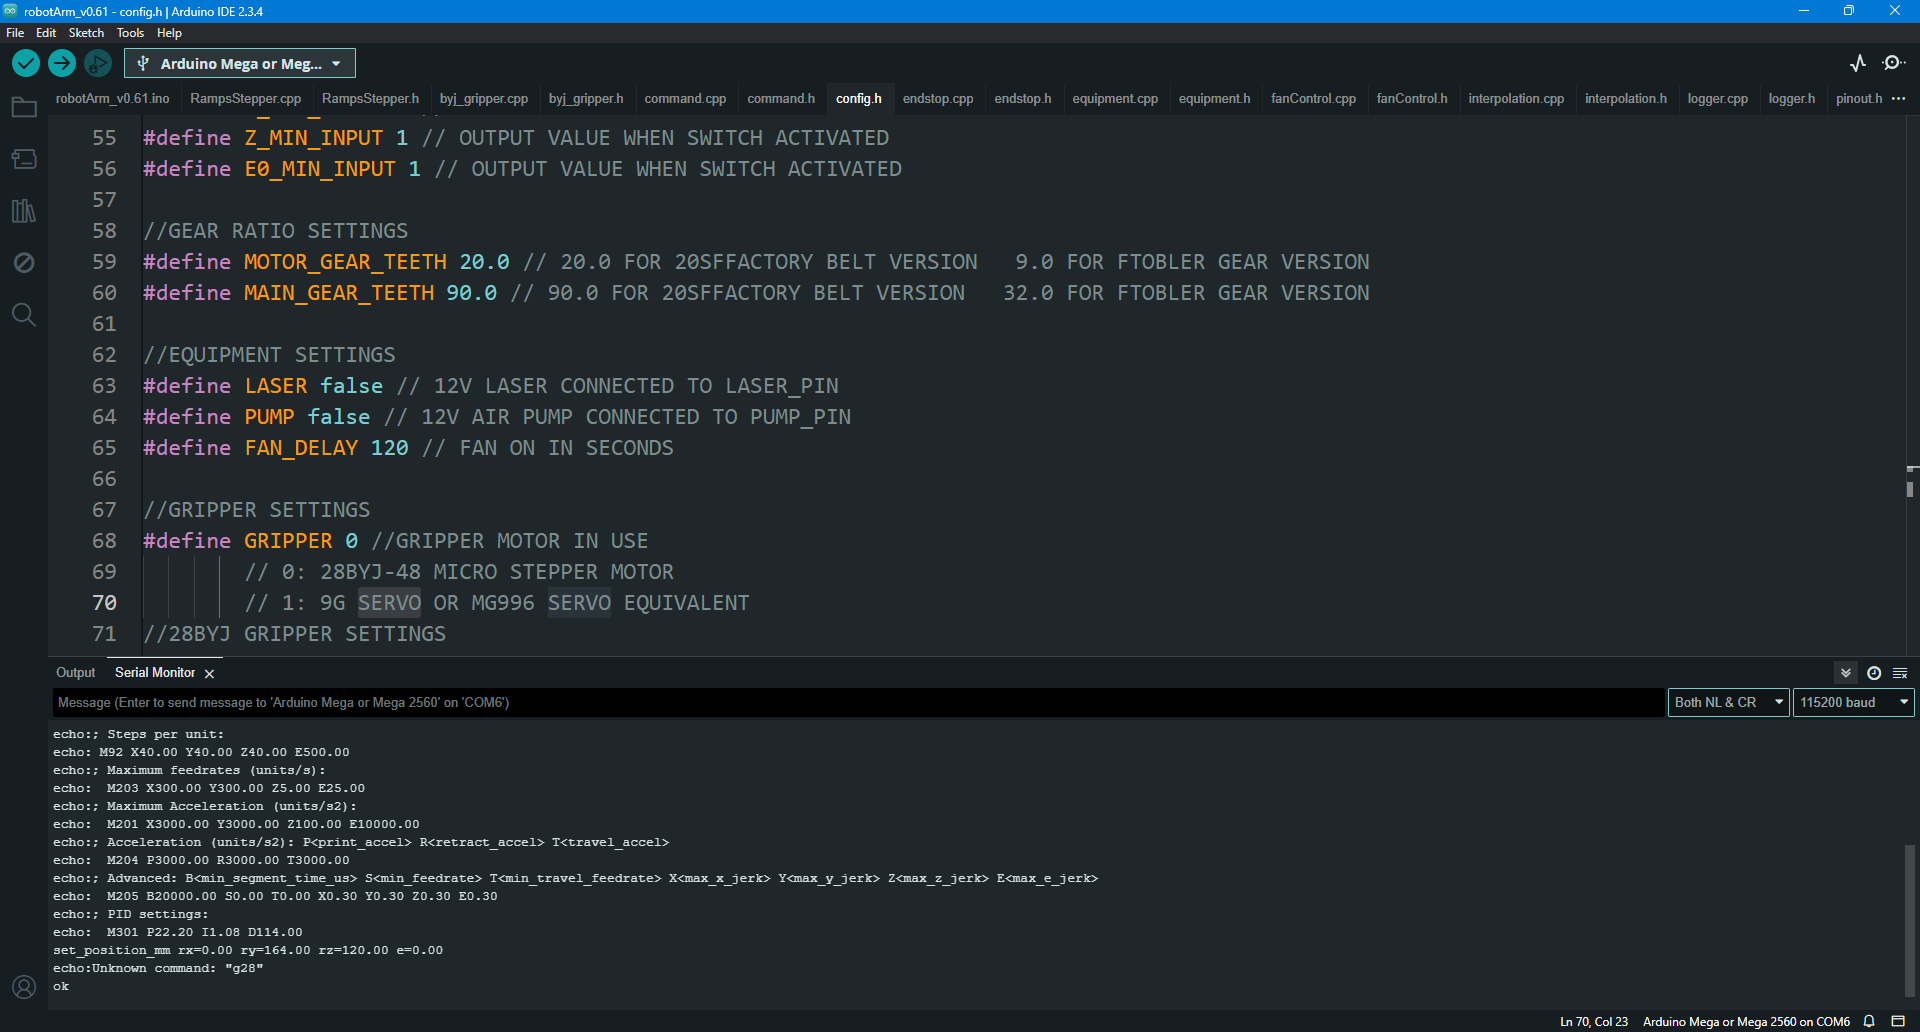
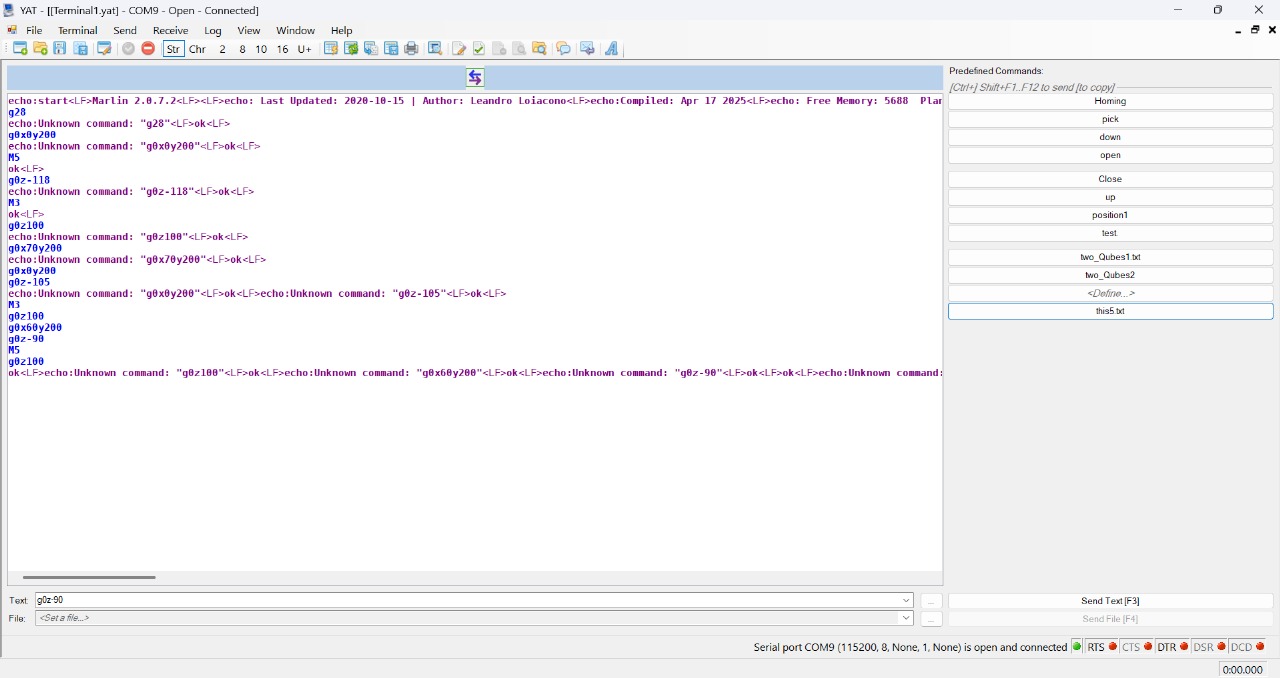
5. Firmware & Serial Communication
- Uploaded Arduino firmware to control motion using G-code commands.
- Tested homing and serial interaction via Serial Monitor and YAT (Yet Another Terminal).
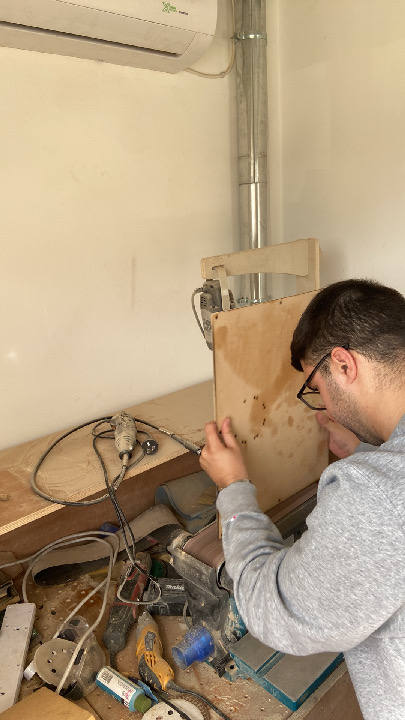
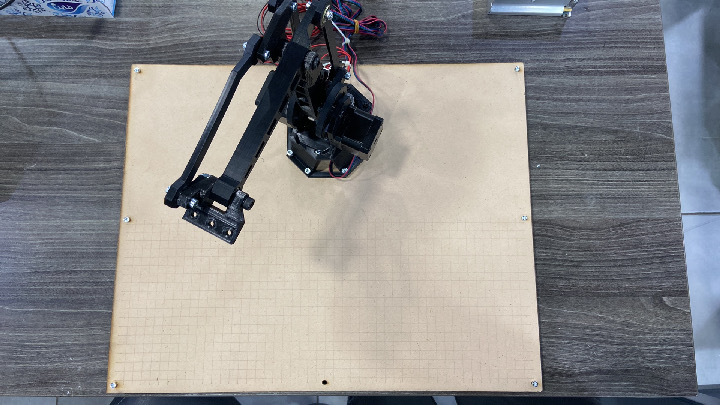
6. Calibration & Base Setup
- Built a custom MDF base plate with a coordinate grid to ensure repeatable motion.
- Added aluminum profiles for rigidity and smoothed the surface with sanding tools.
- Printed calibration tools to align motor positions and joints, then updated kinematic values in code.
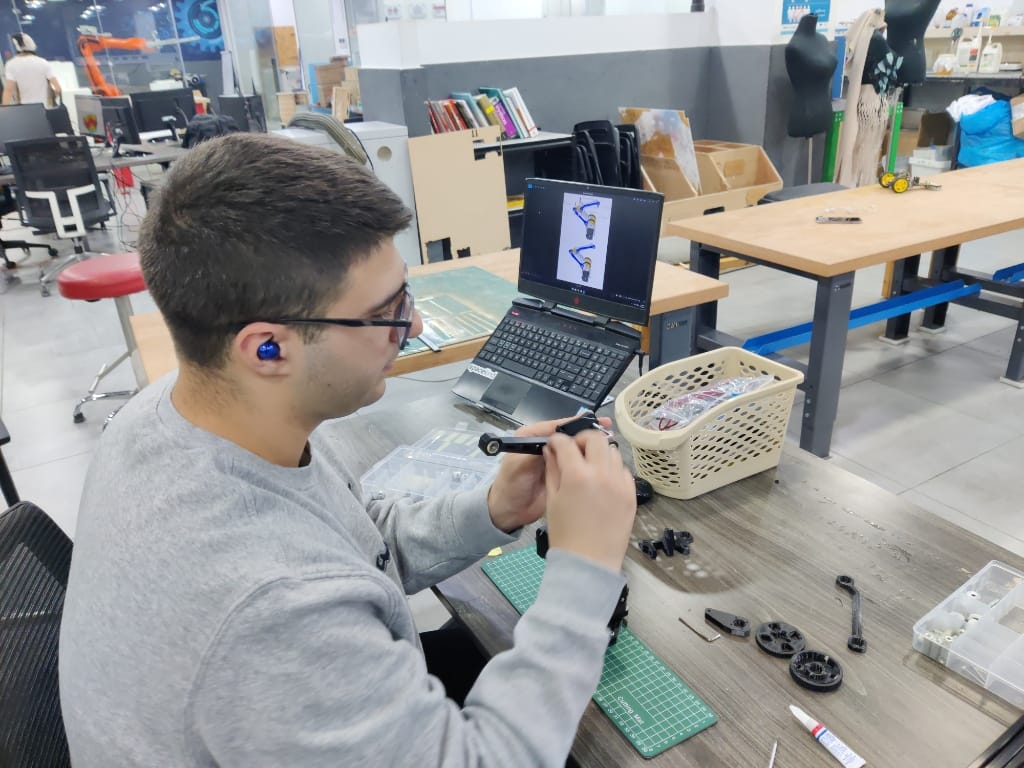
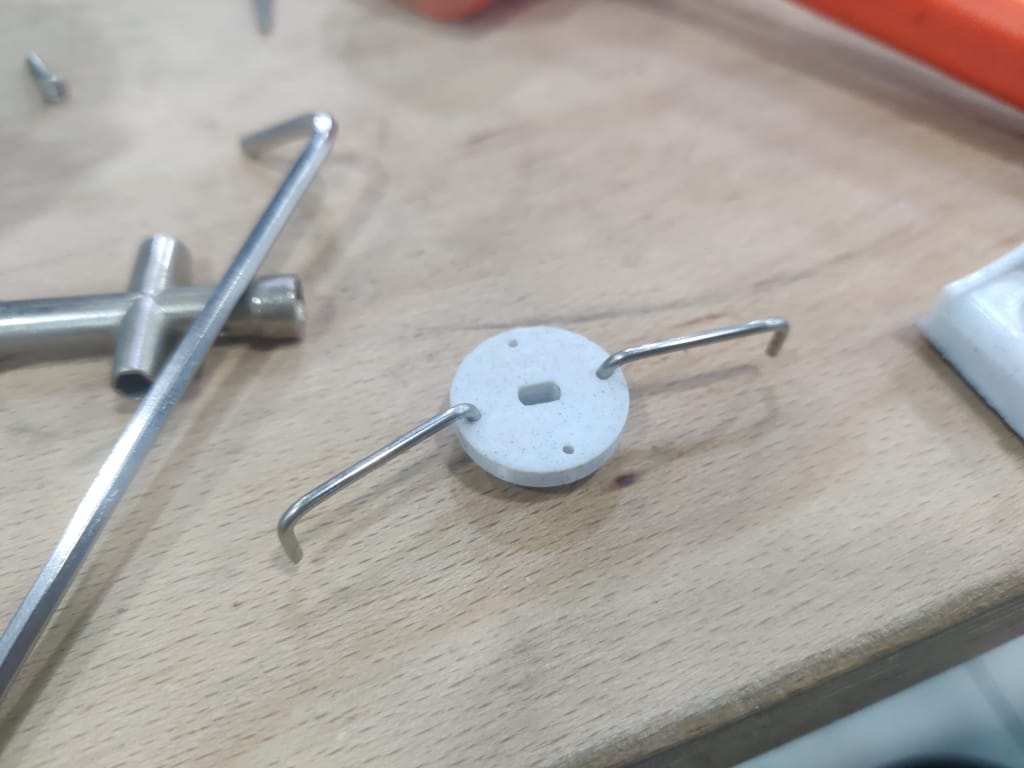
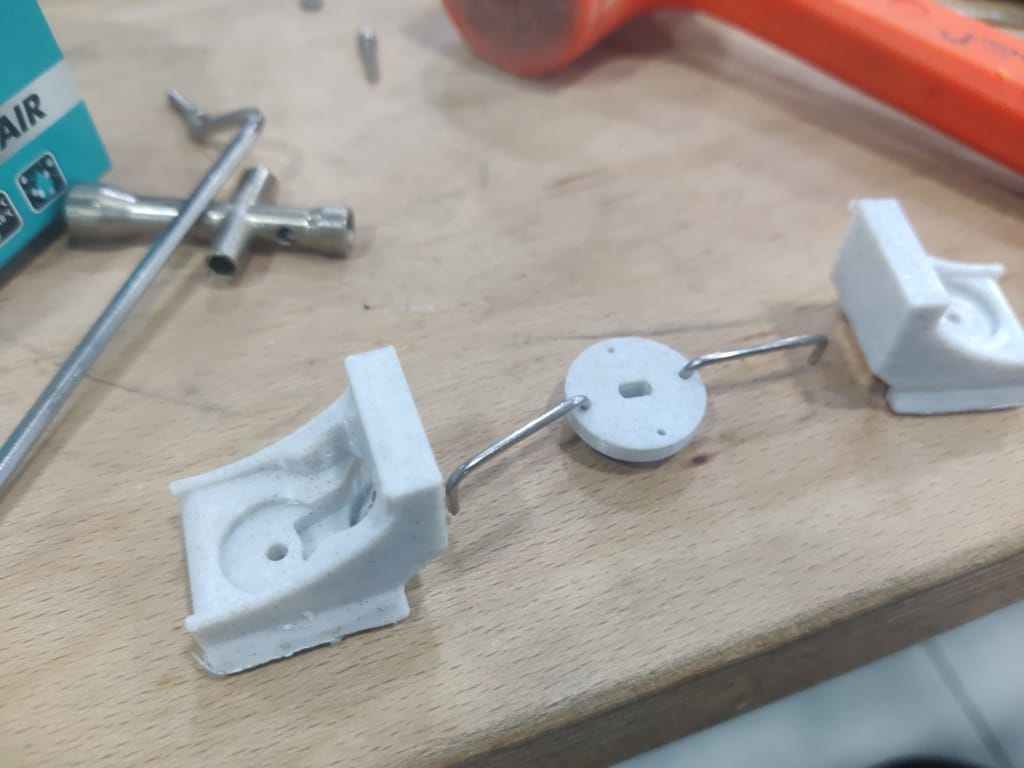
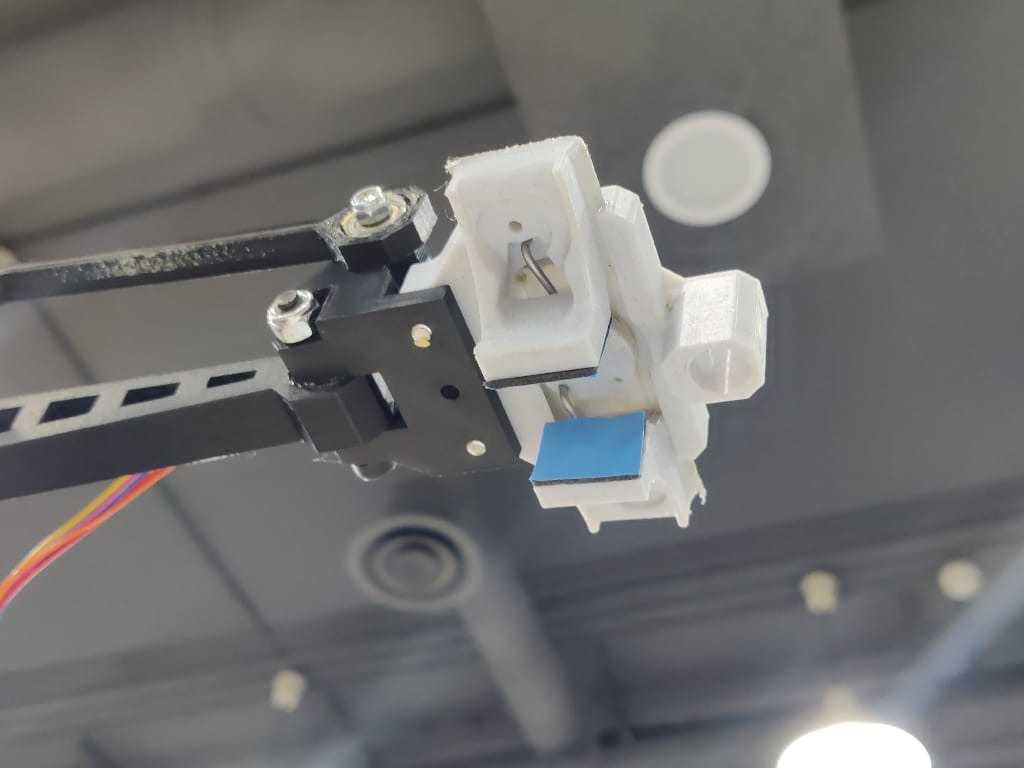
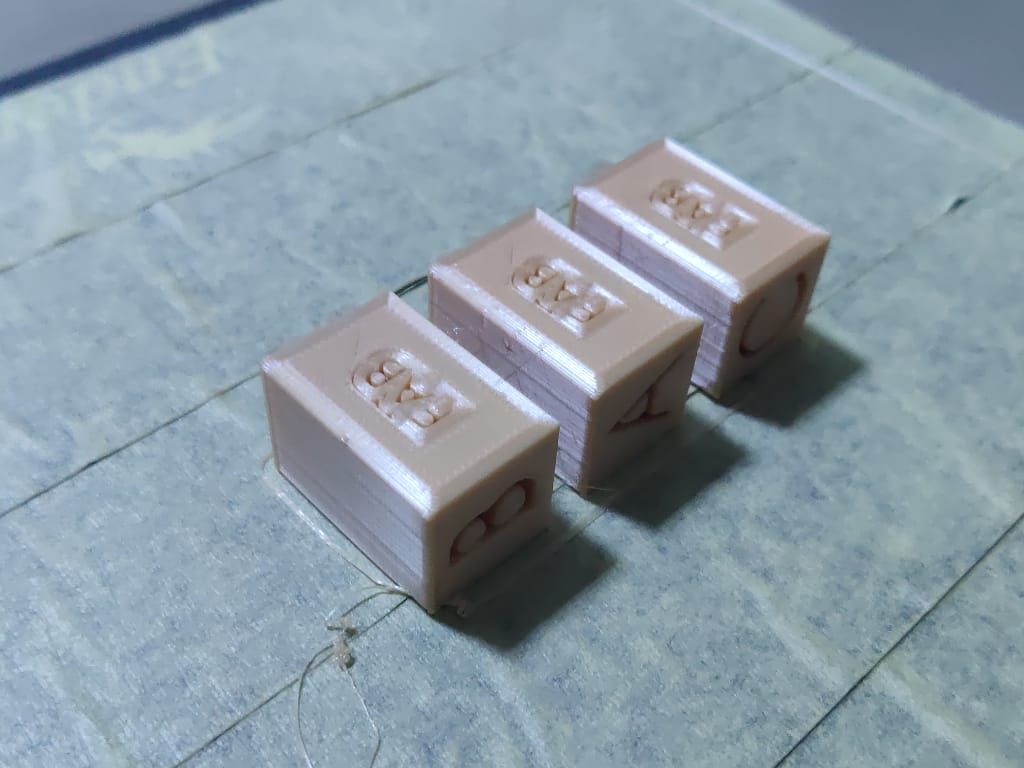
7. Gripper Design & Pick-and-Place Test
- Modeled and fabricated a two-finger gripper using rods, 3D-printed sliders, and a stepper motor.
- Wired and configured the gripper motor zero position.
- Printed labeled blocks (A, B, C) and successfully stacked them via scripted motion sequences using YAT.
8. Frame Enclosure Build
- Built a protective cubic aluminum frame for stability and future enclosure with acrylic.
- Ensured modularity for thermal insulation during 3D printing operations.
9. Laser Engraving Setup
- Designed and laser-cut a custom laser mount for the robot head.
- Calibrated Z-offset and focus using a test paper and alignment jig.
- Engraved the Fab Academy logo using paper as a medium.

10. Final Testing & Evaluation
- Demonstrated full plotting and pick-and-place operation.
- Validated inverse kinematics functionality and motion precision.
Learning Outcome
This experience deepened my skills in mechanical problem-solving, hardware-software integration, and collaborative prototyping. I learned how to adapt real-world designs to local constraints, troubleshoot fitment issues under time pressure, and optimize mechanical stability for multi-functional use cases. Moreover, I strengthened my ability to coordinate between digital fabrication (3D printing, laser cutting) and electronics wiring, turning a collection of parts into a functional robotic system.
Resources:
https://www.thingiverse.com/thing:3846234