Week 01 - PRINCIPLES & PRACTICES, PROJECT MANAGEMENT

Week 01 Assignments: Principles and Practices (part 1 of 2)
• Plan and sketch a potential final project
Project Management (part 2 of 2)
• Read, sign (add your name to) the student agreement and commit it to your repo
• Work through a git tutorial.
• Build a personal website in the class archive describing yourself and your final project.
Upload parts 1 and 2, to the class archive.
Plan and sketch a potential final project
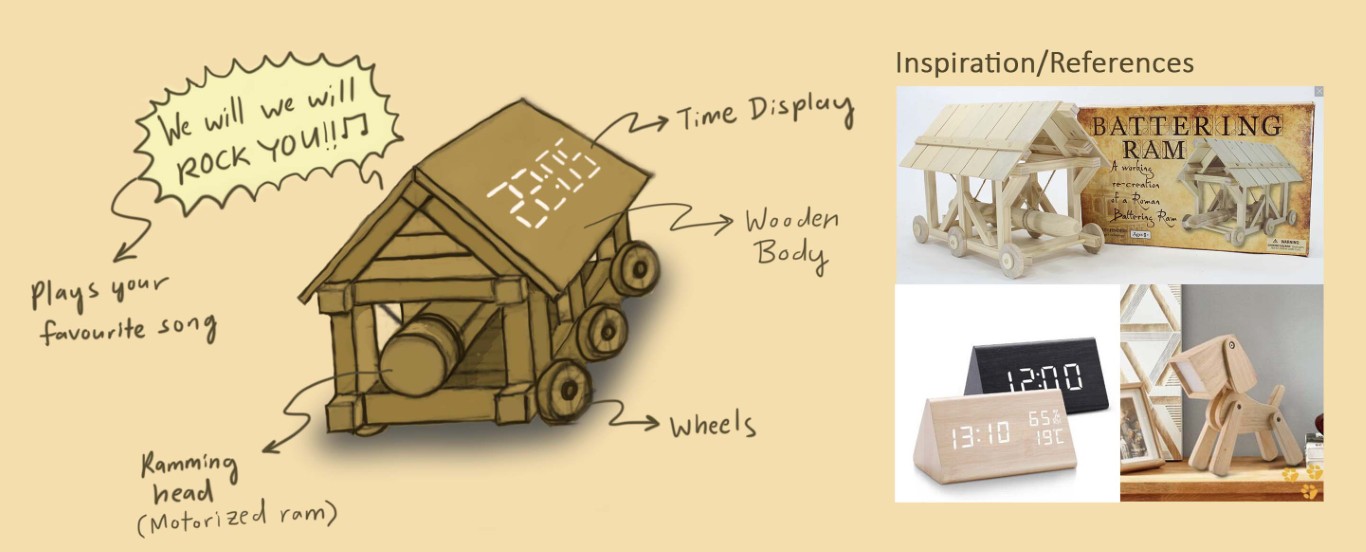
For my final project, I would like to make a Battering Ram alarm clock. I wanted to make something toy-like and playful and thought it would be cool to have an alarm clock in the form of a medieval siege weapon. While it is somewhat whimsical, I would also like it to be useful. For this, I thought the vibrations caused by the ramming action would be useful for someone who:
• Sleeps with ear plugs
• Works/plays games with their headphones on
• Works in a noisy environment
In these use cases, the alarm sound from a typical alarm clock used to wake or alert the user may not be heard. As such, having an alarm clock with a ram on it could help as the ramming action not only produces vibrations, but also distinct motion.
Next to my sketch, I included some images that inspired me, and I thought they would make good references for the type of item I would like to make.
Work through a git tutorial
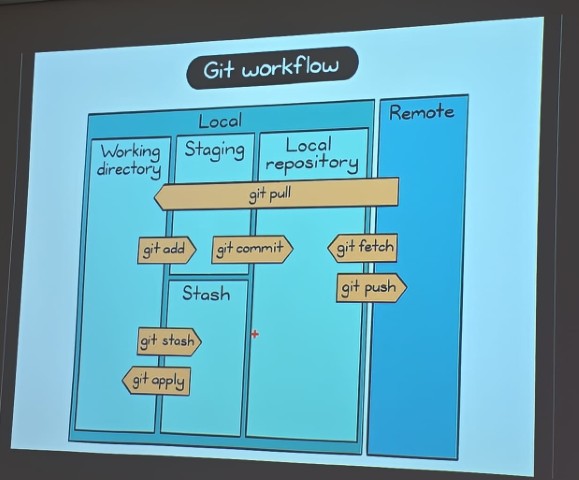
What is Git? And why do we need it? Git is a tool that helps keep track of changes made to files. It is mostly used by programmers to work together on the same project, like writing code. Git makes it easy to work quickly, keeps your work safe, and lets people collaborate in flexible ways, even if they are not all working at the same time or in the same place. For Fab Academy, this is the way for the students and instructors to collaborate and keep track of projects. I found this diagram shared by my instructor Steven Chew very useful in helping me understand Git.
Here is what I did for the Git tutorial:
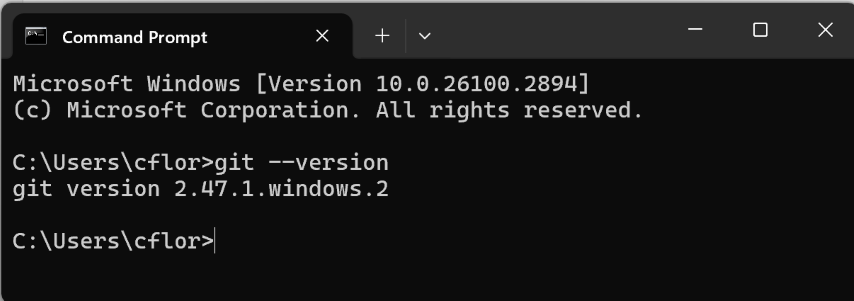
• Install Git - Since I am a Windows user, to install Git, I downloaded Git for Windows https://gitforwindows.org/. The download should run automatically. Next, to check if git installed correctly on your PC:
1. Click on the Windows button
2. Type CMD, press Enter
3. Type git --version It should show something like this.
• Git – config - I added my Git username and email using the following commands:
git config –-global user.name “my_username”
git config –global user.email “my_email_address”
• Generate ssh-key - Next, I generated my ssh-key.
1. Go to GitBash app
2. Navigate to the Git project folder
3. Run this command ssh-keygen -t rsa -C "$my_email" If successful, you should see this.
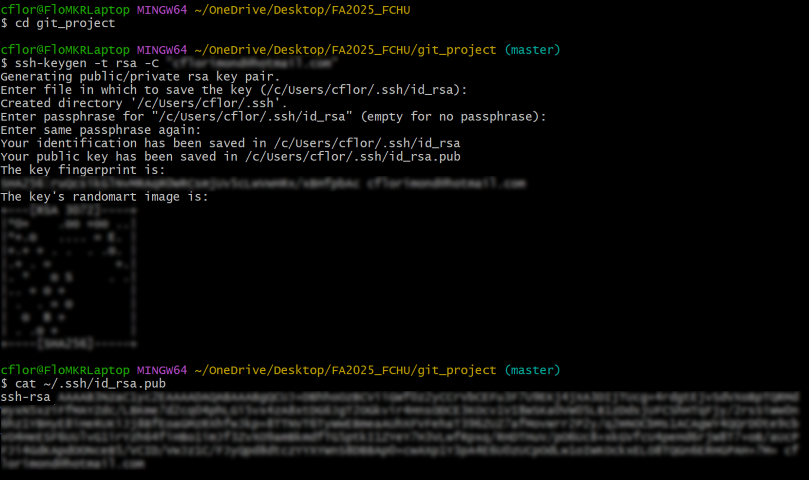
4. Use this command clip < ~/.ssh/id_rsa.pub to copy your ssh-key. You will need this for the next step.
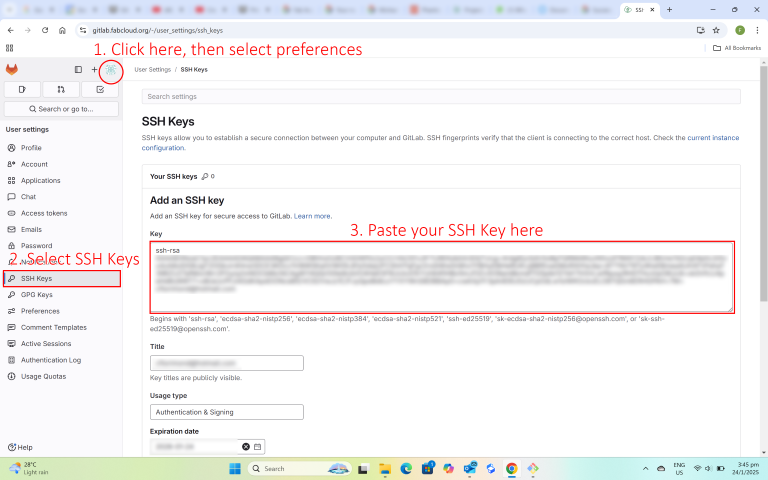
• Upload id_rsa.pub to your gitlab account ssh-keys - Here is how I did it:
1. Navigate to gitlab account at https://gitlab.fabcloud.org/
2. Follow the steps below to add the ssh-key to your gitlab account
• Clone my repo to local
1. Go to Windows command prompt
2. Navigate to the Git project folder
3. Run this command git clone git@git.fabacademy.org:fabacademy2025/yourlabname/yourstudentnumber.git Below is a screenshot of my successful clone

• Uploading my repo online
1. Go to Windows command prompt
2. Navigate to the Git project folder (In my case, this was C:\Users\cflor\OneDrive\Desktop\FA2025_FCHU\git_project\florimond-chu)
3. Use the following commands to upload to the repo online:
git add .
git commit -m "describe the changes made"
git push
If successful, the Git Tutorial is done. Many thanks to my FabLab colleagues for walking me through this tutorial, especially Louis Goh who took time to guide me through it step-by-step.
Build a personal website
To build the website, I downloaded a free website template (Phantom) from HTML5up and then used Adobe Dreamweaver 2021 to edit it. Adobe Dreamweaver 2021 is a WYSIWYG editor so What-You-See-Is-What-You-Get. It sounds easy enough to apply the template, but I had to resolve some problems to get it to work.
Problem 1 – Hidden Menu
How do you edit the text on a menu when you cannot see it (in the editor)? I faced this problem when trying to edit a pop-up menu that is usually hidden and only appears when clicked.
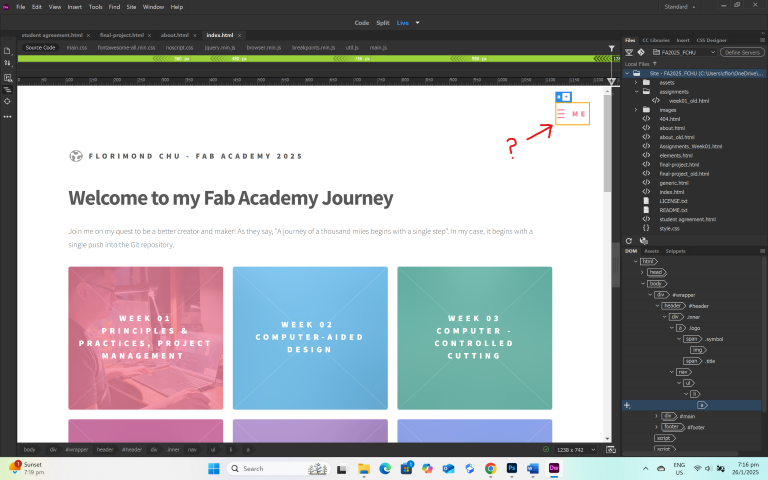
Looking at the html code, I see only this (below) but I cannot find anything that controls the menu’s links itself.
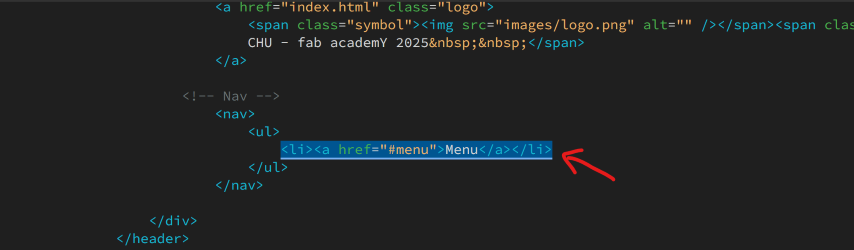
I asked ChatGPT for help in understanding the HTML code and this turned up.
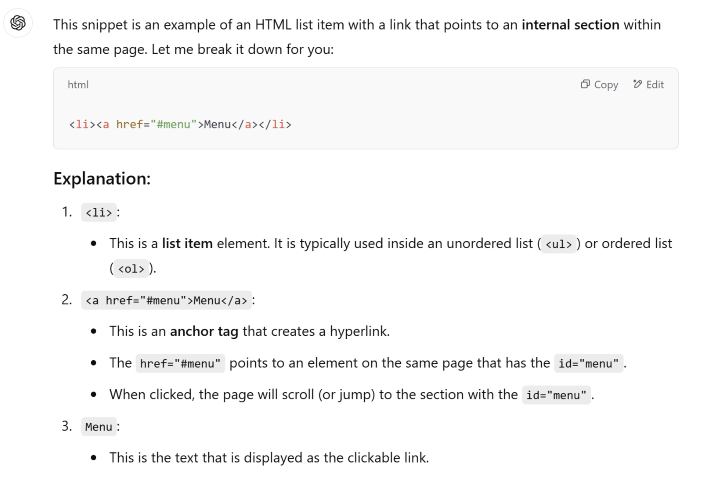
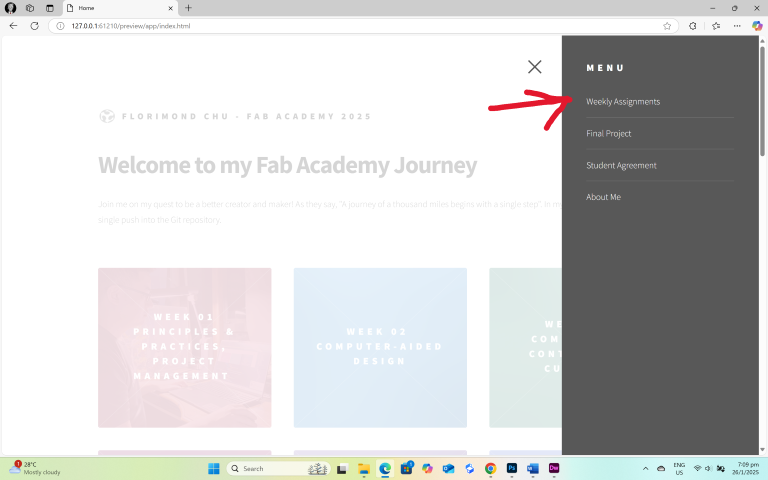
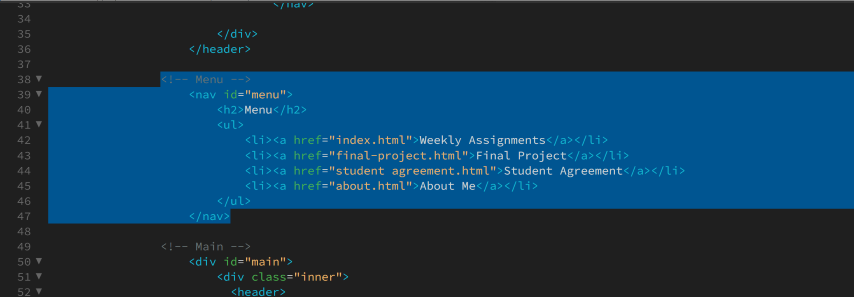
Turns out that I would just need to scroll a little bit more to see the part that controls the menu’s links. Problem solved!
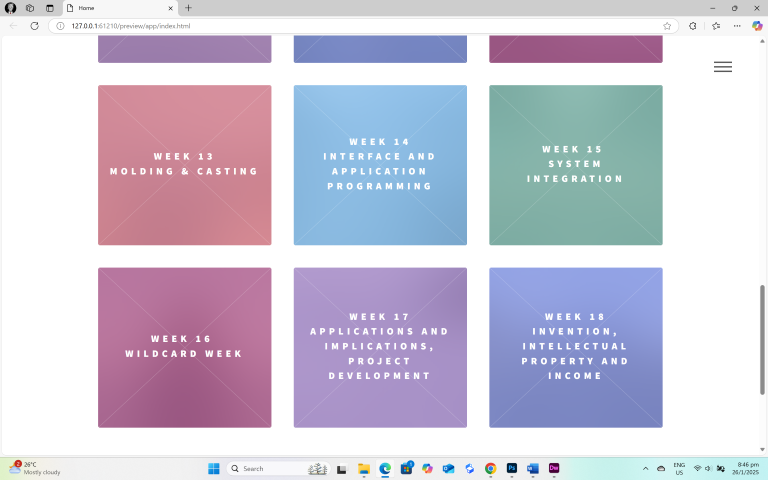
Problem 2 – Not Enough Tiles on the Template
The template came with a standard 12 clickable tiles, but Fab Academy is a different beast with 18 weeks of assignments. How do I get 6 more without having to break the template, or do it tile by tile?
Admittedly, this one was a lot easier to solve. All I had to do was:
1. Identify which pieces of the HTML code controlled a single tile. I did this by using the split screen and observing which lines of code controlled which tile.
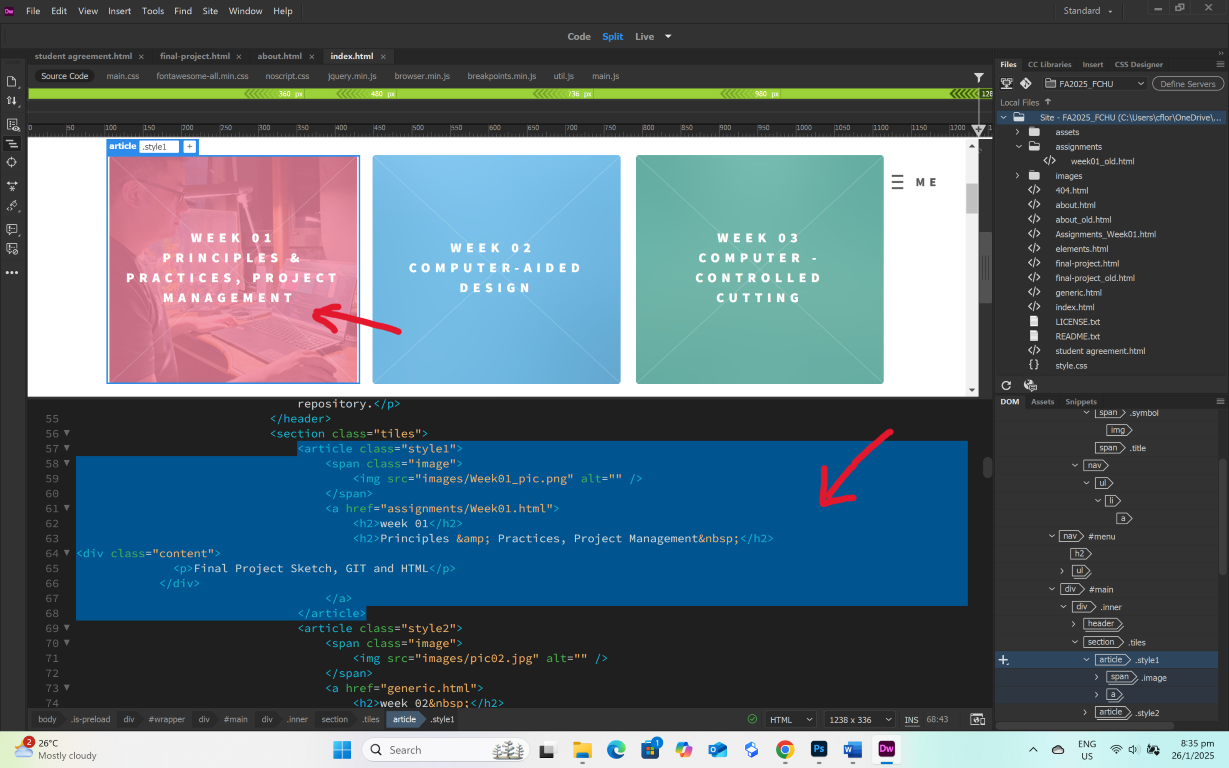
2. Once known, all I had to do was copy the entire HTML code for 6 tiles (2 rows) and then insert it in the appropriate space below.