
Week 12
Assignment: Mechanical Design, Machine Design
Group assignment
The Link of Group assignments.
Group assignment
- design a machine that includes mechanism+actuation+automation+application
- build the mechanical parts and operate it manually Group Assignment
Individual Contribution
As part of the group tasked with designing and building a DIY 2D Plotter machine, I took responsibility for the electronics integration, motion system debugging, mechanical assembly, and supporting documentation. My contributions were hands-on, bridging both the mechanical and electronics domains of the project.
1. Embedded Electronics Setup and Wiring
I was responsible for setting up and validating the core electronics system that powered the 2D plotter:
- Arduino + GRBL Firmware Setup: I flashed the GRBL firmware onto the Arduino Uno using the Arduino IDE and ensured the firmware was installed correctly. This enabled CNC-style control of the motors.
- Stepper Motor Driver Configuration: I configured A4988 stepper motor drivers, setting current limits and wiring them to the CNC shield. I ensured proper heat dissipation and wiring polarity to prevent damage.
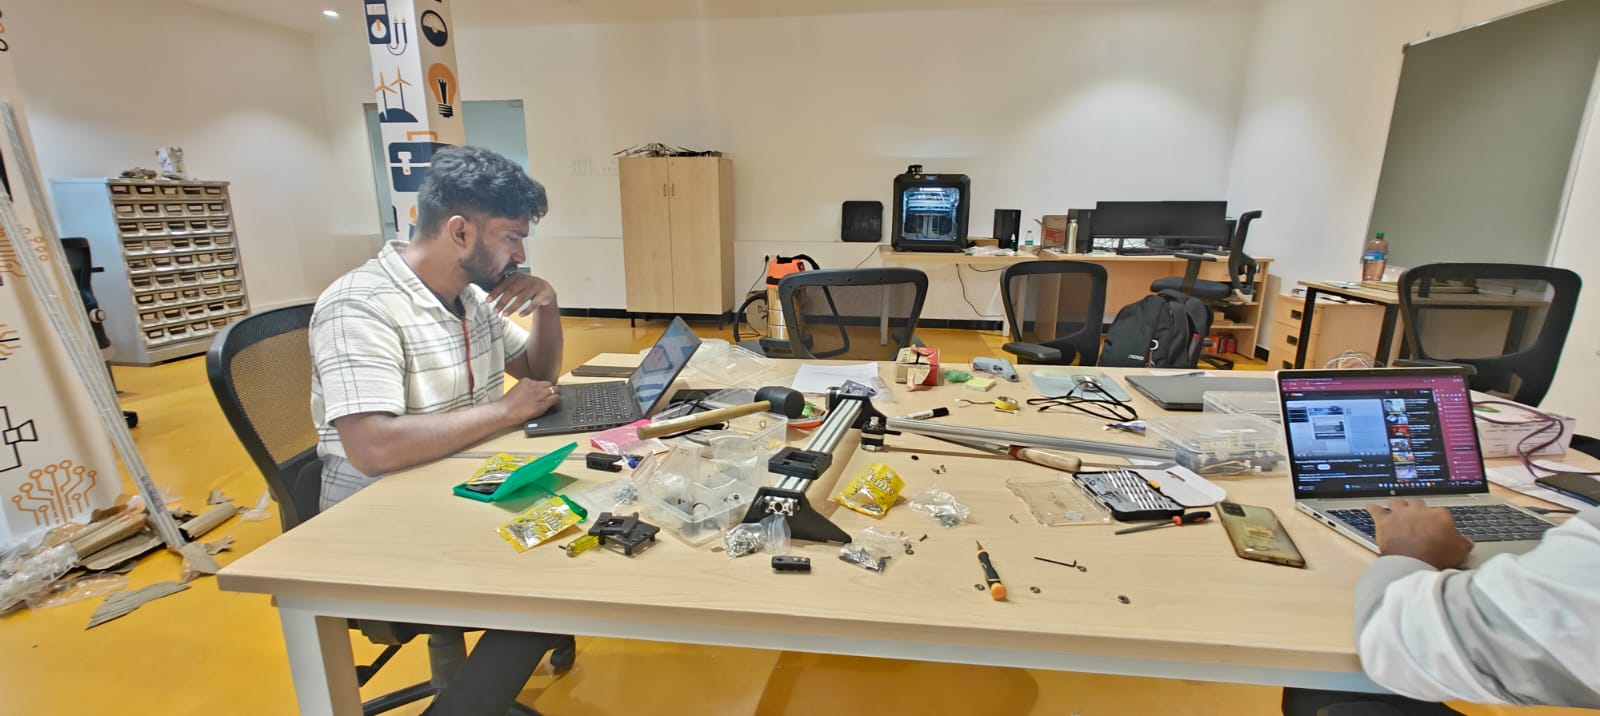
- Breadboard Prototyping: I created a temporary prototype circuit using jumper wires and breadboards to test connections before finalizing them. This helped in quick debugging without soldering (as seen in Image 1).
- Power System Validation: I tested various power supplies (12V/2A and 18V/3A) and diagnosed a low torque issue due to insufficient current. Based on load tests, I recommended and helped switch to a higher capacity supply.

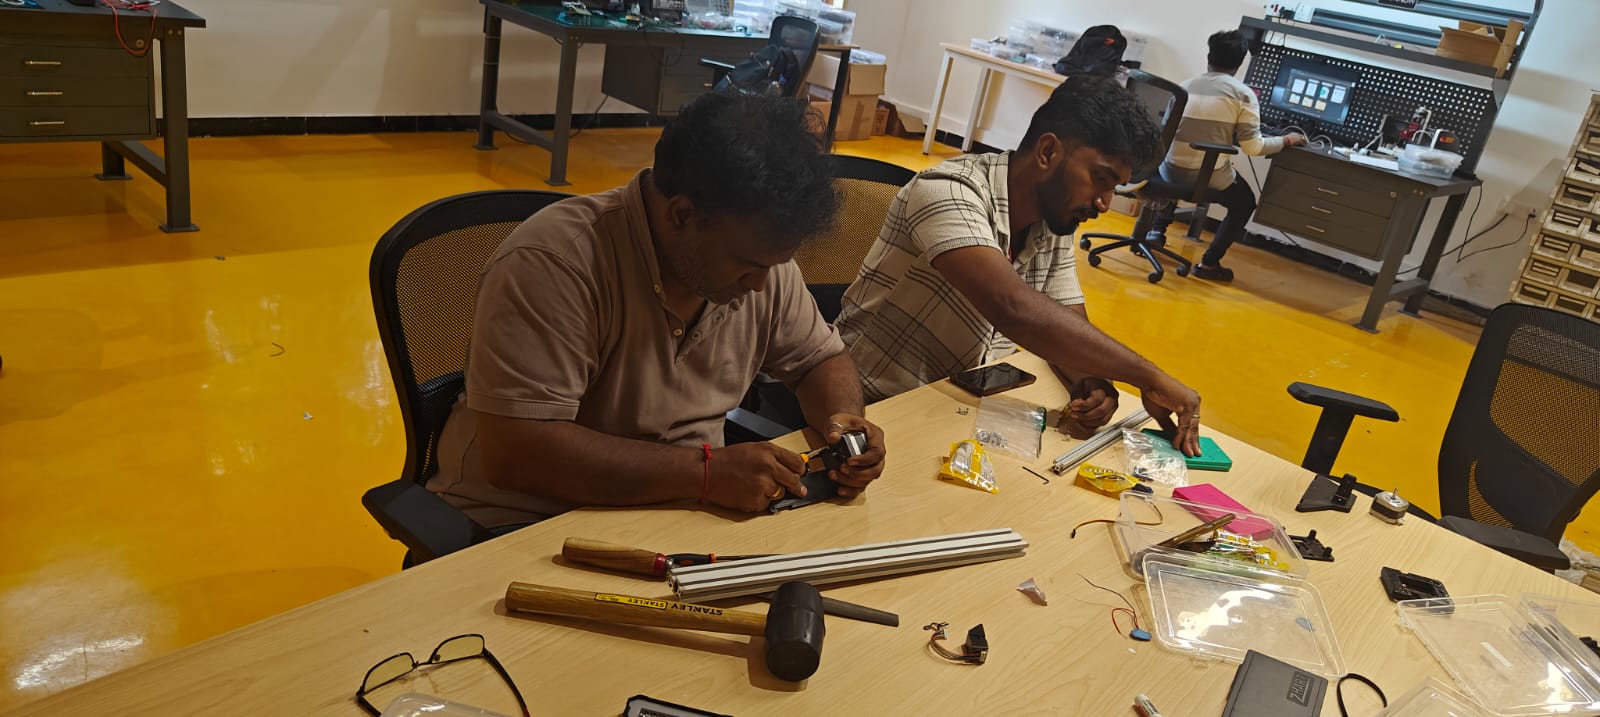
2. Mechanical Assembly and Fabrication
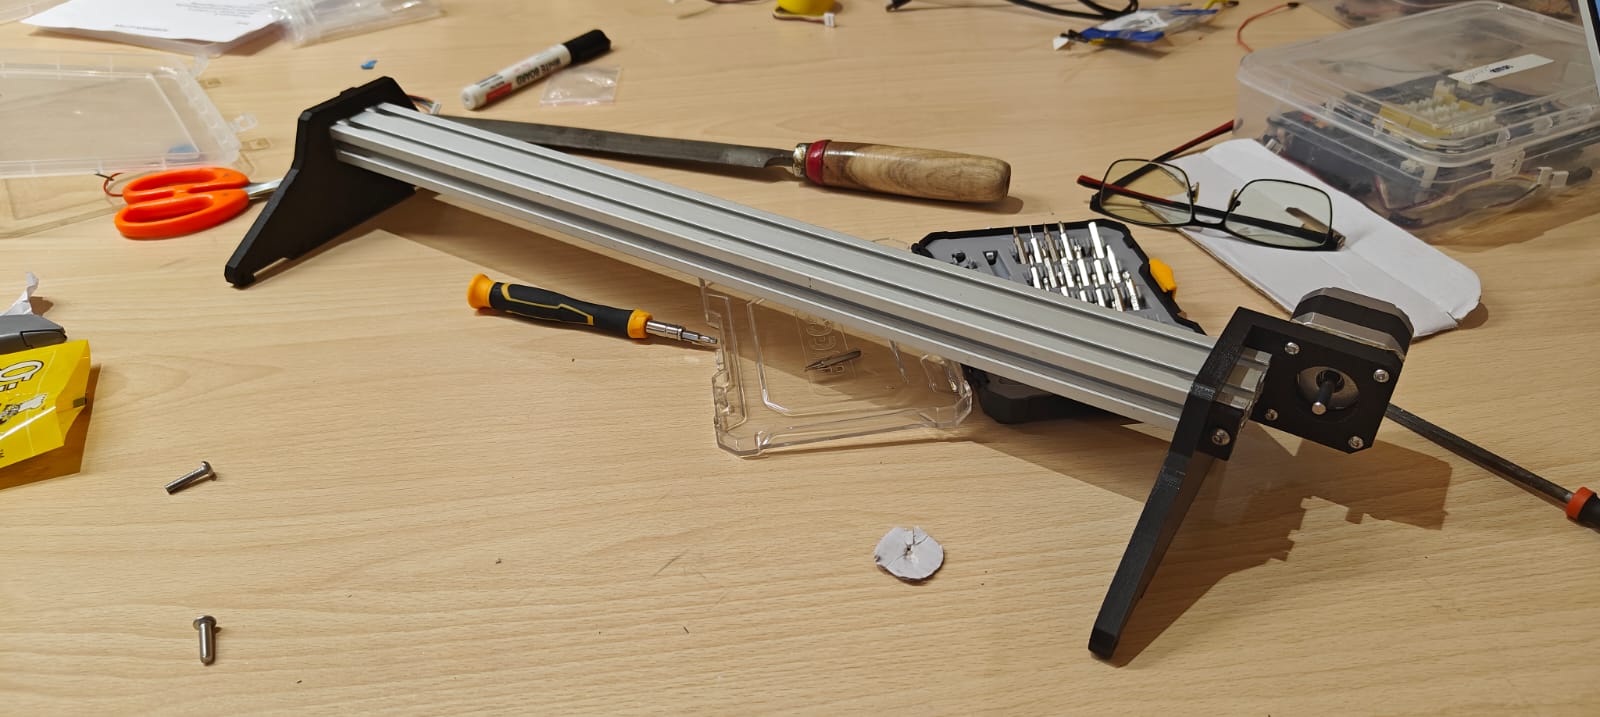
- Aluminum Profile Assembly: I contributed to assembling the 2020 and 2040 V-slot aluminum profiles using precision tools like Allen keys, clamps, and measuring tools.
- Stepper Motor and Pulley Mounting: I fixed the stepper motors to their mounts using 3D-printed motor plates and ensured proper alignment with GT2 pulleys. Adjusted belt tension manually to reduce slack.
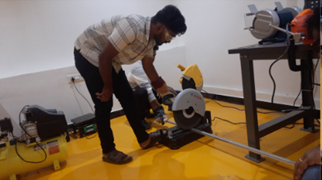
- Machining and Cutting: I used the chop saw (cutting machine) to precisely cut aluminum rods to desired lengths. Safety protocols were followed during this operation (Image 5).
- Fine Tuning V-slot Wheels and Spacers: Assisted in installing eccentric spacers and tuning the movement smoothness of the pen holder gantry.
3. Motion System Calibration and Debugging
- GRBL Parameter Tuning: Using Universal G-code Sender (UGS), I calibrated the X and Y axes.
- Direction Reversal and Limit Switch Checks: I verified motor direction and helped reverse Y-axis direction through software configuration when we noticed axis mirroring.
- Handling Unexpected Movements: We faced issues like the machine moving beyond expected distances and vibrating during rapid acceleration. I diagnosed these issues and lowered acceleration and feed rate values for stable movement.
4. Documentation and Team Support
- Progress Tracking: I maintained logs of the configuration changes, hardware setup images, and debugging attempts, which were later used for documenting the process.
- Photo and Video Capture: I helped record photos and videos of the machine wiring, testing, and motion stages. These visuals supported the group report and demo video.
- Collaboration: I worked closely with both the designers and hackers in the team, ensuring the software, electronics, and mechanical components integrated smoothly.