Week 2: Computer Aided Design
1. Modeling
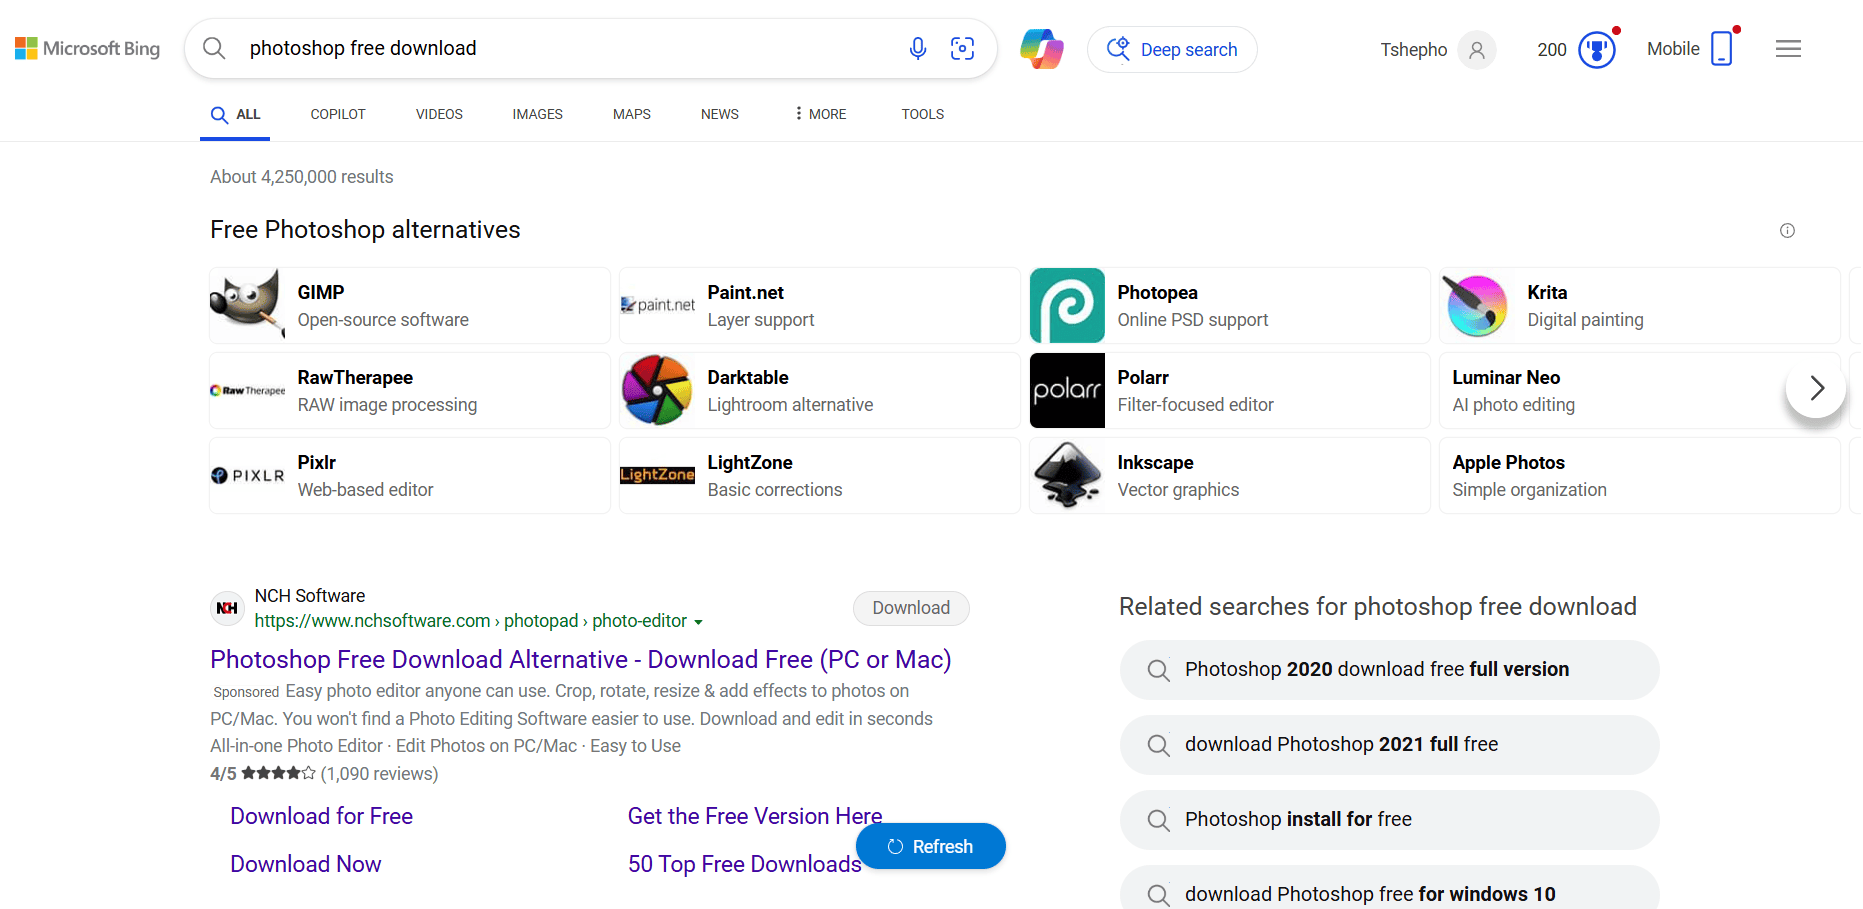
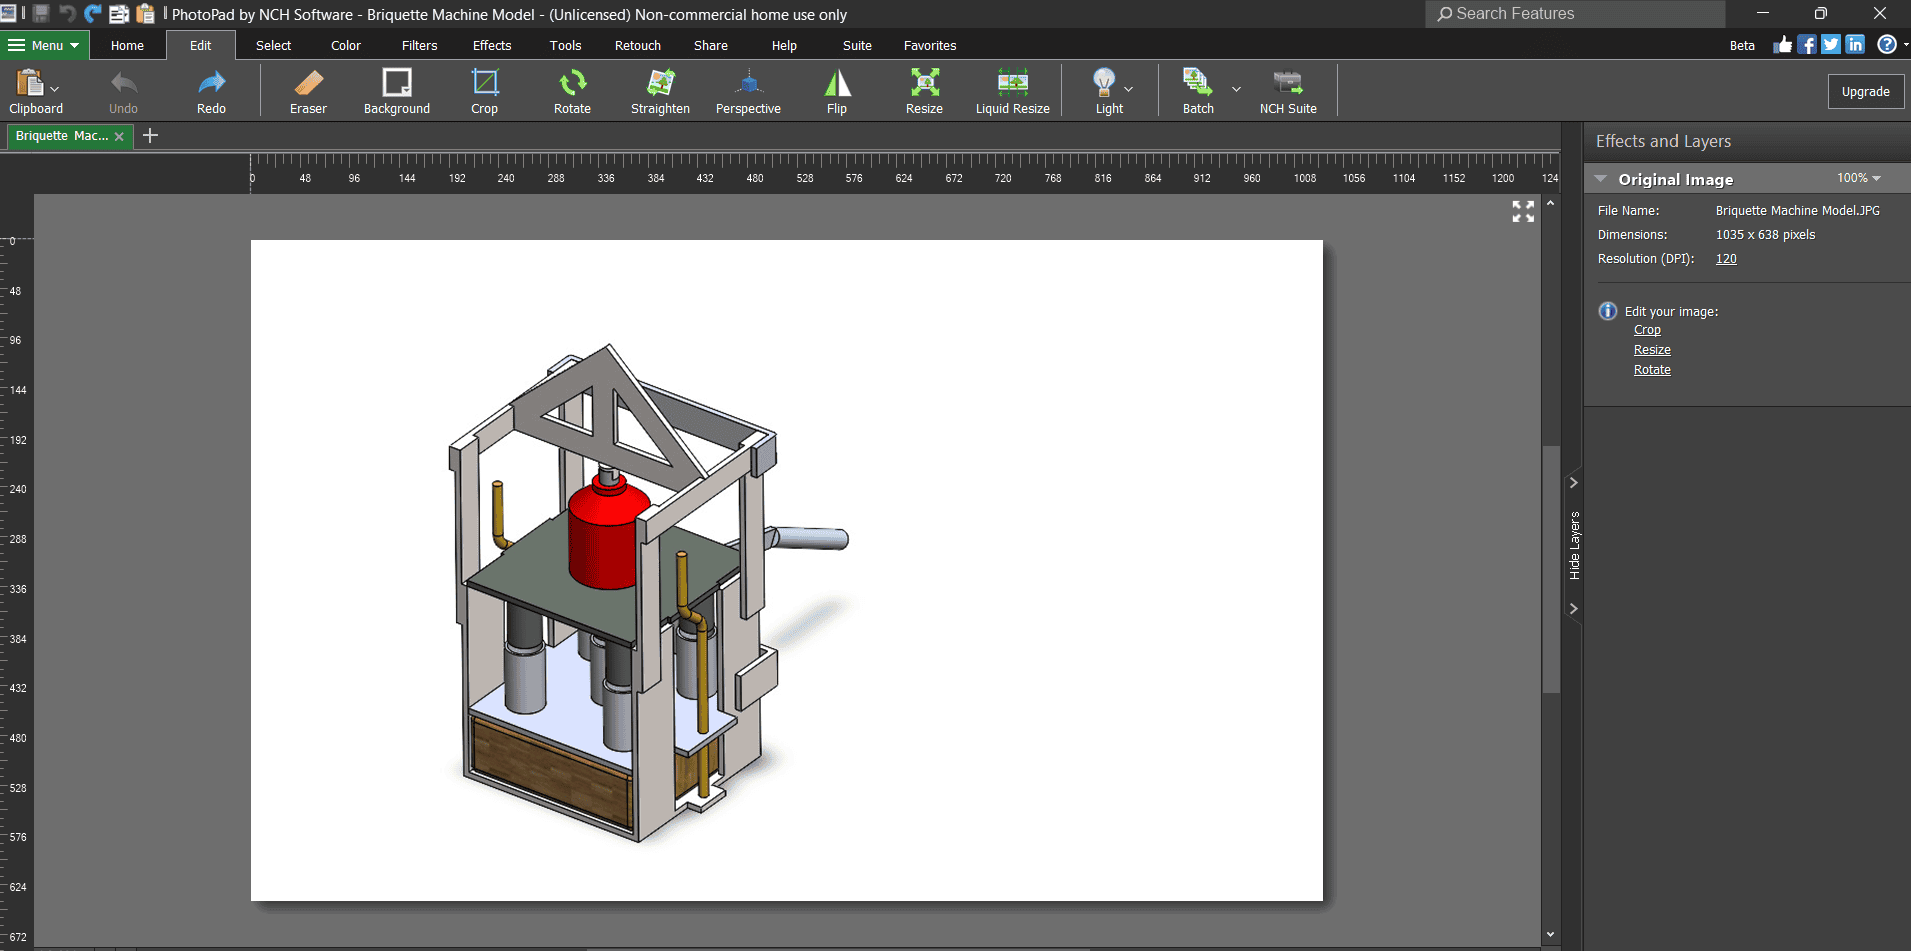
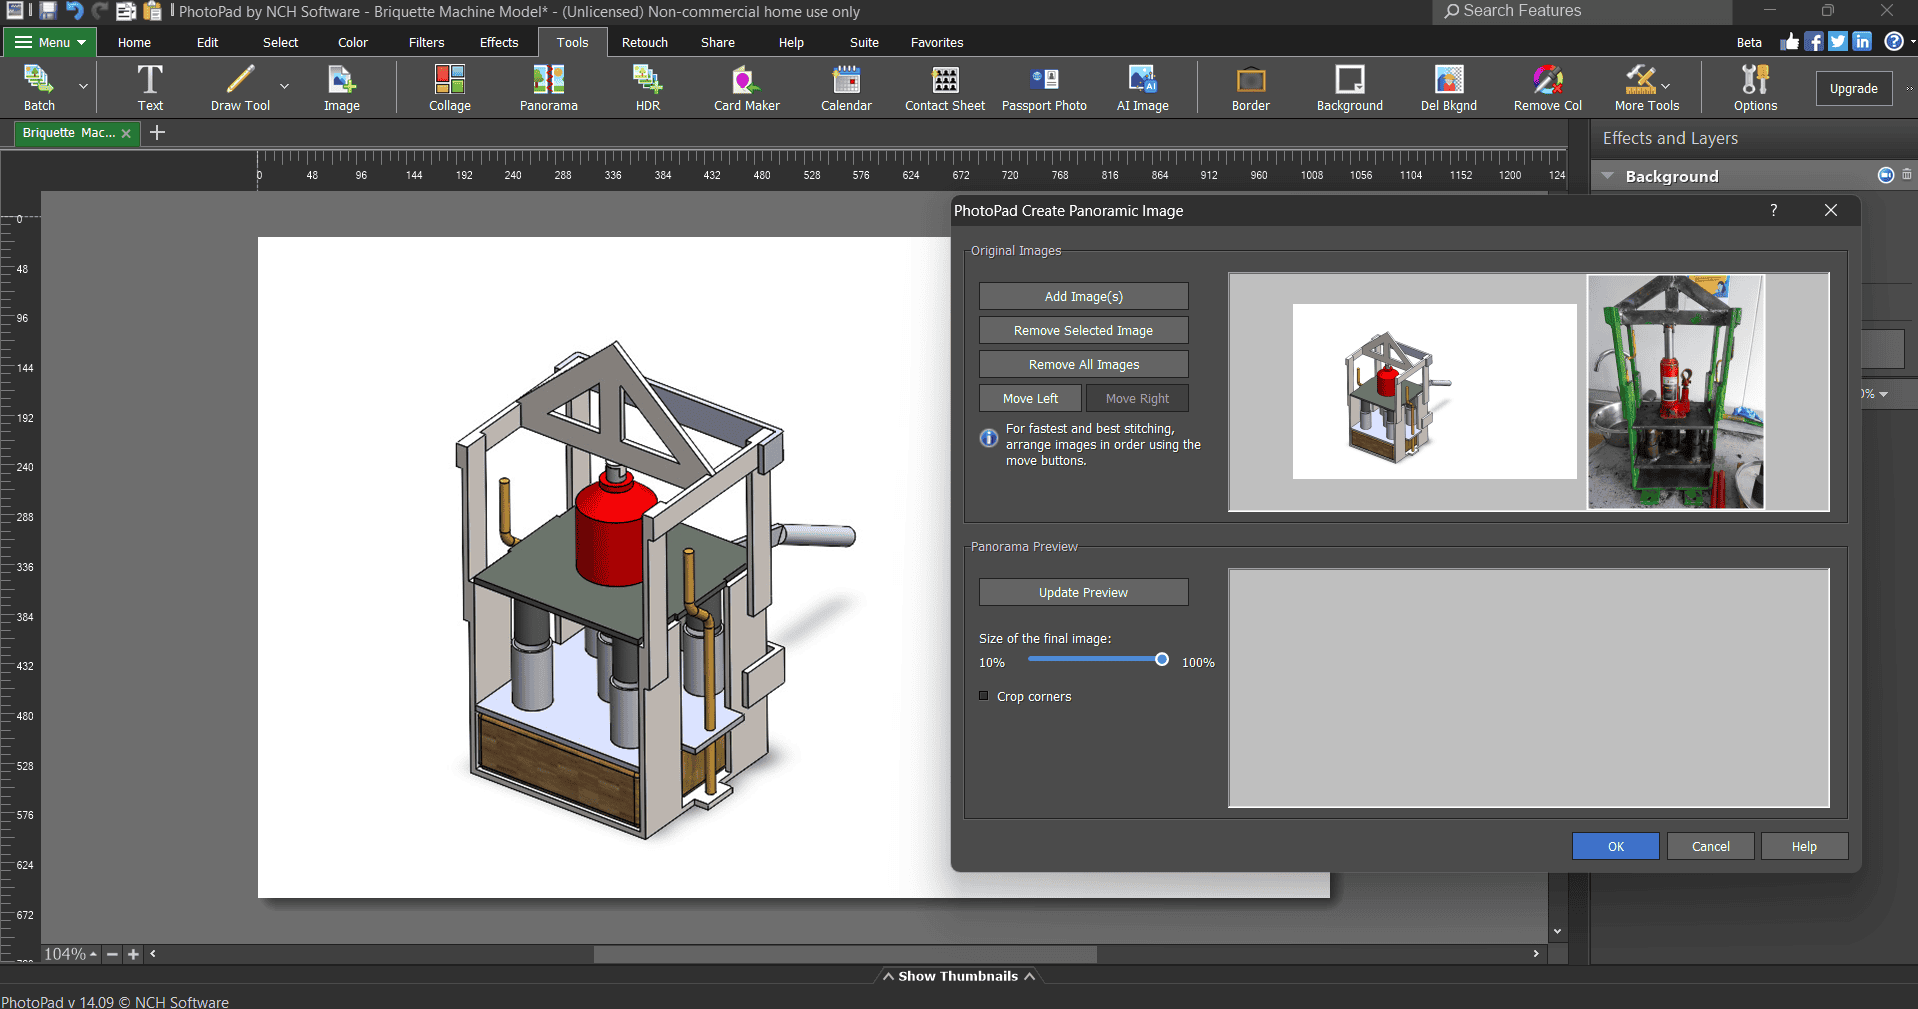
- Raster: I managed to get PhotoPad by NCH Software. This is a user-friendly image editing tool for basic and advanced edits. It allows users to crop, resize, rotate, and enhance images with brightness, contrast, and sharpening adjustments. The software includes filters, text insertion, layering options, and tools for creating panoramic views by stitching multiple images together. Users can also add shapes, apply effects, and export images in multiple formats. Ideal for quick edits, PhotoPad offers an intuitive interface for both beginners and professionals. I can create textures for 3D models or design patterns for laser cutting.
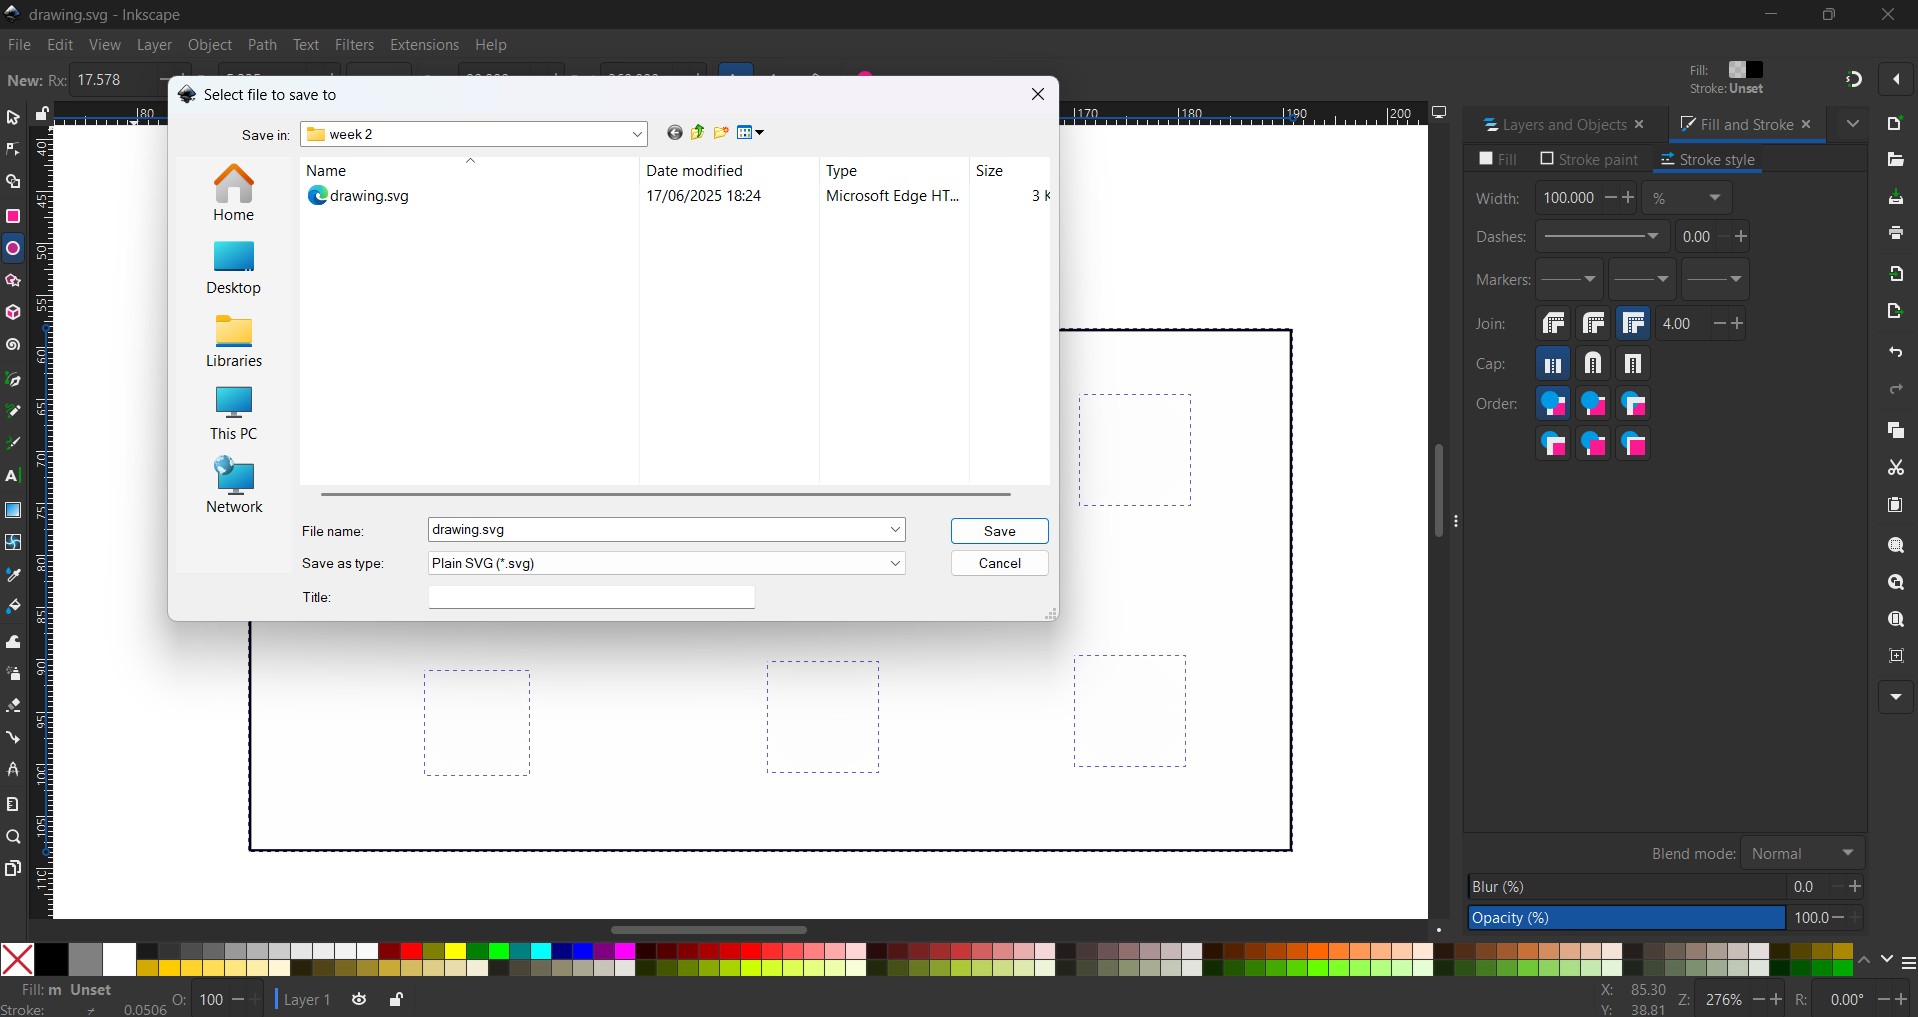
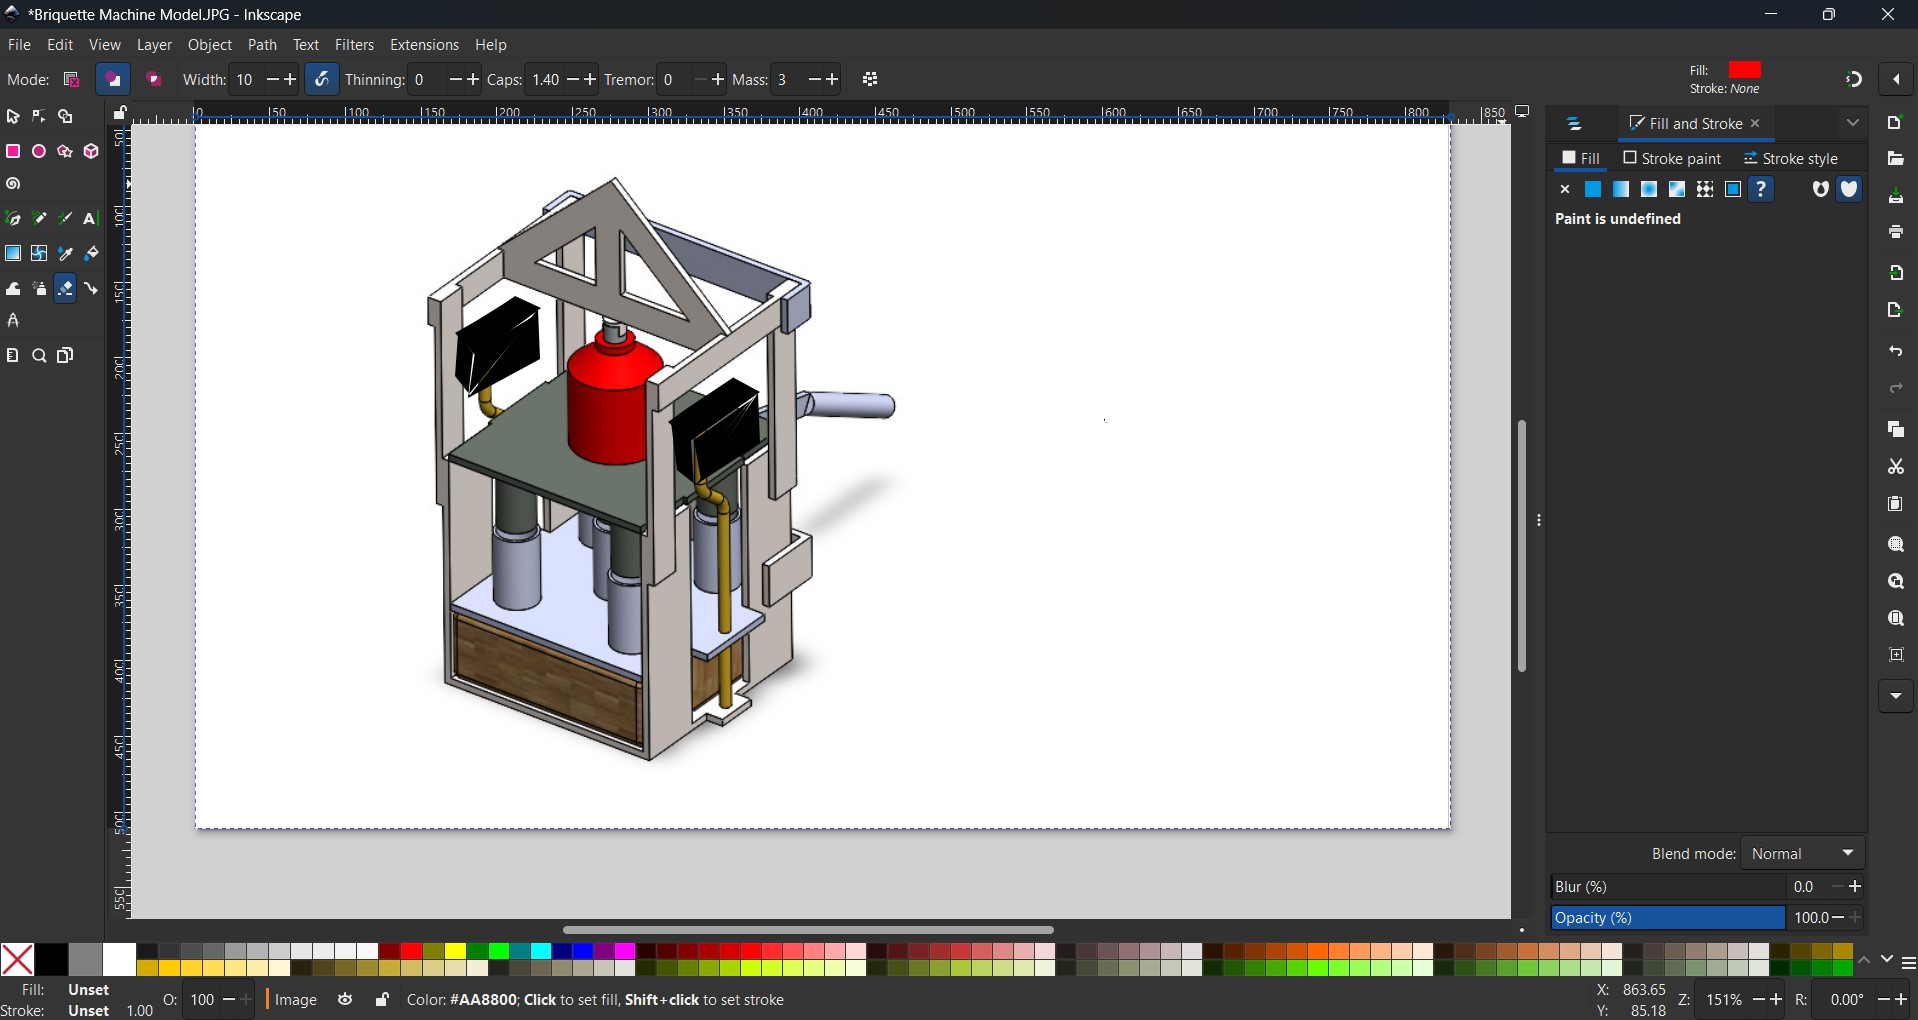
- Vector: Use Inkscape, for creating precise, scalable drawings. This is useful for CNC routing or laser cutting paths.
- Click file and save as, choose plain svg
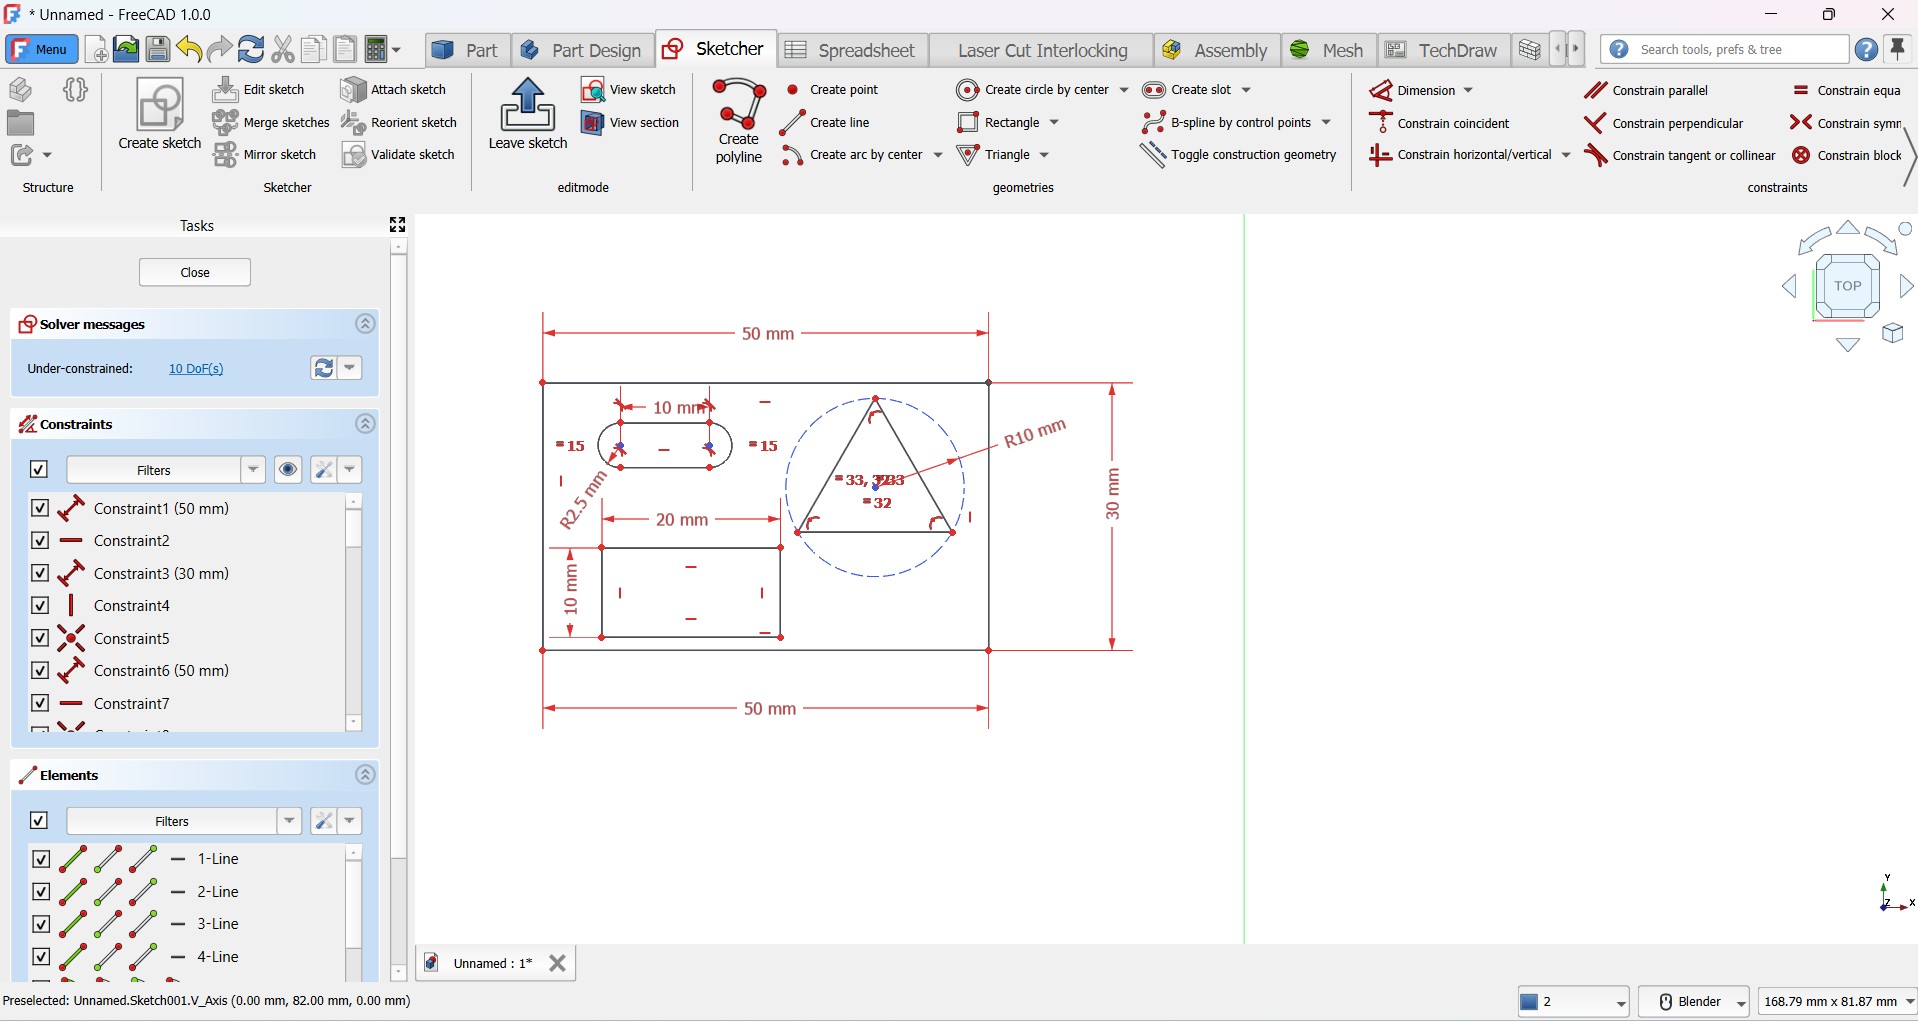
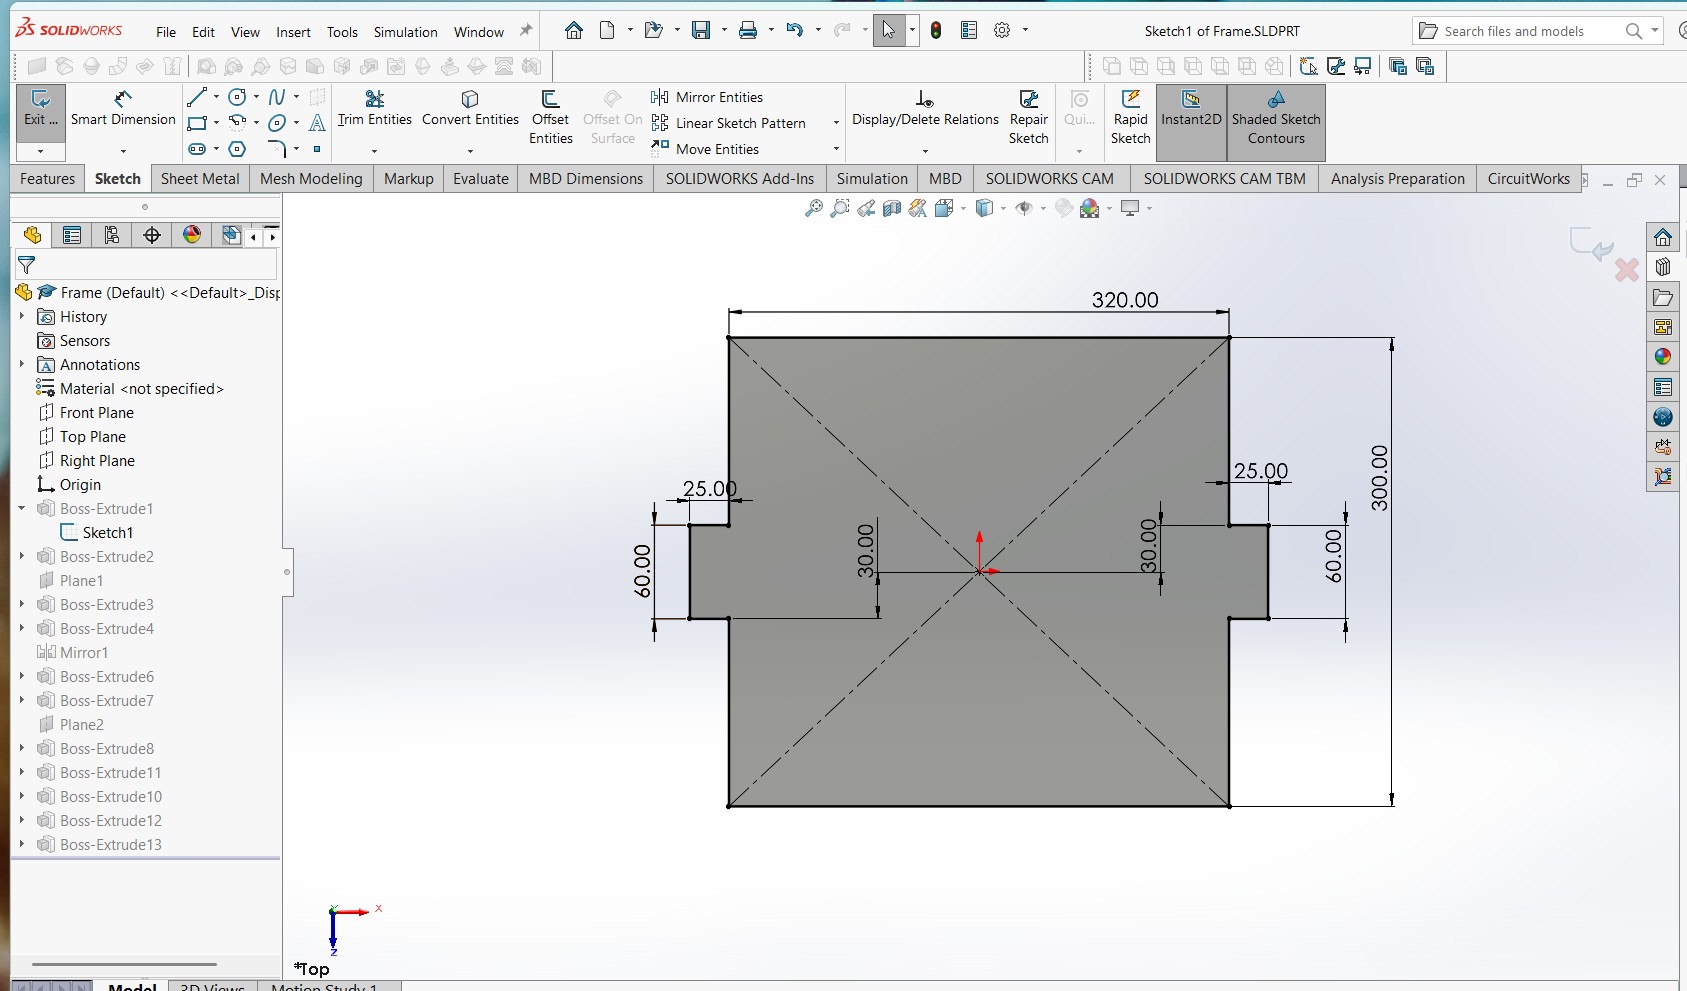
- 2D Design: I used FreeCAD to sketch 2D drawing for technical schematics.
- Drawing basic Geometric Shapes
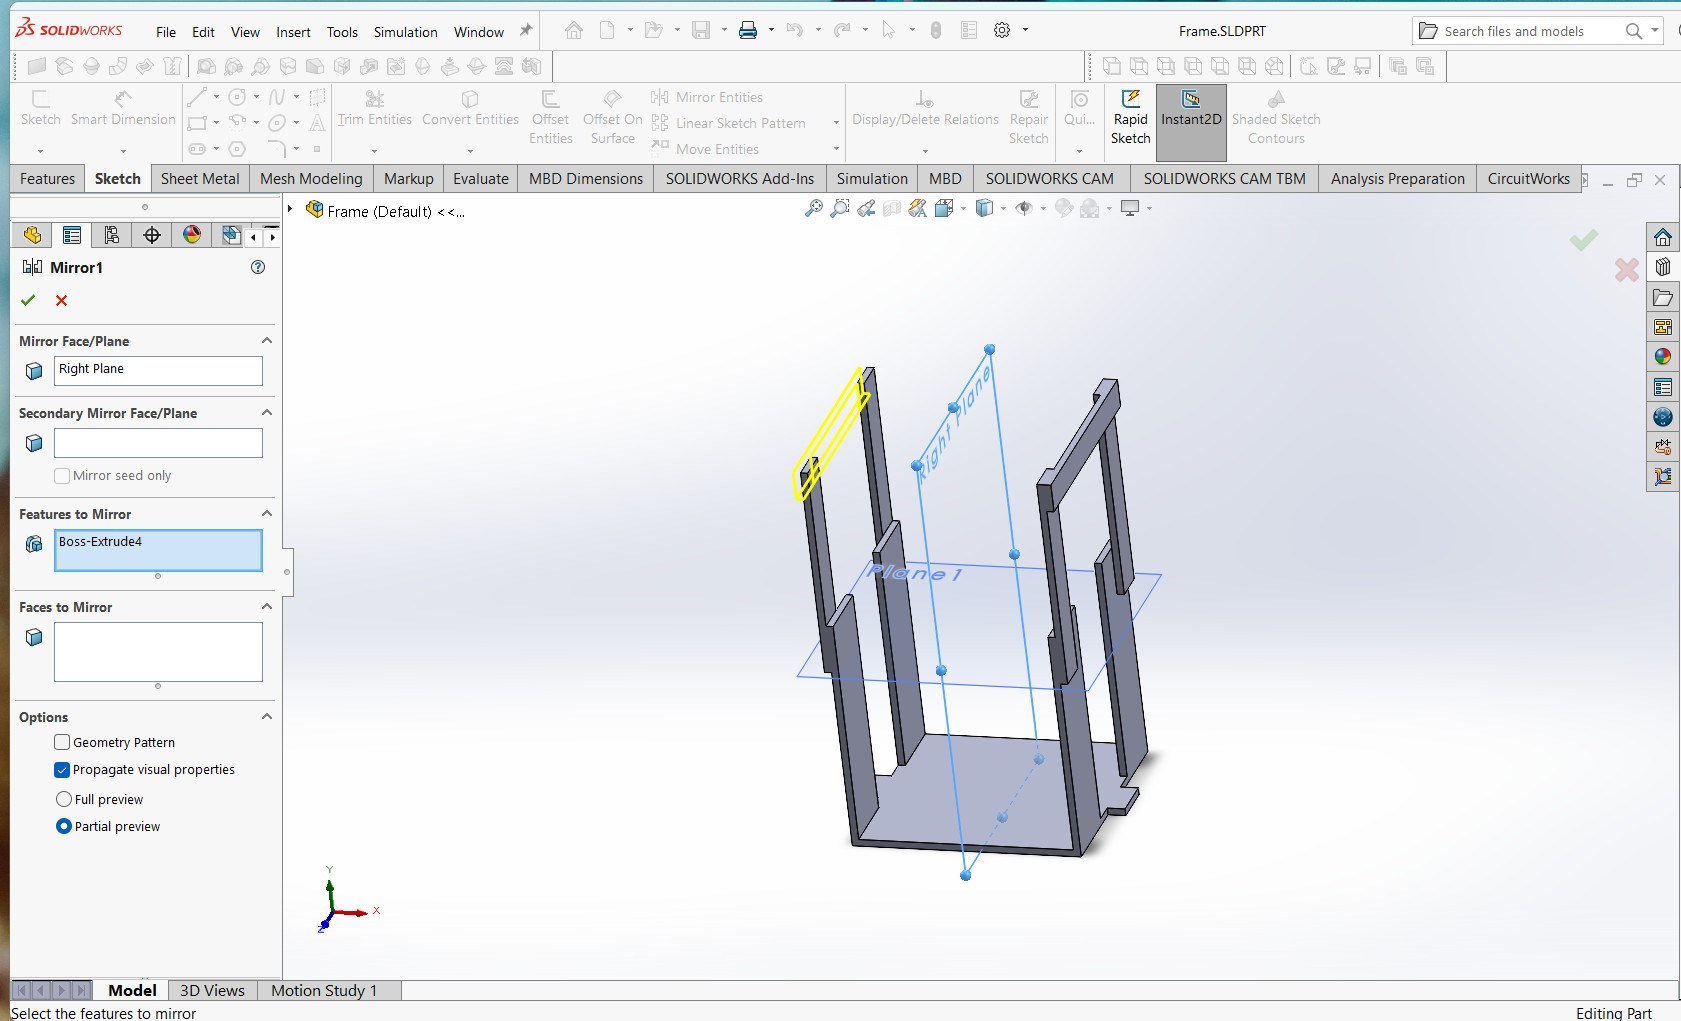
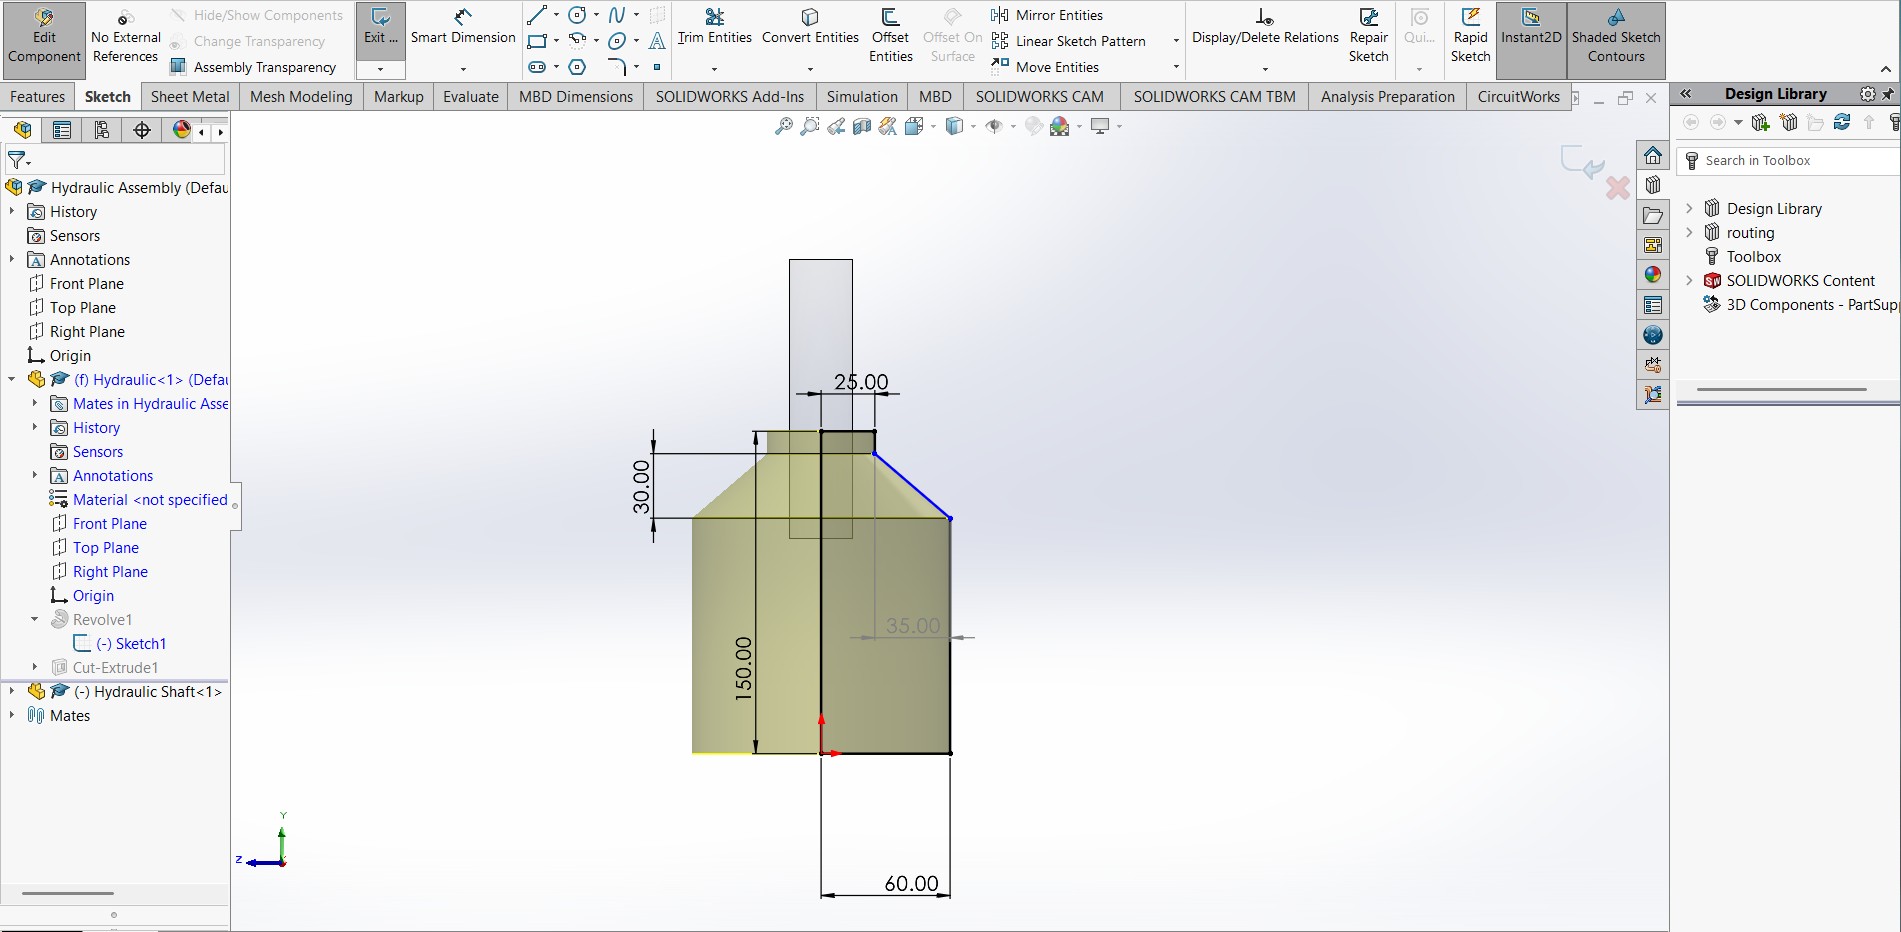
- 3D Modeling: Tools like Blender, Fusion 360, or SolidWorks for creating 3D models. Your project might involve parts that need to be 3D printed or machined.
- Render: I have used Blender rendering software to edit, and add phot realistic imaging of my model to showcase how it would look in real life.
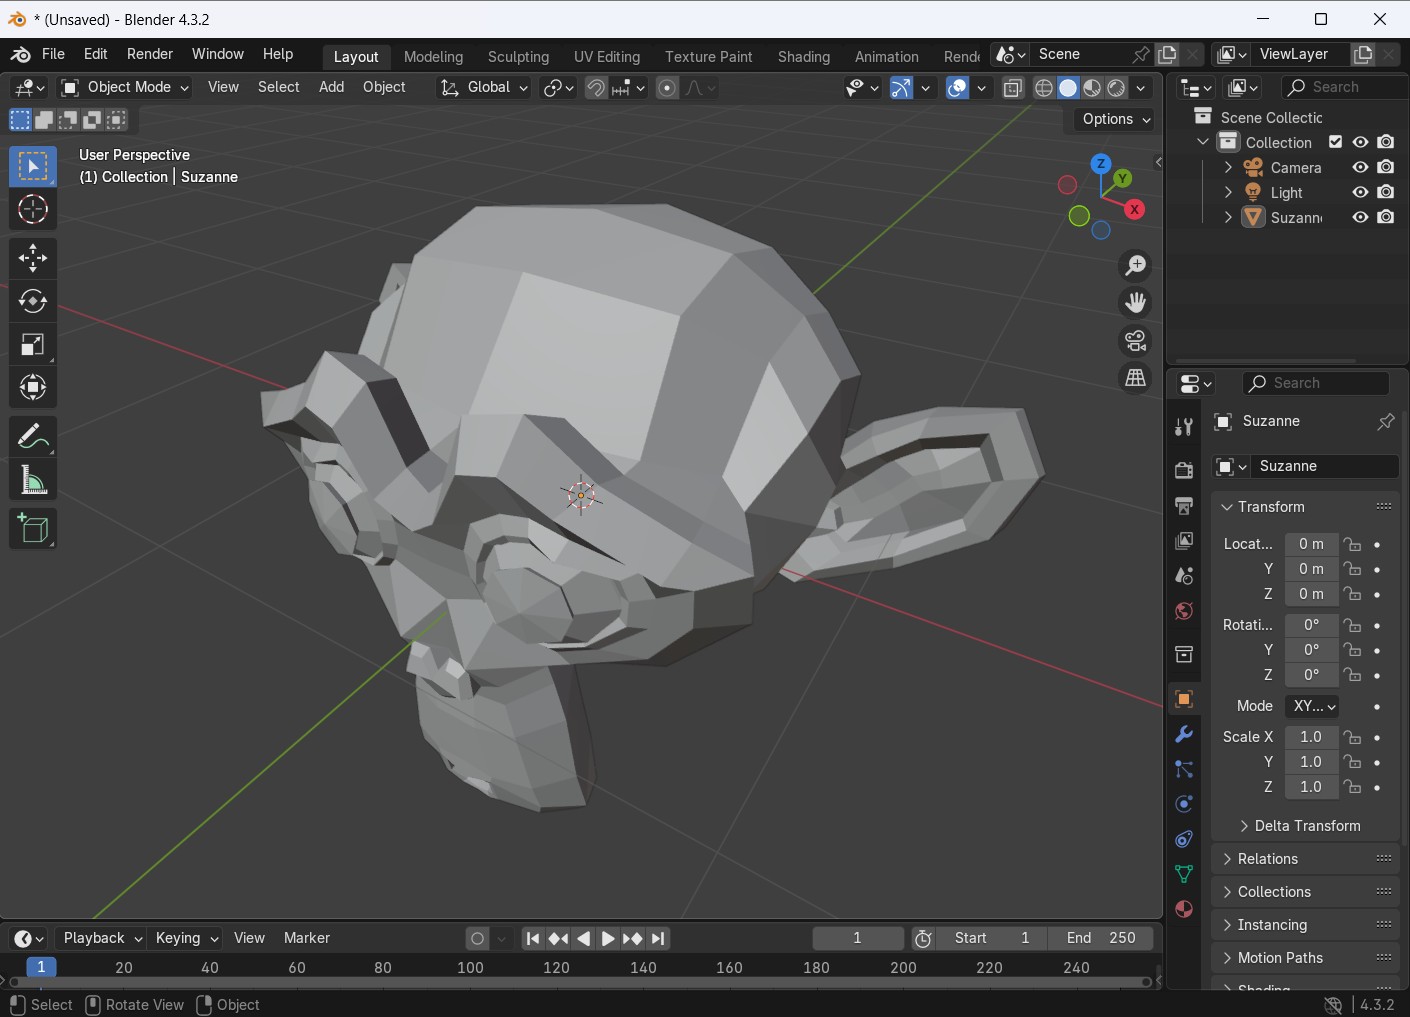
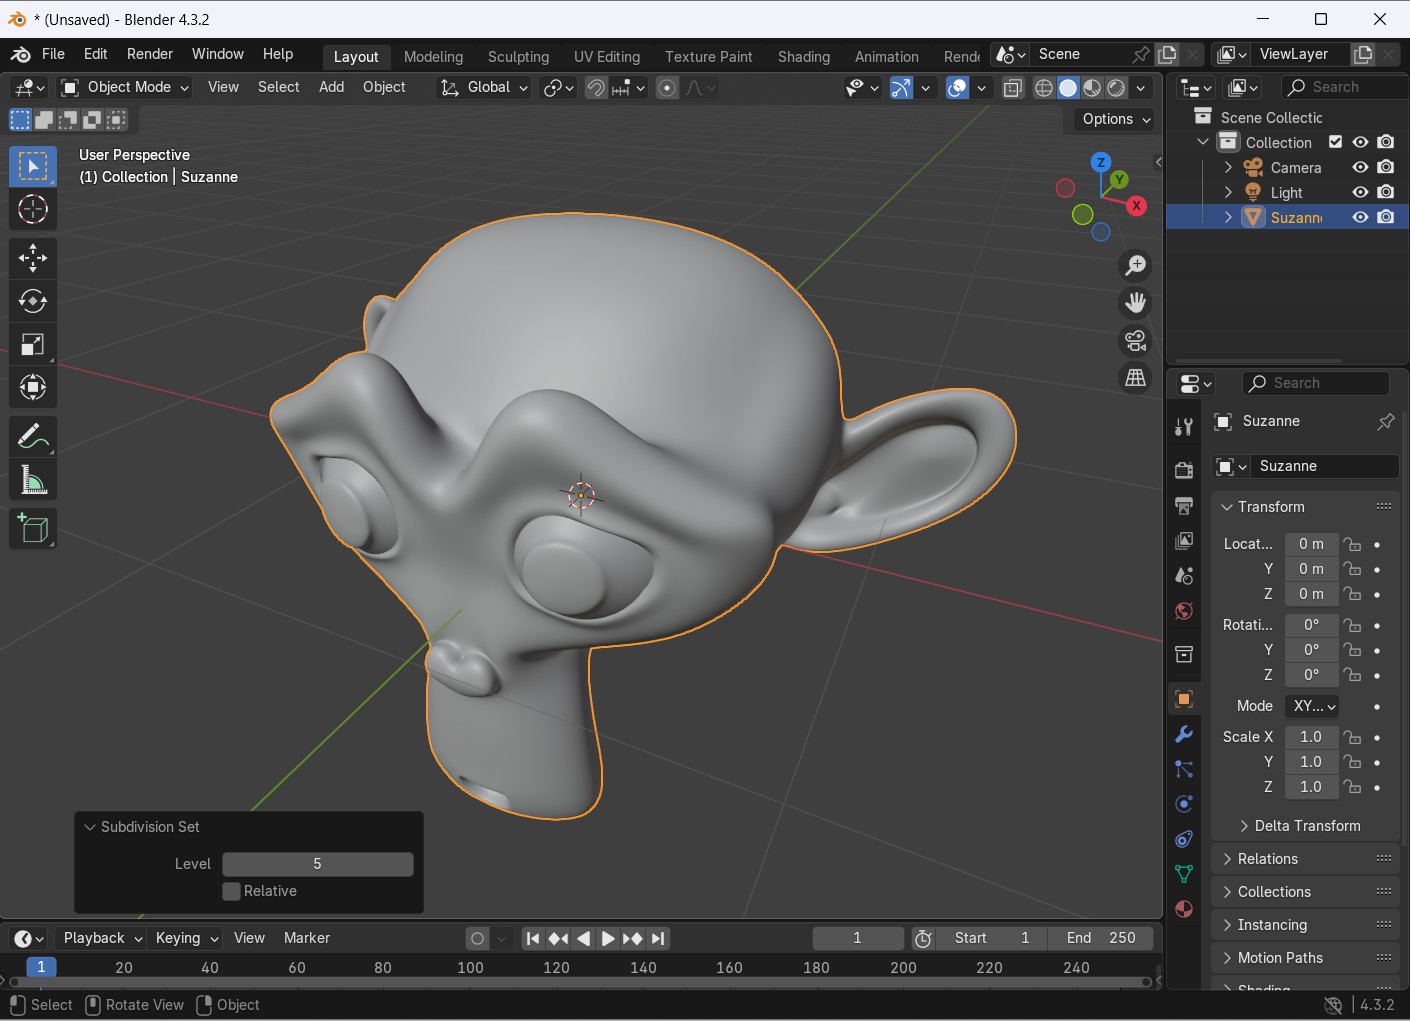
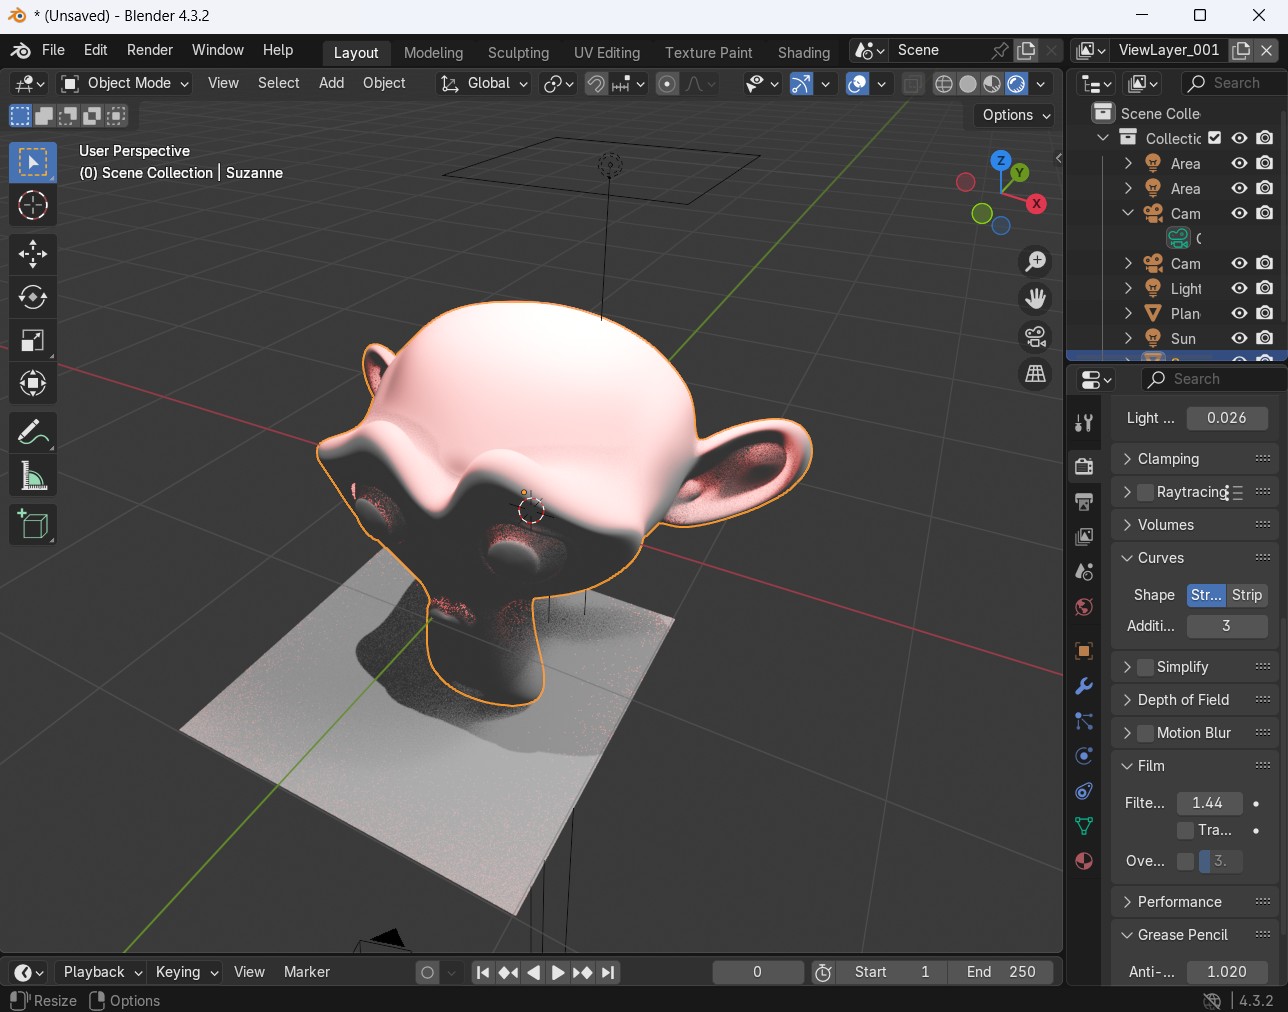
- I first add the monkey mesh (Shift + A → Mesh → Monkey) and adjust its scale, rotation, and position.
- To smooth it out, I apply a subdivision surface modifier (Ctrl + 2).
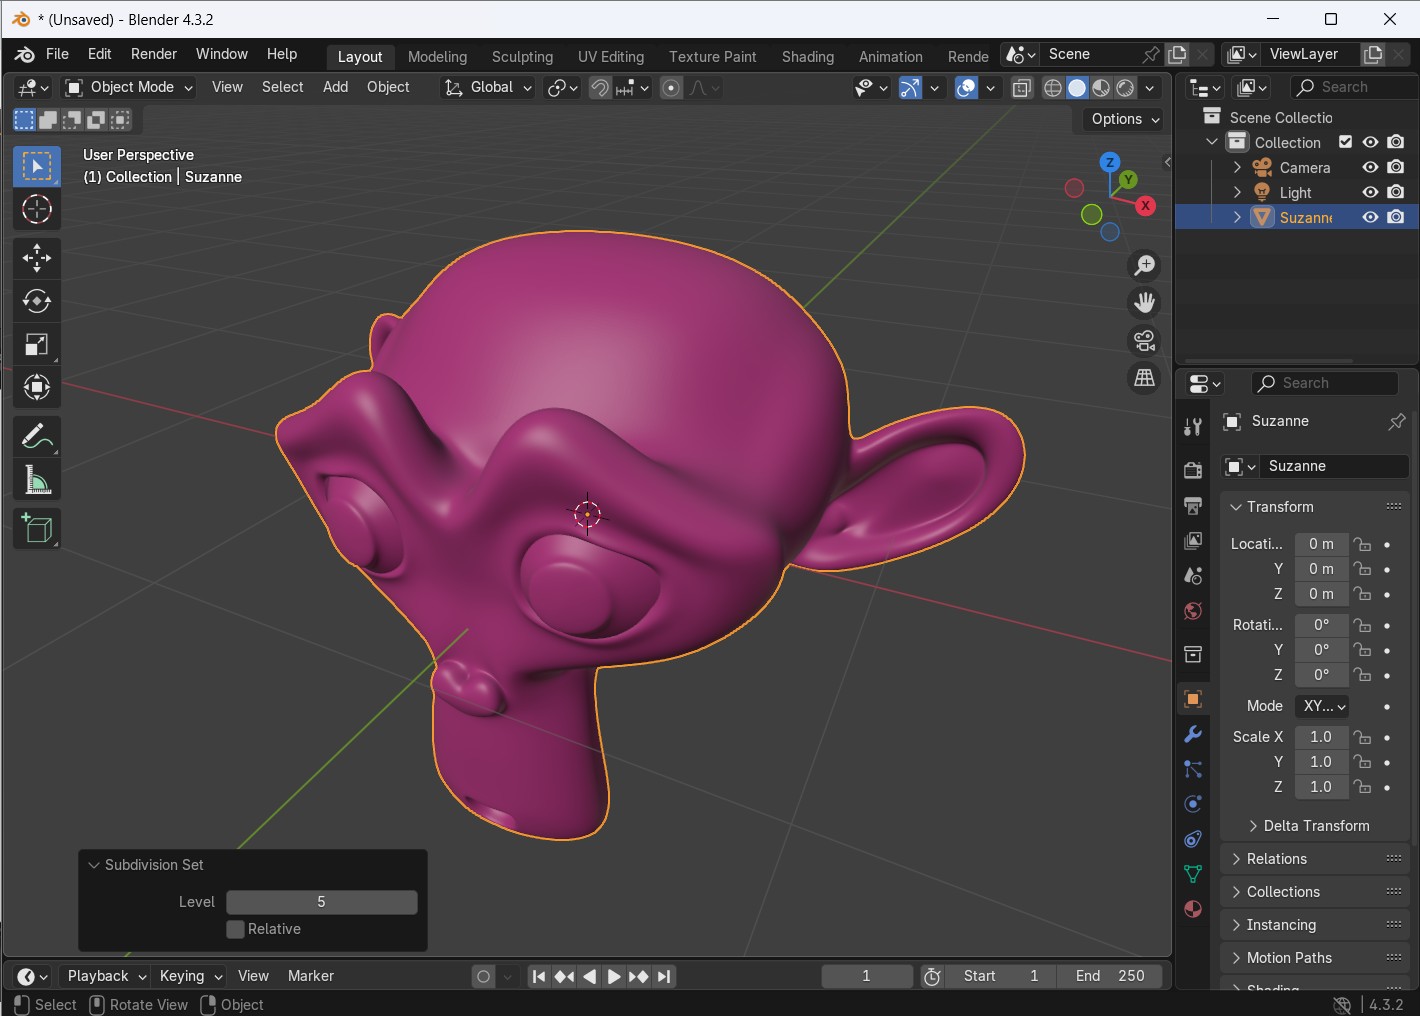
- Then, I create a new material, tweaking colors, roughness, and metallic properties, or adding textures for more detail.
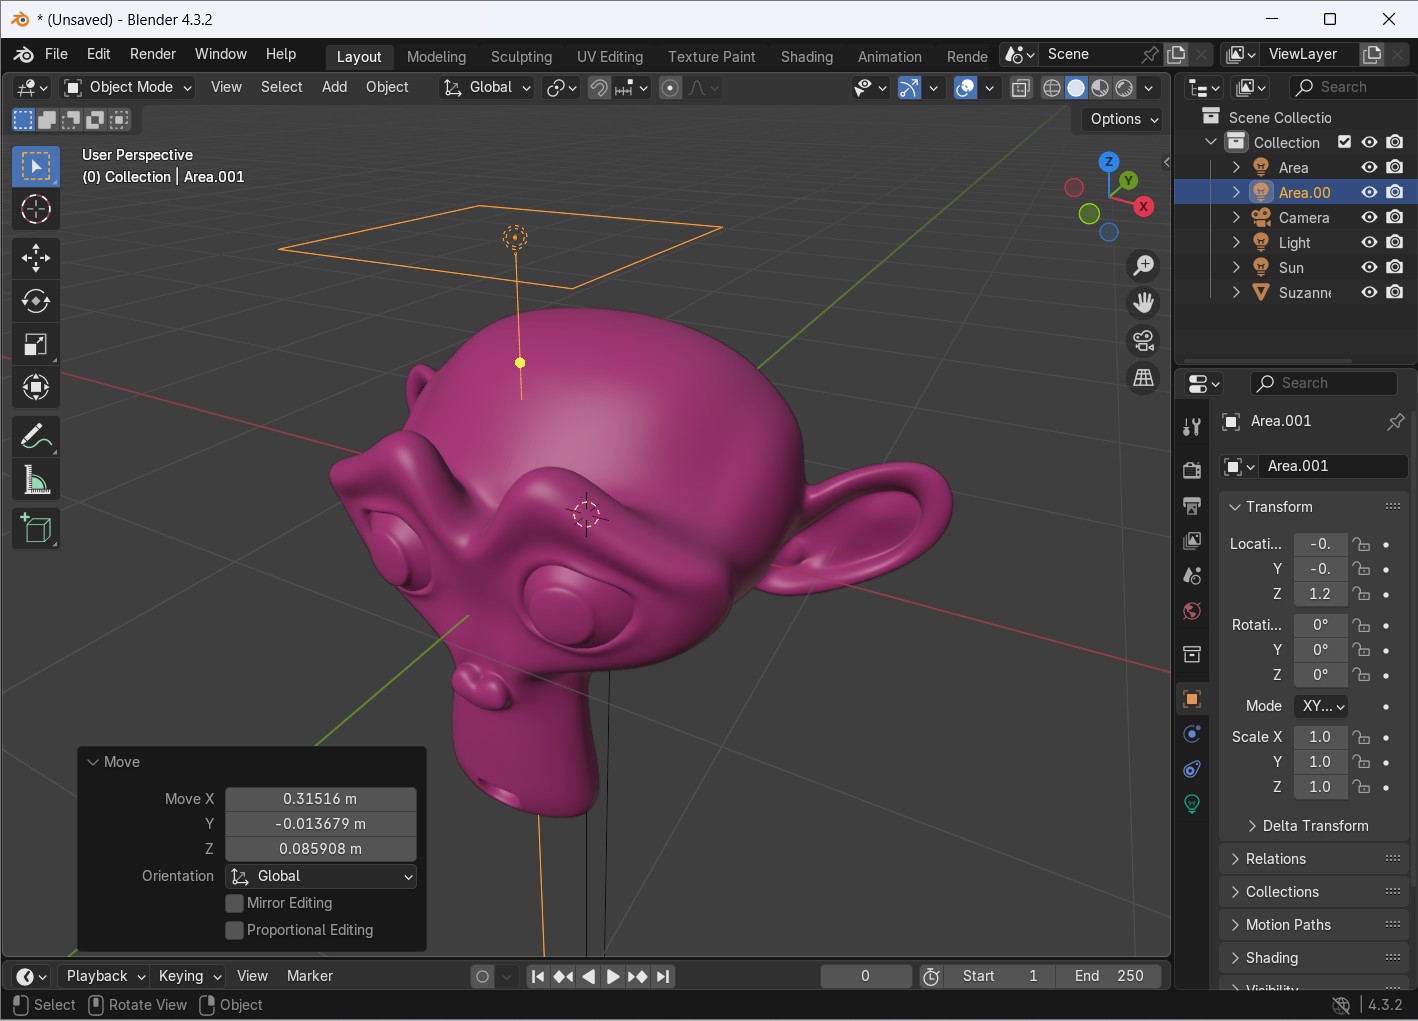
- I set up lighting by adding and adjusting an Area or Sun light to enhance shadows and highlights. img
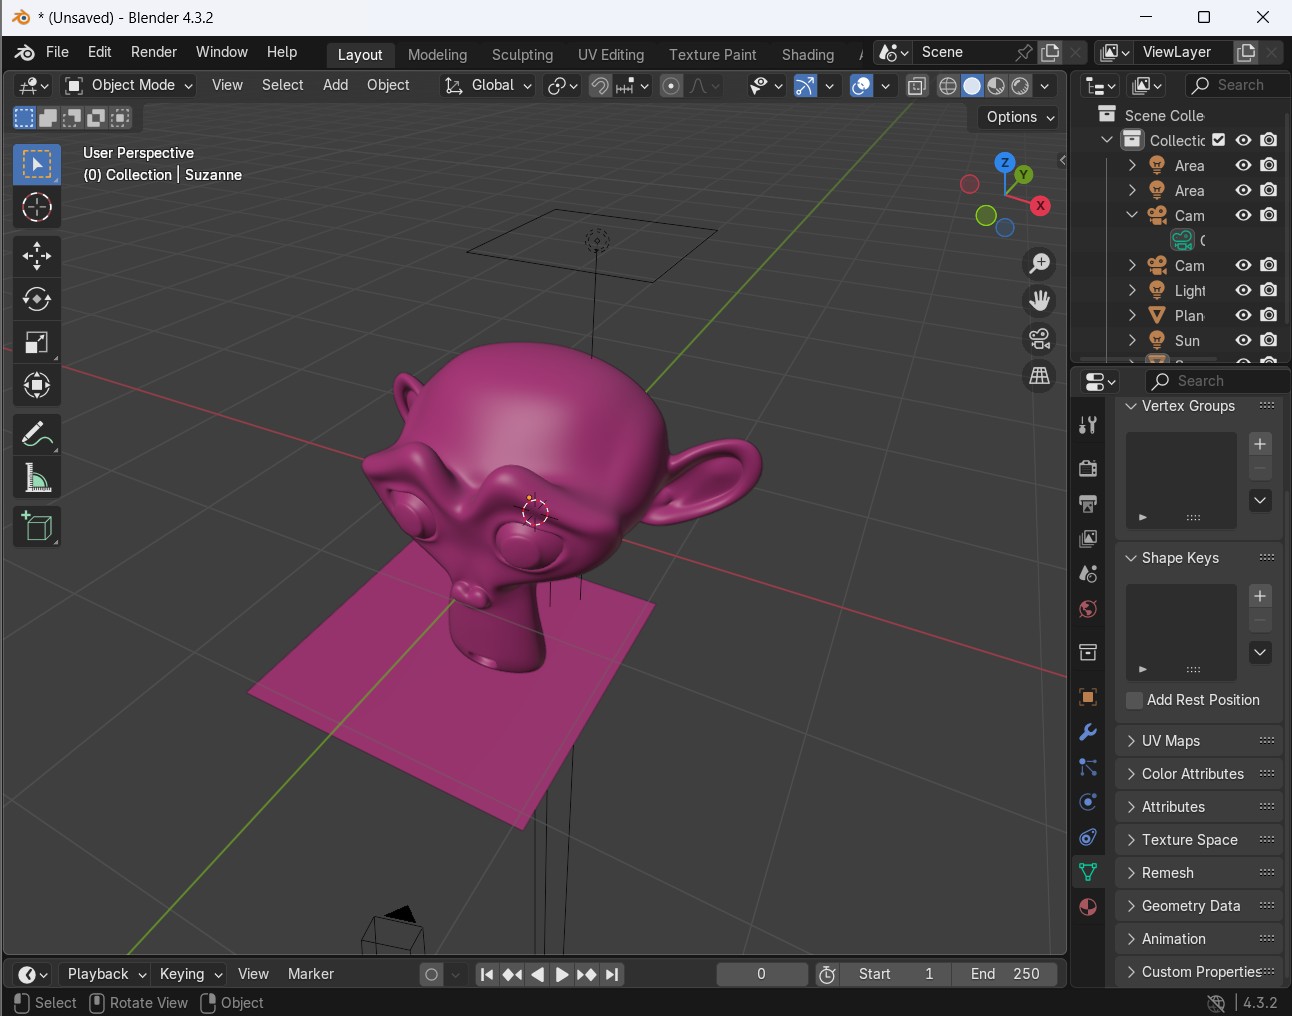
- Next, I position the camera (Numpad 0 to view) and fine-tune the framing. In Render Properties, I choose either Cycles for realism or Eevee for speed, adjusting samples and enabling denoising for better quality.
- Finally, I pressed F12 to render and save the image with F3.
- Animate: My project involves movement of the piston up and down to ram down the charcoal powder and release the pressure to show functionality or use.
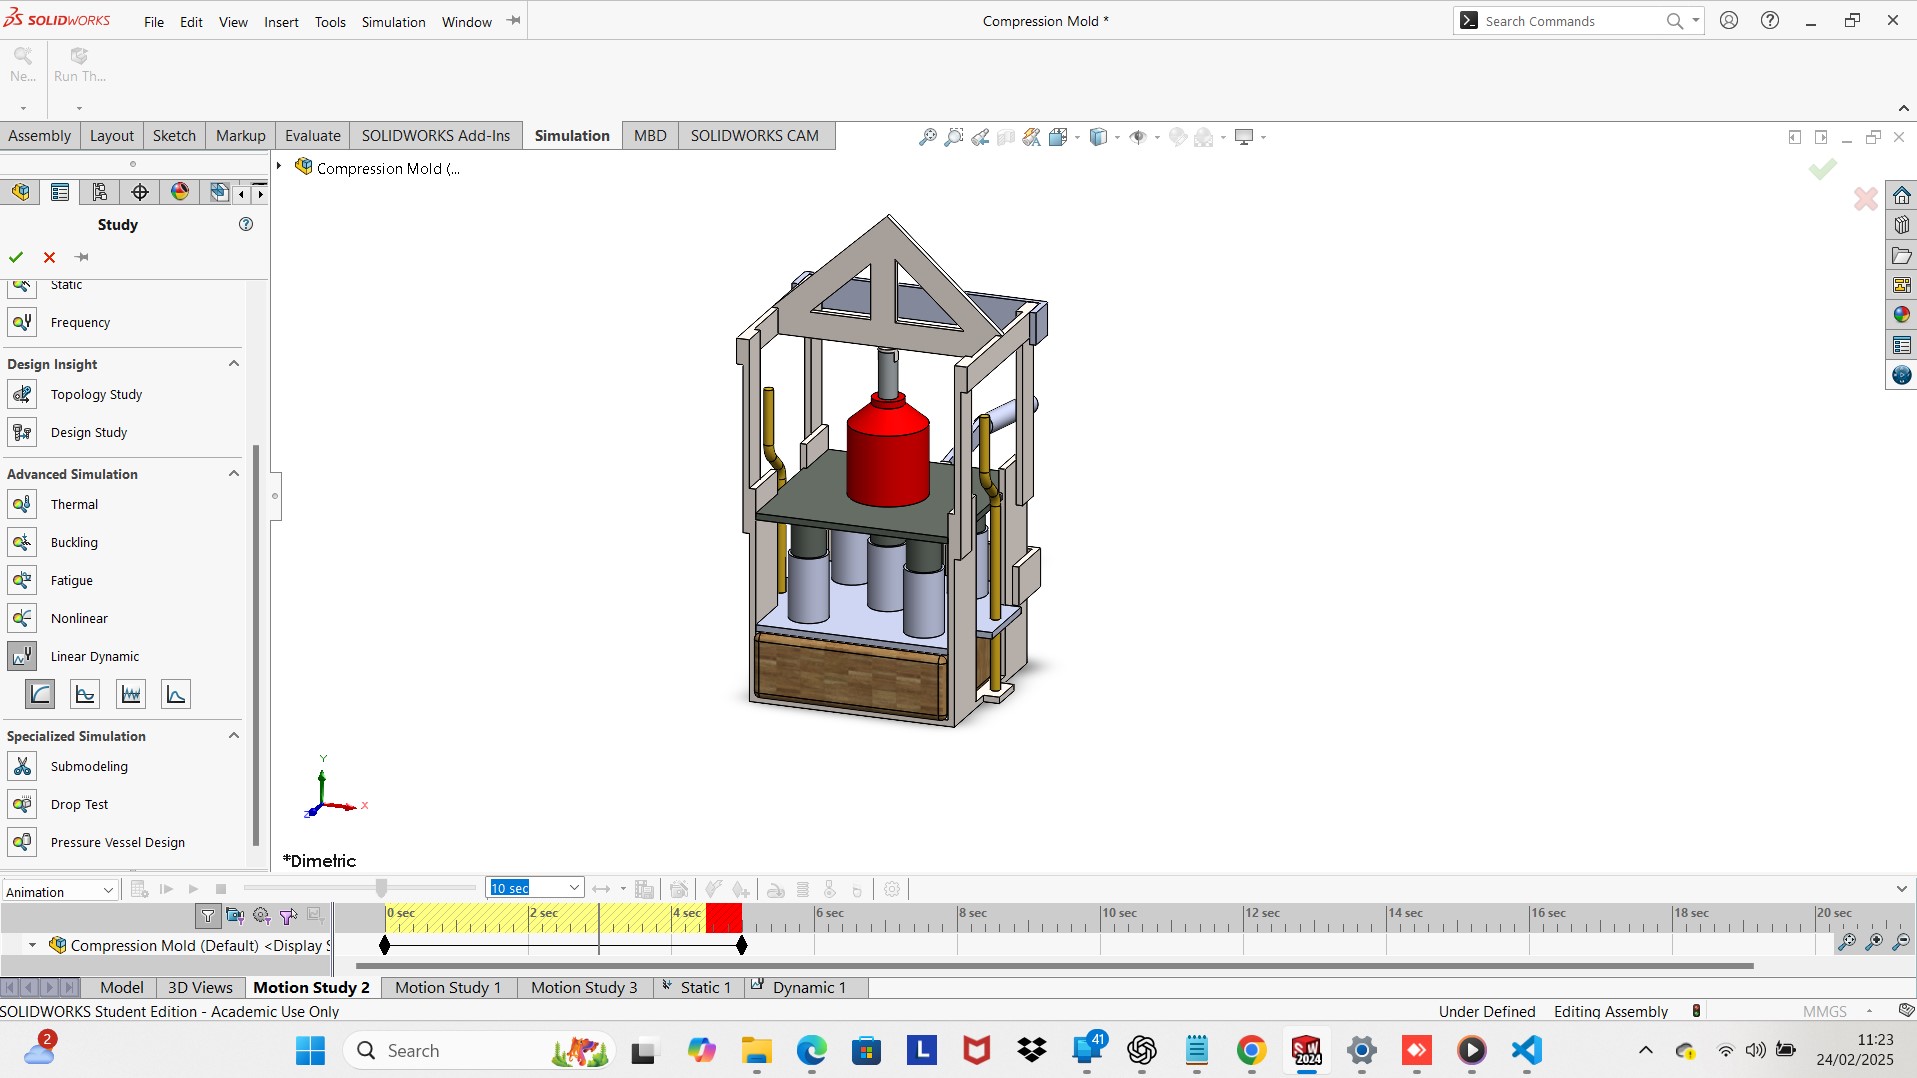
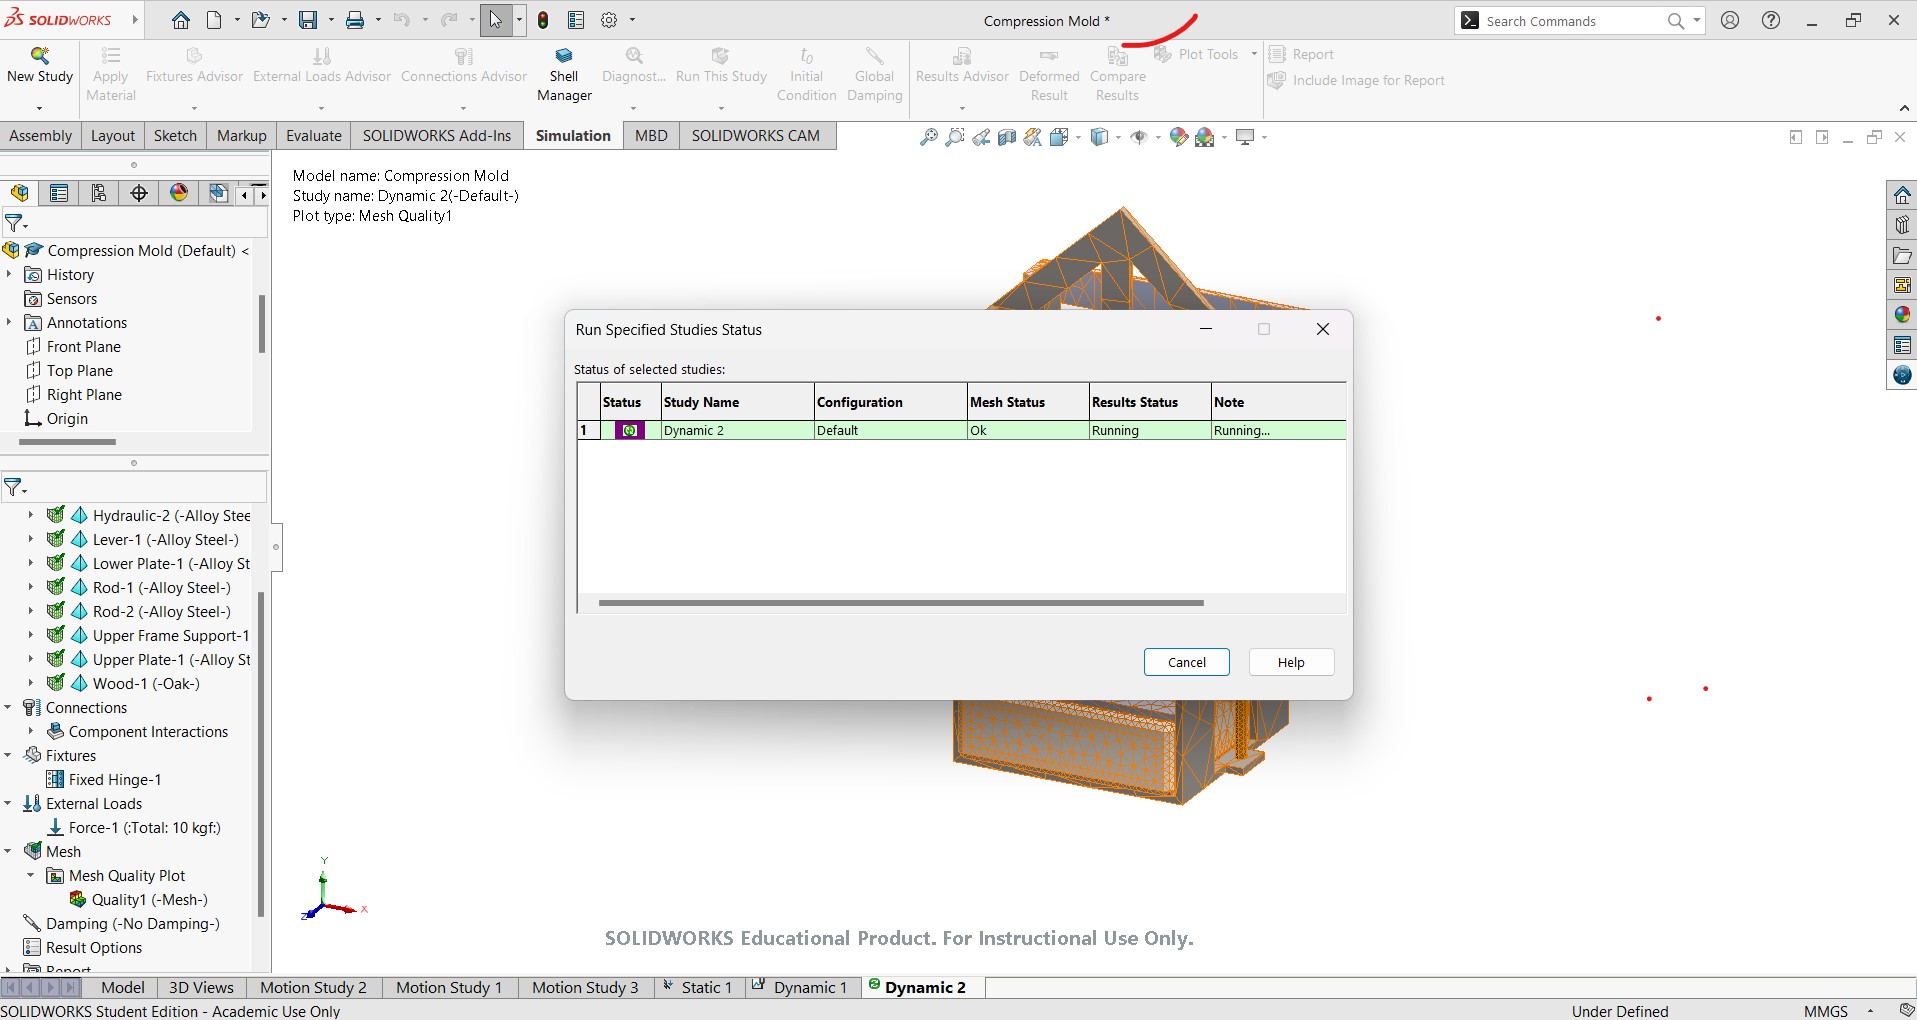
- Simulate: To simulate a high-force (10-ton) powder compaction process in SolidWorks, I followed these key steps. First, I prepared the model by ensuring
all parts (ram, powder, and cylinder) were properly mated and simplifying unnecessary details. I then activated SolidWorks Simulation and selected "Nonlinear Dynamic" analysis.
I assigned appropriate materials, approximating the powder behavior with a soft deformable material. Next, I defined contact interactions, setting "No Penetration" for the
ram-powder interface and "Frictional Contact" for powder-cylinder interaction. I applied constraints to fix the cylinder walls and restrict the ram’s movement to only vertical
motion before applying a 100,000 N hydraulic force, possibly as a time-dependent load.
After configuring the simulation, I refined the mesh, focusing on contact areas for greater accuracy. I ran the simulation while monitoring powder deformation, stress distribution, and reaction forces. Finally, I analyzed the results using von Mises stress to assess structural integrity and verify proper ram displacement for effective compaction.
Photoshop Download
PhotoPad Editor Install

Photoshop Edit Image
Photoshop Panorama
Photoshop Snipe Screen and Coloring

Inkscape Download

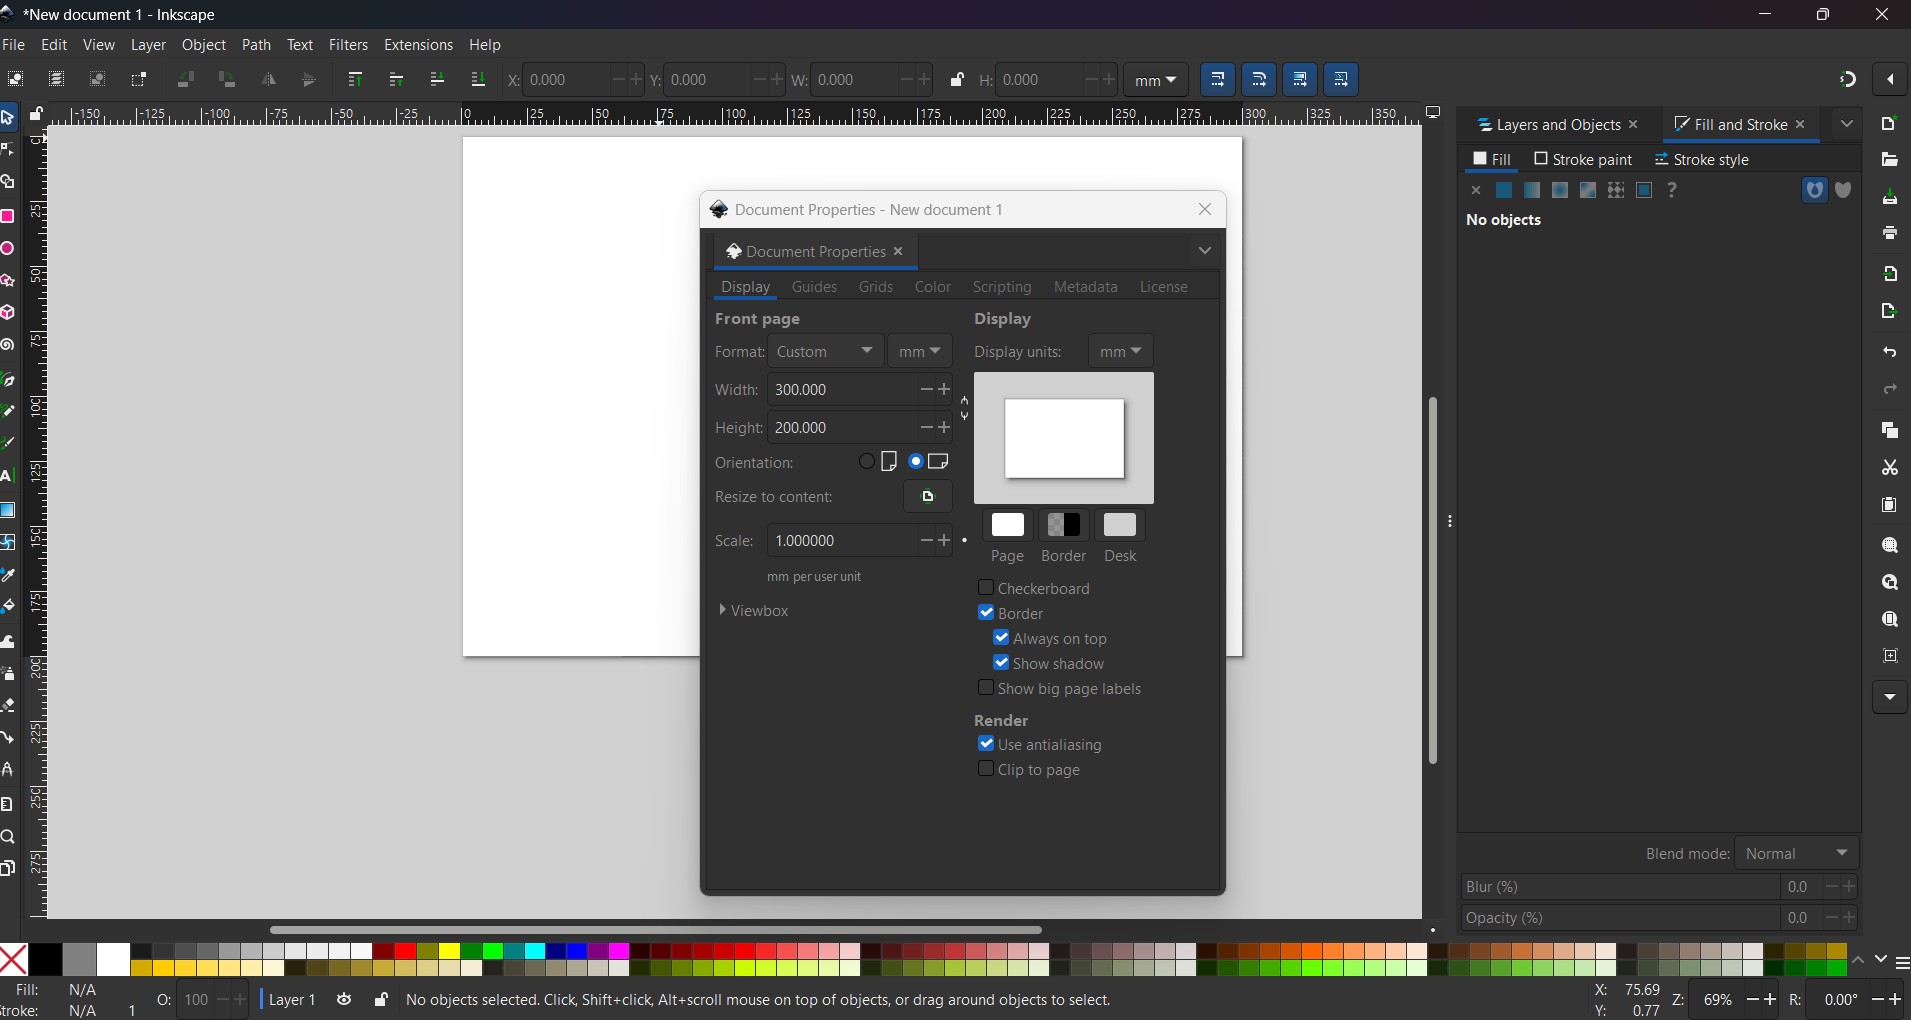
Setting up Document Properties
-
Go to file and open document properties
Set Units to mm (mmilimeters)
Set page size to 300mm x 200mm
Drawing my Design
-
Draw rectangle 100mm x 50mm
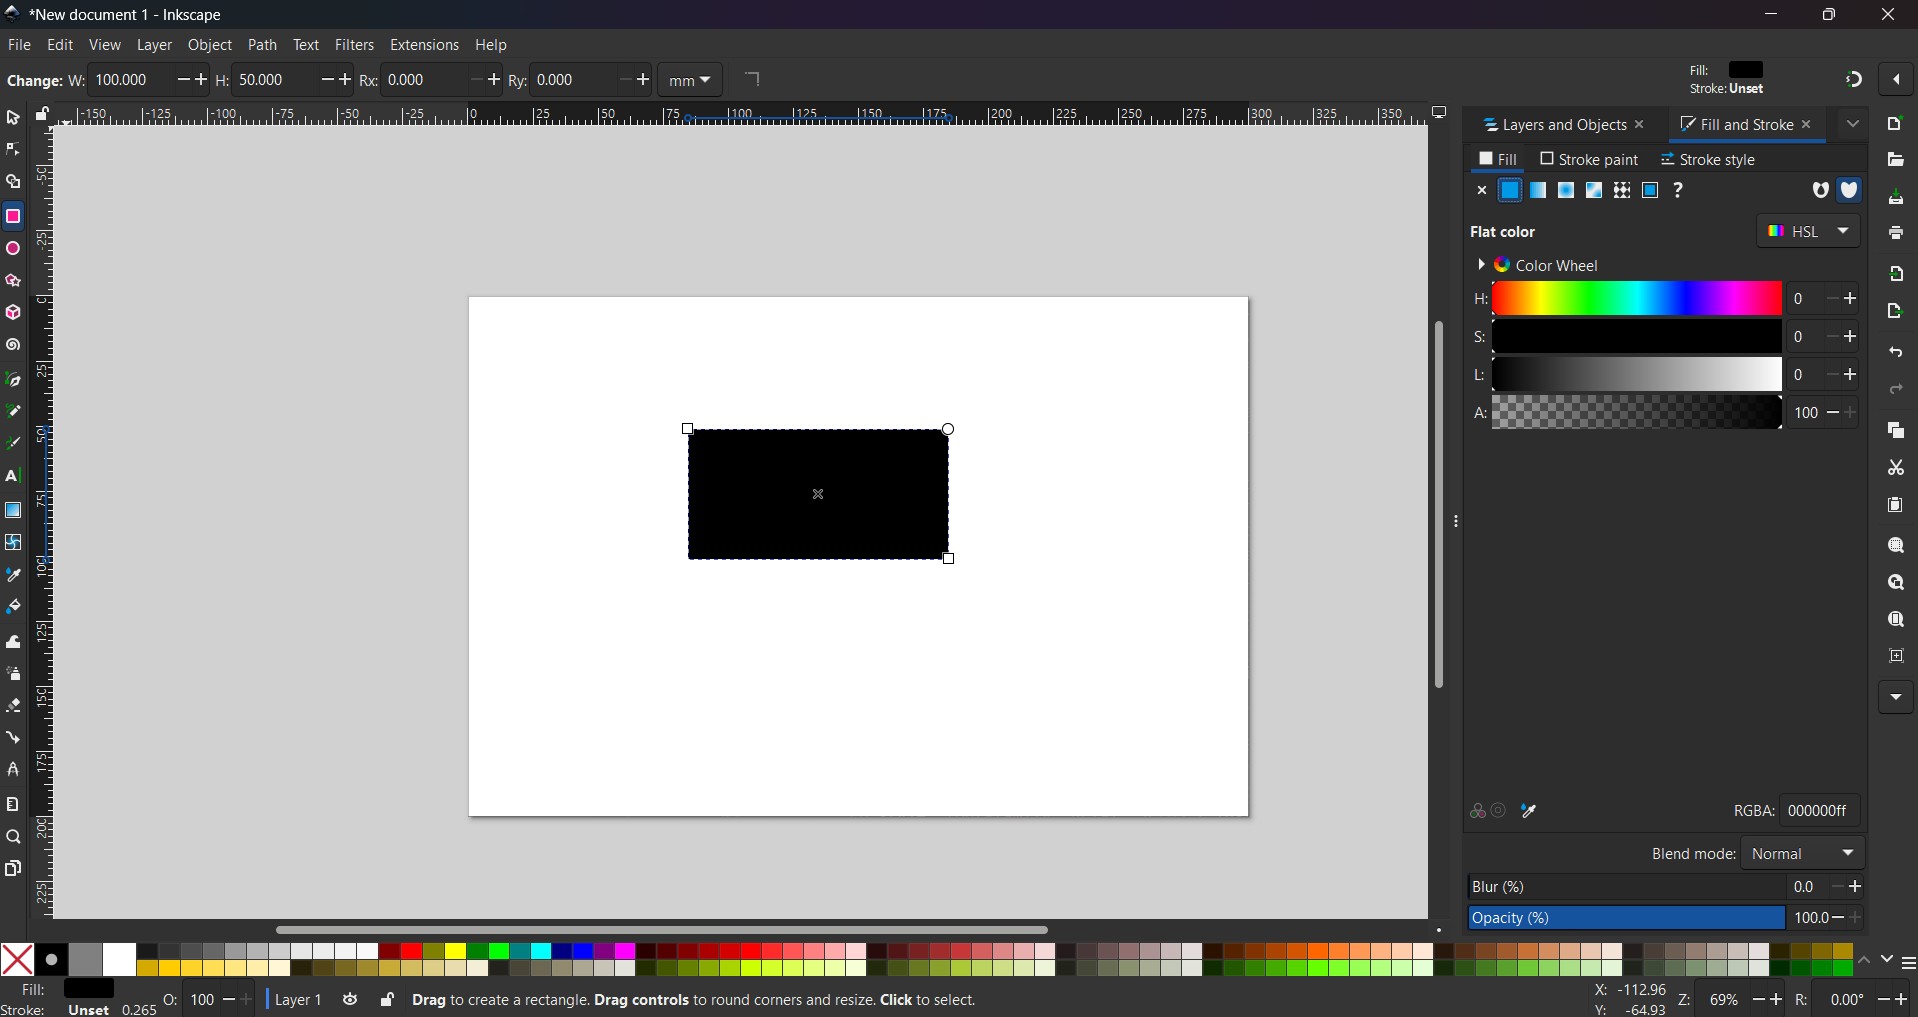
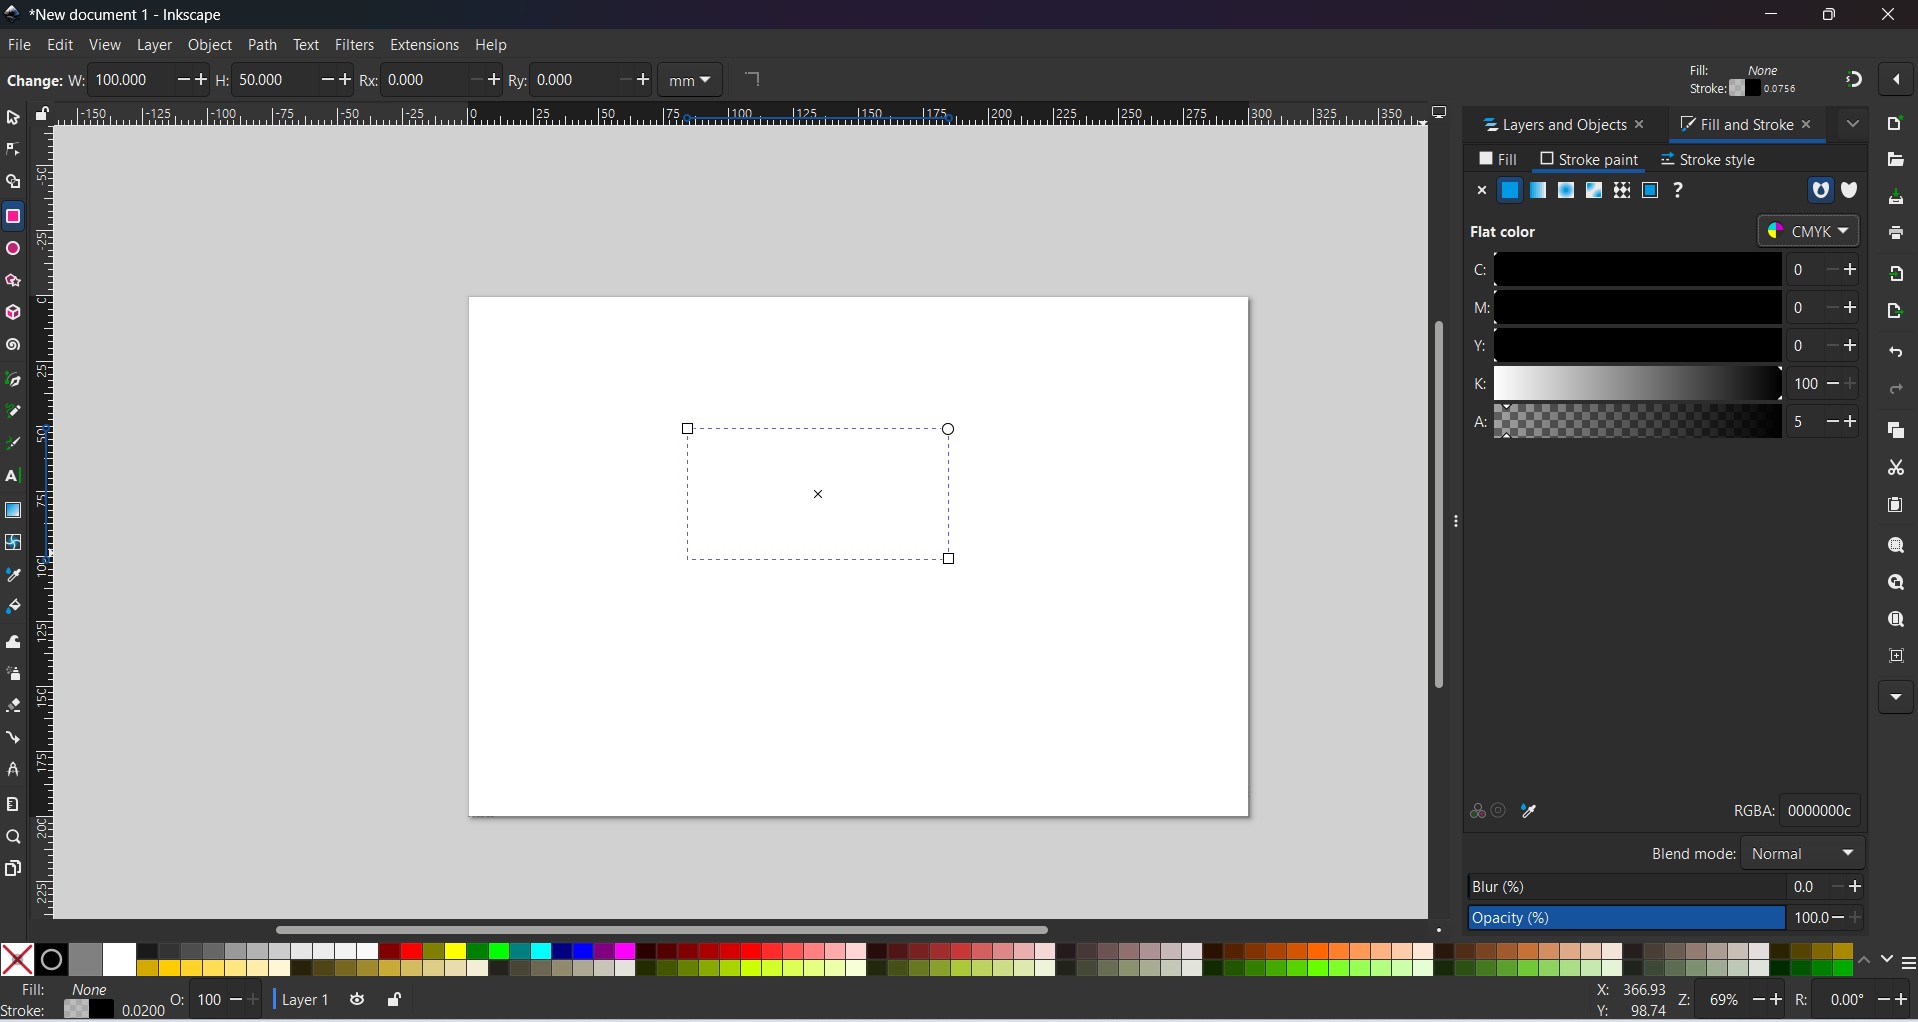
Remove fill and and add thin Stroke
-
Open fill and stroke panel, click the X to remo fill colour
In the stroke paint tab click the flat color button (solid Square) and choose black
In the stroke style tab choose width at 0.02mm
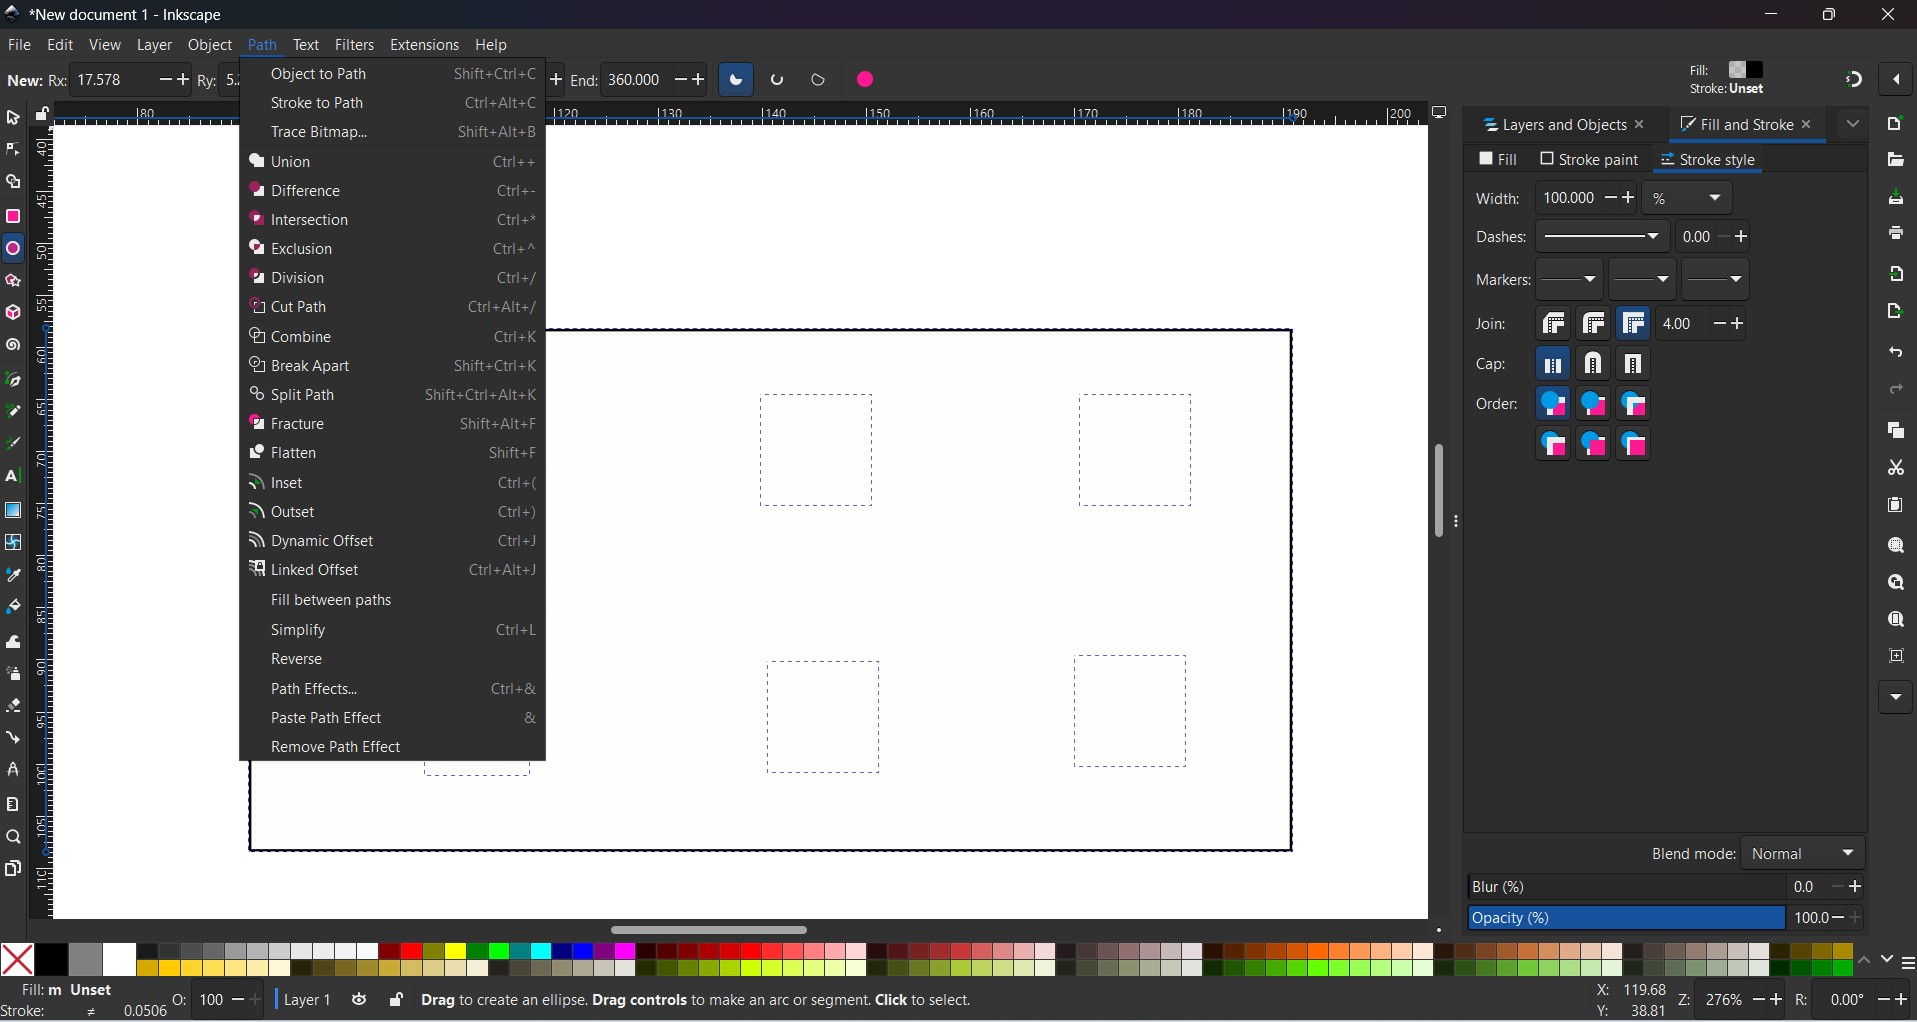
Drawing six Circle of diameter 5mm in inkscape
-
Click the circle tool, hold Ctrl and drag to make a perfect circle
Convert all shapes to paths
-
Press Ctrl A to select all shapes, then go to path > object to path. This converts shapes to pure cutting lines
Saving into svg file for laser cutting
Using FreeCAD
FreeCAD Download
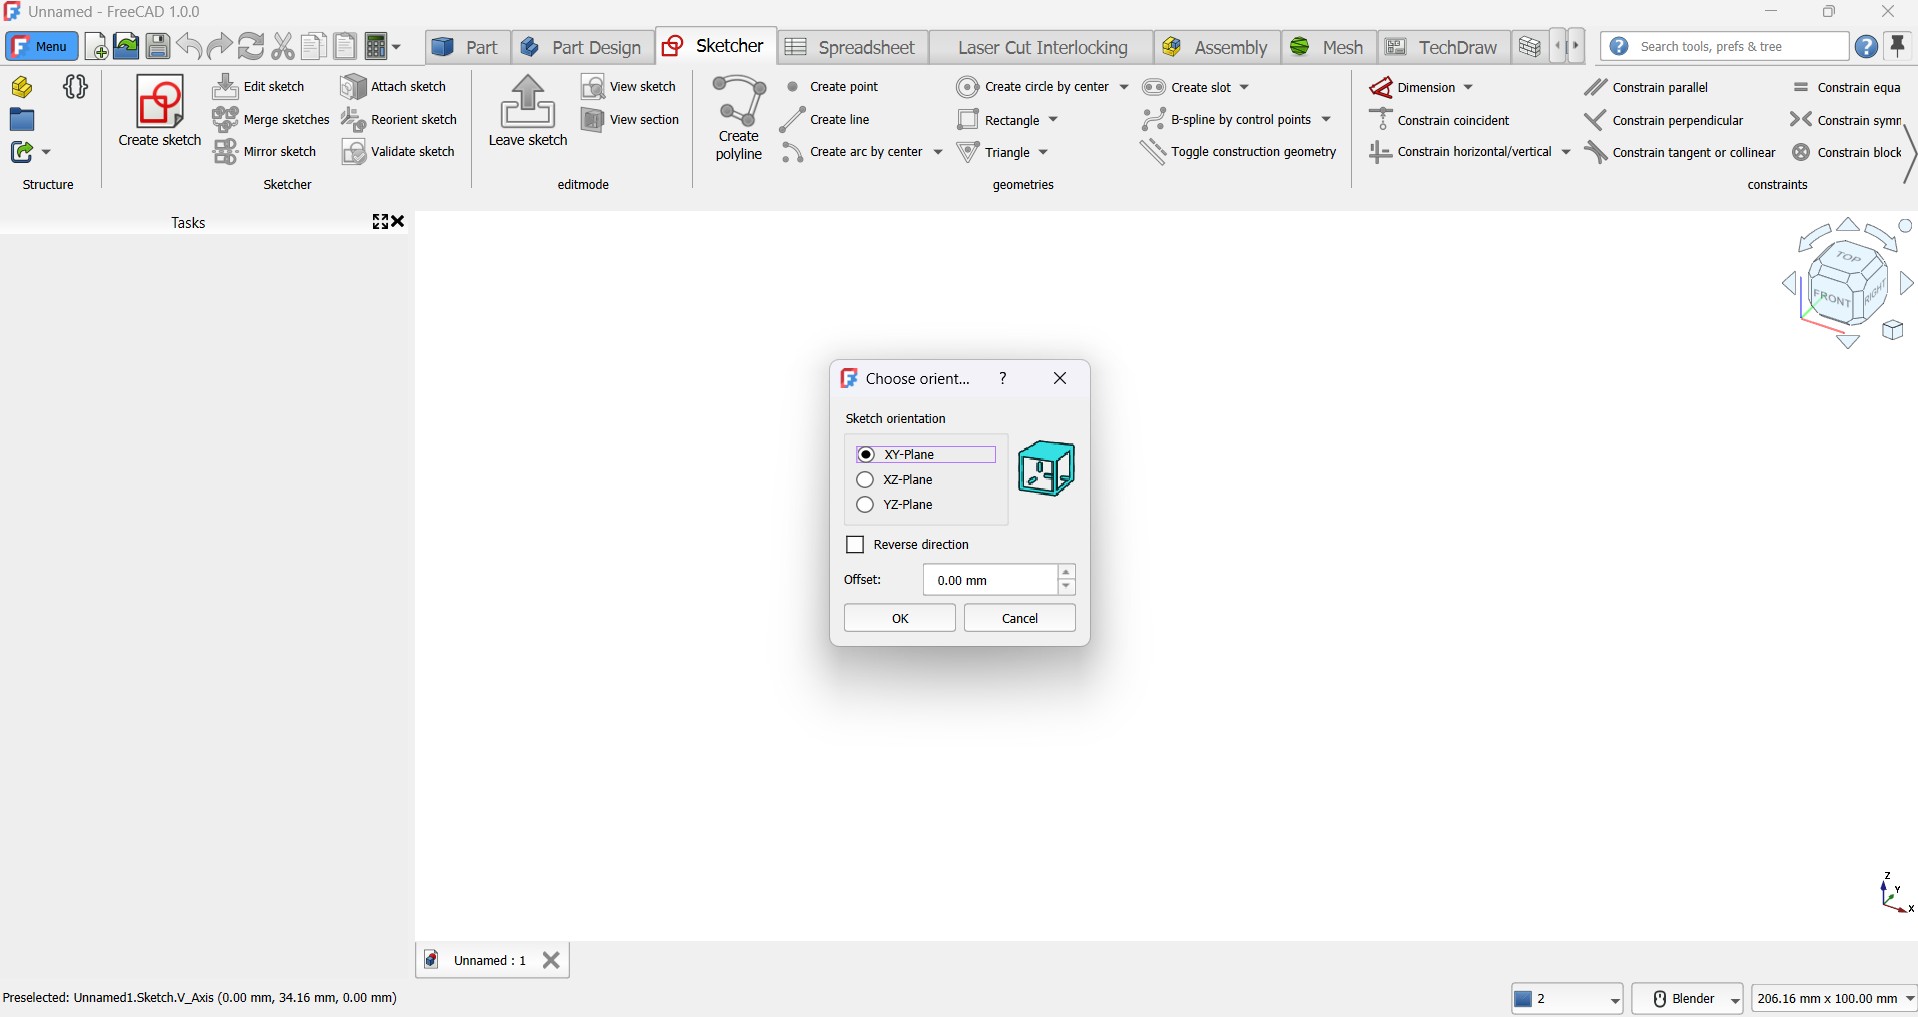
FreeCAD Installed, Create a new sketch on the xy Plane
Drawn a Technical Drawing

I downloaded Blender 4.3.2
I Installed Blender 4.3.2
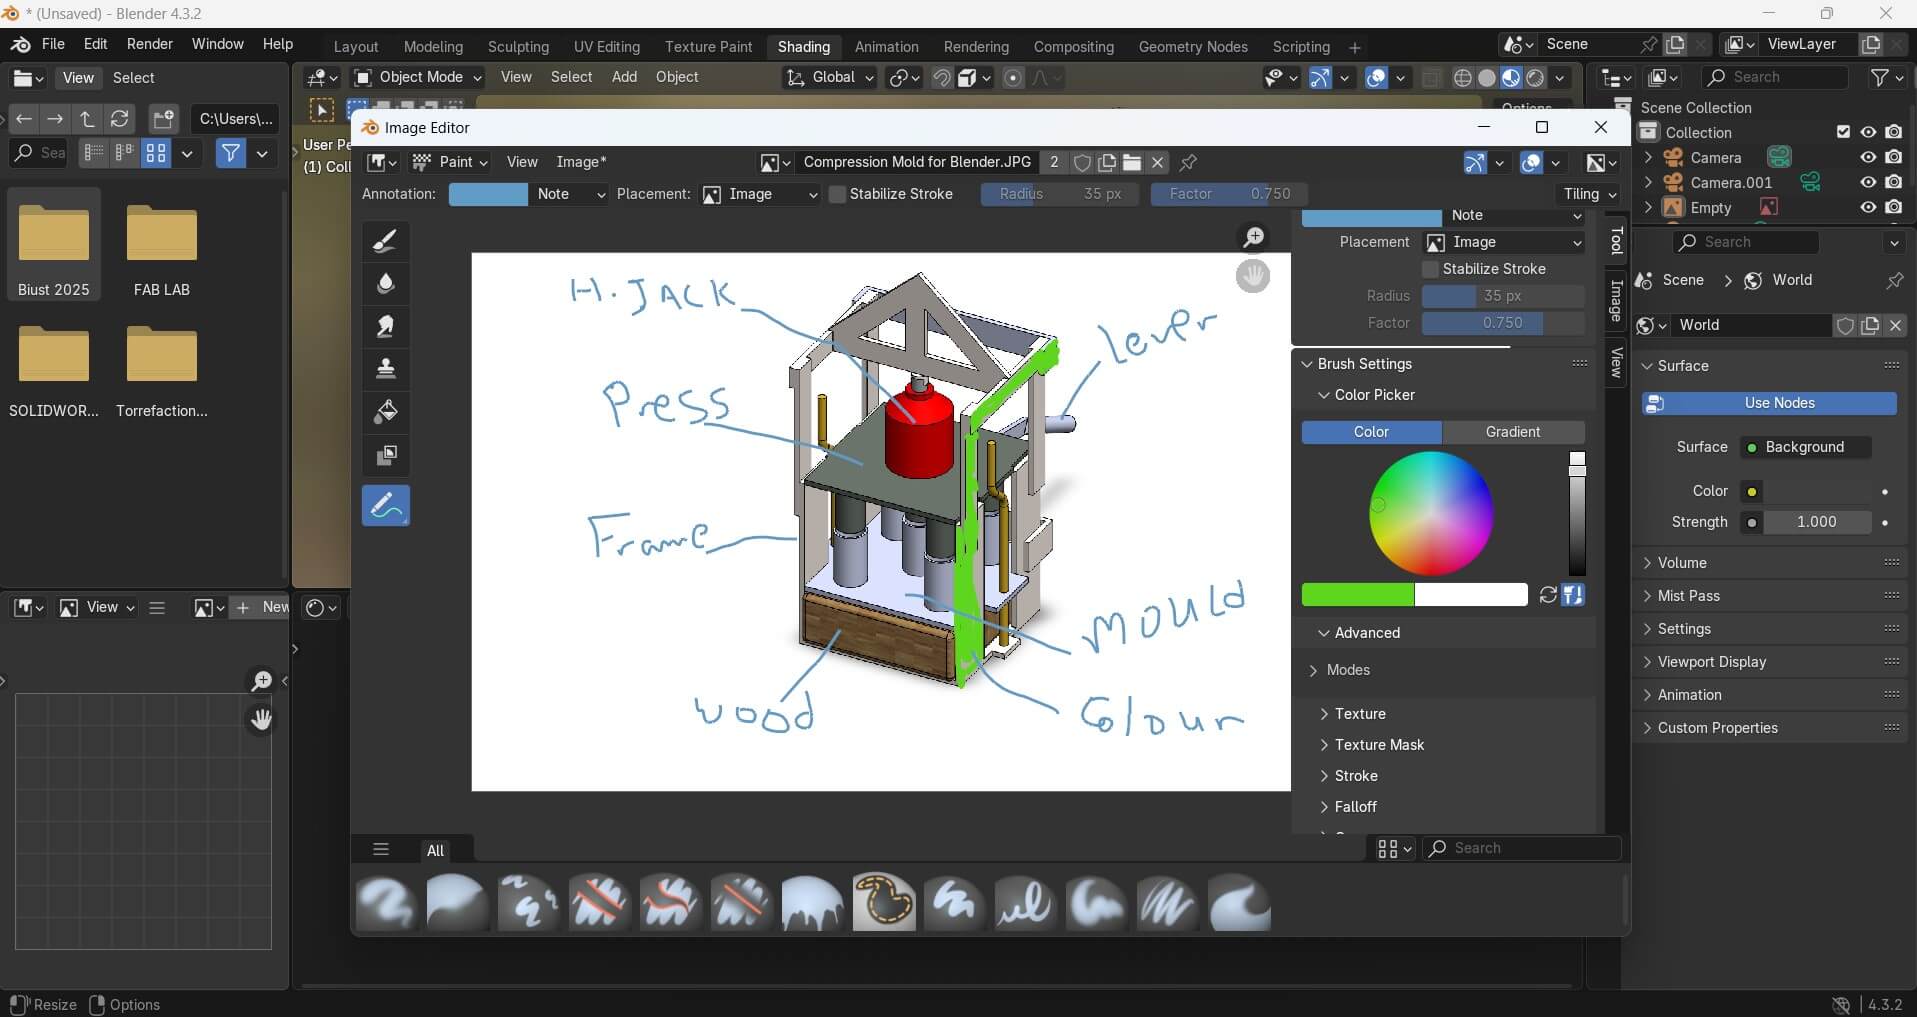
I edited to include stepper motors schematics
I labled Parts for my project using annotate
To render Suzanne monkey in Blender i follow the following patterns
Click the link to watch: YouTube Video<>/
Motion study set up on Solidworks
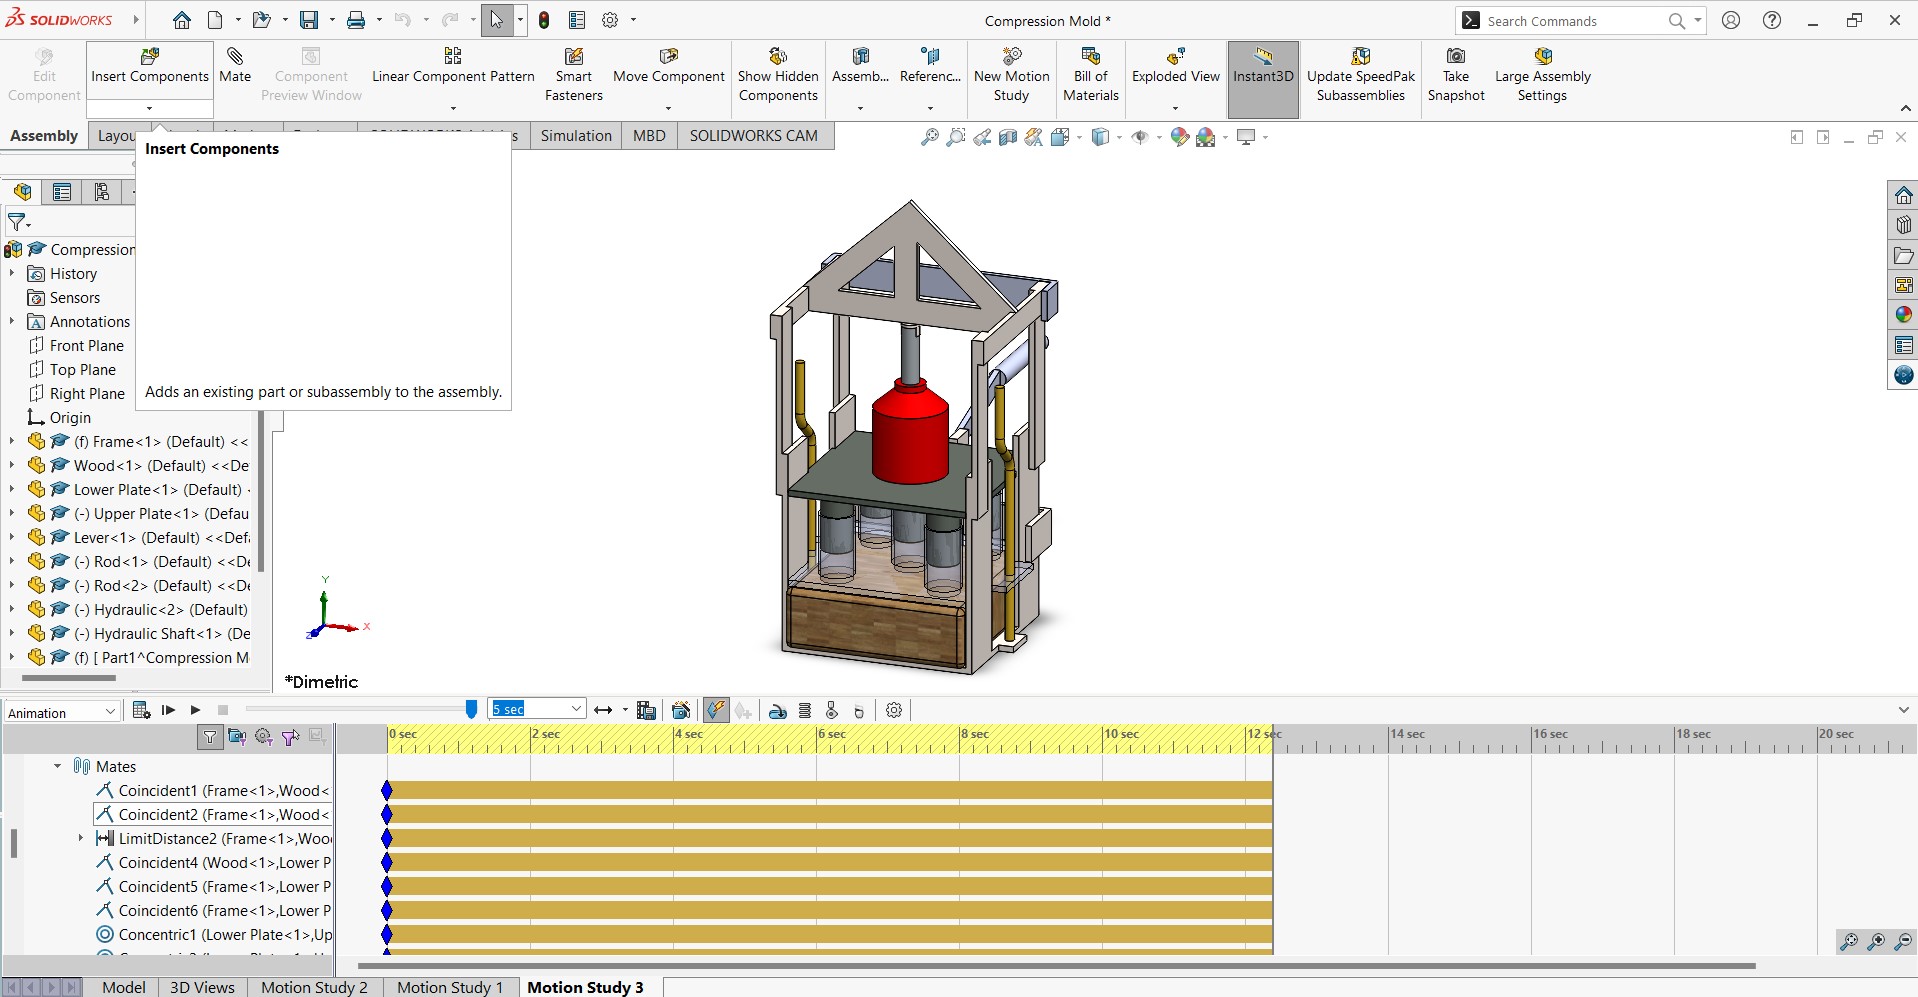
Motion study Animation on Solidworks
Simulation set up on Soldiworks
Simulation Mesh
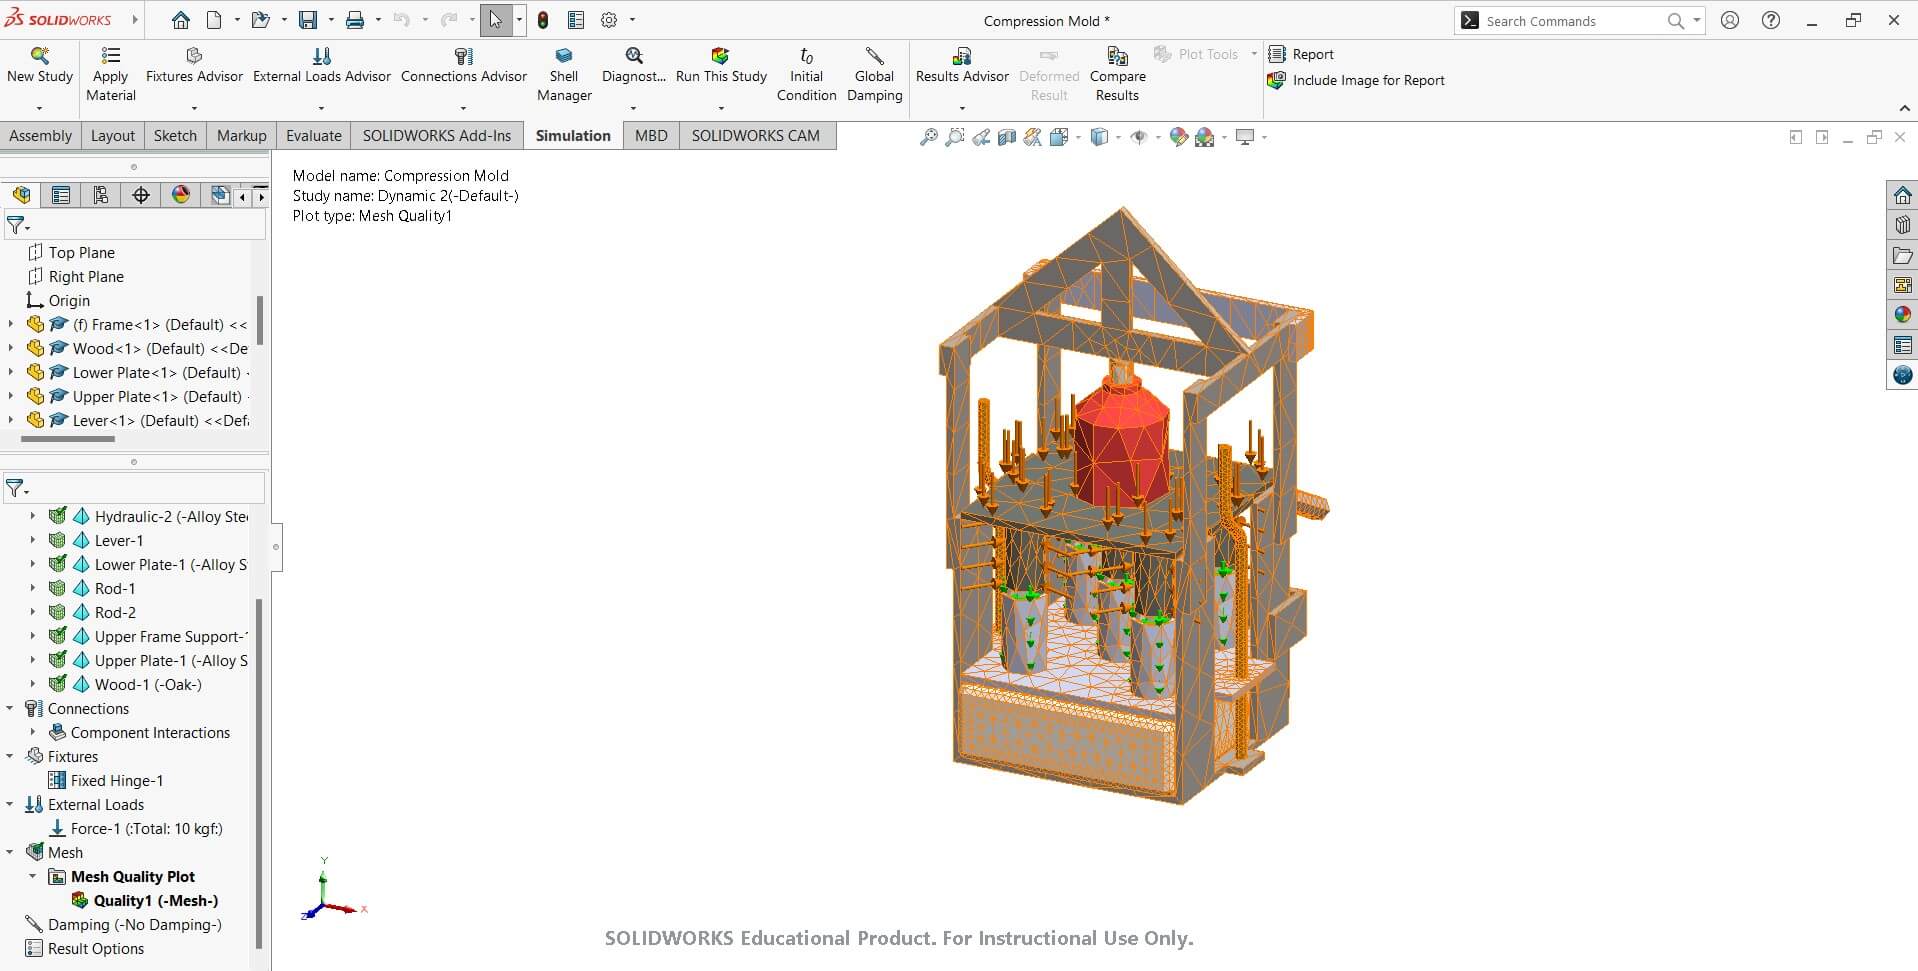
Simulation Study
3. File Compression
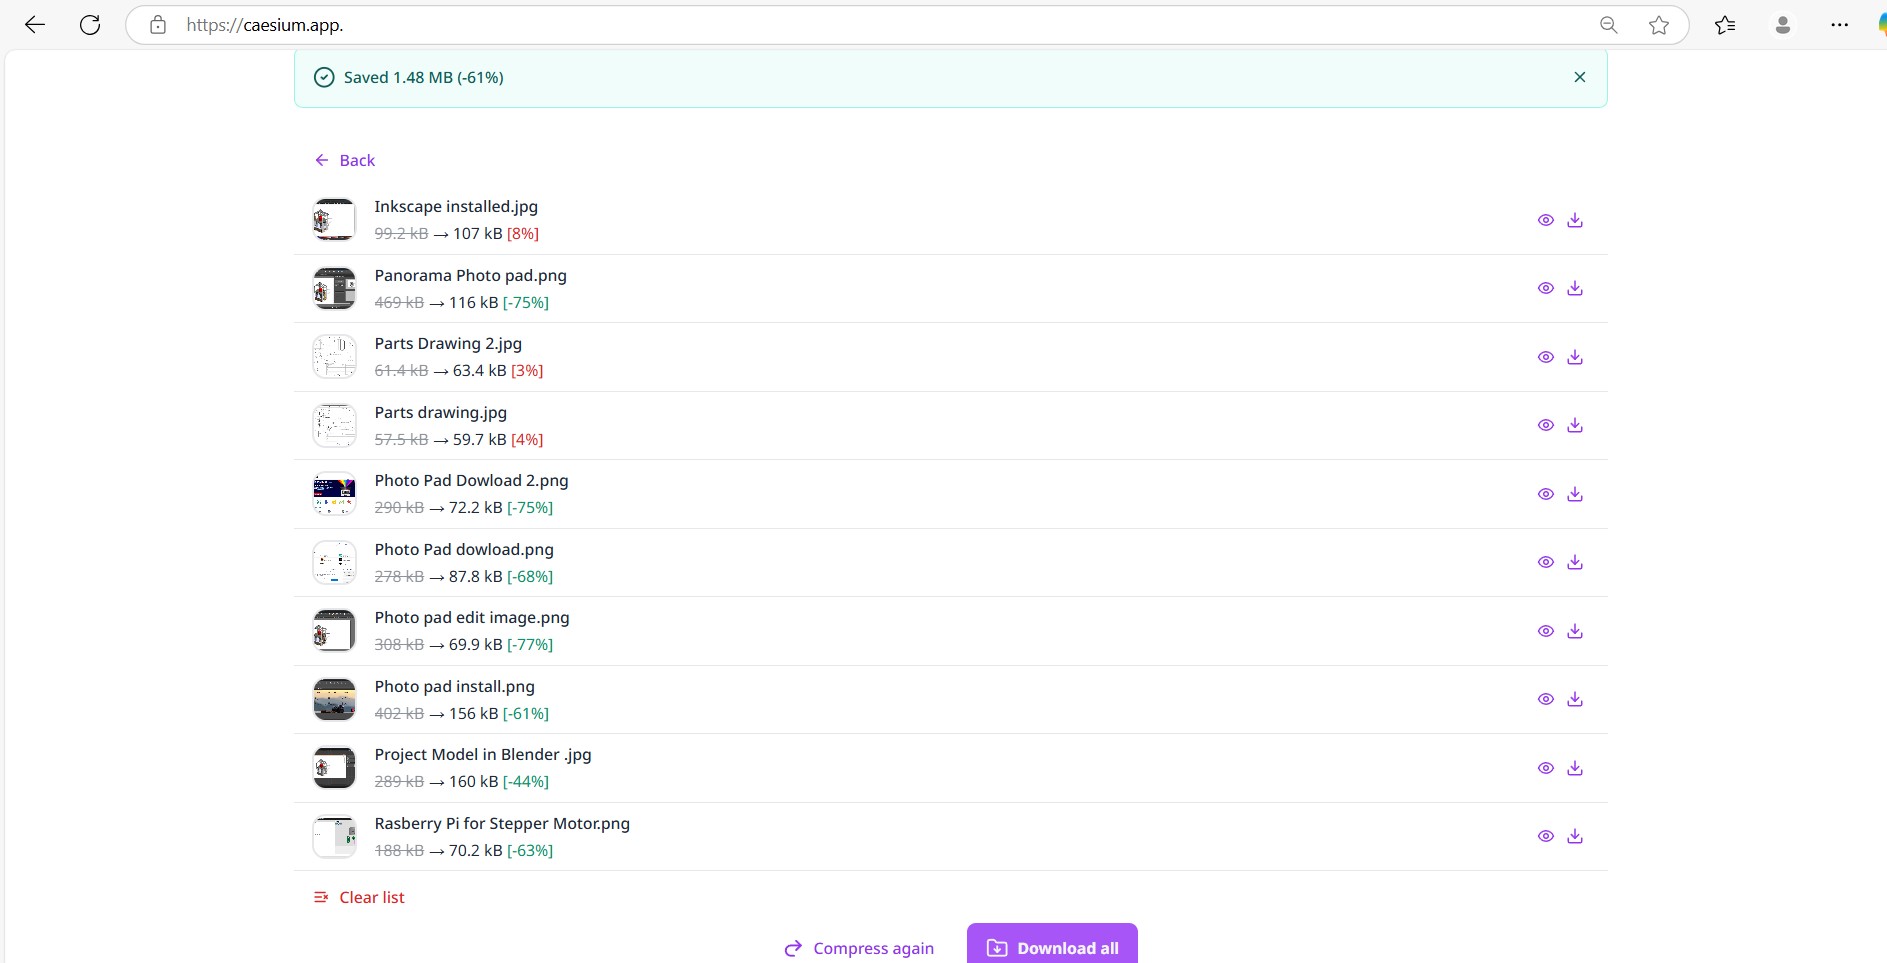
- Images: I used TinyPNG and Caesium Online to compress my JPG images without noticeable quality loss. I uploaded the photos to each tool, where TinyPNG reduced file sizes by 52% and allowed up to 20 images before requiring a subscription, while Caesium processed 10 images at a time without restrictions. Both tools compressed the images and provided them as a ZIP file, which I downloaded and extracted into the original folder. Unlike TinyPNG, Caesium worked without a subscription, making it a great alternative for unlimited online image compression.
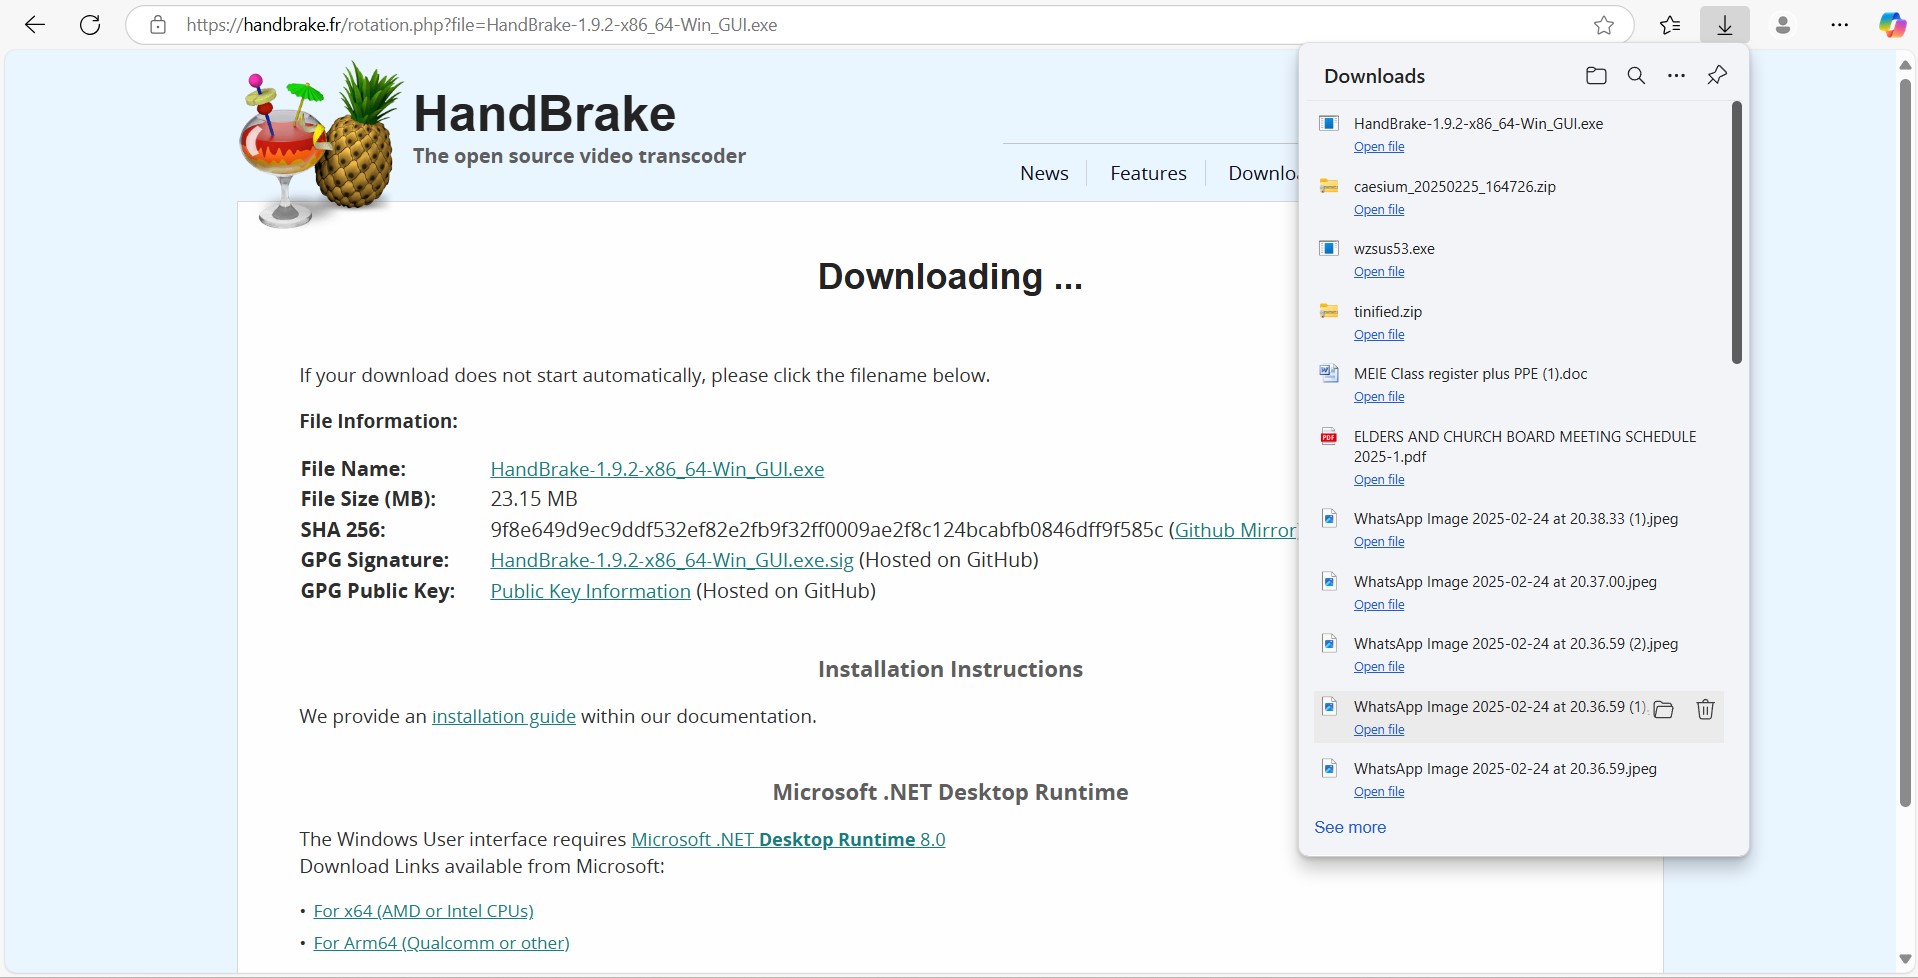
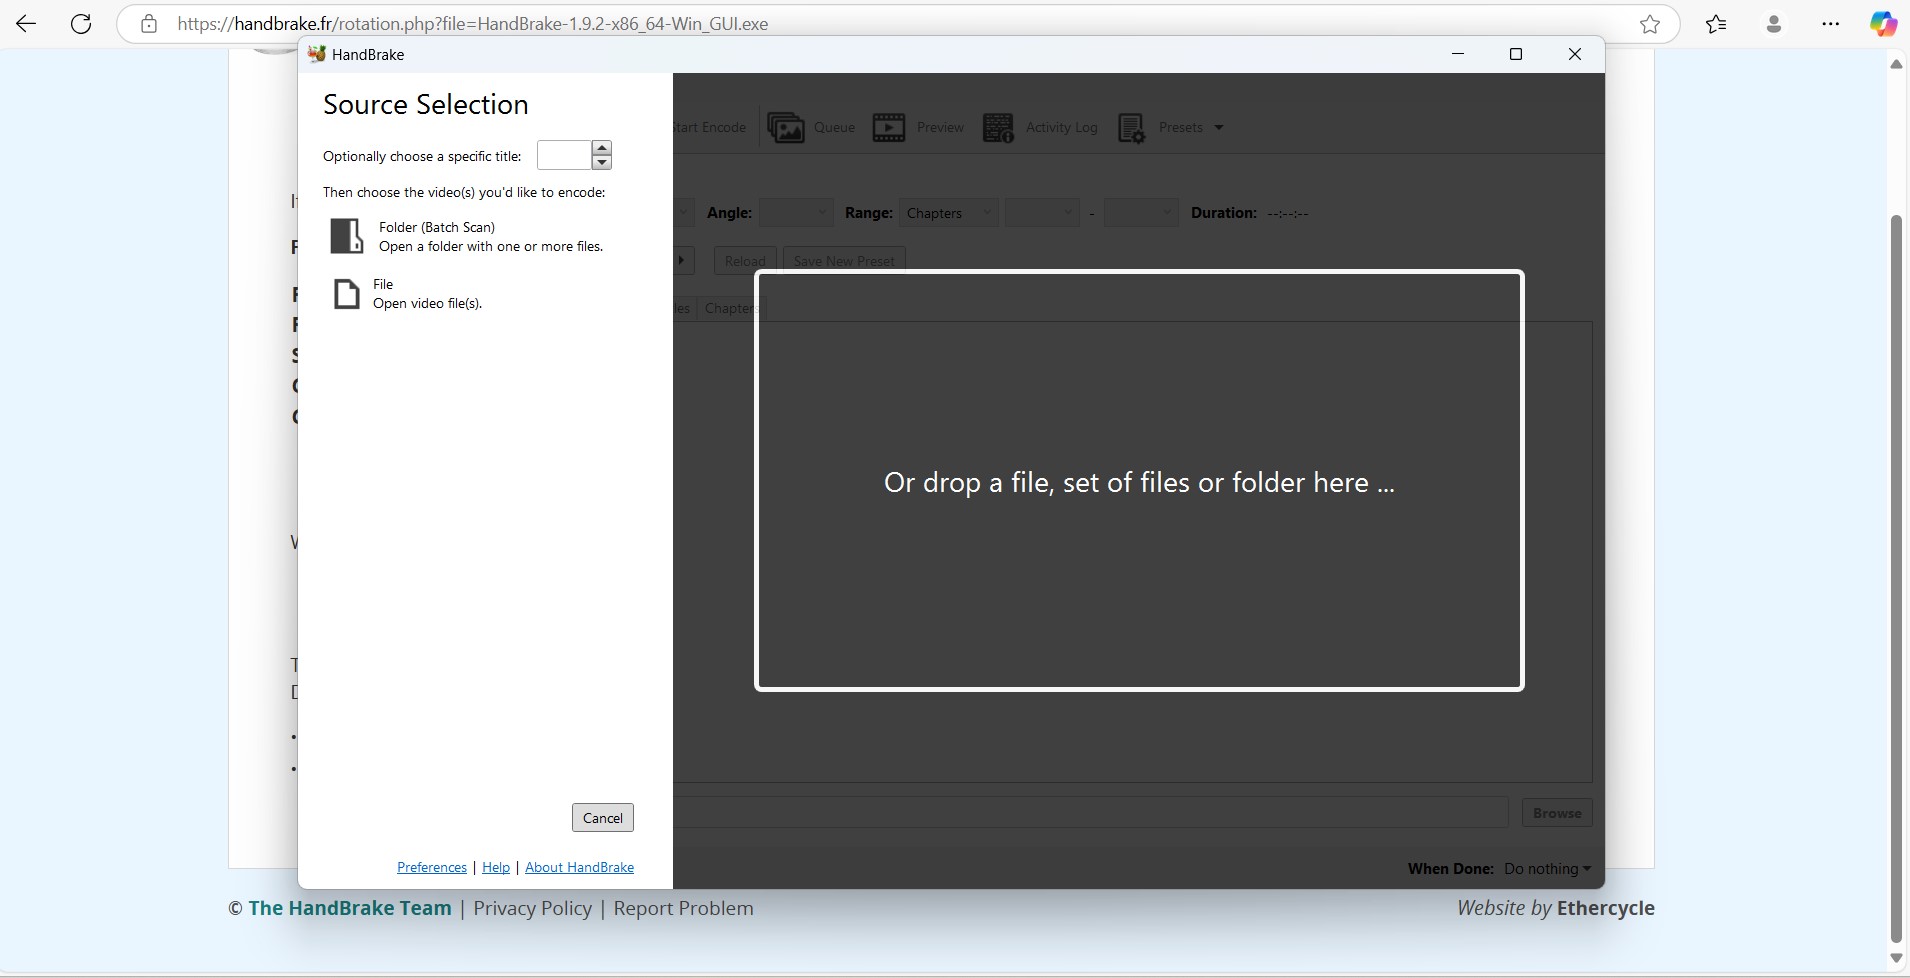
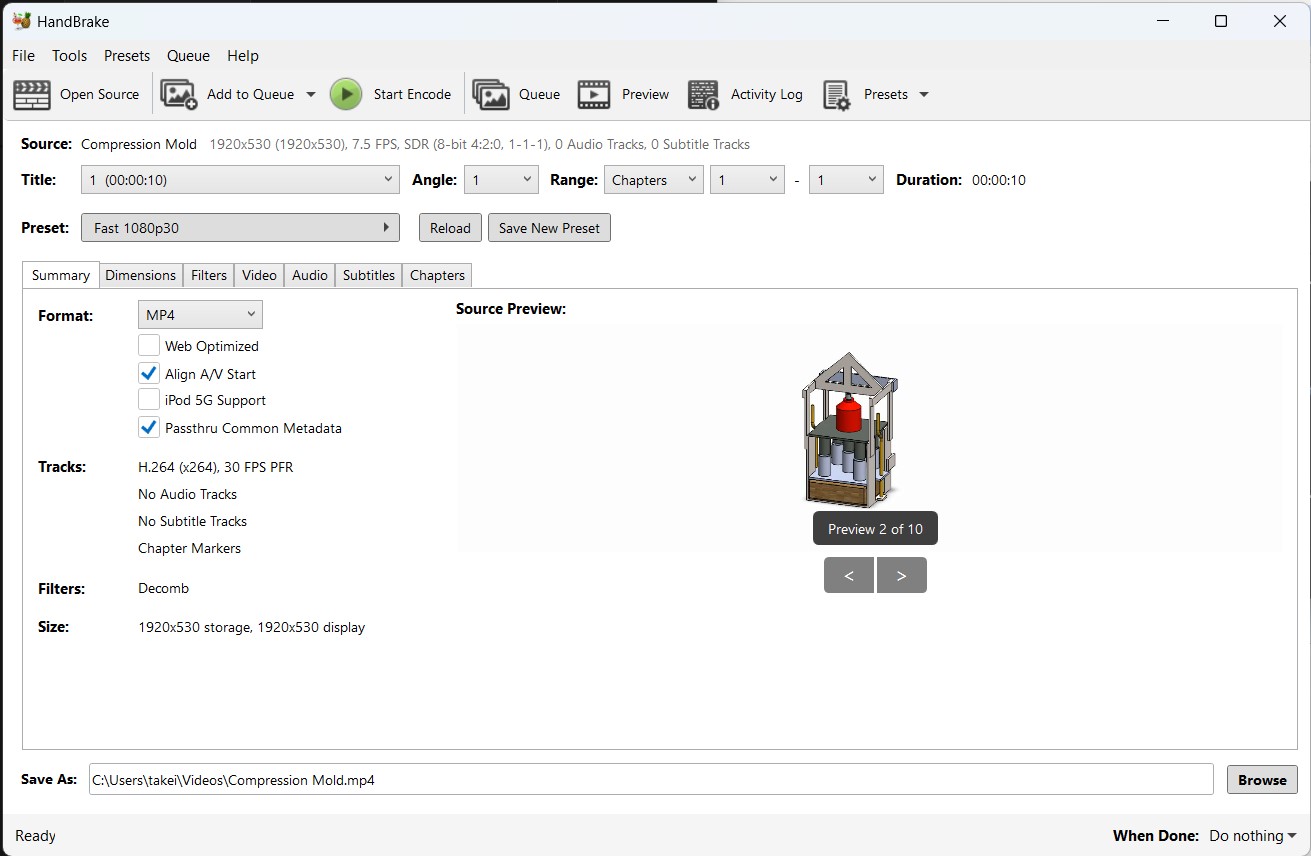
- Videos: I used HandBrake video compression Software to compress video files. HandBrake is free and offers good presets, with detailed control over resolution, bitrate, and encoding options. First, I downloaded and installed HandBrake from HandBrake.fr, then opened the software and imported both videos by clicking "Open Source" one at a time. I selected the "Fast 1080p30" preset for a good balance between quality and compression. Under the Video tab, I set the codec to H.264 and adjusted the Constant Quality slider to optimize file size. In the Audio tab, I reduced the bitrate to further decrease the file size. After choosing a destination folder, I added both videos to the queue and clicked "Start Encode" to begin compression. The process successfully reduced the file sizes while keeping the video quality intact.
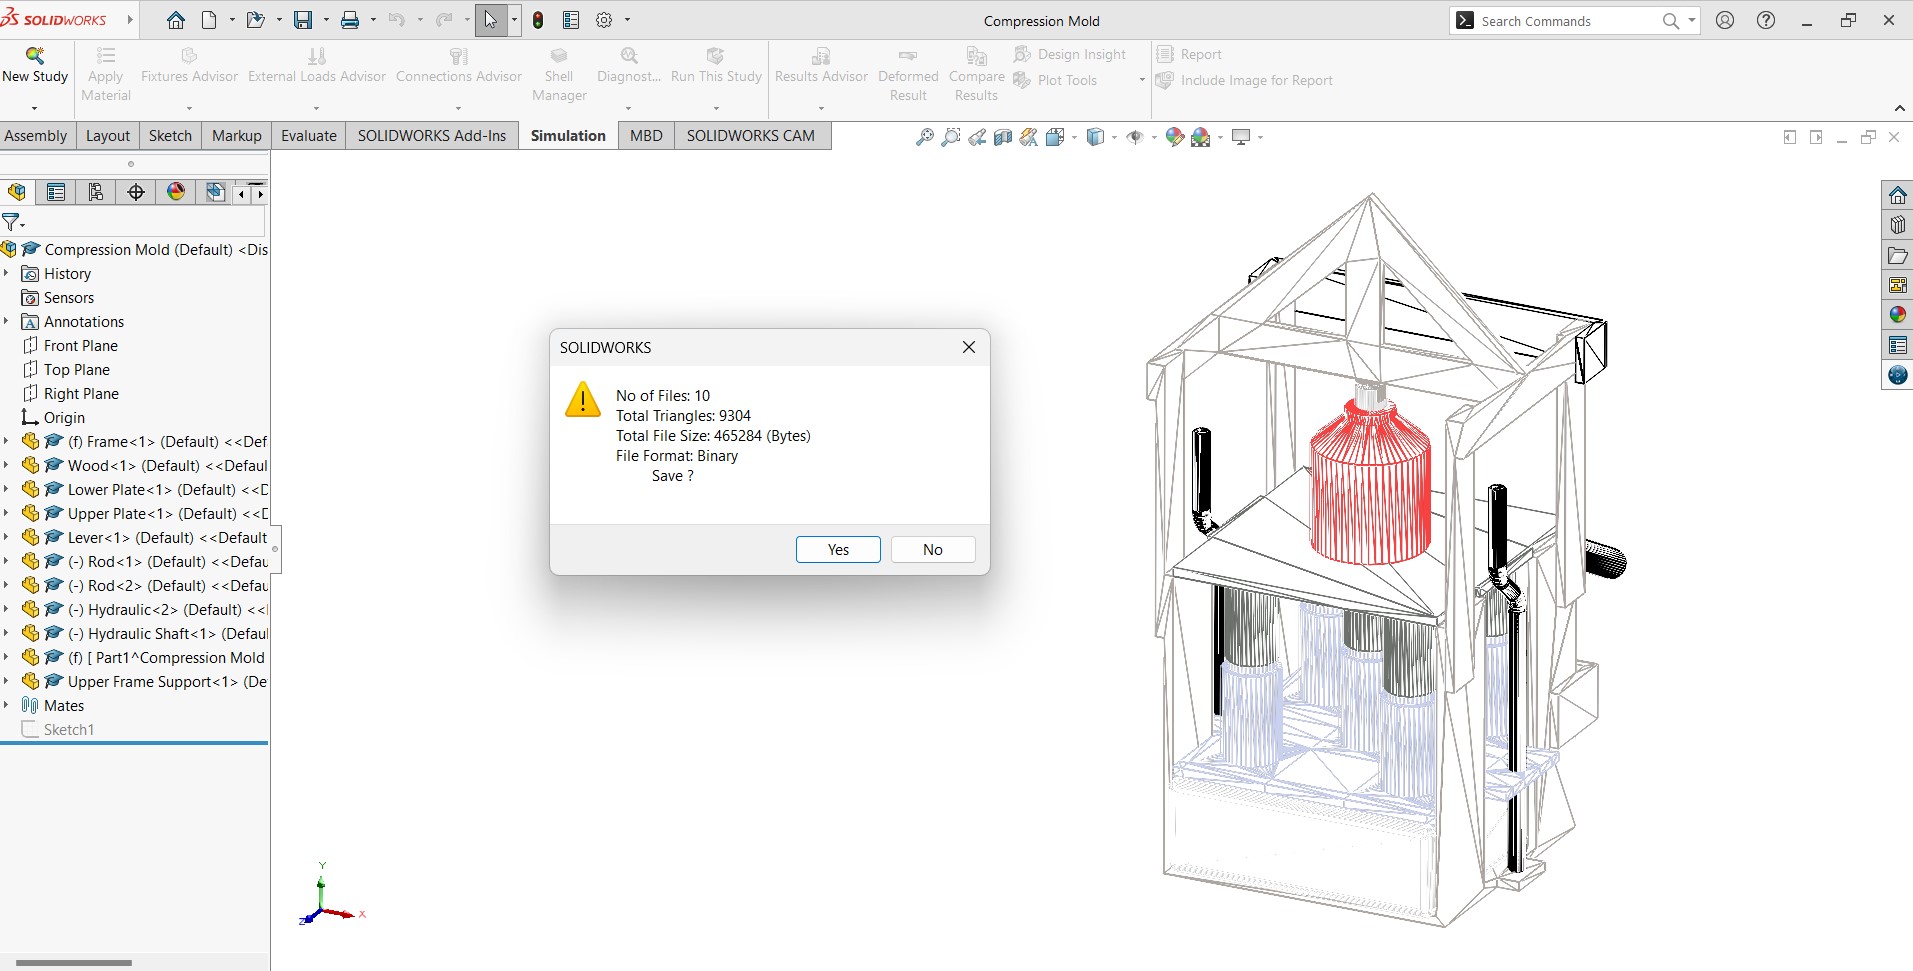
- 3D Models: I saved my 3D models in the .STL file format, which is widely used for 3D printing and CAD applications. After finalizing the designs, I exported them as .STL files, ensuring they retained the necessary geometry. To optimize storage and sharing, I compressed them into a .ZIP file, which helped reduce file size. The compression process also reduced the number of polygons, making the models more lightweight without significantly affecting their structure. This made the files easier to store, transfer, and process in slicing software.
Uploading 20 files

HandBrake Video Downlad
HandBrake Video Compress
HandBrake Video compressed
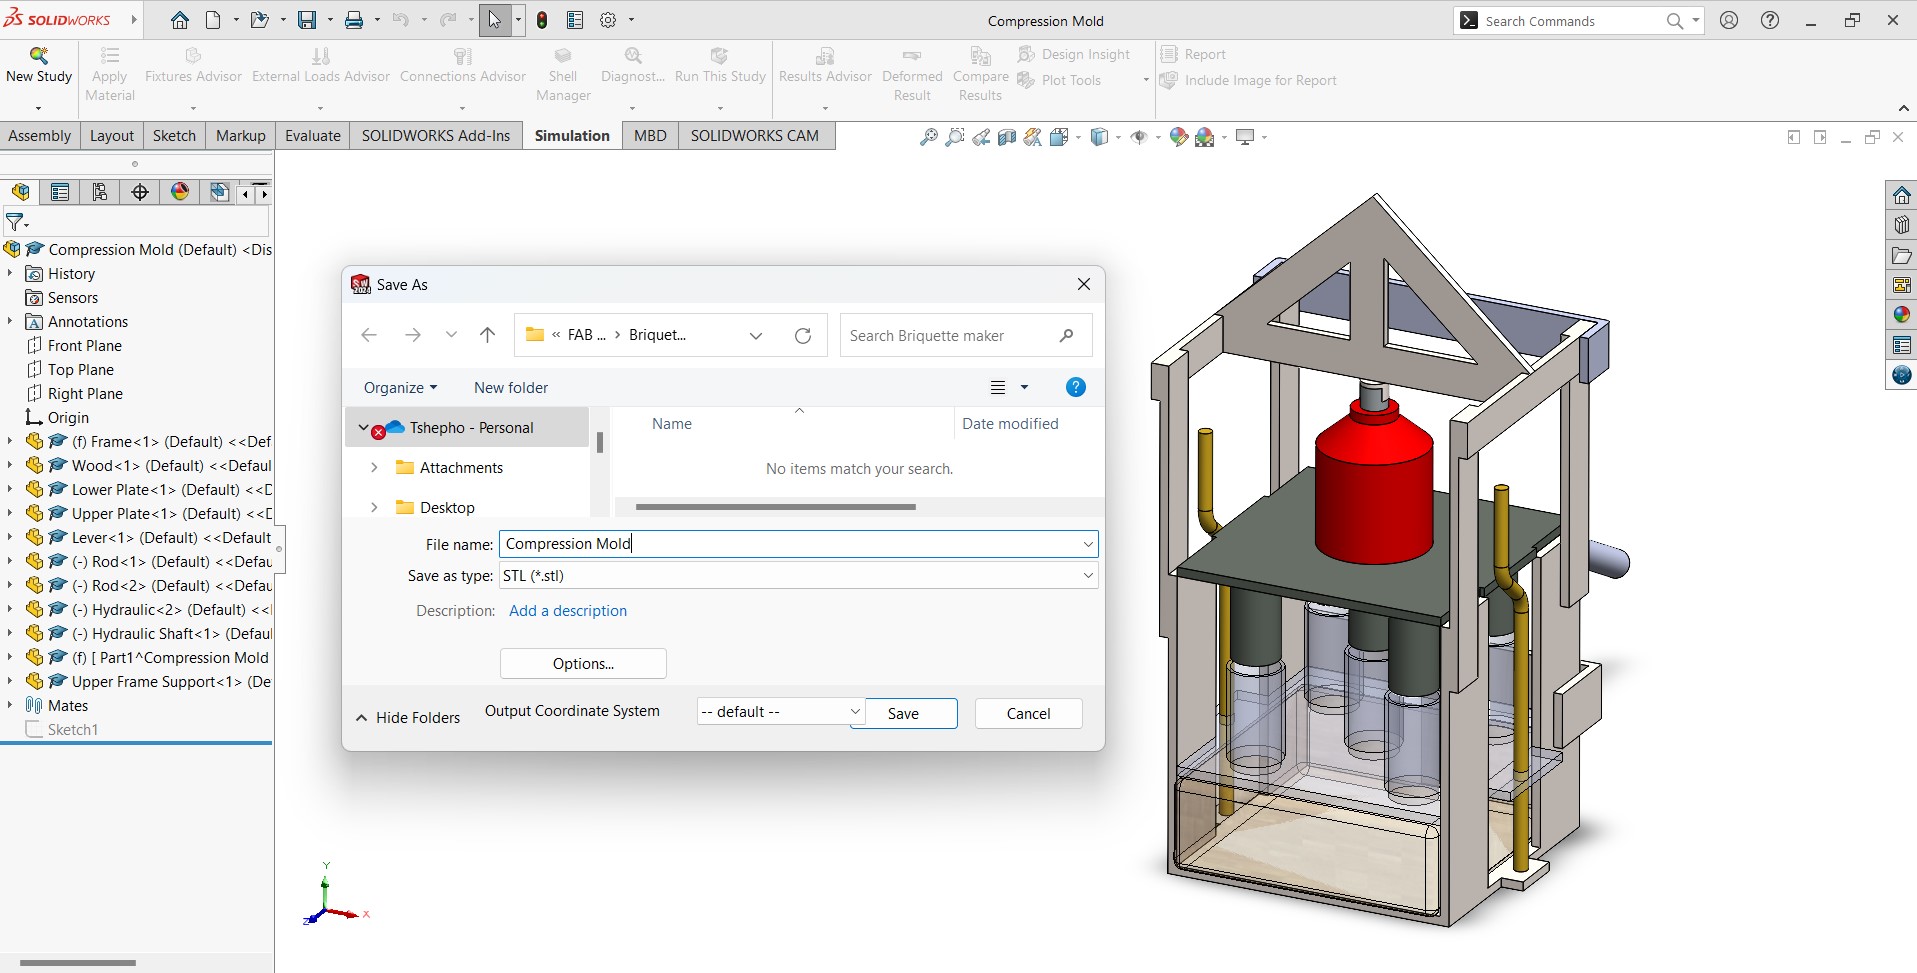
3D STL file saving
Zip Files for Downloads
Week 2 Design files for Download