3D Scanning and Printing
- Test the design rules for your 3D printer(s)
- Document your work on the group work page and reflect on your individual page what you learned about characteristics of your printer(s)
- Design and 3D print an object (small, few cm3, limited by printer time) that could not be easily made subtractively
- 3D scan an object (and optionally print it)
#.Group assignment:
Understanding 3D Printing
3D printing is an additive manufacturing process that builds objects layer by layer, making it ideal for creating complex geometries that traditional subtractive methods (such as CNC milling or carving) would struggle with.
As part of a group, I explored different 3D printing technologies, including fused deposition modeling (FDM) and stereolithography (SLA), learning about materials like PLA and ABS, printer calibration (bed leveling, nozzle and bed temperature, print speed, and layer height), post-processing techniques (sanding, UV curing), and common printing issues.
Group assignment link
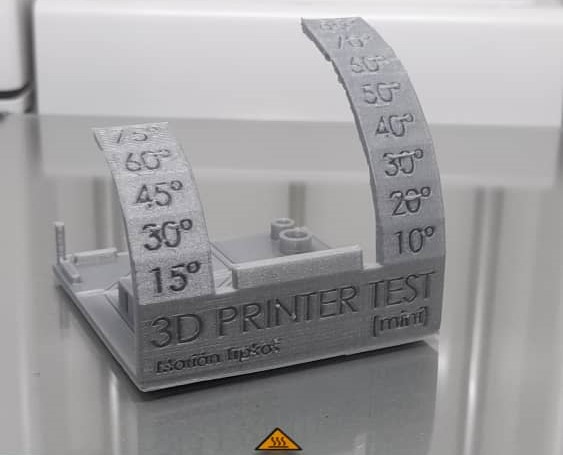
A print of a file from thingiverse used to test a Ultimaker 2+ connect printer.
#.Individual assignment
Exploring 3D Scanning: A First-Time Experience
My goal was to 3D scan an object and, optionally, print it to explore how scanning technology can digitize real-world objects. Since this was my first time using a 3D scanner, I was eager to see how well it could capture details and what challenges I might face.
My Approach
At first, I was simply curious. How well could a 3D scanner capture a human face? That was my first experiment. Then, I decided to scan a random part from an embroidery machine to see how structured light scanning performed on small, detailed objects.
For this experiment, I used the Revopoint POP 3 3D scanner, which works with structured light technology. To process and edit the scans, I installed Revo Scan 5, the software that accompanies the scanner.
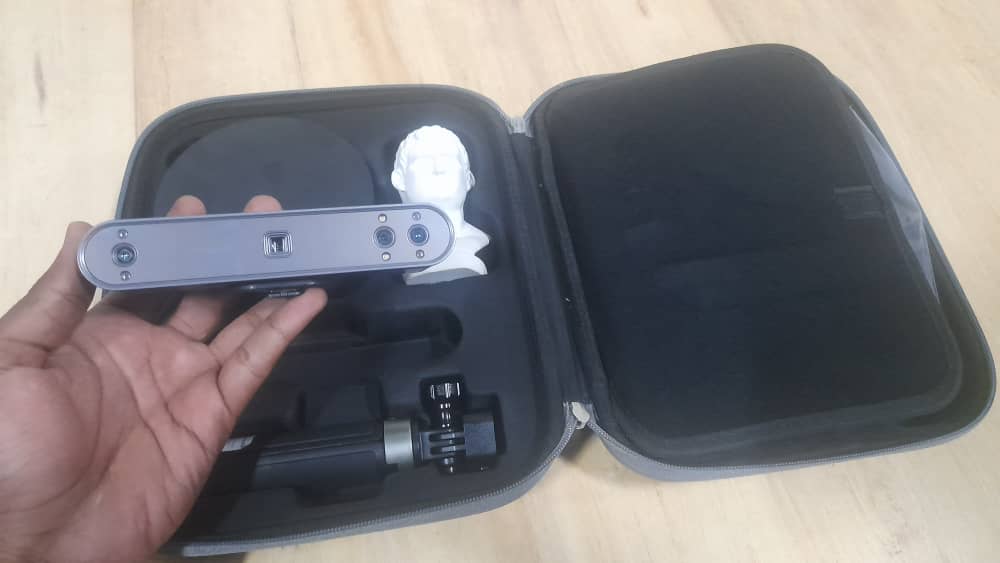
An image of the Revopoint POP 3 scanner.
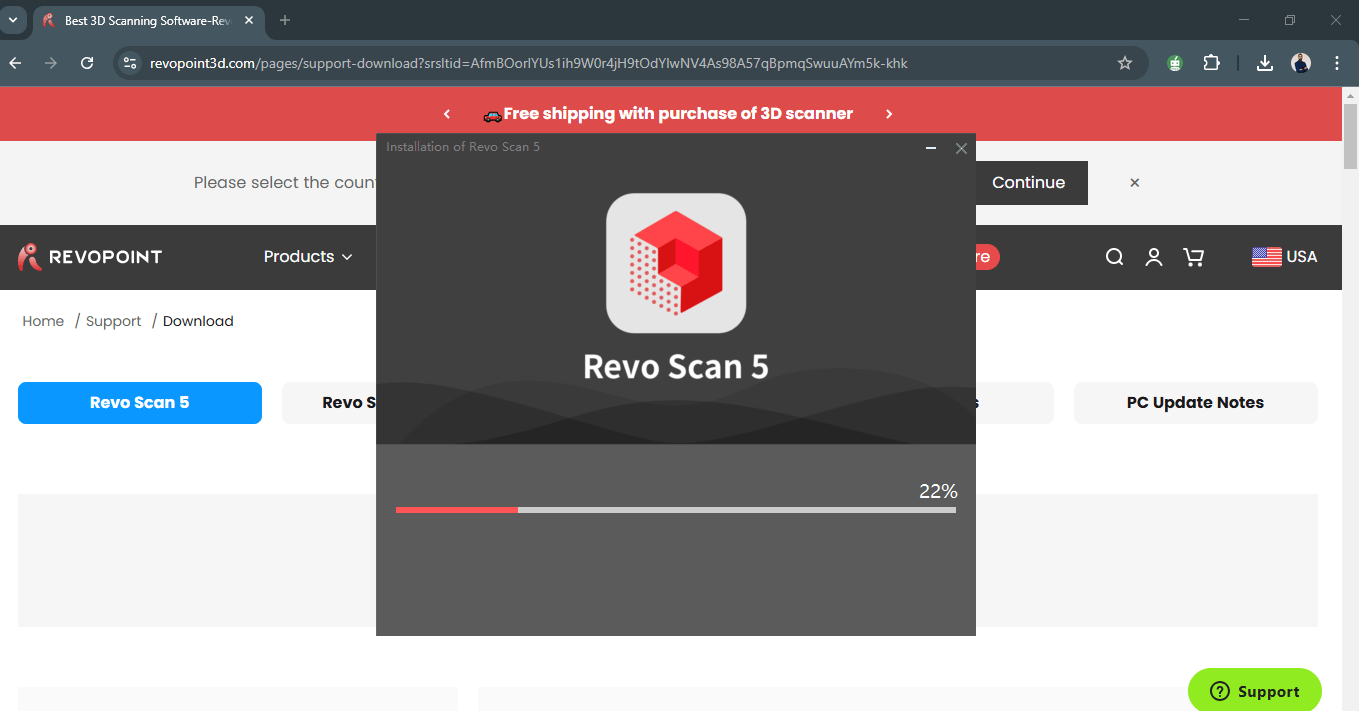
How I downloaded Revo Scan 5 software for Windows. link.
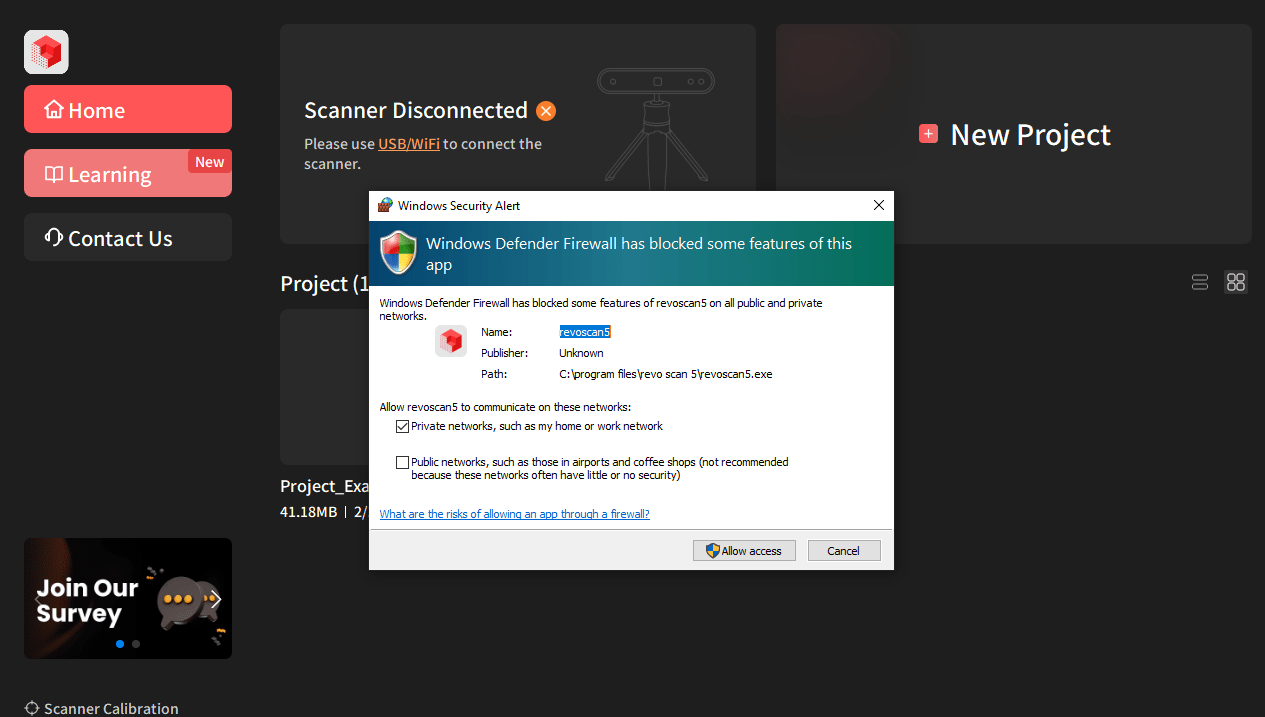
Installing Revo Scan 5 on my Laptop.
The 3D scanning journey:
Face Scanning Difficulties
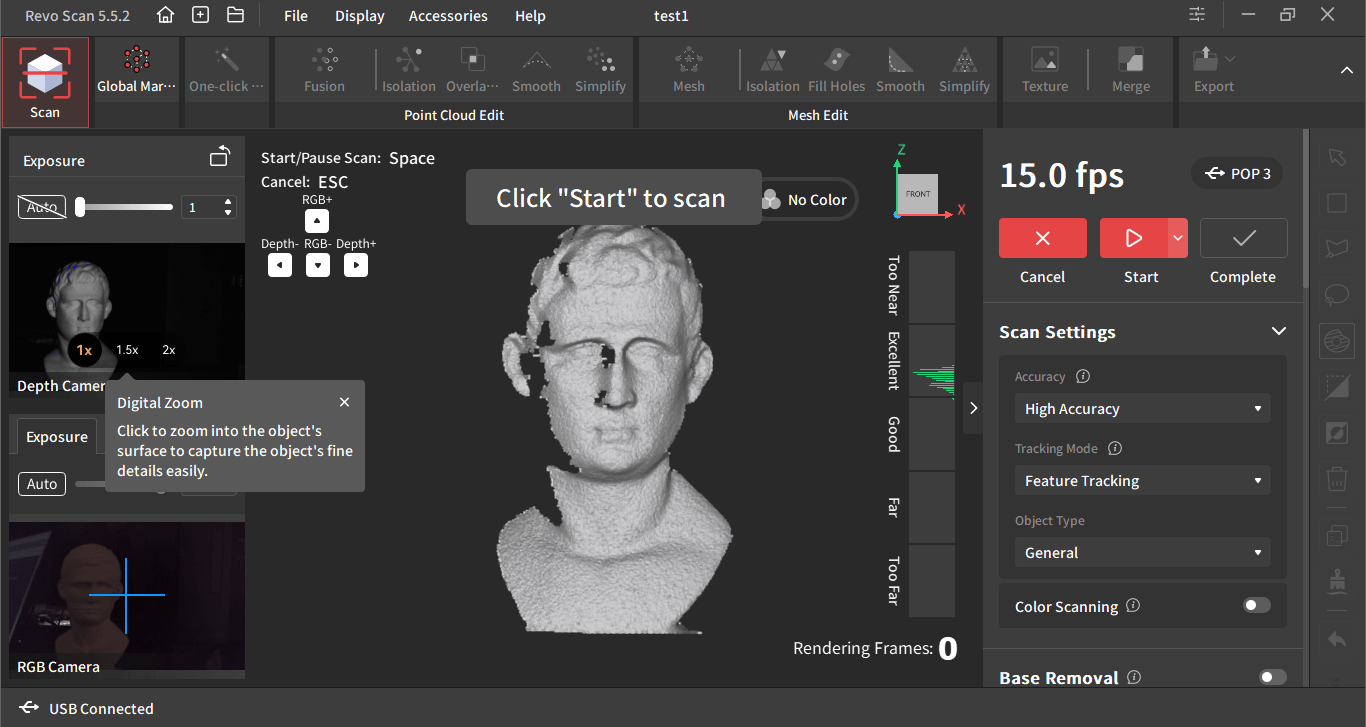
Initially, I followed the default settings in the software, and scanning the sample bust that came with the scanner was easy.

Starting my first new project.
Scanning the sample bust that come with the Revopoint POP 3 Scanner.
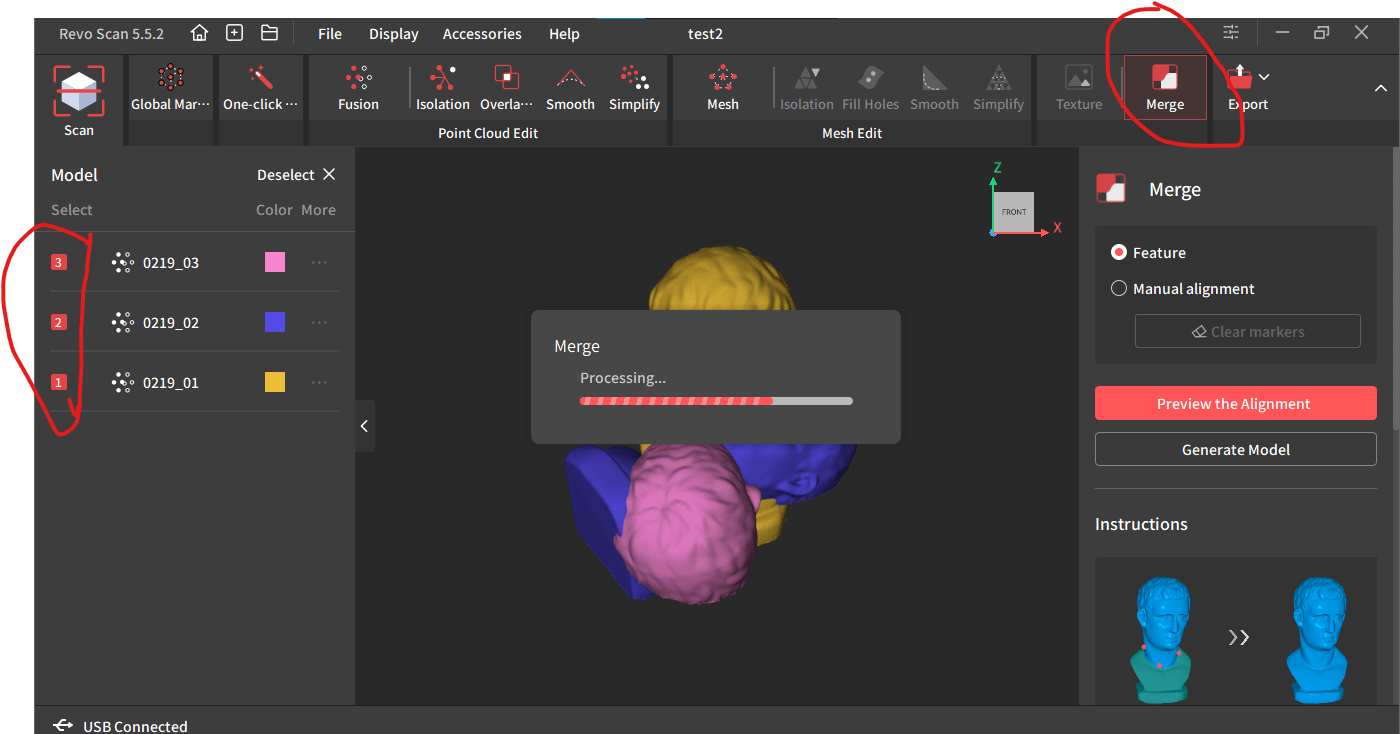
Merging 3 fused scan of the sample bust,scanned in different angles.
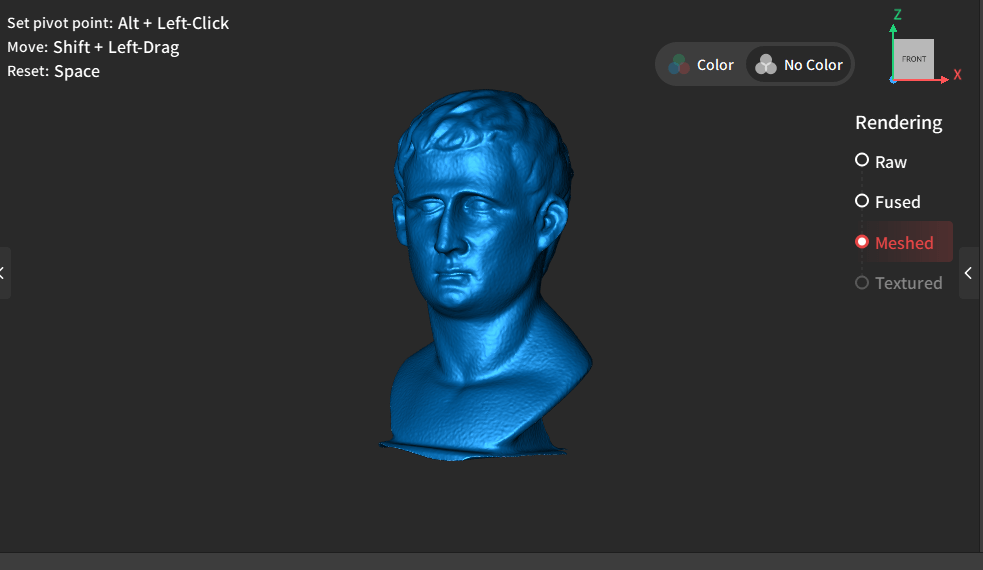
The scan after meshing to comvert point cloud data into a solid 3D model.
However, scanning a human face was much harder than I expected. The biggest challenge was black hair; it didn’t scan well at all. Also, the process took a lot of time, and the results weren’t clear.
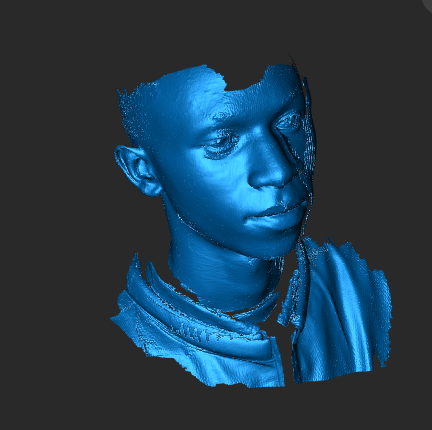
Face scan of a friend Patrick. The issue here was scanning black hair.
To improve the scan, I tried:
- Changing the volunteer and adjusting the settings to “Face” mode and “Color Scanning.” The results remained inconsistent.
- Using a cape to reduce missing areas, which significantly improved the scan.
- Fusing and meshing the point clouds, which took a long time but resulted in a more complete model.
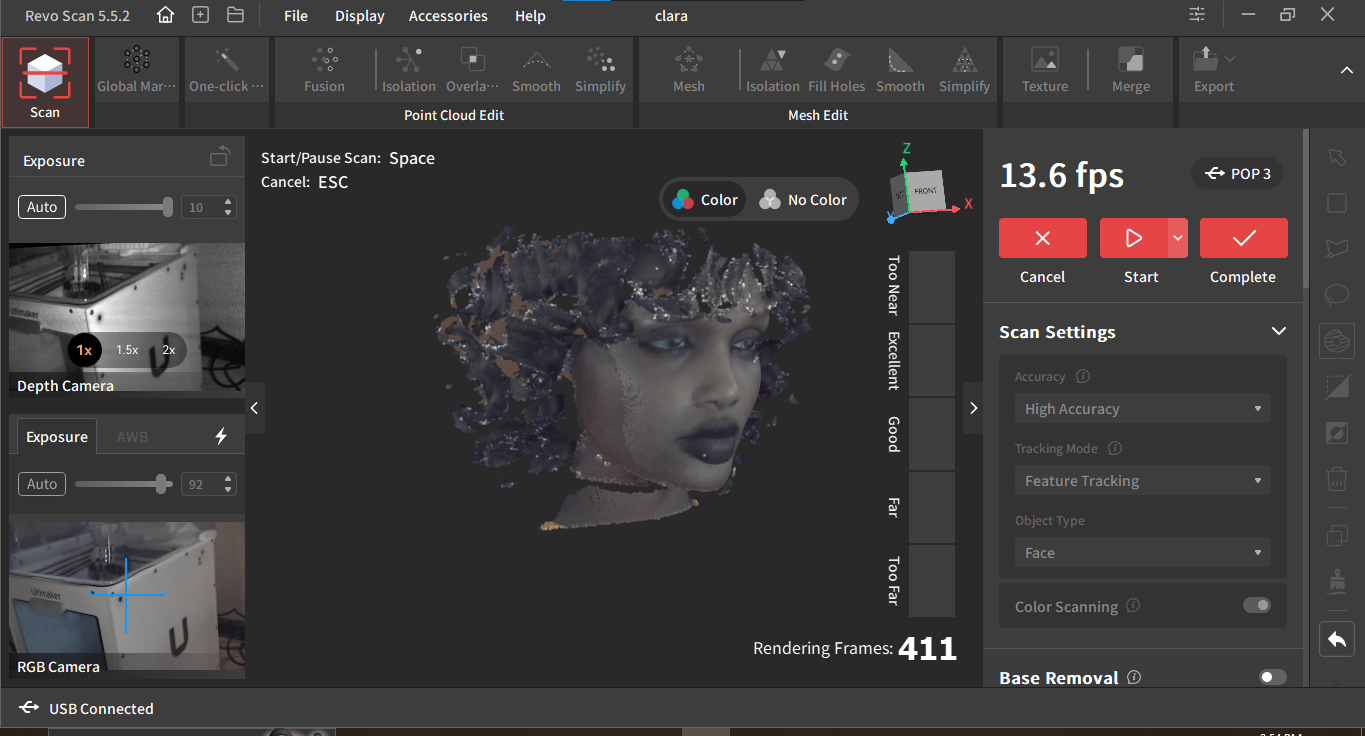
A scan of new volunteer Clara. Still the hair issue was there.
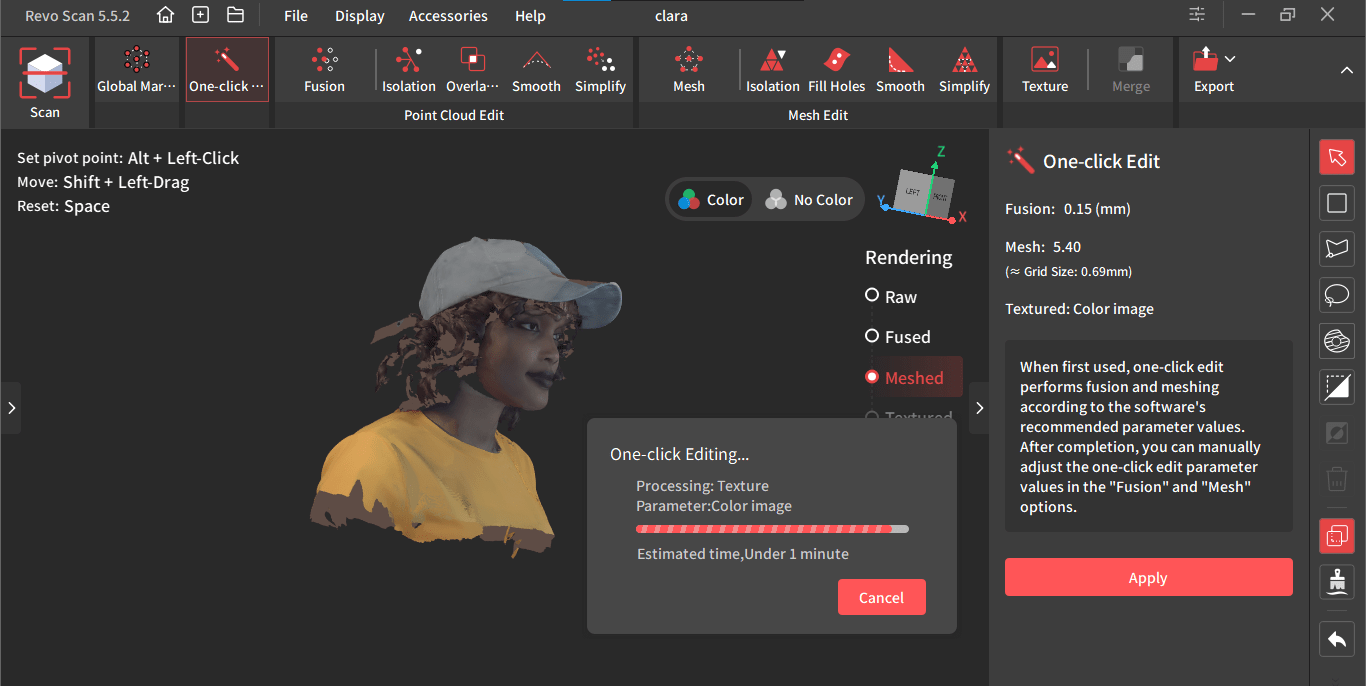
Using one-click edit to fuse and mesh the scan. which took long because of collecting much data and make the file 1.8Gb.
Scanning a random Part
For the second scan, I chose a random part from an embroidery machine. This time, I scanned it from different angles and merged the scans. This approach worked much better and produced a more complete model.
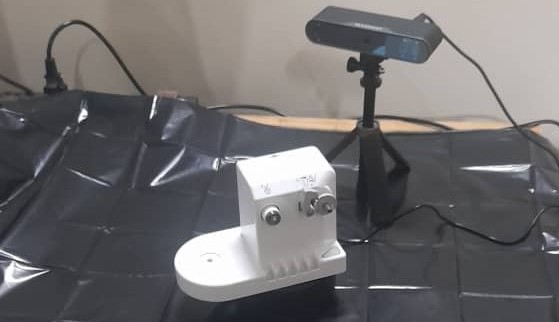
A picture of Revopoint POP 3 scanning a part which is white.
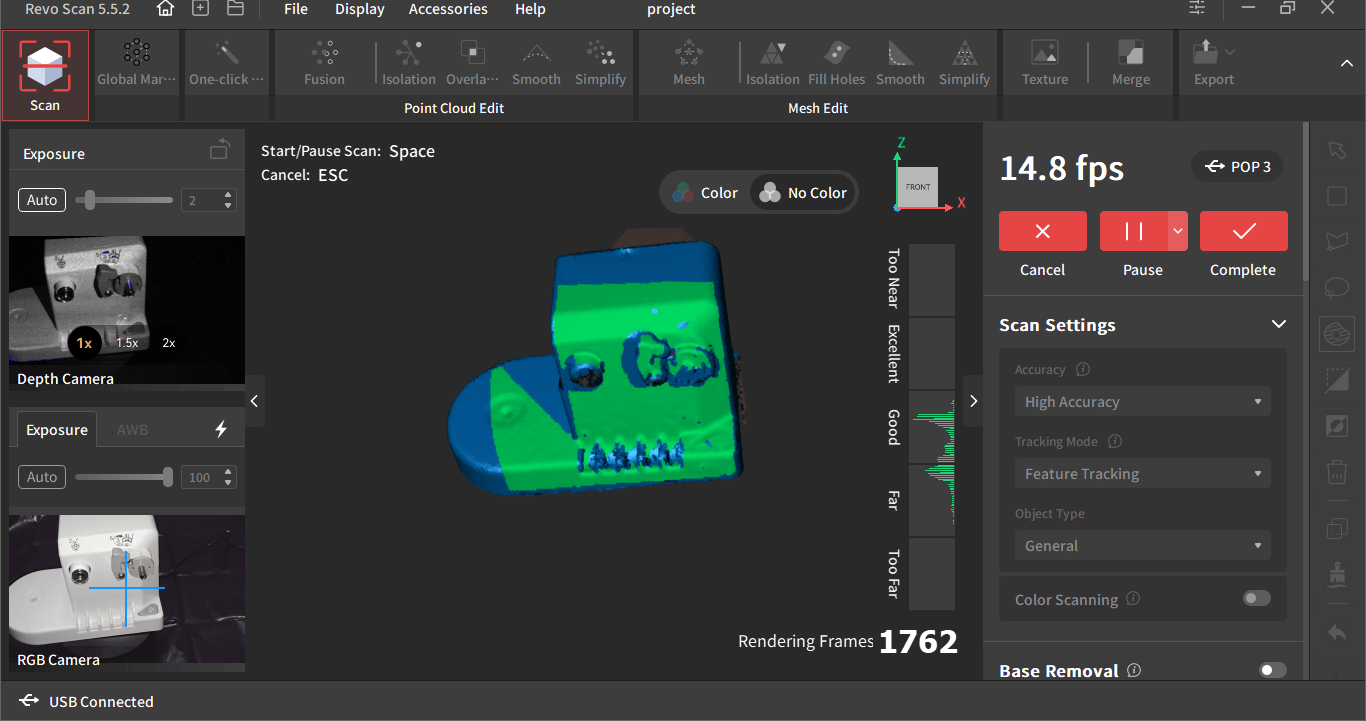
An image viewing in revo scan 5 the scanning part.
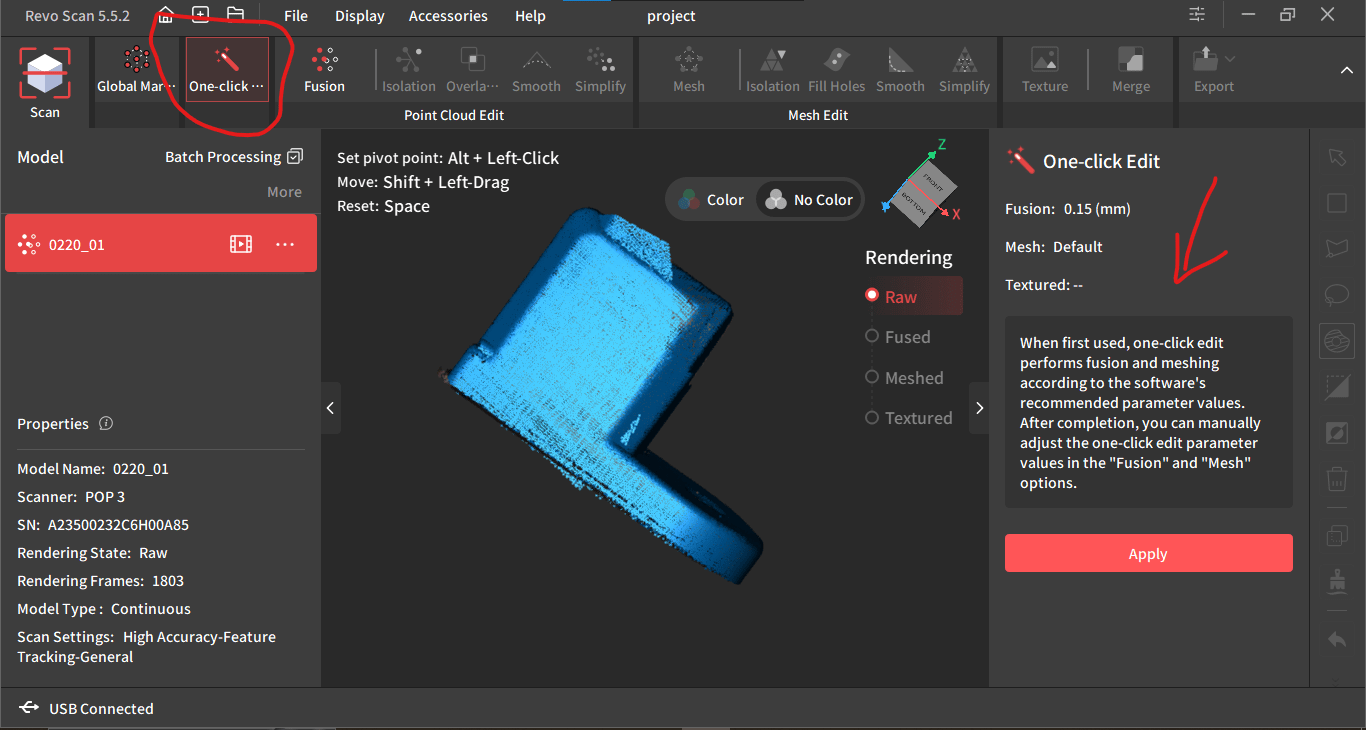
Using one-click edit to perform fusion and meshing to my part.
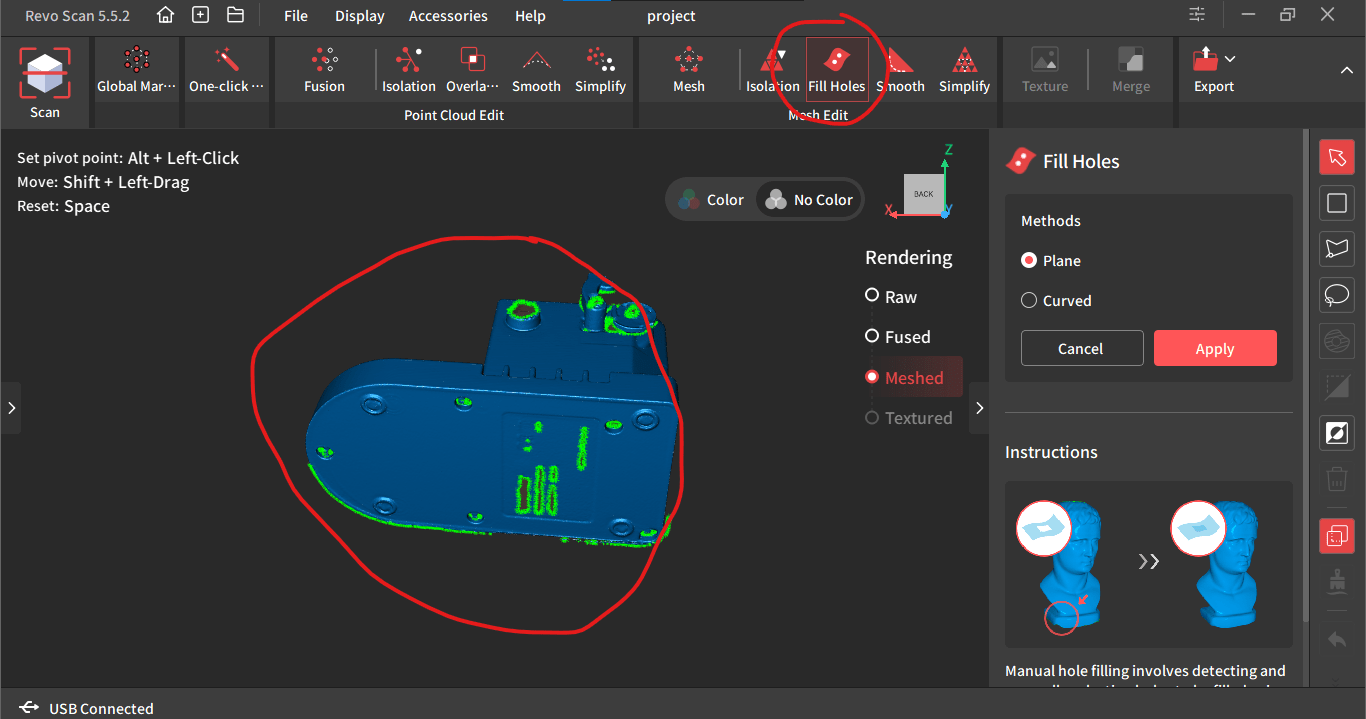
Using Fill Holes to fill some imperfect holes on the scan as shown then apply it.
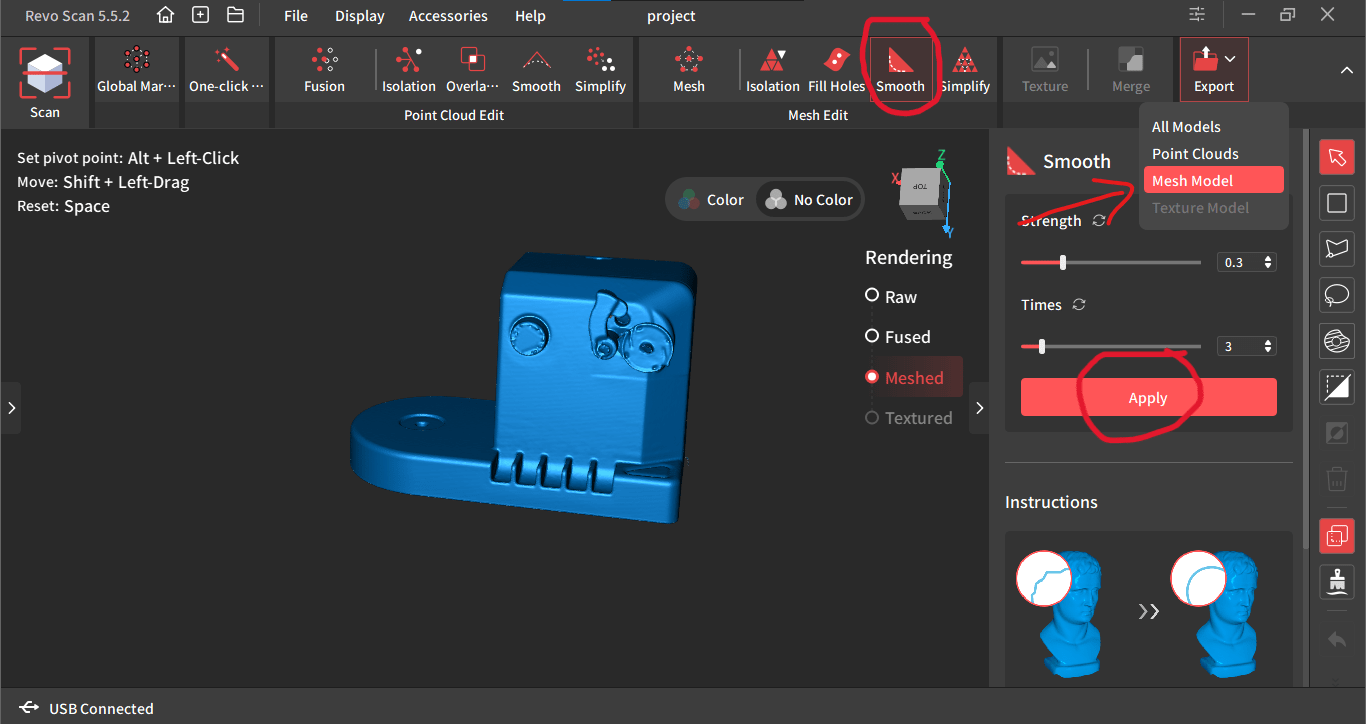
After I used Smooth to make my scan better, then export the mesh model as STL.
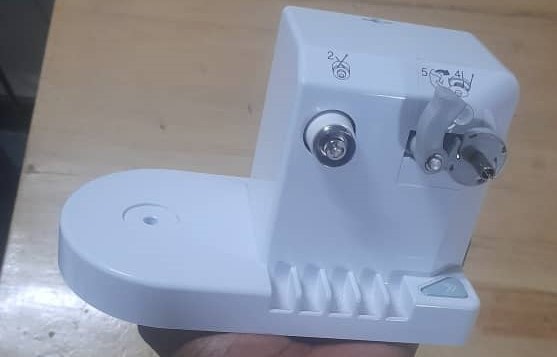
The origin part.
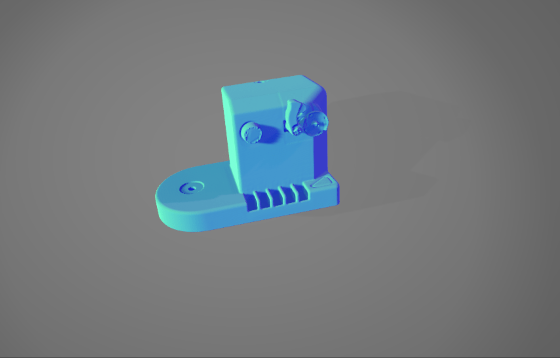
The scanned model.
Learning and Takeaways
Despite the challenges, 3D scanning was a fun and insightful experience. While exploring Revo Scan 5, I discovered built-in learning tutorials on features like one-click editing and merging, which helped me refine my scans.
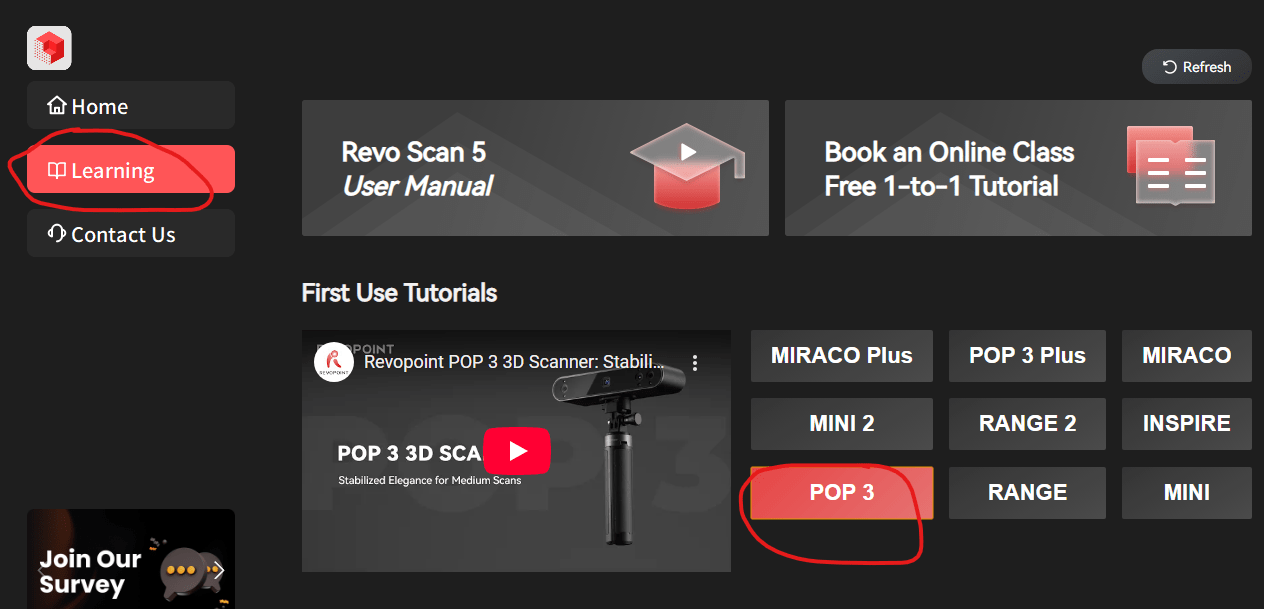
How i found best tutorials of the scanner i was using.
I learned that black hair is difficult to scan with structured light technology. In the future, I plan to use spray coating to improve facial scan results.
As an engineer, I see 3D scanning becoming an essential tool in my work, especially for reverse engineering and prototyping. This experience was just the beginning, and I look forward to exploring more advanced scanning techniques.
Designing and 3D Printing
Project Goal
The goal was to design and 3D print a small object (a few cm2) that could not be easily made subtractively. This required applying design methods and understanding the strengths and limitations of 3D printing.
My Approach
I had two main ideas:
- Printing a scanned component from an embroidery machine to test how well a 3D printer could replicate a scanned object.
- Designing and printing a structure with a trapped ball inside, which would be challenging to manufacture using subtractive methods. Inspiration from a ball joint.
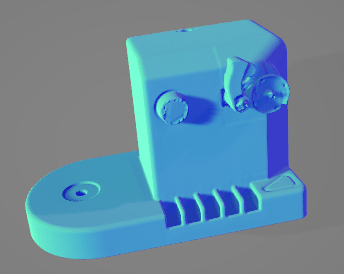
The scanned part.
For the design and printing process, I used:
- SolidWorks for CAD modeling.
- Ultimaker Cura as the slicing software.
- Ultimaker 2+ Connect for printing, available at Rubavu Hanga Hub.
The 3D Printing Journey
Printing the Scanned Part
I started with my scanned embroidery machine component and sliced it in Ultimaker Cura using the Ultimaker 2+ Connect printer.
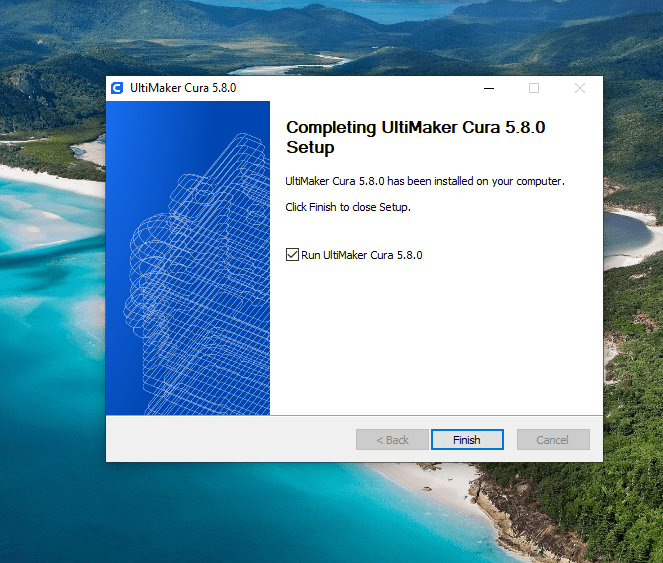
Installing UltiMaker cura for licing
However, I noticed that the estimated print time was too long, so I adjusted the settings:
- Scaled the model down to 40% to reduce print time.
- Changed the layer resolution from 0.1 mm to 0.15 mm for a faster print.
- Enabled supports to handle overhangs
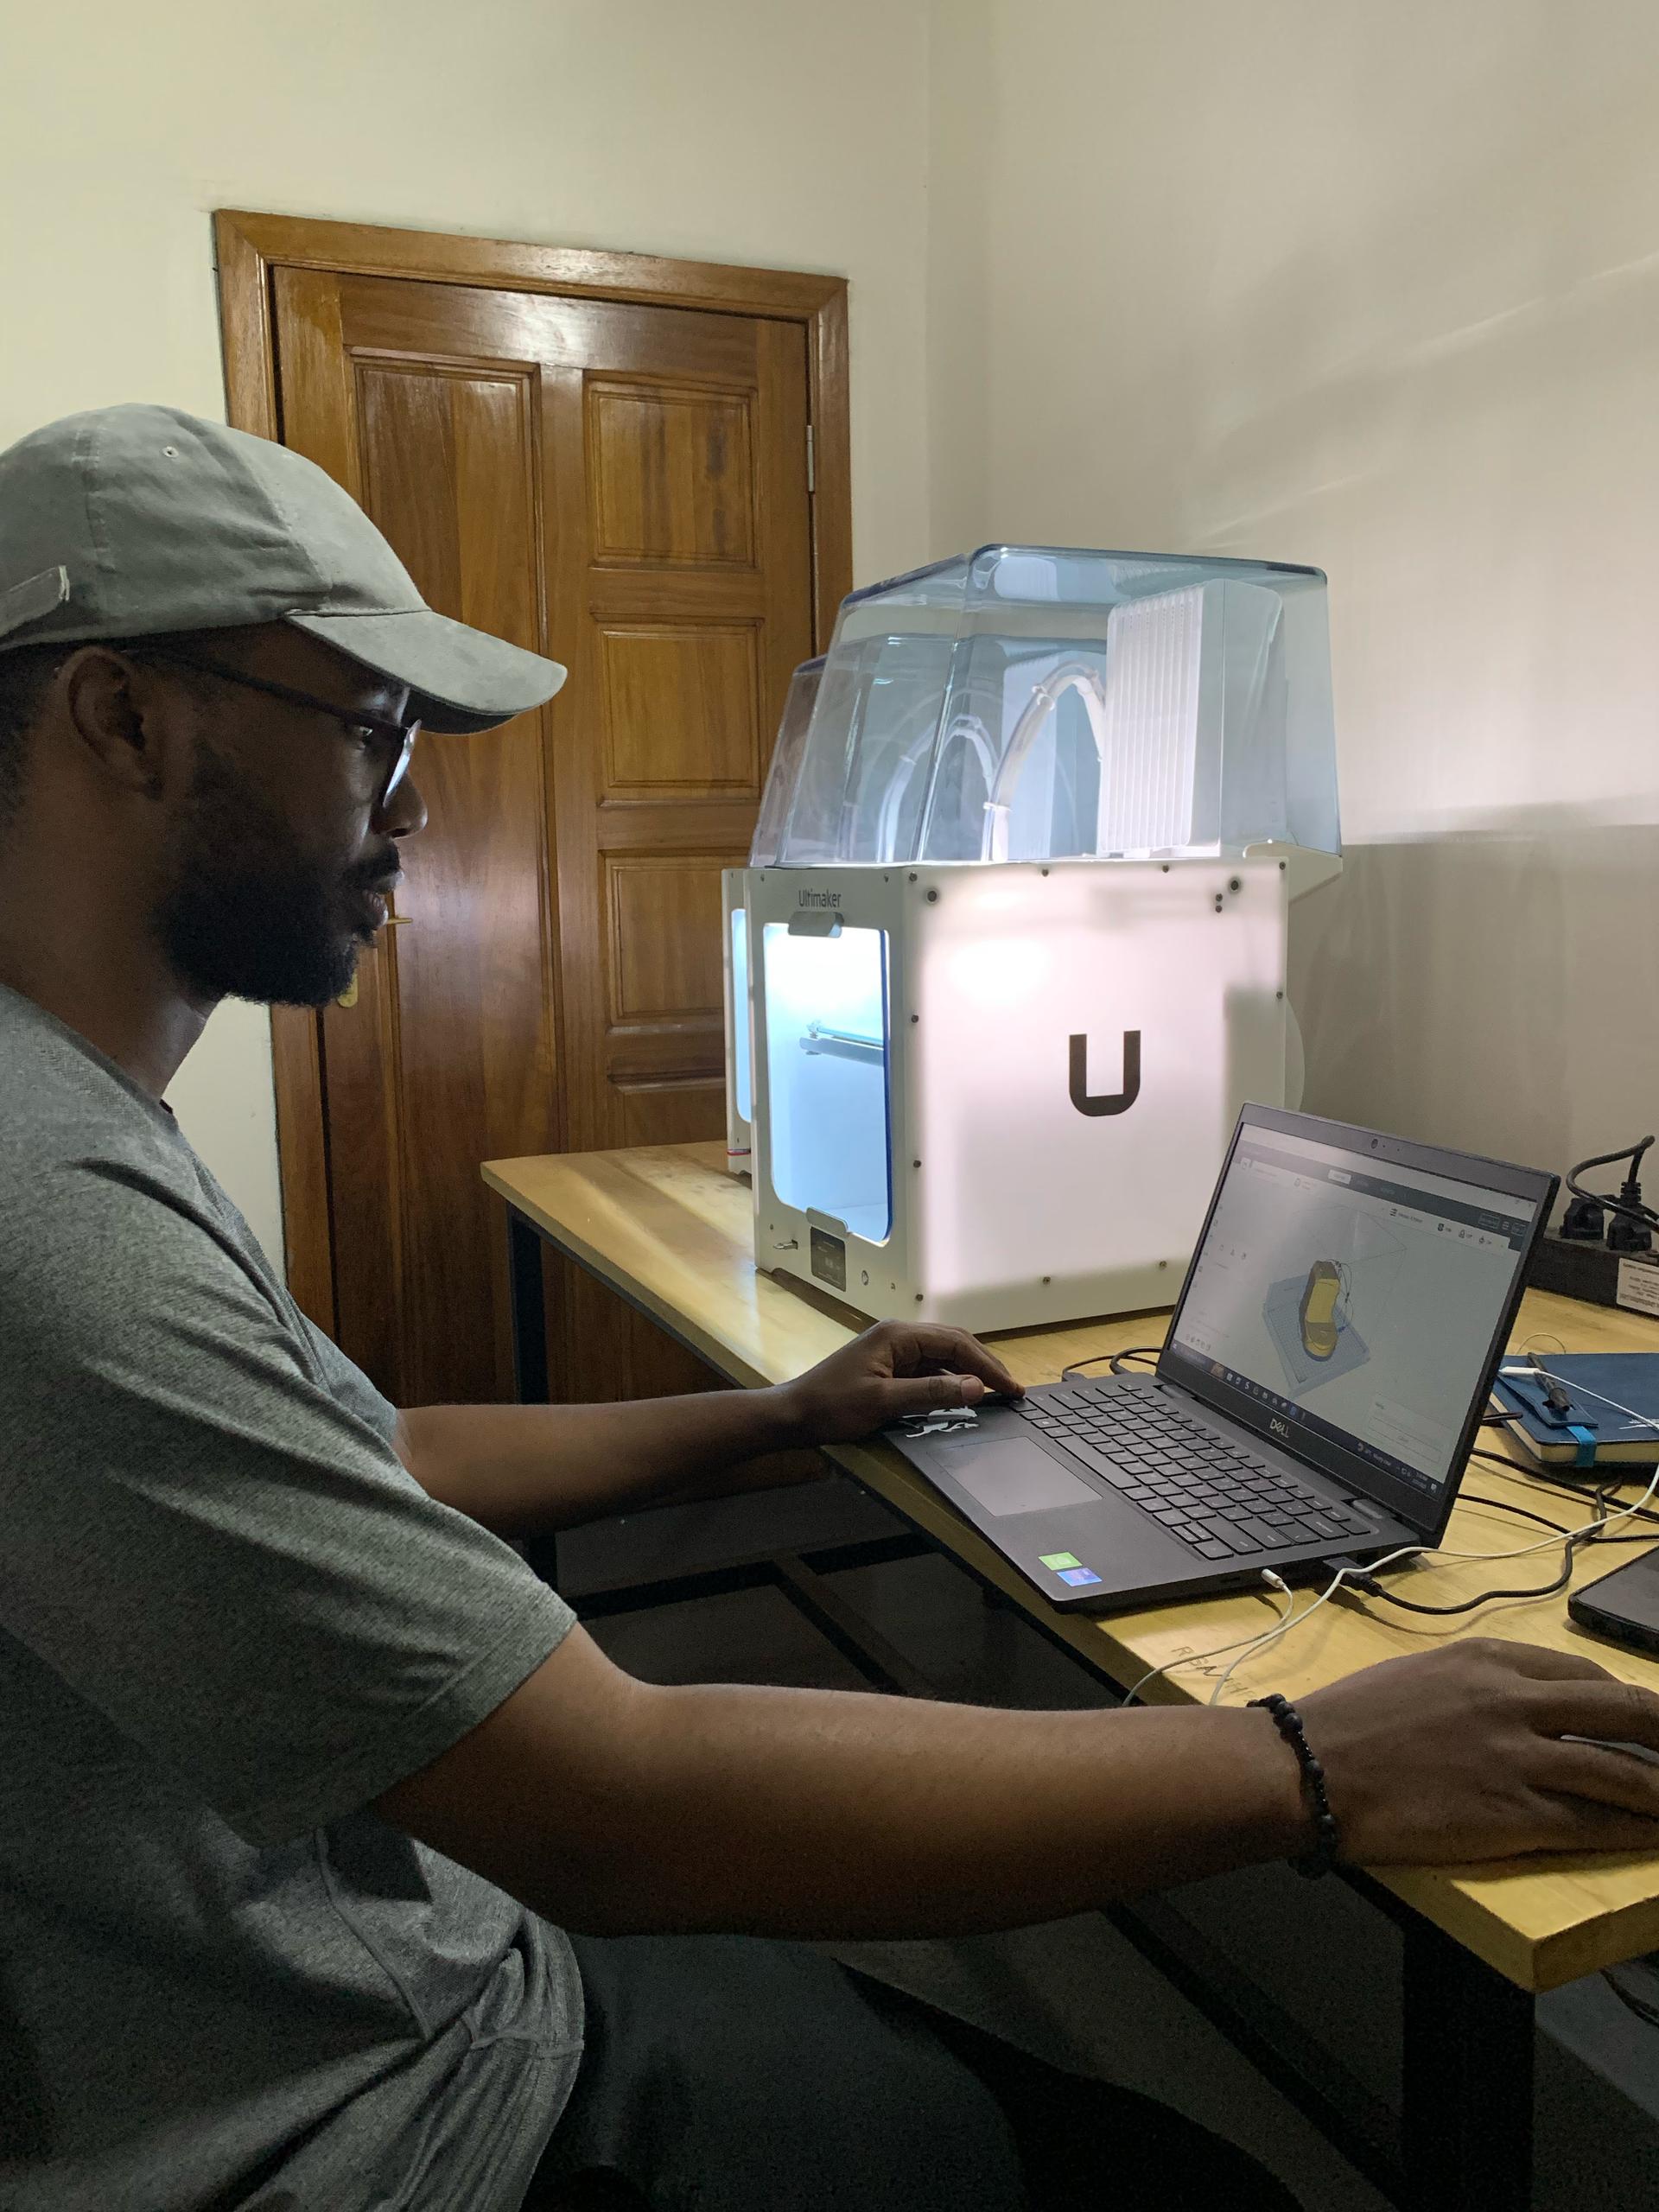
Slicing the scanned part.
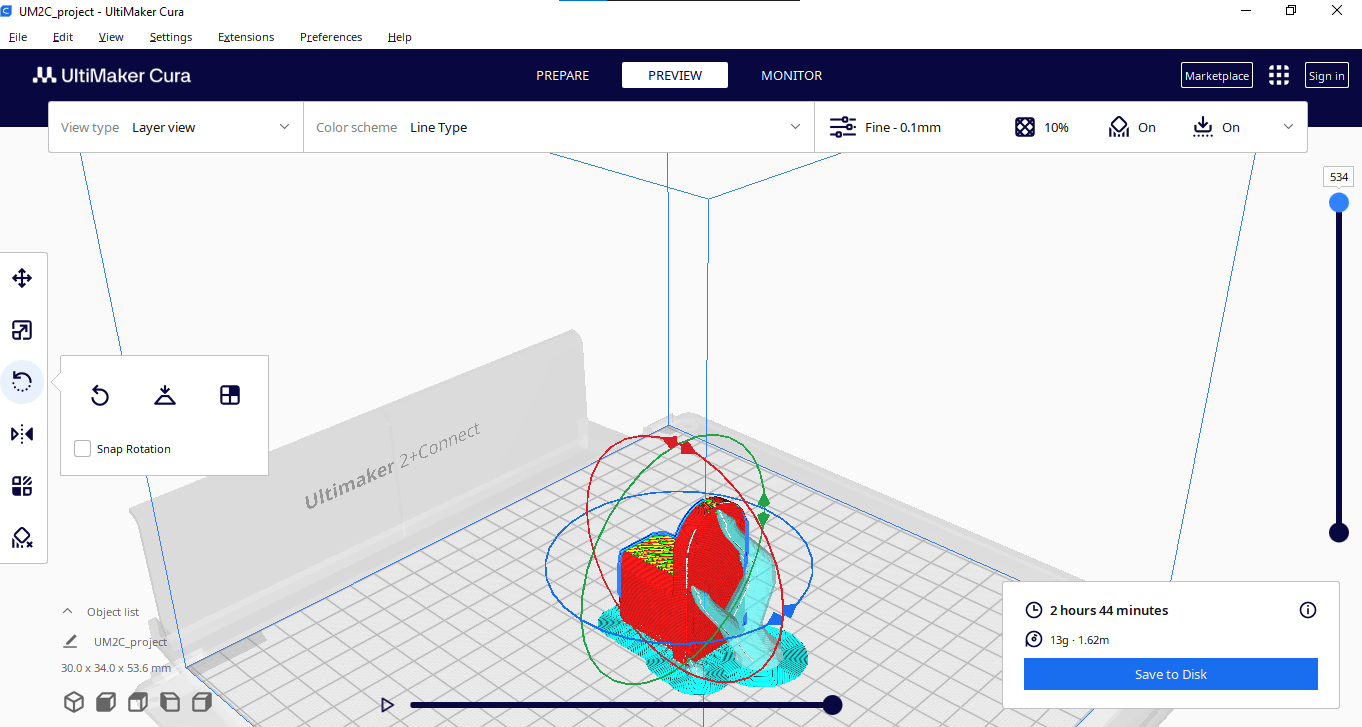
Arranging, scaling by 40% the model and adding supports in cura slicer.
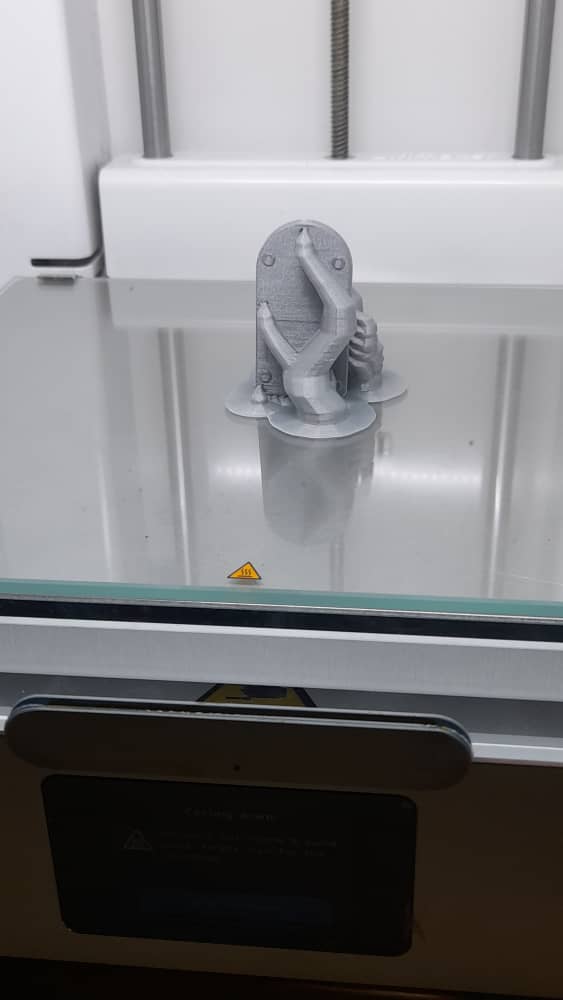
The printed part.
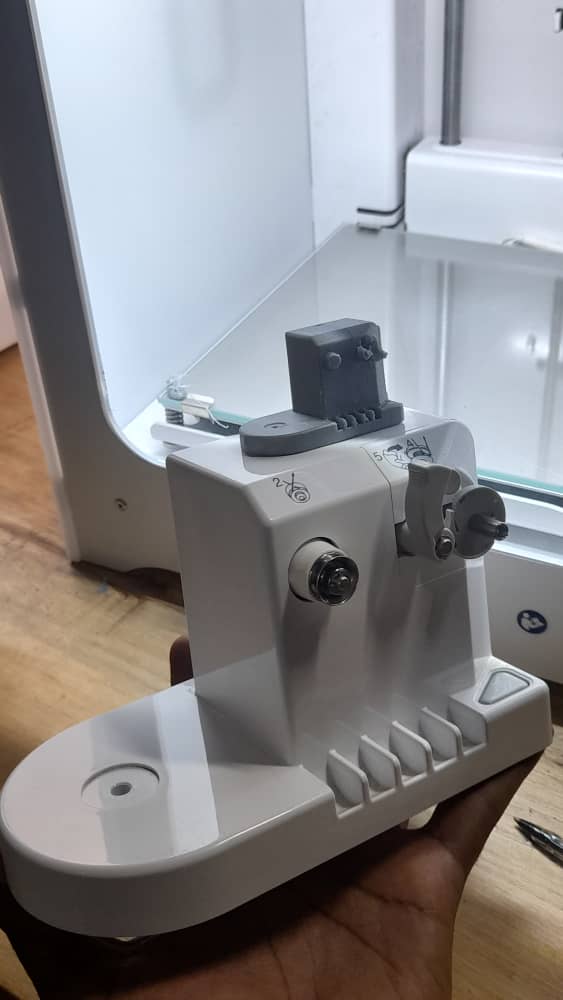
Both original part and printed part after cleaning.
Designing and Printing the inside Ball
For my second experiment, I wanted to design a simple structure with a freely moving trapped ball that could serve as a small fidget toy.
- Design Phase: I created the model in SolidWorks, using parametric equations to allow easy adjustments.
- Slicing & First Print Attempt:
- Settings: 0.1 mm layer height, 10% infill, no supports, and adhesion enabled.
- Issue: The nozzle moved the ball during printing, ruining the print.
- Second Print Attempt:
- Added supports, which helped keep the ball in place.
- Result: The print was successful but required extensive support removal.
- Third Print Attempt
- Removed supports, increased adhesion brim width from 8 mm to 15 mm for better bed adhesion.
- Result: The print came out well, but minor shrinking made the ball slightly oval instead of perfectly round. After cleaning up, the previous version with support turned out to be better.
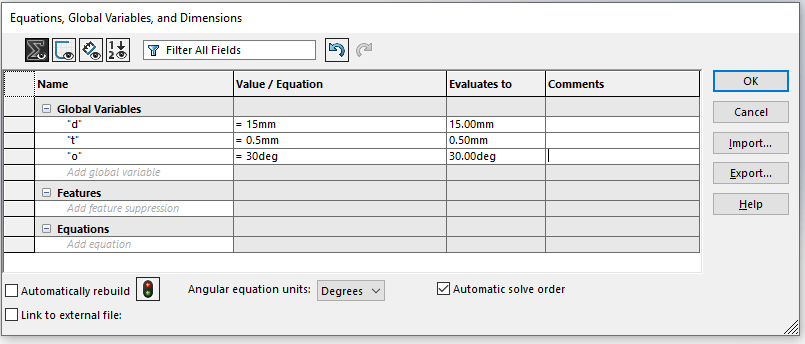
Setting parametric equations in SolidWorks for easy edit in future.
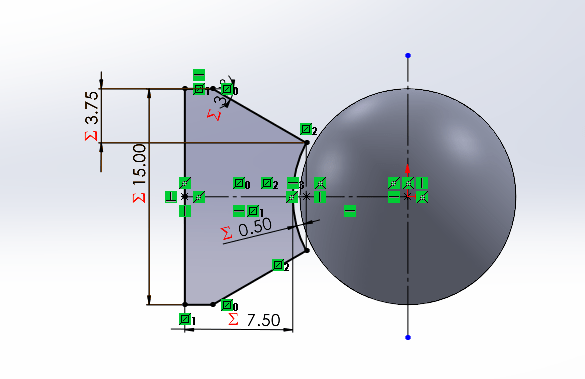
Designing the structure and revolve it around the ball using Revolved boss.
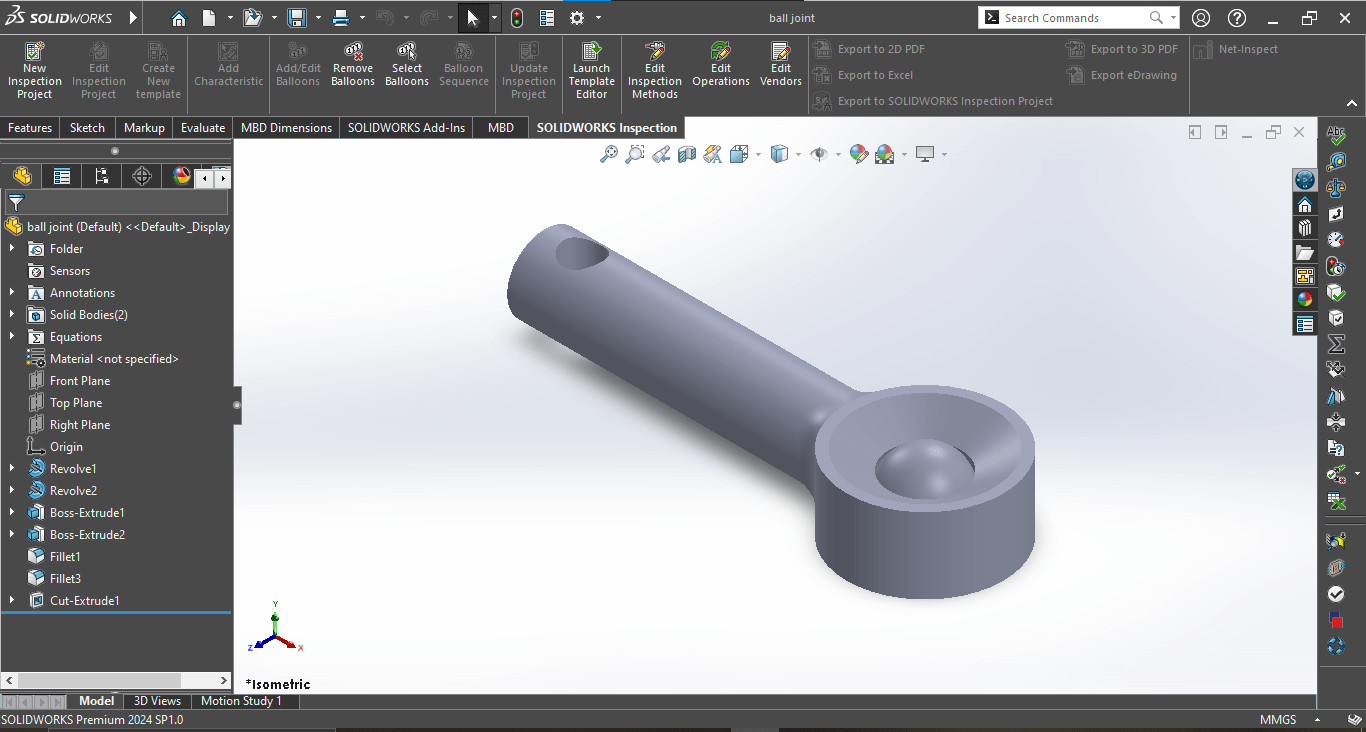
My final Design.
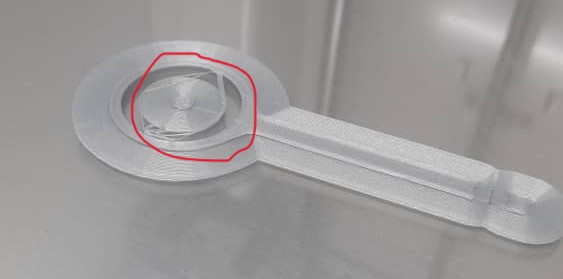
The nozzle moved the ballpart of my print and it was ruinned so i stoped it.
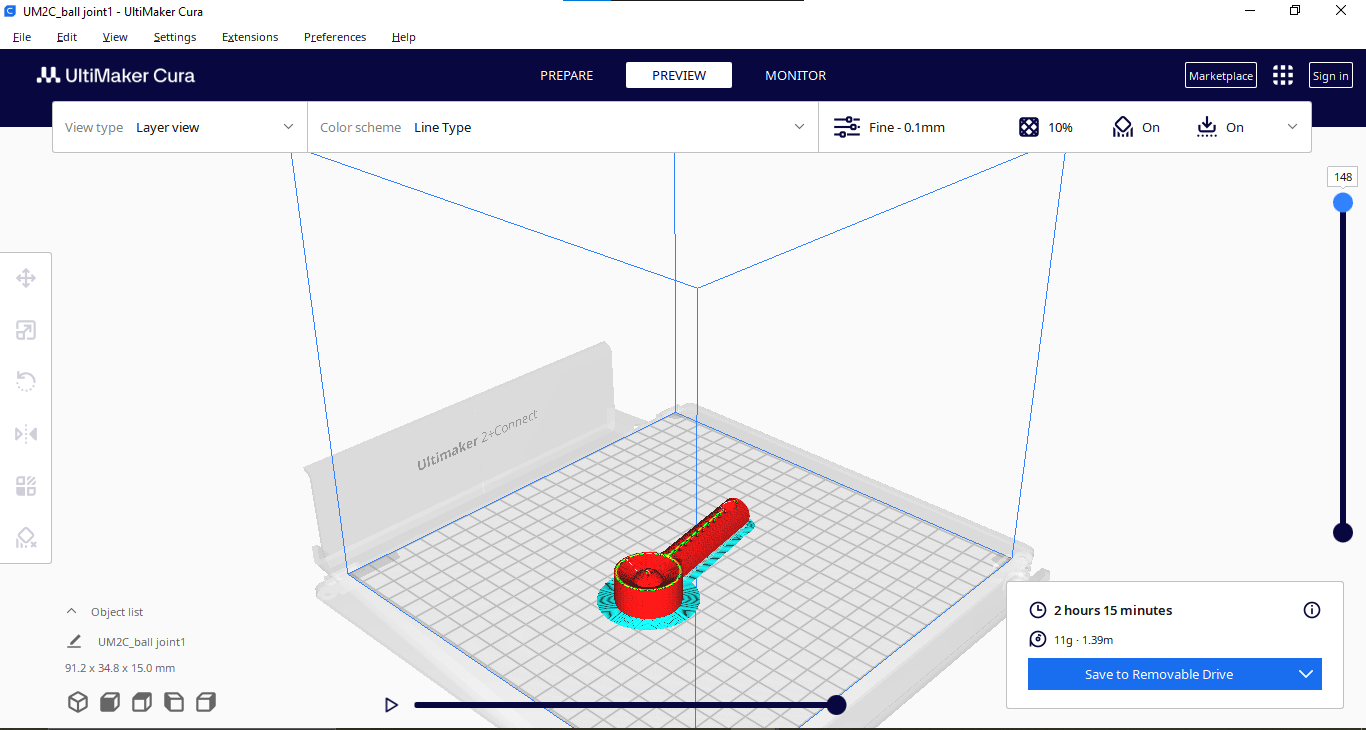
Sliced part after supports.
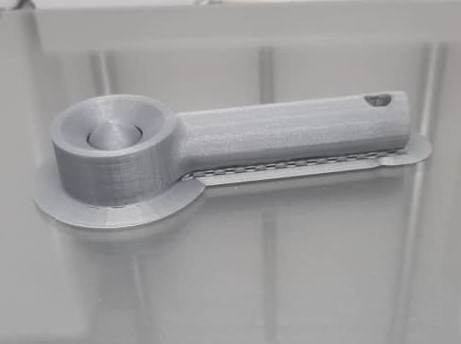
The printed part.
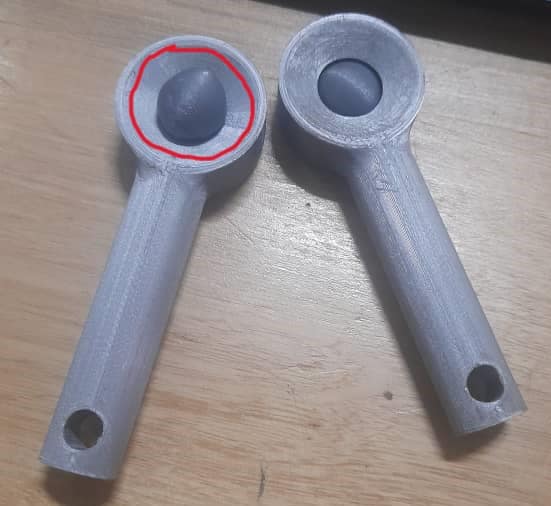
Both prints where on the left the ball in the second print end up movedout the structure. so
Learning and Takeaways
Even though I had used 3D printers before, this was my first time exploring advanced print settings, which improved my understanding of print limitations.
Support structures are necessary for some designs but can also damage delicate parts if not carefully removed. So next time, I want to improve how supports are used and removed to minimize post-processing work and prevent surface damage.
This project reinforced the role of 3D printing in prototyping. The ability to create complex, interlocking, and trapped geometries is a huge advantage over traditional manufacturing.
Design files
- download scan part (STL)
- download inside ball(STL)
