Computer-Controlled Cutting
- Do your lab's safety training
- Characterize your lasercutter's focus, power, speed, rate, kerf, joint clearance and types.
- Document your work to the group work page and reflect on your individual page what you learned.
- Design, lasercut, and document a parametric construction kit, accounting for the lasercutter kerf, which can be assembled in multiple ways.
- Cut something on the vinyl cutter.
#.Group assignment:
Group Work Reflection
Using the CO₂ laser cutter taught me how important it is to balance power and speed for clean cuts. Too much power burned the material, while too little left cuts incomplete. I also learned that kerf the material removed by the laser affects how well parts fit together, so it's important to account for it in designs.This experience showed me the value of testing and recording settings for different materials to make future work easier.
Here is the Group assignment (link)
#.Individual assignment
Designing and Cutting with Computer-Controlled Cutting
The goal of this project was to design, laser-cut, and document a parametric construction kit, ensuring that the design accounted for the laser cutter's kerf and could be assembled in multiple ways. Additionally, I aimed to cut a custom vinyl sticker using a vinyl cutter.
My Approach
For the parametric kit, I envisioned two interlocking pieces that could connect in different ways. To make the design flexible, I planned to use parametric modeling, allowing easy modifications by adjusting key variables. For the vinyl cutter, I decided on a simple sticker design to place on my laptop.
To bring my ideas to life, I used SolidWorks for 3D modeling.
The Journey (Challenges, Decisions, and Results)
Parametric Construction Kit
I started by designing a triangle-shaped piece with slots, using equations to define its parameters, making future modifications easy. Then, I designed a joint piece, applying the same parametric approach to ensure seamless adjustments.
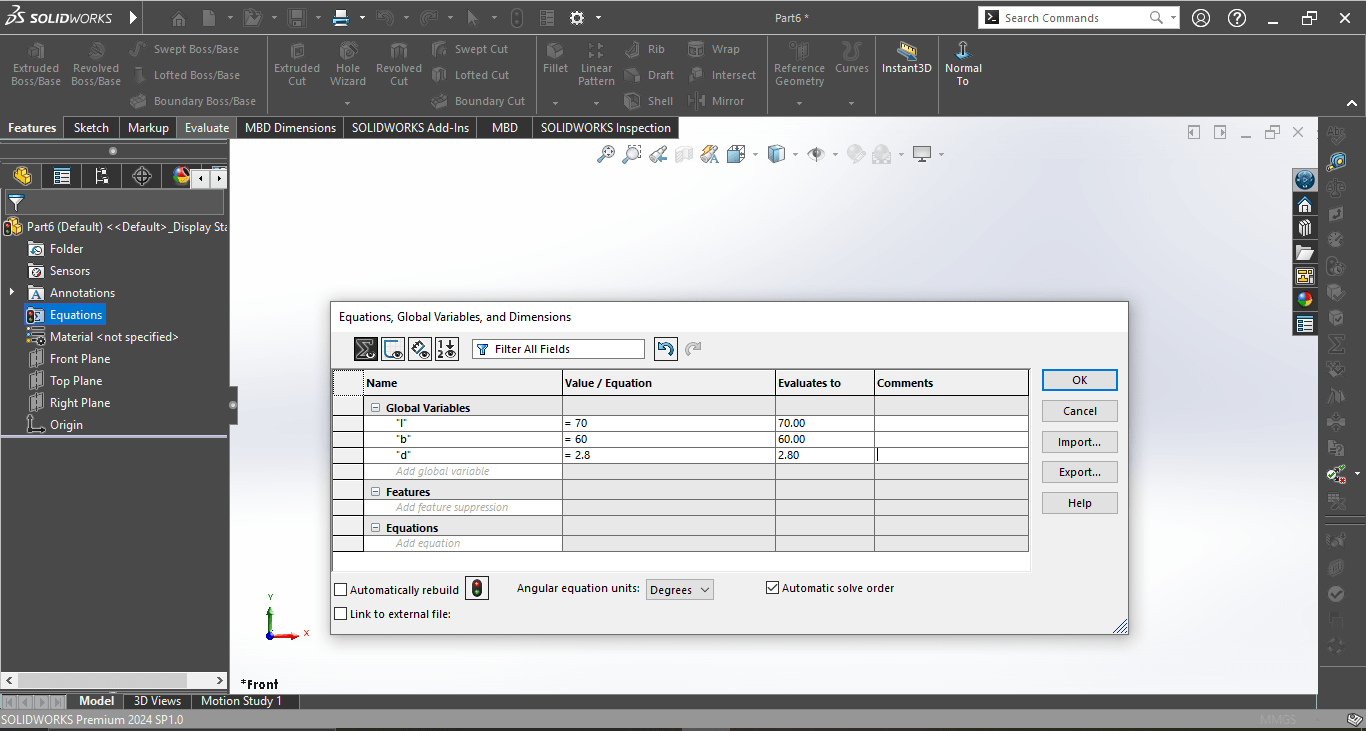
Here i was setting the equations for the triangle.
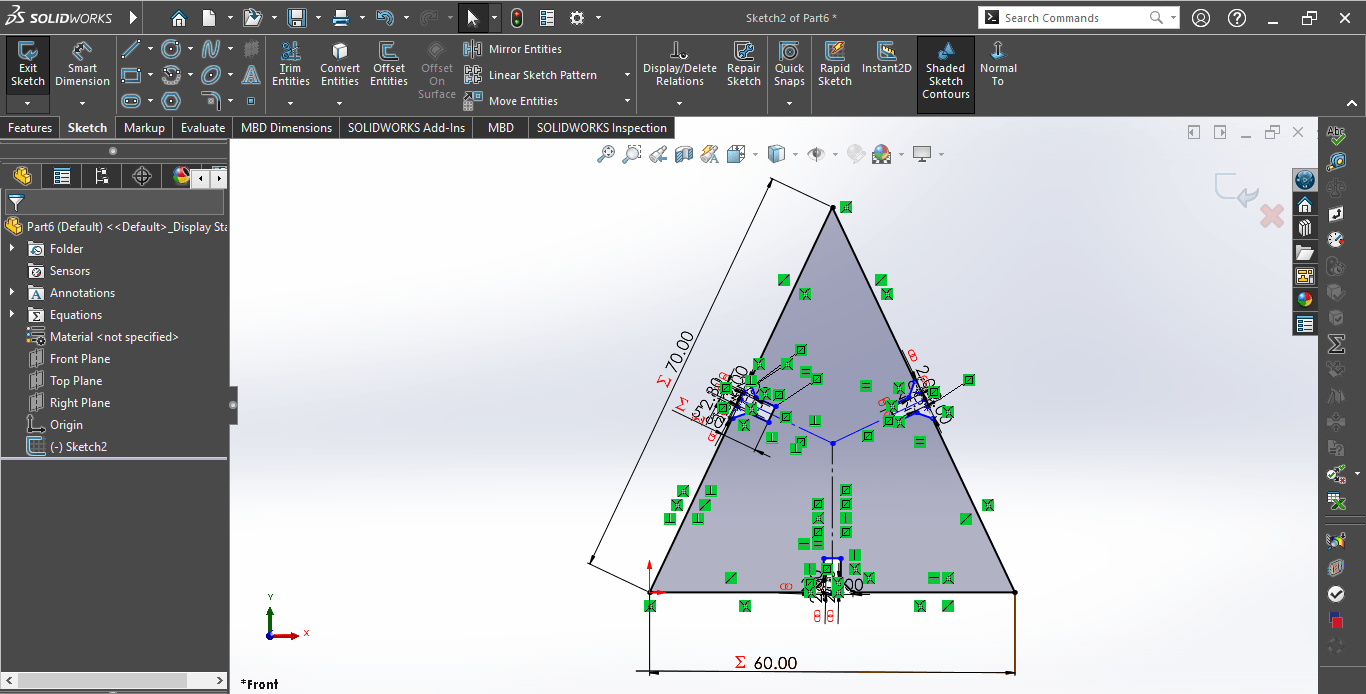
the triangle design.
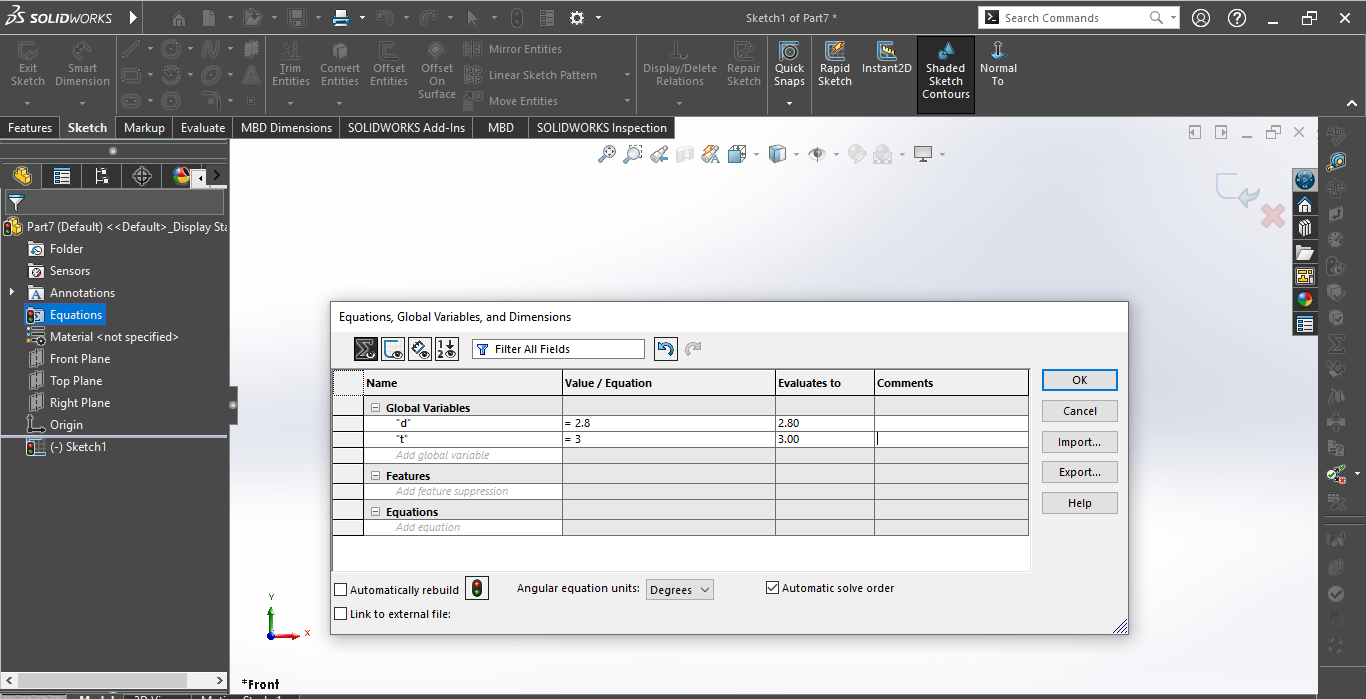
the equations of the joint.
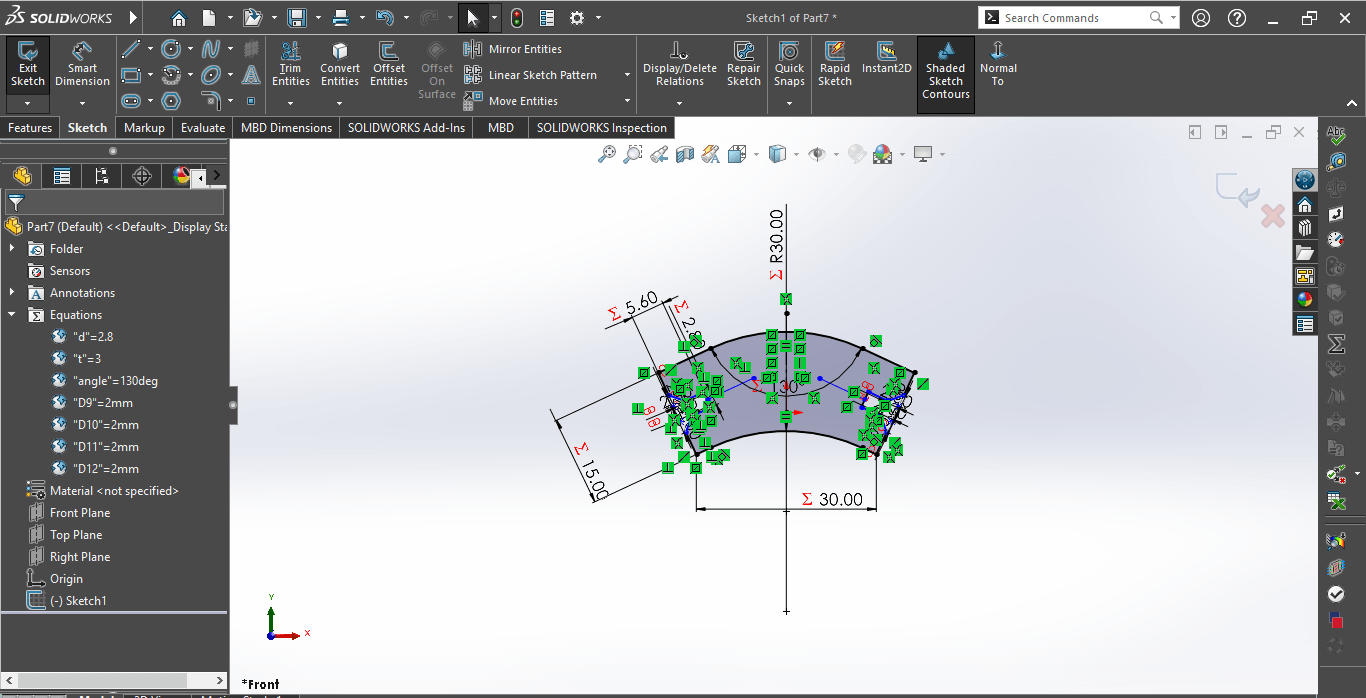
the joint design.
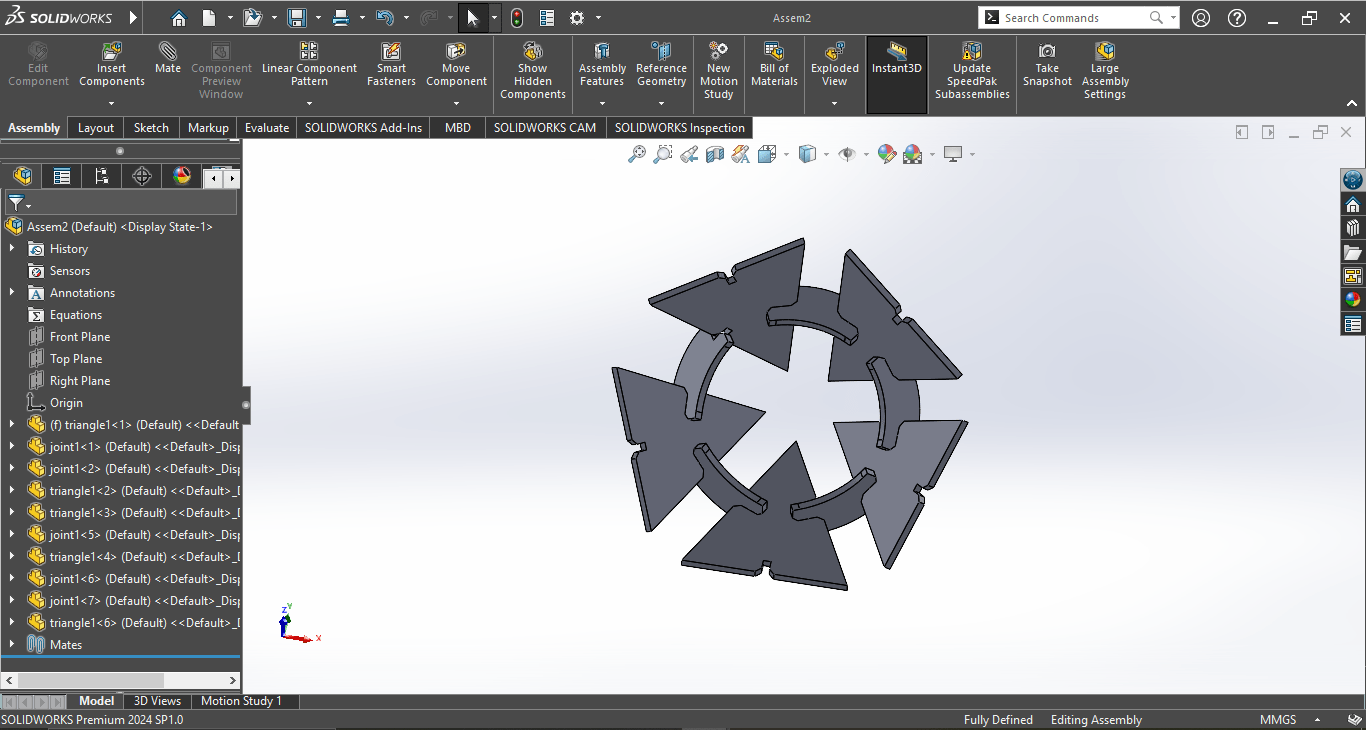
To test the design, I used SolidWorks Assembly to put the pieces together. During this process, I realized that my joint piece needed resizing, so I adjusted it and finalized the design.
This is the assembly of my parametric kit.
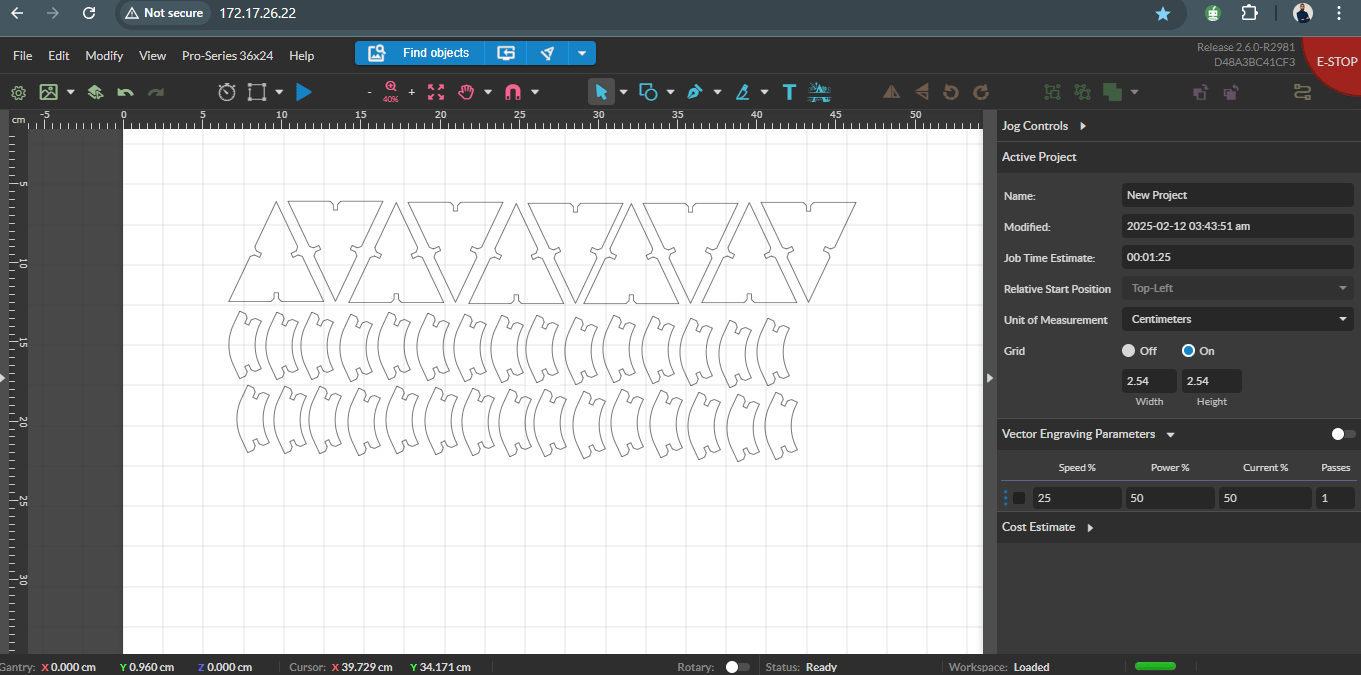
Once satisfied, I saved the parts as DXF files to extract their 2D profiles for laser cutting. I then opened these files in RetinaEngrave v3.0, which was wirelessly connected to an FSL PS36 laser cutter.
This was my first time running a wireless job, which was an exciting experience. After arranging my design in the software, I sent it to the laser cutter and watched the machine precisely cut my pieces.
After duplicating and arrenging my designs.
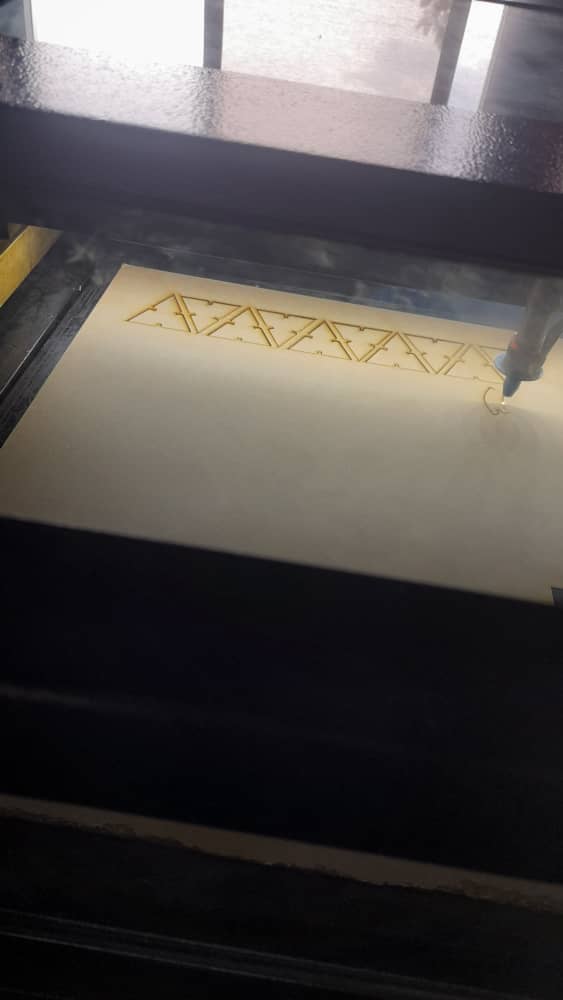
The laser cutter cutting the parts.
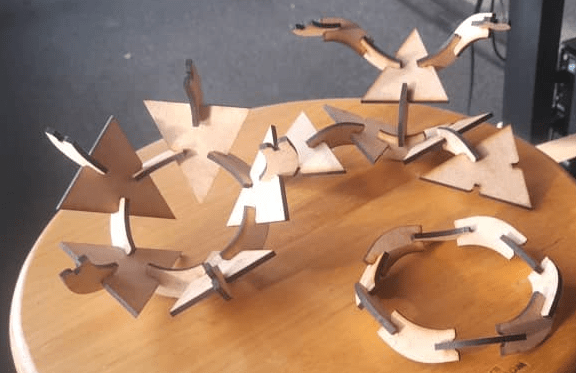
With my pieces ready, I experimented with different assembly possibilities, verifying that the design worked as intended.
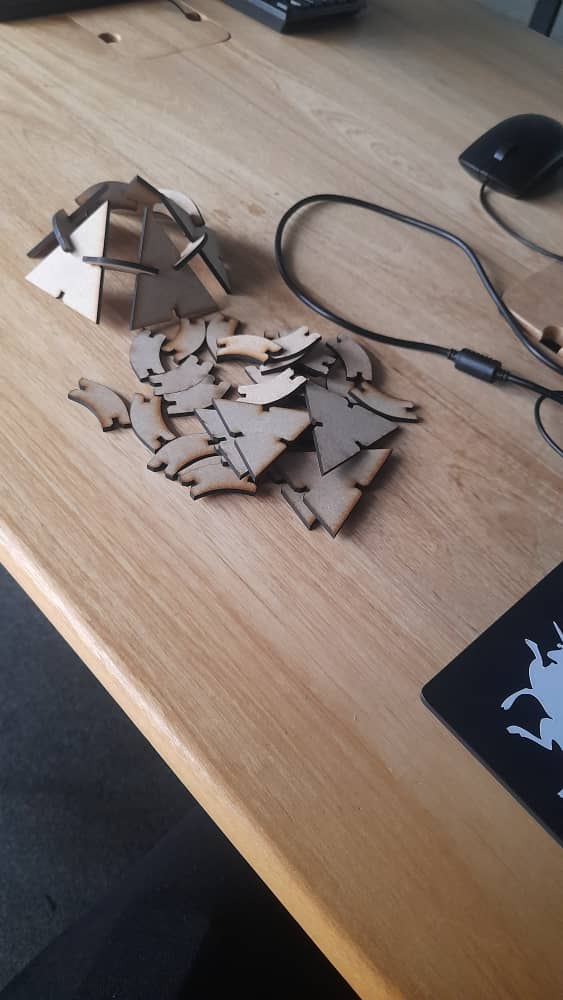
My parts after printing out.
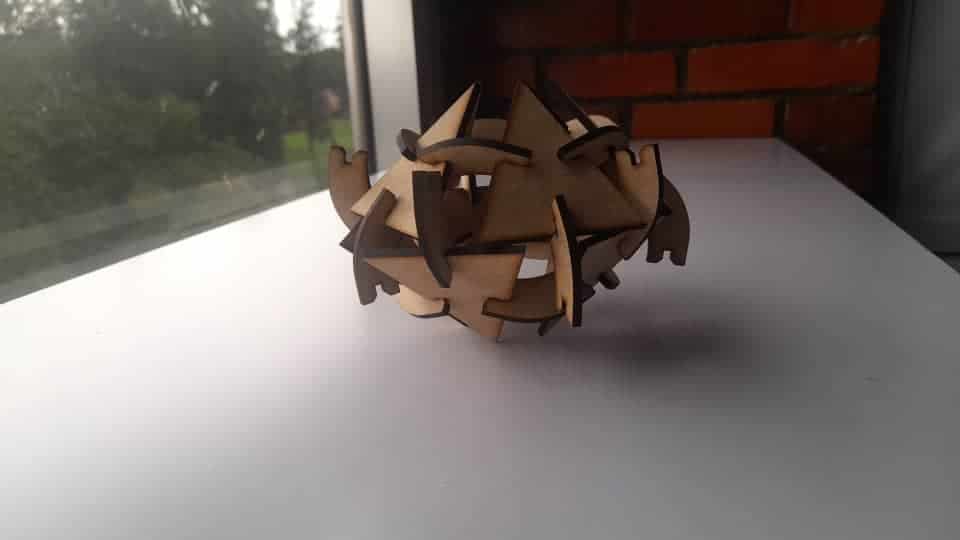
Assembling all the parts together.
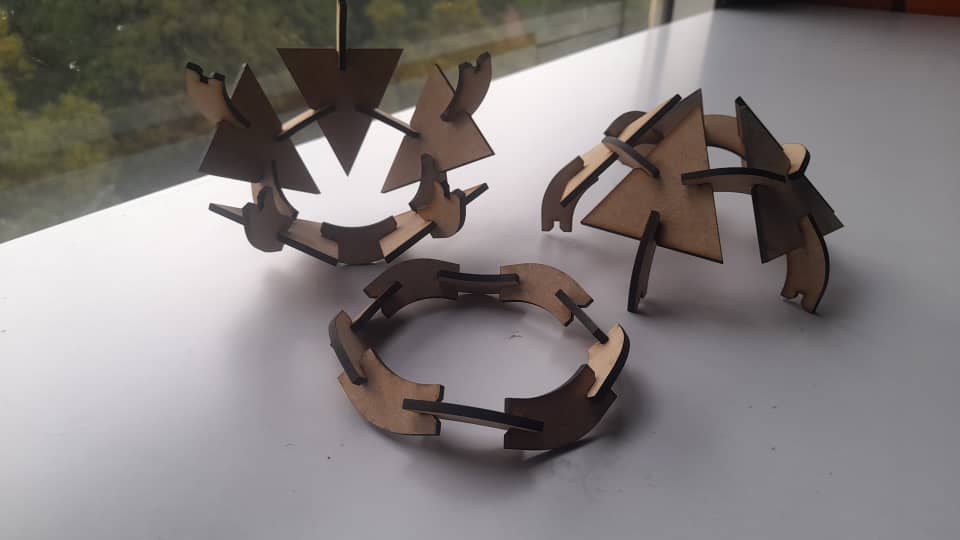
Parts assembled.
Vinyl Cutting
For the vinyl cutter, I used the KI-375 Plotter, which required a specific software called SignMaster Craft, available only on one laptop. After opening the software, I browsed the clipart library and selected a unicorn design to use as a sticker.
-min.png)
ignMaster Craft
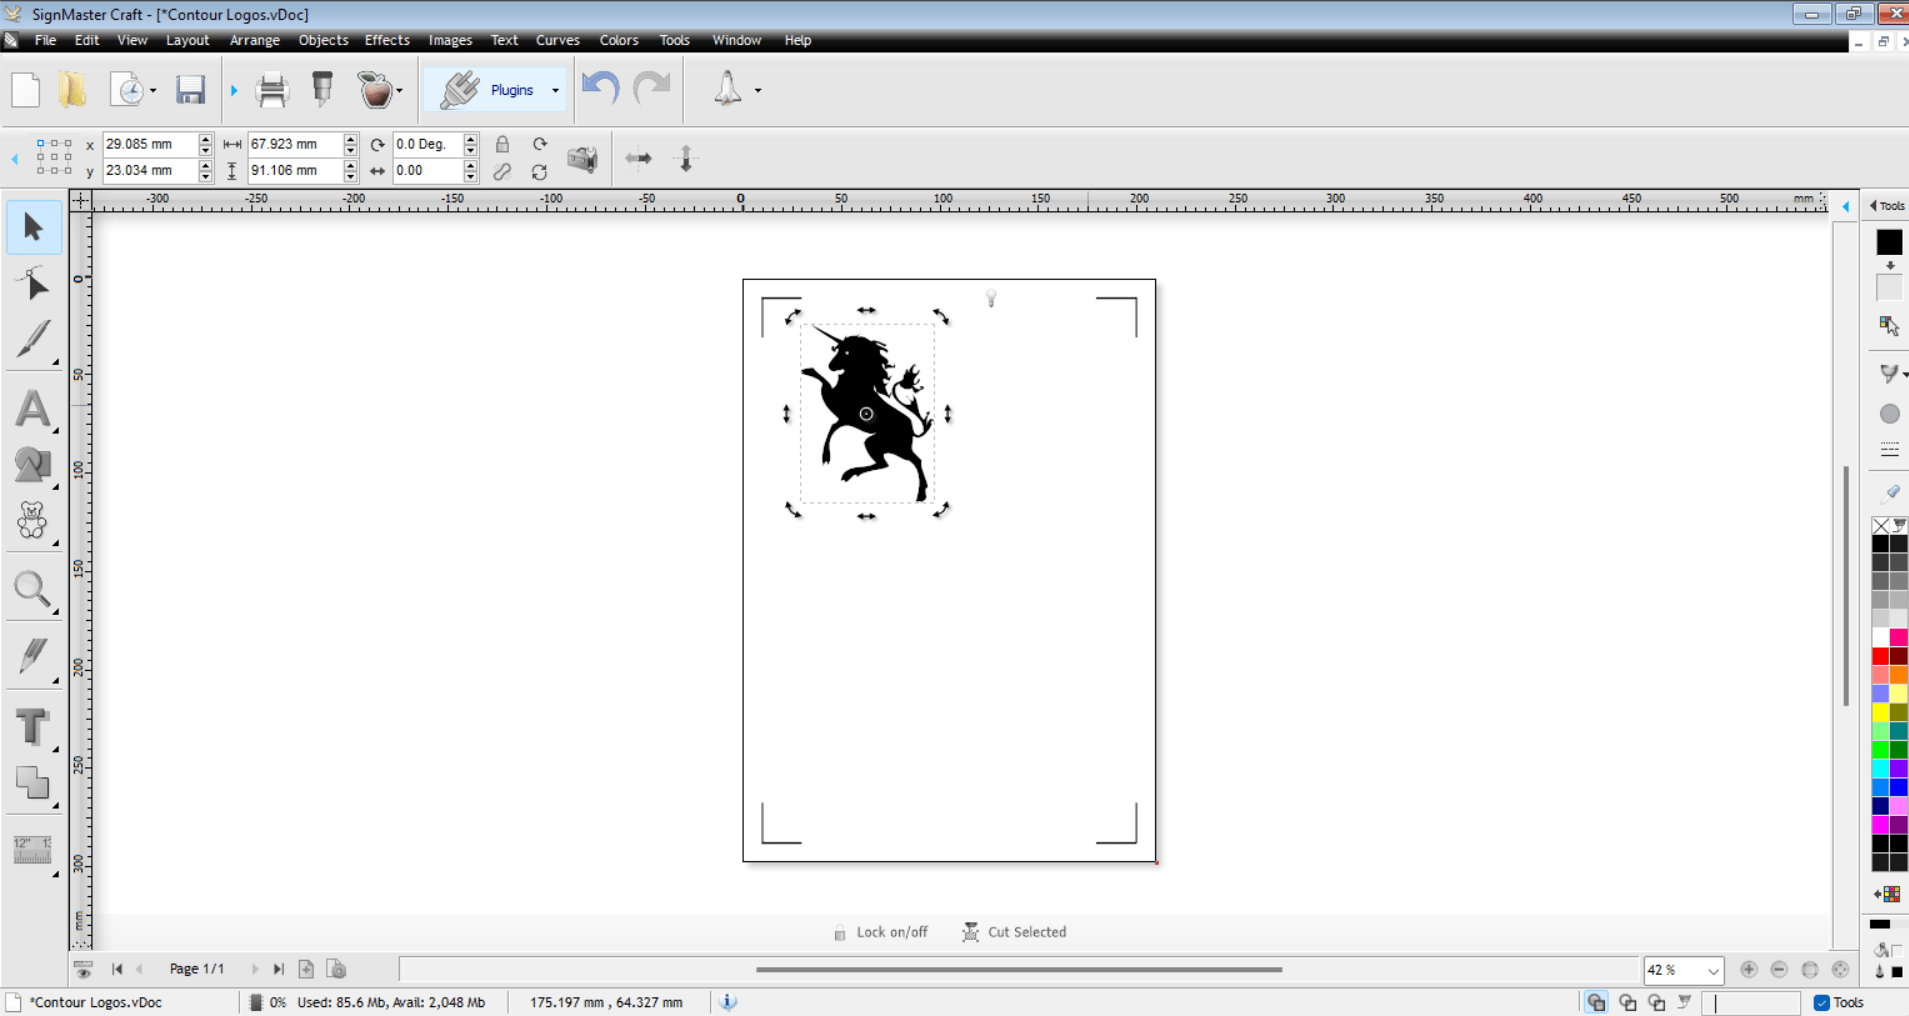
unicorn design from the clipart library
To refine the design, I added a frame around it and set the cutting origin on the vinyl sheet. Once everything was set, I started the cutting process. When the sticker was done, I carefully removed it and placed it on my laptop as a personal touch.
.png)
Proceed with cutting.
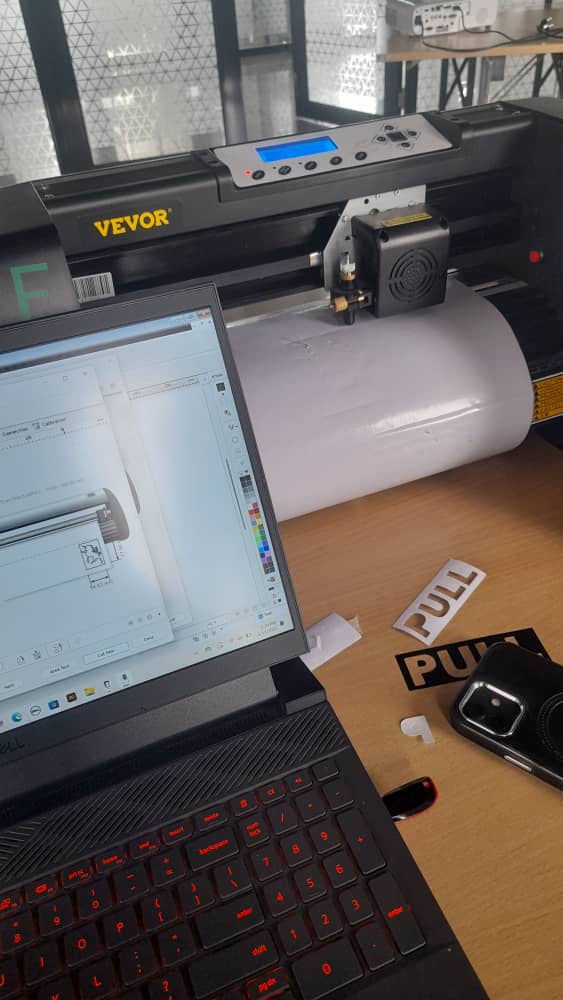
Cutting the sticker.
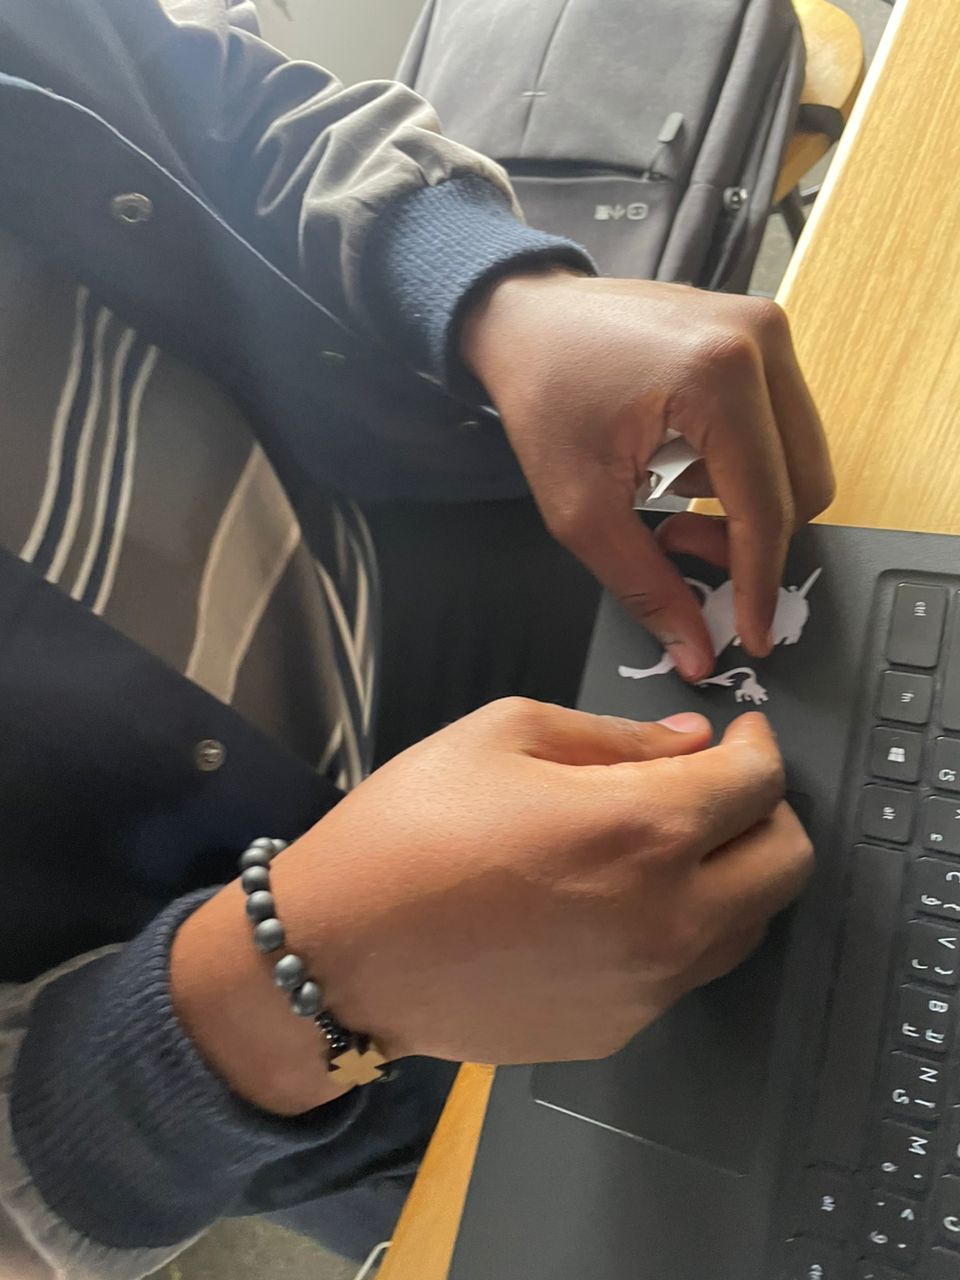
Placing the sticker to my laptop.
Testing the Results
Once both projects were complete, I tested them to ensure they met my expectations. The parametric construction kit successfully assembled in multiple ways, demonstrating the effectiveness of parametric design. The sticker from the vinyl cutter was clean and well-cut, sticking perfectly onto my laptop.
The final assemblies for my parametric Kit.
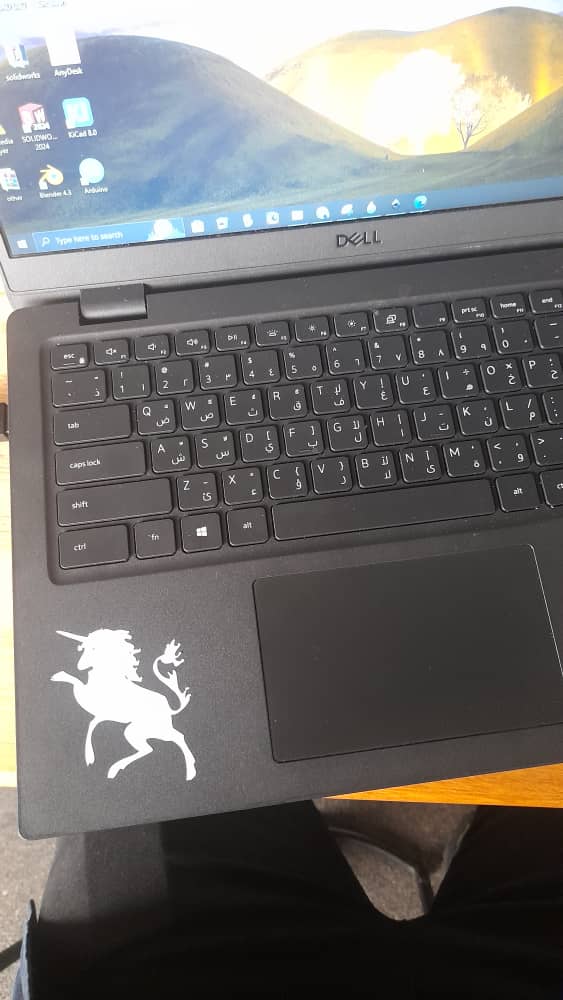
Unicorn sticker on my laptop.
Reflection and Takeaways
This project reinforced the importance of parametric design, making it easier to tweak and adapt designs without starting from scratch. It also highlighted the significance of understanding kerf, as even small miscalculations can impact how pieces fit together.
This project reinforced the importance of parametric design, making it easier to tweak and adapt designs without starting from scratch. It also highlighted the significance of understanding kerf, as even small miscalculations can impact how pieces fit together.
Design files
- download file (Triangle)
- download file (Joint)
- download file (assembly)
