
Do your lab's safety training
Characterize your lasercutter's focus, power, speed, rate, kerf, joint clearance and types.
Document your work to the group work page and reflect on your individual page what you learned.
As a team, we reviewed and discussed lab safety. We focused on the proper operation of machines, starting with correct electrical connections and usage. We also emphasized the importance of cleaning machines after use and handling them properly while in operation. Additionally, we made sure to wear appropriate personal protective equipment such as safety goggles, gloves, and lab coats to ensure our safety during work. We recognized the importance of asking the lab technician for help whenever we had questions or needed clarification.

We have a Carbon dioxide laser cutter of model LC6090 from Jinan BL Mechanical Equipment Co. Ltd with the bed size of 92*122cm. It uses Full Spectrum Laser Controller and RetinaEngrave to operate it. Other specifications are:

Our laser has different parts:
Chiller: which cools down the laser tube to prevent overheating.
Air compressor: blows away debris, smoke, and fumes, ensuring a cleaner cut.
Fume extractor: remove smokes generated during laser operations.
Laser: the main part which uses laser from the tube to cut or engrave on the materials.
All this equipment are connected on 110v output from automatic voltage regulator preventing damage from voltage fluctuations.

Our laser uses an autofocus function which sets the laser head at a distance of 8mm above the material.
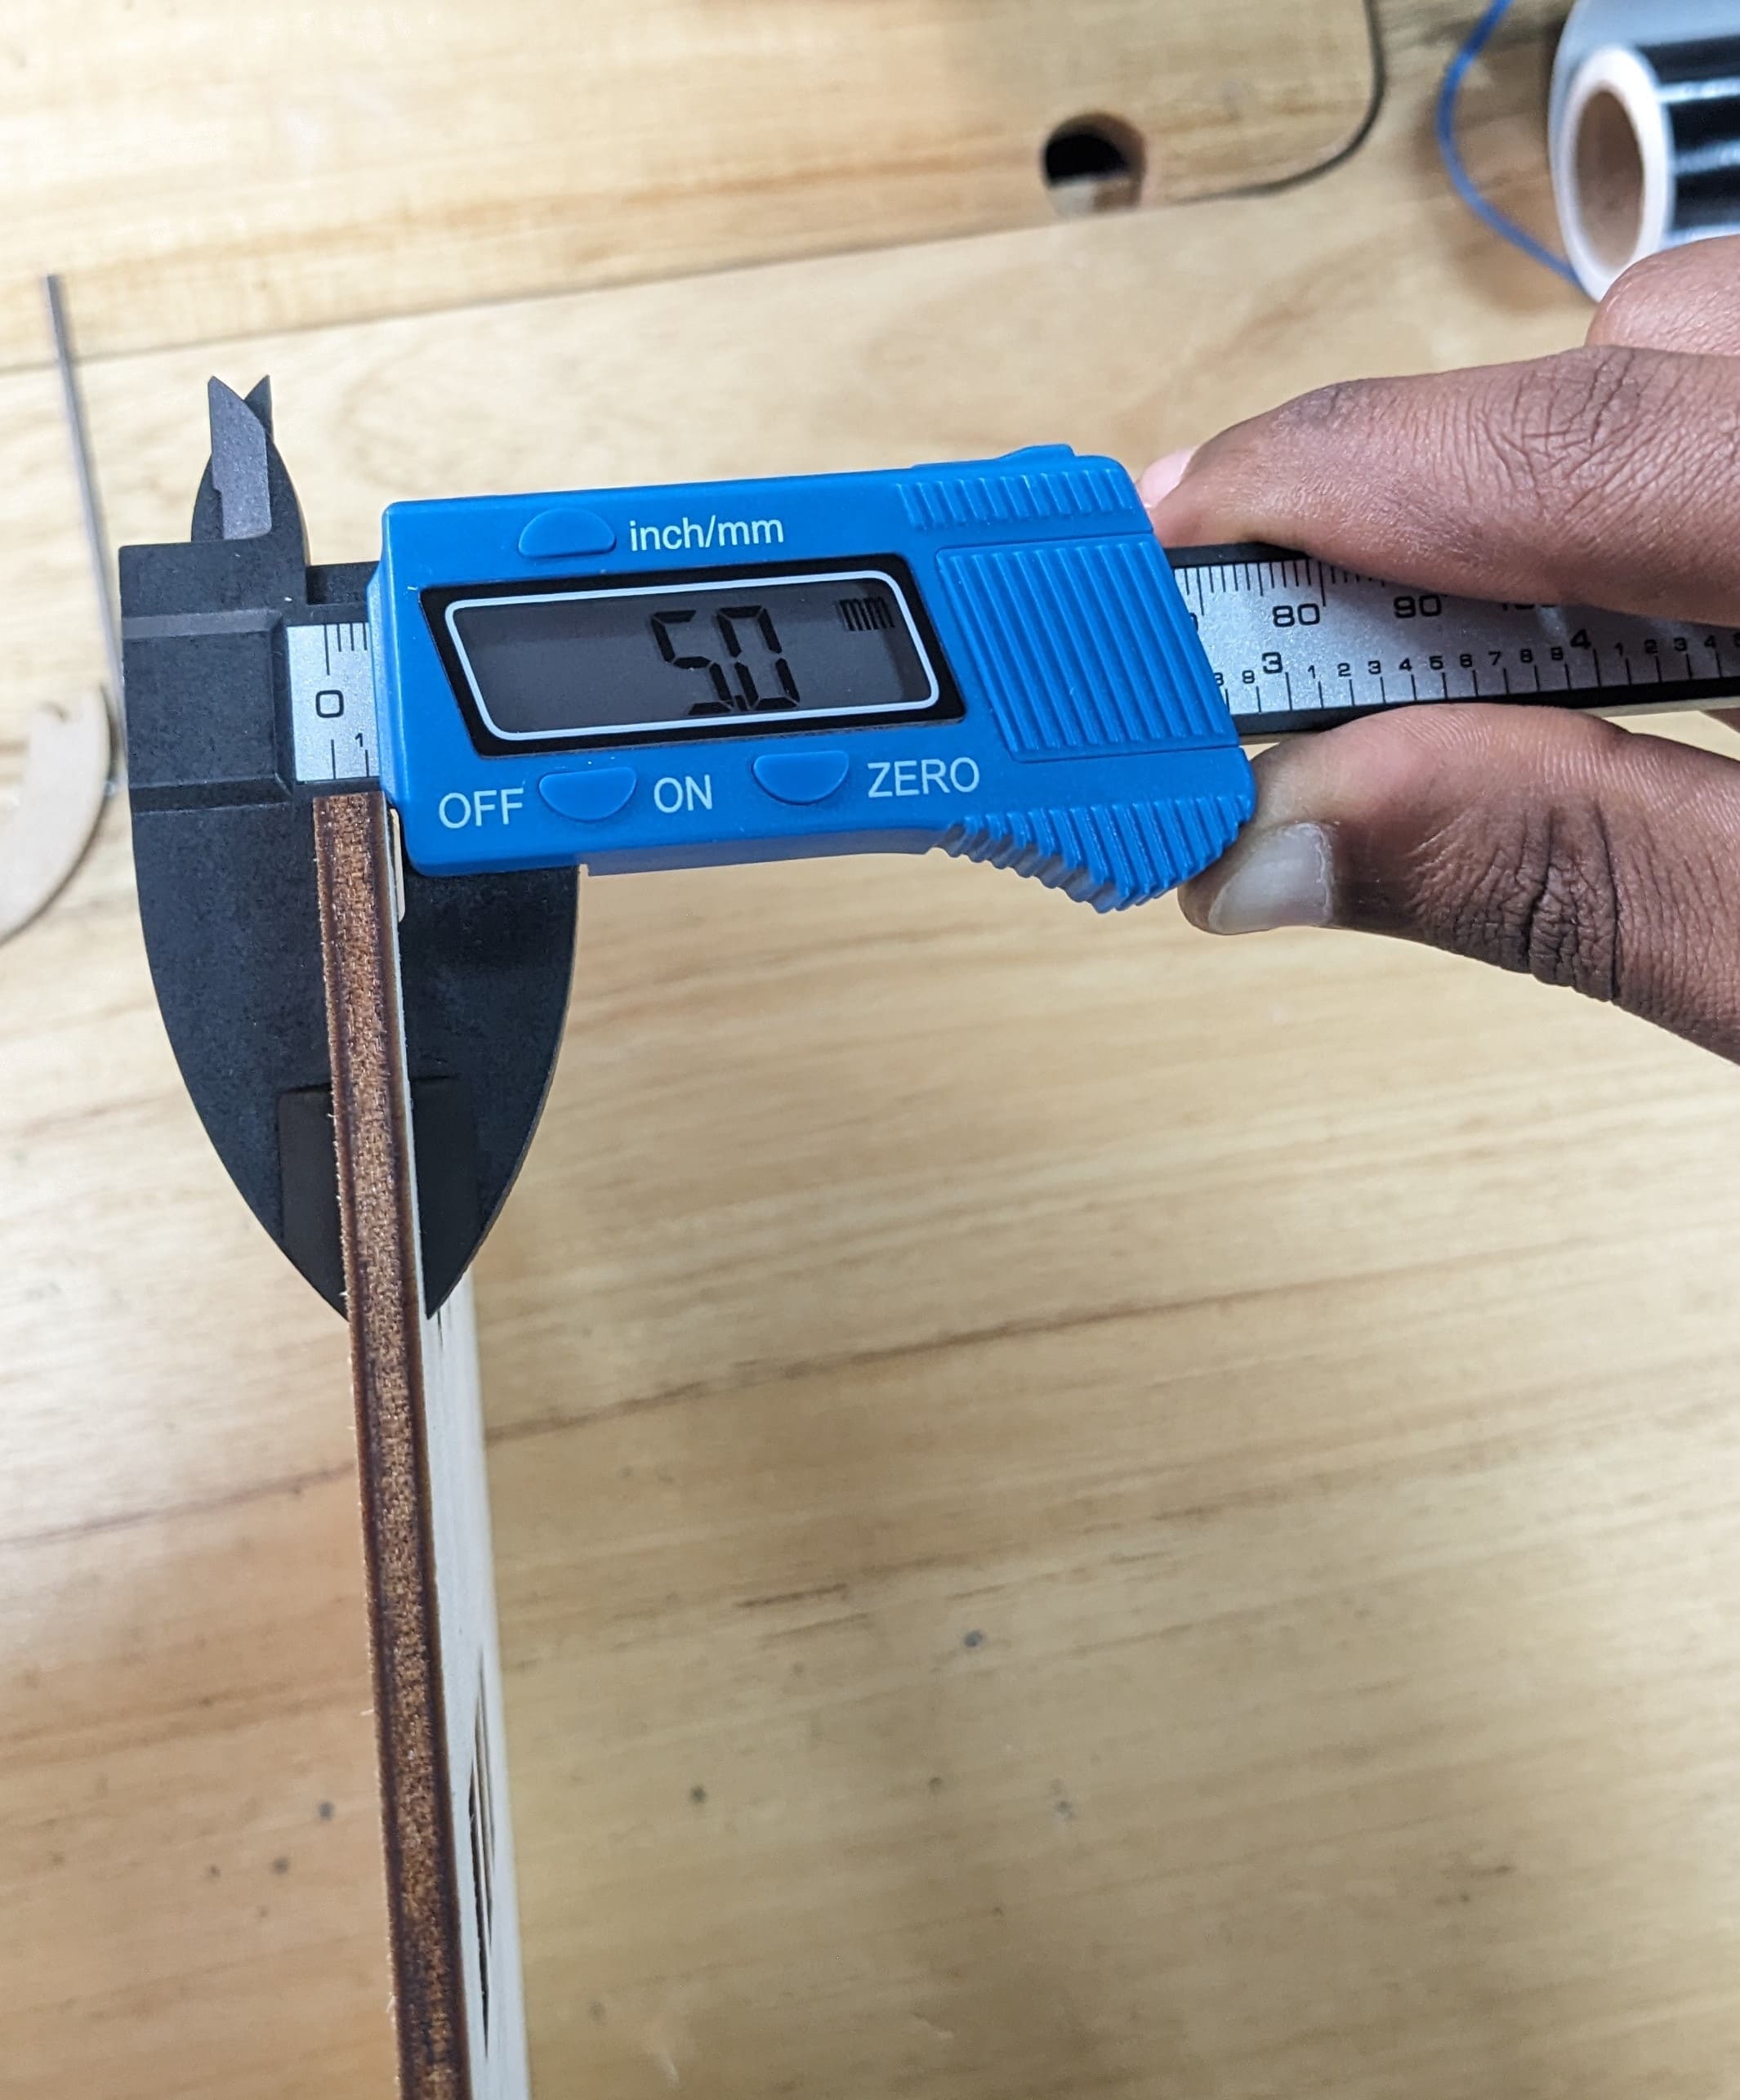
To ensure accuracy in our material thickness, we measured it with a digital vernier caliper.
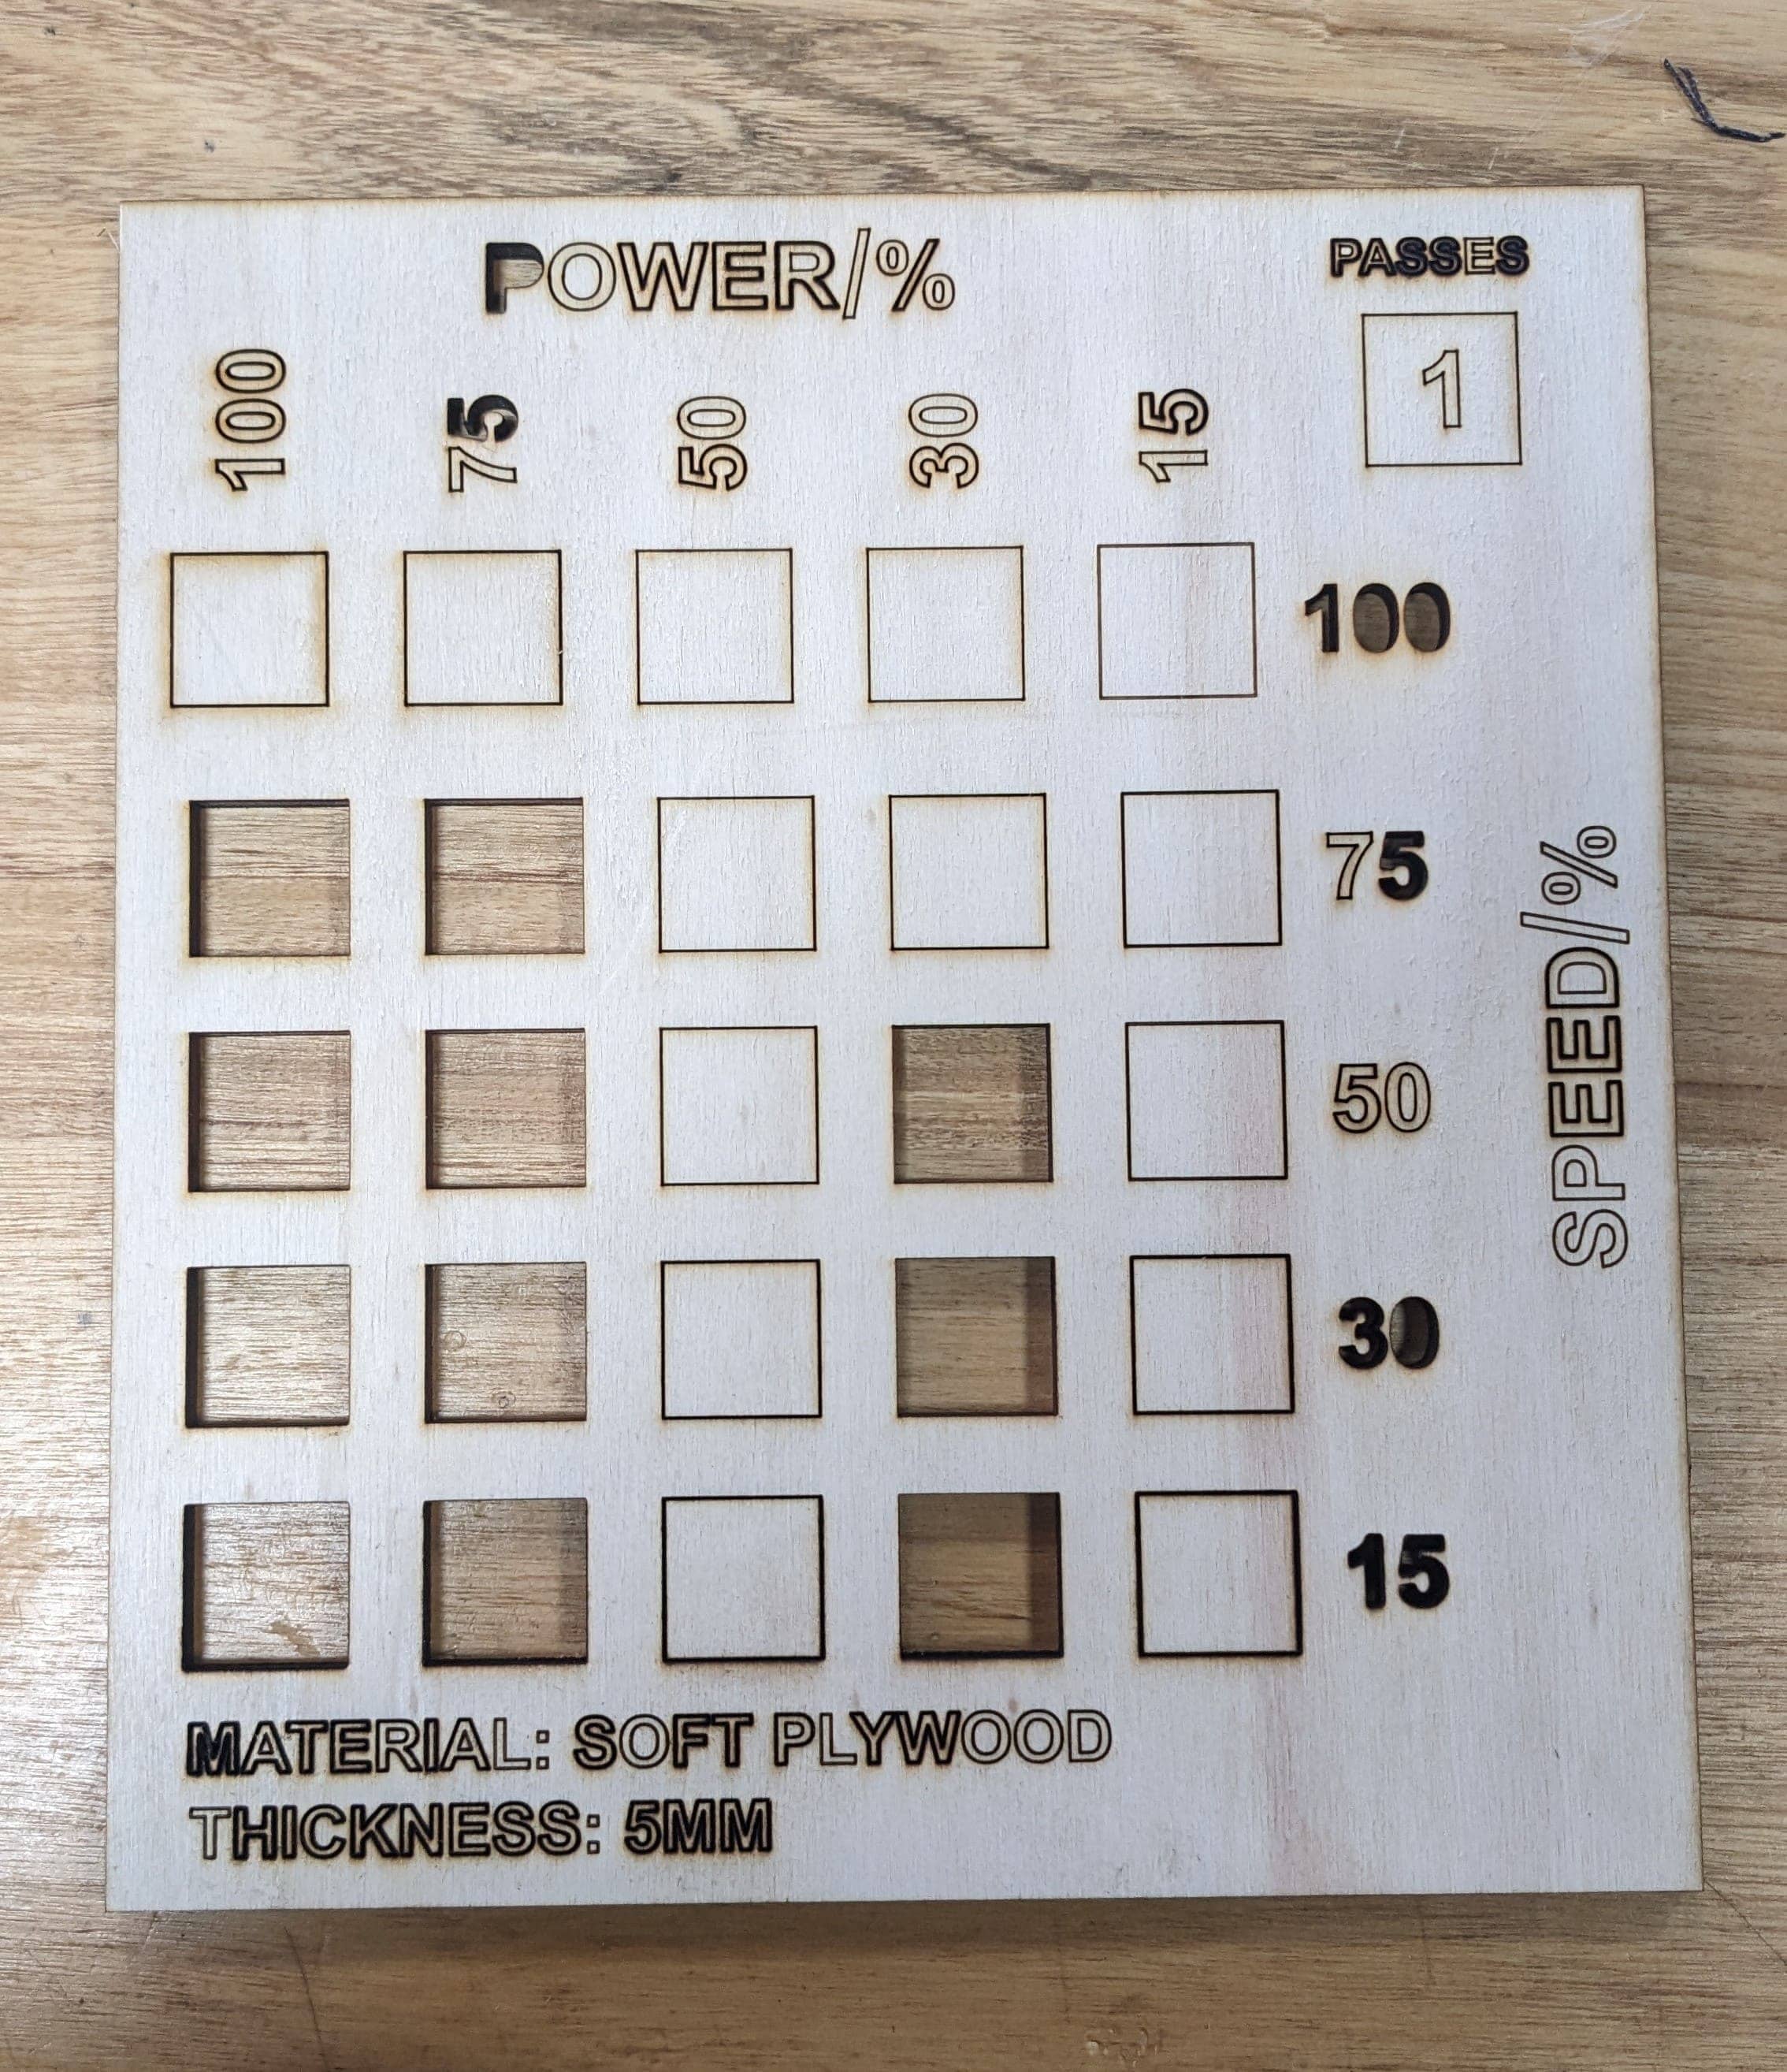
We tried cutting and engraving different types of materials on different speed and power settings to assess the behavior of the laser at each settings.
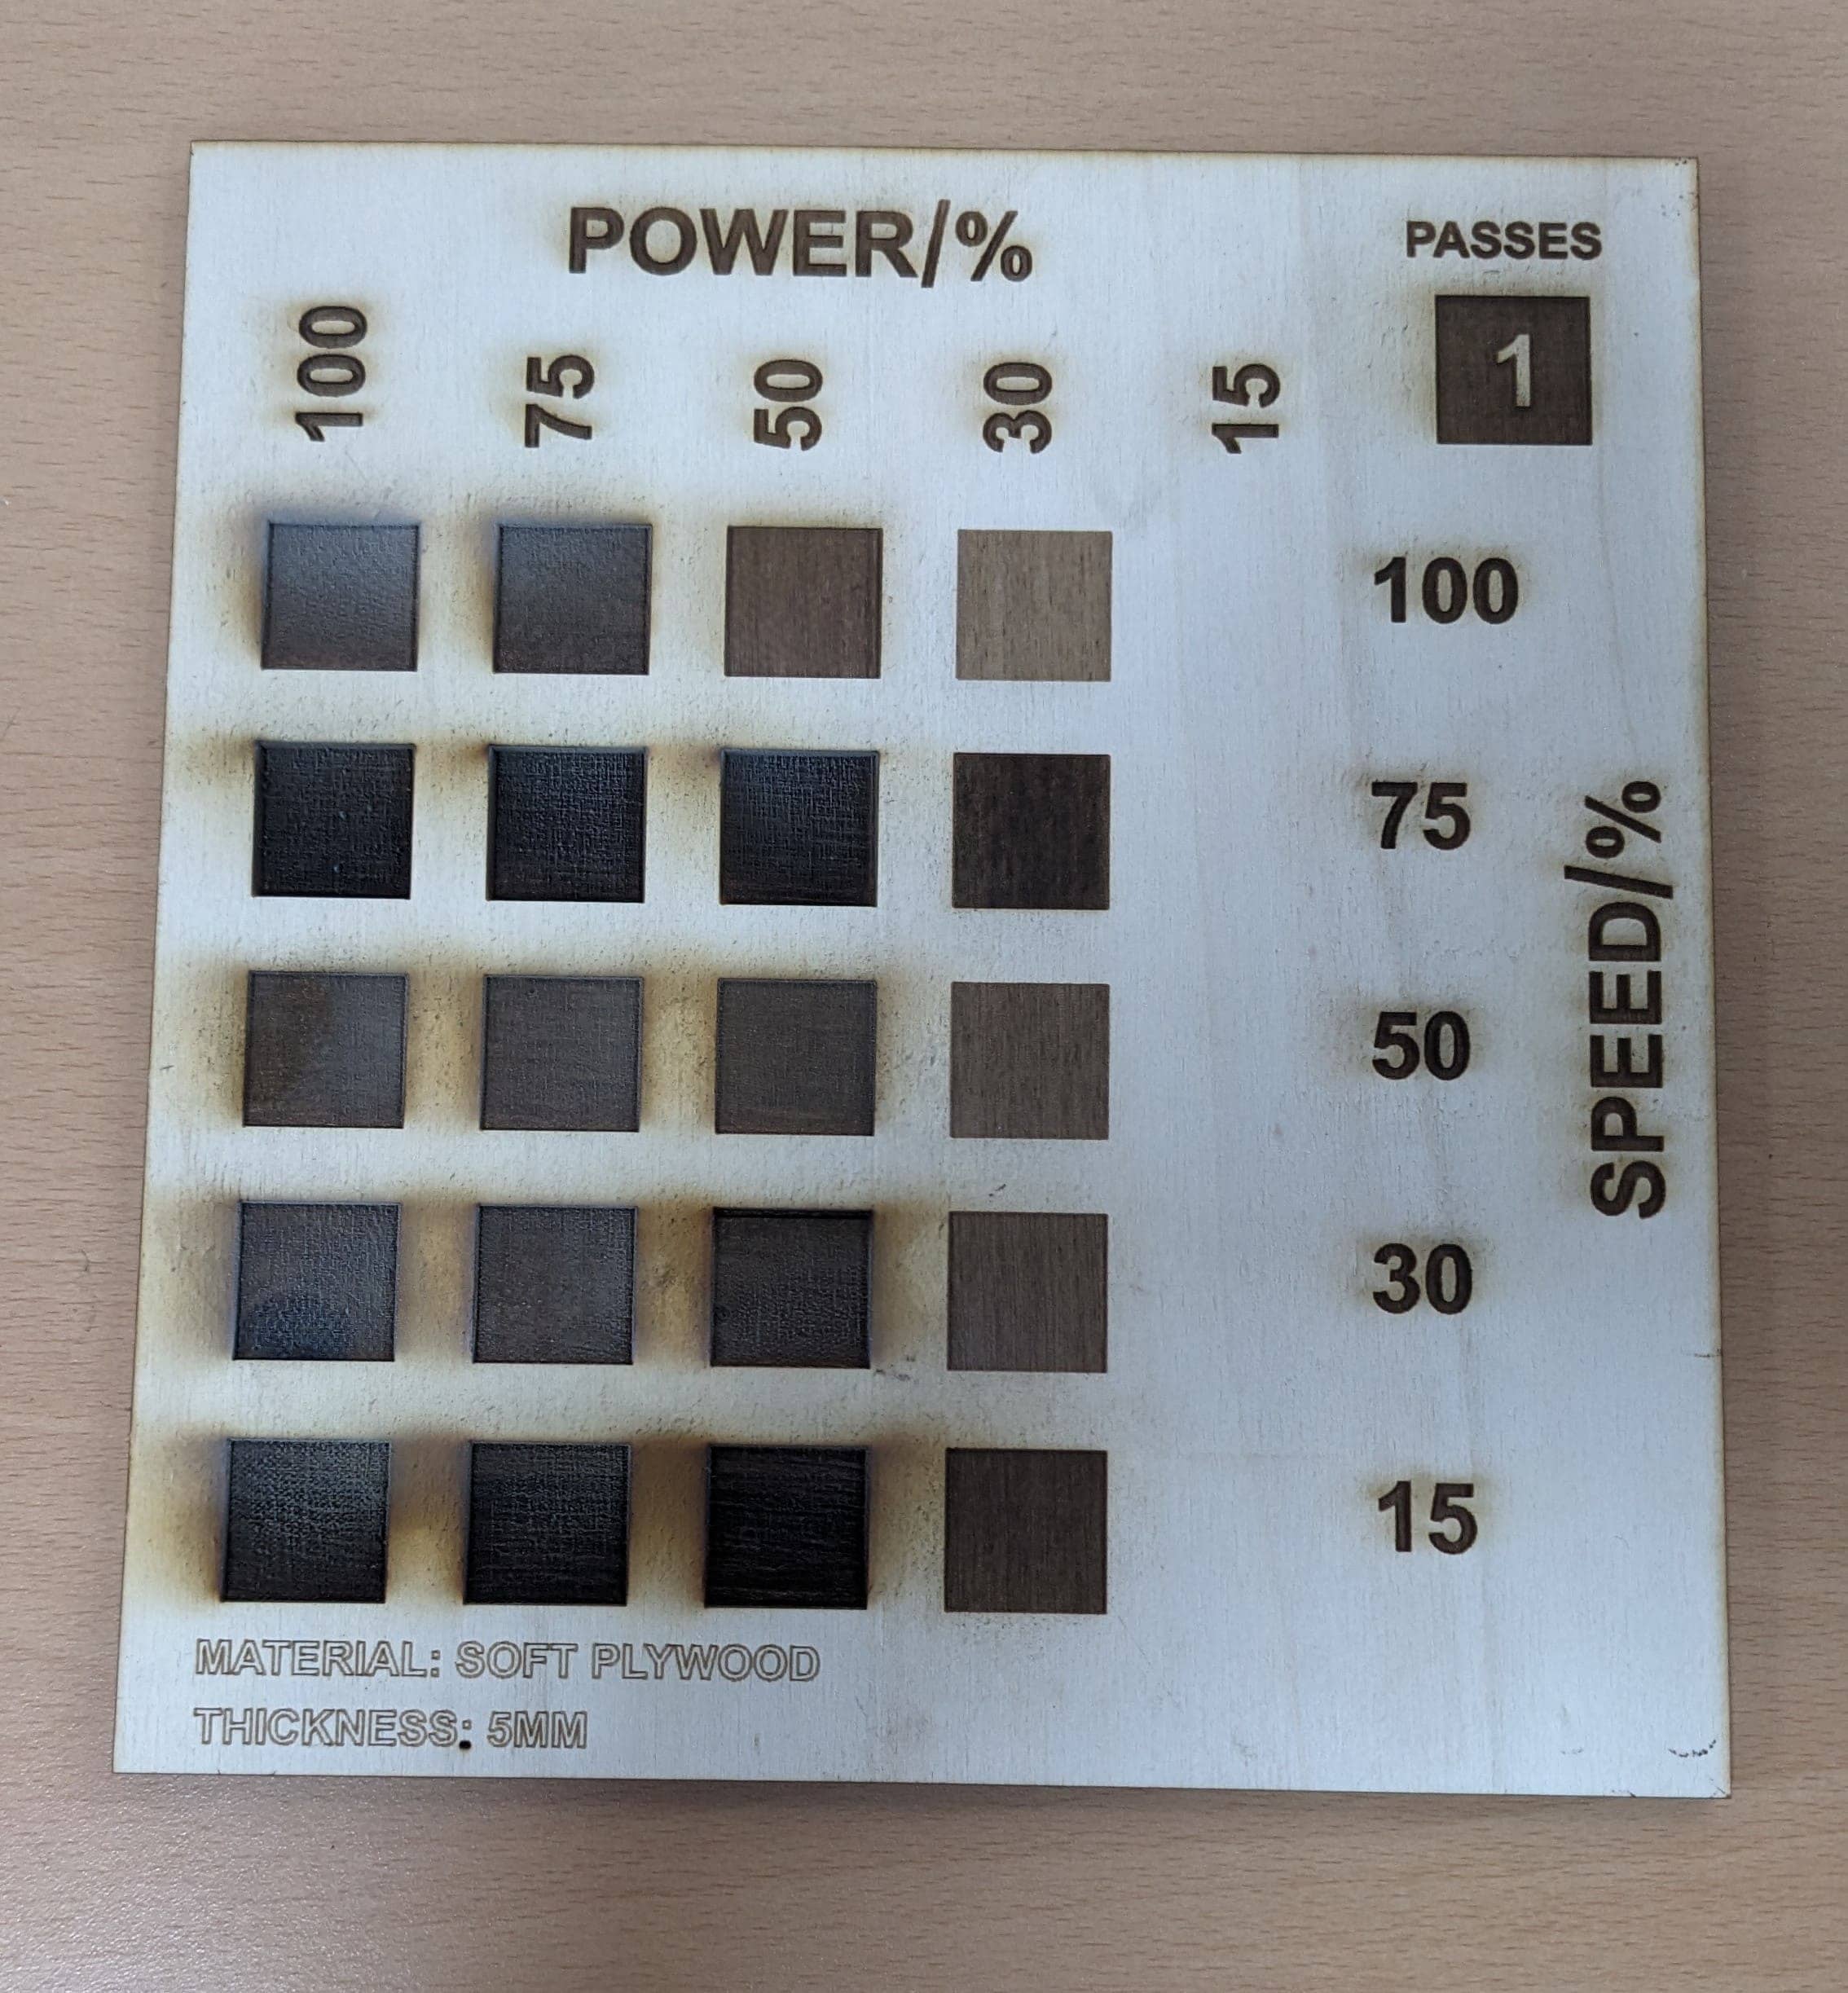
After cutting tests we also moved to engraving tests
Using a parametric design, we tested various joint fits, ranging from loose to tight. This process helped us determine the kerf, which is 0.2mm.
We started with a gap of 5mm thickness in the design.
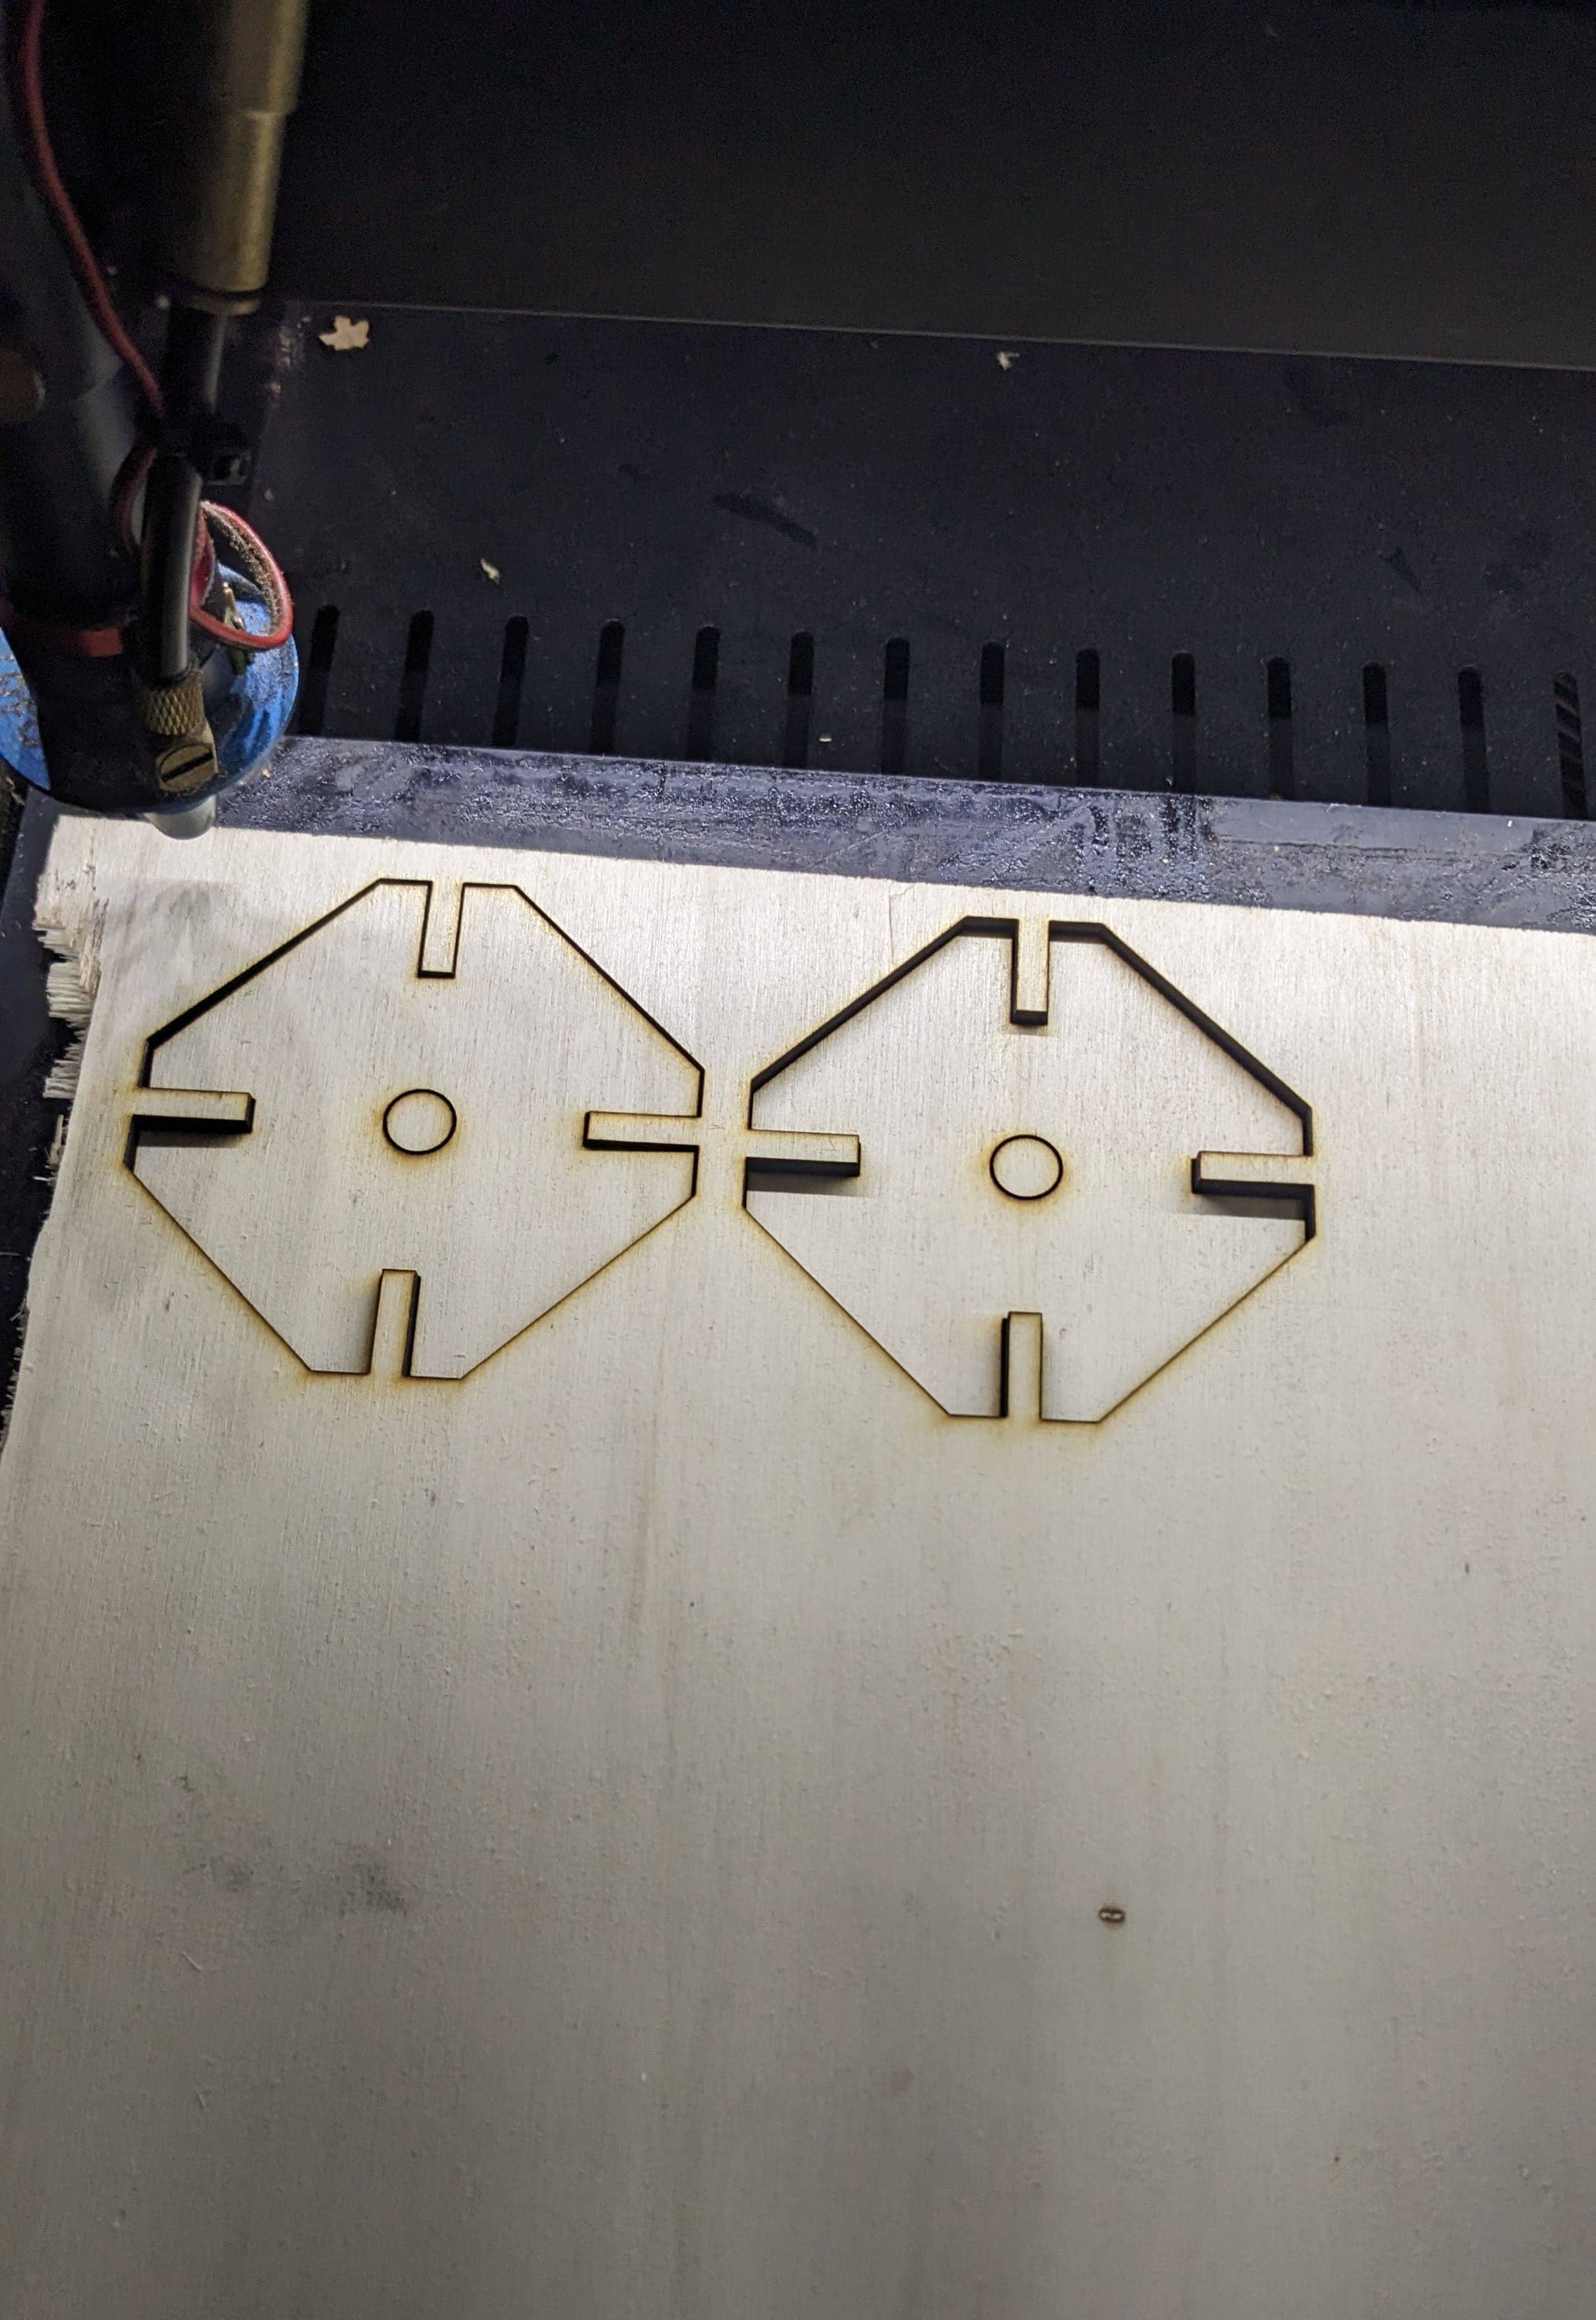
After cutting the gap was now 5.2 mm thickness wide an the joint was loose because the material has exactly 5mm thickness.
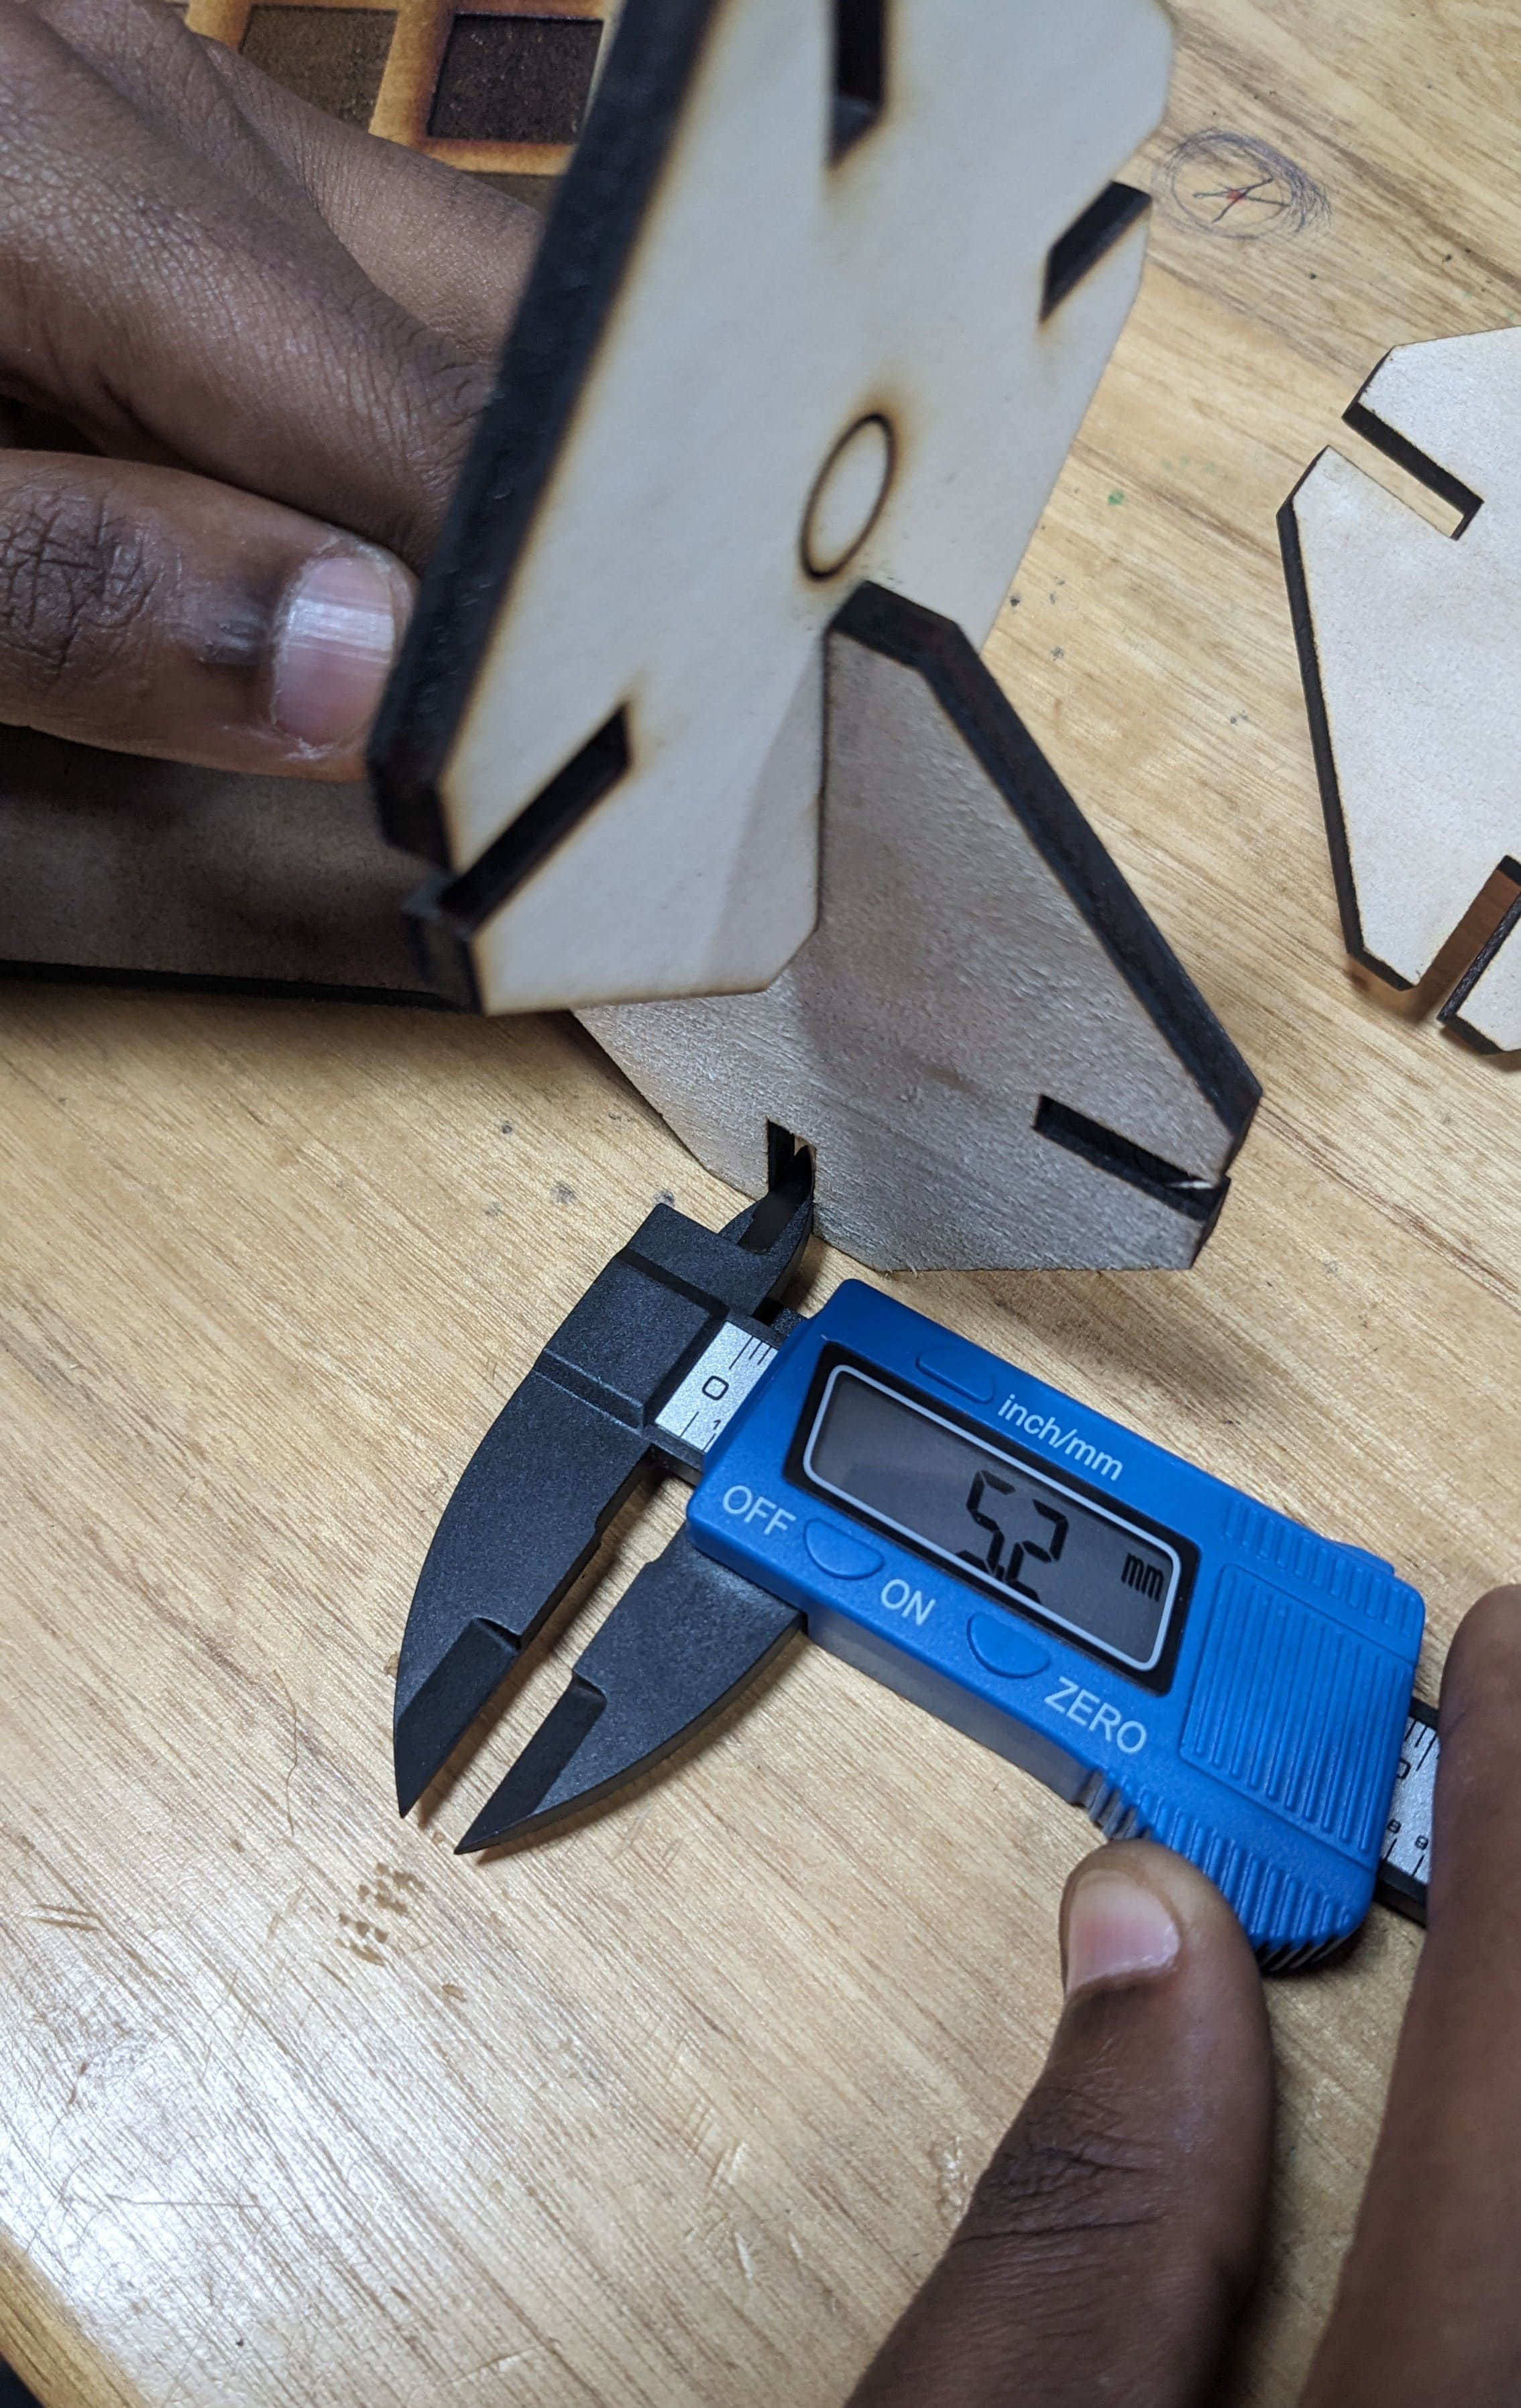
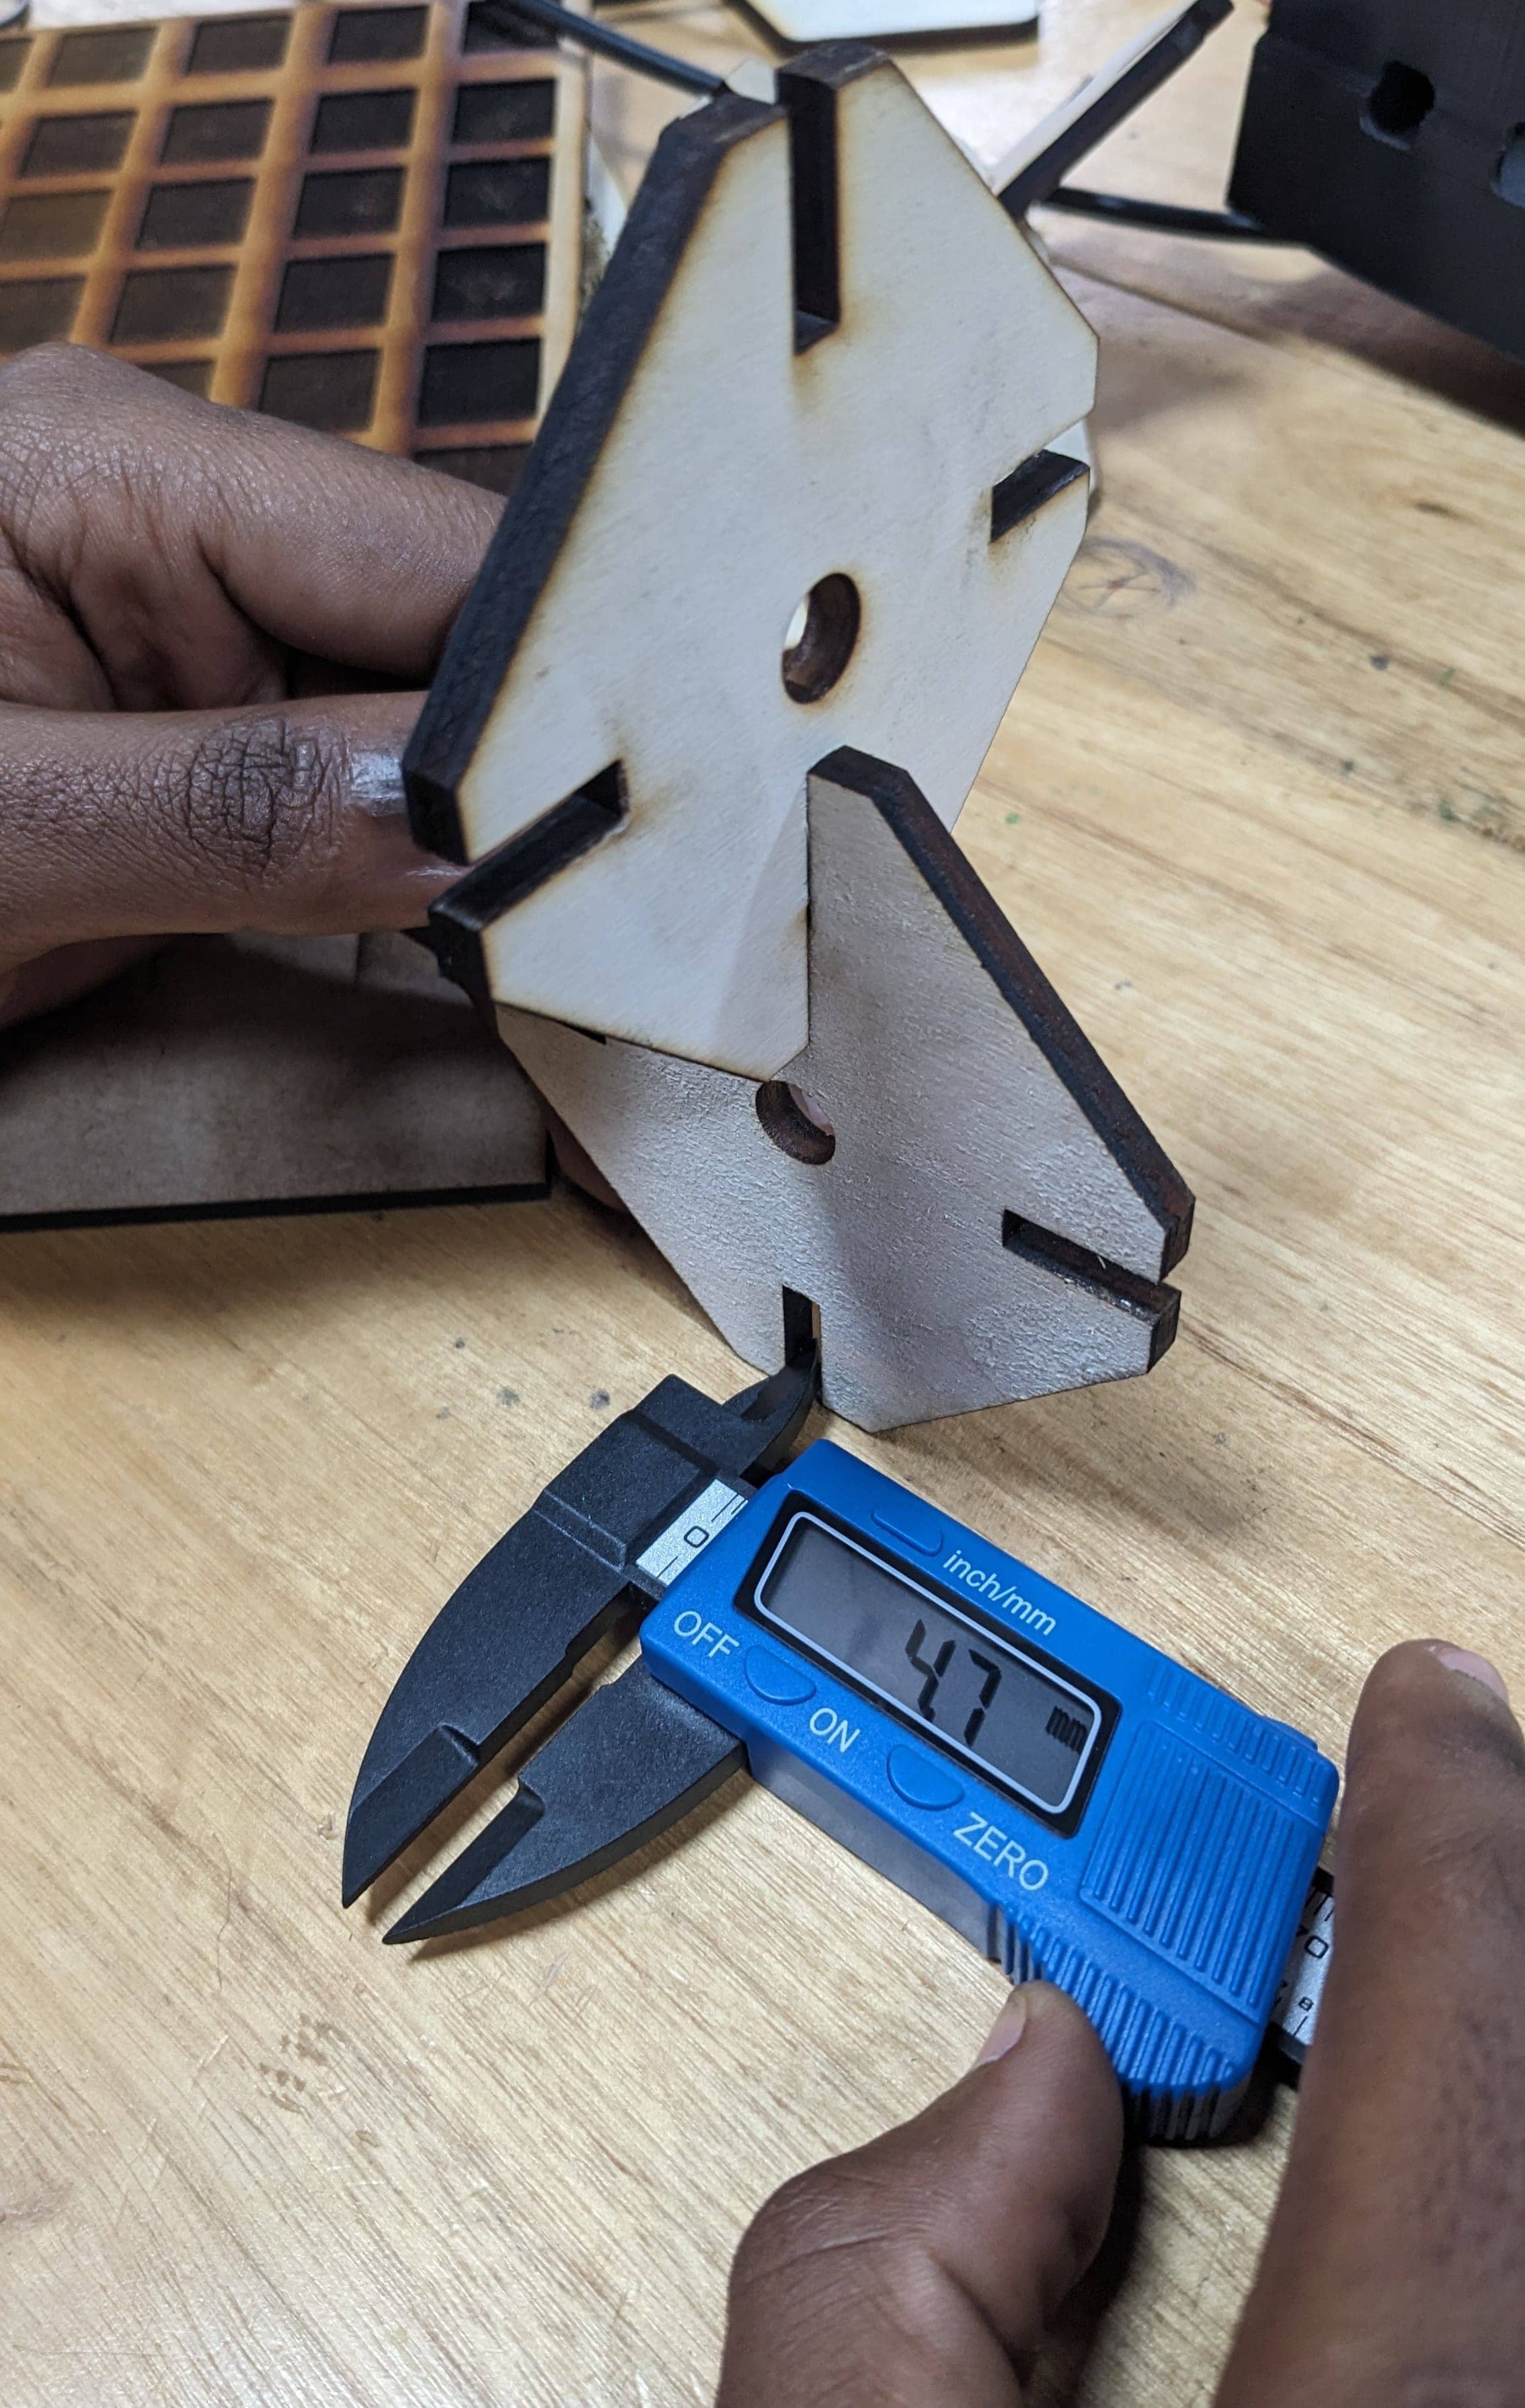
We modified the gap to 4.5 mm wide, and after cutting the gap was 4.7 mm wide and to joint we had to push harder. In this case the joints were super tight.
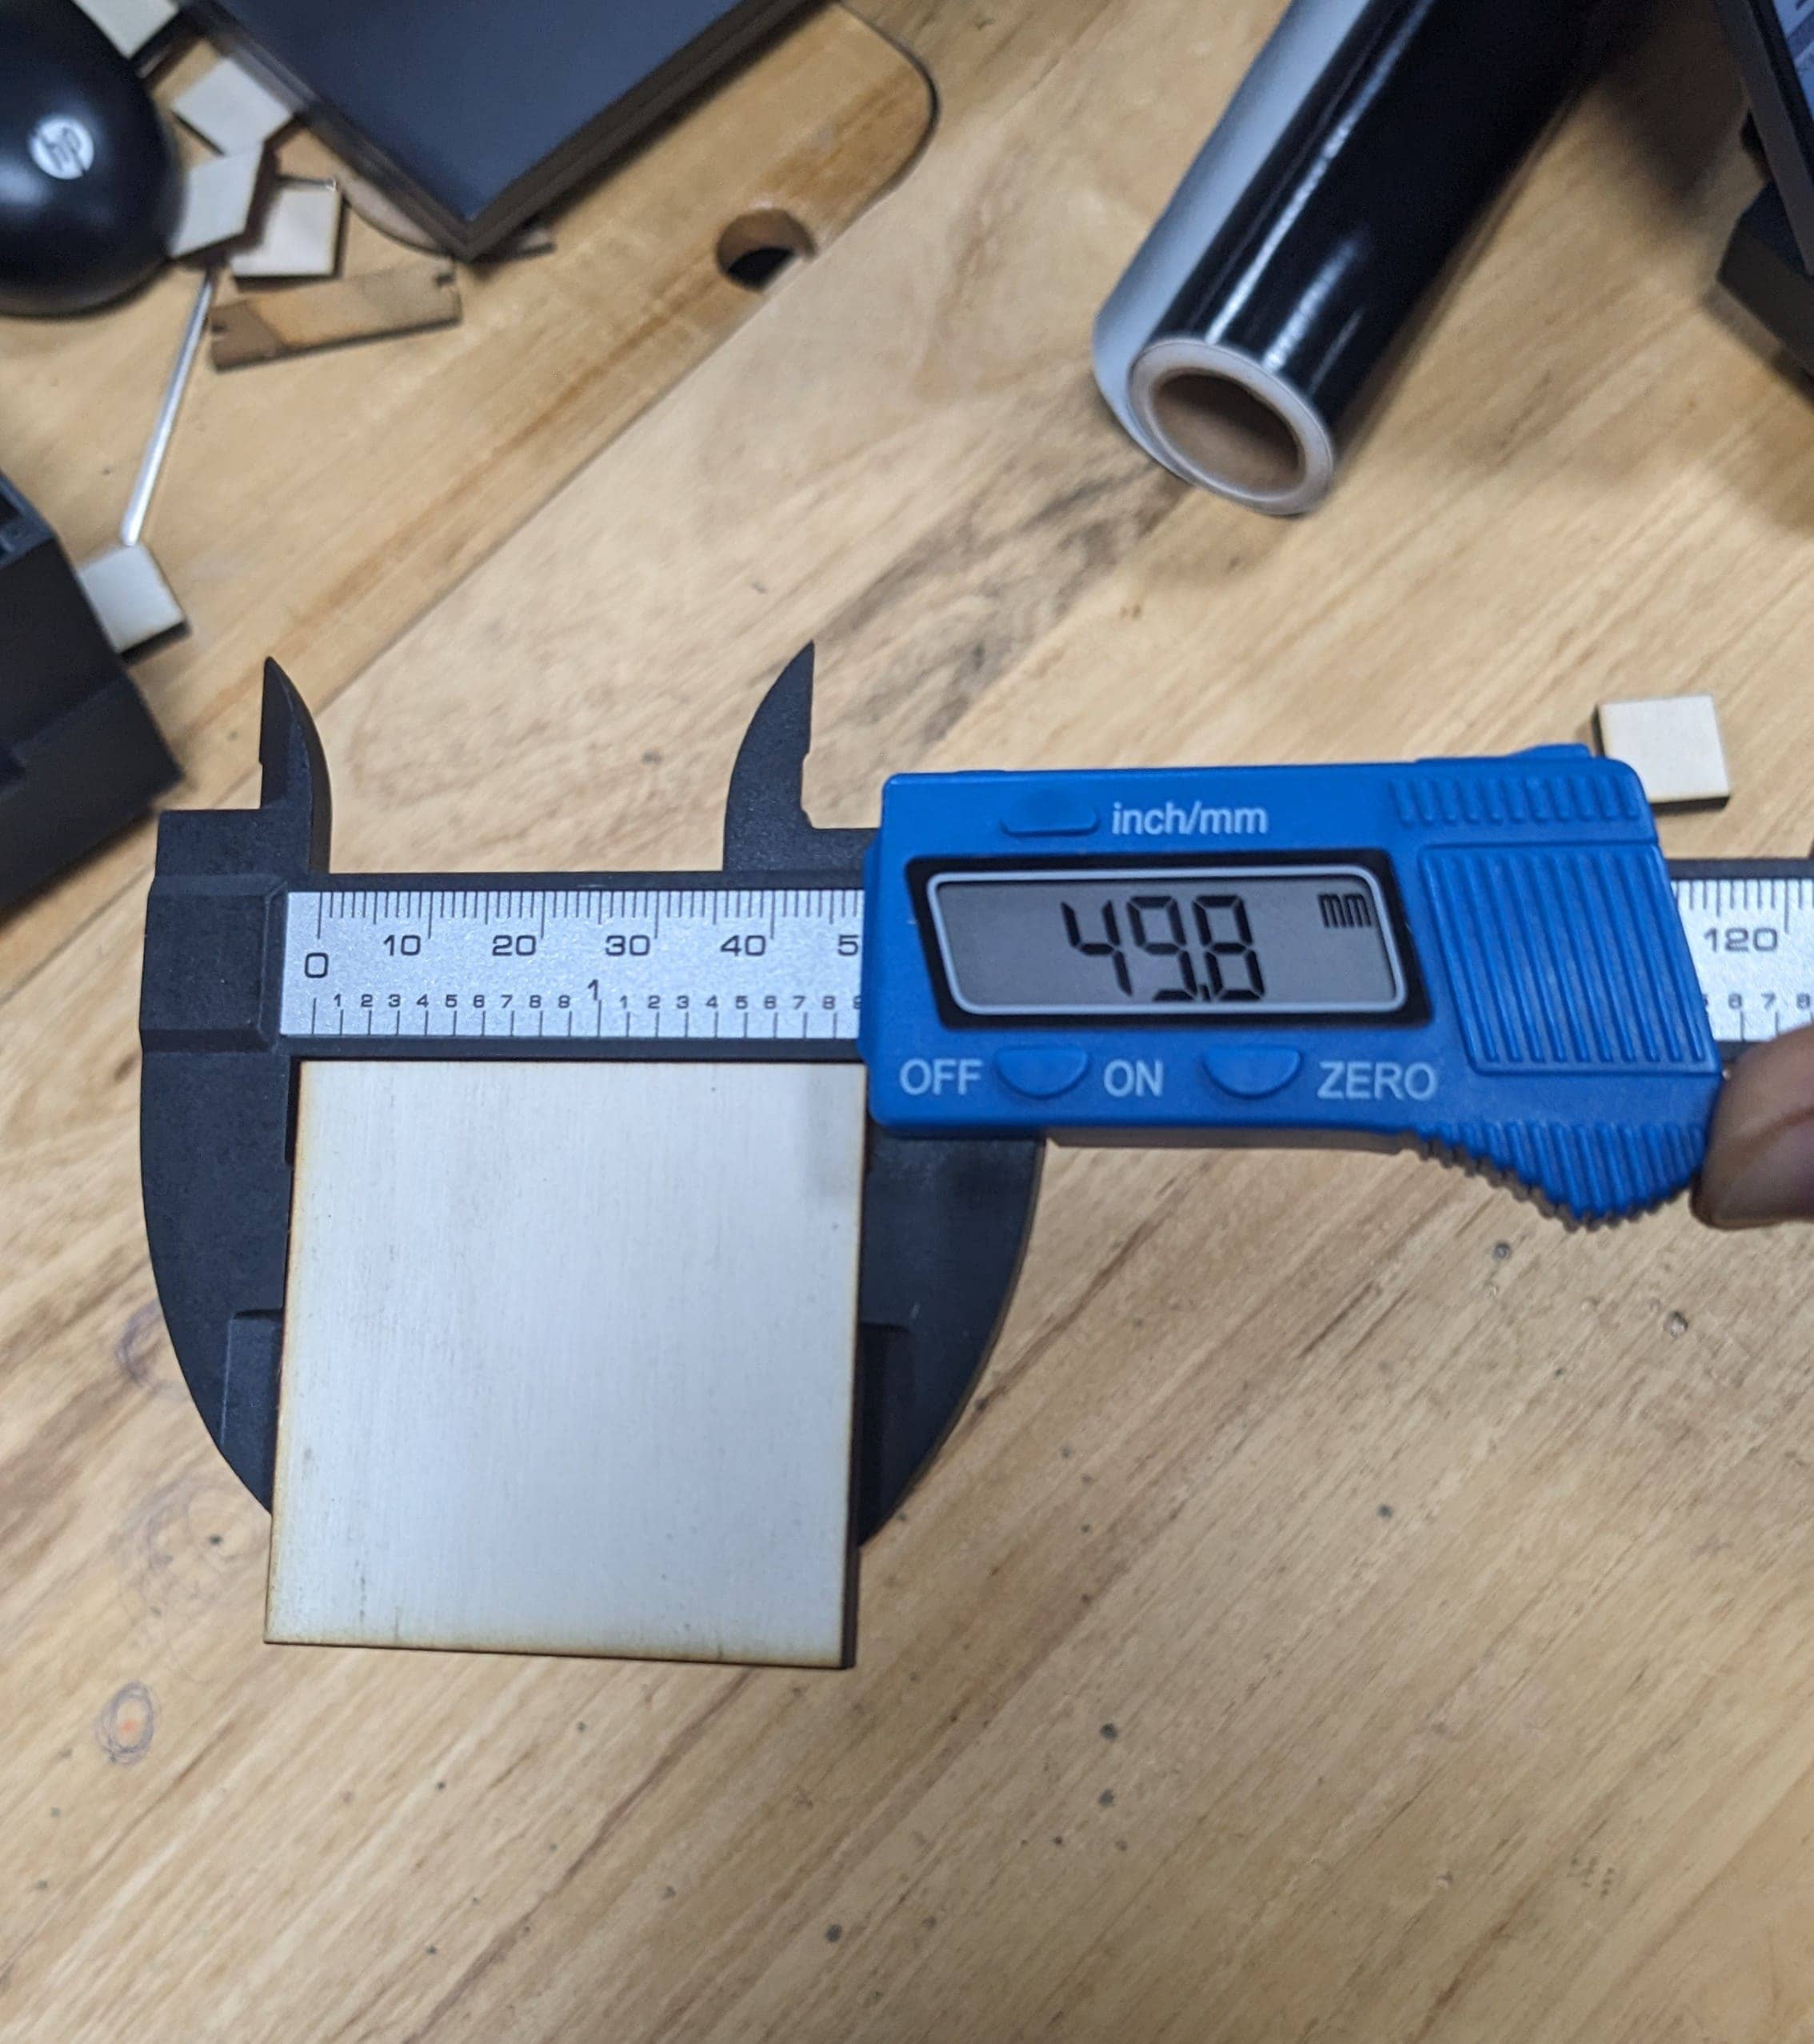
We also tested to cut a square of exactly 50mm length and after cut it was 49.8mm length.
