Output Devices
- Measure the power consumption of an output device.
- Document your work on the group work page and reflect on your individual page what you learned.
- Add an output device to a microcontroller board you've designed and program it to do something.
#.Group assignment:
Group Work Reflection
I learned how to measure the power consumed by a NEMA 17 stepper motor using a multimeter. We used the 17HS4401S model, and I understood the importance of measuring both voltage and current at the driver input, since the driver regulates the motor current based on its own logic.
I also learned that stepper motors draw constant current even when not moving, which is different from DC motors. It was interesting to see how microstepping and speed affected power consumption. This experience will help me in designing efficient motion systems, especially when choosing drivers and power supplies.
Here is the Group assignment(link)
#.Individual assignment
Exploring Output Devices
The goal of this project was to add an output device to a microcontroller board I designed and program it to perform a specific function. To achieve this, I decided to use an LCD I2C display to show the text "FAB ACADEMY" and an LED—integrated into my custom board—to gradually fade using Pulse Width Modulation (PWM).
My Approach
I wanted to experiment with two different types of output devices:
- LCD I2C : To display a static message.
- LED : To implement a fading effect by gradually increasing and decreasing its brightness.
The Journey:
Setting up the LCD I2C
I started with the LCD I2C display. The first challenge was ensuring I had the correct library. I installed the LiquidCrystal_I2C library, which made it easier to control the display.

installed the LiquidCrystal_I2C library
Next, I connected the LCD I2C module to my board’s I2C pins (SDA and SCL). Since I had designed my board with these connections, the setup was straightforward.
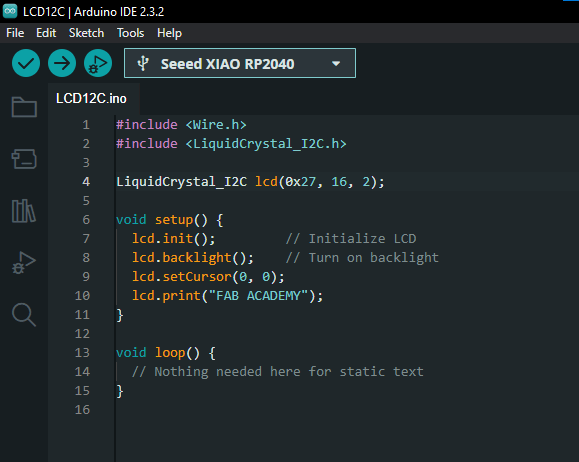
With the wiring complete, I wrote the following code to display "FAB ACADEMY" on the LCD:
              #include
              #include


              LiquidCrystal_I2C lcd(0x27, 16, 2); //


              void setup() {
                lcd.init();         // Initialize LCD
                lcd.backlight();    // Turn on backlight
                lcd.setCursor(0, 0);
                lcd.print("FAB ACADEMY");
              }


              void loop() {
                // Nothing needed here for static text
              }

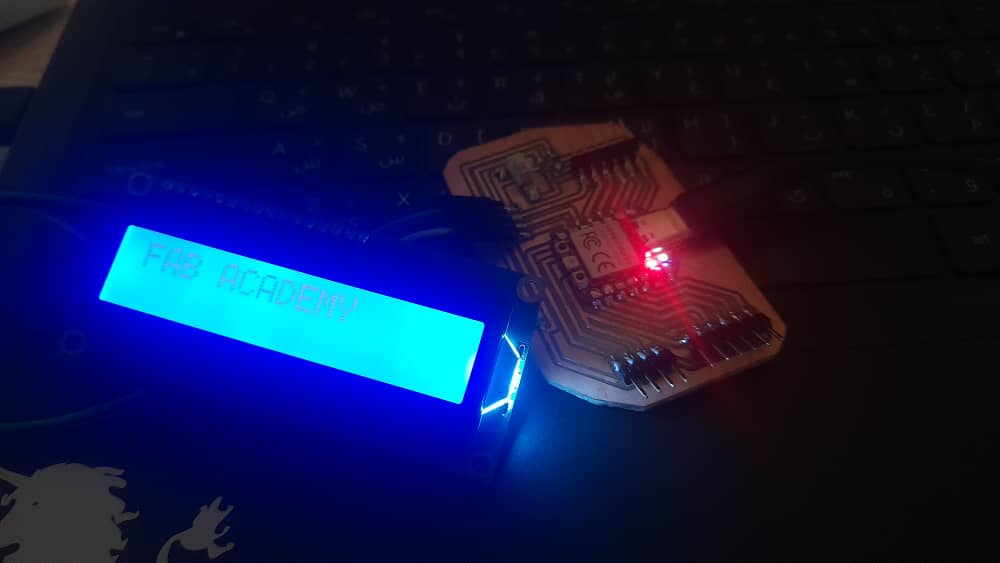
This code displays "FAB ACADEMY" on a 16x2 LCD using I2C. I included the required libraries for communication and initialized the LCD with its address (0x27). In the setup() function, I turned on the backlight, set the cursor to the first row, and printed the text. Since the message is static, the loop() function is empty, allowing the text to stay on the screen without changes.

displaying "FAB ACADEMY" on the LCD
Implementing LED Fading with PWM
For the second output device, I used the onboard LED connected to D1. Instead of simply turning it ON and OFF, I wanted to create a fading effect using PWM.
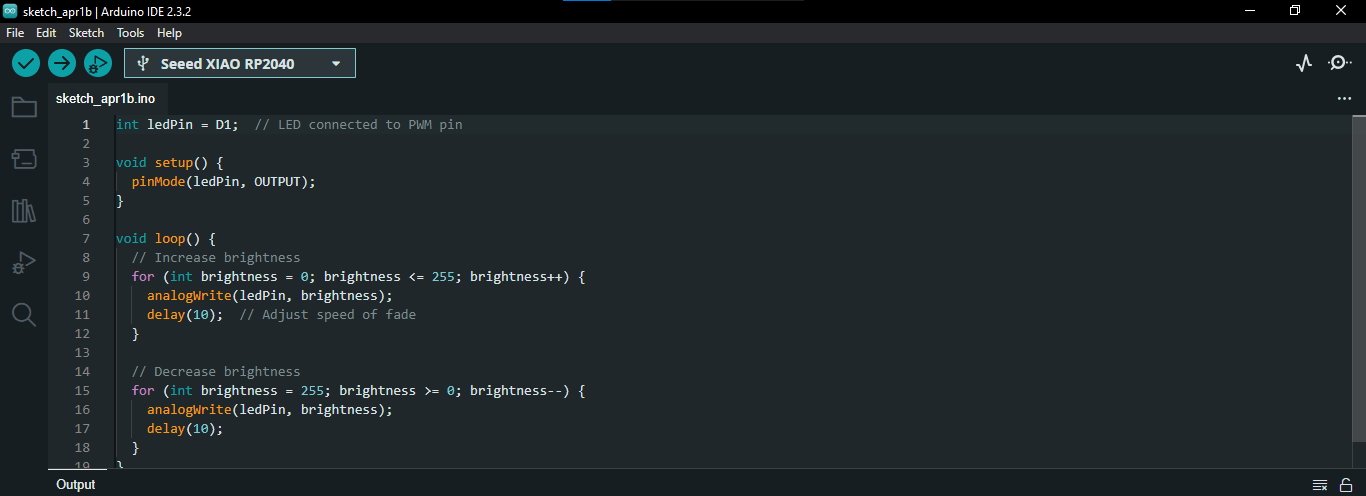
I wrote the following code:
              int ledPin = D1;  // LED connected to PWM pin


              void setup() {
                pinMode(ledPin, OUTPUT);
              }


              void loop() {
                // Increase brightness
                for (int brightness = 0; brightness <= 255; brightness++) {
                  analogWrite(ledPin, brightness);
                  delay(10);  // Adjust speed of fade
                }


                // Decrease brightness
                for (int brightness = 255; brightness >= 0; brightness--) {
                  analogWrite(ledPin, brightness);
                  delay(10);
                }
              }

This code fades an LED in and out using PWM on pin D1. In the setup(), I set the LED pin as an output. In the loop(), the brightness gradually increases from 0 to 255, making the LED brighter, then decreases back to 0, dimming it. The delay(10) controls the fading speed. This creates a smooth breathing effect for the LED.
video showing the light fading
Combining LCDI2C and LED
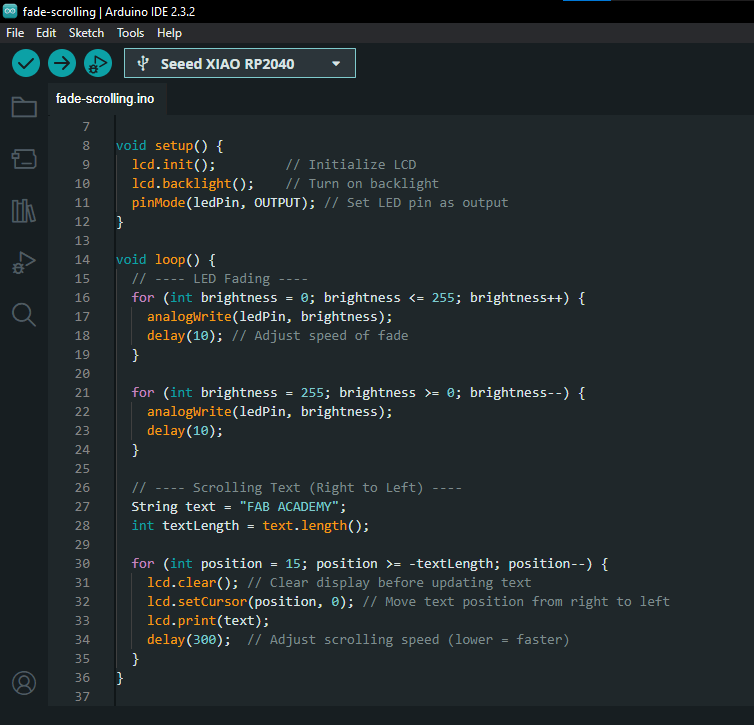
I combined the functionality of scrolling text and LED fading. The goal was to have the LCD screen display the message "FAB ACADEMY", which scrolls from right to left across the 16x2 screen, while simultaneously fading an LED in and out using PWM.
#include
              #include

              LiquidCrystal_I2C lcd(0x27, 16, 2);

              int ledPin = D1;  // LED connected to D1 (PWM pin)

              void setup() {
                lcd.init();         // Initialize LCD
                lcd.backlight();    // Turn on backlight
                pinMode(ledPin, OUTPUT); // Set LED pin as output
              }

              void loop() {
                // ---- LED Fading ----
                for (int brightness = 0; brightness <= 255; brightness++) {
                  analogWrite(ledPin, brightness);
                  delay(10); // Adjust speed of fade
                }

                for (int brightness = 255; brightness >= 0; brightness--) {
                  analogWrite(ledPin, brightness);
                  delay(10);
                }

                // ---- Scrolling Text (Right to Left) ----
                String text = "FAB ACADEMY";
                int textLength = text.length();

                for (int position = 15; position >= -textLength; position--) {
                  lcd.clear(); // Clear display before updating text
                  lcd.setCursor(position, 0); // Move text position from right to left
                  lcd.print(text);
                  delay(100);  // Adjust scrolling speed (lower = faster)
                }
              }

I started by initializing the LCD with the I2C interface and setting the LED pin as an output. In the main loop, I first controlled the LED's brightness using a for-loop to gradually increase and decrease its brightness.
Afterward, the scrolling text effect is achieved by shifting the position of the message across the LCD from the far-right (column 15) to the left. This is done by updating the position of the text using lcd.setCursor(position, 0) and continuously clearing the screen before displaying the text in the new position.
The combined effect of the fading LED and the scrolling text creates an interactive visual experience.