For this week's group assignment, we reviewed the safety data sheets for each of our molding and casting materials. We then made and compared test casts with each material to evaluate their properties and performance. Additionally, we compared the processes of printing versus milling molds to understand their advantages and limitations.
For the individual assignment, I designed a mold tailored to the process I planned to use. The mold was produced with a smooth surface finish that did not reveal the production process. Finally, I used the mold to cast parts, ensuring the results met the desired quality and specifications.
Group Assignment
For this week's group assignment, we explored the properties and safety considerations of various molding and casting materials. We conducted tests to compare their performance and documented the results. This helped us understand the strengths and limitations of each material in different scenarios.
For the individual assignment, I created a mold for Goku-shaped candles using a two-part food-grade silicone mold. The process involved several steps:
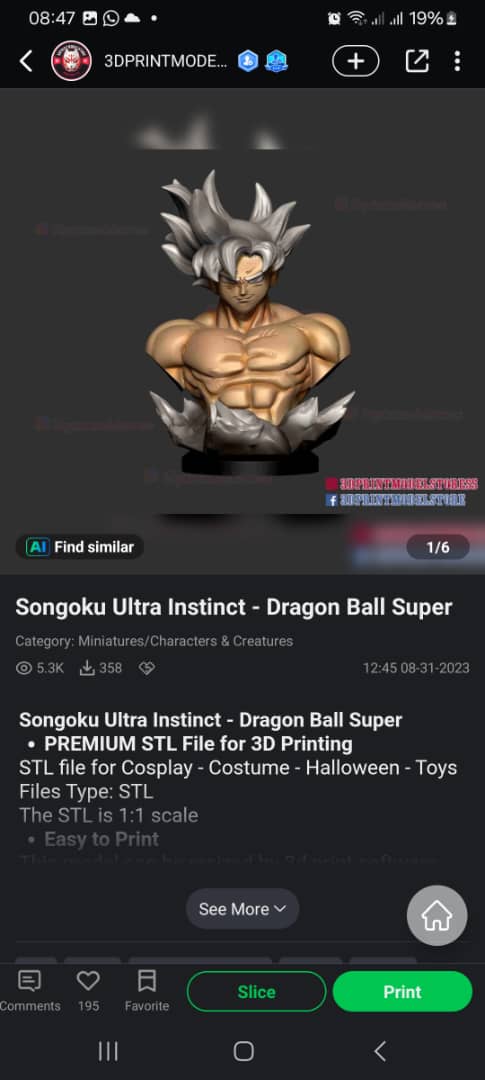
Finding a Goku Model: I started by sourcing a 3D model of Goku. After downloading the model, I prepared it for 3D printing.
Figure 1: Goku 3D Model
Slicing the Model: Using Creality Print software, I sliced the Goku model to generate the G-code required for 3D printing.
Figure 2: slicing the model
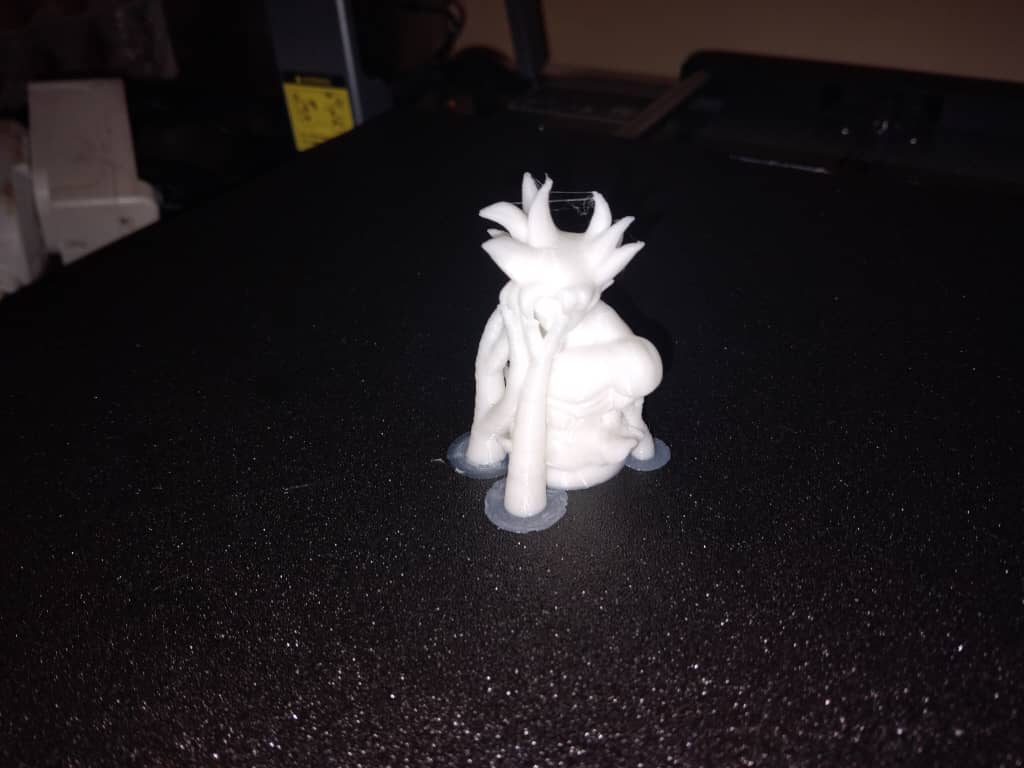
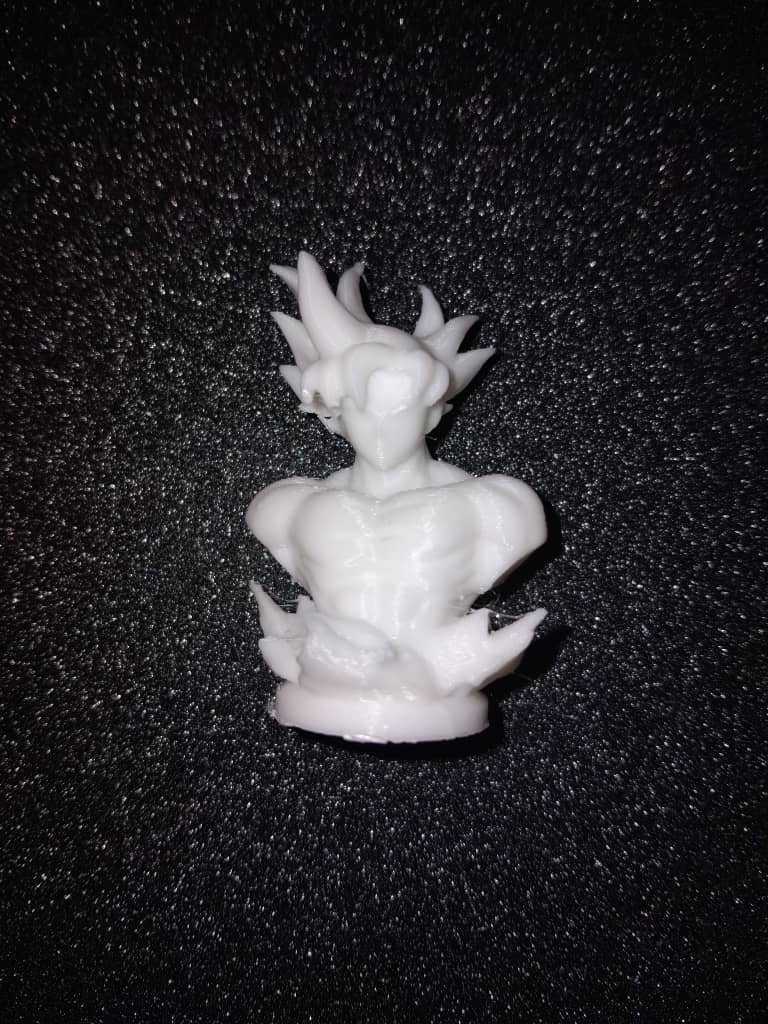
3D Printing: I printed the Goku model using a 3D printer. The print served as the master object for creating the mold.
Video 1: 3D Printing Process
Figure 4.a: 3D Printed Goku Model
Figure 4.b: 3D Printed Goku Model
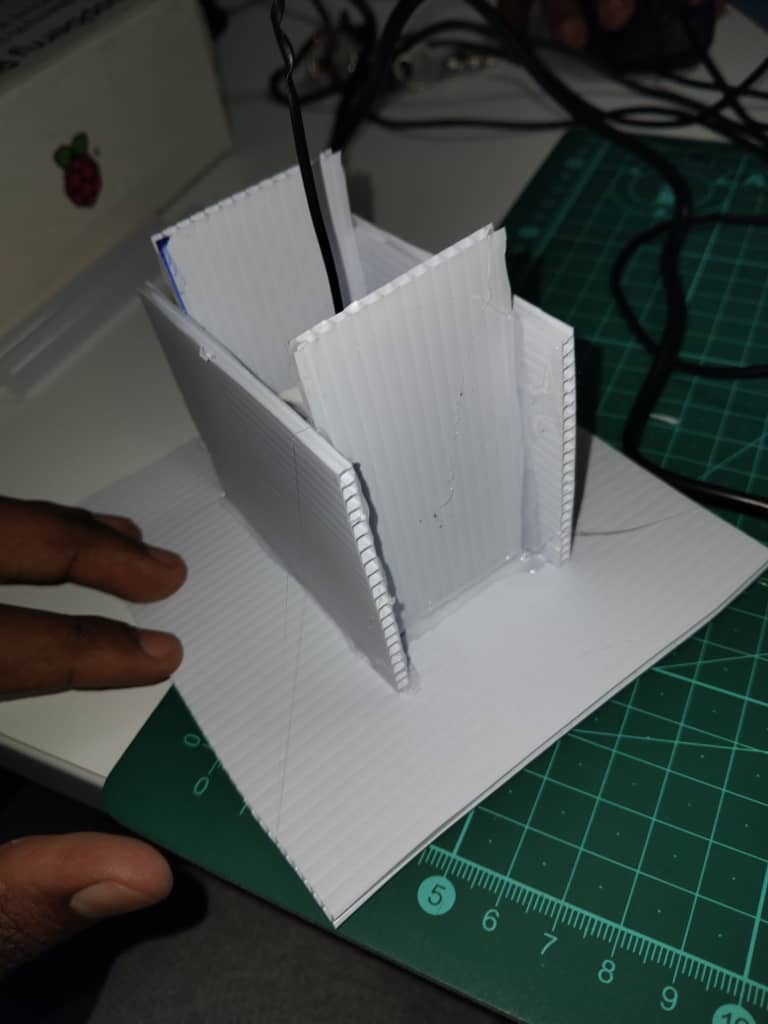
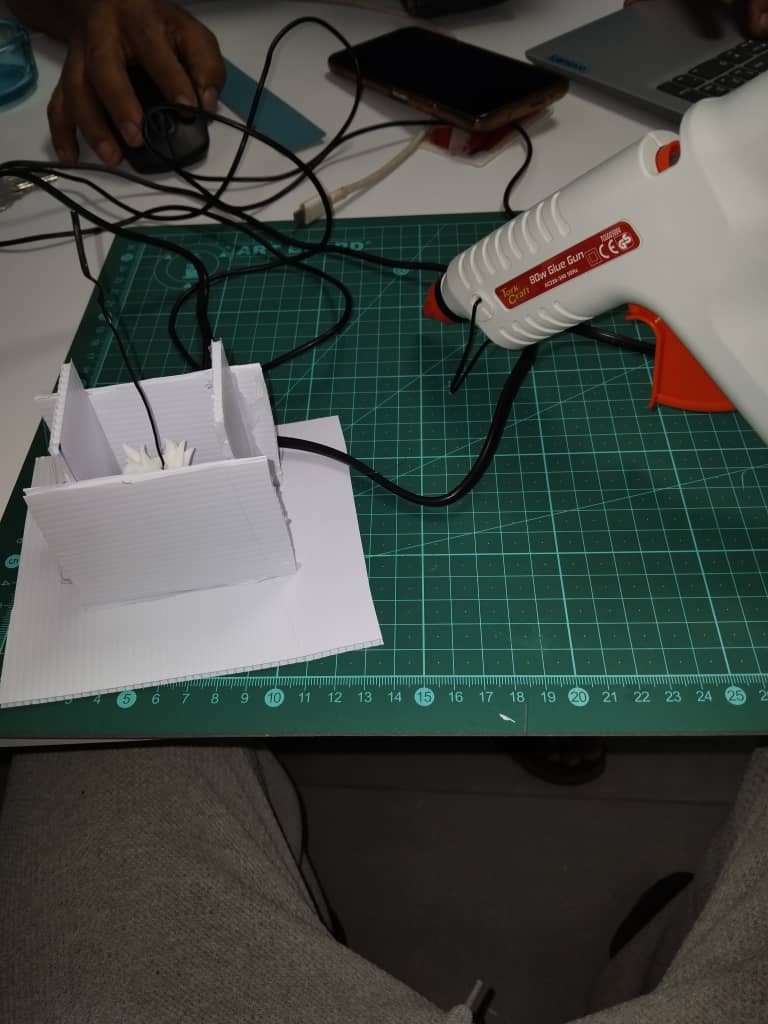
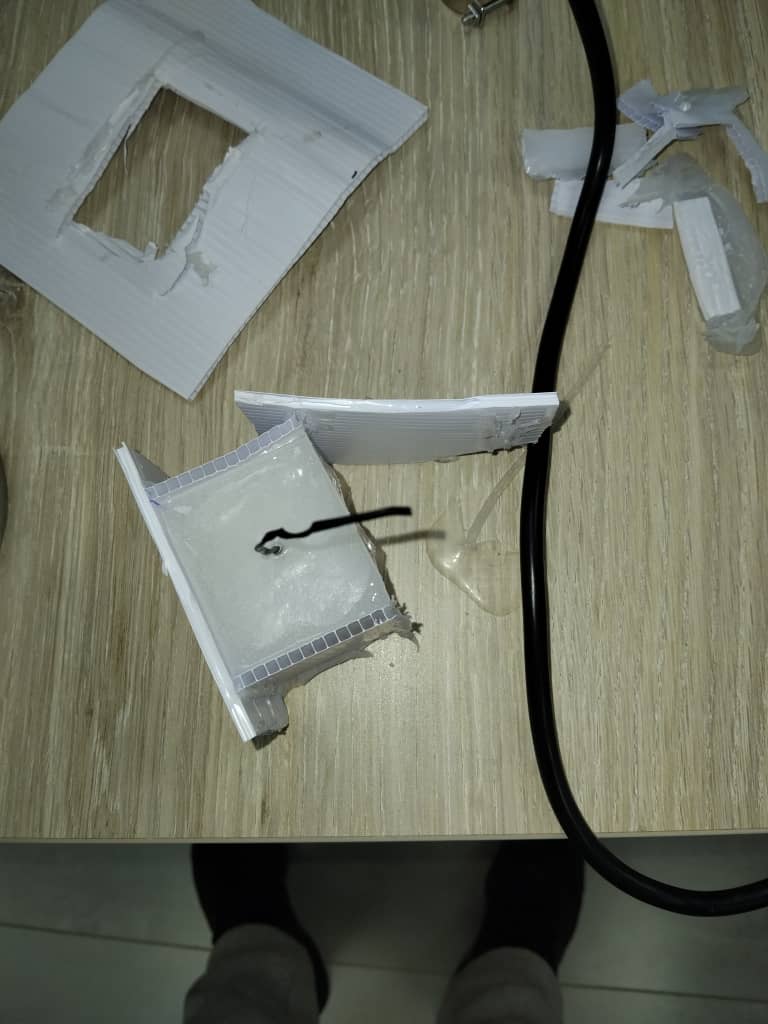
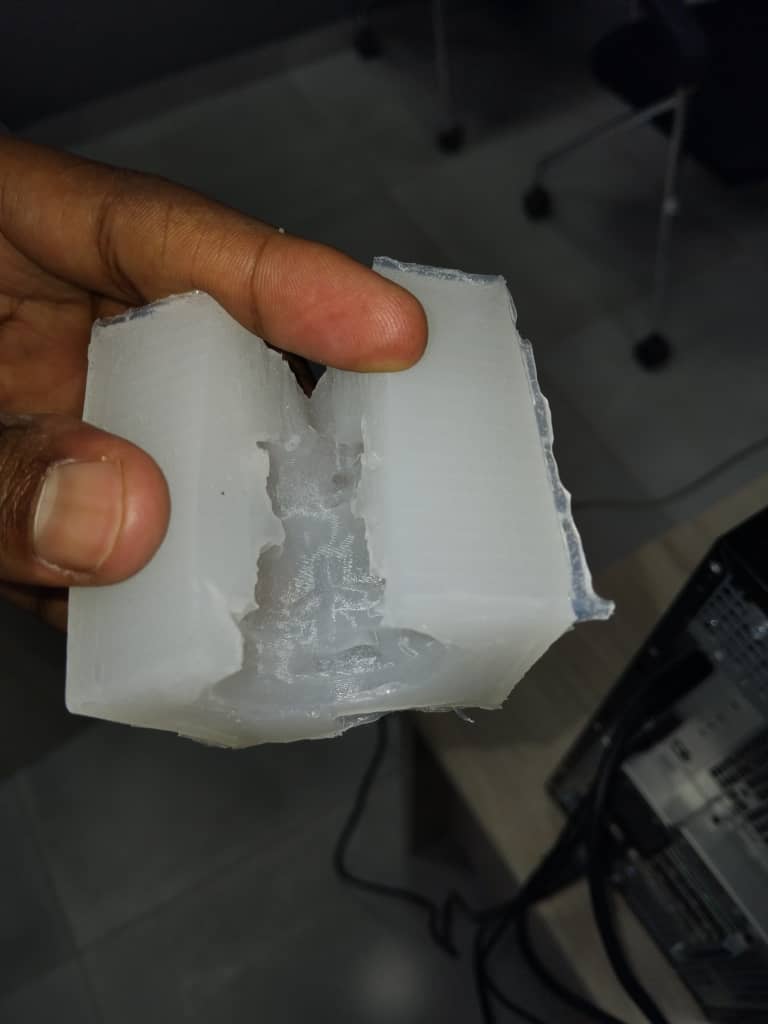
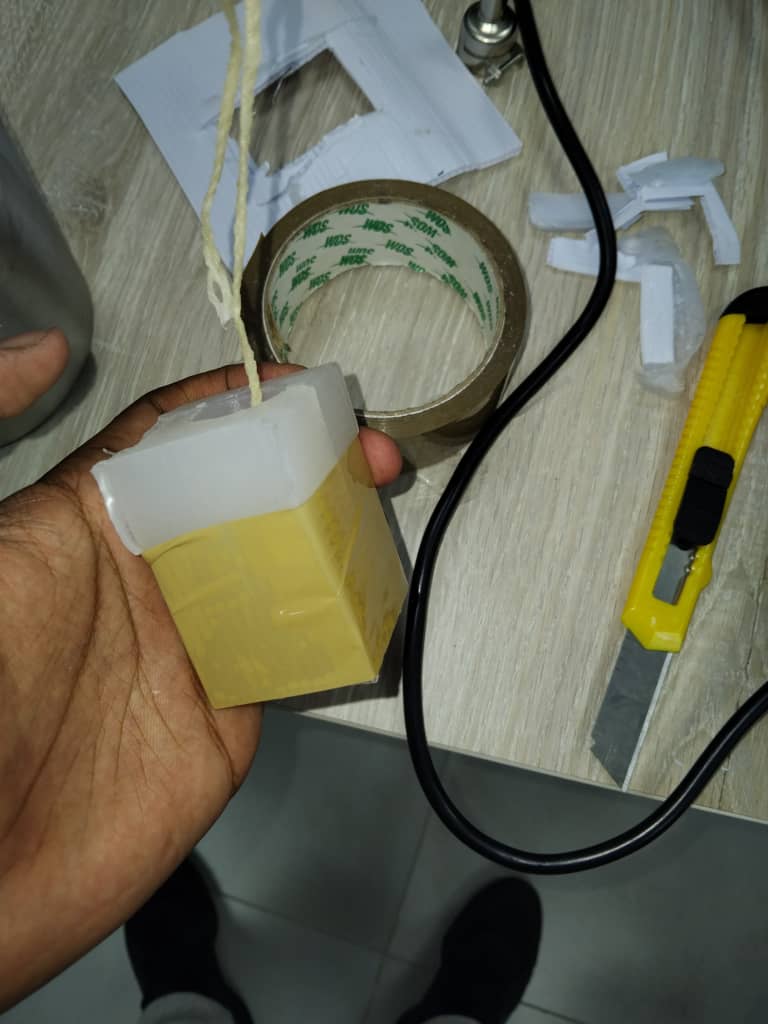
Preparing the Mold Container: I constructed a container to hold the silicone mold. The Goku model was securely glued inside the container to prevent movement during the molding process. the material is corex which waht secured with hot glue since this container will be destroyed. it was made with scrap and hot glue.
Figure 5.a: Mold Container with Goku Model
Figure 5.b: 3D Printed Goku Model Secured inside container.
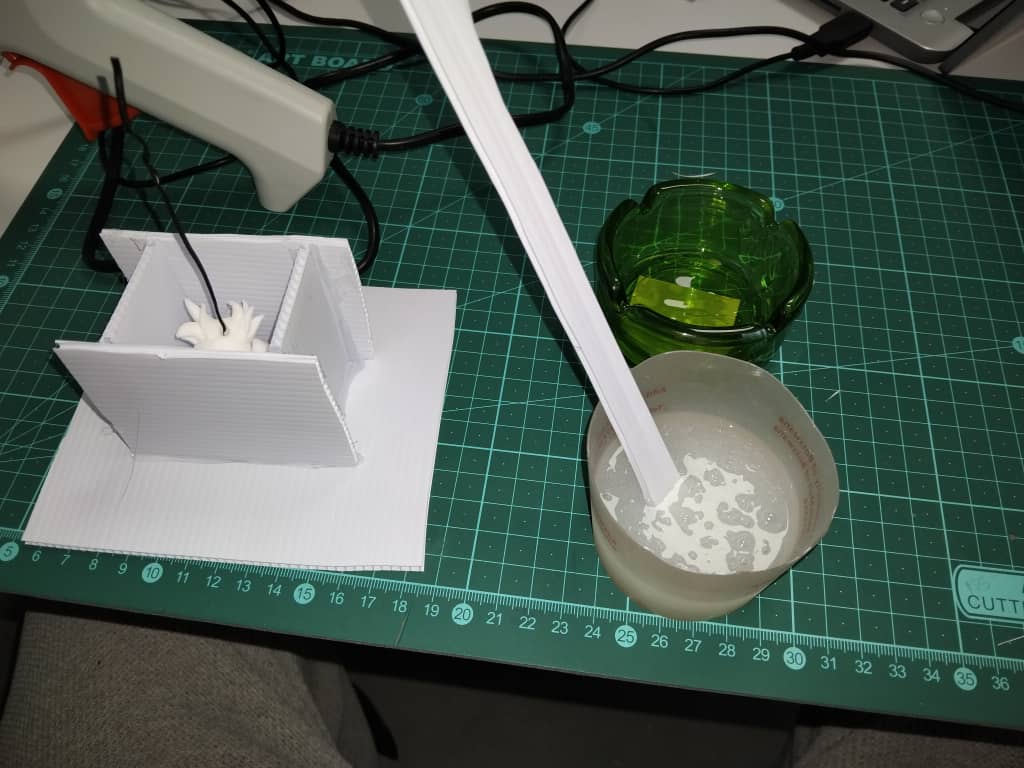
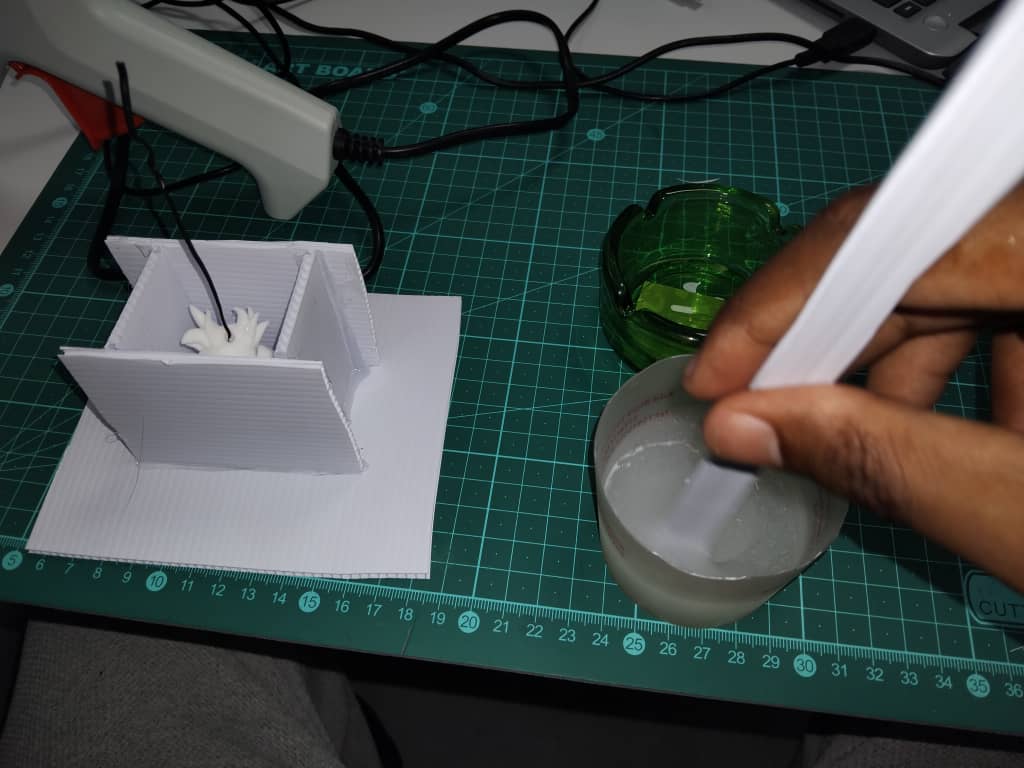
Mixing and Pouring Silicone: I mixed the two-part silicone according to the manufacturer's instructions of 1 : 1. Once thoroughly mixed, I poured the silicone into the container, ensuring it completely covered the Goku model.
Figure 6.a: preparing my mixing container
Figure 6.b: mixing the silicone
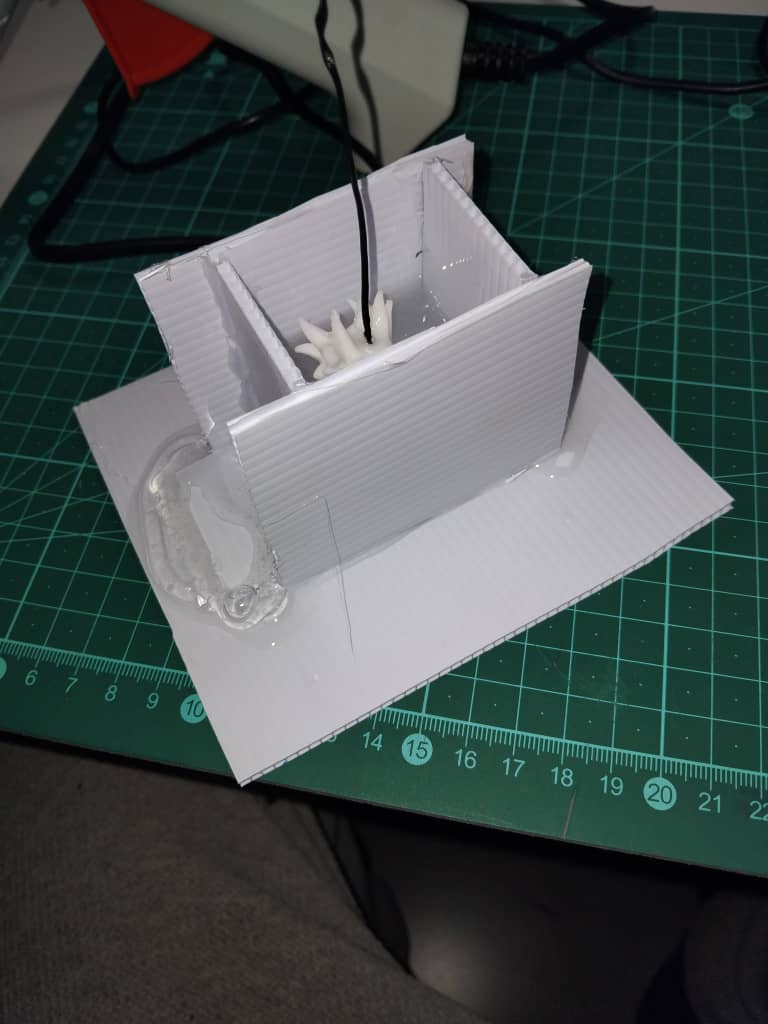
Figure 6.c: Pouring Silicone
Figure 6.d: My mold leaking
As I poured the silicone, I noticed that the mold wasn't leak-proof, and the contents began to leak. In a desperate attempt to fix this, I recalled from my research that some types of silicone cure under heat. I used my hot air soldering station to slightly warm the leaking silicone. To my relief, this approach worked and sealed the leak effectively.
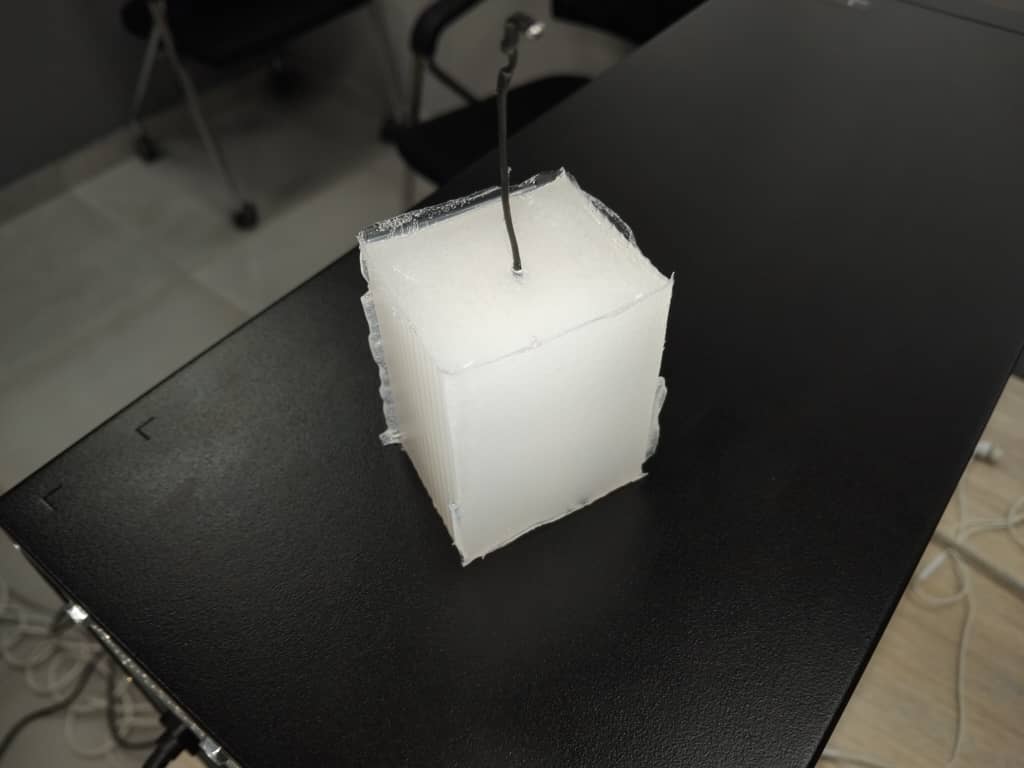
Waiting for the Silicone to Harden: After pouring, I allowed the silicone to cure and harden as per the recommended time.
Figure 7.a: Hardened Silicone Mold
Figure 7.b: Hardened Silicone Mold
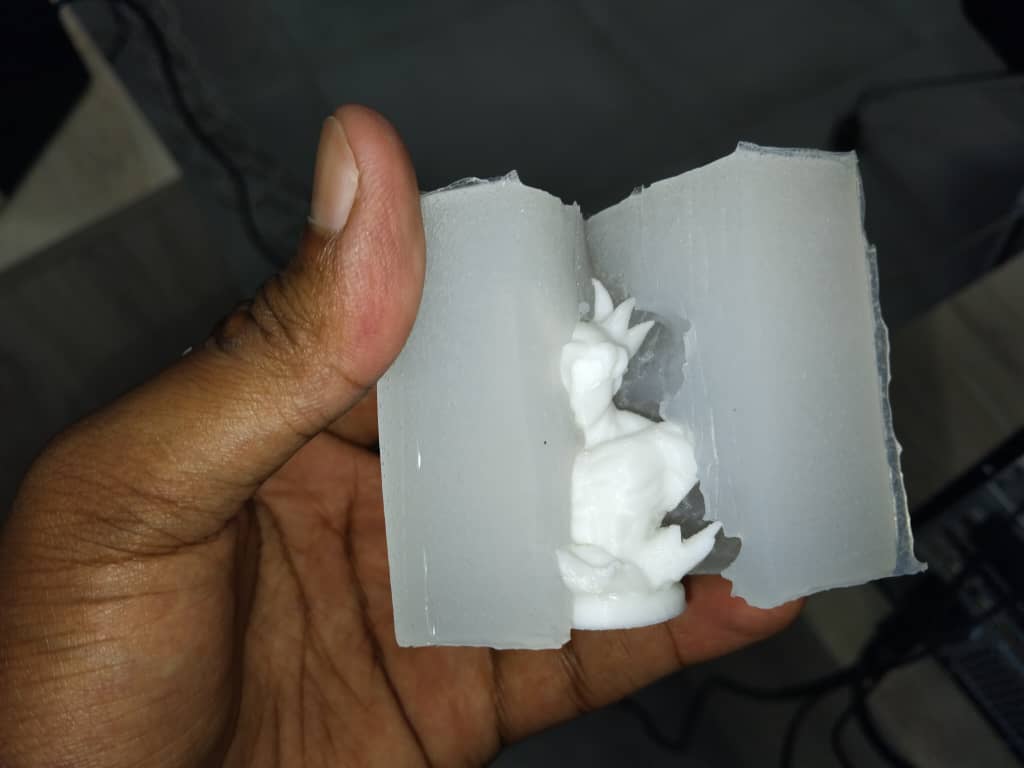
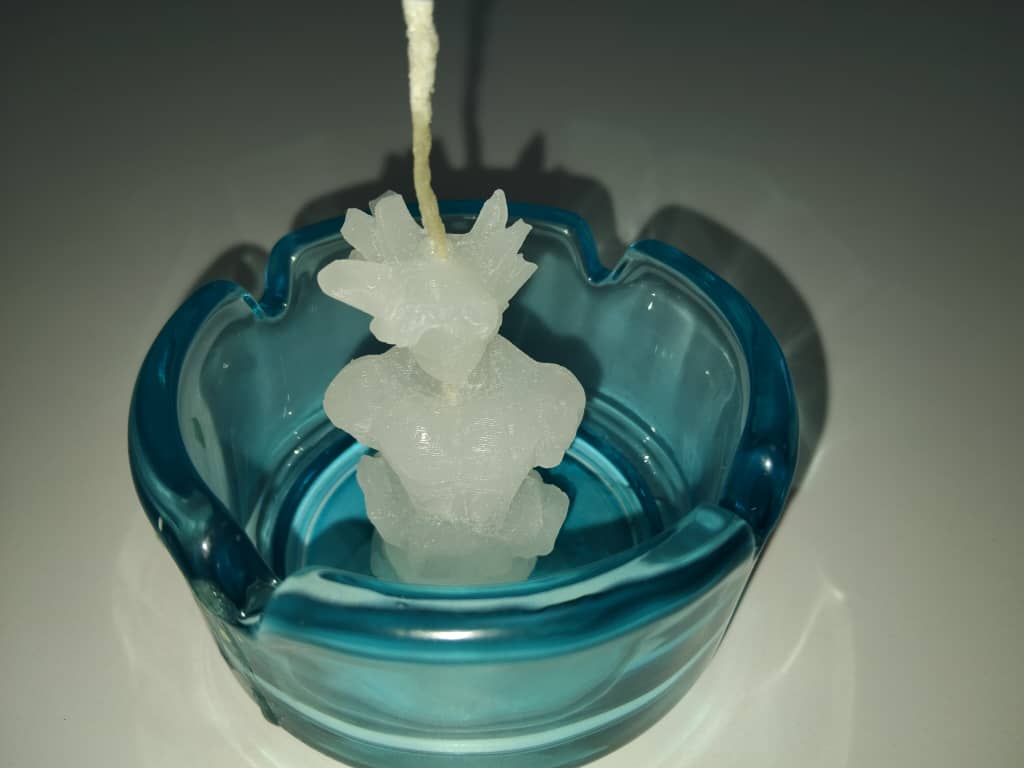
Removing the 3D Print: Once the silicone was fully cured, I carefully removed the 3D-printed Goku model from the mold. This left a cavity in the mold that perfectly matched the Goku model.
Figure 8: Final Mold with Cavity
The resulting mold was then ready to be used for casting Goku-shaped candles. This process allowed me to create a reusable mold for producing candles with intricate details.
Casting
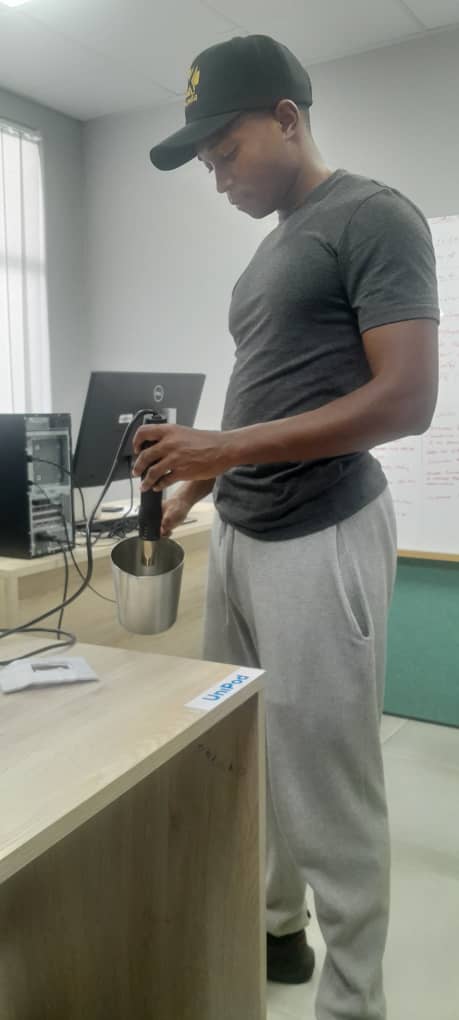
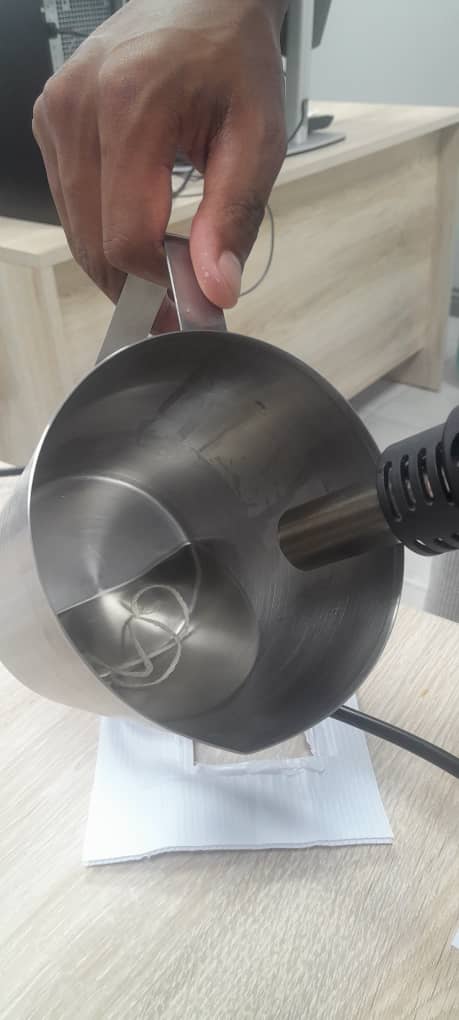
Melting the Candle Wax: I started by melting candle wax in a heat-resistant container. I used a double hot air to ensure even heating and prevent the wax from burning.
Figure 9.a: Melting Candle Wax
Figure 9.b: Melted Candle Wax
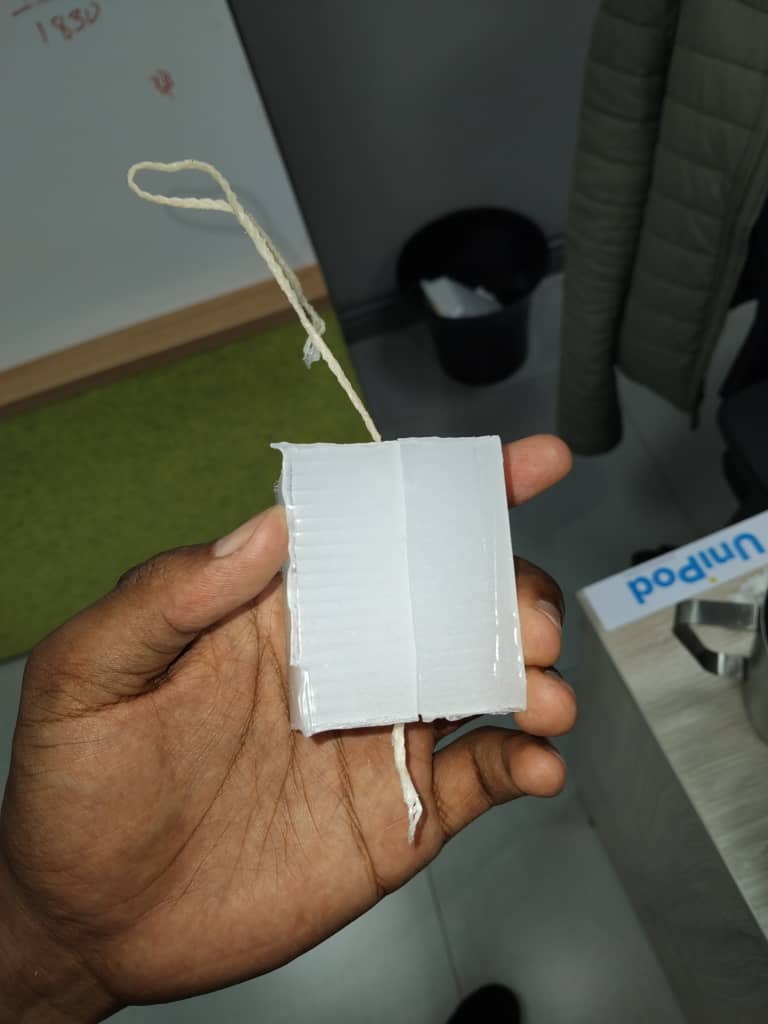
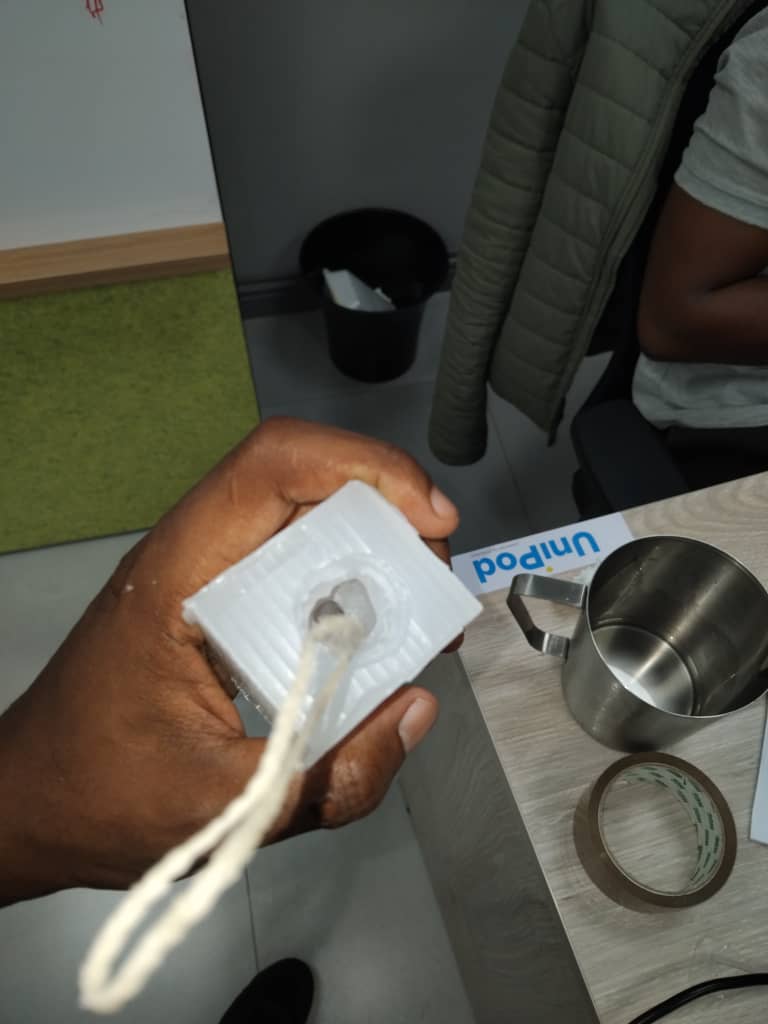
Preparing the Mold: I ensured the silicone mold was clean and dry. I then inserted a candle wick into the mold, making sure it was centered and extended out of the mold for easy lighting.
Figure 10.a: The Cleaned mold
Figure 10.b: Inserting Candle Wick
Figure 10.c: Inserting Candle Wick
Pouring the Wax: Once the wax was fully melted, I carefully poured it into the mold, ensuring the wick remained centered. I filled the mold to the top, avoiding any air bubbles.
Figure 11: Pouring Wax into Mold
Cooling and Hardening: I allowed the wax to cool and harden completely. This process took several hours to ensure the candle retained its shape when removed from the mold.
Figure 12: Hardened Candle in Mold
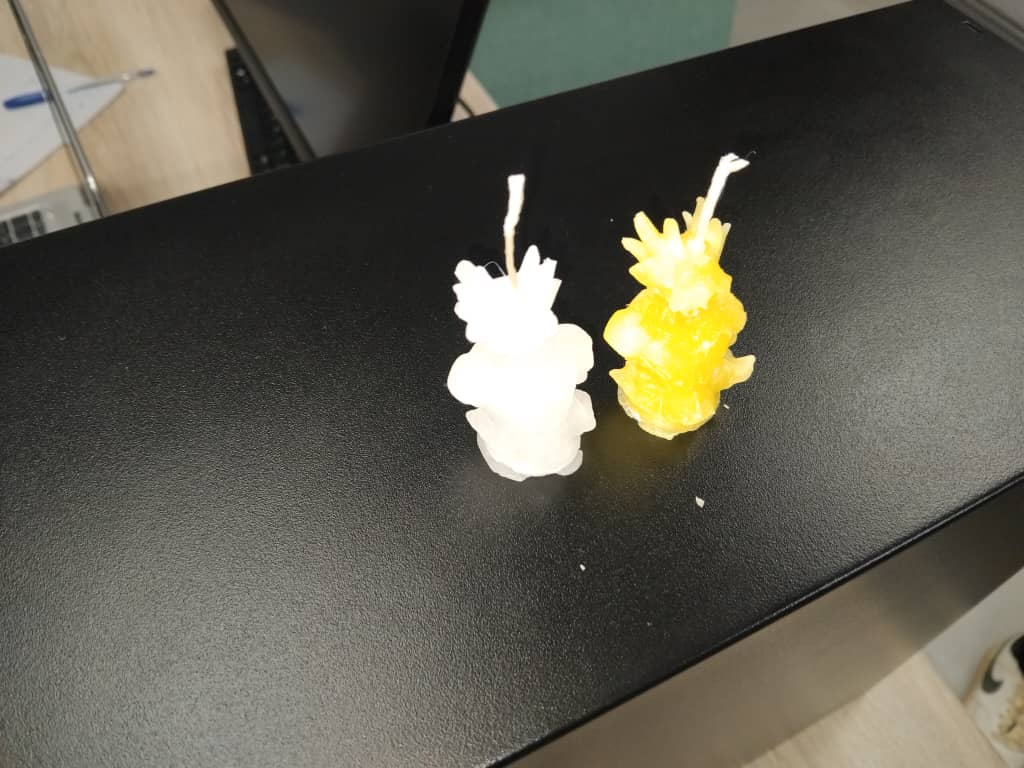
Removing the Candle: Once the wax was fully hardened, I carefully removed the candle from the mold. The result was a detailed Goku-shaped candle with a centered wick.
Figure 13: atempted the candle making a second time with yellow was to ensure repeatability.
The final Goku-shaped candles were ready for use or display. This process demonstrated the versatility of silicone molds for creating custom candle designs.