2. Embedded Programming
Group assigment
- Demonstrate and compare the toolchains and development workflows for available embedded architectures
- Document your work to the group work page and reflect on your individual page what you learned
Individual assigment
- Browse through the datasheet for your microcontroller
- Write a program for a microcontroller, and simulate its operation, to interact (with local input &/or output devices) and communicate (with remote wired or wireless connection)
Summary
During this week of embended programming, I focucced on the resusearch of several chips. I chose to dive deeper for ESP32; and made a simple circuit and program that detect an objet and lit led depending on the distance from ultrasonic sensor. Details descprition bellow.
Link to a Group page

ESP32 is a low-power, high-performance microcontroller with Wi-Fi and Bluetooth capabilities, ideal for IoT projects, embedded systems, and automation. It is widely used due to its versatility, power efficiency, and strong wireless connectivity.
Key Features of ESP32
- Dual-Core Processor: Having two Xtensa LX6 cores that run at a maximum of 240 MHz, providing high performance for real-time applications.
- Wi-Fi and Bluetooth: Supports 2.4 GHz Wi-Fi and Bluetooth 4.2 (Classic and Low Energy) for wireless communication.
- Multiple GPIOs: Provides multiple General Purpose Input/Output (GPIO) pins supporting ADC, DAC, PWM, SPI, I2C, UART, etc.
- Low Power Consumption: Designed to be used even in battery-powered systems with deep sleep modes reducing power consumption to a few microamps.
- Integrated Sensors: Integrated inbuilt hall sensor and capacitive touch sensors to provide additional functionality.
Some application of ESP32
- Robotics and automation: Used in drones, industrial control, and robotics solutions.
- Wireless Communication: Ideal for wireless sensor networks and smart agriculture.
To simulate a circuit, I used WOKWI platform..
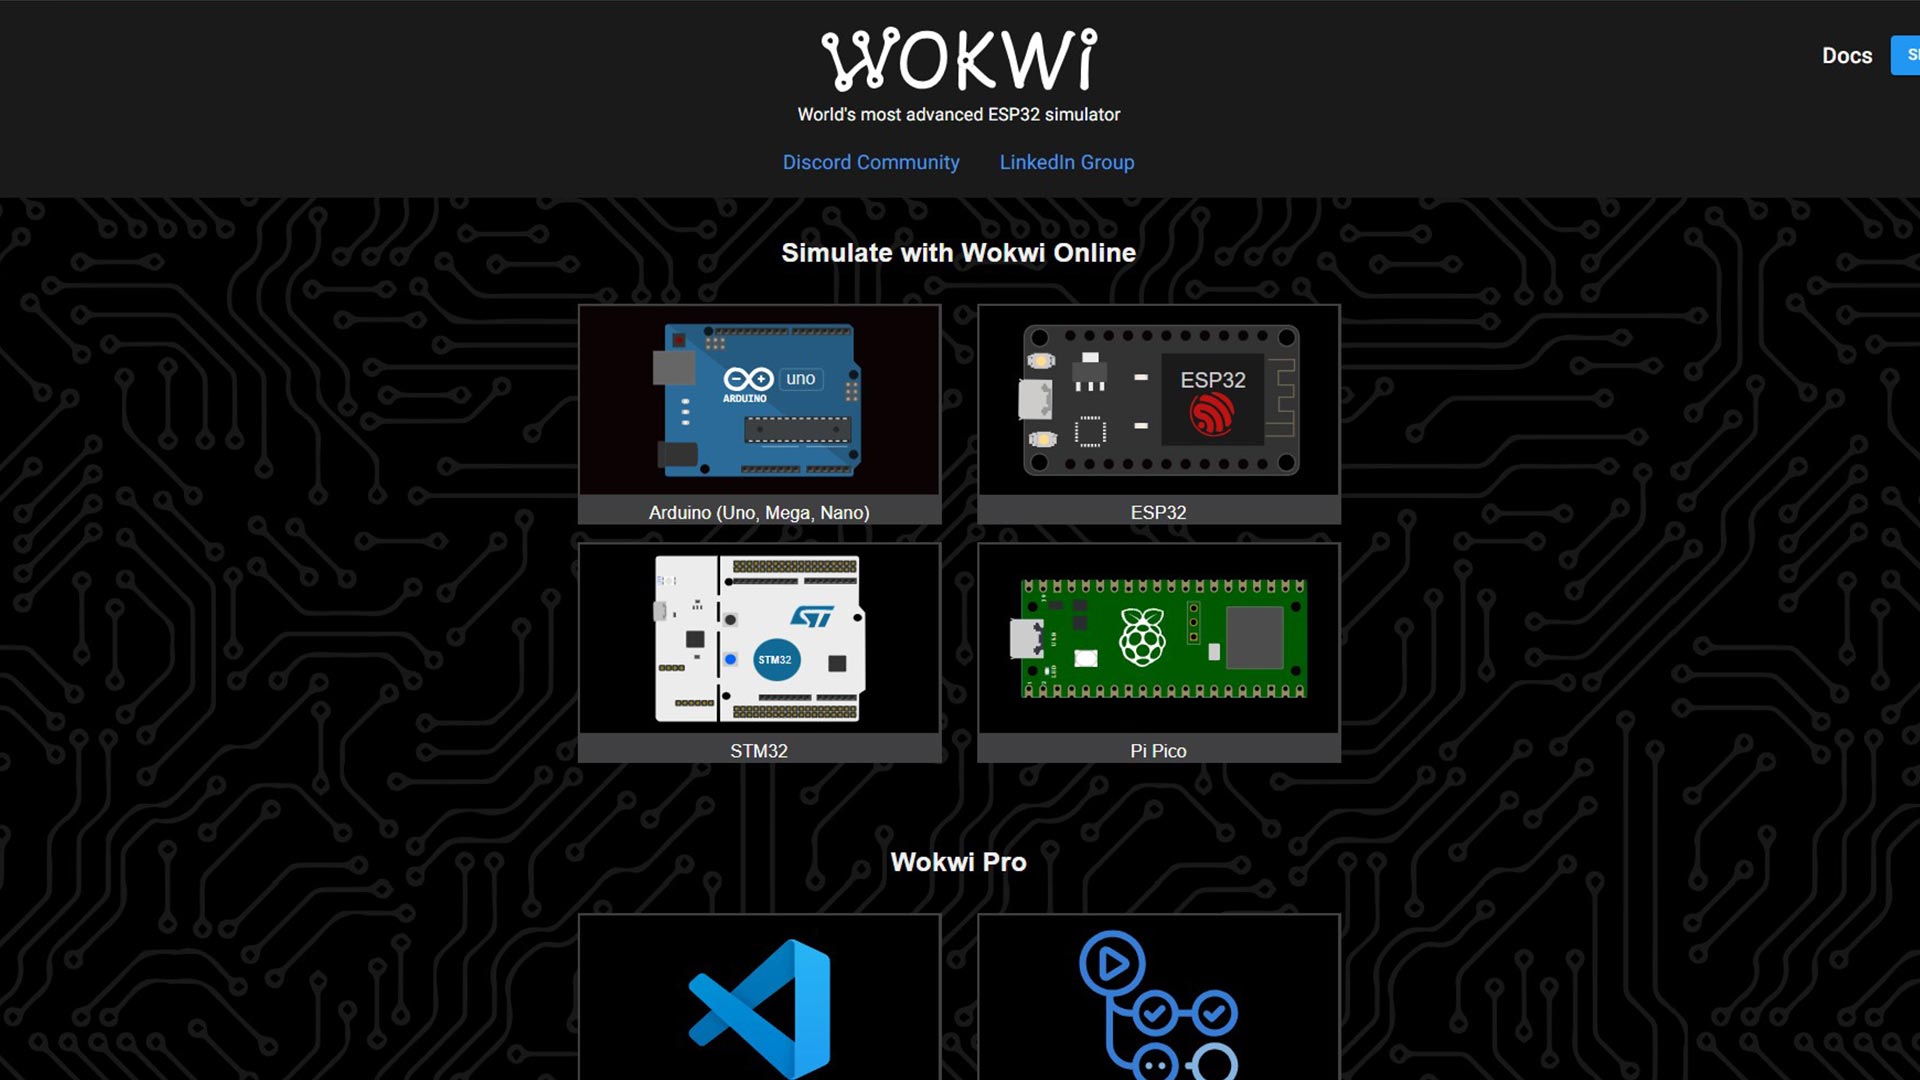
Wokwi is an online simulator for embedded systems that is primarily used for testing and prototyping several microcontroller chips mainly Arduino, ESP32, Raspberry Pi Pico. It allows users to write and run code in a virtual environment without hardware. You can use it throgh here here. It is free to use. To use it, you only a divice connected to internet.
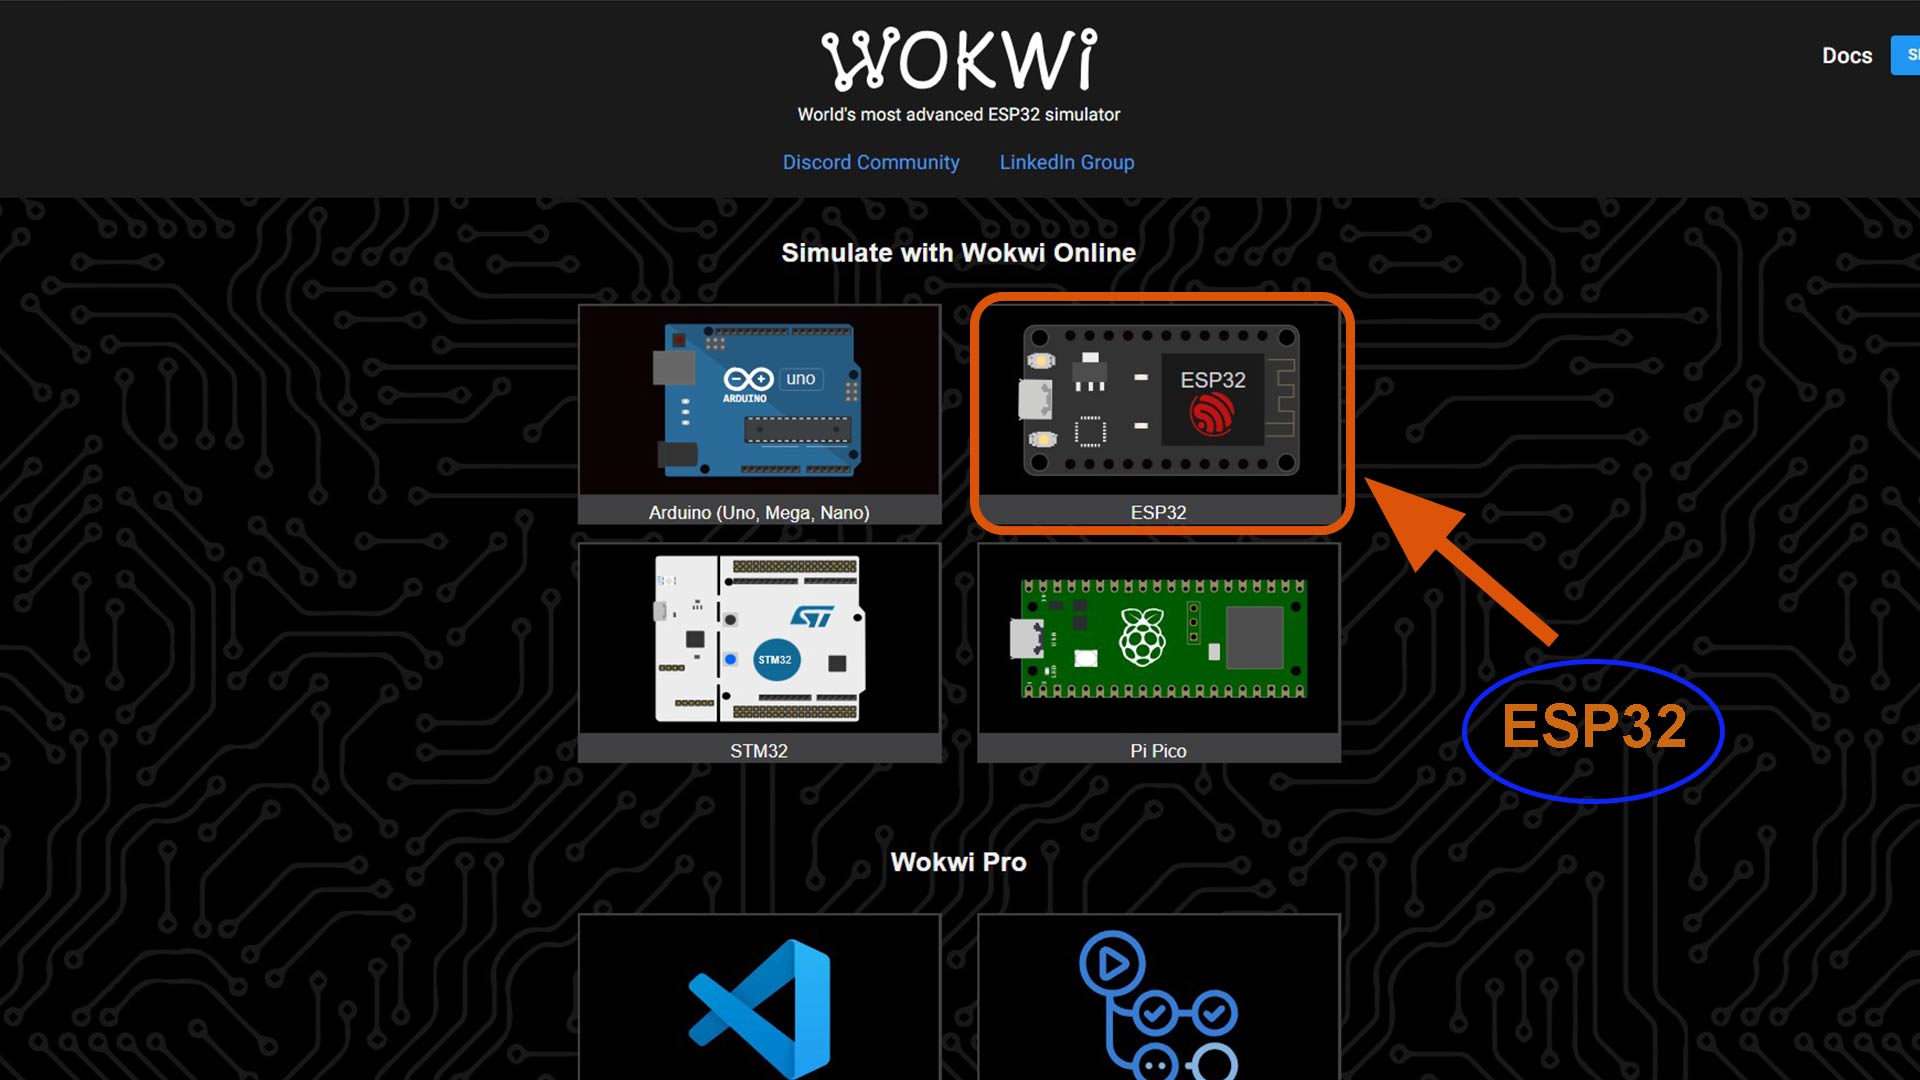
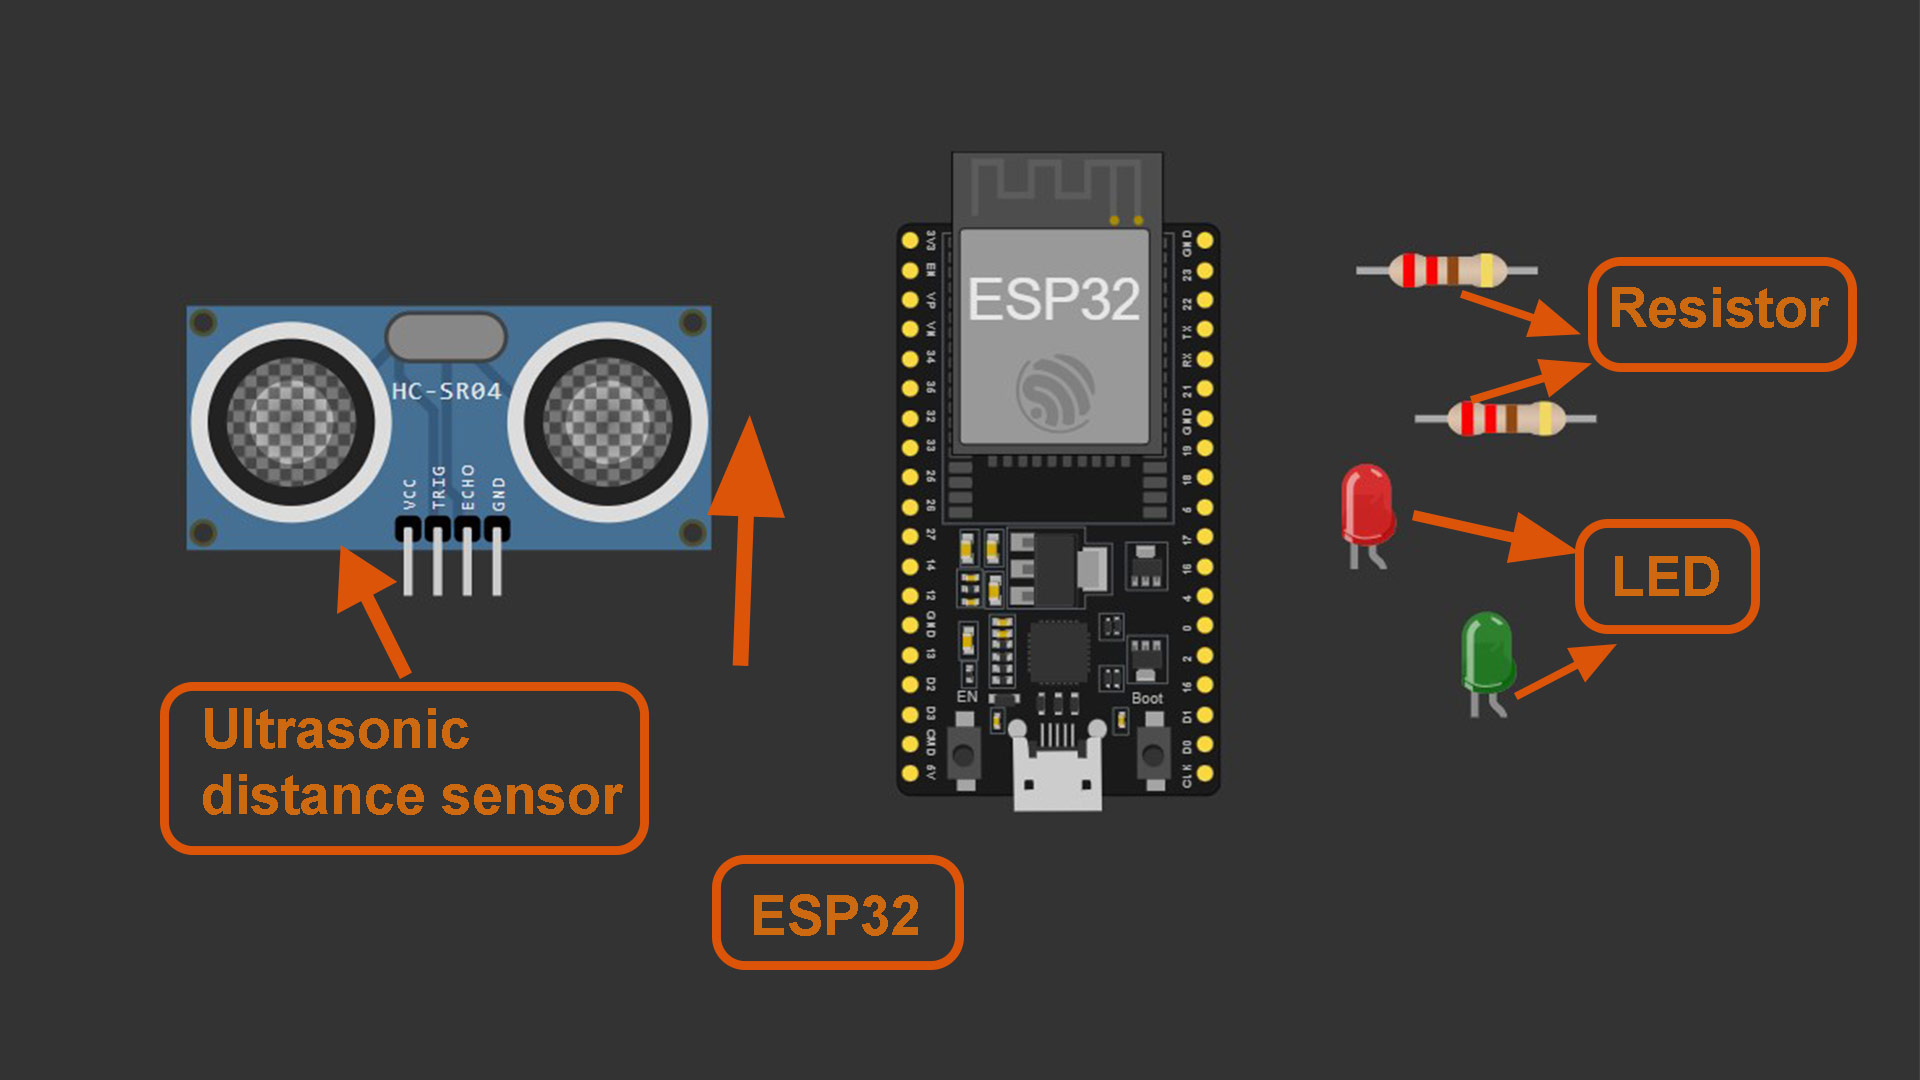
First step, I selected ESP32 microcontroller
I used Plus icon to add more components
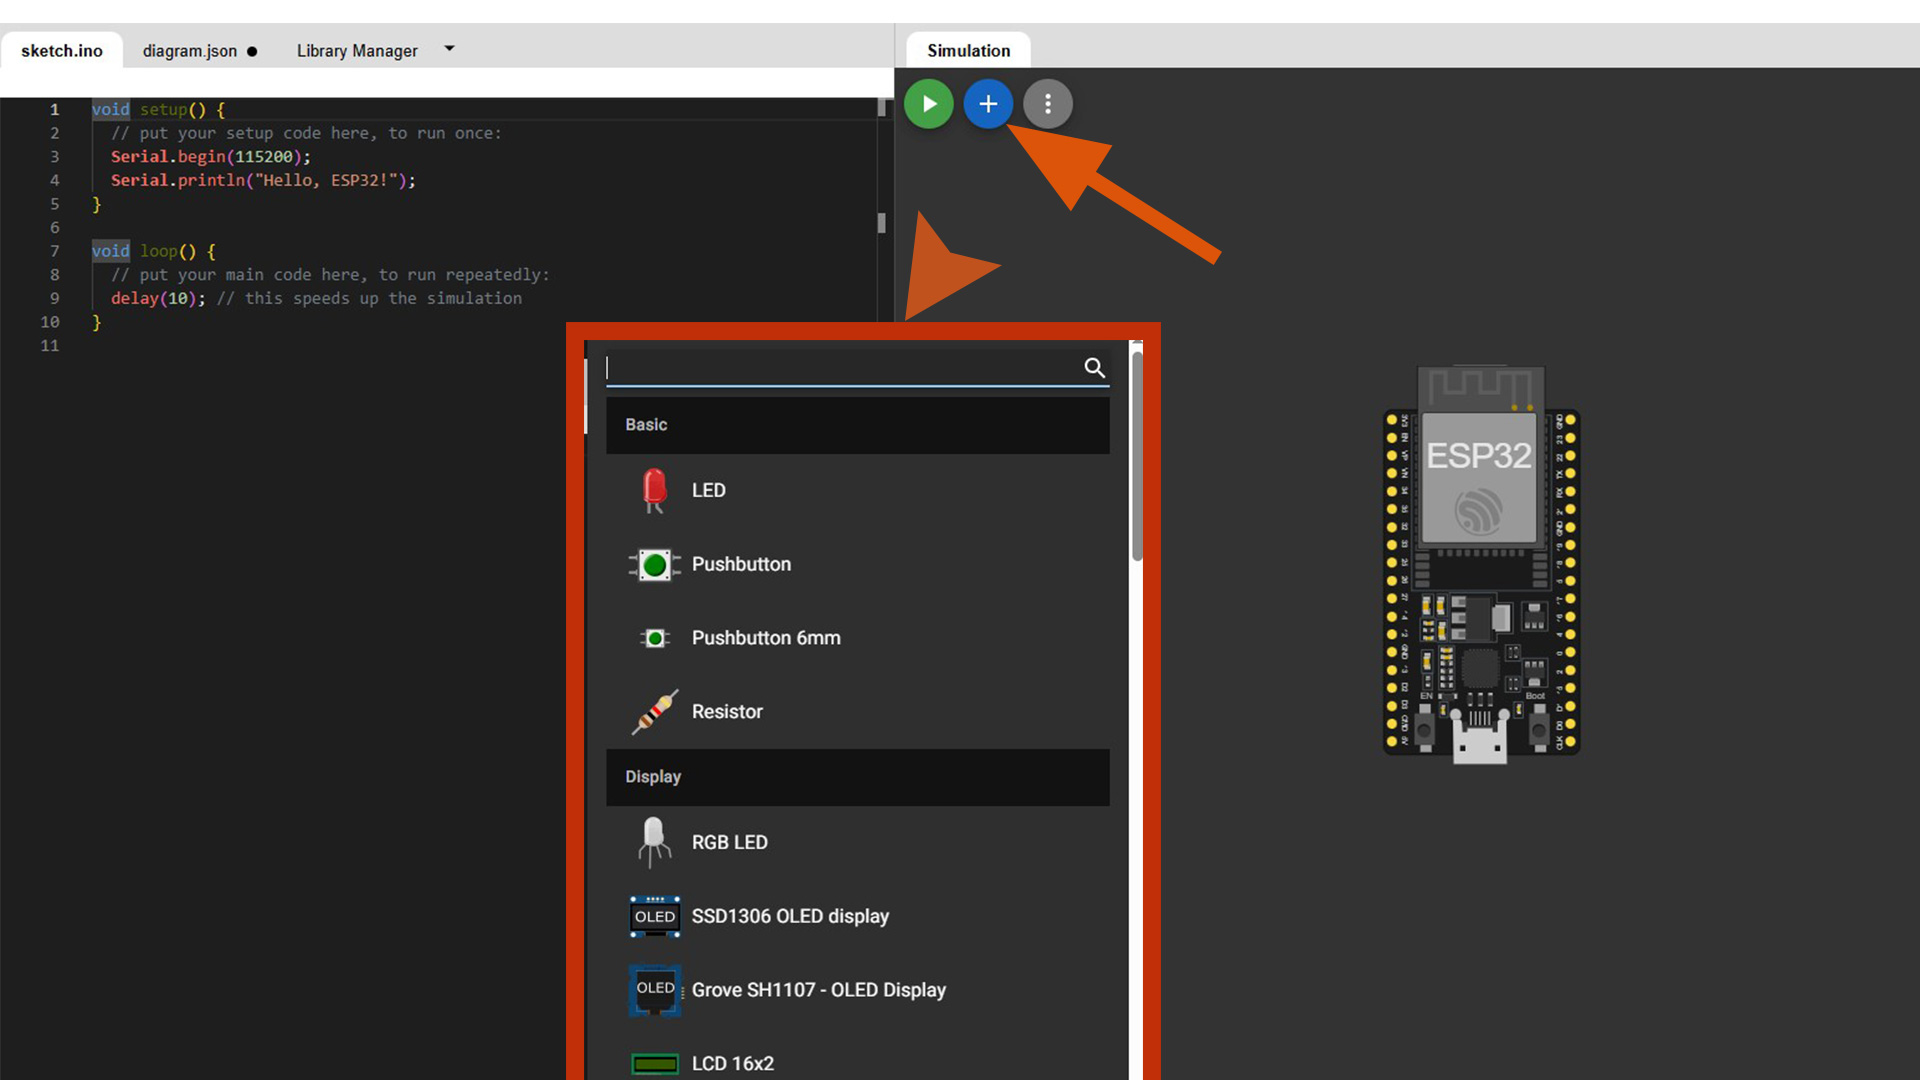
I added the following components
- 1 Ultrasonic distance sensor
- 2 LEDs
- 2 220 Ohm Resistor
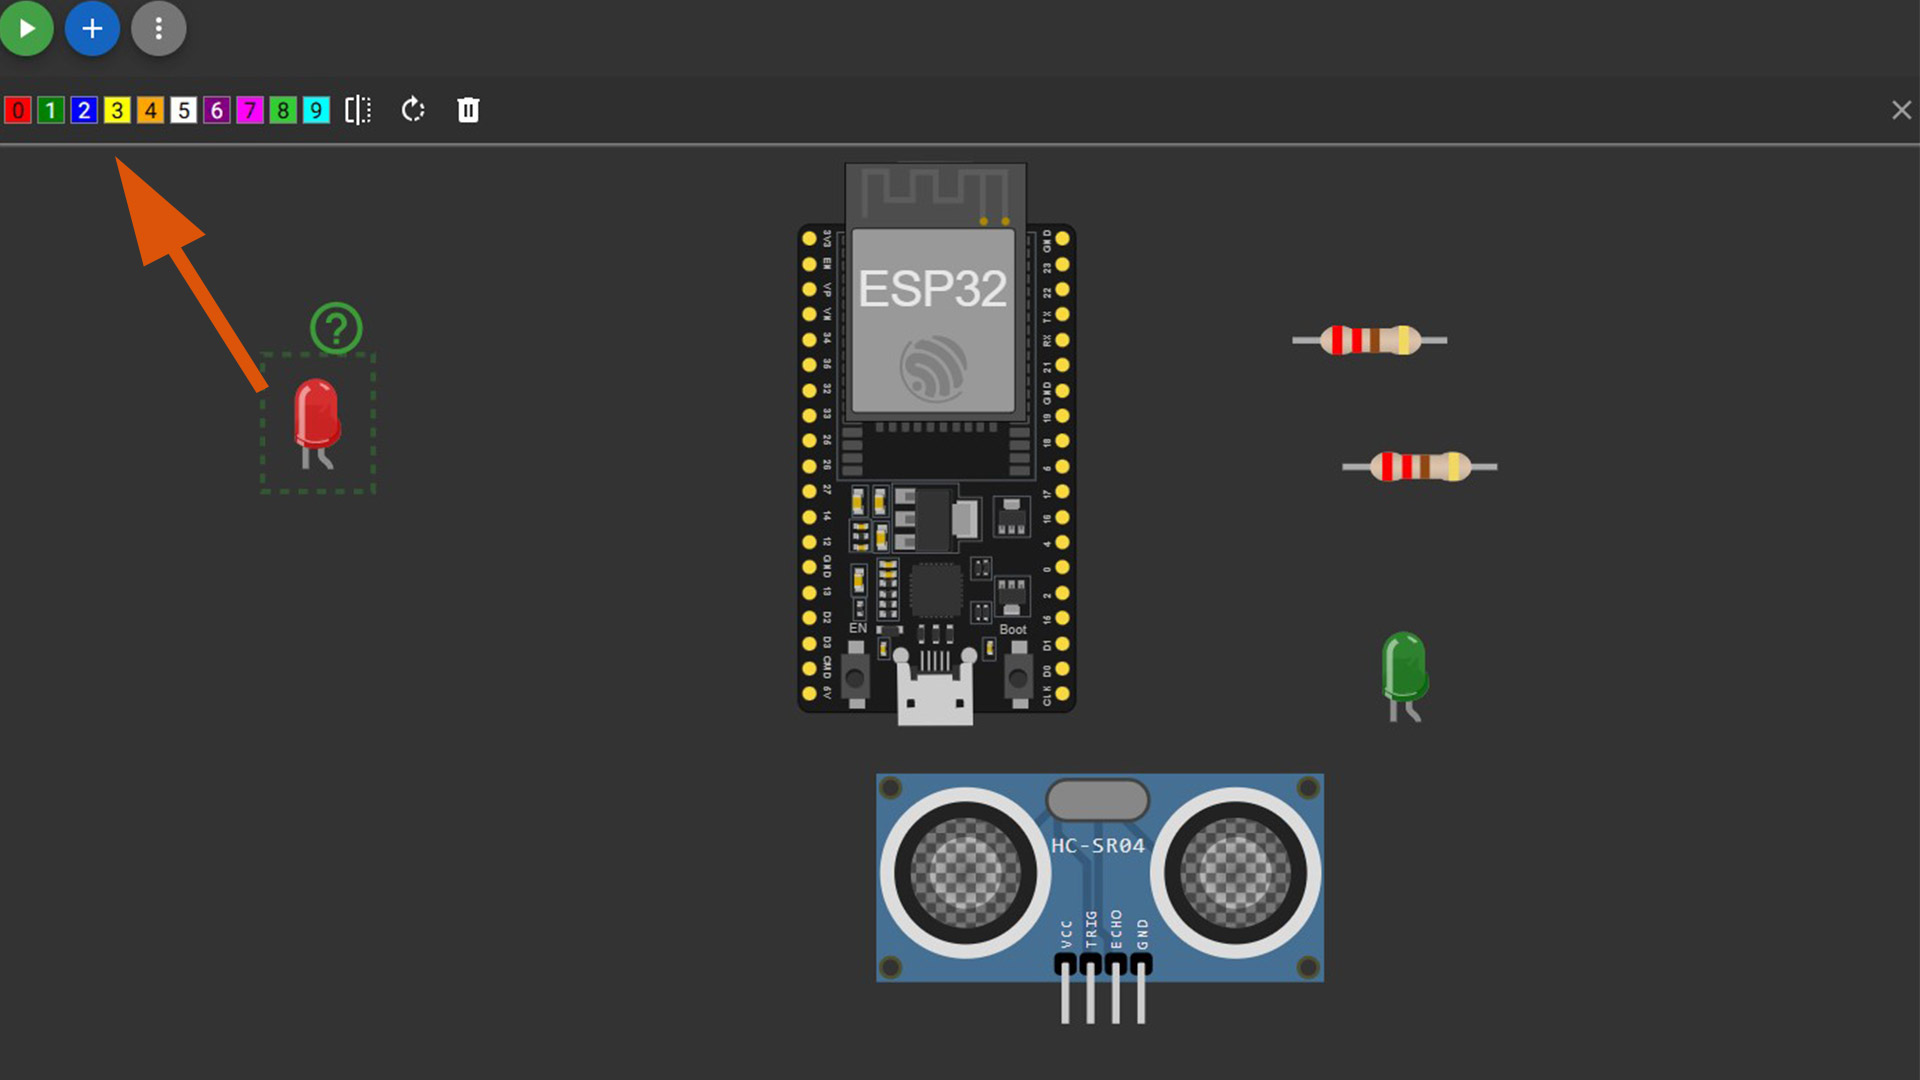
Note: To change the color of LED or wire, select the compontent and color pallete will appear at the top left corner and then select color you prefer
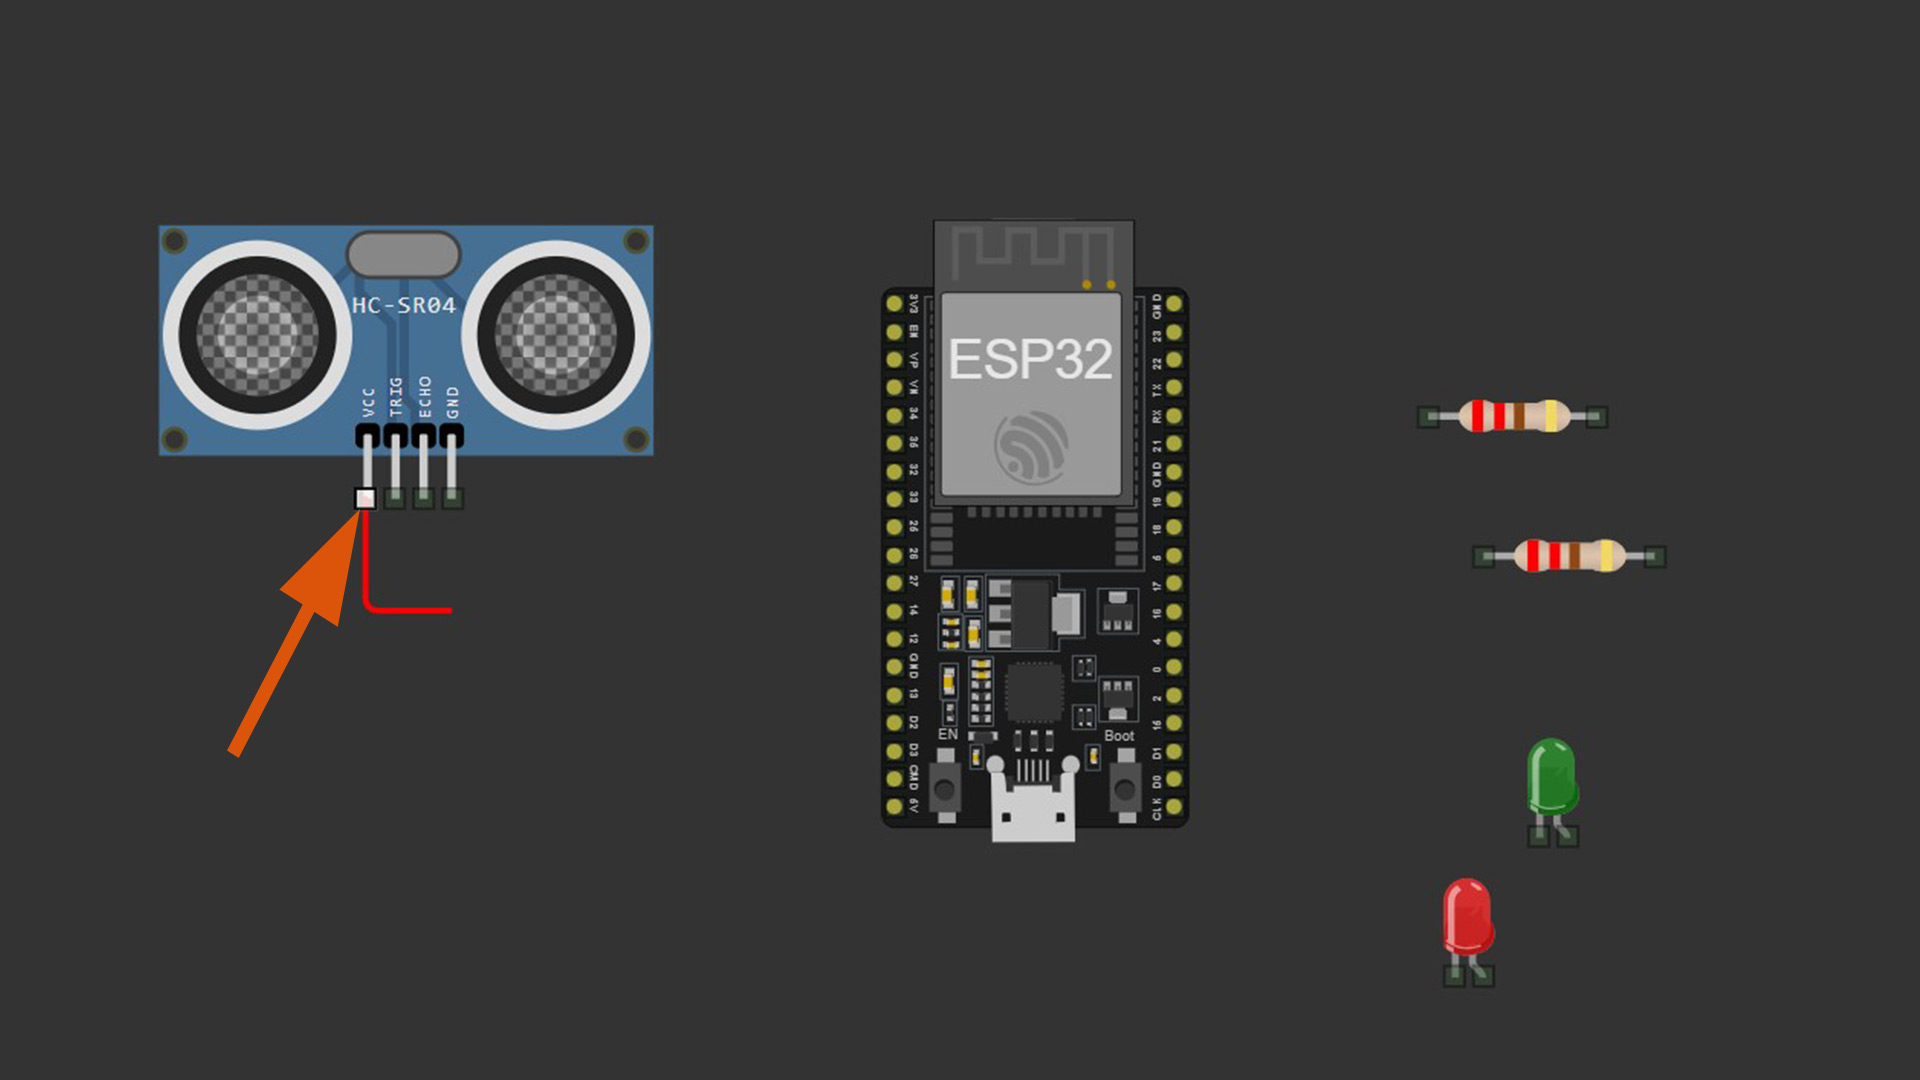
To add wire, I selected component terminal.
After connecting all components,
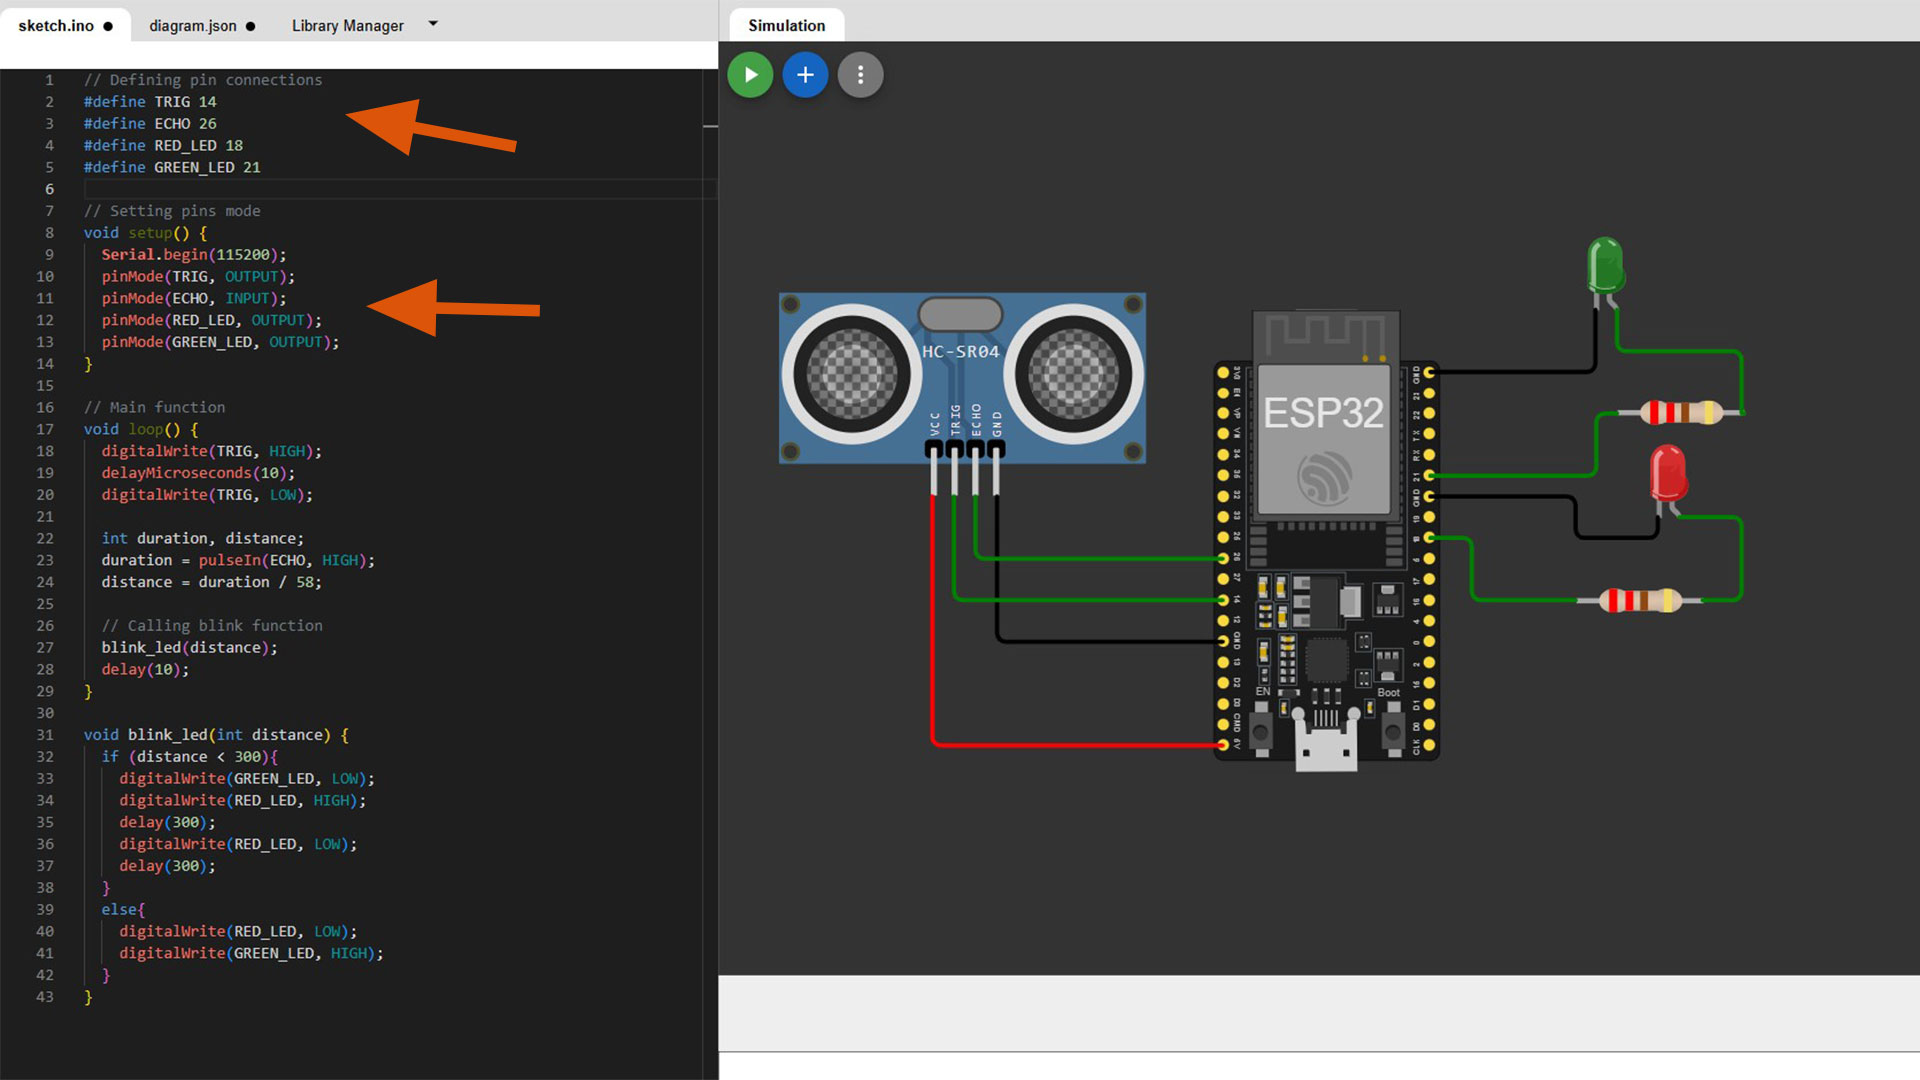
Code I have used
          // Defining pin connections
          #define TRIG 14
          #define ECHO 26
          #define RED_LED 18
          #define GREEN_LED 21

          // Setting pins mode
          void setup() {
            Serial.begin(115200);
            pinMode(TRIG, OUTPUT);
            pinMode(ECHO, INPUT);
            pinMode(RED_LED, OUTPUT);
            pinMode(GREEN_LED, OUTPUT);
          }

          // Main function
          void loop() {
            digitalWrite(TRIG, HIGH);
            delayMicroseconds(10);
            digitalWrite(TRIG, LOW);

            int duration, distance;
            duration = pulseIn(ECHO, HIGH);
            distance = duration / 58;

            // Calling blink function
            blink_led(distance);

            delay(10);
          }

          void blink_led(int distance) {
            if (distance < 300){
              digitalWrite(GREEN_LED, LOW);
              digitalWrite(RED_LED, HIGH);
              delay(300);
              digitalWrite(RED_LED, LOW);
              delay(300);
            }
            else{
              digitalWrite(RED_LED, LOW);
              digitalWrite(GREEN_LED, HIGH);
            }
          }
Testing and simulation
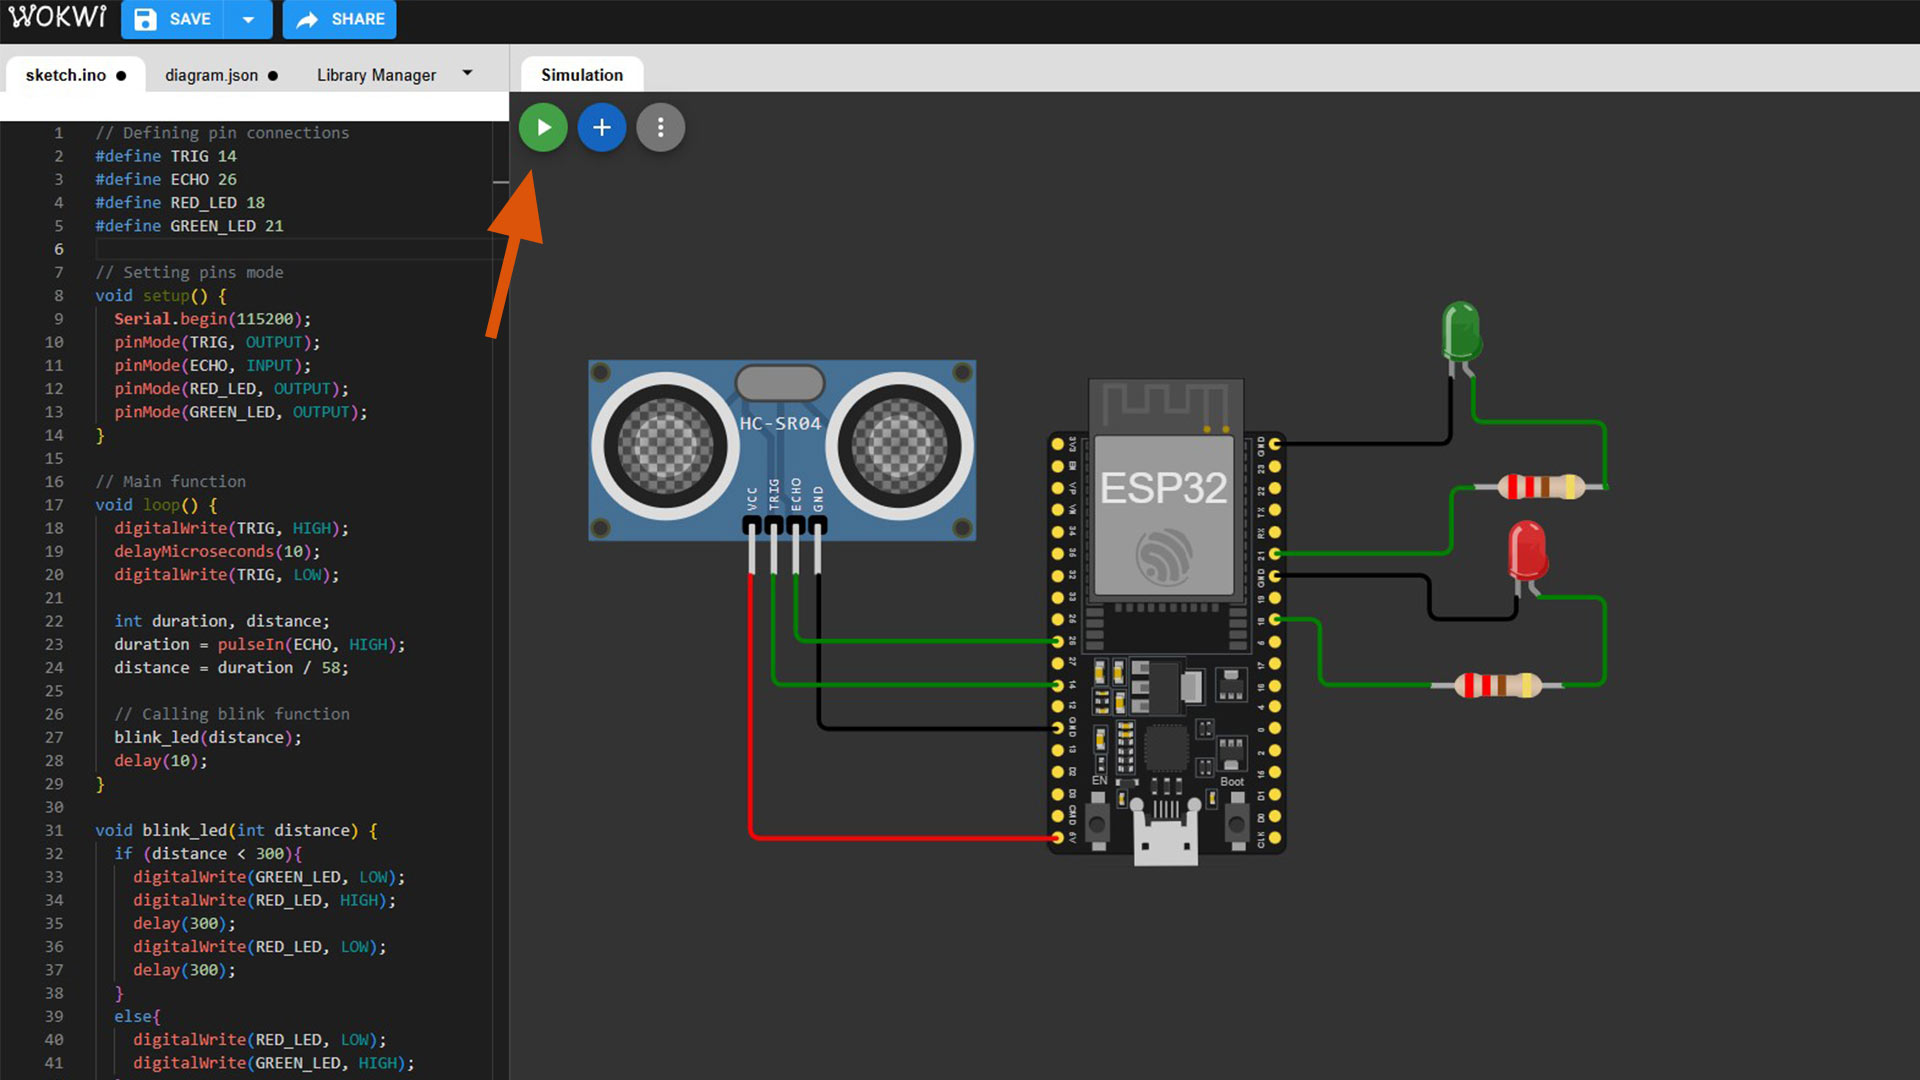
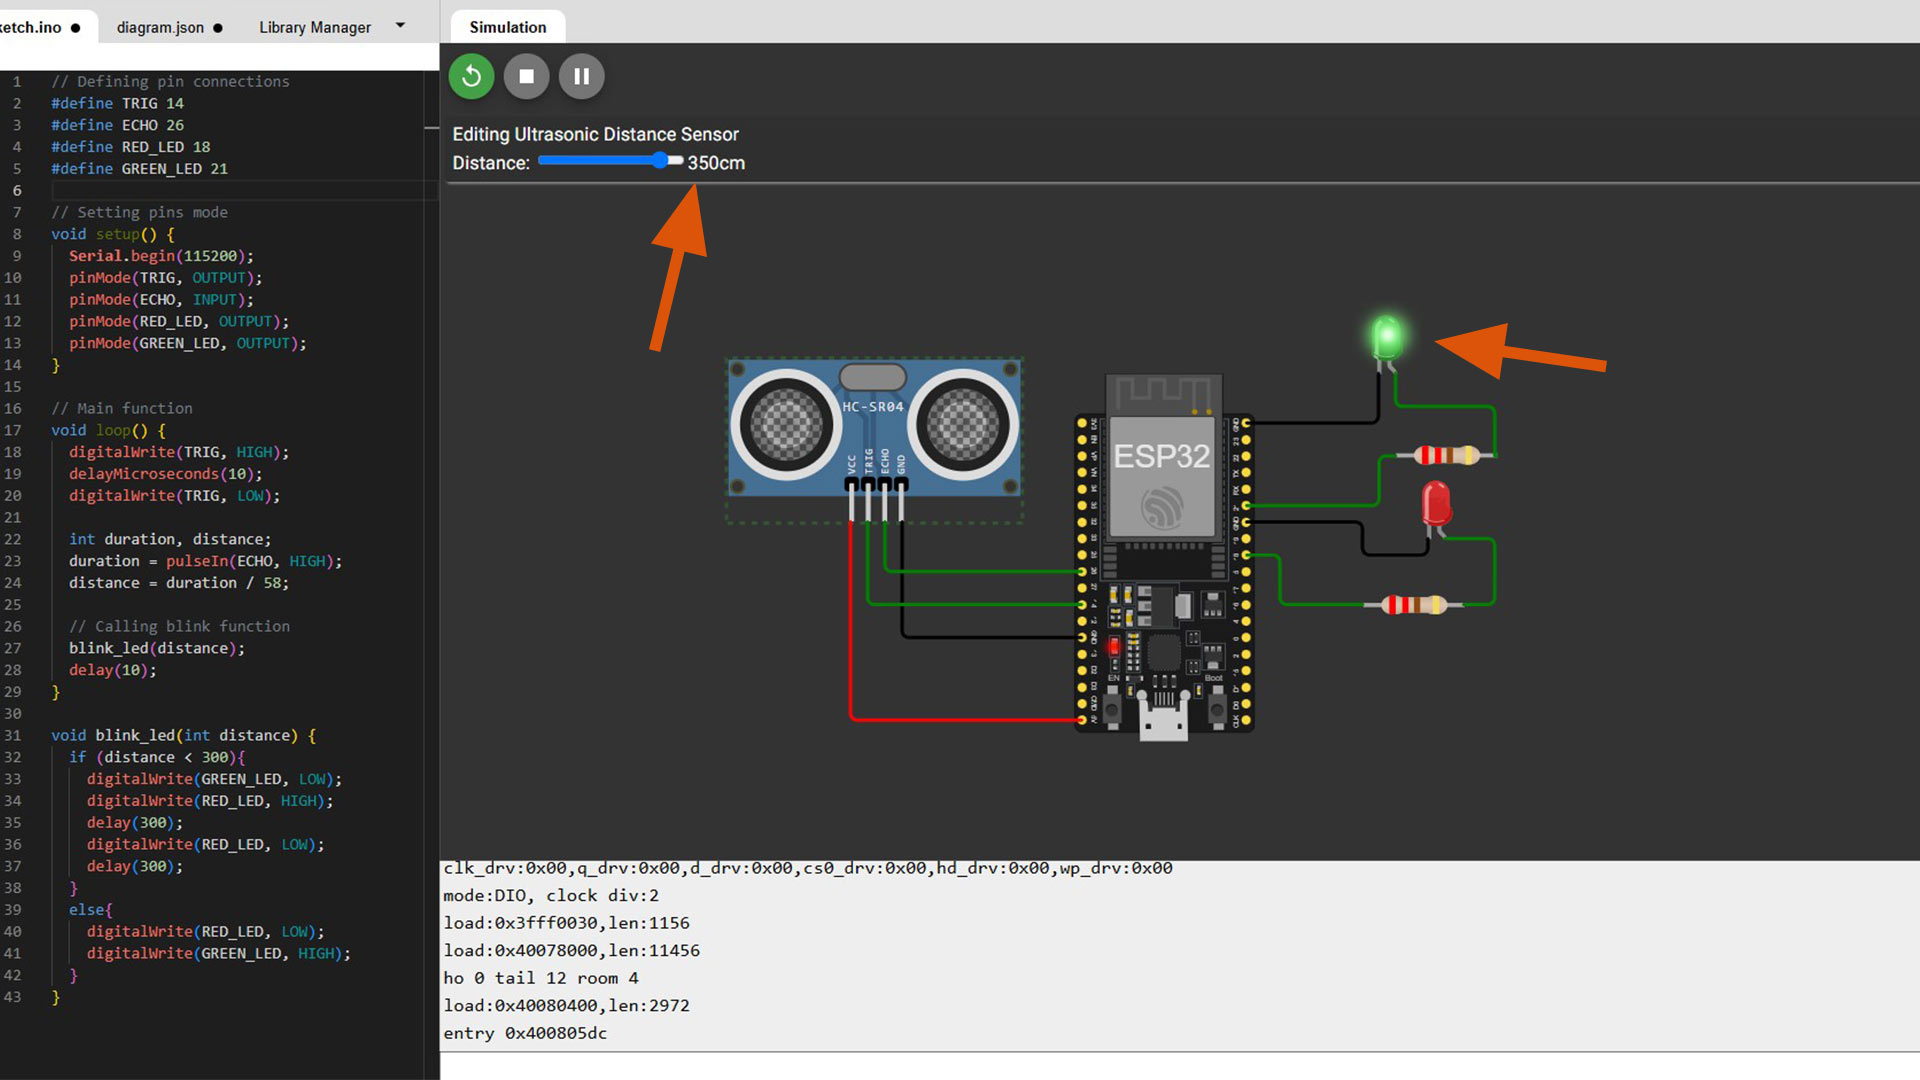
When the distance is under 200cm, red LED will be on
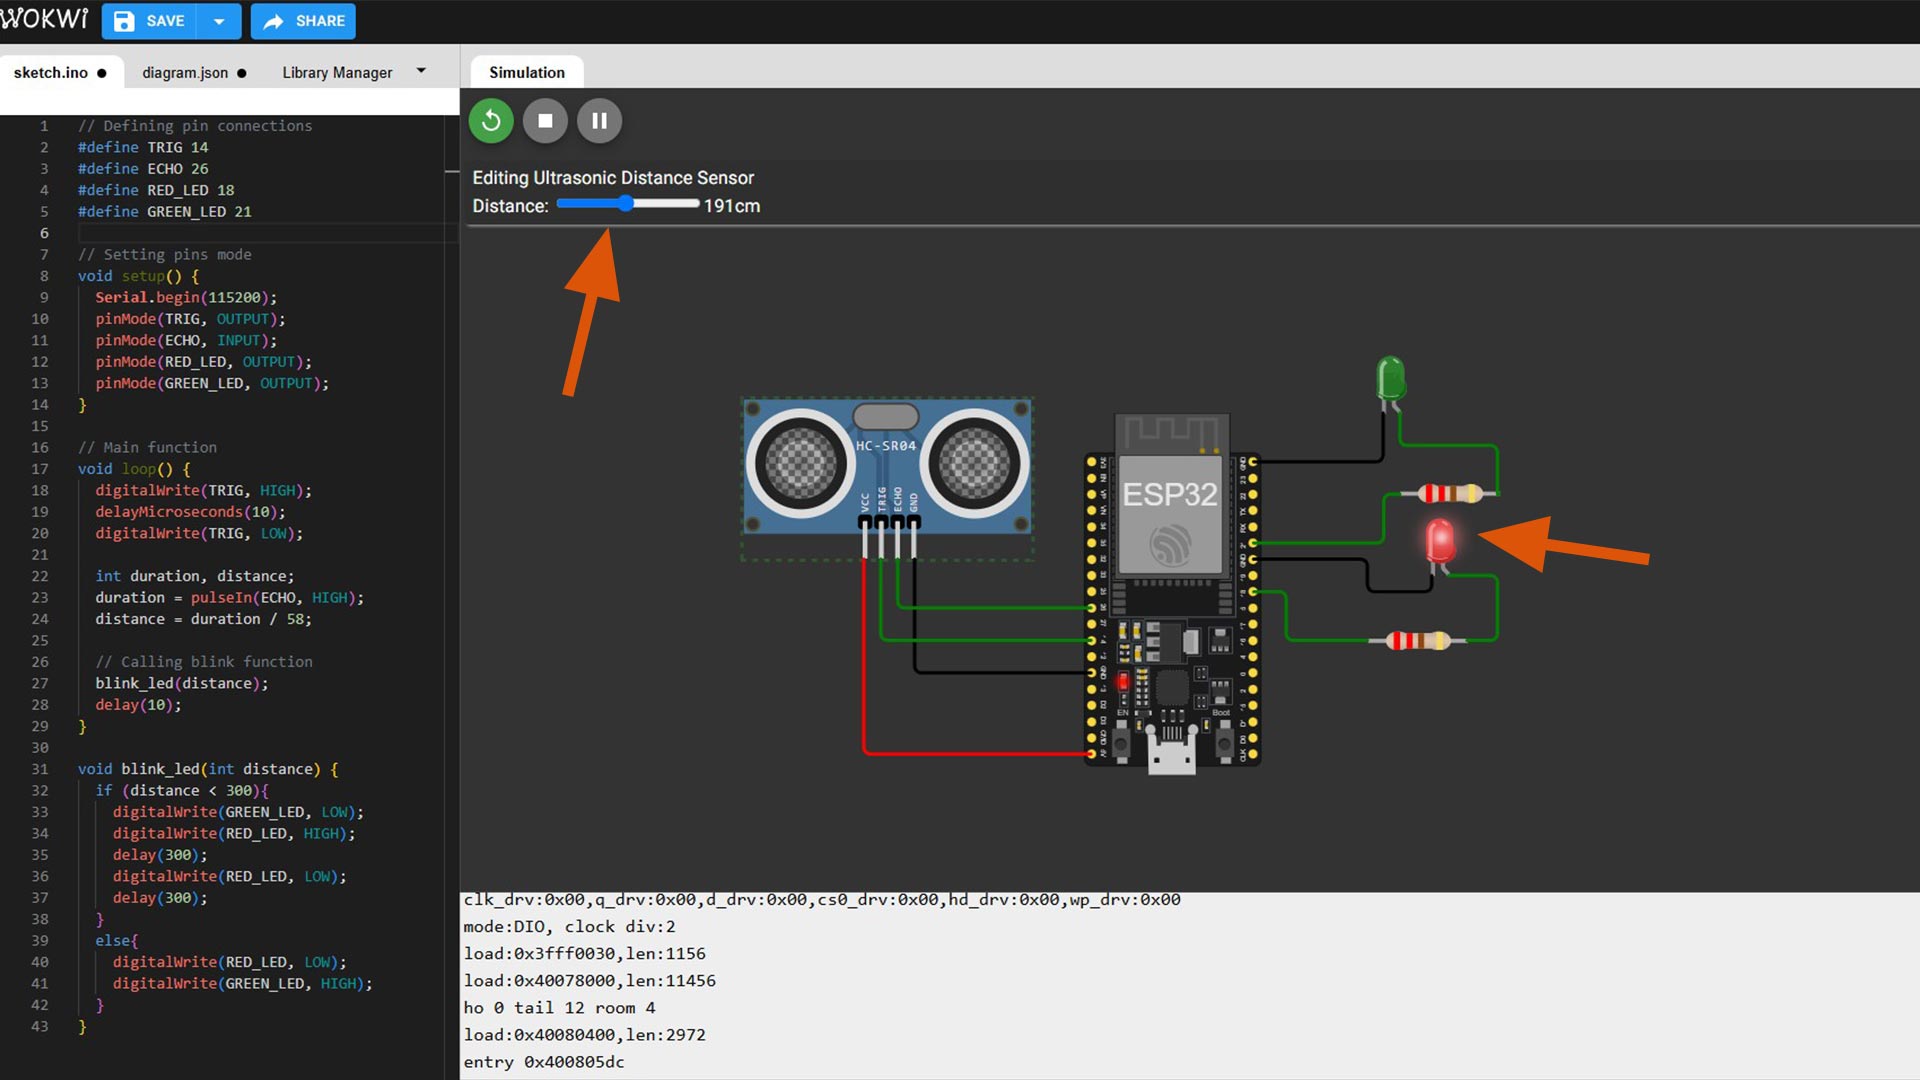
By increasing the distance, the green LED will lit.
