Embedded Programming
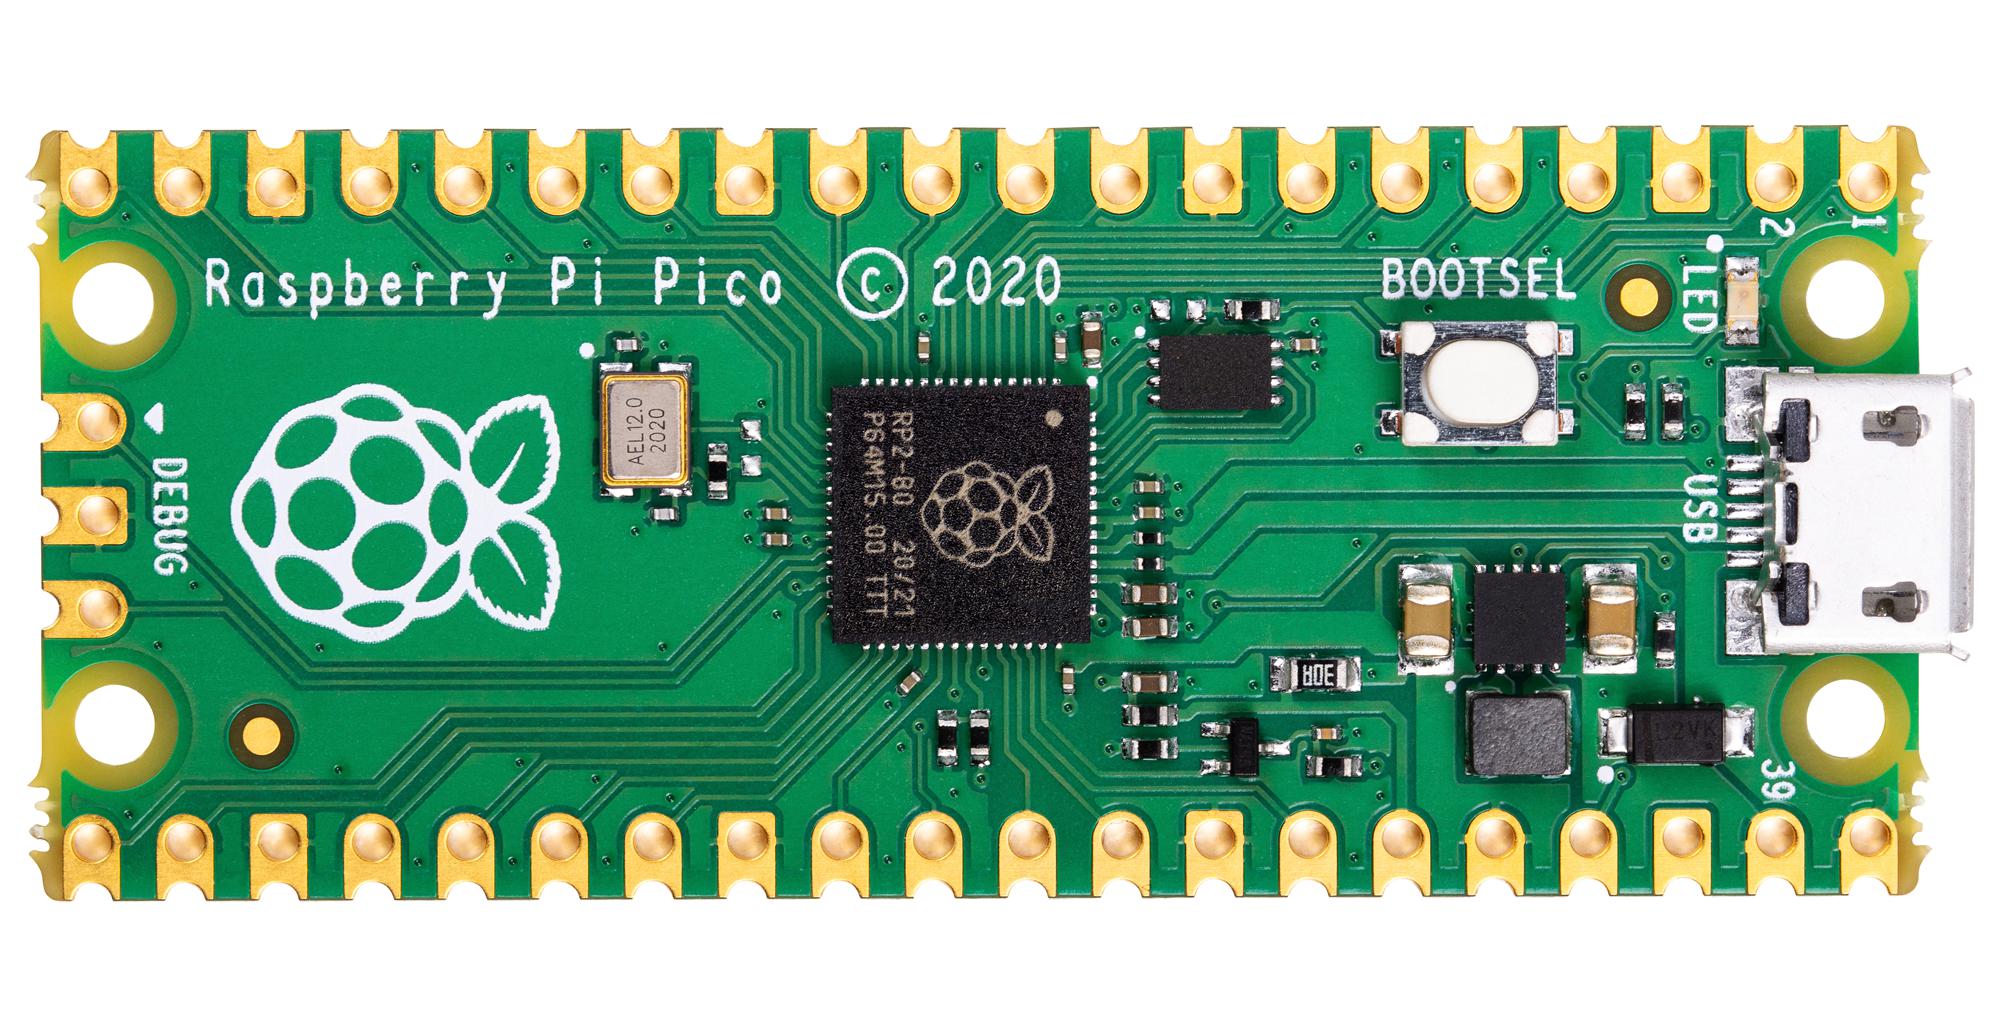
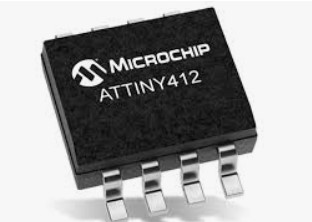
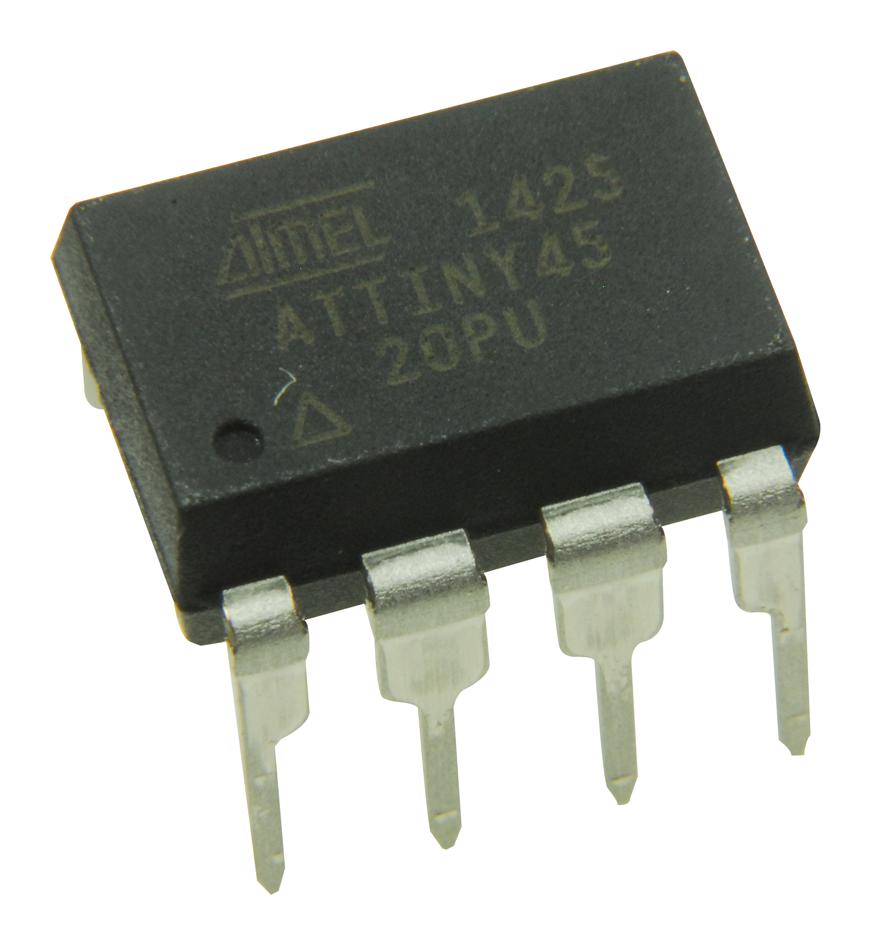
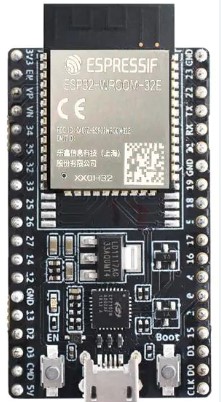
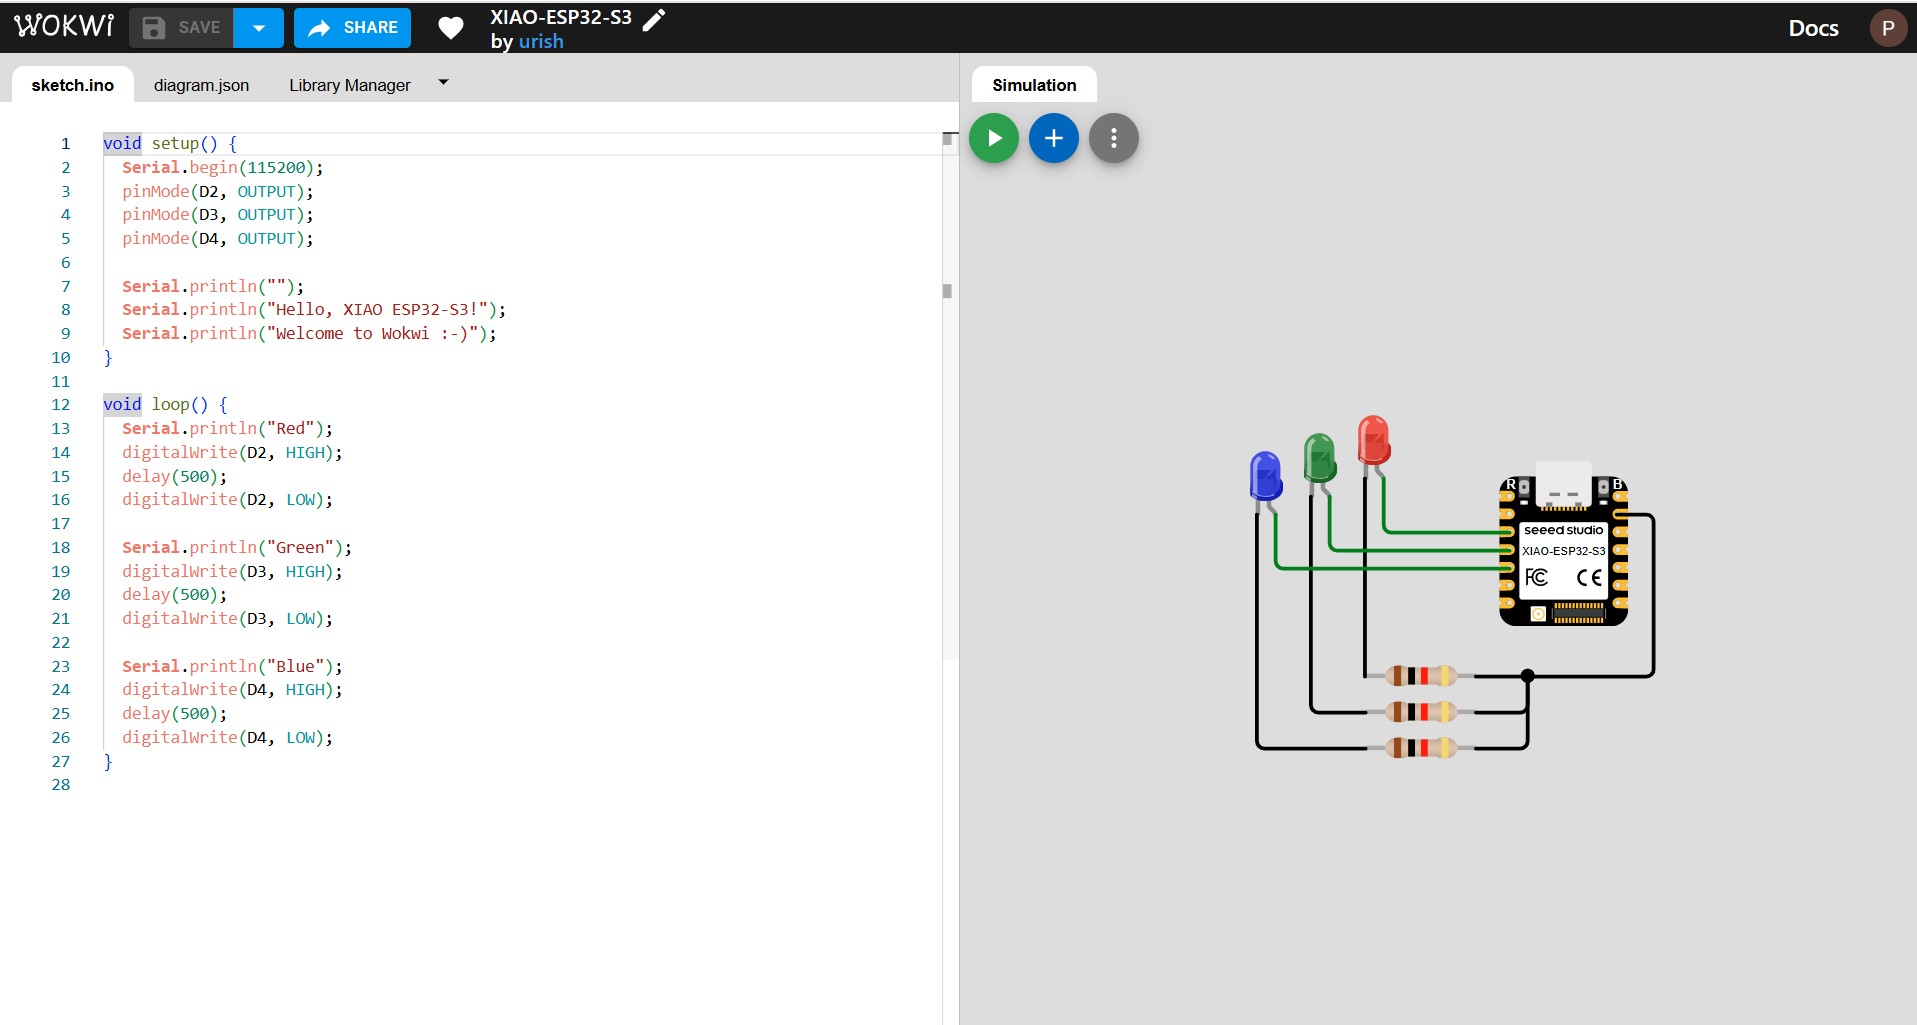
In this week's group assignment, we compared the use of programming languages C++ and Python and the available controllers in our Fab. We created several examples using Wokwi, microcontroller simulator, and then we physically program devices from two different MCU families using different toolchains, specifically the Raspberry Pi Pico 2040, ATtiny412, ATtiny45 and the Esp32.
Datasheets
- Download Datasheet de Raspberry Pi Pico (PDF)
- Download ESP32 Datasheet (PDF)
- Download ATtiny412 Datasheet (PDF)
- Download ATtiny45 Datasheet (PDF)
For more details, visit the Group Assignment Page.
Python and C++ have different syntax rules and structures for basic programming commands. Below is an explanation of key differences between them:
Print text: Python uses the built-in function print("Hello, World!") to display text on the console. In contrast, C++ requires the inclusion of the <iostream> library and uses std::cout with the syntax cout << "Hello, World!" << endl;.
Variable declaration: In Python, variables are dynamically typed, meaning there is no need to specify their type; for example, x = 10. C++, on the other hand, requires explicit type declaration, such as int x = 10;, to define an integer variable.
Loop (for): Python provides a simple looping structure using for i in range(5): print(i), which iterates automatically from 0 to 4 without needing to initialize i. In C++, a for-loop requires explicit initialization, condition, and increment, such as for(int i = 0; i < 5; i++) { cout << i << endl; }.
Conditional (if): Python uses a more concise syntax for conditionals, such as if x > 5: print("x is big"), relying on indentation instead of brackets. C++ requires parentheses around the condition and curly braces for the code block, like if (x > 5) { cout << "x is big"; }.
Function definition: In Python, functions are defined with def and do not require specifying parameter types or return types, for example, def add(a, b): return a + b. C++ requires explicit type declaration for parameters and return values, as seen in int add(int a, int b) { return a + b; }.
Overall, Python provides a simpler and more flexible syntax, making it easier to write and understand code. C++ offers more control over data types and memory management, which is beneficial for system-level programming.
Individual Assignment
This week in Fab Academy, for the individual assignment, we were asked to research different microcontrollers and their datasheets to determine which one would be the most suitable for our project. Additionally, we were required to test a simulation with an input, an output, and communication (with a remote wired or wireless connection).
Throughout the group assignment, as mentioned earlier, we explored different programming languages to decide which one is the most suitable for our project. Additionally, we tested some example codes.
Microcontroller Selection
For my project, after analyzing the datasheets, I found two microcontrollers that could be ideal for my project:
- Raspberry Pi Pico 2040
- XIAO nRF52840 Sense
I chose these two microcontrollers because both allow me to program multiple motors to function simultaneously. The power supply voltage, memory capacity, and hardware size were also important factors. Since my final project is a wearable device, I needed something comfortable and not bulky. Additionally, I required a microcontroller capable of sensing motion. To determine the ideal microcontroller, I created a comparison table using the relevant datasheet information, and these were the results:
| Feature | Raspberry Pi Pico 2040 | XIAO nRF52840 Sense |
|---|---|---|
| Power Supply Voltage | 1.8V - 5.5V | 1.7V - 3.6V |
| Motor Control Ports | 26 GPIO | 11 GPIO |
| Communication (Bluetooth/Wi-Fi) | No | Bluetooth |
| Motion Sensing | No | Yes |
| Microphone | No | Yes |
| Size | 51mm × 21mm | 18mm × 18mm |
Since my project will be a voice-controlled exoskeleton, the XIAO nRF52840 Sense seems to be the most suitable microcontroller for me. With this board, I will be able to establish the communication between voice commands and the exoskeleton. Additionally, I do not need many ports for motors, and it operates at a lower voltage. Moreover, its size is ideal for my final project, and it features motion sensing, which is perfect for detecting hand movements.
Datasheets
Simulation
For the simulation, I used Wokwi software, which allowed me to simulate the Raspberry Pi Pico 2040. I also used the Xiao ESP32S3 since its pins are very similar to those of the XIAO nRF52840 Sense. In the Raspberry simulation, I used MicroPython, while in the Xiao ESP32S3 simulation, I used C.
Using Wokwi
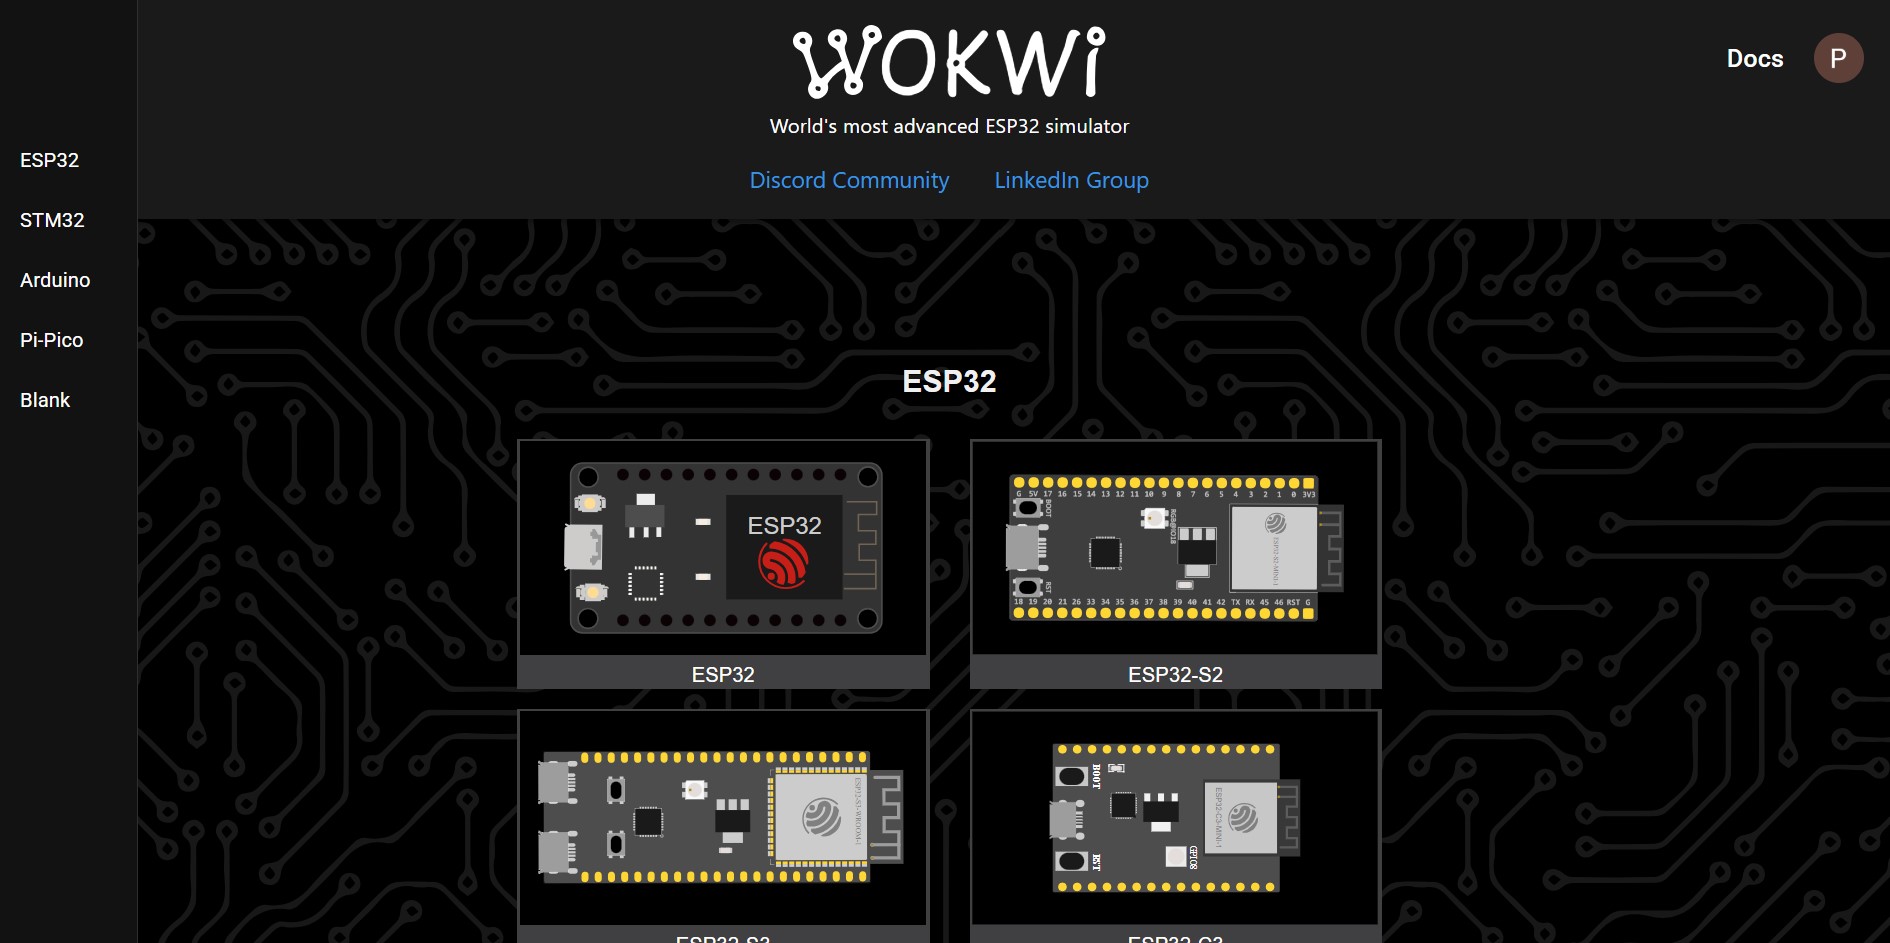
To use Wokwi, we need to create an account, search for the microcontroller we want to use, and select the programming language.

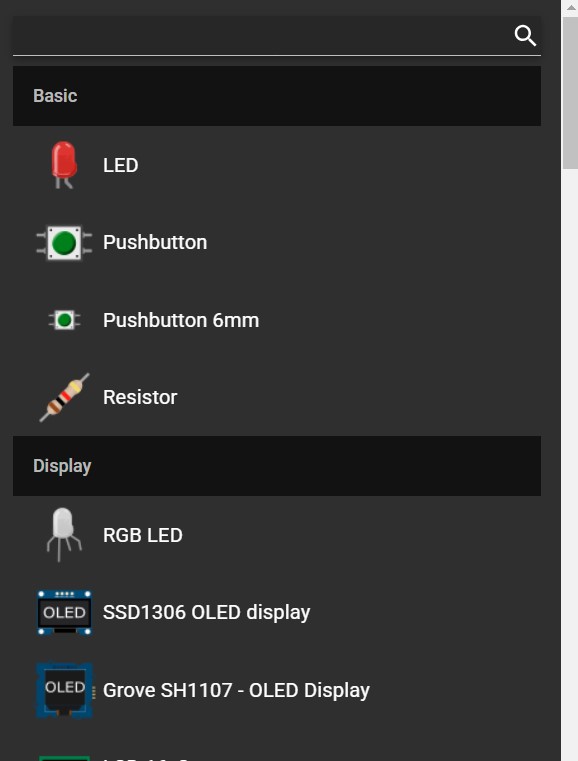
Next, we select the components we will use through the search tool and connect them properly to ground, power, and the chosen pin.
We then write the code according to our needs and run the simulator.
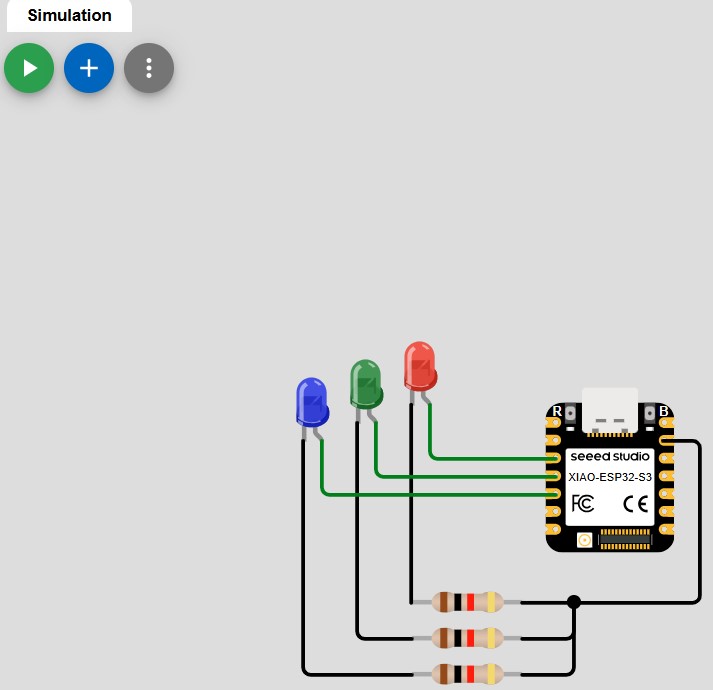
Simulation on Xiao ESP32S3
In both simulations, I simulated a button (input), a motor (output), and communication indicating when the servo rotates left or right. The code is a simple example of motor control and was programmed in C.
Simulation code Xiao ESP32S3 C lenguage
See the Pen Untitled by Paula Rivero (@Paula-Rivero) on CodePen.
This code controls a servo motor using an ESP32 and a button. It uses the ESP32Servo.h library to manage the servo, which is connected to pin 3. The button, connected to pin 6, has an internal pull-up resistor. In the setup() function, the code configures the pins, initializes the servo at 90°, and starts serial communication.
In the loop(), the code detects if the button is pressed. If pressed, it toggles the servo direction between 0° and 180°, alternating its position with each press. It also prints "LEFT" or "RIGHT" to the serial monitor. A 300 ms delay is used to prevent button bouncing, and the code waits for the button to be released before allowing another activation.
Below, I present a video of the simulation and the Wokwi simulation link.
Simulation on Raspberry Pi Pico 2040
Since I have rarely programmed in MicroPython, I used the C code I wrote and asked ChatGPT to convert it from C to MicroPython. I had to make some modifications since the pins were different.
Simulation Code Raspberry Pi Pico 2040
See the Pen Untitled by Paula Rivero (@Paula-Rivero) on CodePen.
This code controls a servo motor using a Raspberry Pi Pico 2040 and a button. The servo is connected to pin 16 and is controlled using PWM at 50 Hz, while the button is connected to pin 17 with an internal pull-up resistor. The function set_servo_angle() converts an angle (0° to 180°) into a PWM duty cycle, allowing the servo to move accordingly. The initial servo position is set to 90° (center).
In the main loop, the code checks if the button is pressed. If pressed, it toggles the servo direction between 0° (left) and 180° (right), printing "LEFT" or "RIGHT" to the console. A small delay (300 ms) prevents button bouncing
Below, I present a video of the simulation and the Wokwi simulation link.
Conclusion
This week at Fab Academy has been a valuable learning experience. I explored different microcontrollers, analyzed their datasheets, and compared their features to determine the best option for my project. After careful evaluation, I found that the XIAO nRF52840 Sense is the most suitable choice, as it enables efficient voice control communication with my exoskeleton, operates at a lower voltage, and has an ideal size for integration. Additionally, its motion-sensing capabilities make it perfect for detecting hand movements. I also learned how to use Wokwi for simulations, tested various programming languages, and successfully simulated input-output interactions. This knowledge will be crucial as I move forward with my project, ensuring informed decisions in both hardware and software implementation.