1. Principles and Practices, Project Management
For the first week of Fab Academy, we learned how to create our own website. A web page is a document that can be accessed through a web browser and displayed on a screen. Web pages can contain text, images, videos, hyperlinks, and other multimedia elements. They are typically built using two main technologies:
- HTML (HyperText Markup Language): The markup language used to define the structure of a web page. It organizes elements such as headings, paragraphs, images, and links using tags.
- CSS (Cascading Style Sheets): The language used to define the appearance and layout of a web page. CSS controls colors, sizes, fonts, and the positioning of elements on the screen.
Using the Terminal and Basic Commands
It is important to understand the basics of programming languages. The terminal is a crucial tool for interacting with the operating system through text commands. It is used to navigate folders, create files, and run programs without needing a graphical interface. Here are some essential commands that might help you throughout this process:- dir:Displays the location of your files
- cd:Helps you navigate through your directories and enter files.
- mkdir:Creates a new folder.
Steps to Create Your Website
Downloading Necessary ApplicationsFirst, you need to download the following applications on your computer:
- Download Git Bash – A command-line tool for version control and executing terminal commands.
- Download Visual Studio Code – A code editor with built-in Git support and web development features.
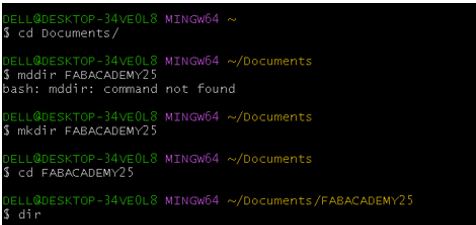
Once installed, open Git Bash and use the following command to navigate to the "Documents" folder:
- Open Git Bash and use the command cd Documents: This command navigates to the "Documents" folder.
- Then, use the command mkdir to create a new folder. The folder name depends on your specific project; in this case, the folder is named FABACADEMY25.
- Use the command dir to verify that the folder has been successfully created.
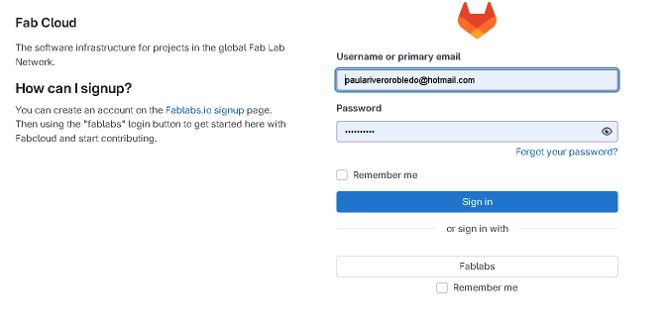
Once your project folder is set up, it’s time to clone your Gitlab repository. Gitlab is a platform that acts as a cloud to store your work in real-time. To connect to Gitlab, first, you need to create an account. In my case, the Fab Academy provided credentials, but you can create your own account on the official Gitlab website using your email and password.
After setting up your account, return to Git Bash and use the command git clone followed by the link to your Gitlab repository

Once your page has been cloned into the folder, open Visual Studio Code to start working on your website. In Git Bash, use the command "code ." to open Visual Studio Code.

This command launches the editor, and you can now create a new project by pressing "Public" and searching for a new file

To create your website, it is important to know the basic commands which were taught by our instructor and local Rafael Perez. Here are some key commands:
- h#number:Defines headings, with h6 being the smallest.
See the Pen Untitled by Paula Rivero (@Paula-Rivero) on CodePen.
- "p":Used to write a paragraph.
See the Pen Untitled by Paula Rivero (@Paula-Rivero) on CodePen.
- ul:Creates a list with bullet points; olcreates a numbered list, and li is used for list items.
See the Pen Untitled by Paula Rivero (@Paula-Rivero) on CodePen.
- video src="filename.mp4"controls width="300px"Inserts a video
See the Pen Untitled by Paula Rivero (@Paula-Rivero) on CodePen.
- table border="1":Creates a chart table with border.
See the Pen Untitled by Paula Rivero (@Paula-Rivero) on CodePen.
- "thead": List the column titles
- "th" : Creates a header cell
- "tbody": Contains the table data
- "tr": Represents a table row
- "td": Represent each data cell
- a href : Adds a hyperlink to another page or file. If you want the file download by itself once you click on the name of the file , you just add the word download.
See the Pen Untitled by Paula Rivero (@Paula-Rivero) on CodePen.
- "img src="image.png/jpg":Inserts an image
See the Pen Untitled by Paula Rivero (@Paula-Rivero) on CodePen.
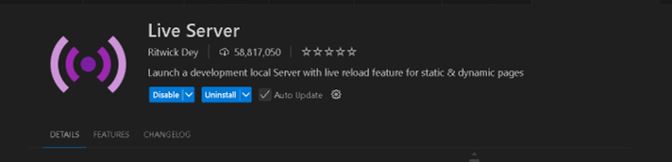
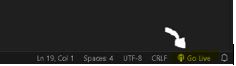
Viewing Changes with Live ServerTo see changes on your website, you need to install the Live Server extension in Visual Studio Code. Once installed, click on the "Go Live" button to preview your website in a browser.
You can experiment with these commands to customize your website or use pre-designed templates that can be edited with the same commands.
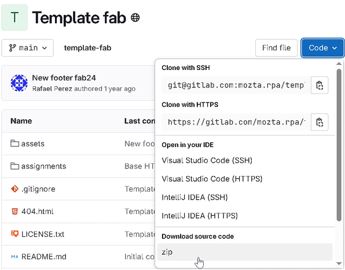
Using TemplatesTo download a template, follow these steps. As a Fab Lab student, I was provided with templates via Gitlab and by our local instructor, Rafael Perez. If you're downloading a template externally, the process remains the same.
1. Find and download a template you like in a ZIP file.
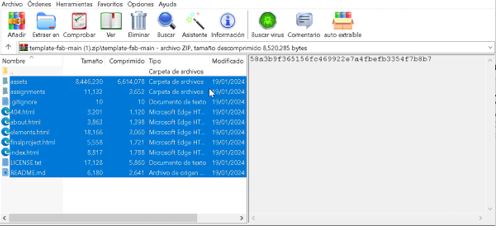
2. Extract the ZIP file and copy all template files into your project folder.
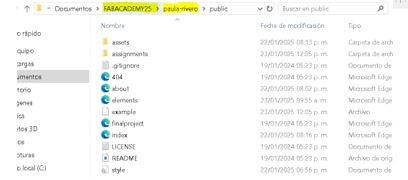
3. Verify that all files have been placed correctly in the appropriate folder.
4. Once copied, you can personalize the template using the HTML commands learned.

Once your website is ready, follow these steps to upload it to Gitlab and save your changes:
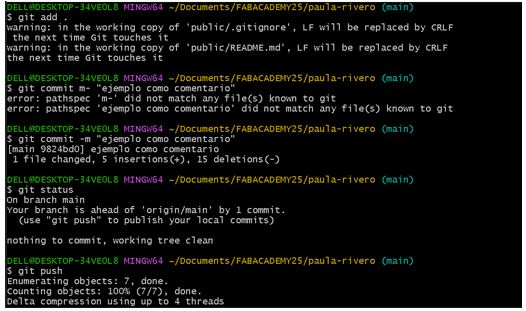
1. Open Git Bash and use the following commands in this exact order:
- "git add": Pre-upload all your project files, including changes.
- "git commit -m "title of changes": Saves your changes with a descriptive message.
- "git status": Checks the status of your changes.
- "git push":Uploads your work and changes to GitHub.
Here is the link to my repository:
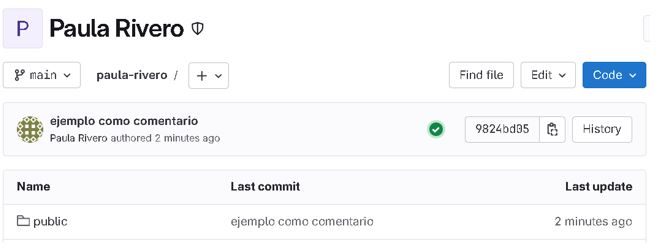
Now you can see your changes uploaded to Gitlab.
And that’s how you create your own website!
- © Copyright 2025 [Paula Rivero Robledo]
- Creative Commons Attribution Non Commercial