1. Project management
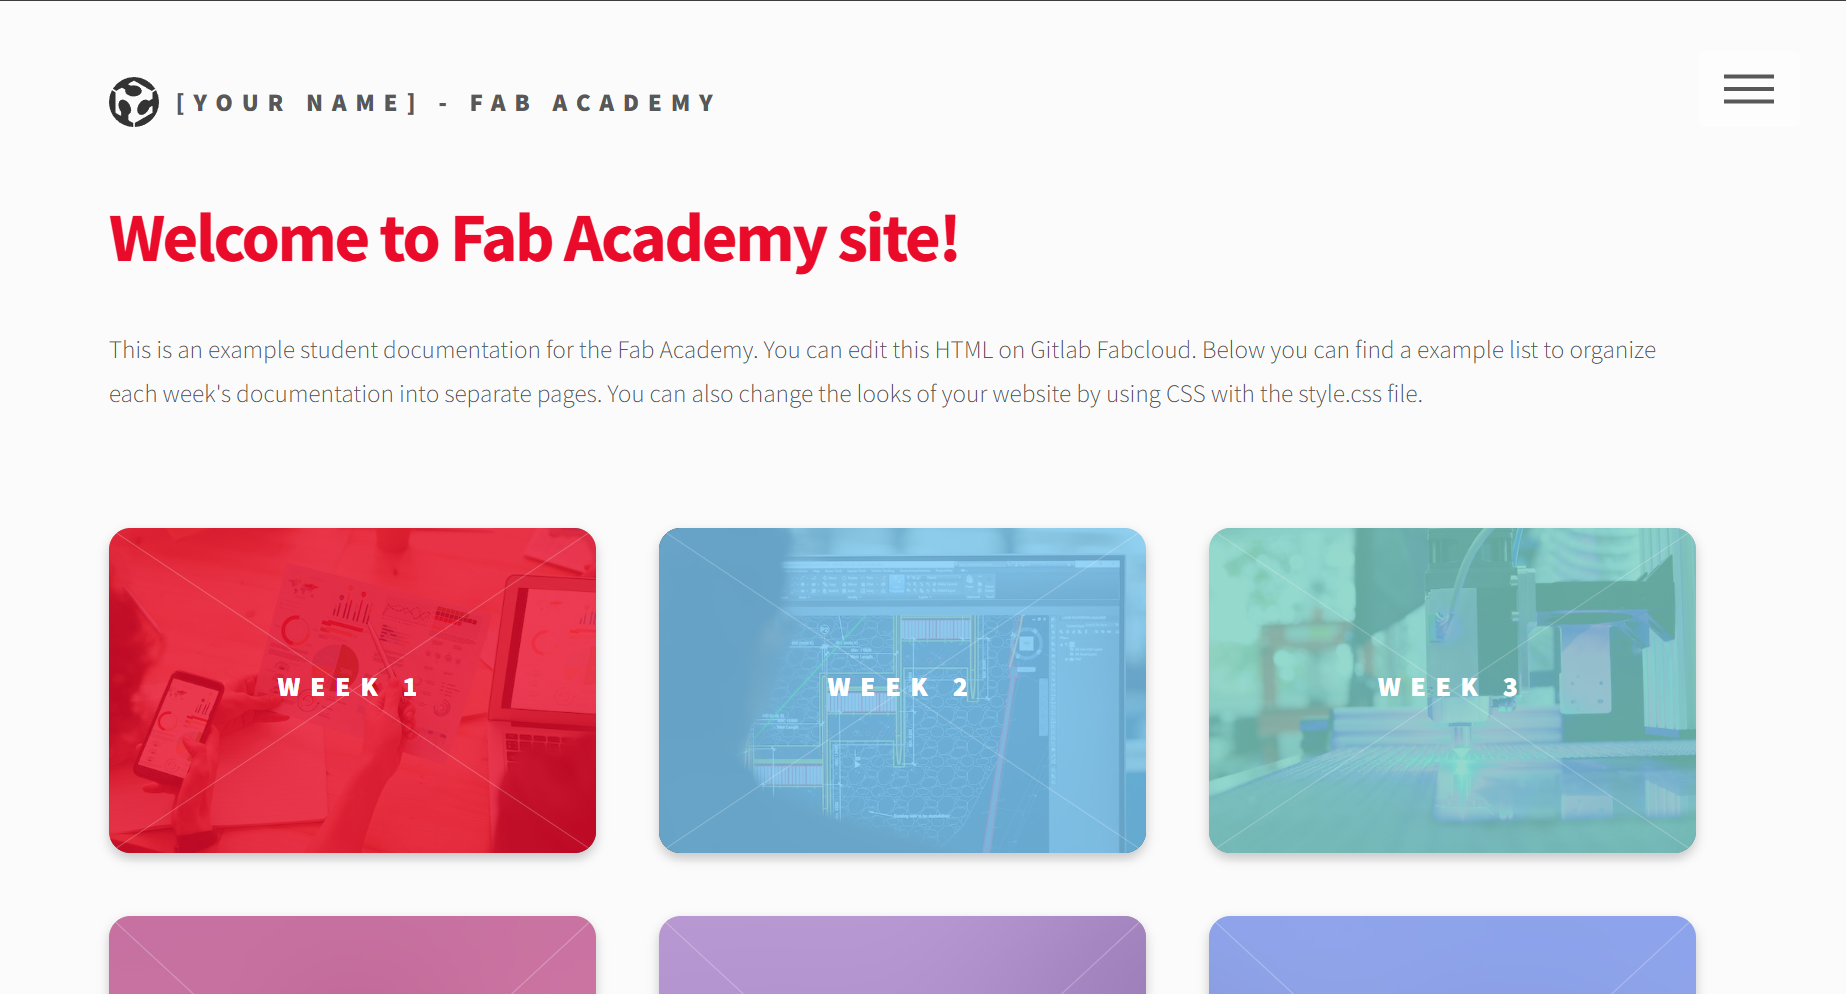
This week I worked on defining my final project idea, started to getting used to the documentation process and bulding the page you're seeing!
The journey begins
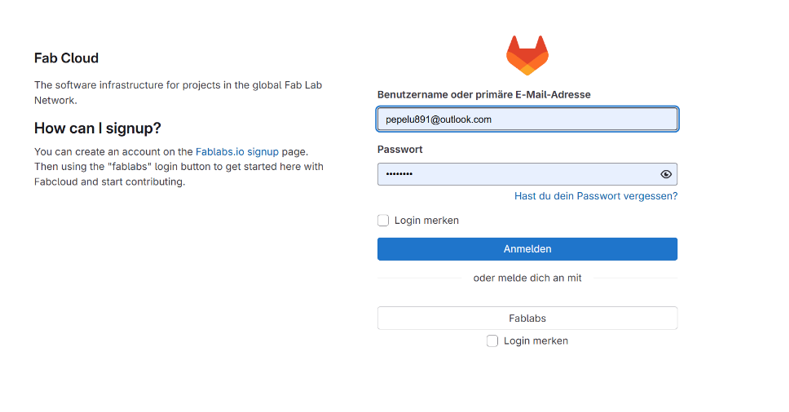
We started the week by downloading git and logging in to our git lab account. The credentials were already given to us by the Fab Academy.
Learning git
Lets start by opening git and getting familiar with the basic commands.
Commands
- cd- open a directory
- dir-locate directorys
- mkdir- create a new directory
- git status- See the status of the changes in git
- git add .- Collect all the changes to save in the cloud
- git commit -m - Give a name to the log before saving changes in the cloud
- git push- Upload all the changes to the cloud
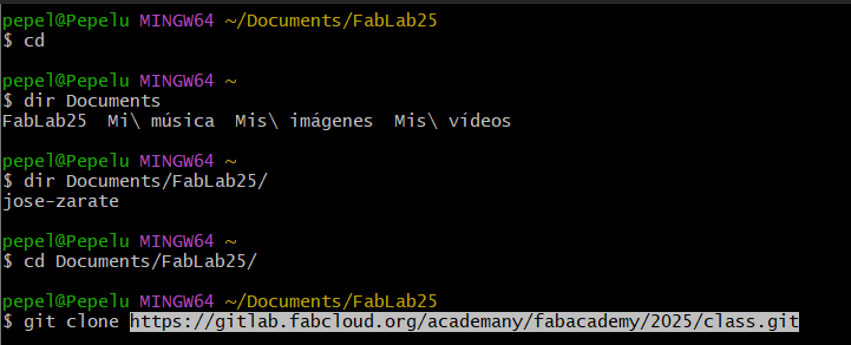
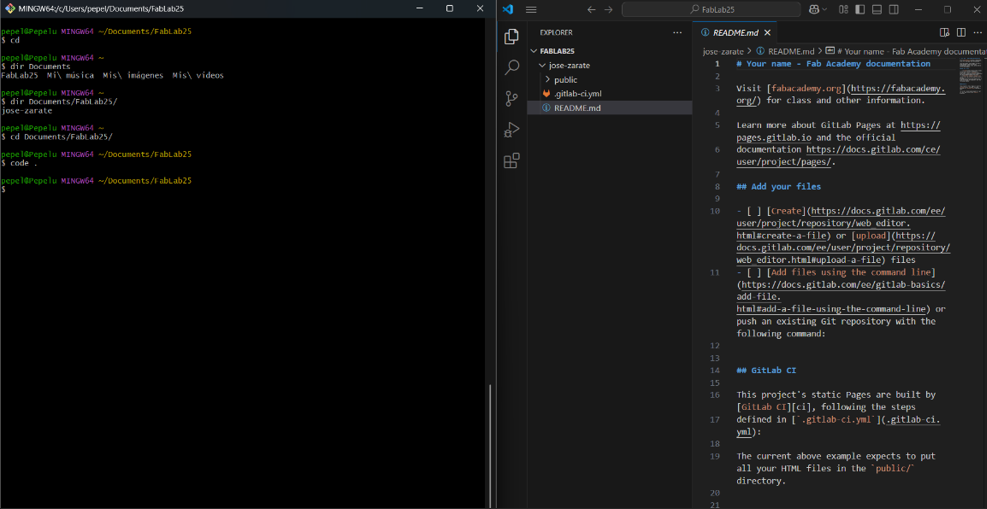
Lets open our git cmd. Once it's open we'll open our documents ditrectory with the cd command.
To start linking our page to our computer we'll proceed to create a folder in our documents directory with the mkdir command. I call it “FabLab25” and with the cd command open the directory that we just create.
Once we have it open we need to clone the HTTPS link to our computer so we can access our code page. To do that we need to open our gitlab account and locate our profile, then click the button code.
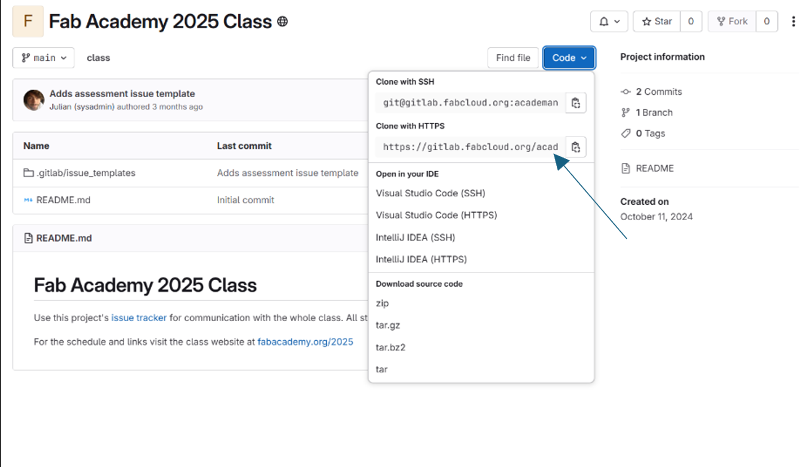
Then copy the HTTPS link and open our git cmd. Use the comand "git clone" and press enter. You will see in the directory a new folder call "public".
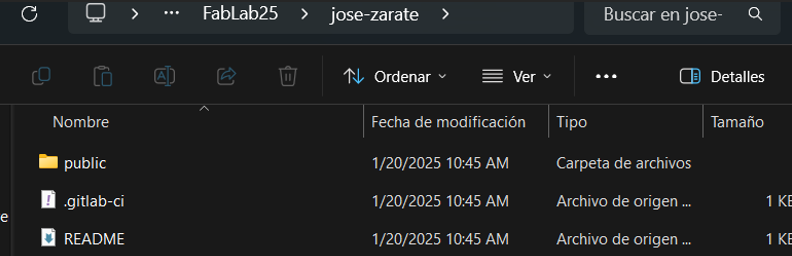
Now that we have cloned our https page, we'll need to link our public directory to our Visual Code Studio app. Just open the git cmd and if you're not inside the Fablab folder, use the cd command and type the location, in my case “cd/Documents/Fablab25/Jose-Zarate”. Once you're in, use the command “Code .” and the Visual Studio Code will open and ask permission to trust the git. You agree and then you will see the code and every link of the web page.
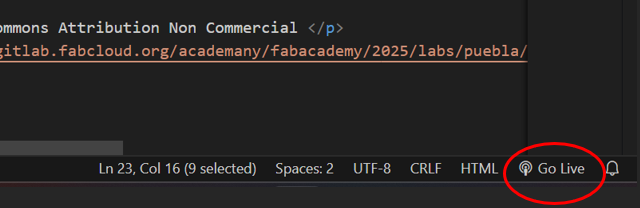
If you want to edit your page in real time download the Visual Studio code extension called "Go live". This will open your page, and you will be able to see the changes in real life once you press in VS code “ctrl+s”. “Ctrl+s” is used to save the changes in the Vs code, its important to save it or you will not see the changes in the server. To open the server, you just click “go live” located in the bottom right part of the Vs code interface.
Editing your page
In this part you'll learn how to:
- Editing text
- Change fonts
- Change colors
- Insert images
- Insert Videos
Editing Text
To start editing your page its important to know the basic commands of text editing in html.
- h#: Defines headings, it goes from 1 to 6. Being 6 the smallest.
See the Pen Untitled by Pepe Zarate (@Pepe-Zarate) on CodePen.
- p: Write paragraphs.
See the Pen Untitled by Pepe Zarate (@Pepe-Zarate) on CodePen.
- li and Tables: creates list, you can edit the list format with; ol, this creates numered list or ul; creates bullet points. With Tables you can create tables with formats, here you can see how to do it
See the Pen Listas by Pepe Zarate (@Pepe-Zarate) on CodePen.
The Html structure
- Thead: Lists the column titles
- th: Creates a header cell
- tbody: Tabla data
- tr: table row
- td: its each data cell
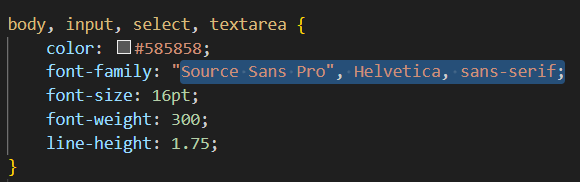
Changing fonts
In the CSS section which is where we can change the style of the whole page we can locate or write "Font-Family". In there you can add or modify the font.
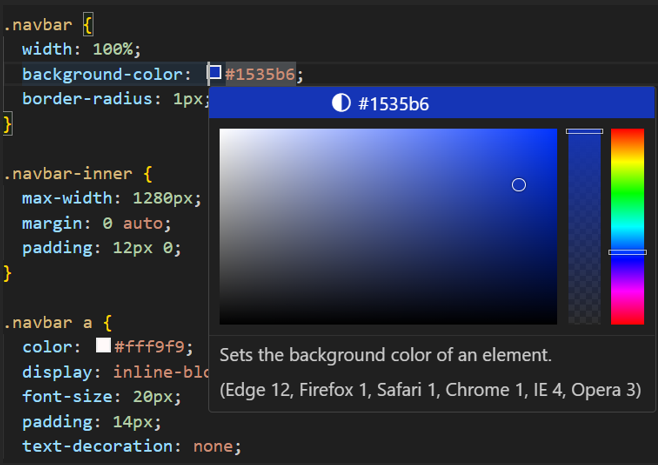
Changing colors
To change the color, we must click the color box next to” background color” and select the color you want. Overall you can find this option in the SCC extension.
insert images
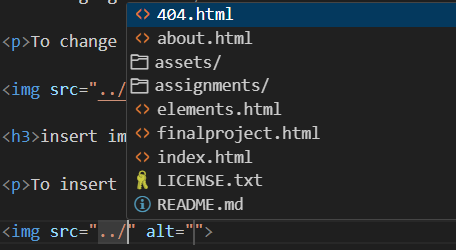
To insert images we'll use the command "img". Once you have the command written in our VScode you need to insert the location of the image. If it's a URL you must copy the link and paste it, if it's a local image you must search it in the directory you have it on.
Here's an example on how to attach local images.
Insert Videos
Attaching videos is simillar to attaching fotos but using the command "video src" And the process is the same as with the fotos for local and URL videos. You can also use the command "controls" to control the video in the page.

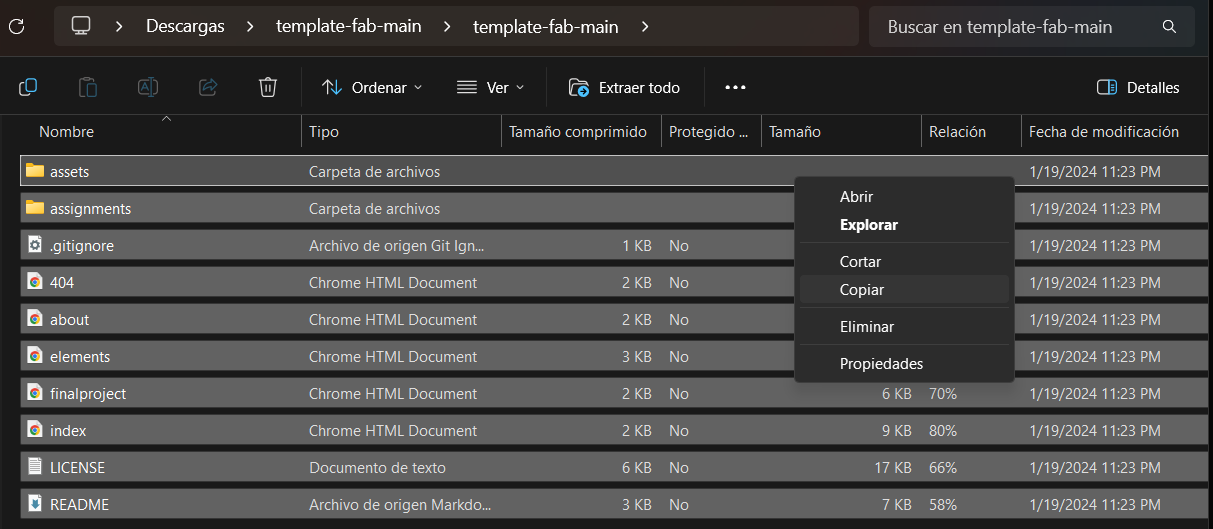
Changing template
To change the template to a more steric one we need to download a zip file from a page that was provided to us. Once in the page we'll open the folder “Public” located inside our FabLab directory. From our current directory we will delete all the information inside it. Then extract the zip and open it. you'll copy all the information inside it and copy it to our FabLab folder. And last in Visual Code Studio save the change to see if the template was change successfully
Saving changes and uploading to git
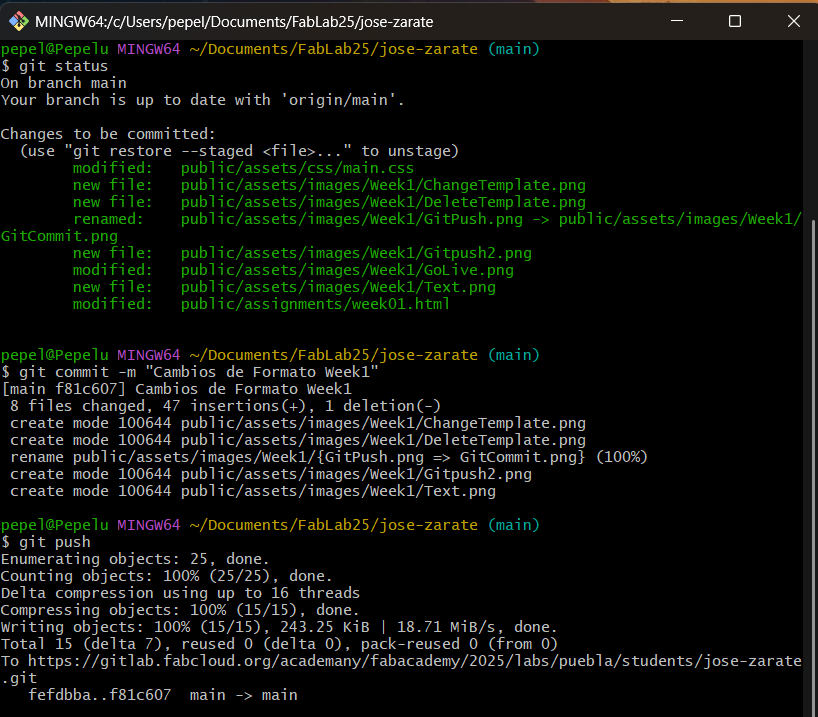
- Open the cmd of git and then use the next command “git add . “This will prepare all the changes you made to save on the server.
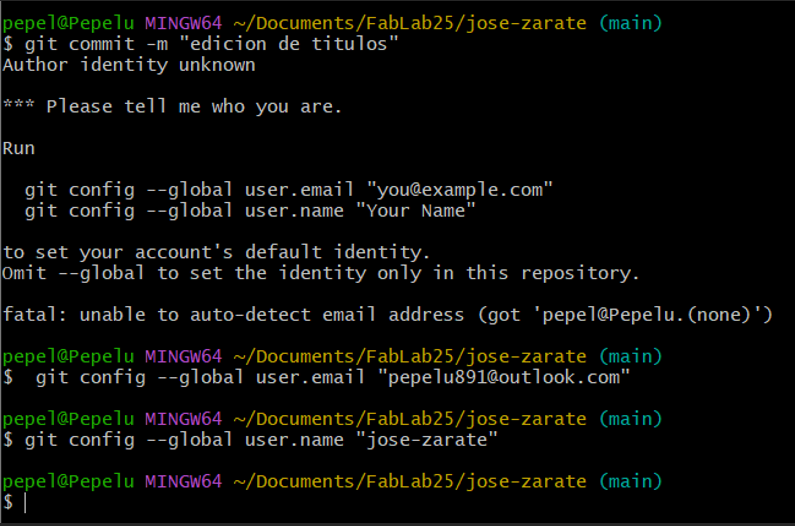
- Then we used the command “git commit -m “choose a name to save the log”” this will give a name to the entered log so you can remember which changes you did in case you need to go back and rewind. If it's your first time using the “git commit -m” it will ask for your credentials.
- You can also use the git status to see the changes before using the git push command
- Finally, we used the command “git push” this will send all the changes to the server, saving all the information.
And finally to save all the changes on the git cloud you must follow the next steps:
This are the basics, but With this knowledge you can now make your own web page!